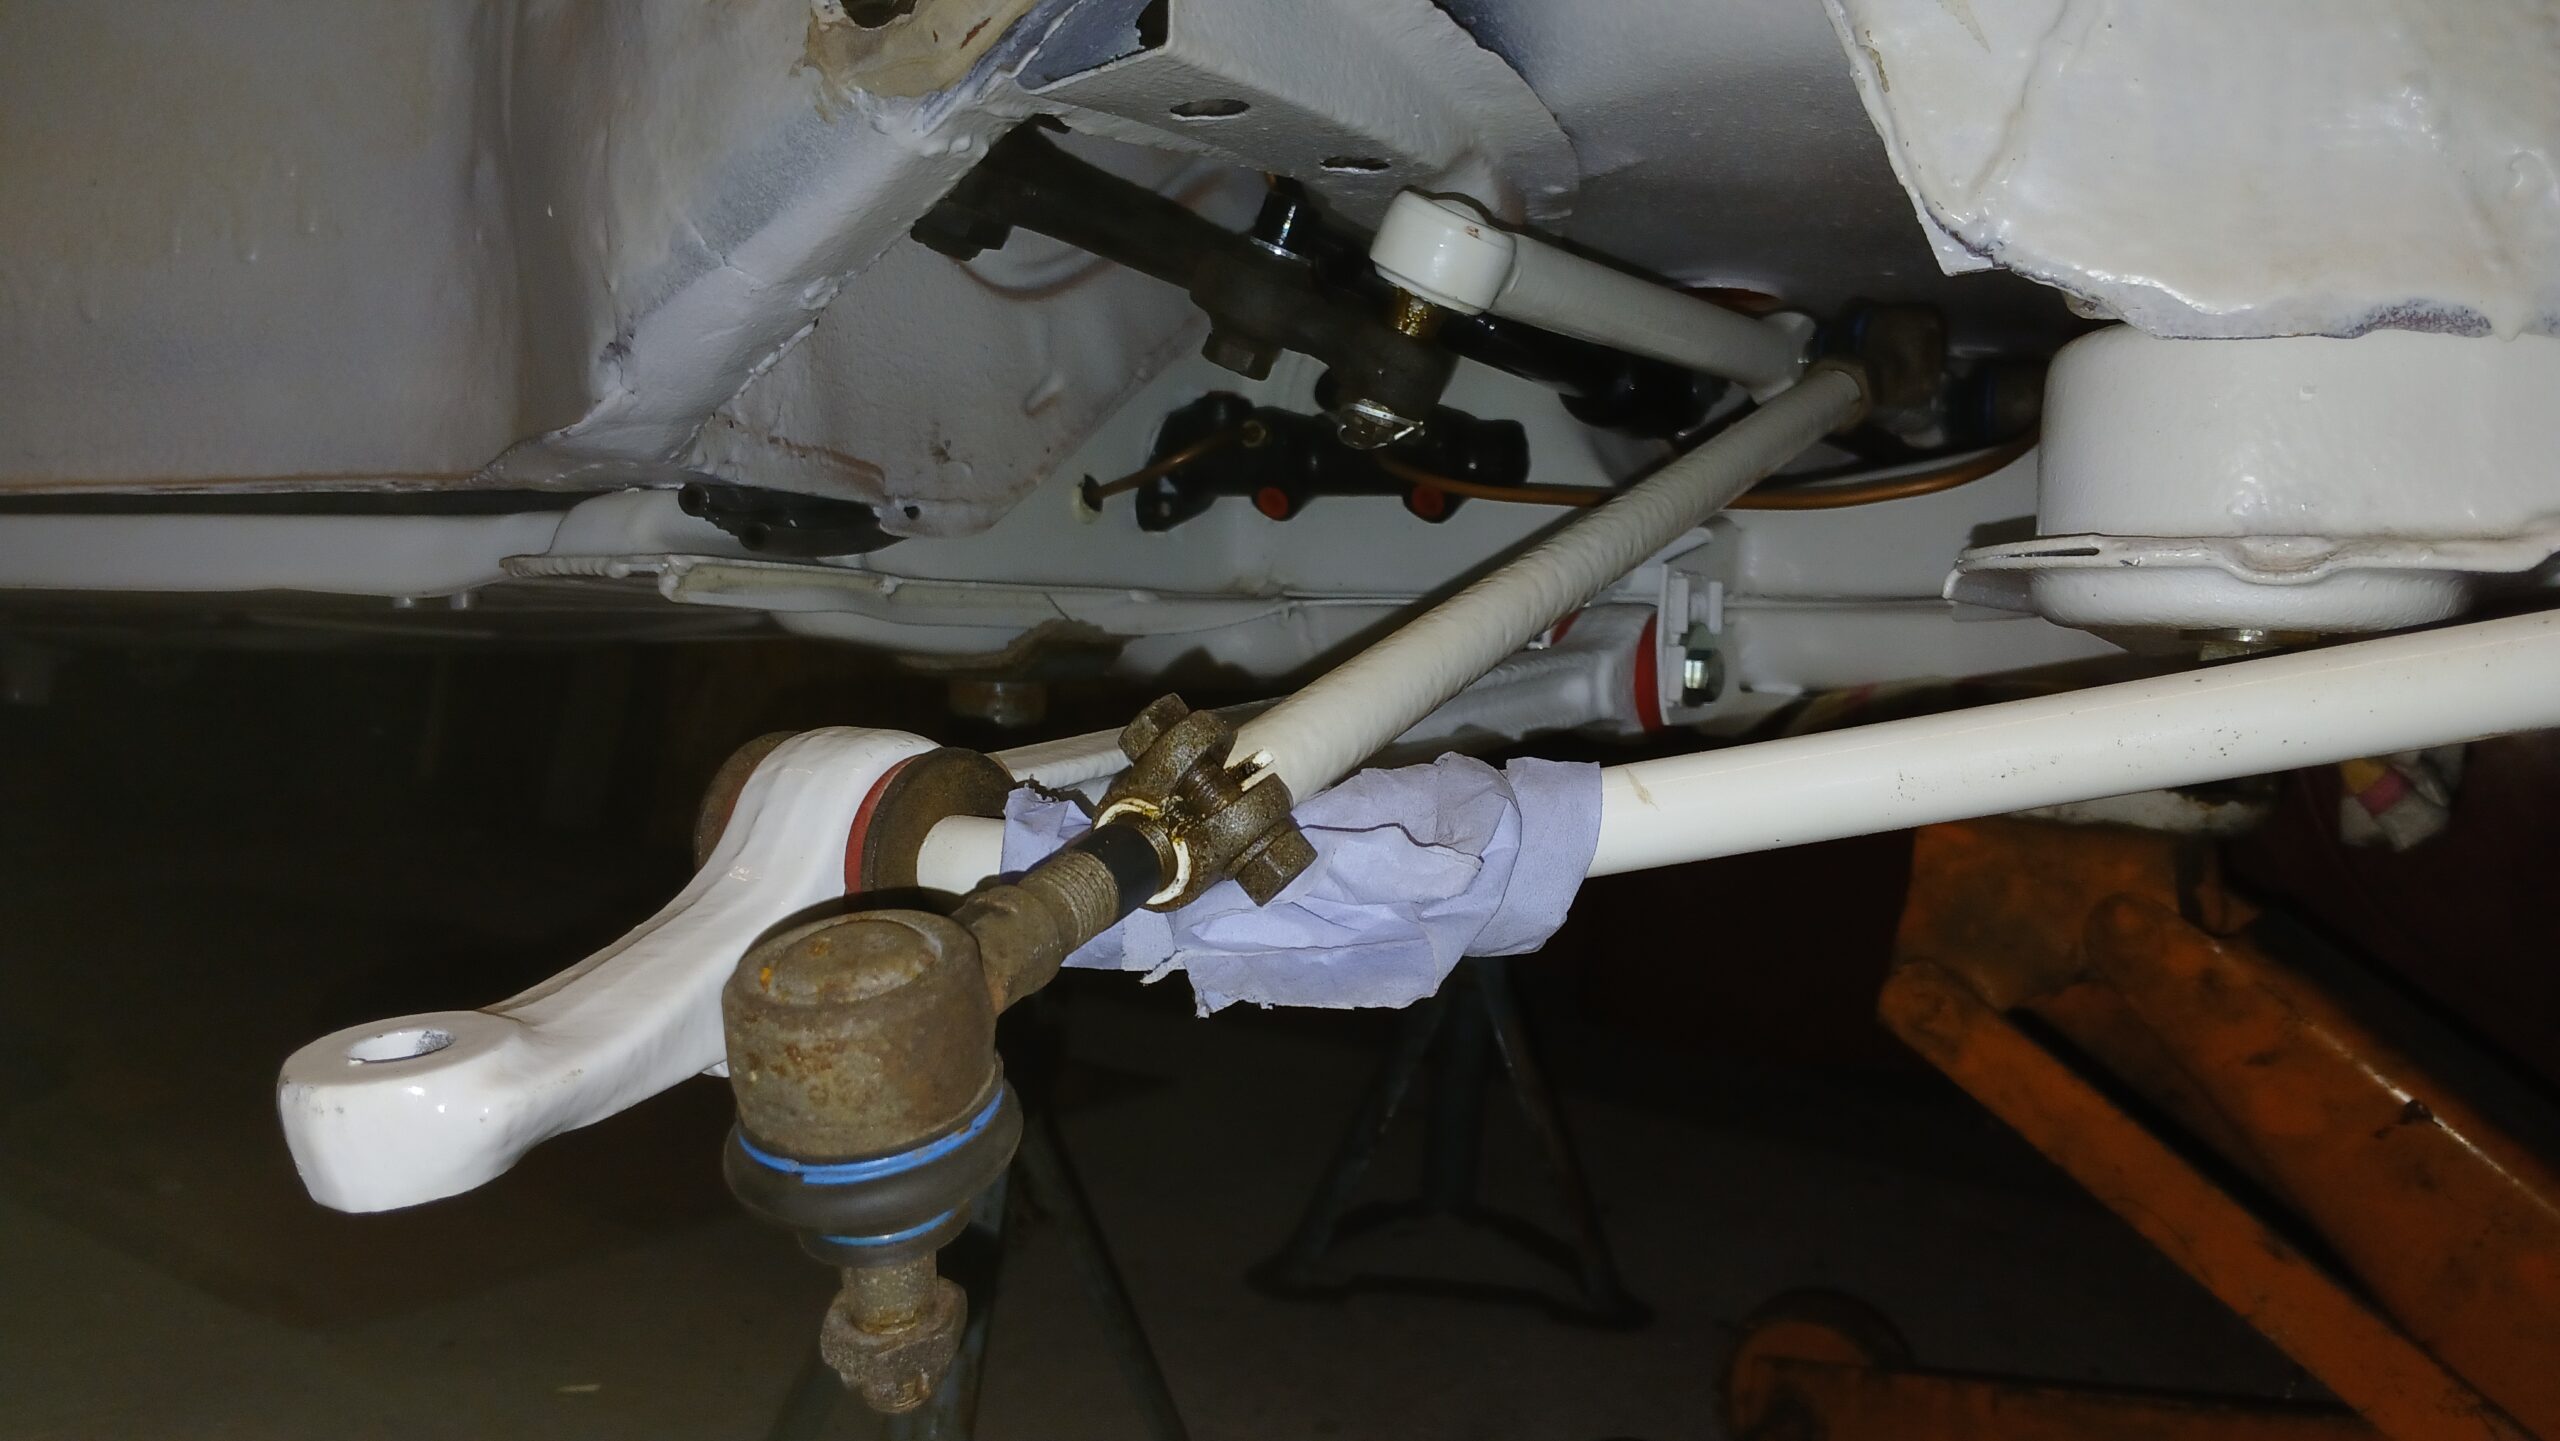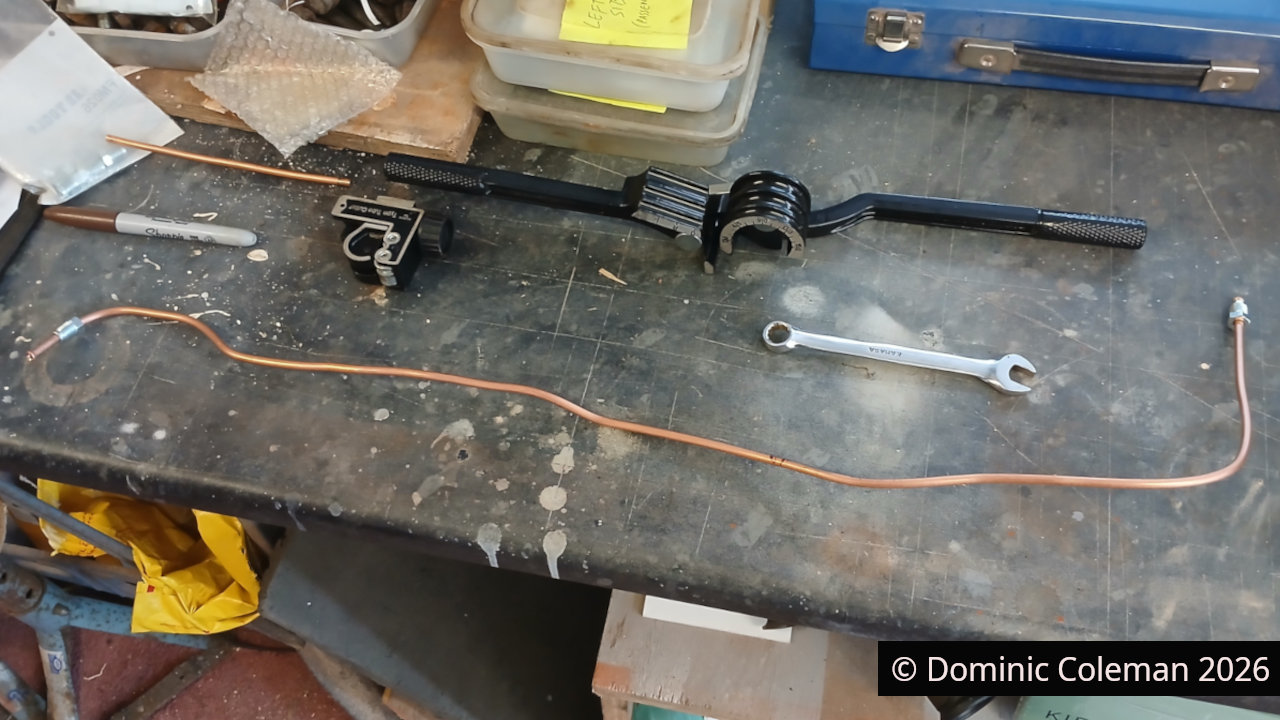
I had been busy on and off with various jobs on the Beetle. The first priority was to finish plumbing in the brake system now that the body was back on. I’ll say it now: fitting the pipework from the brake fluid reservoir to the master cylinder was, so far, probably the most frustrating and awkward job I have had to do on this little car.
From getting the bends in the pipes in the right places, fitting the correct amount of braided rubber hose, to eventually removing the master cylinder so I could push-seat the pipes properly, it was all a bit of a faff. In the end, I assembled around two-thirds of the system on the bench, including the master cylinder, and then made the final connections between the fluid reservoir and the remaining third of the pipework under the car at the bulkhead.
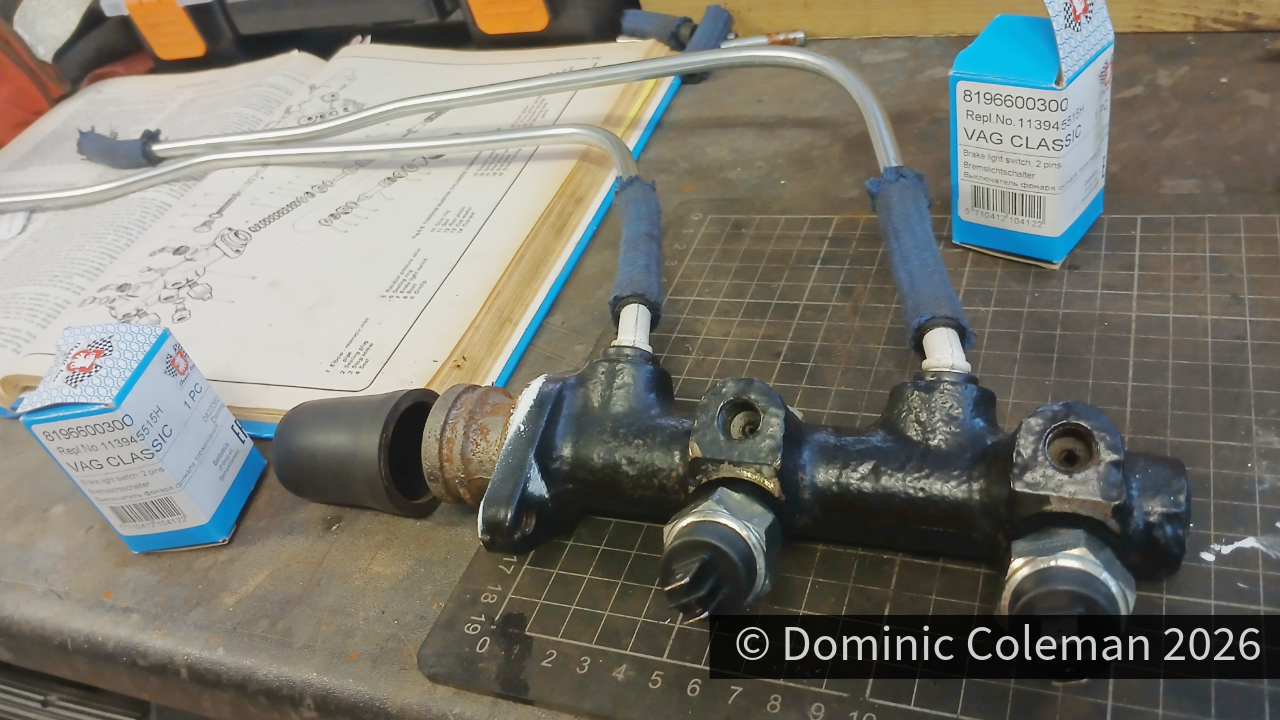
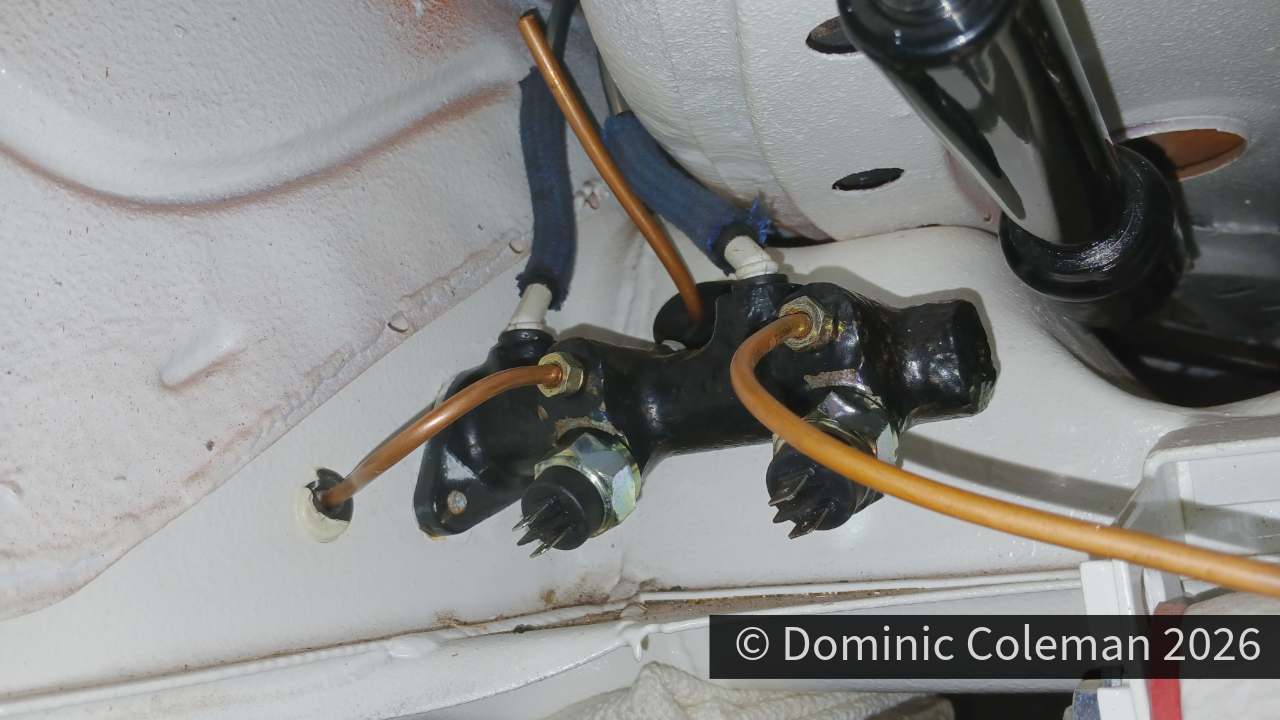
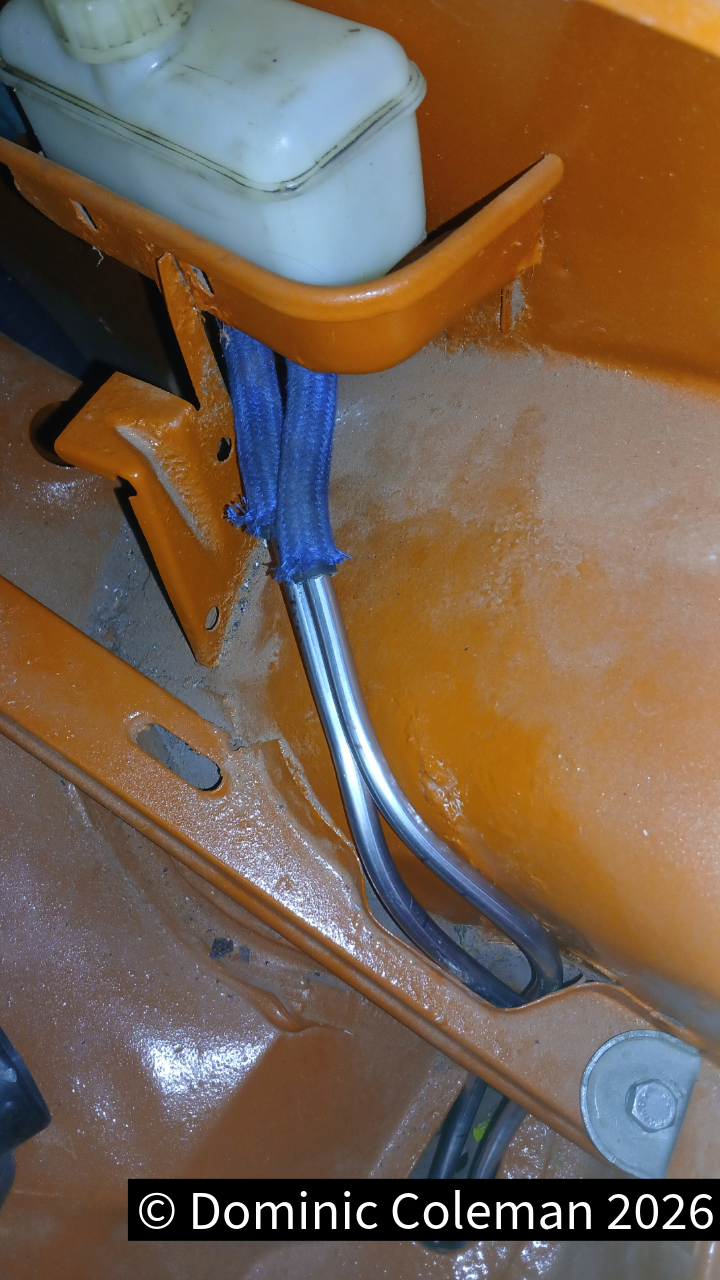
With all the pipework connected, and with some trepidation, I put in the brake fluid. Then some more, and then some more… until I noticed a leak at a joint on the frame head, which I duly tightened up.
I then noticed two large puddles of brake fluid at the rear.
When I first installed the brake lines back in September 2021, I hadn’t tightened them up. So, typically, now that the body was back on, the leaks were in awkward places above the torsion tube, at the ‘T’ joints in the pipes, as well as from both rear bleed nipples. After tussling with the awkward access to the brake-line fittings, I eventually got everything tightened up and the system stopped leaking. The rear brakes, however, still needed adjusting.
Hot weather arrived during May and the next job was to remove the engine tins ready for refurbishment. The only one I couldn’t remove was the panel behind the main crank pulley, as I didn’t have a 36mm socket.
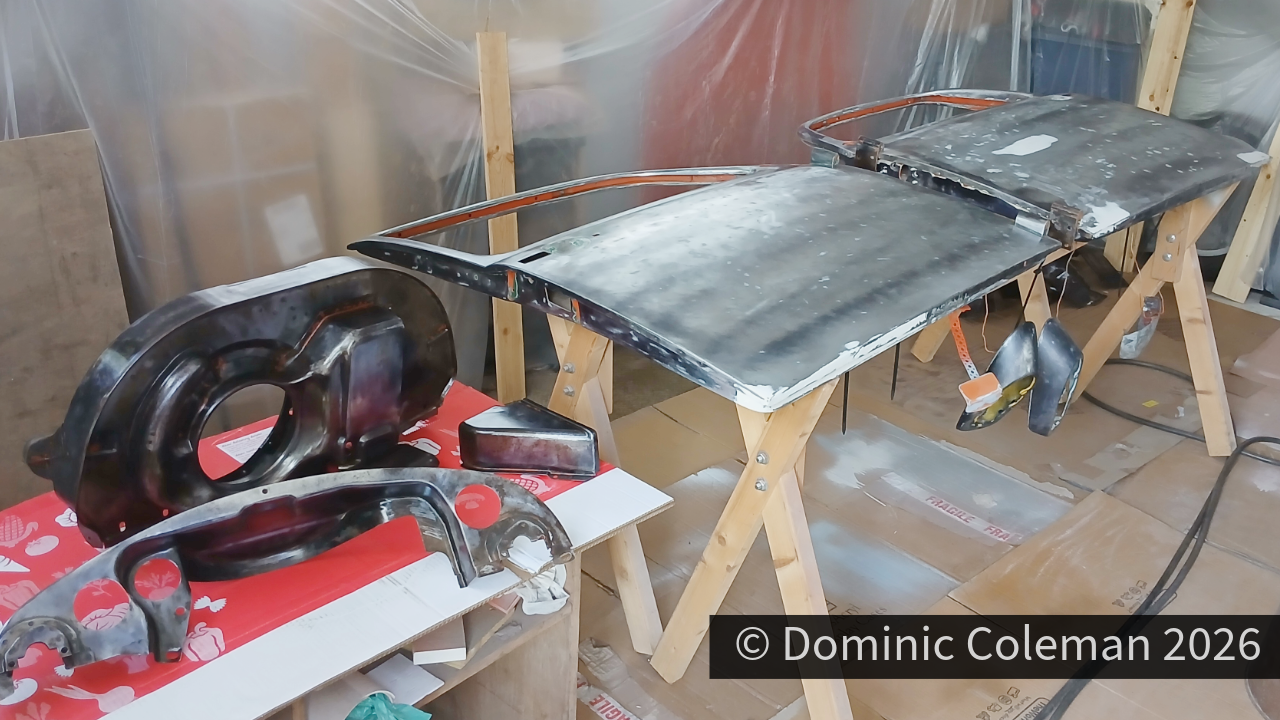
Cleaning the engine tins and ‘doghouse’ fan shroud was a filthy job, covering both myself and much of the workshop in dust. Thankfully, I was wearing a face mask, so I didn’t get too much of it up my nose!
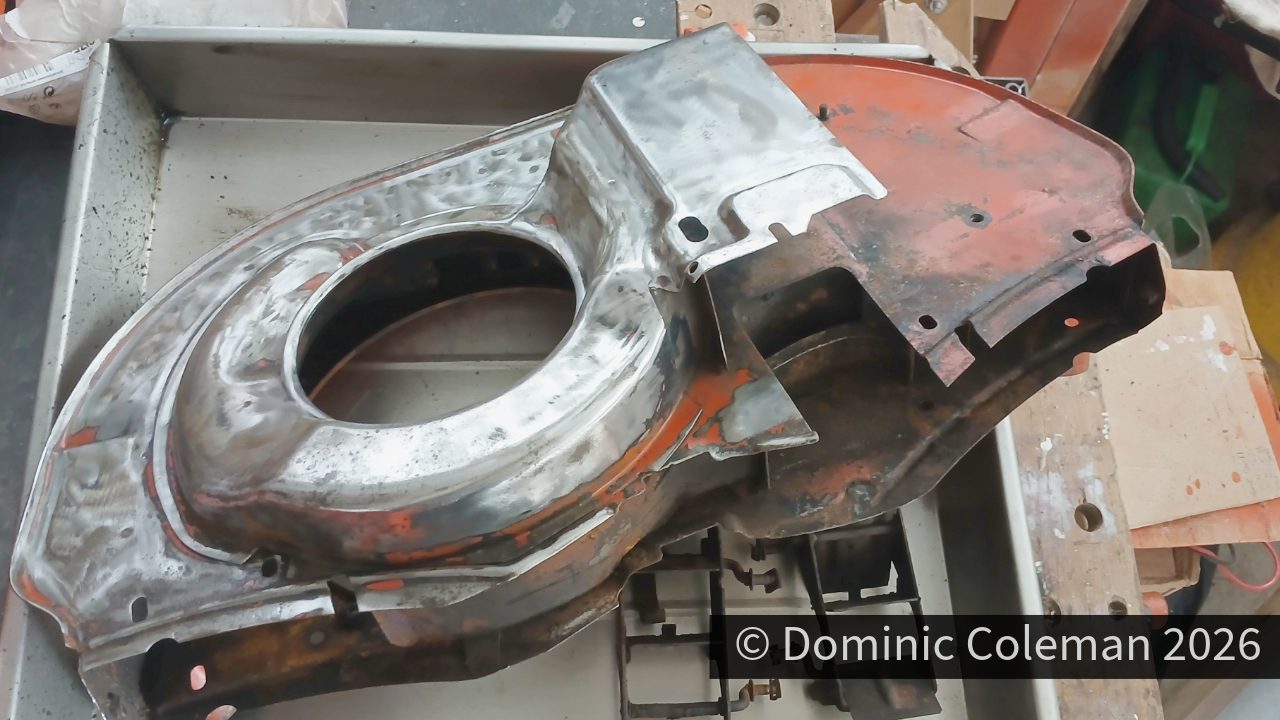
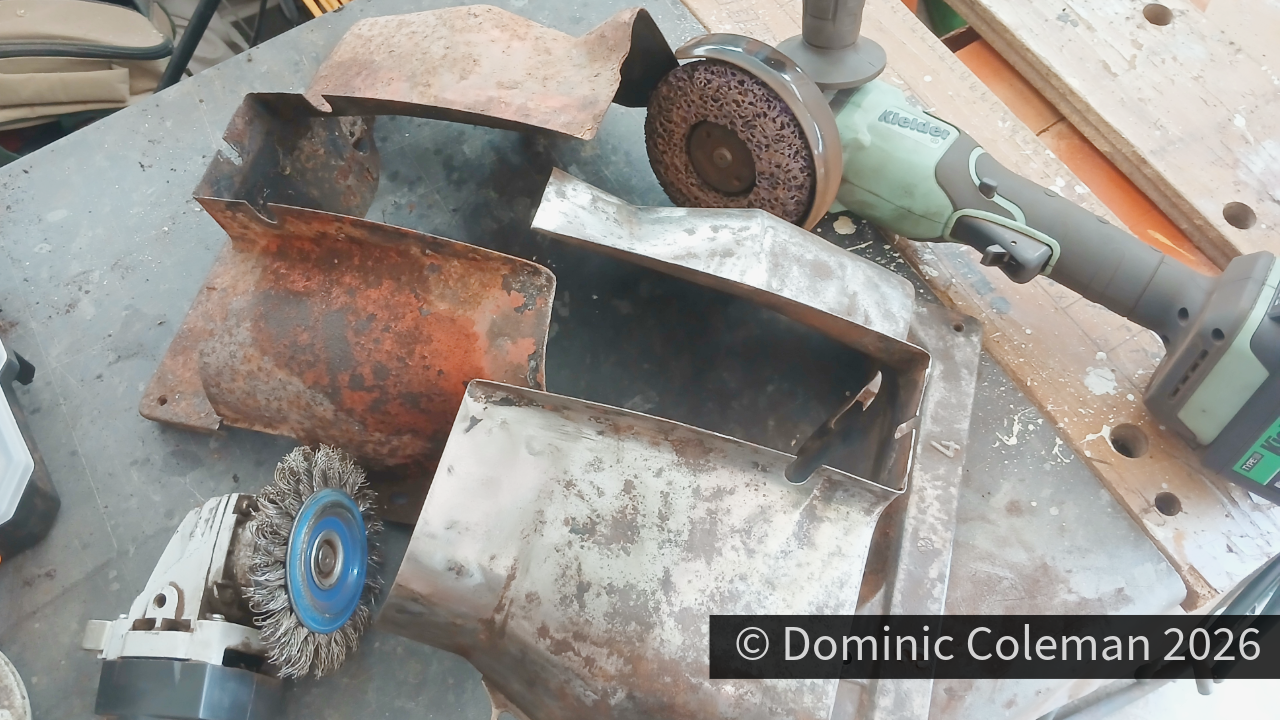
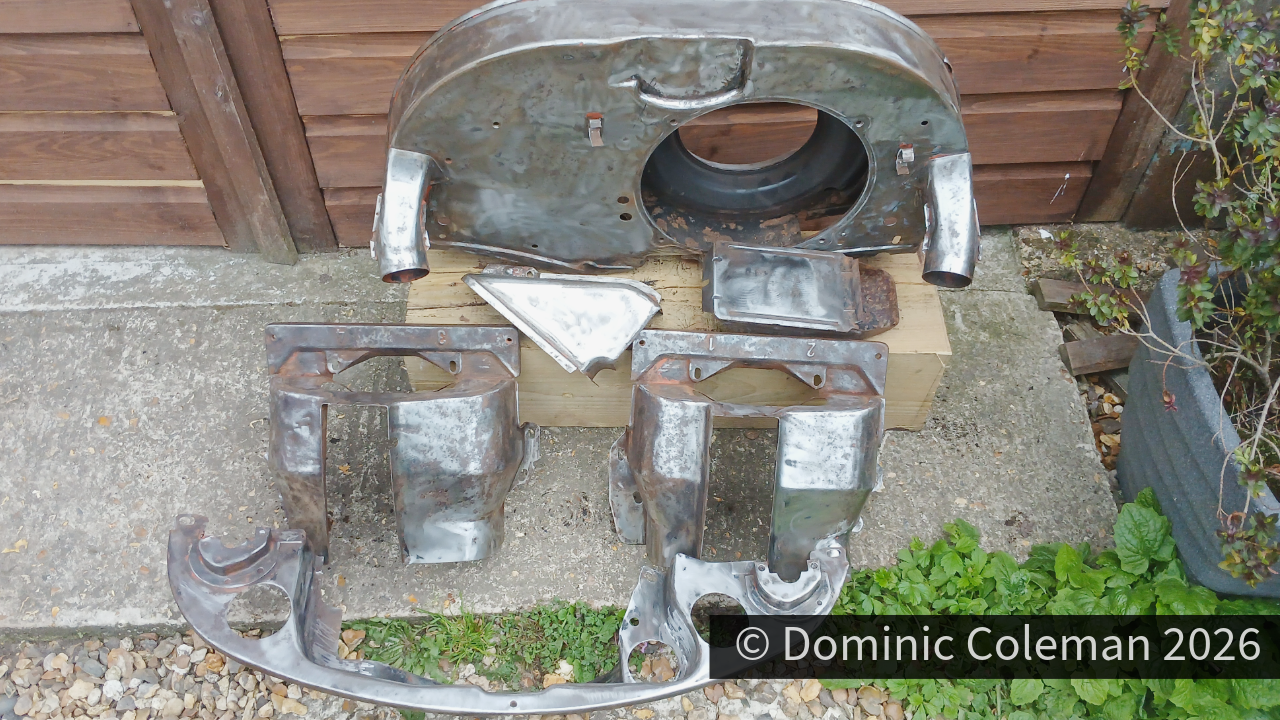
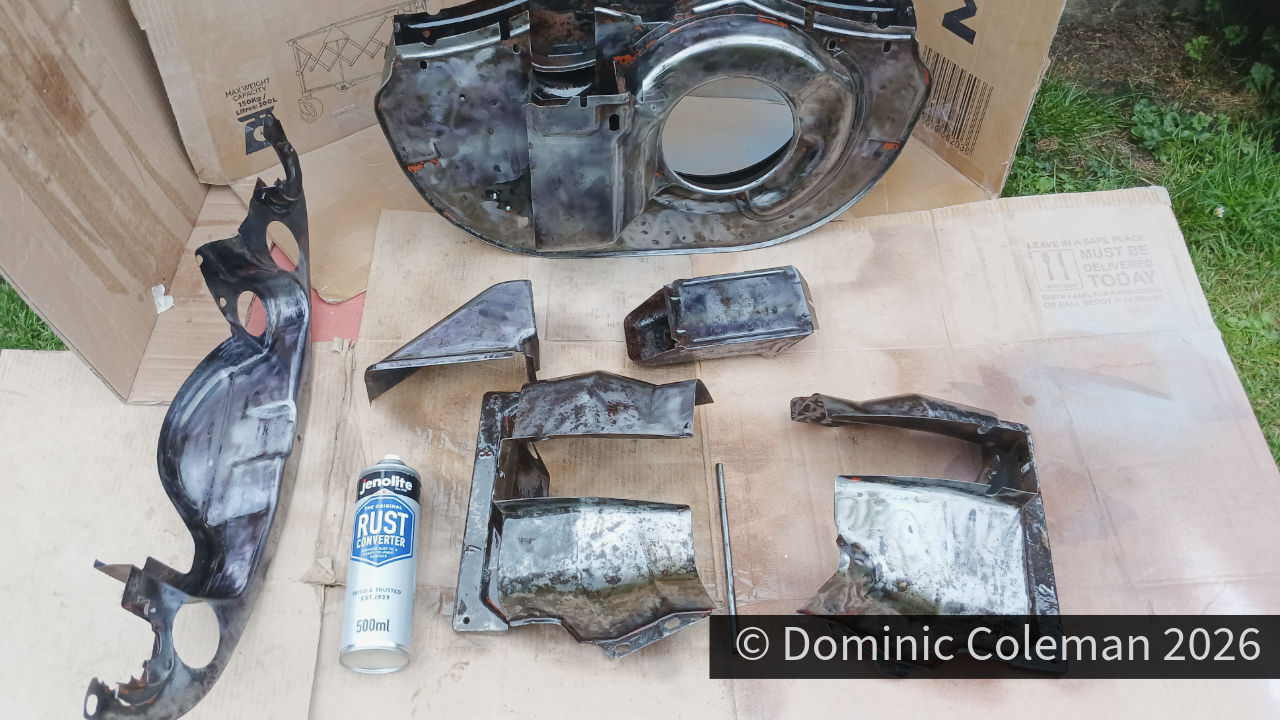
With the tins back to bare metal, I treated them with Jenolite, a rust-converter treatment in an aerosol.
With the hot weather continuing, I decided to turn my attention to the doors, as both needed a bit of attention due to rust appearing along their lower edges. Dismantling them was made much easier after watching a YouTube video by “Slades VW Beetle“. The process was quite straightforward, and with a bit of care it was easy enough to follow the steps in the video.
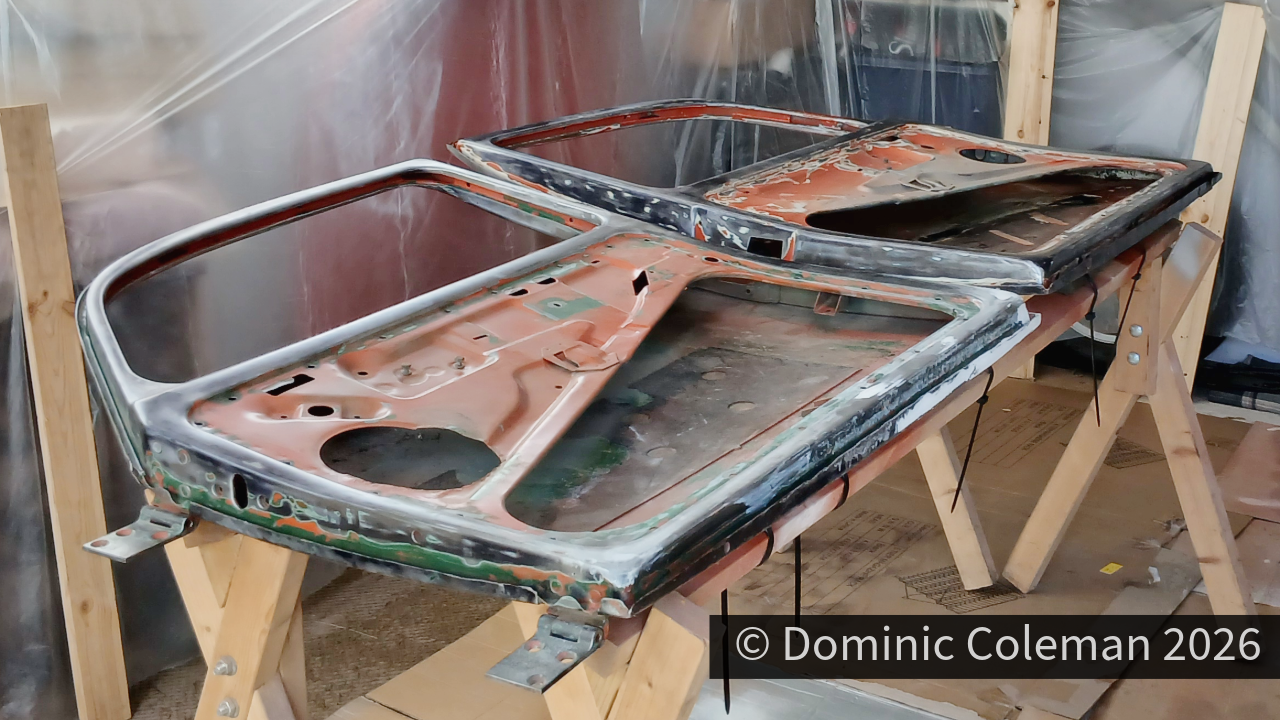
Stripping the doors back to bare metal was another hot and dirty job, once again plastering the workshop, and everything in it, with a layer of dust. I treated the exposed bare metal with Jenolite, including those awkward-to-reach areas.
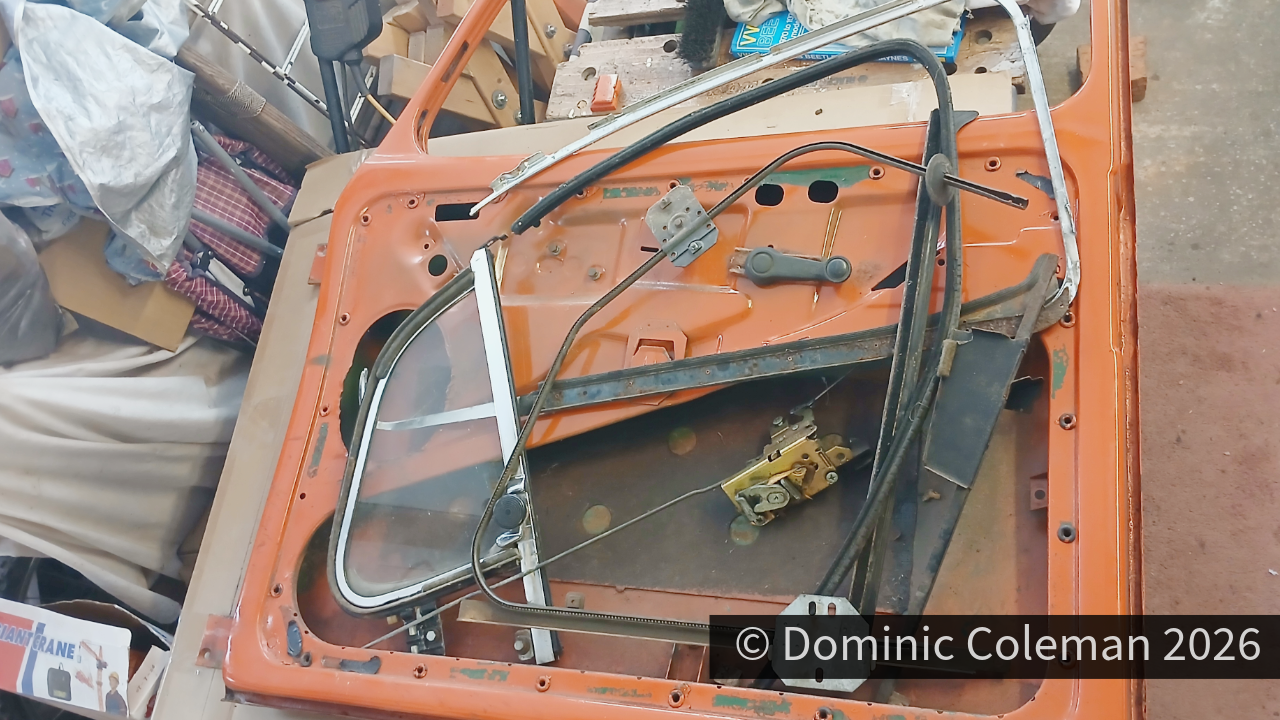
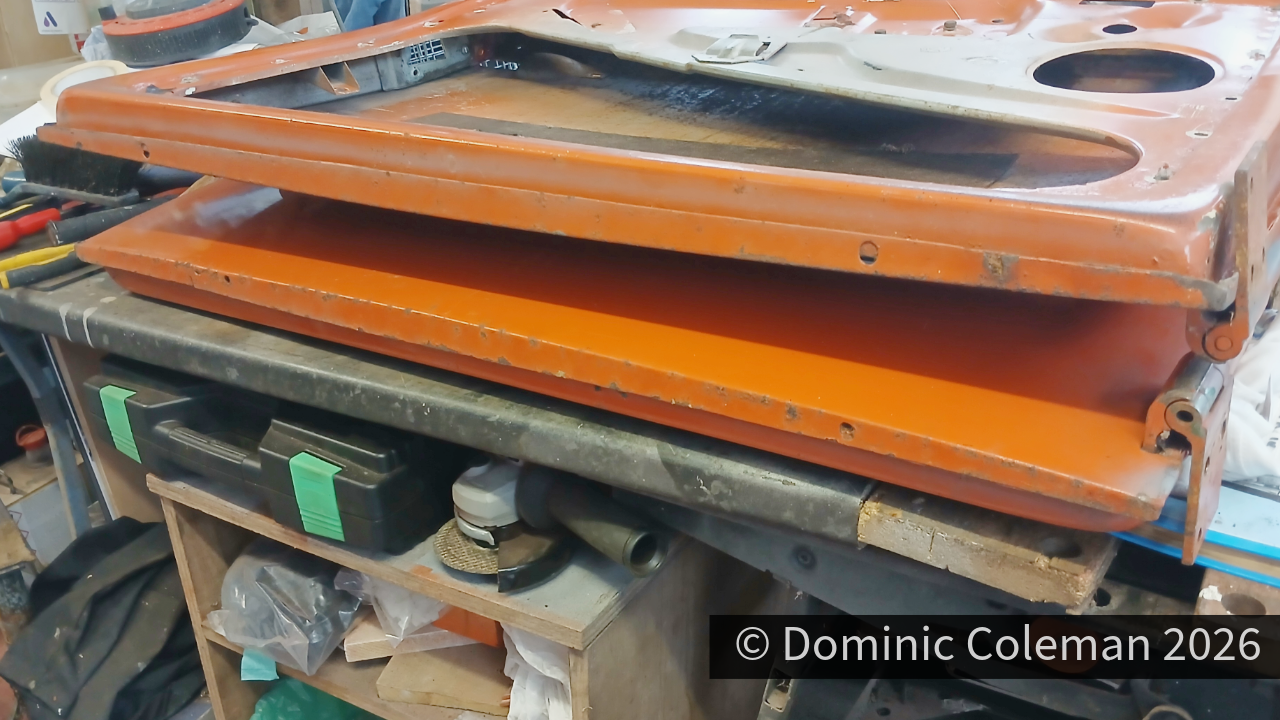
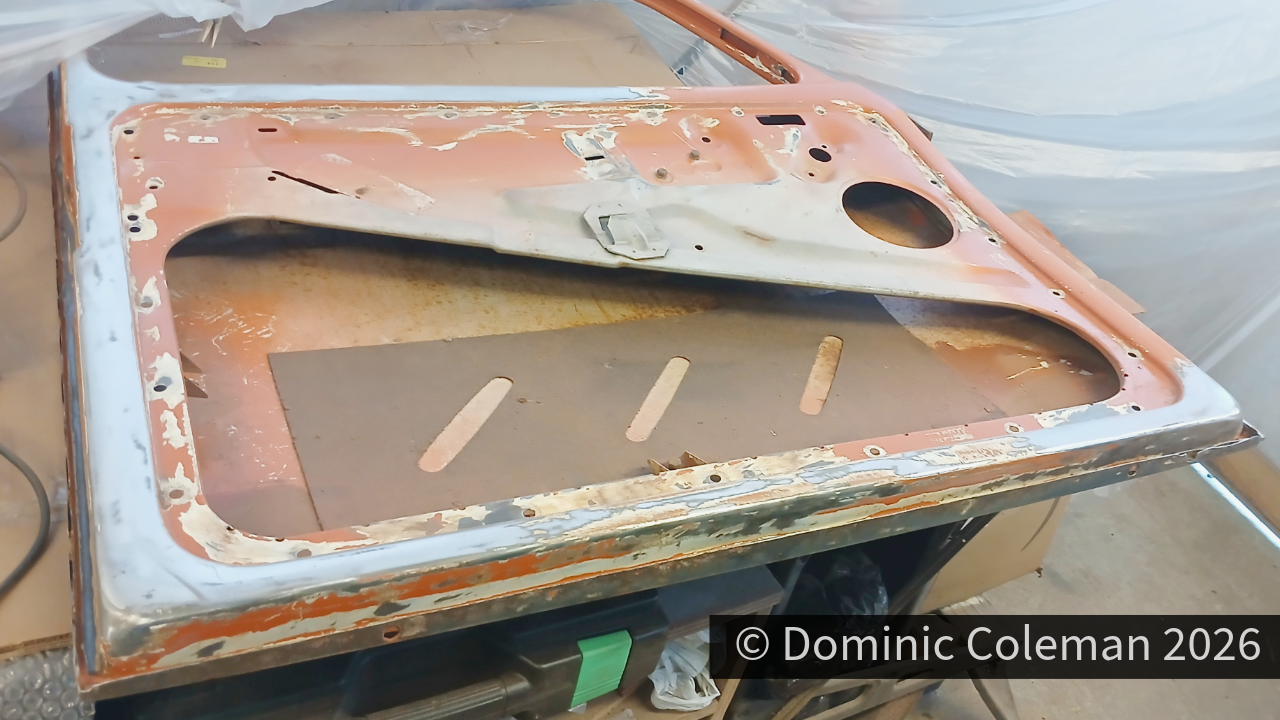
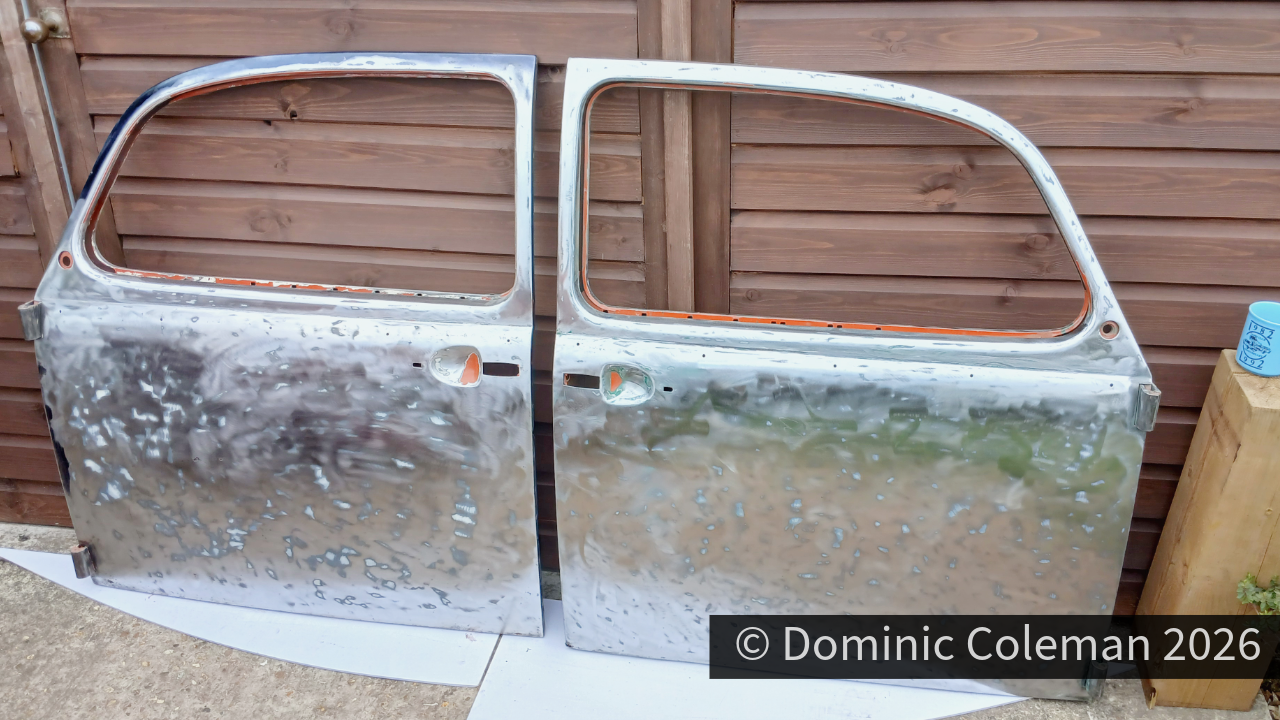
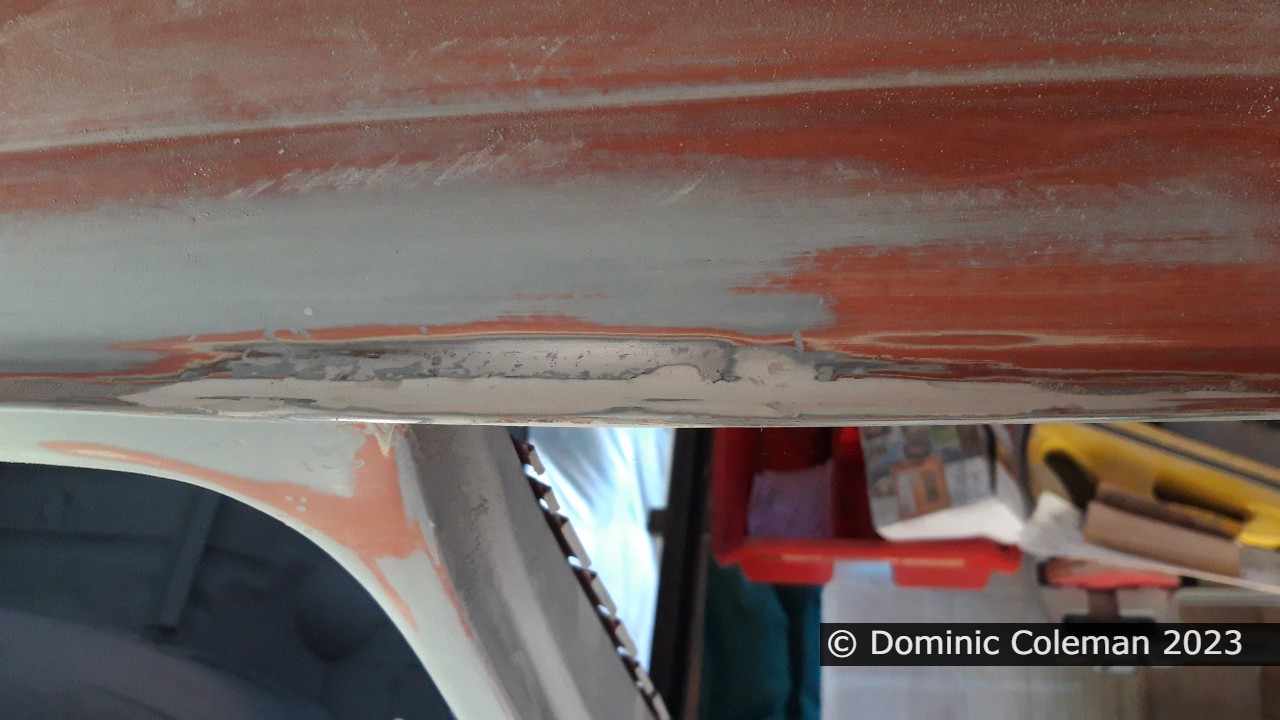
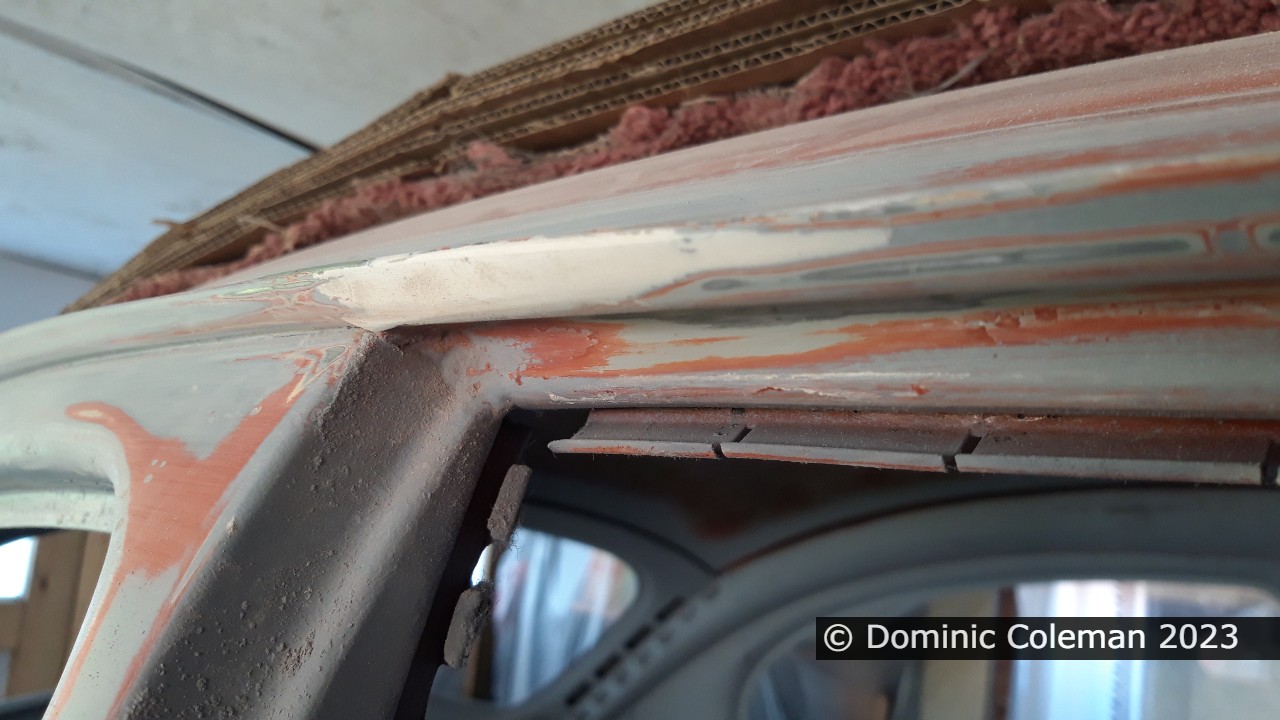
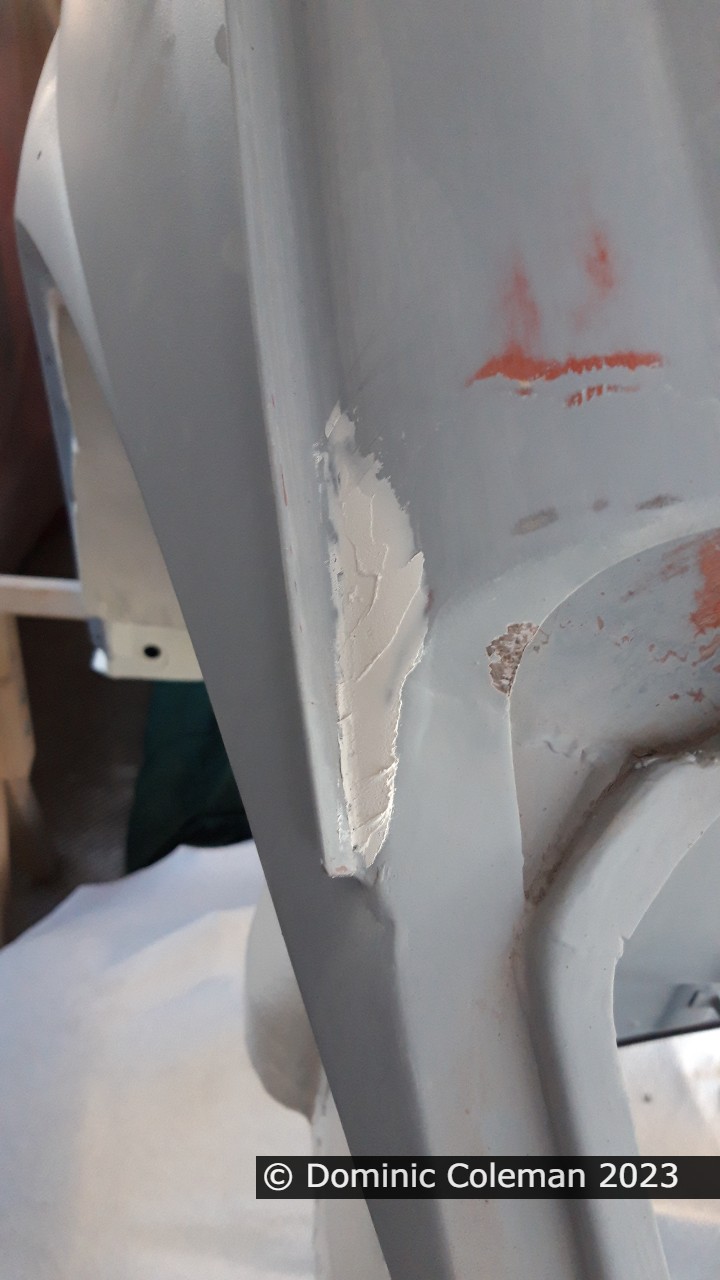
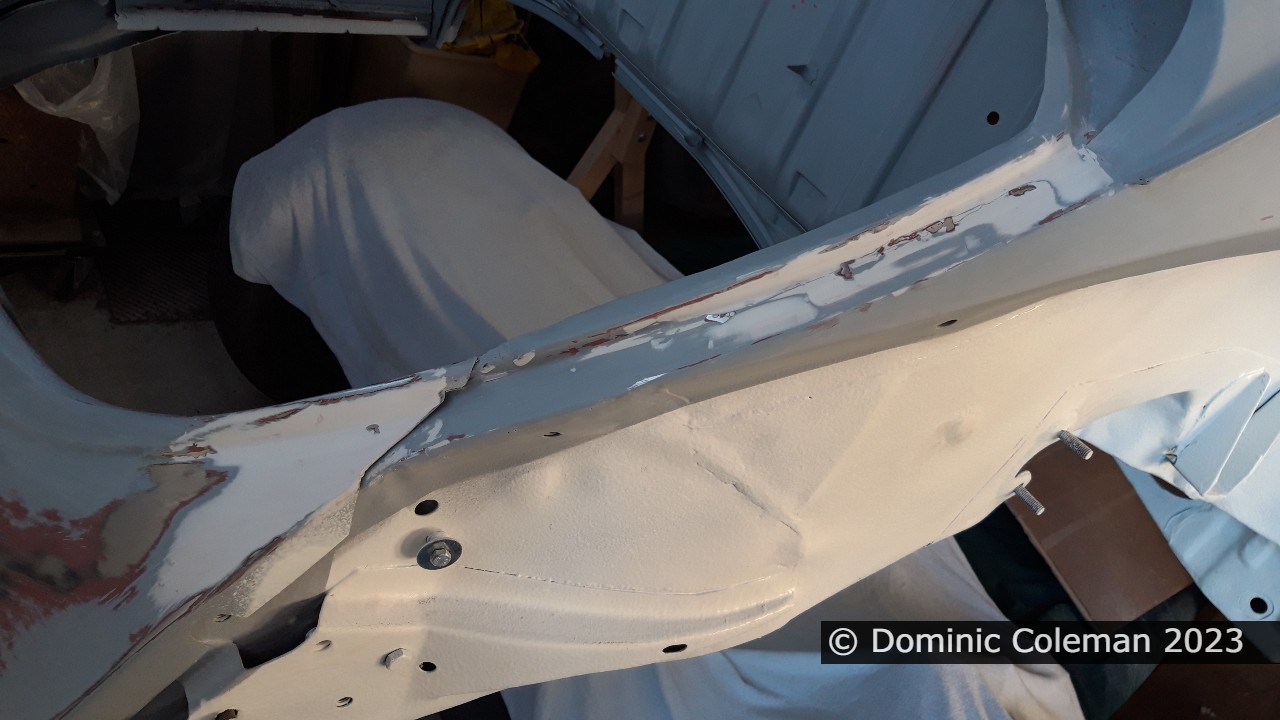
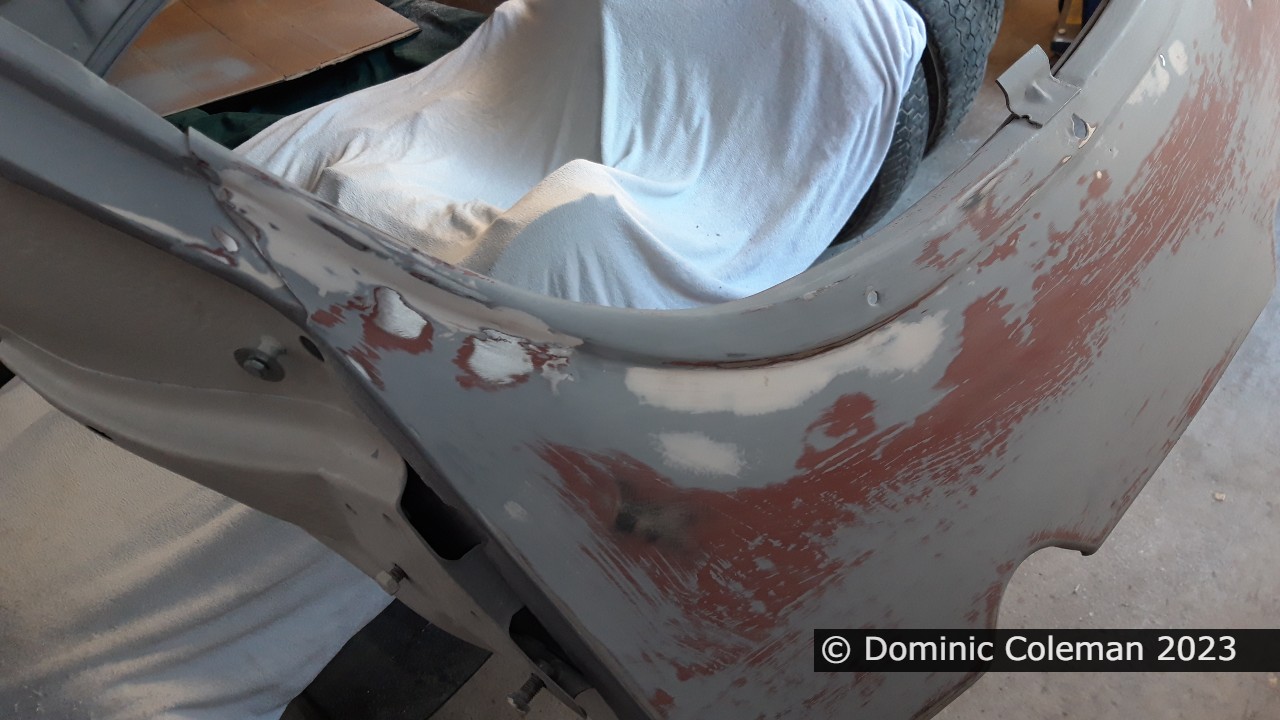
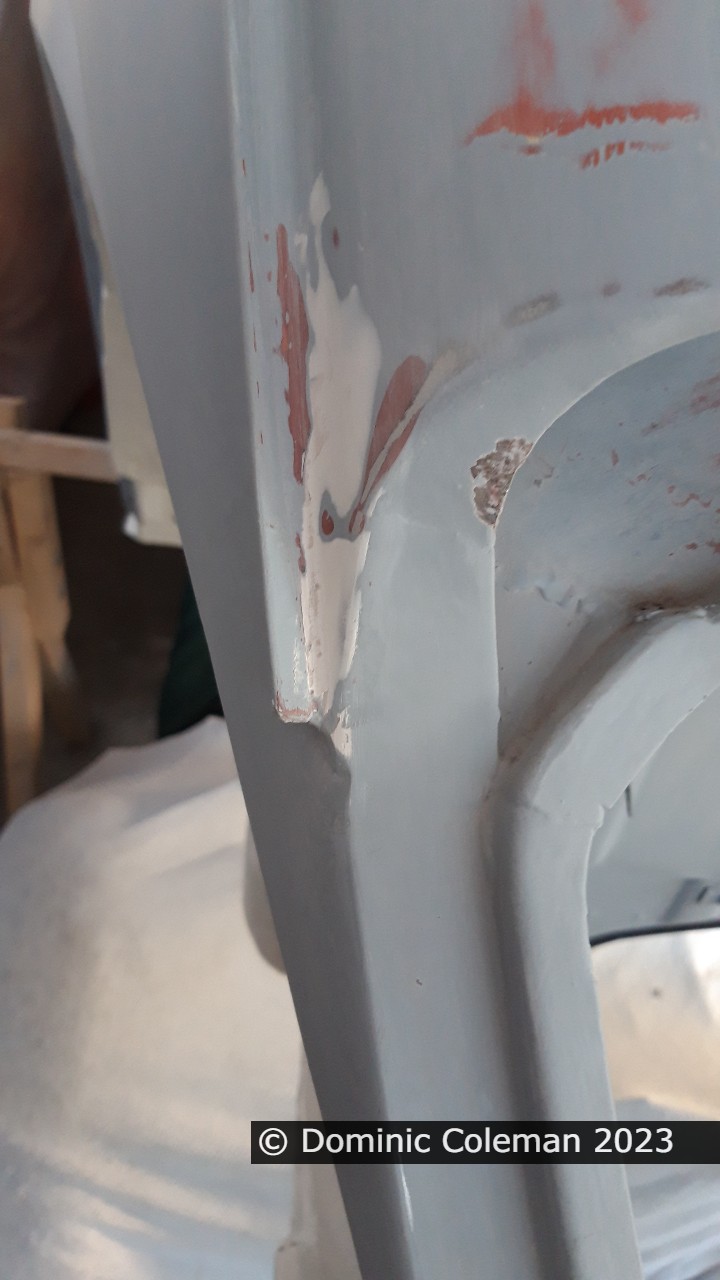
There were a few previous rust repairs that I removed, which exposed a few more holes, but thankfully not too many. In fact, the doors were actually in pretty good order. They are clearly replacement doors from a previous restoration, judging by the evidence of their previous colour on the inside panels.
I went to see Paul (and Ash) during this period and, while the main purpose of the visit was to arrange a timeframe for the engine strip-down, I also took the opportunity to get some ideas on repairing the doors.
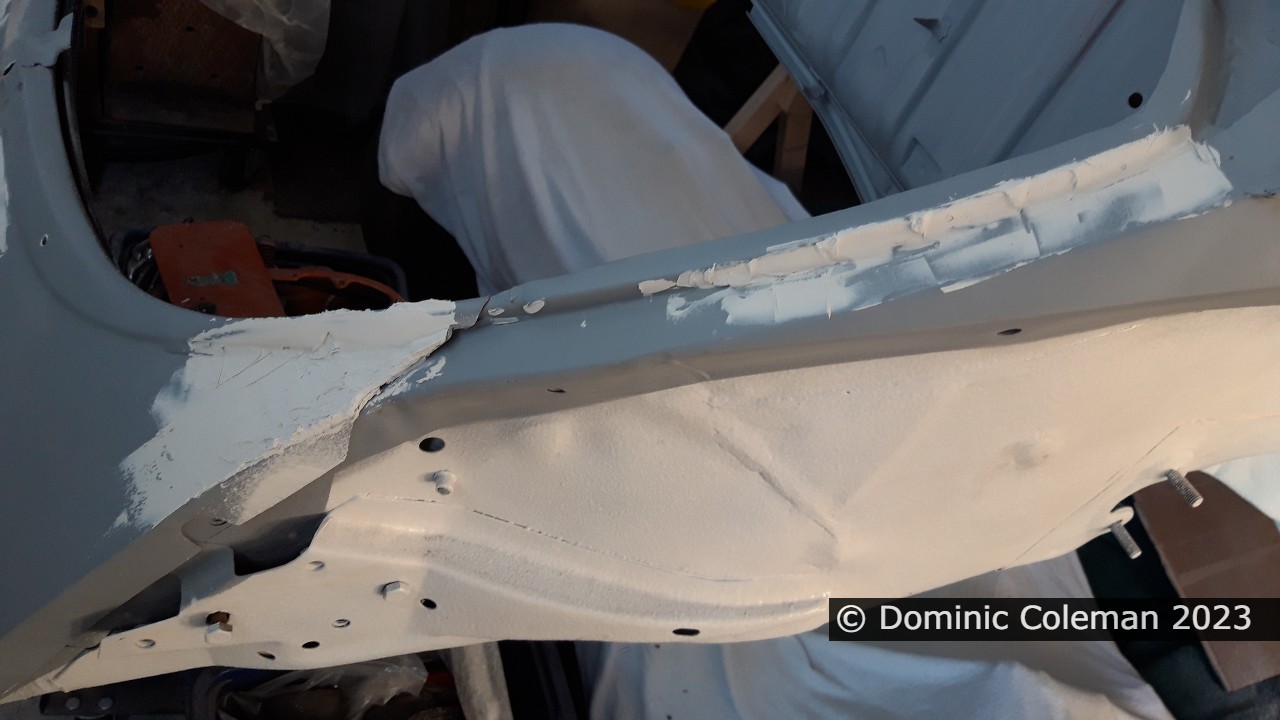
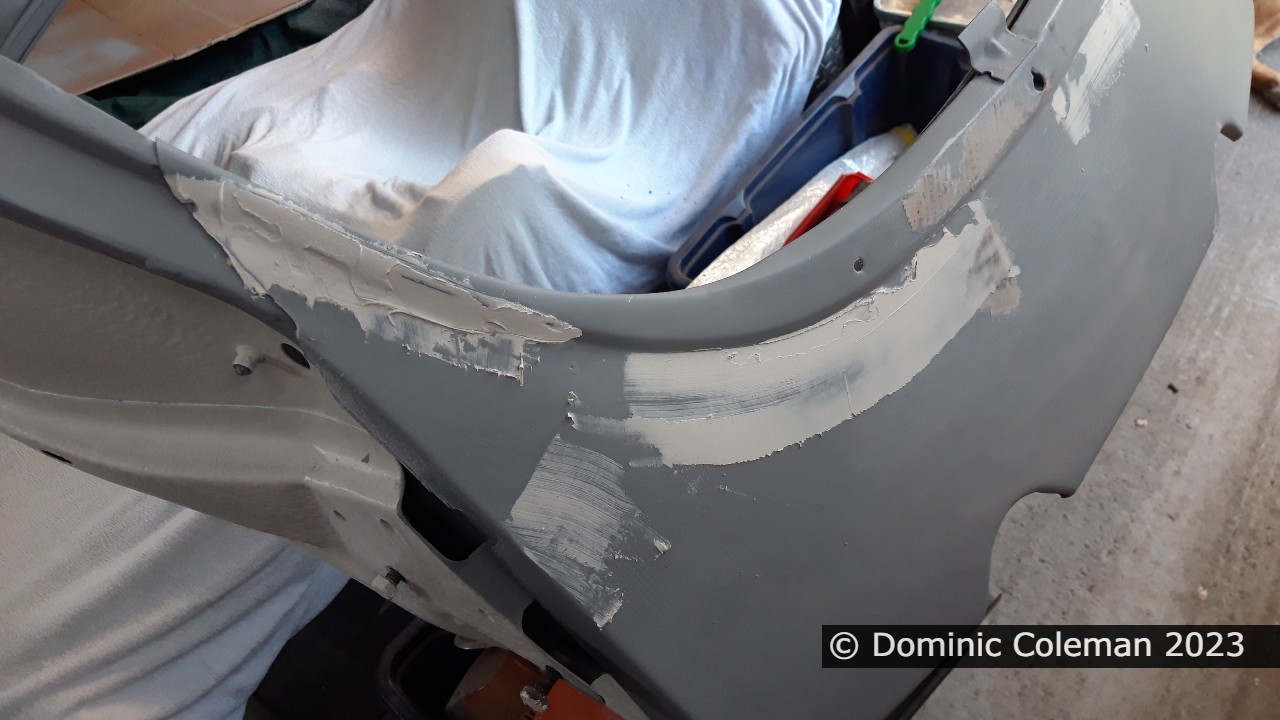
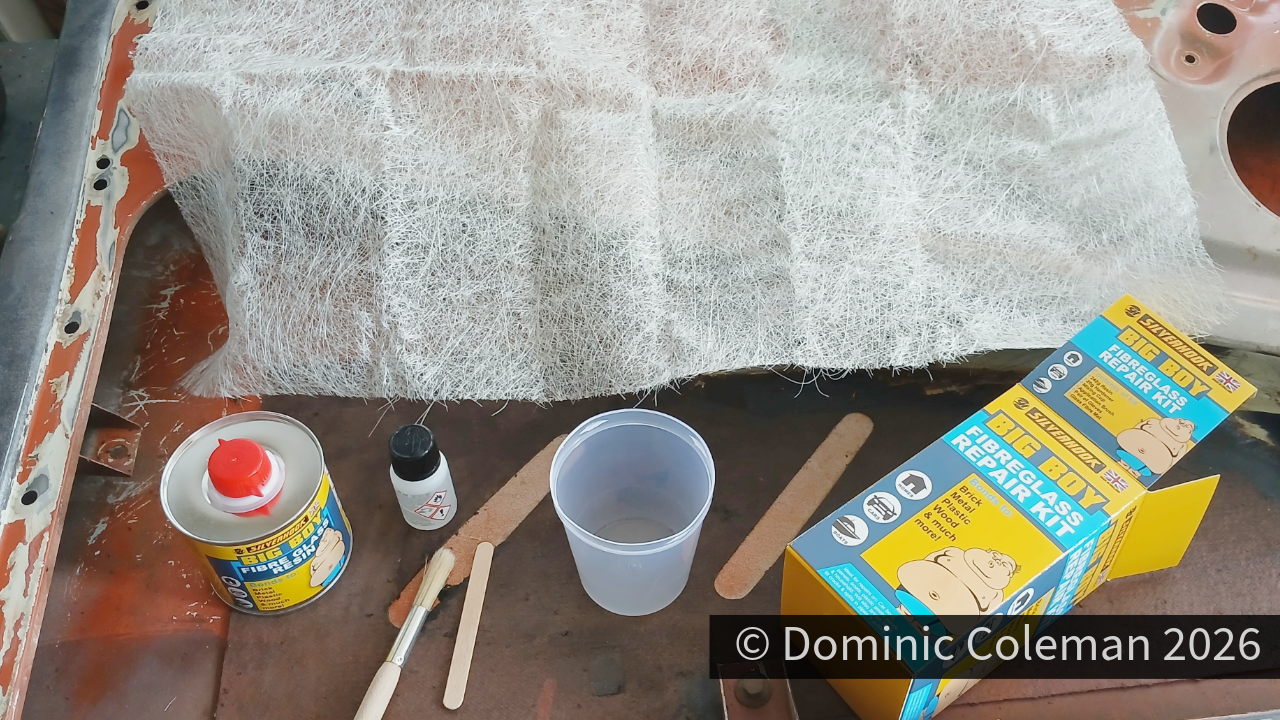
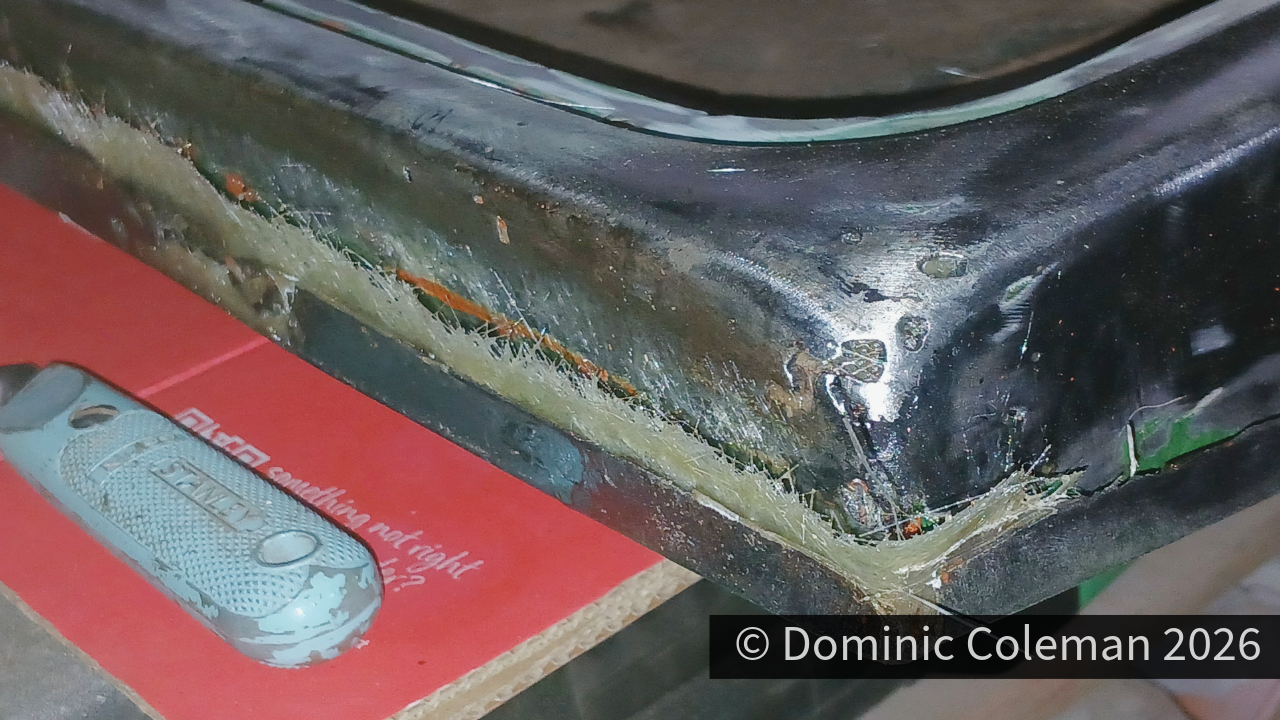
Welding would have been an option, but not by me! Instead, glass-fibre matting with filler, or glass-fibre filler, would probably suffice. I decided to give the glass-fibre matting a try and bought a small kit from Toolstation. I also heeded the advice Ash had given me about being liberal with the solvent during application.
The results weren’t too bad. It cured quite well and provided a stable surface onto which I could apply some filler to finish things off.
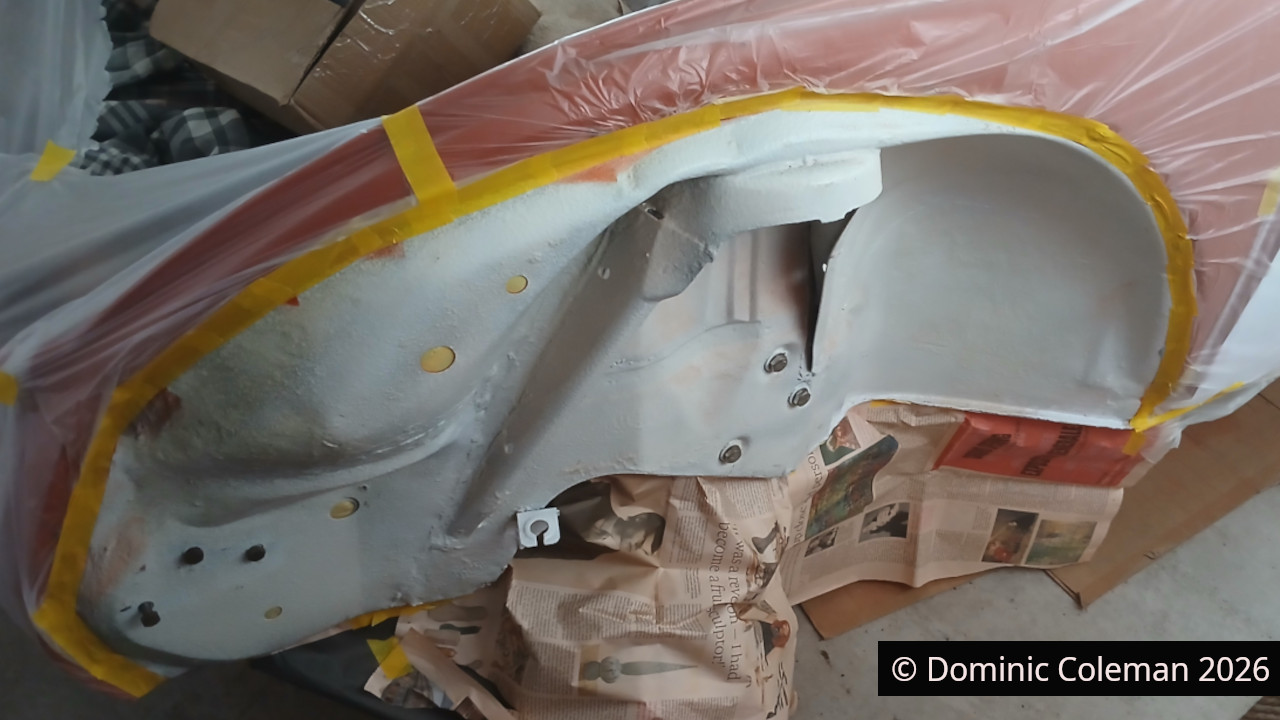
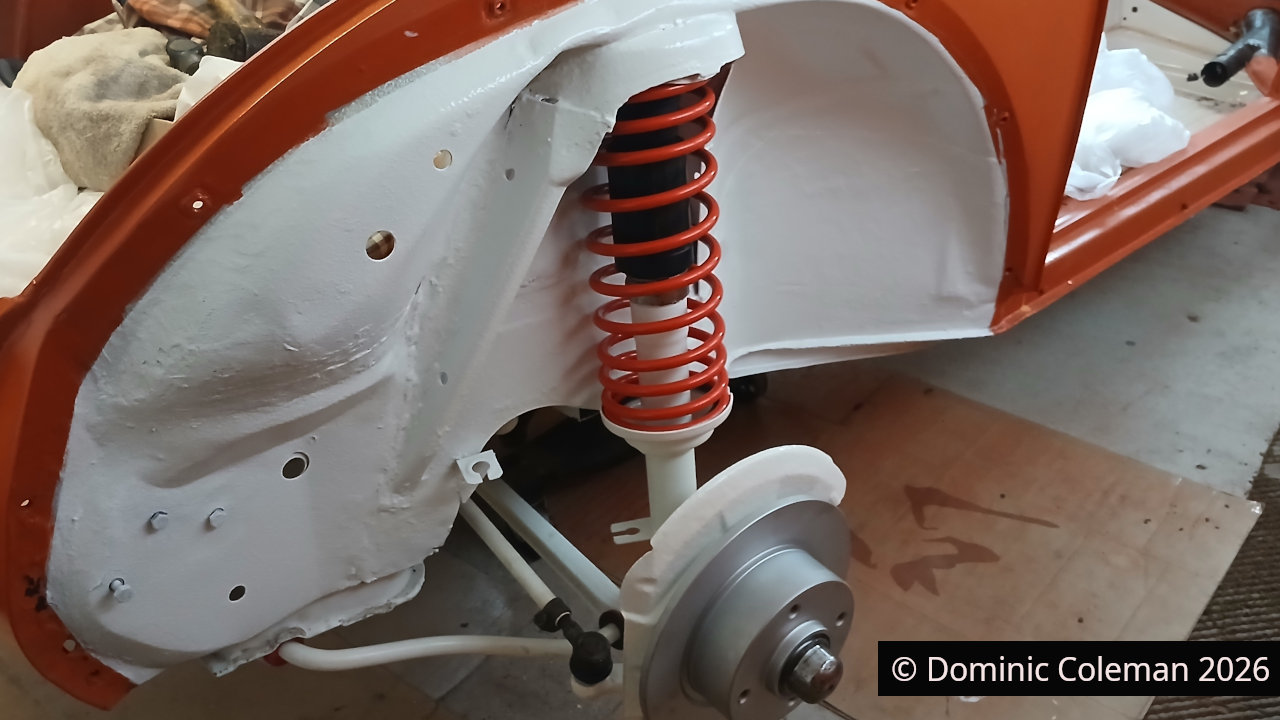
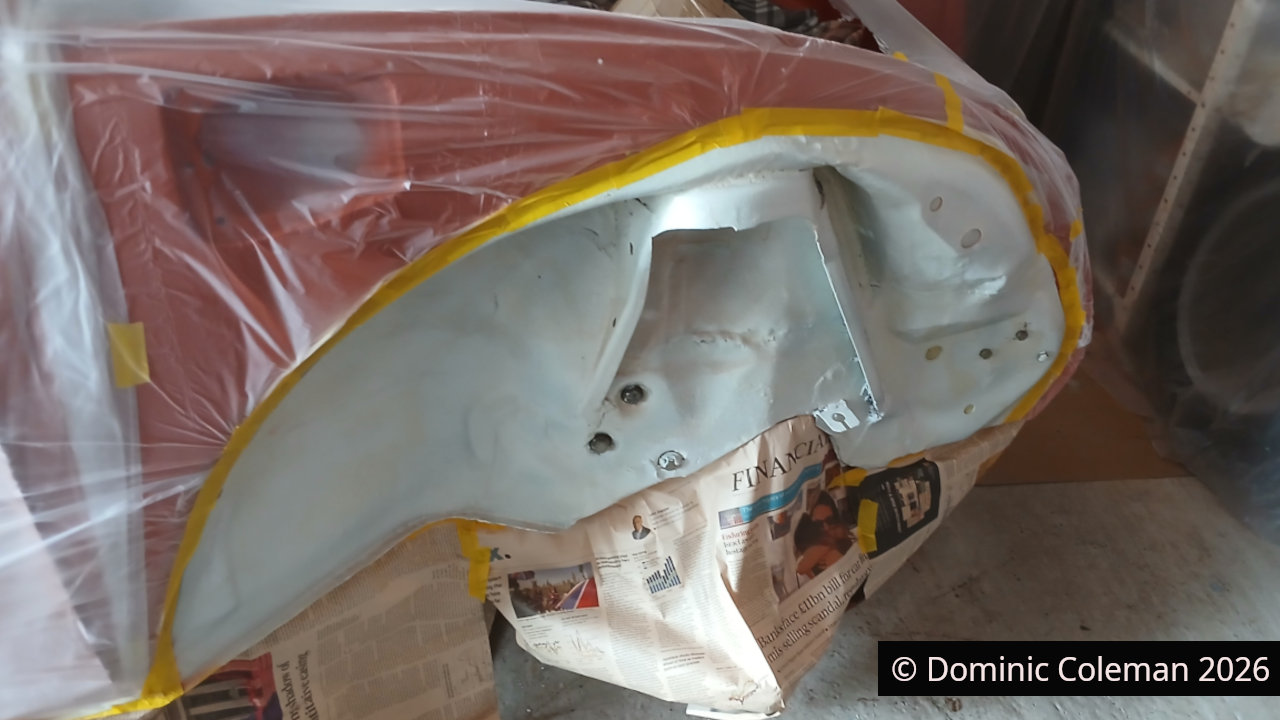
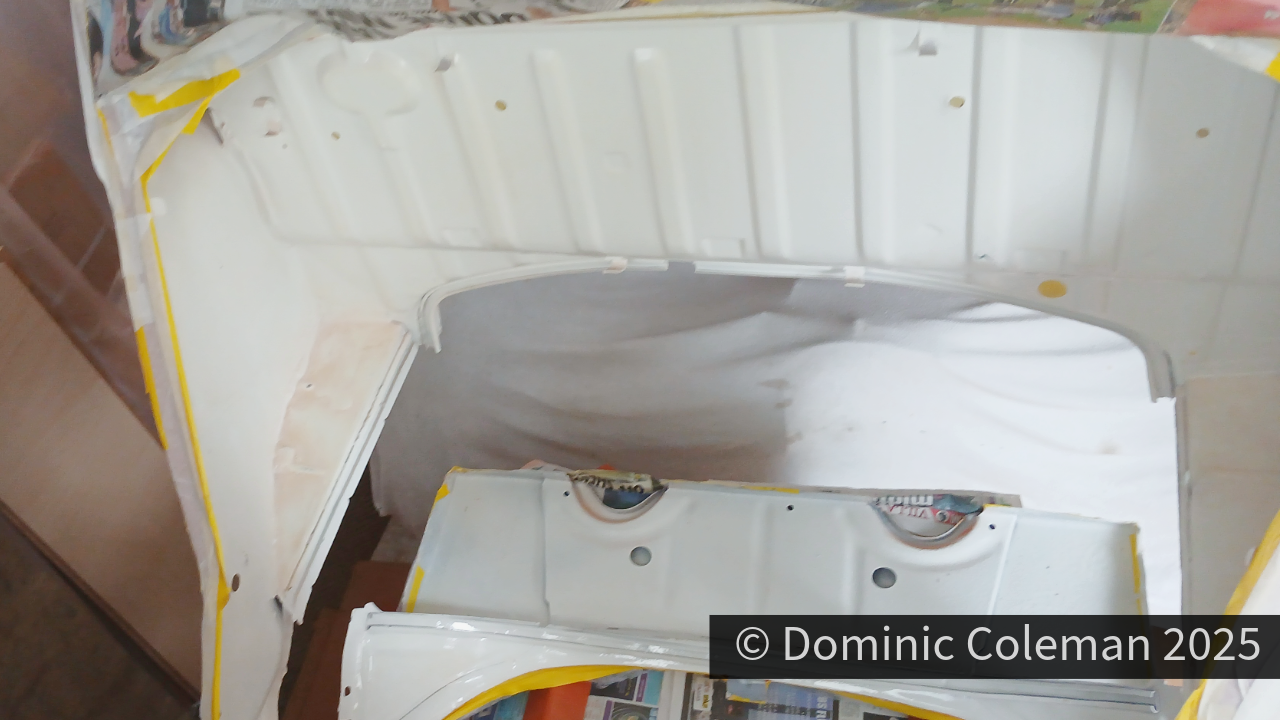
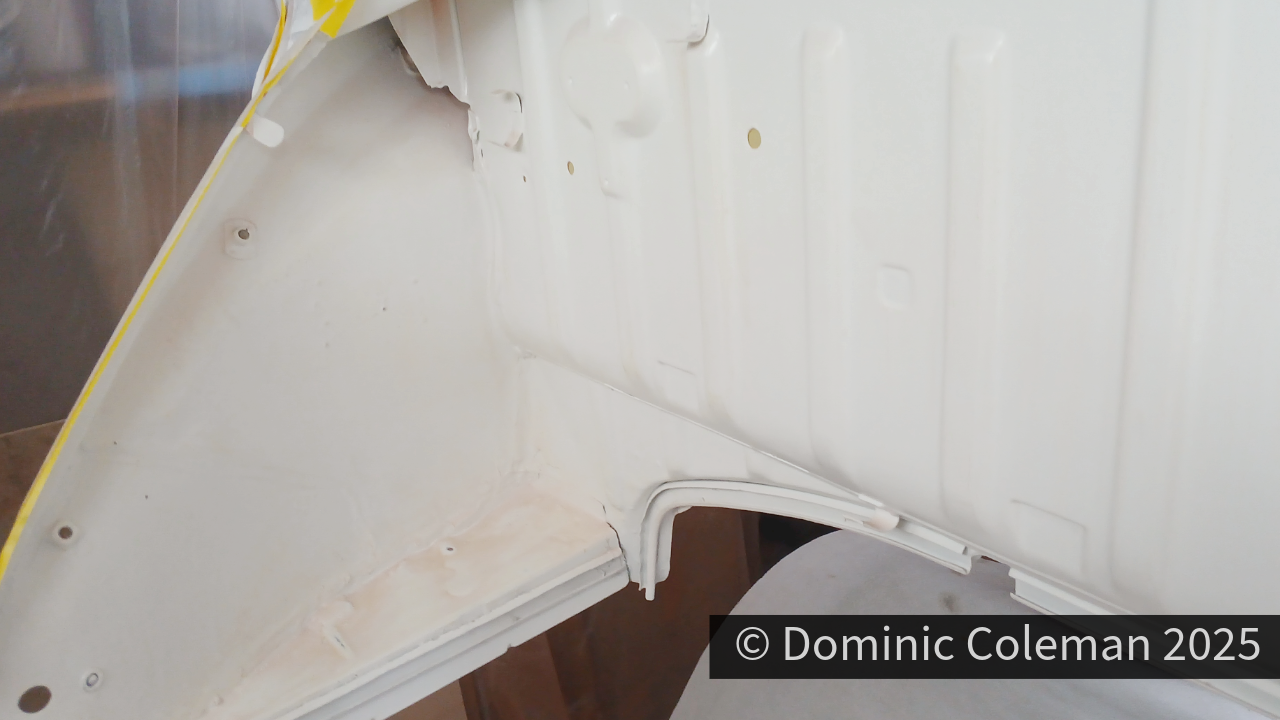
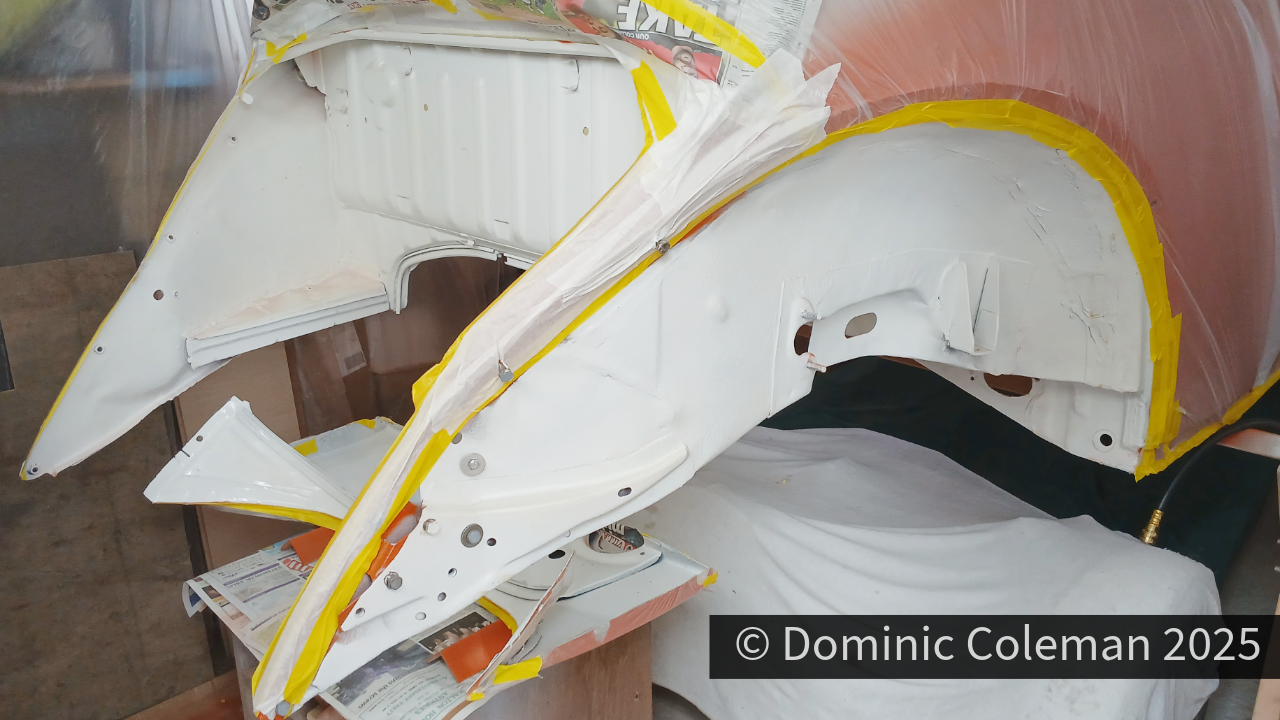
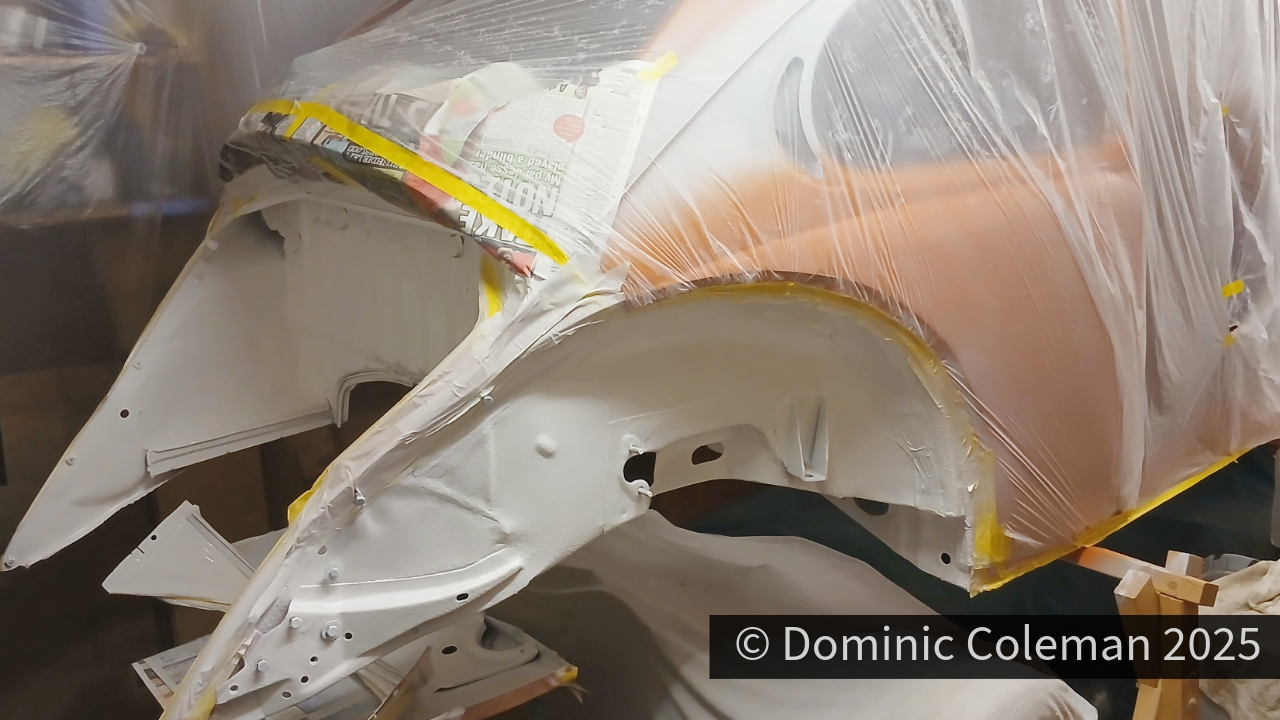
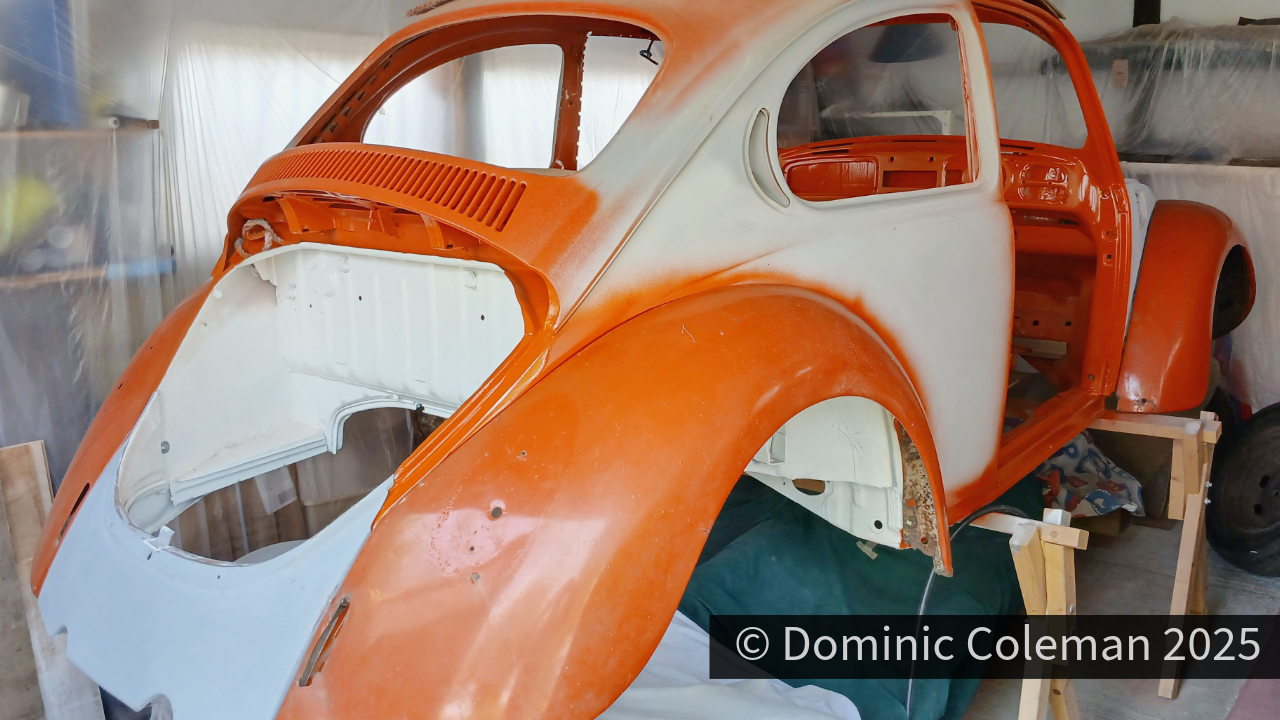
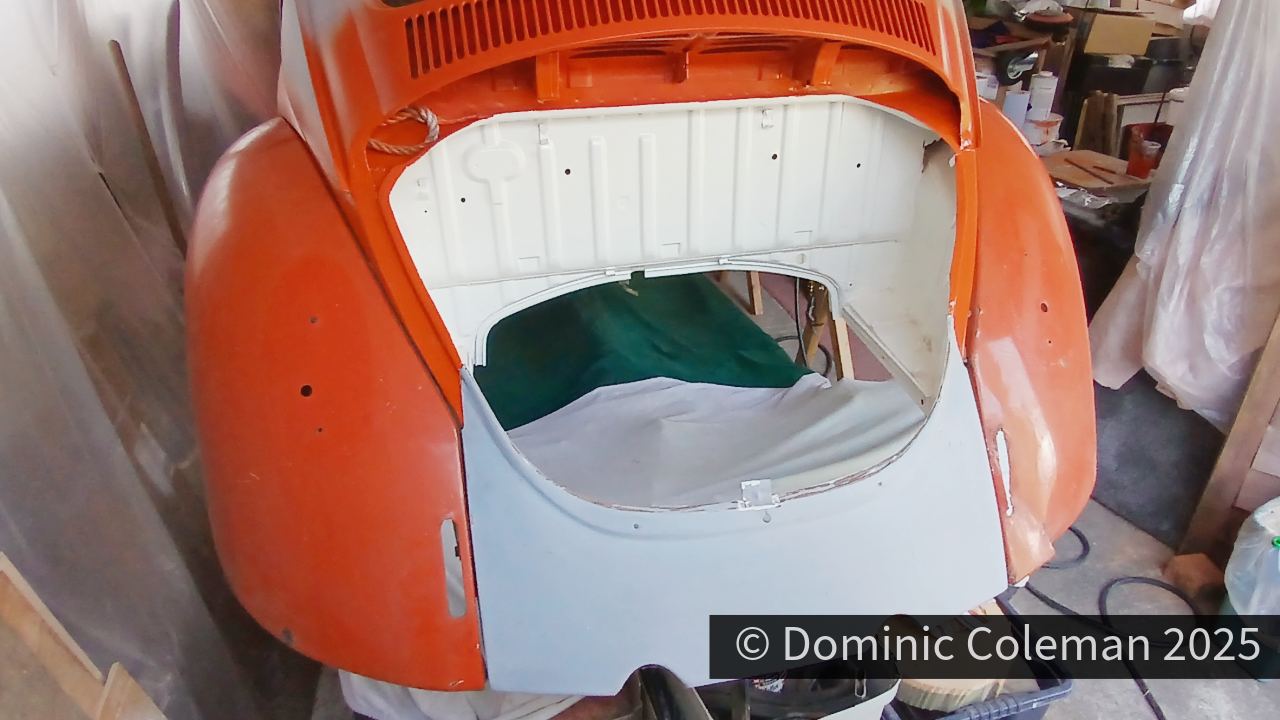
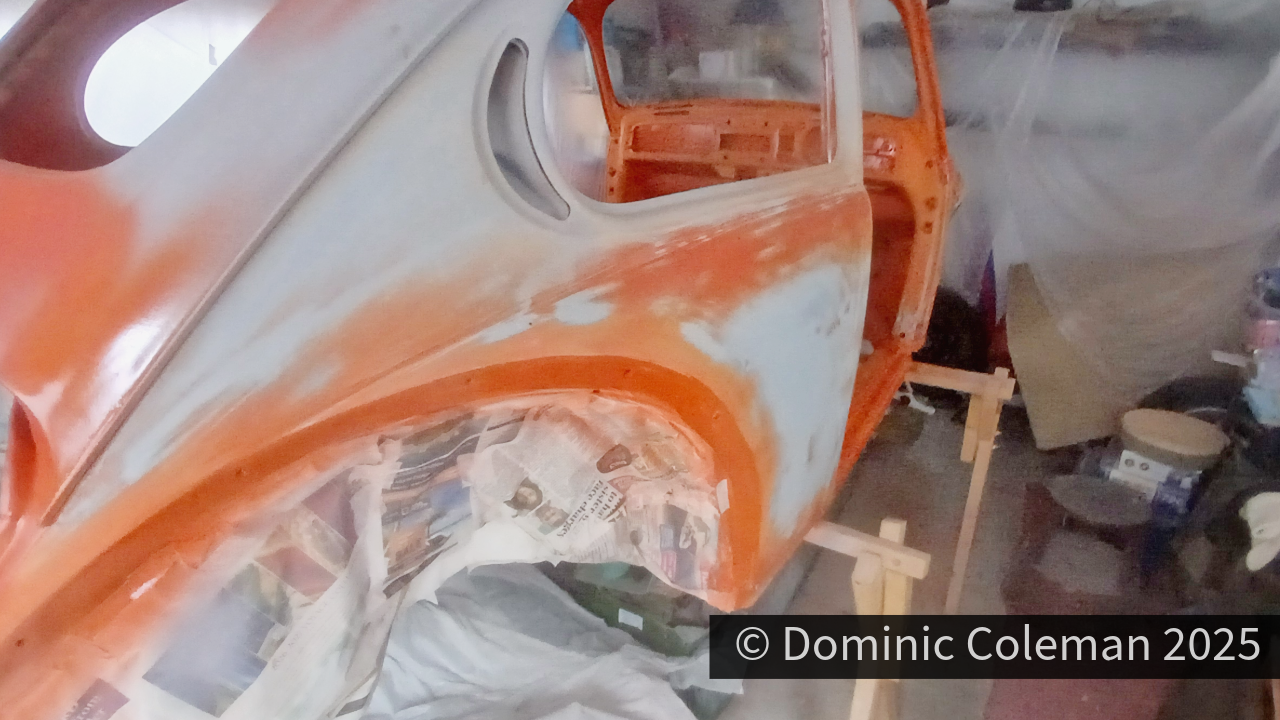
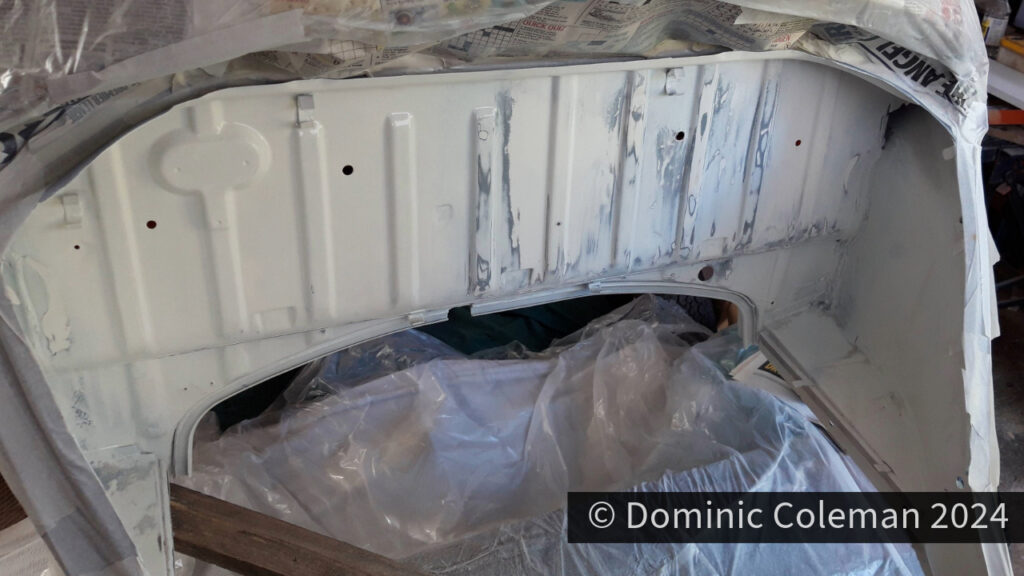
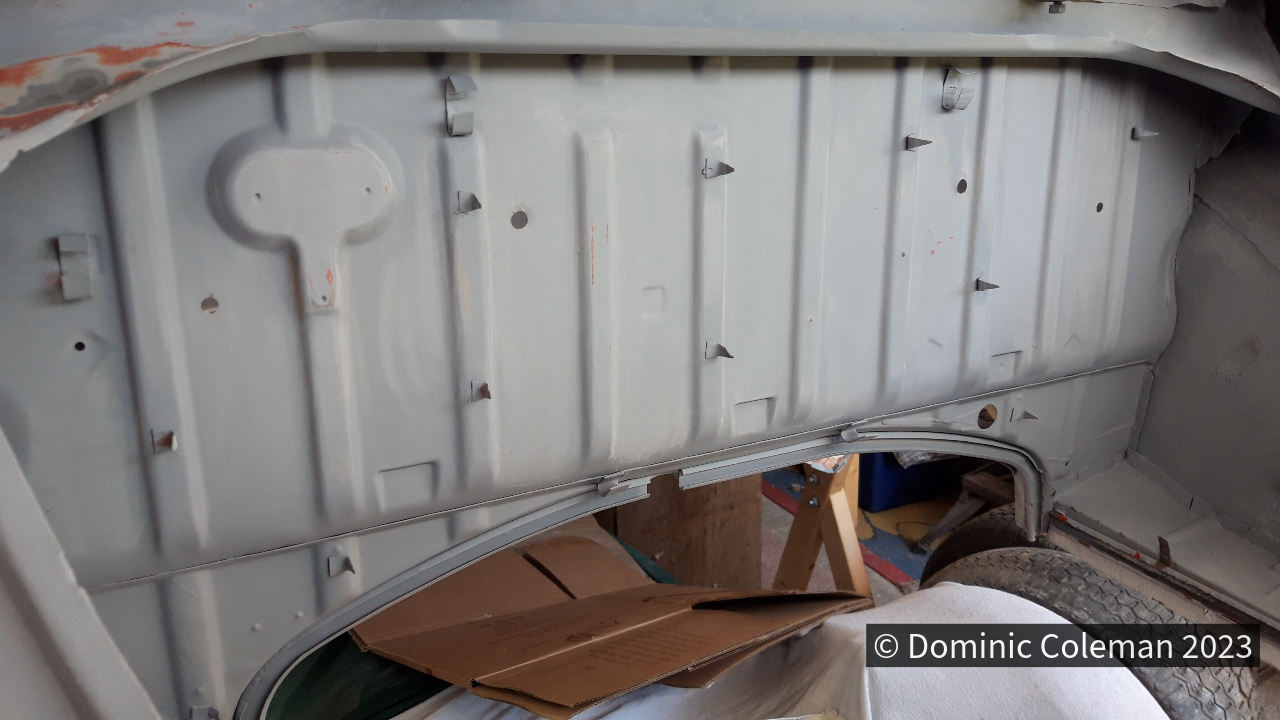
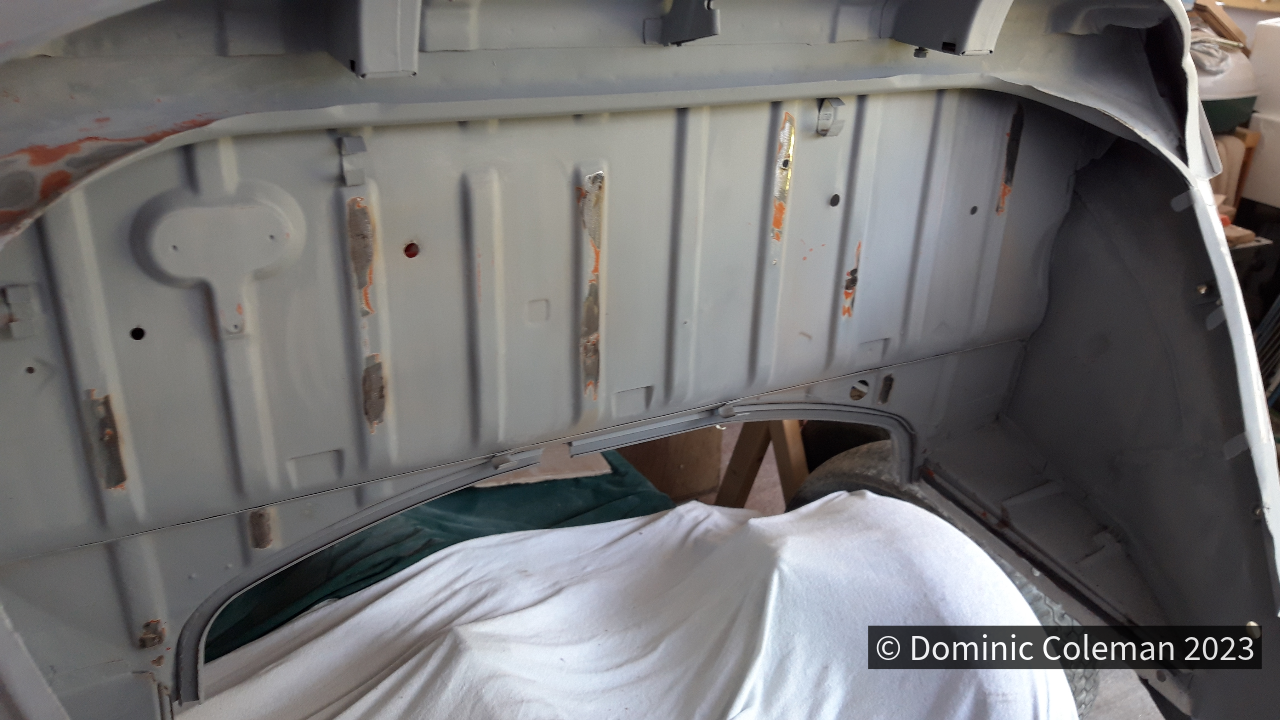
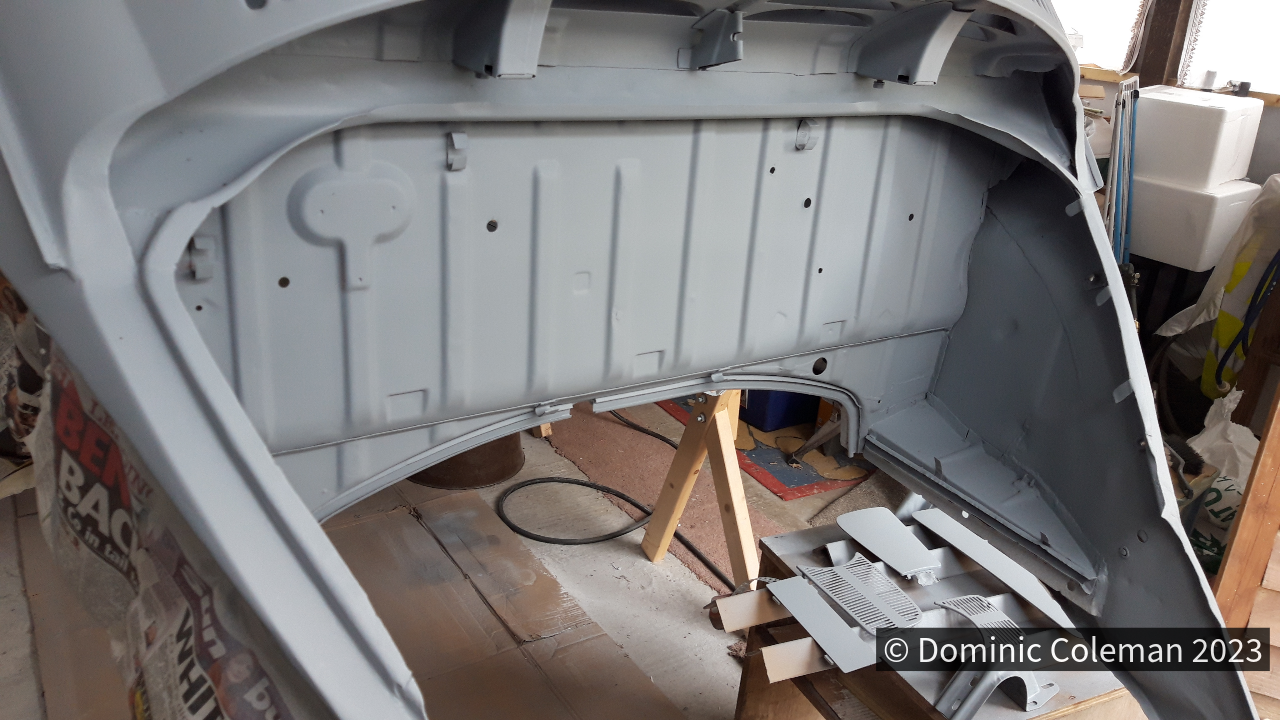
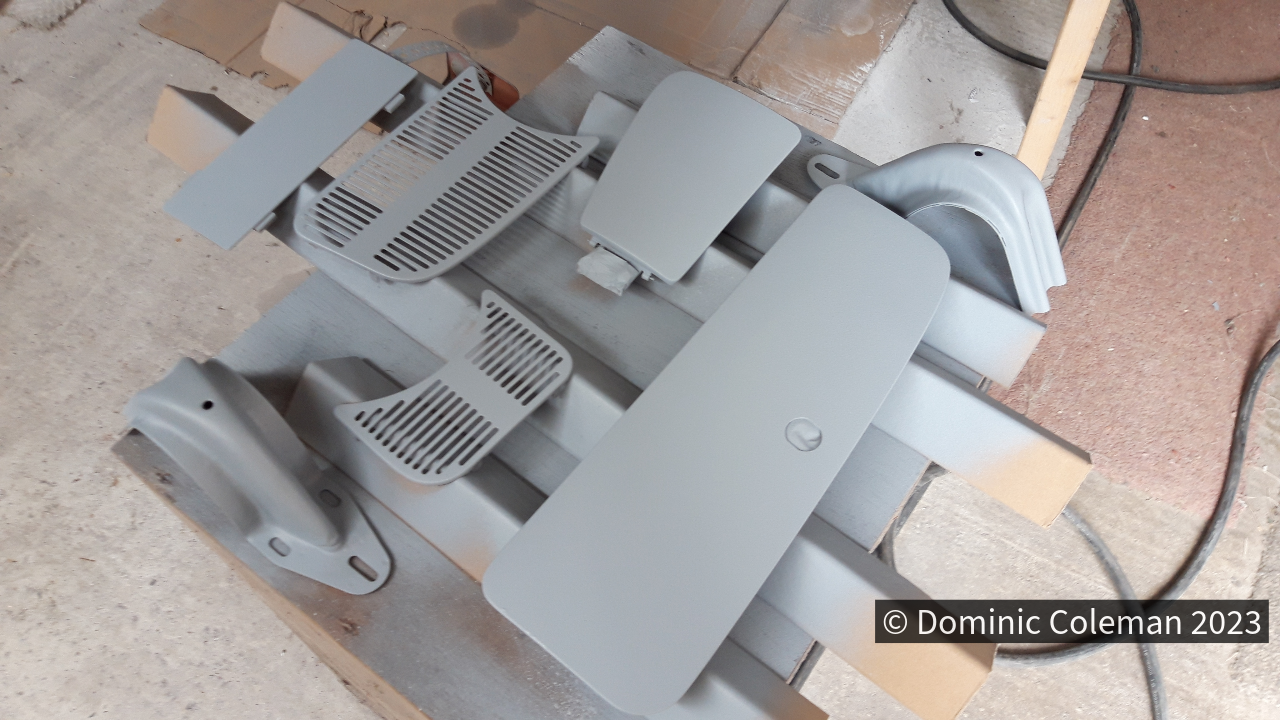
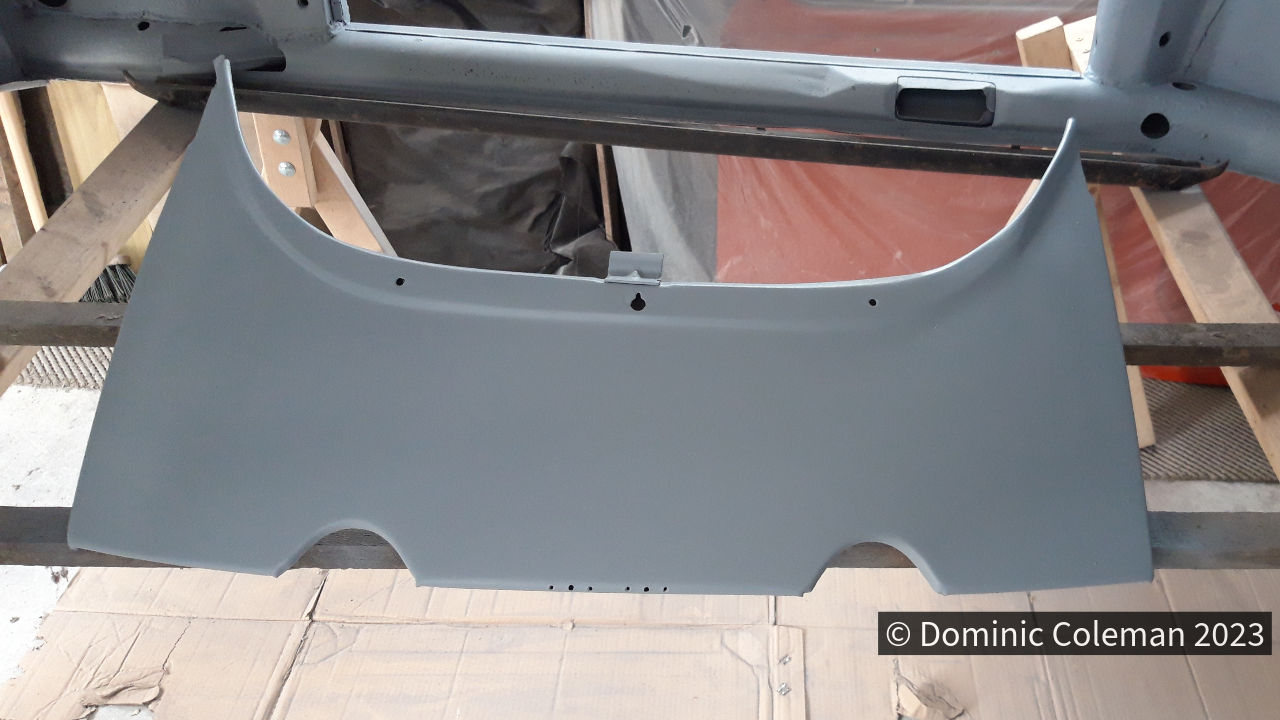
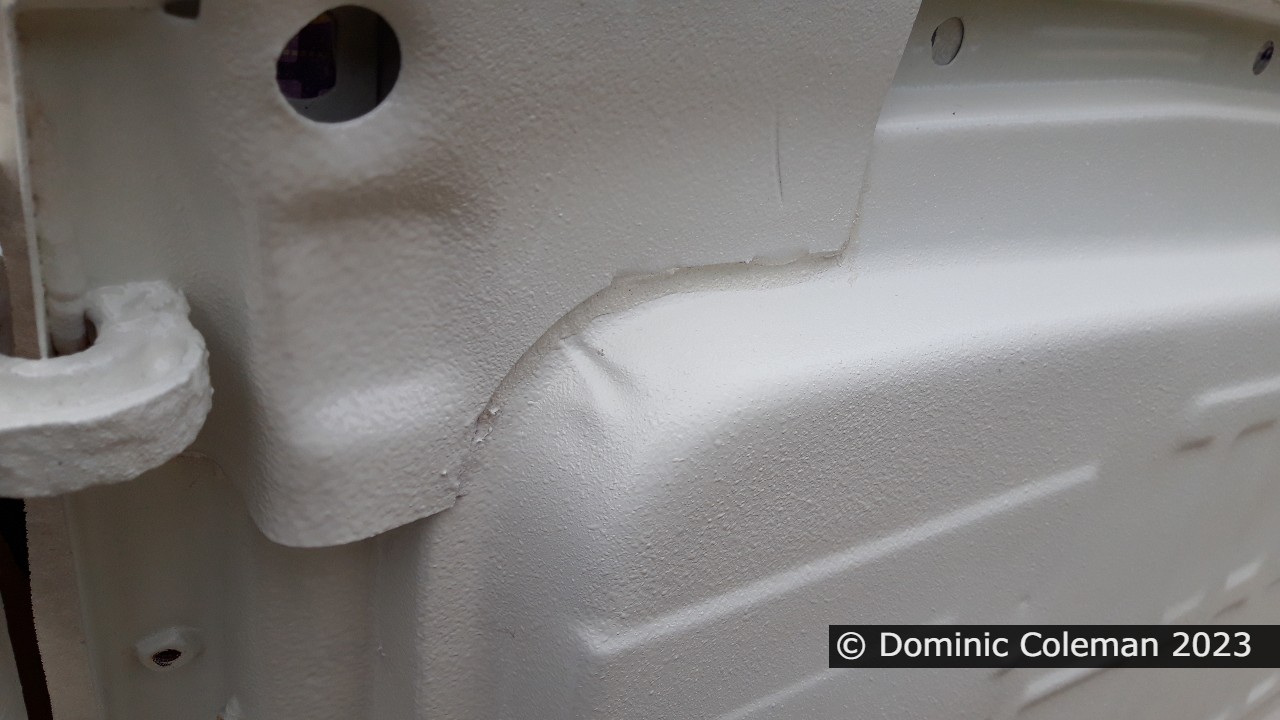
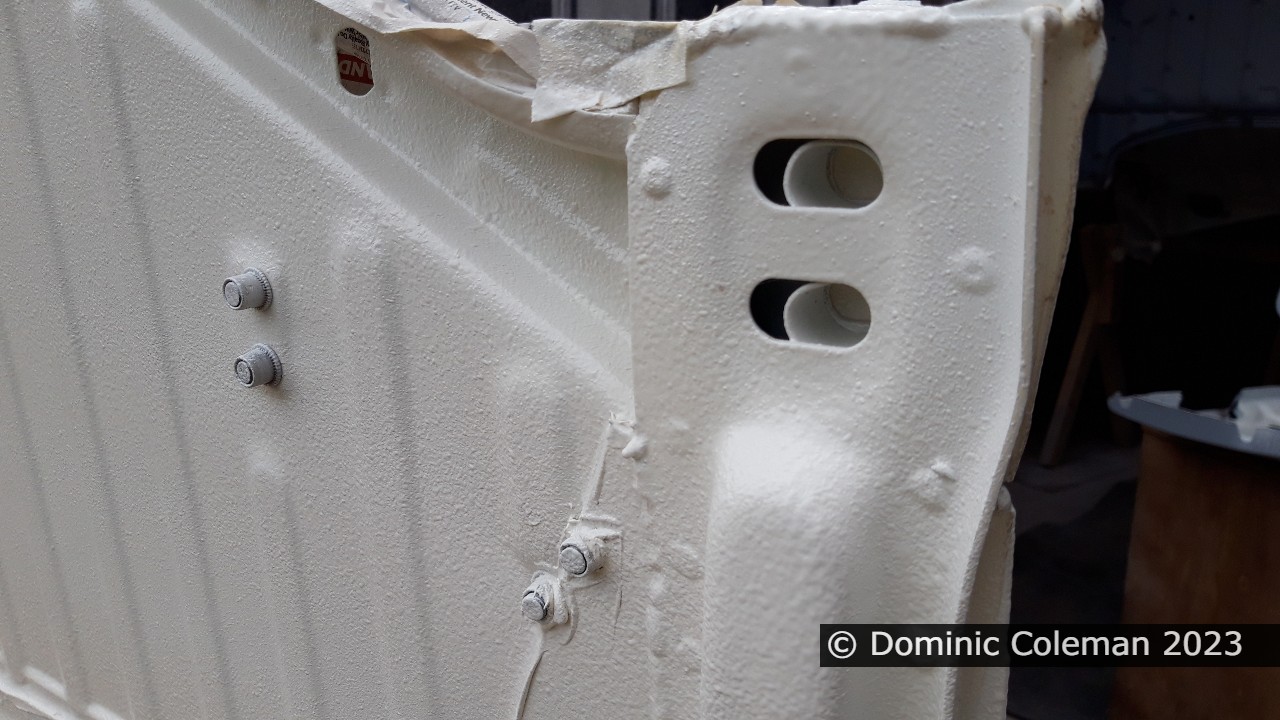
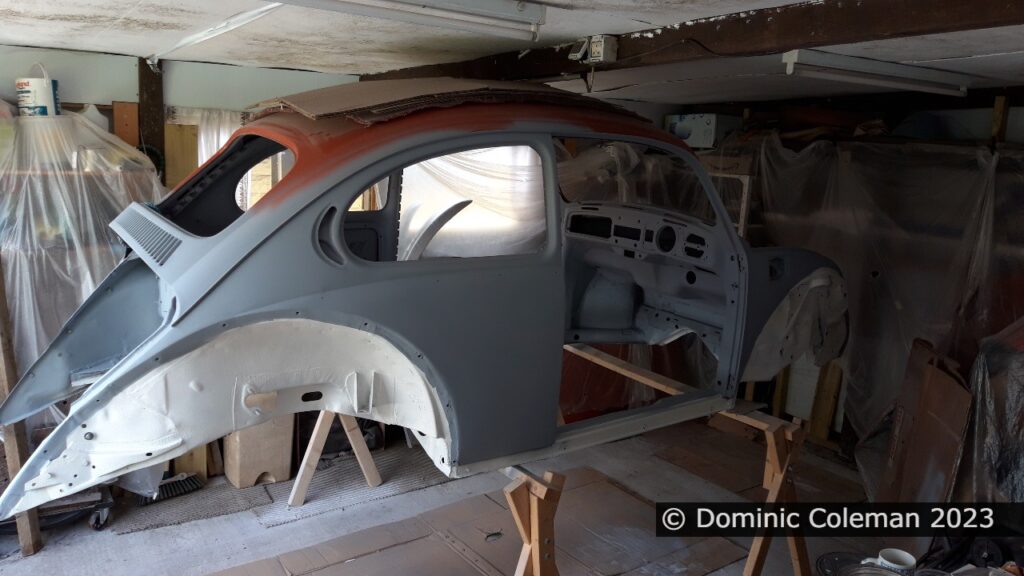
With many of the items cleaned up and ready for painting, the next step was to paint the engine tins, some minor loose components and the doors. However, I only painted the inside panels and door-shut areas of the doors. I plan to paint the outer door panels at the same time as the rest of the body.
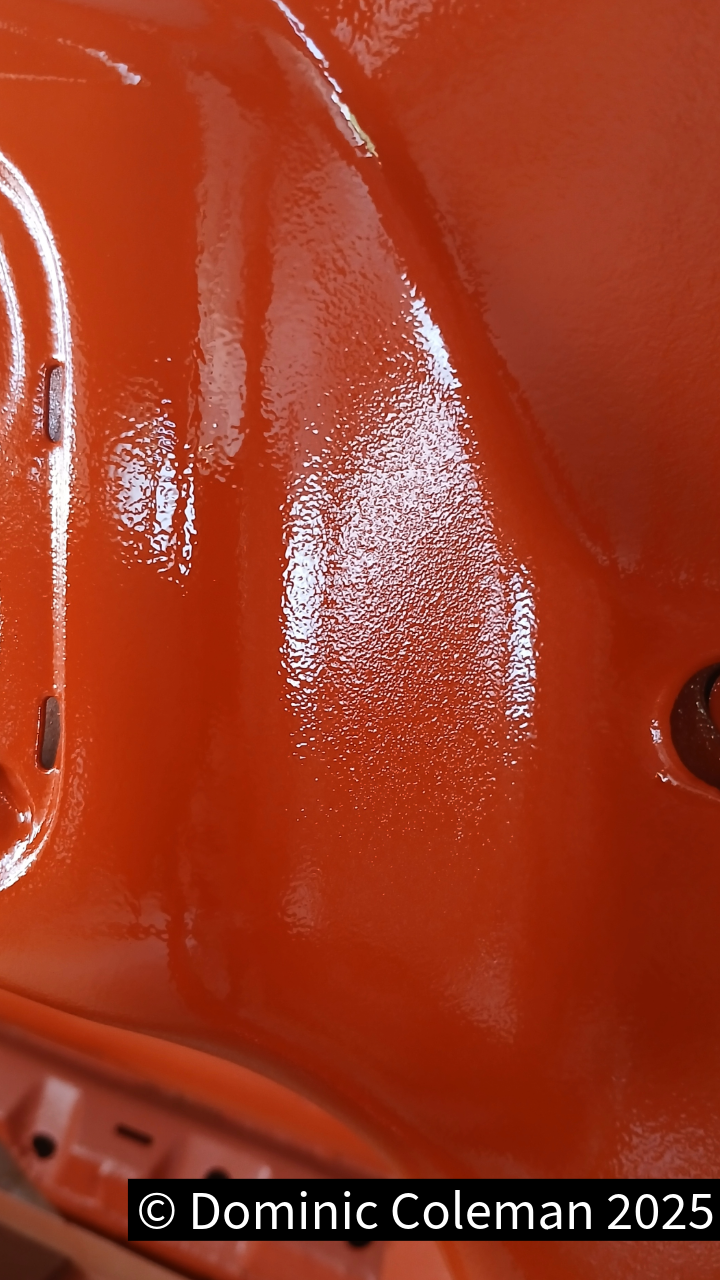
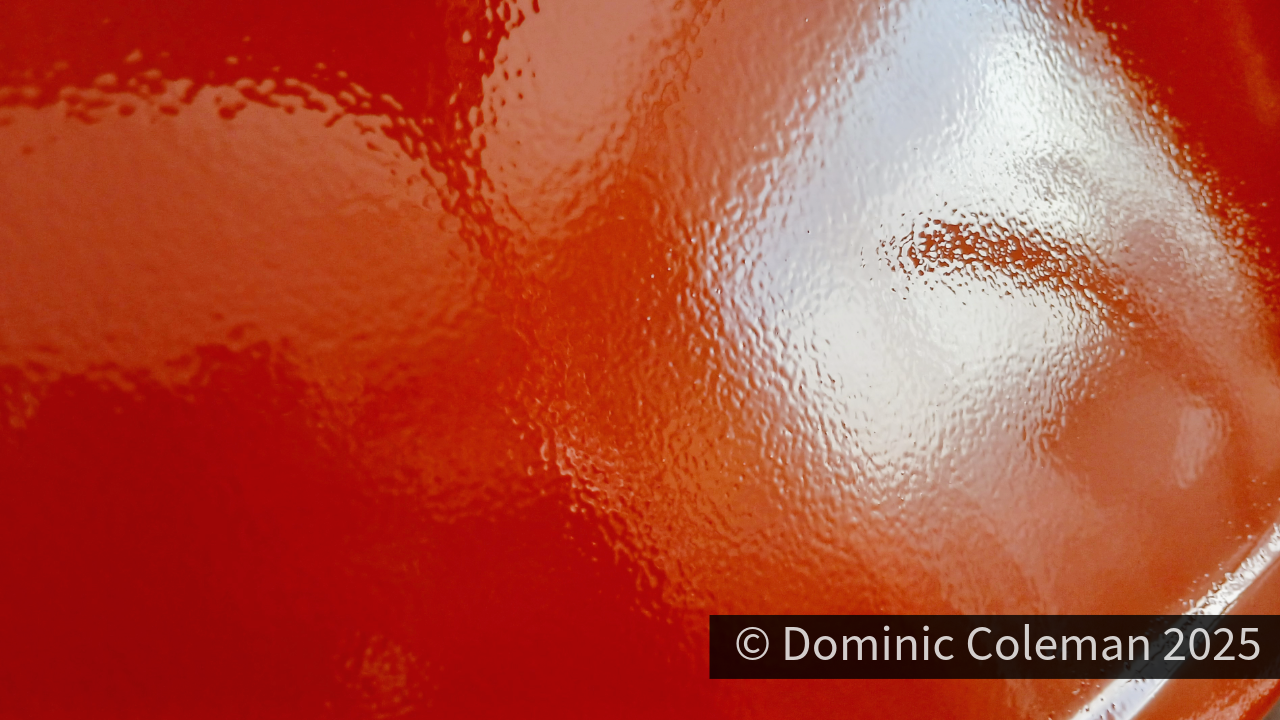
Due to the heat, I had some issues with the primer being too thick or coming out too dry. Adding a little more thinners improved the spray pattern. Mindful of this, when it came to applying the colour I added more thinners to the mix to improve the atomisation of the paint.
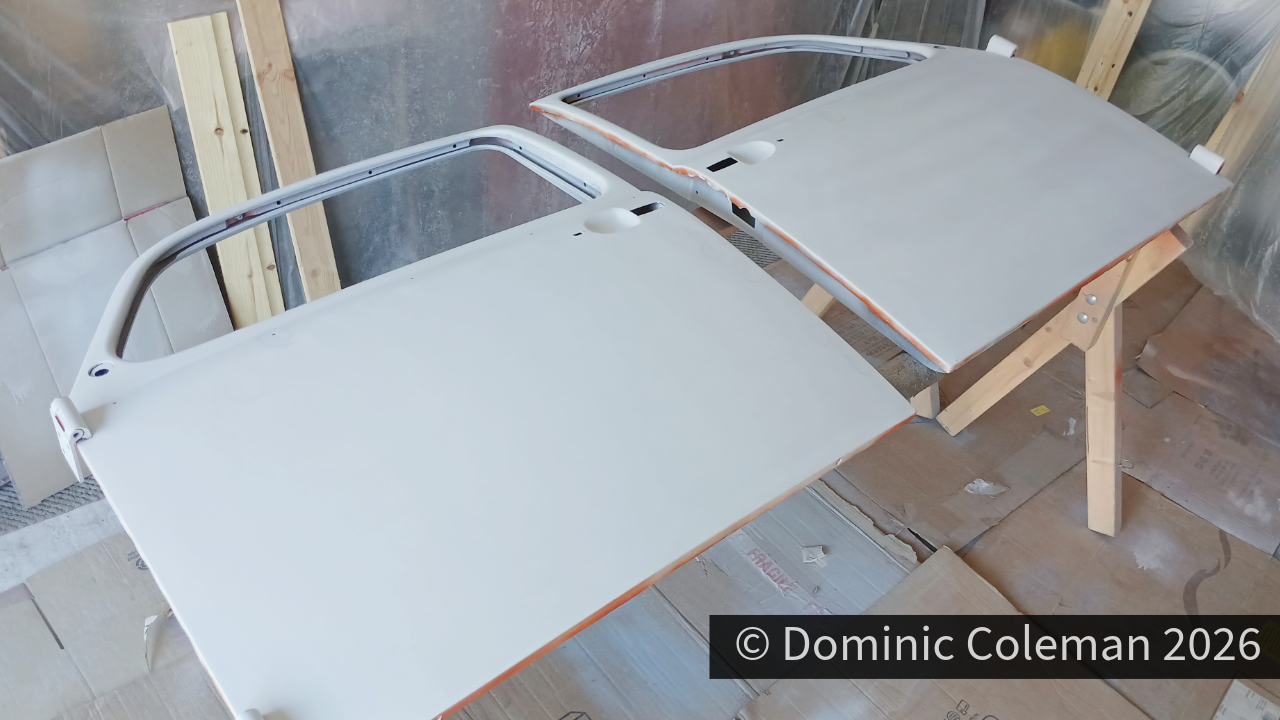
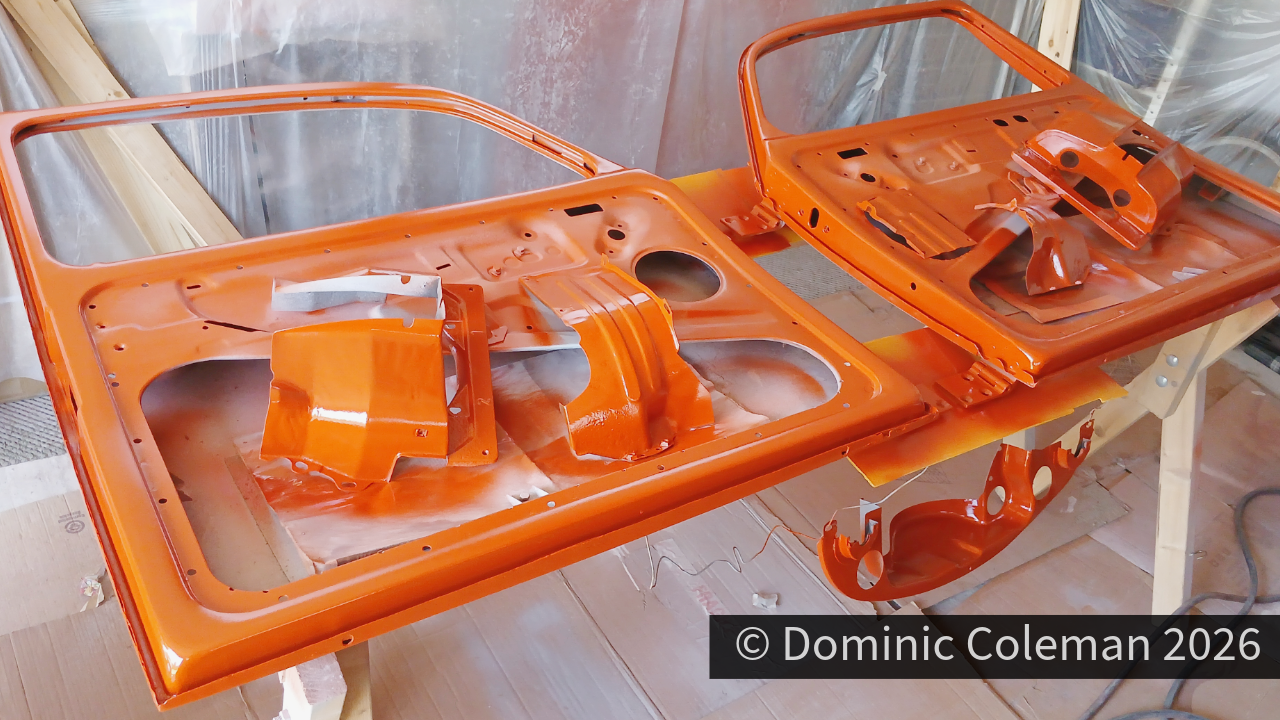
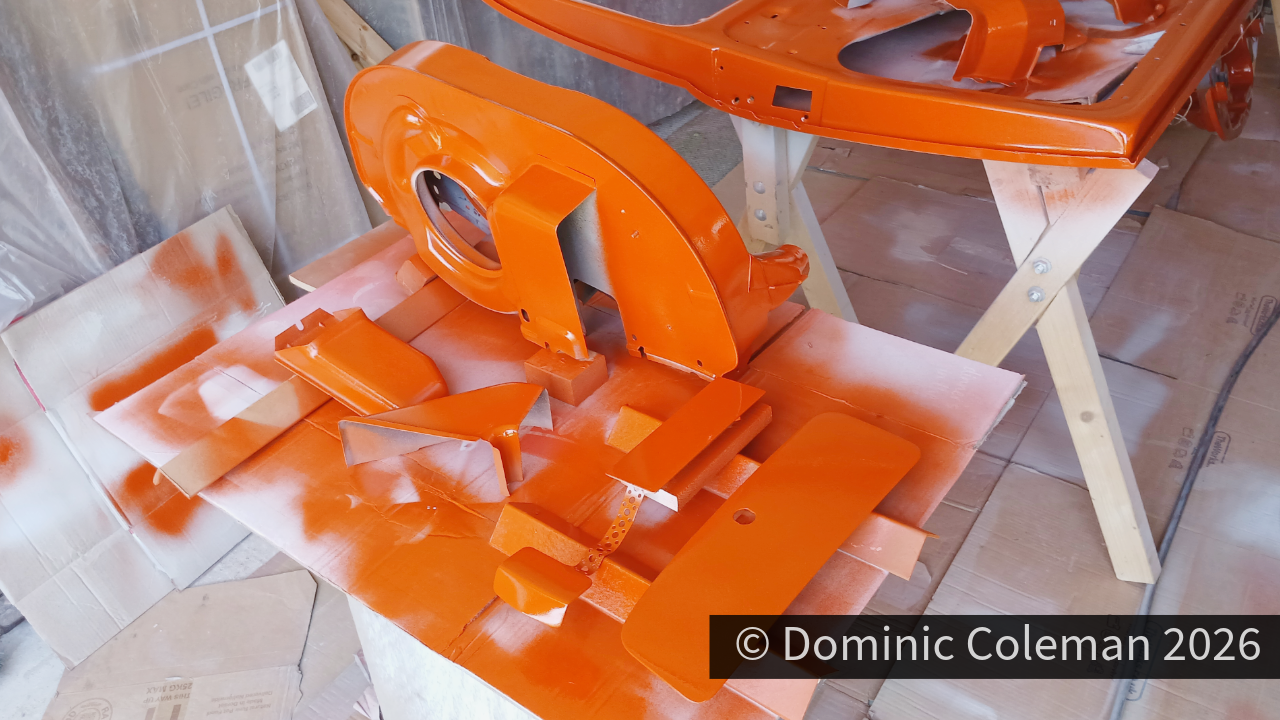
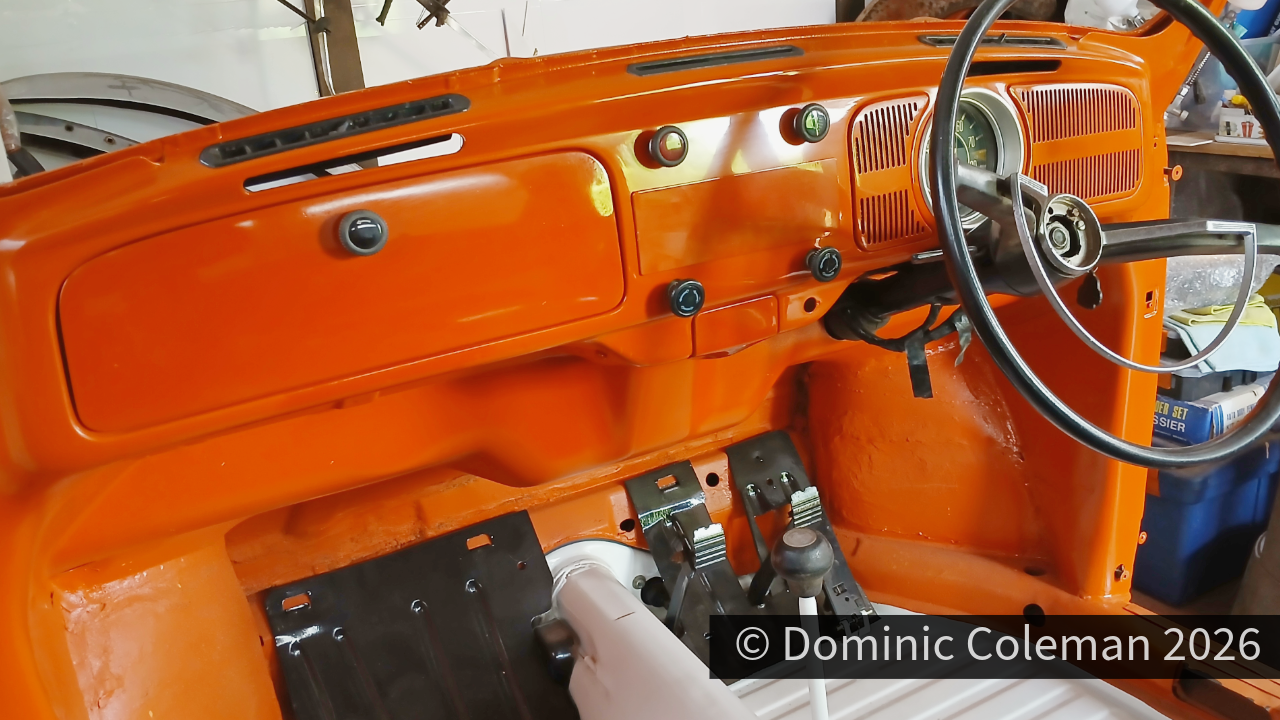
The final result was OK — good enough for the engine tins and door shuts. I did have to flat back the glovebox door and polish it up, but it eventually looked OK, even though it was a slightly different shade of Clementine L20D orange to the previous batch.