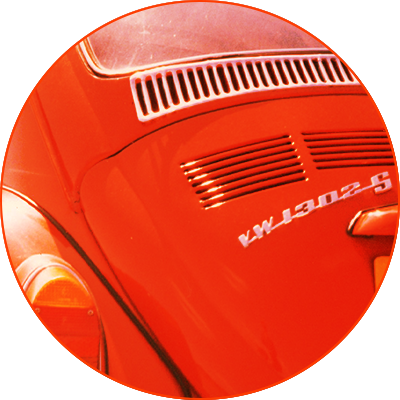
August 2026: I spent part of a Saturday with Paul (South Coast Customs & Classics) stripping down the Beetle’s engine block. I had removed as much as I dared, including the carburettor, fuel intakes, engine tins, fan shroud, dynamo, heat exchangers and exhaust system. I couldn’t separate the fan assembly from the dynamo as I didn’t have a 36mm socket, so I had to rely on Paul for that.
With the engine in the boot of my Passat, Paul’s engine stand was at the perfect height to attach to the engine without any major lifting. You could almost have wondered if VW had thought of this all along when they designed the rear hatch boot access!
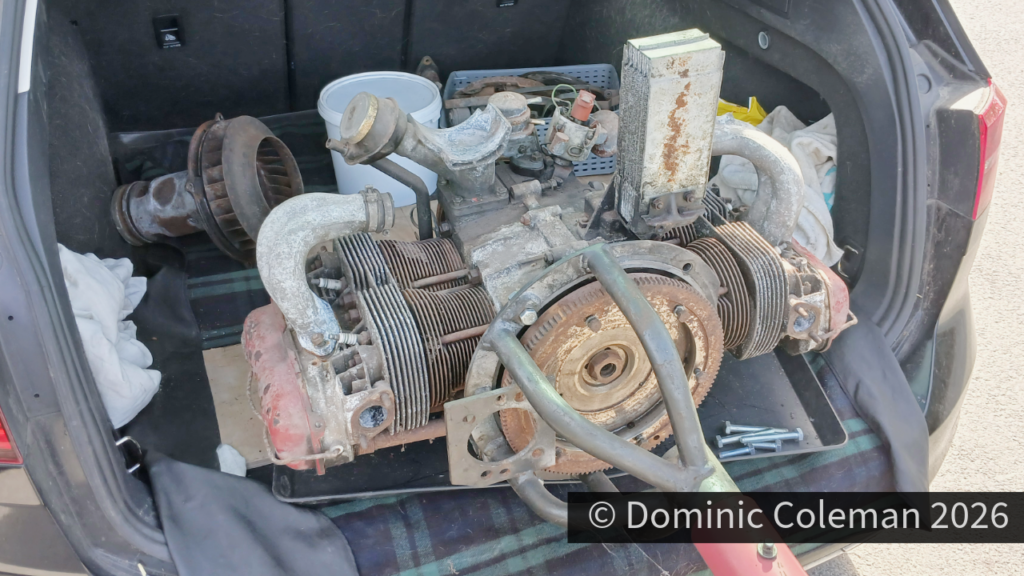
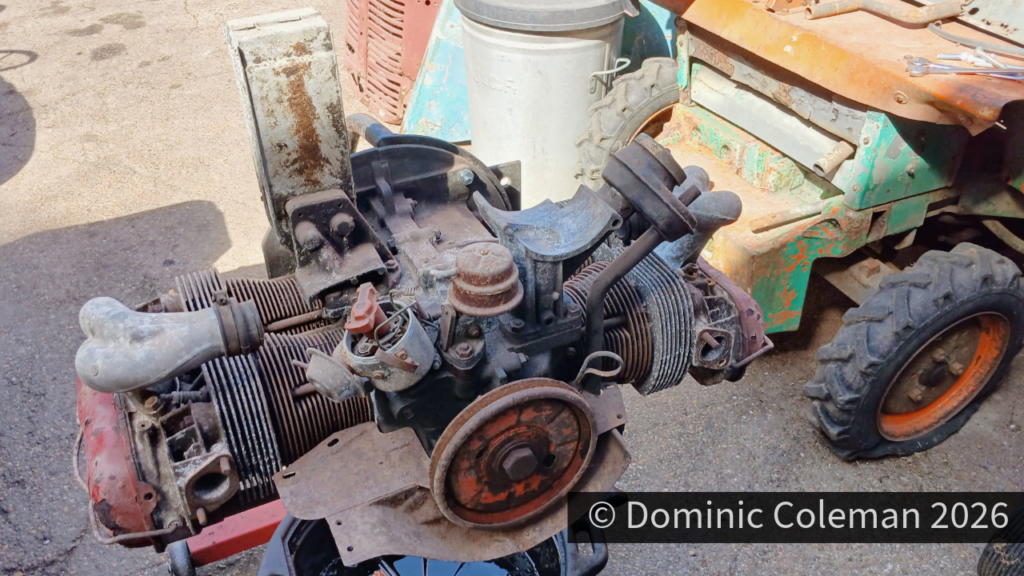
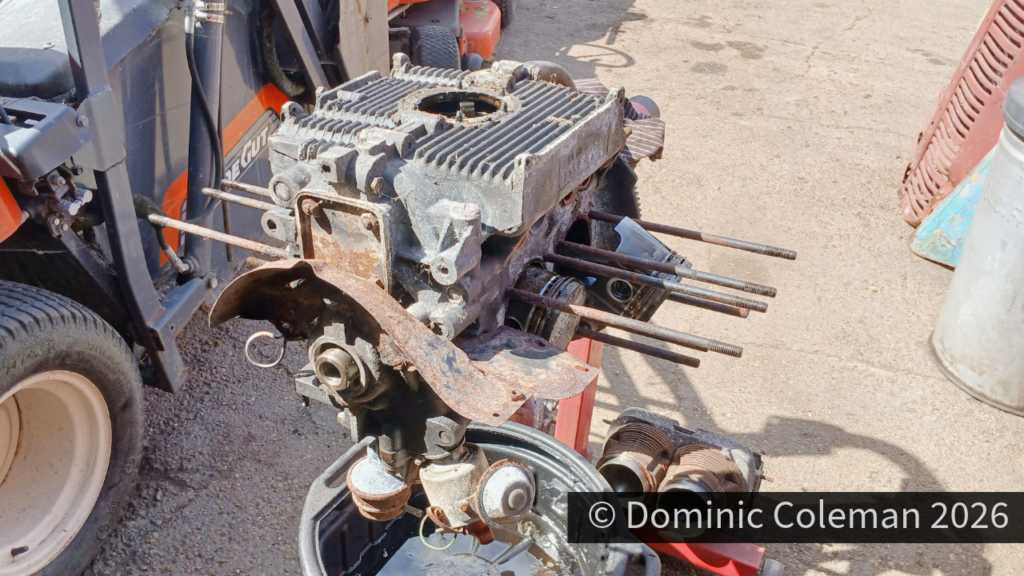
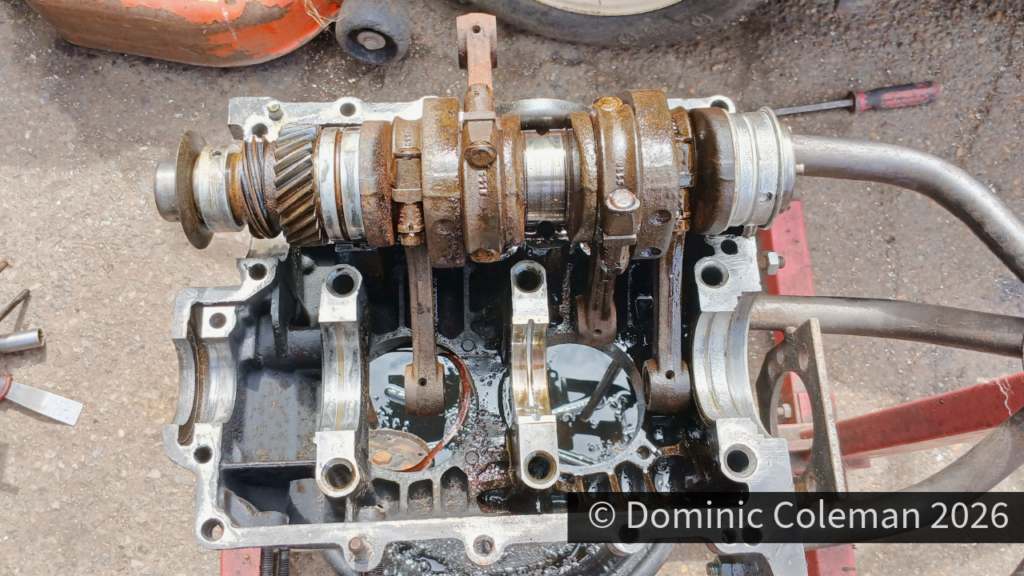
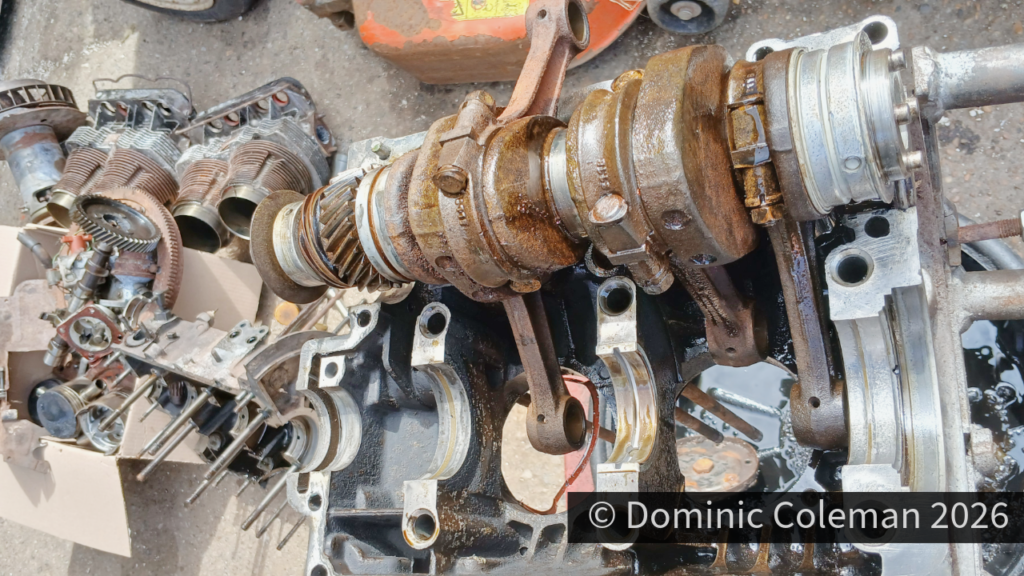
Initial inspection revealed the crankshaft end-float was about 2mm (normal is anything less than 0.5mm), and this became particularly evident after splitting the case, with noticeable movement around the main bearing. The saving grace was that there was enough metal left to allow the block to be re-machined for new main bearings.
The crankshaft seemed to be in good condition, with no hot spots or heat tarnishing, and the con rods were OK, with minimal movement at the gudgeon pin end. The piston and barrel bores were clean, with no scoring, and appeared reusable, as did the pistons if fitted with new rings.
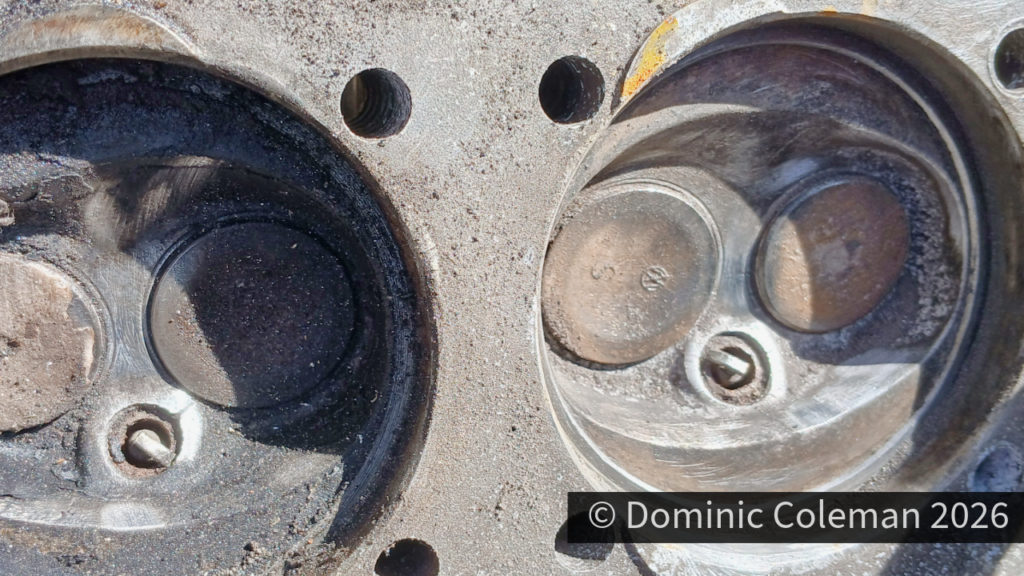
The camshaft, and especially the lifters, showed signs of wear. What I hadn’t expected to find was that both cylinder heads had cracks between the valves. I was advised not to reuse them, although, according to the Forums, there are two camps when it comes to the argument over reusing cracked cylinder heads.
So, a rethink was on the cards for the engine build, along with some new costs to consider. Prior to all this work, I had used Chat-GPT to spec up an engine rebuild and associated costs, but now I had to factor in the additional expense of new cylinder heads.
I opted for the Heritage deal from the VW specialist supplier, which included two new cylinder heads along with new 1641 barrels and pistons, seals and all the gaskets required for the bottom-end rebuild. I also went for new con rods, as they came with the piston (gudgeon pin) bushes already fitted.
A 110 Engle cam kit was ordered too, as it came with all the gaskets and lifters required for a complete job. Paul would send the disassembled block away for machining, which would include matching new bearings as part of the process to resolve the huge amount of end-float.
The parts not being sent away for machining were put into a box so I could take them home and clean them up ready for when we put the engine back together. Everything got a good degreasing scrub with Gunk and was then rinsed with petrol to remove years of old grime.
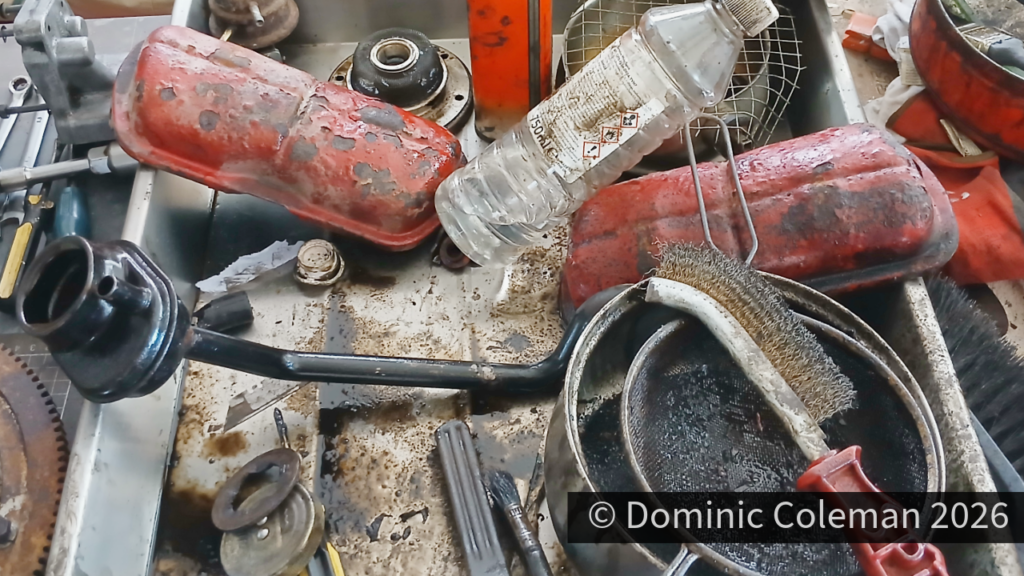
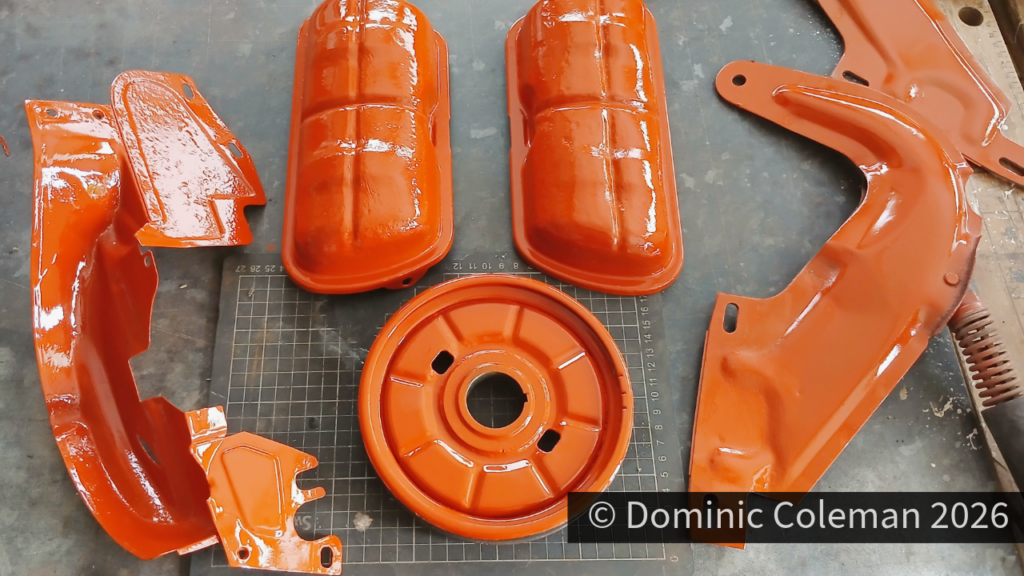
The crankshaft pulley wheel, rocker covers, lower pulley tinware, dynamo fan-shroud mounting plates and many small parts were further cleaned to remove old paint, corrosion and other ingrained dirt using various angle-grinder attachments. The flywheel and clutch pressure plate were also given the light abrasive angle-grinder treatment and came up well, so hopefully they will be usable.
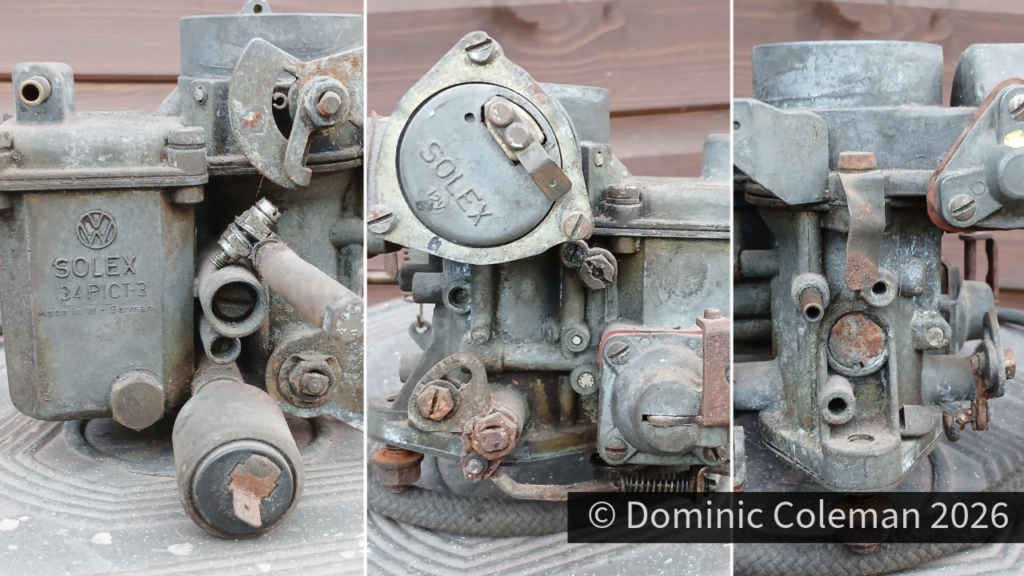
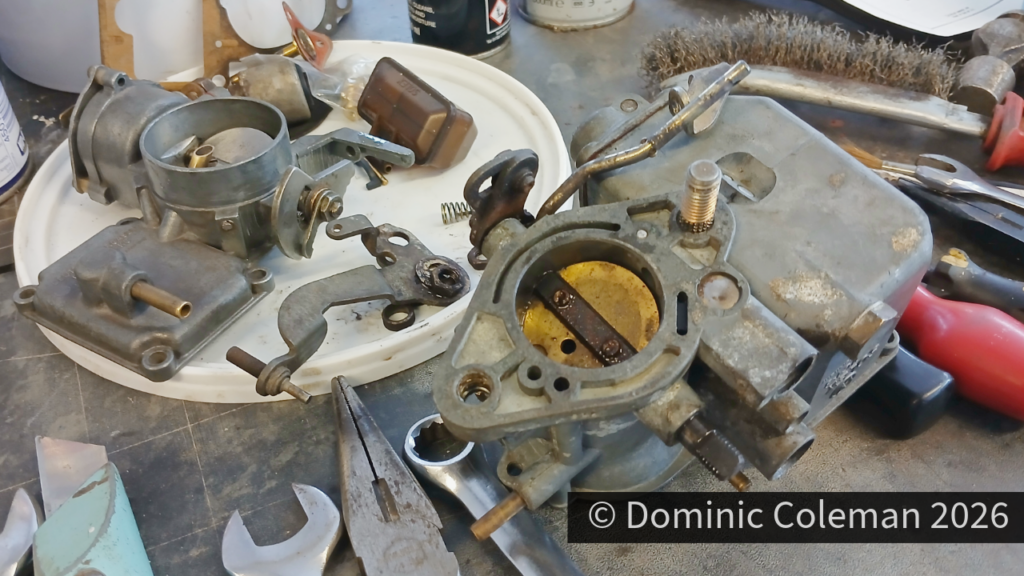
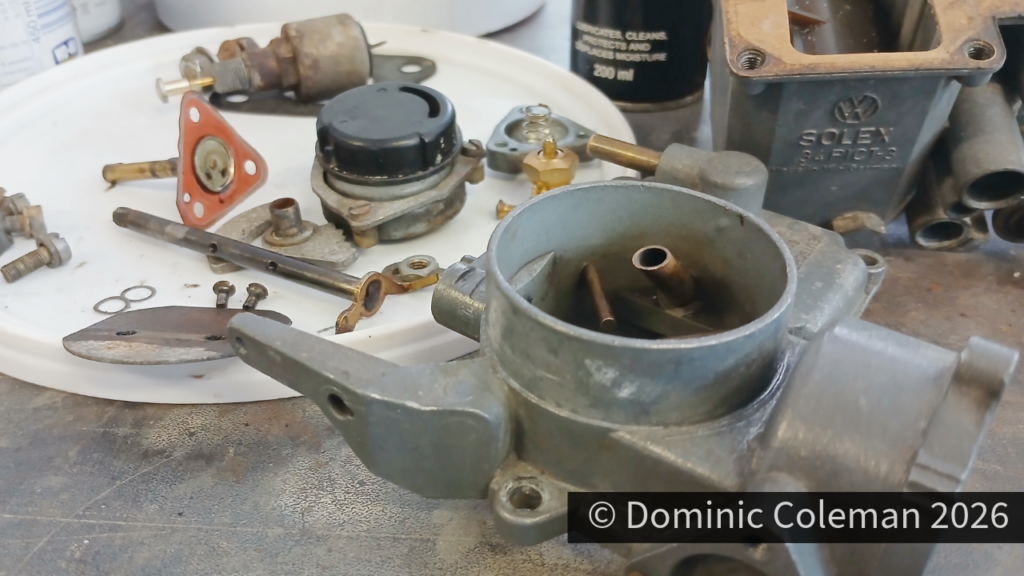
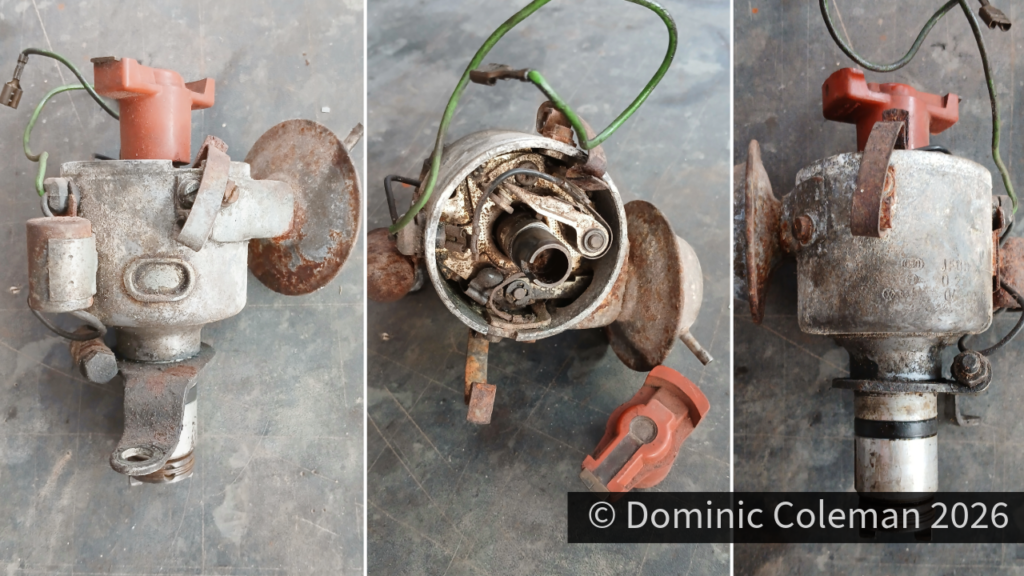
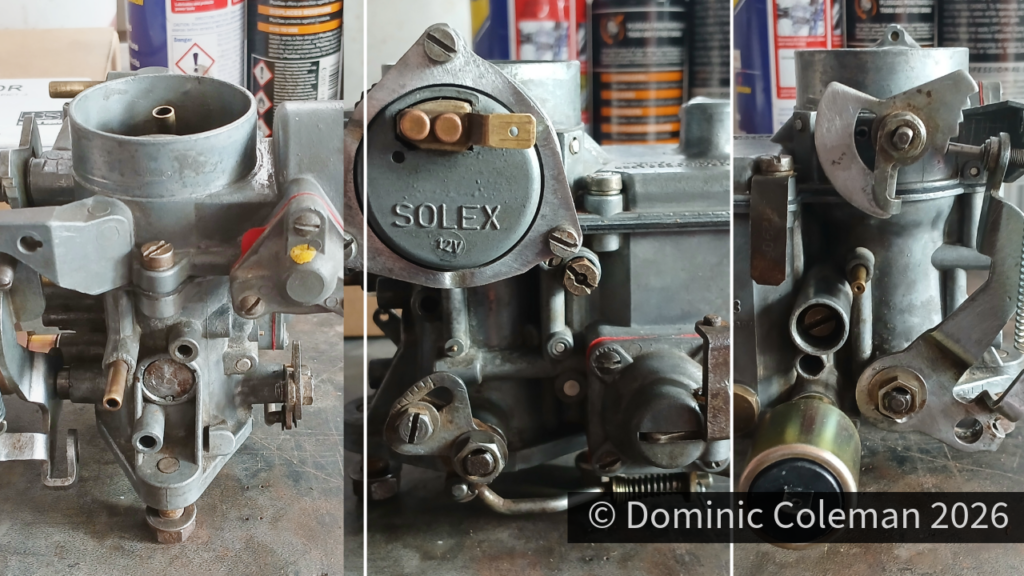
On my Chat-GPT engine build sheet, I had factored in Pertronix electronic ignition and twin Weber 34 ICTs. However, keeping my options open, I decided to clean, lubricate and rejuvenate the distributor with new parts, and give the Solex 34 PICT-3 carburettor a thorough clean and rebuild. This means I have the option of keeping things stock for now.
All the parts were at least clean, looking nice and ready to go back onto the engine.