It’s been a while but once the daily driver cars were sorted, I could recover from the financial strain they put me under and my focus could get on with fixing the Ford Corsair. I resolved the messed up paint job in the Beetle engine bay by using bright white aerosol primer & paint, however, the white wasn’t as glossy as the 2K paint due to being cellulose or acrylic but it will do for now. By November with the Corsair nearly ready for its MOT my attention went back on to the Beetle.
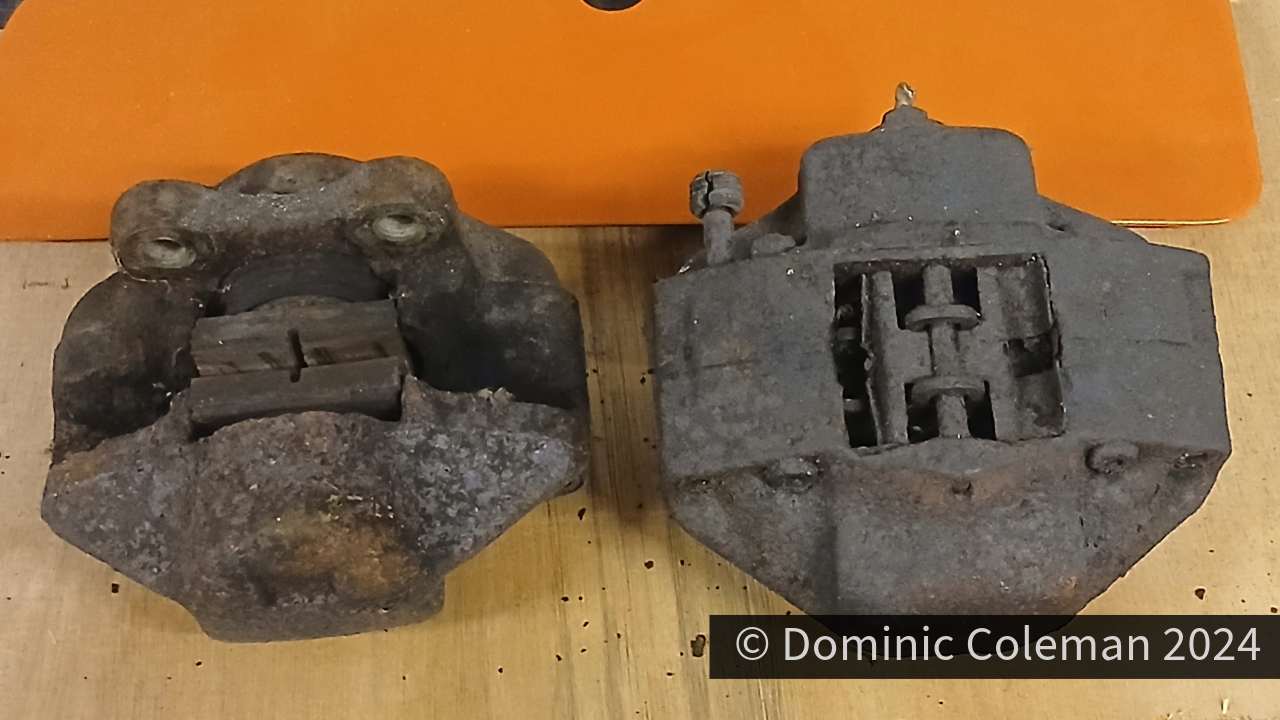
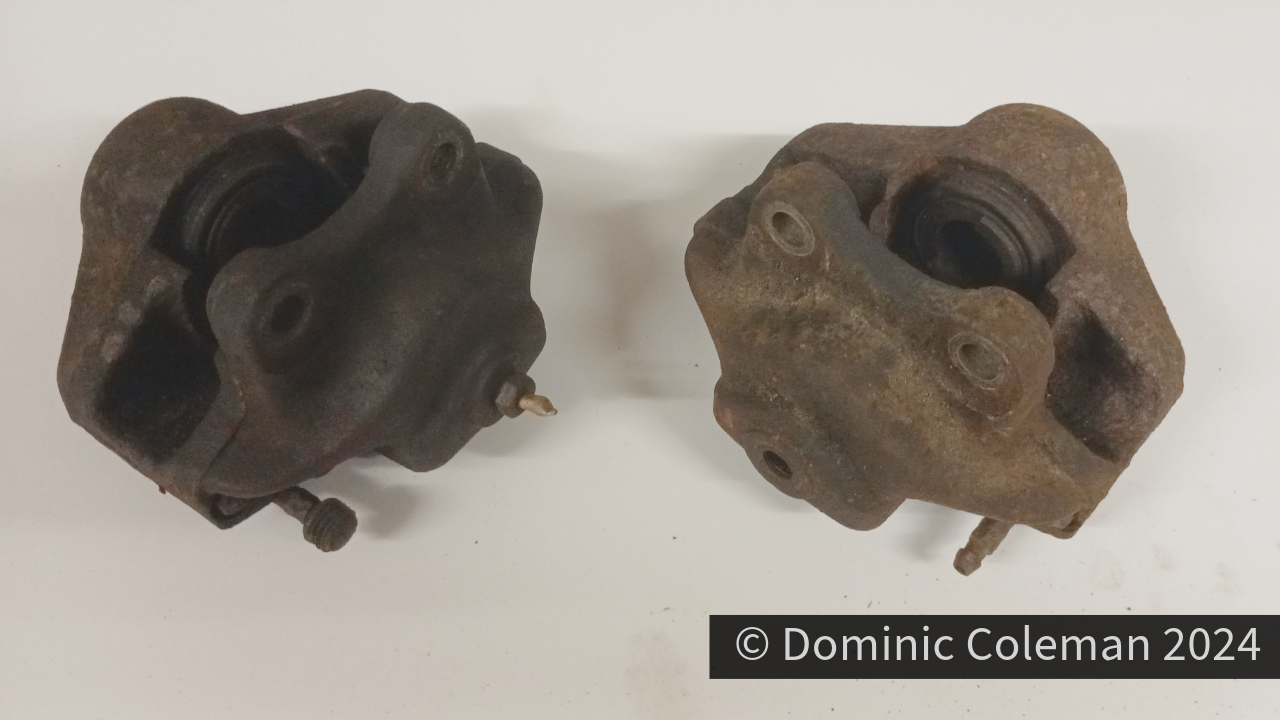
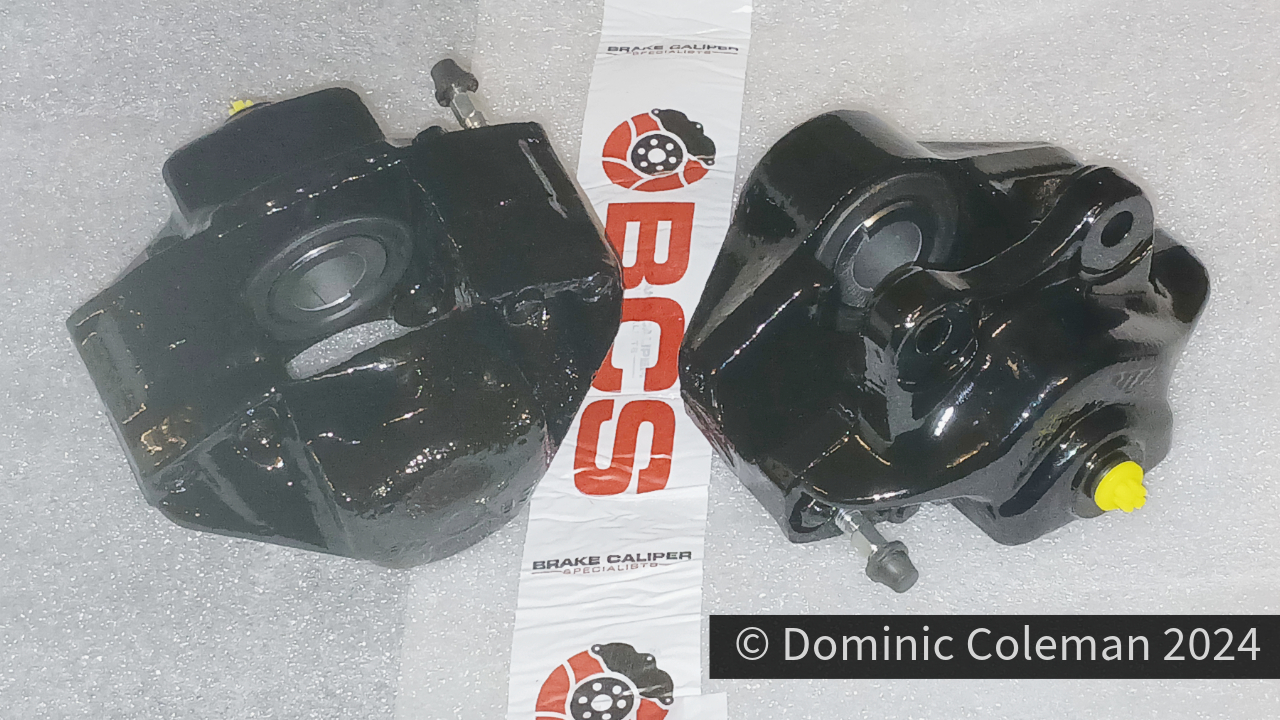
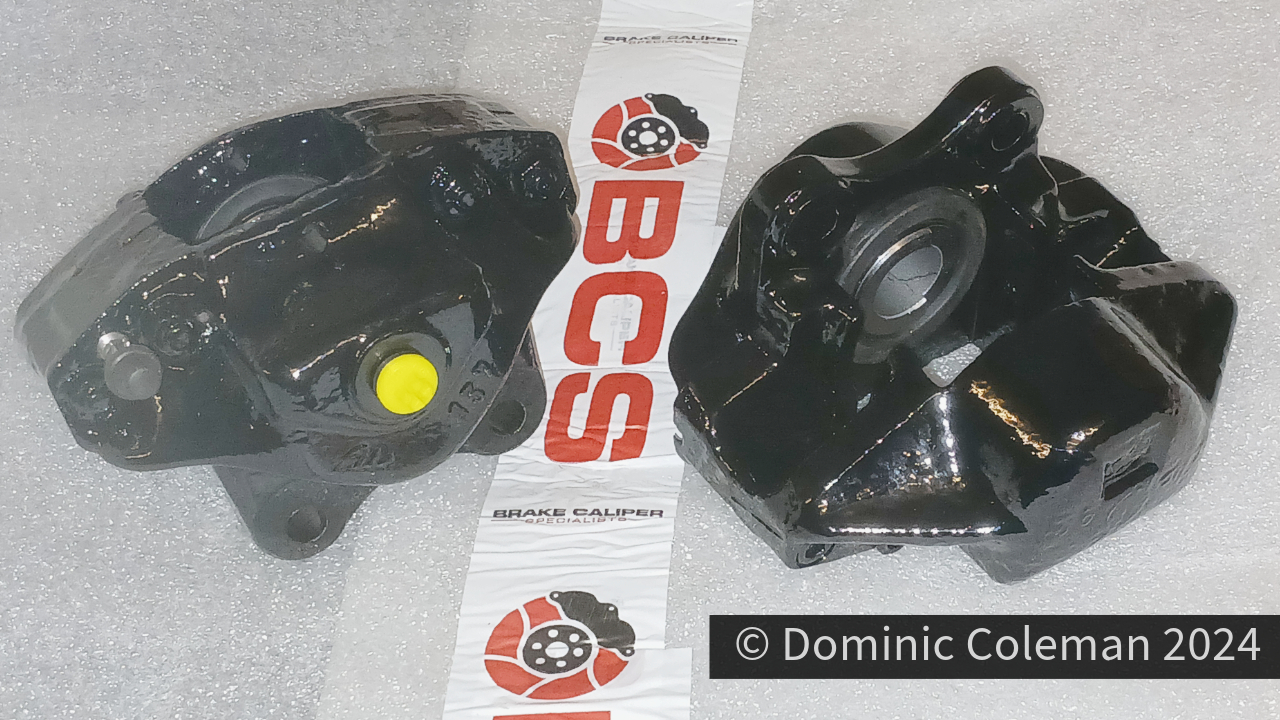
It began with a promo from BCS (Brake Calliper Specialists Ltd) in Nottingham with 25% off all brake calliper refurbishments. I had used them before 5 years ago for the Corsair and they come with a lifetime guarantee so I requested for a quote for refurbishment and painting in the Beetle L20D orange. What they came back with was rather expensive, so I had the quote adjusted for a standard black finish which saved me about £125.00! The total cost was £325.00 including the 25% discount which I thought was still quite expensive but assumed ‘business costs’ had gone up quite a lot since 2019.
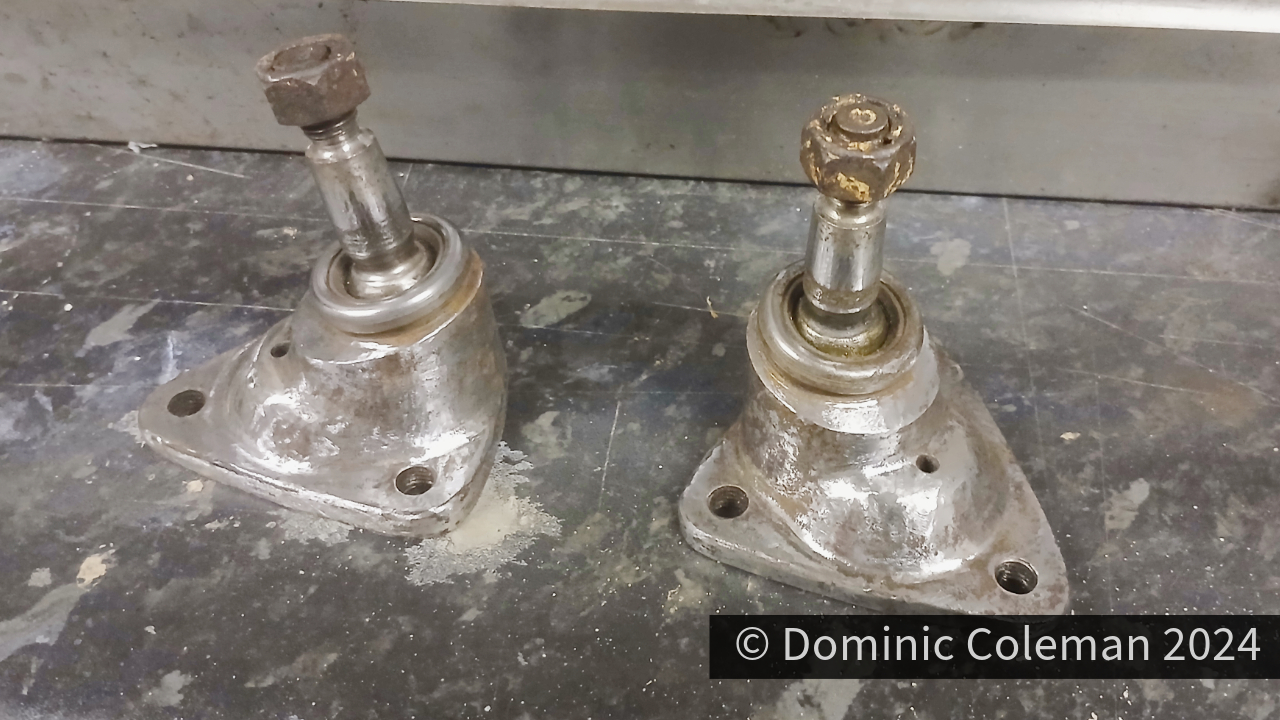
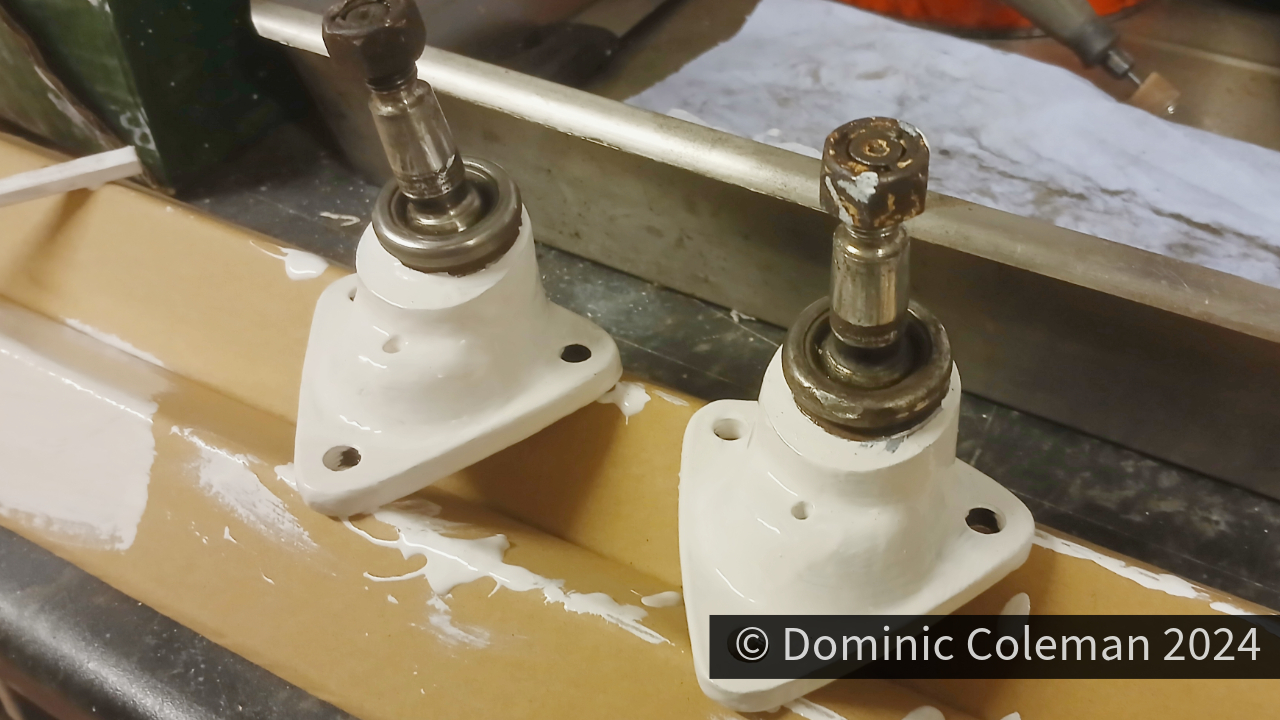
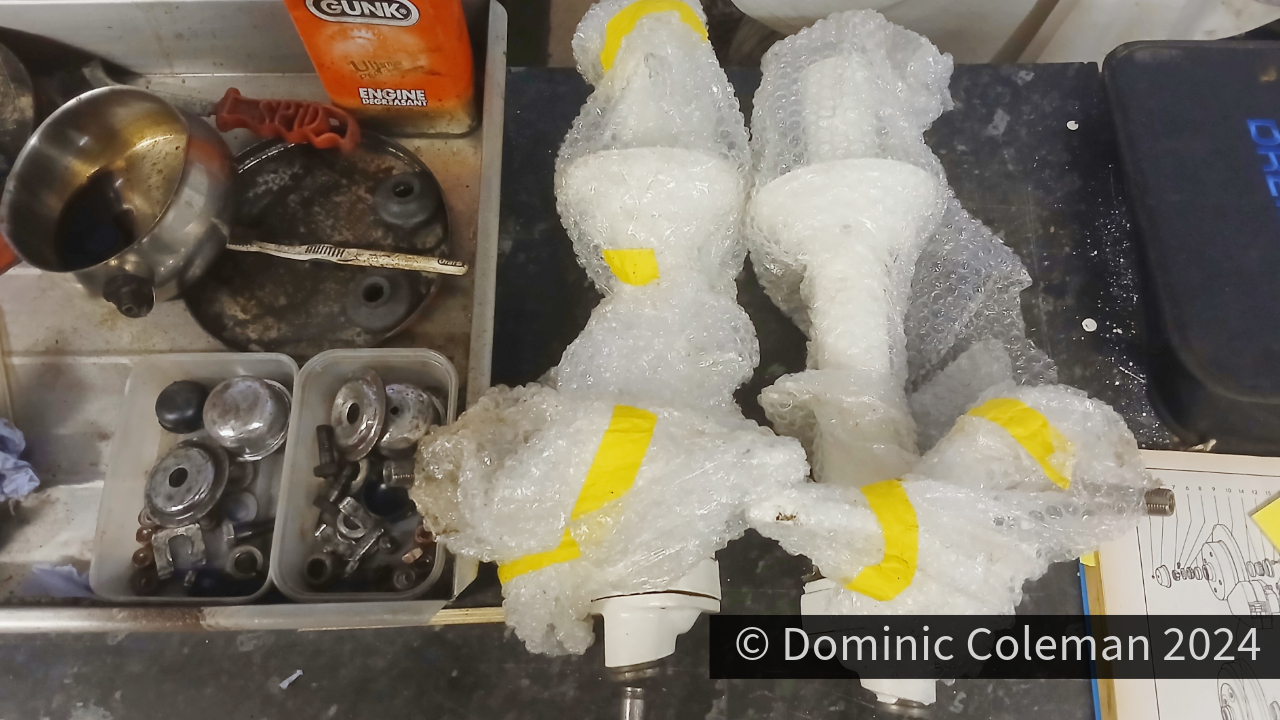
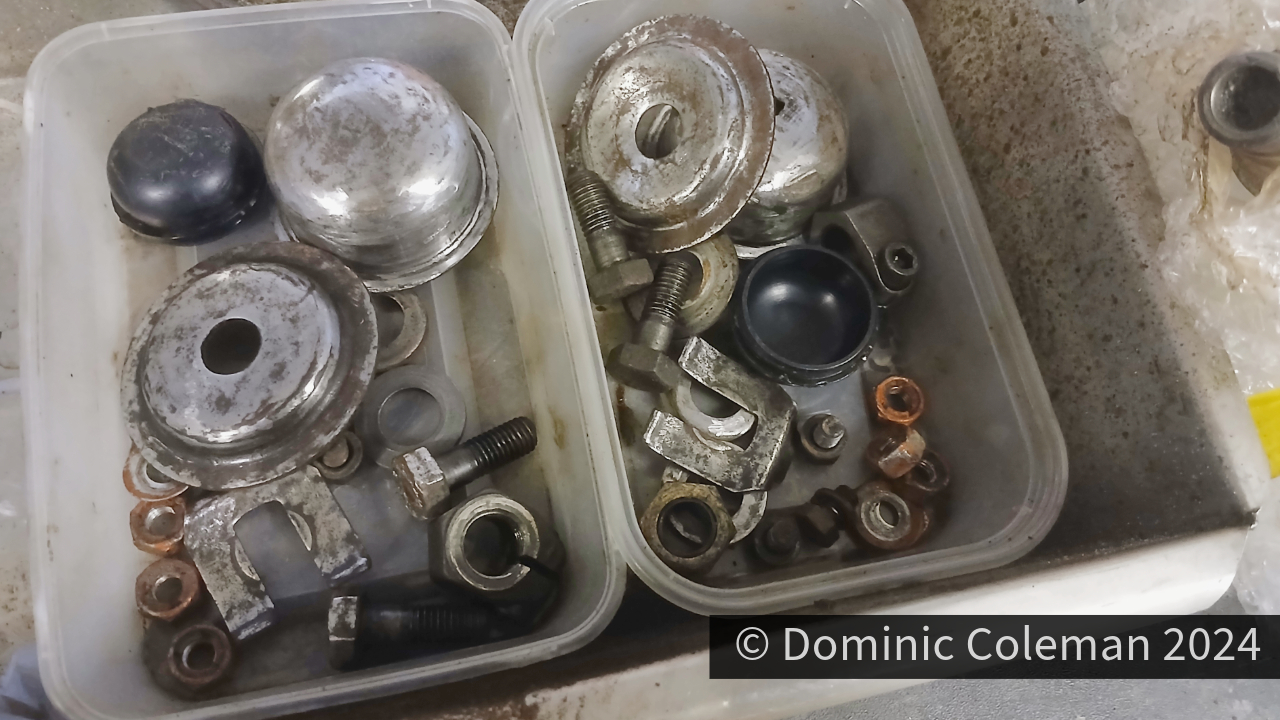
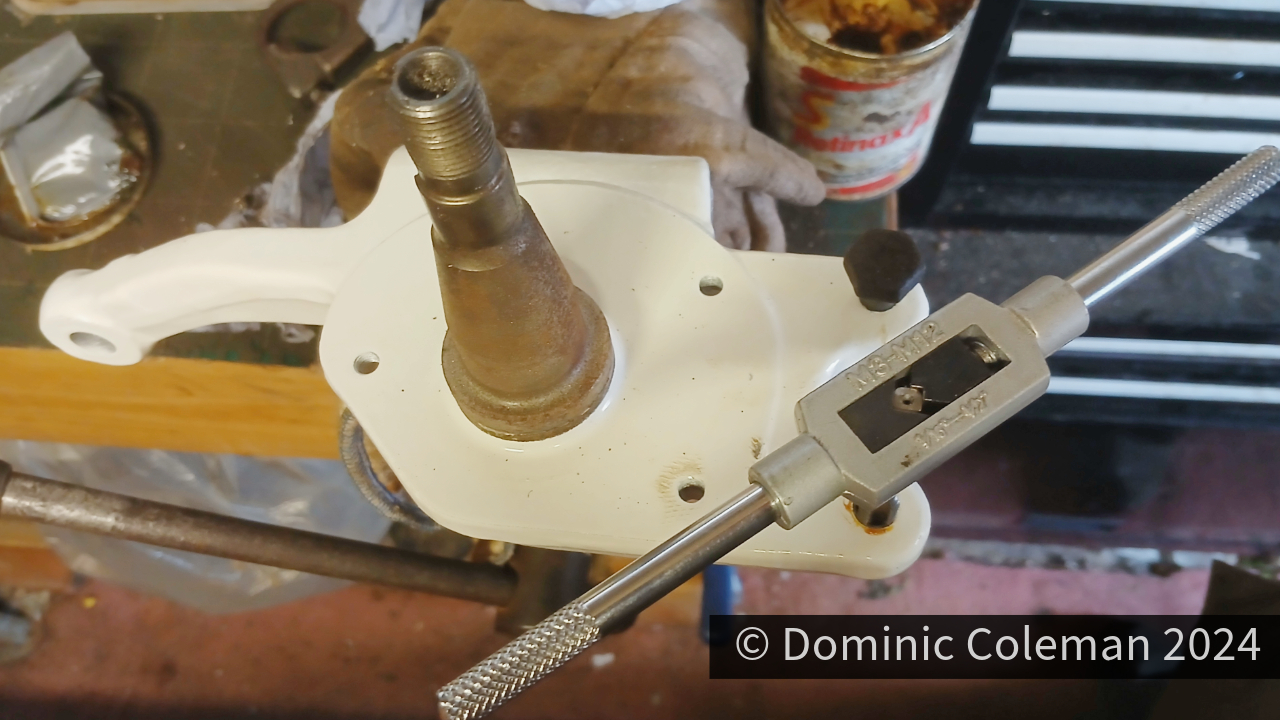
For few days over the Christmas holiday I set about reassembling the front struts and noting extra parts required along the way like lower ball joint dust boots, brake lock tabs and strut rubber bump stops. I started with the lower ball joint and removed the split rubber boot and cleaned out the old dirty grease. I also used my Dremel with a low grit sand paper to get the ingrained dirt off the body and get it back to bare metal to then paint it with smooth white gloss Hammerite. The threads were re-tapped to clean them up and then the struts, stub axle & lower ball joint were loosely assembled together. All the minor components like bolts, dust caps and washers were all degreased and cleaned with the Dremel. On the stub axle, the threads for the brake calliper and back plate were all re-tapped after getting a bit contaminated from the powder coating process. They will be assembled properly once the new parts arrive.
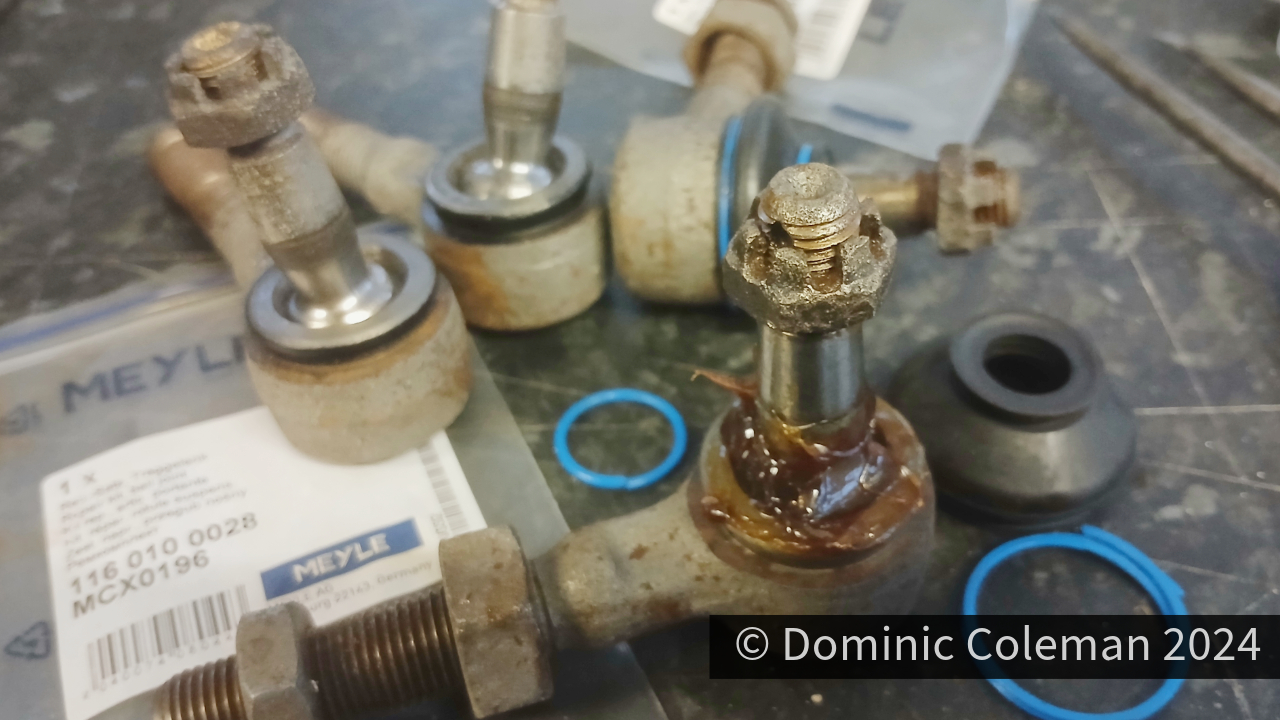
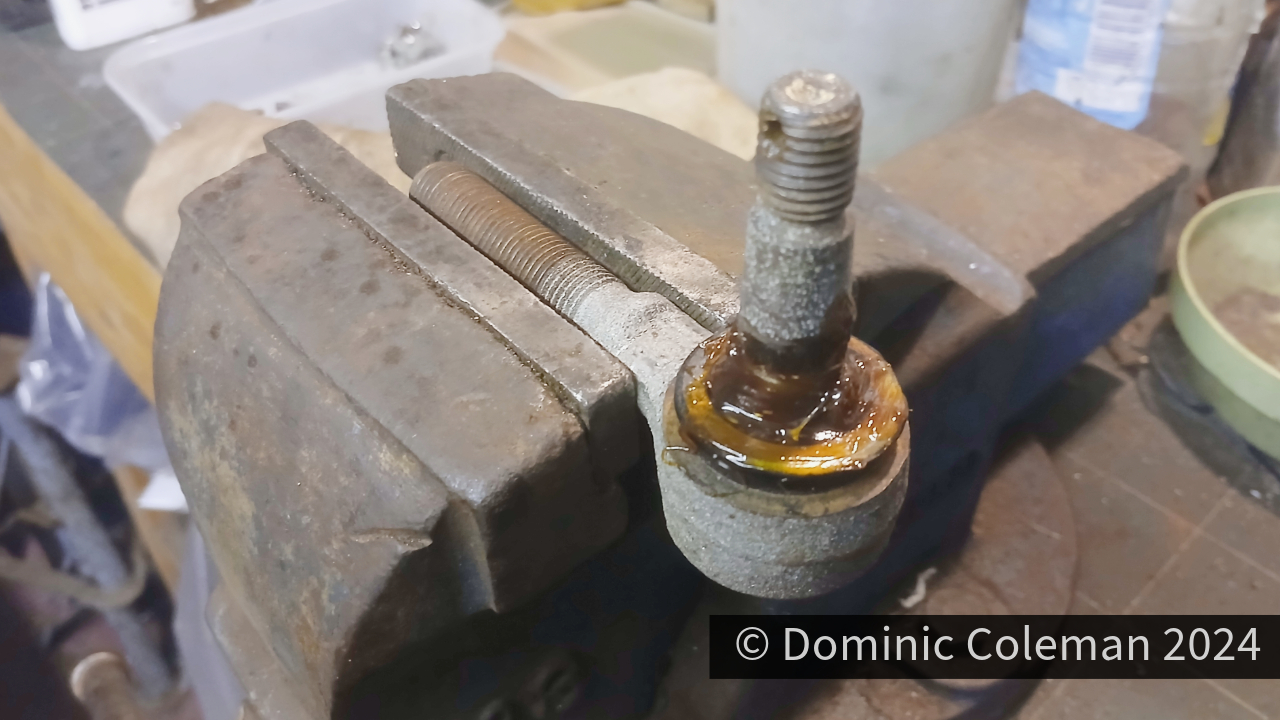
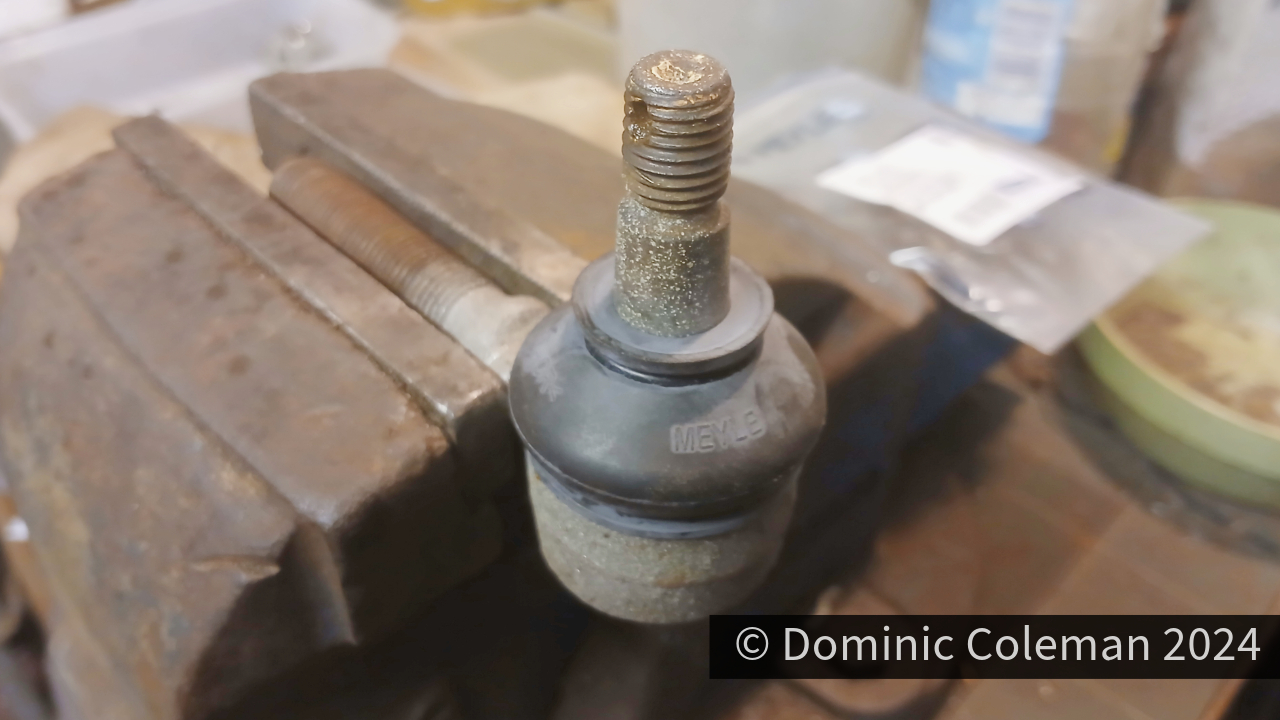
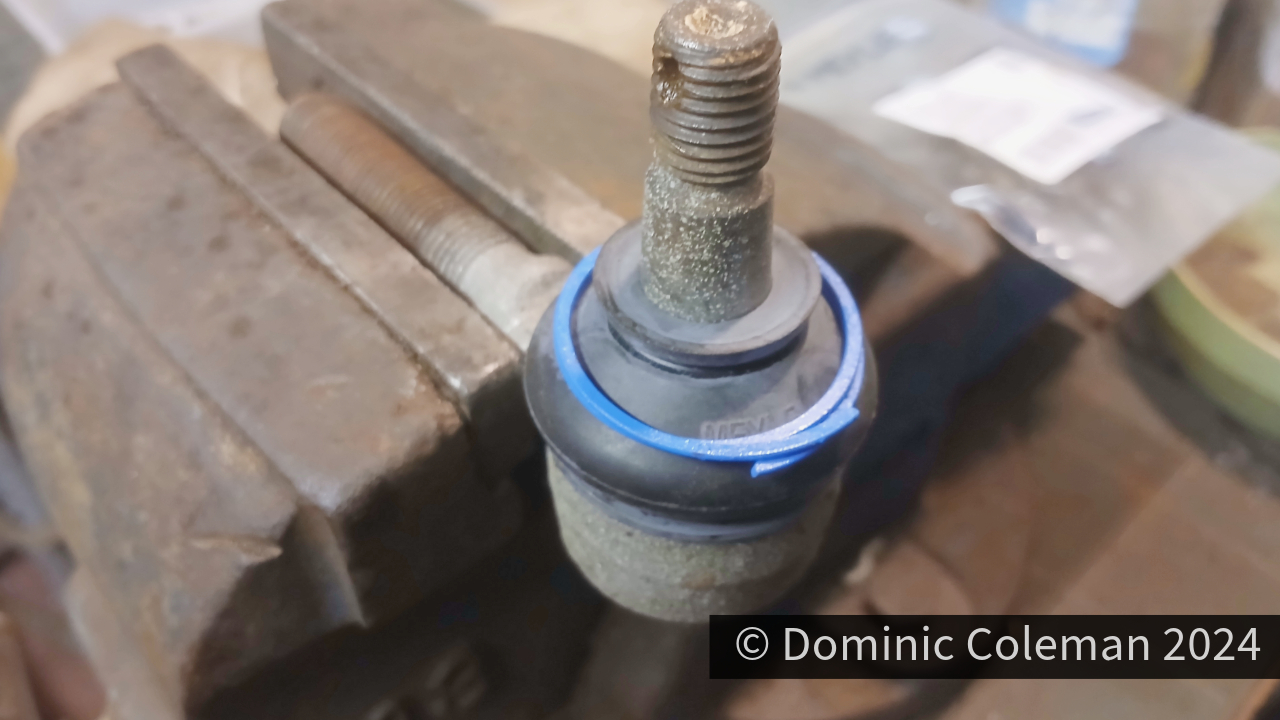
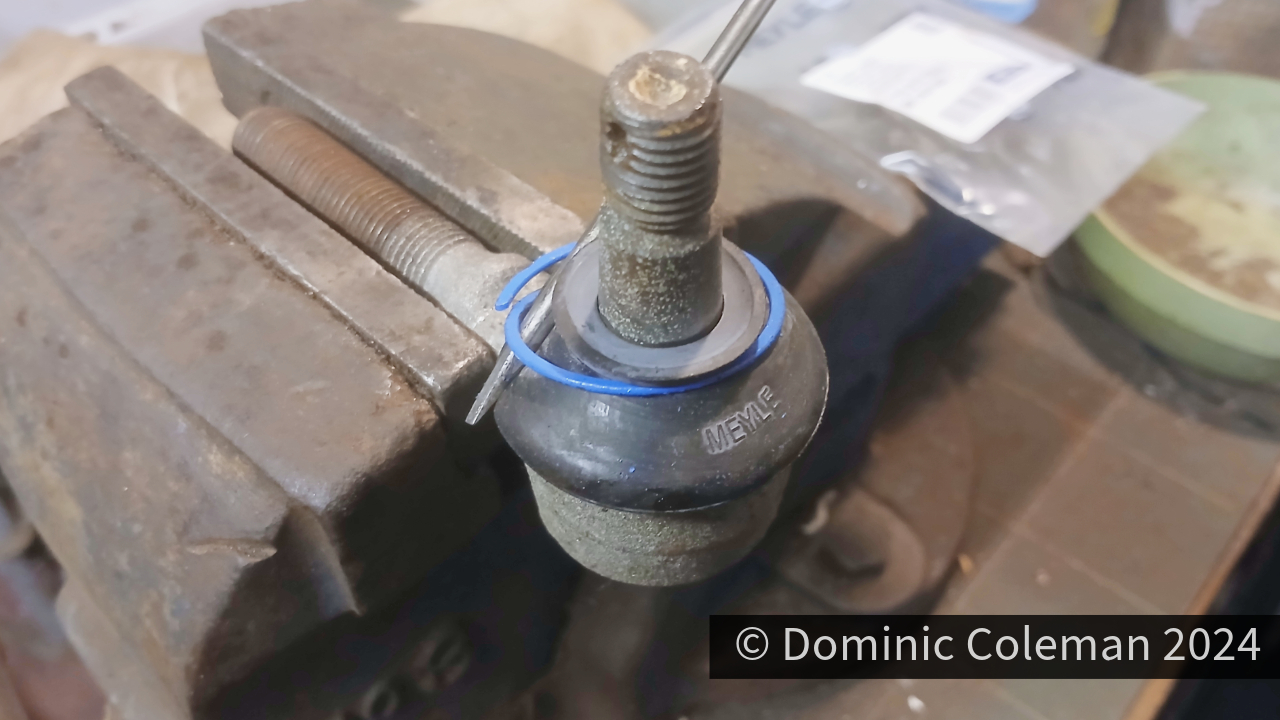
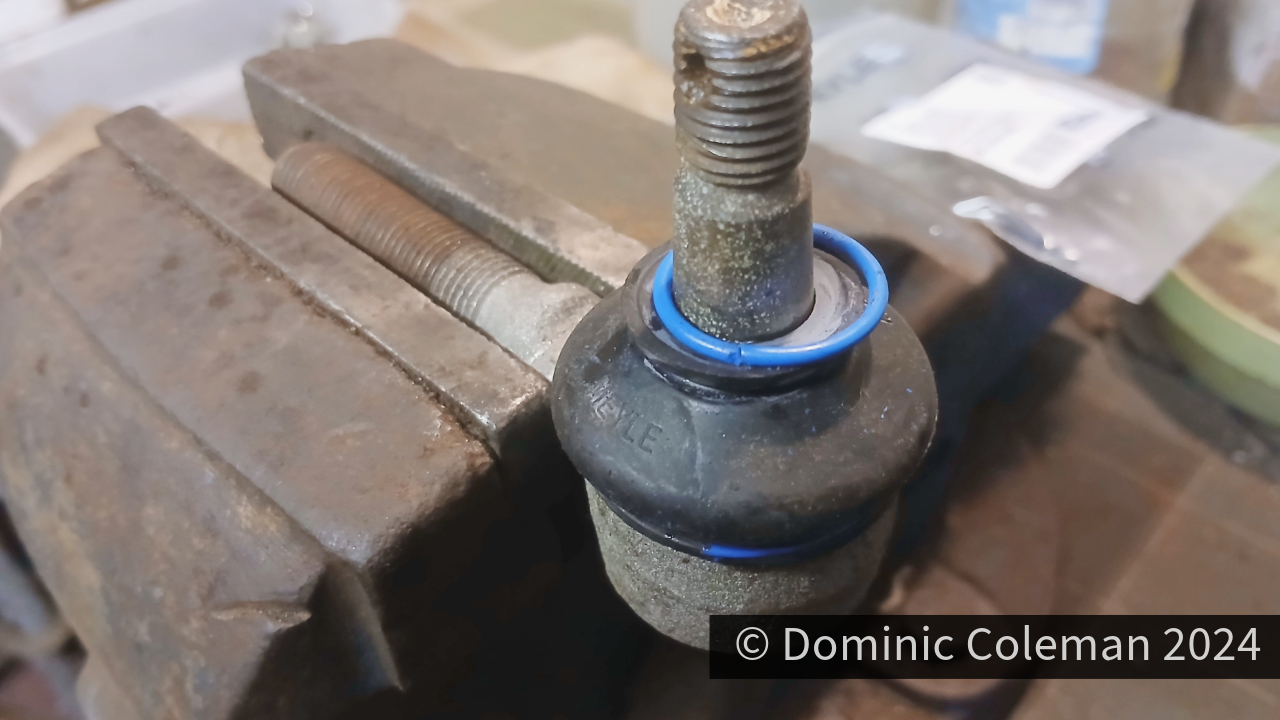
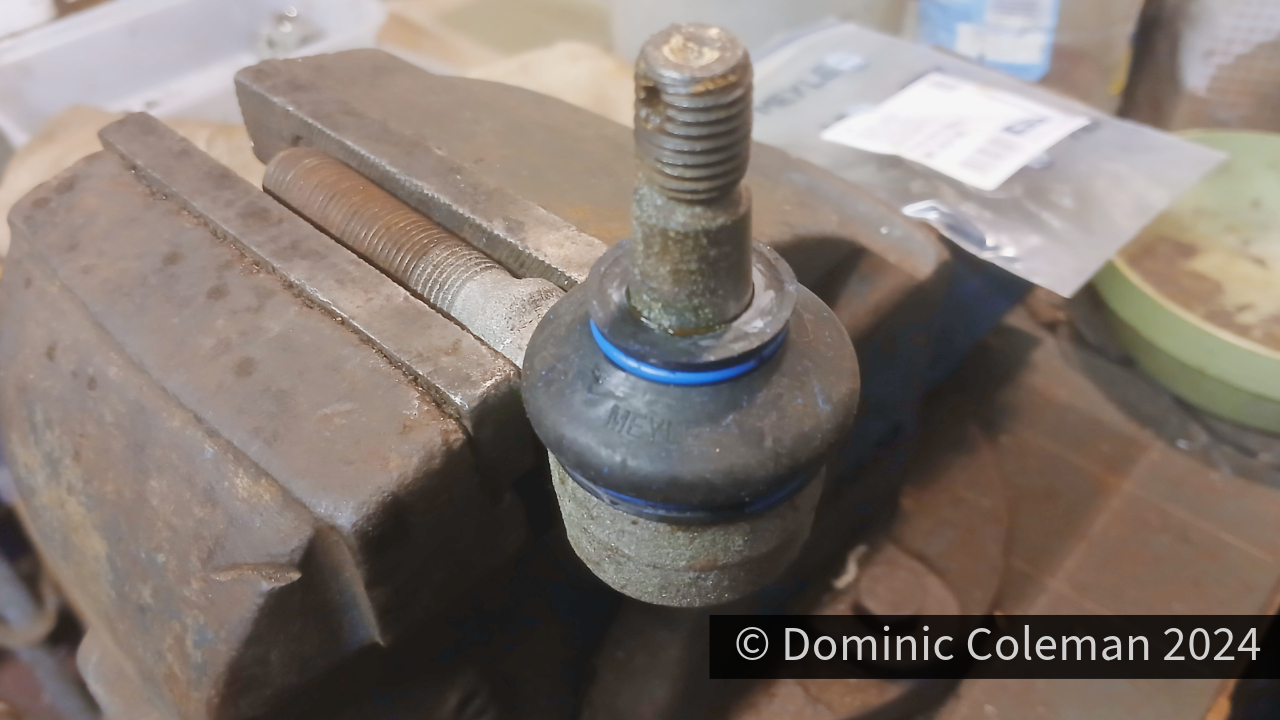
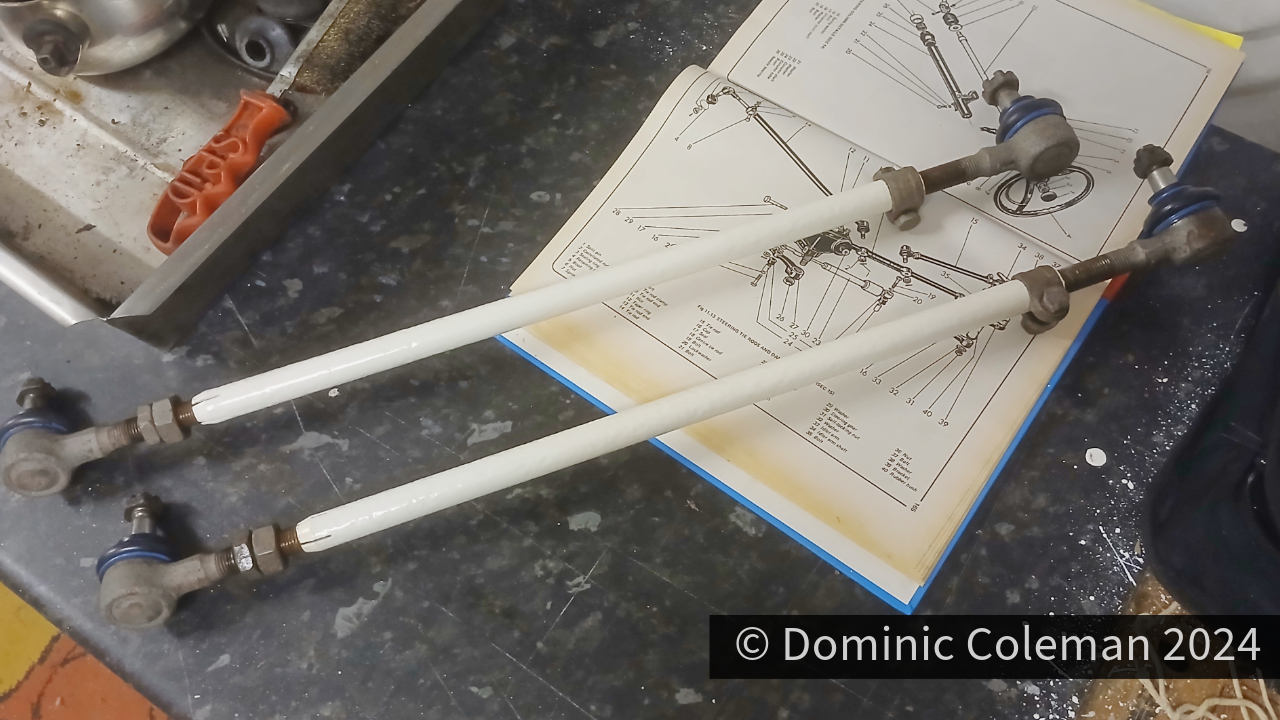
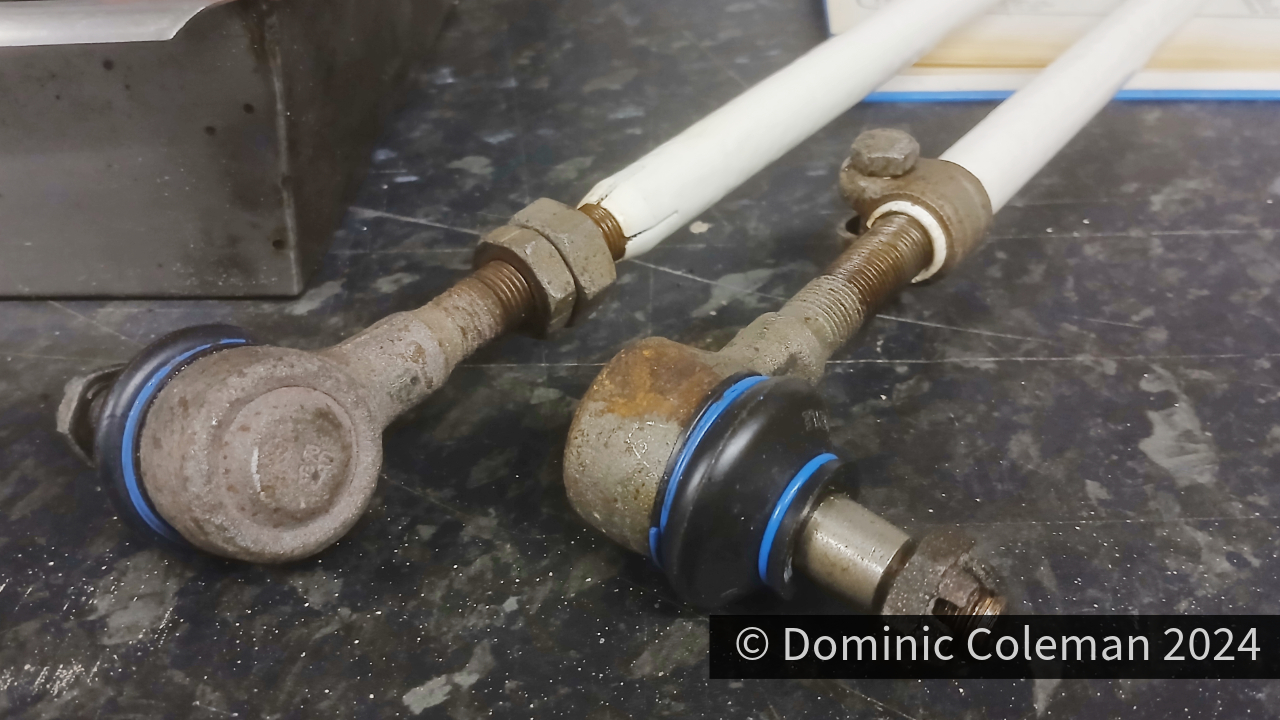
The steering arm ball joints were cleaned up re-greased and new rubber dust boots fitted. Fitting the new dust boots was tricky to begin with but once they were secured in a vice it meant I could use both hands and small tipped flat bladed screw drivers to prise the (blue) metal spring clips to hold the new rubber boots in place. The joints were then assembled on to their tie-rod bars, but they too were a bit contaminated from the powder coating and would require a bit more work to screw in freely.