Categories
bodywork paint painting steering suspension

Front Brakes and Suspension Refit

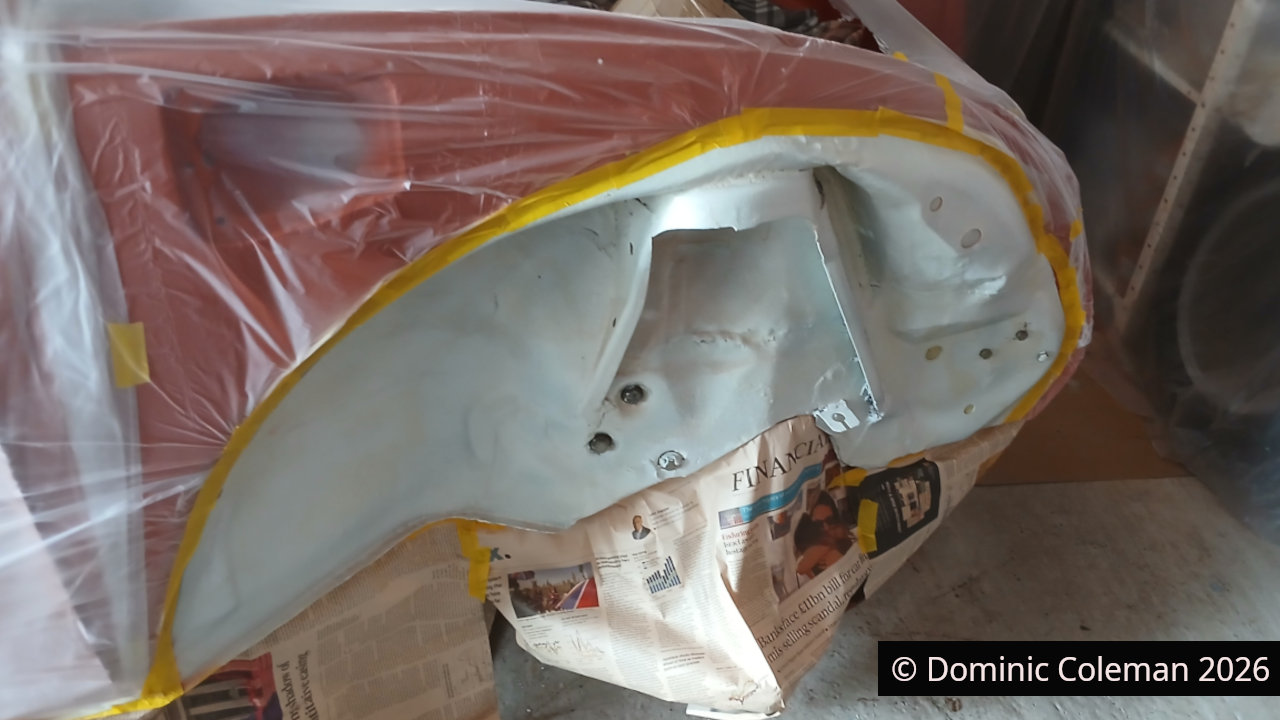
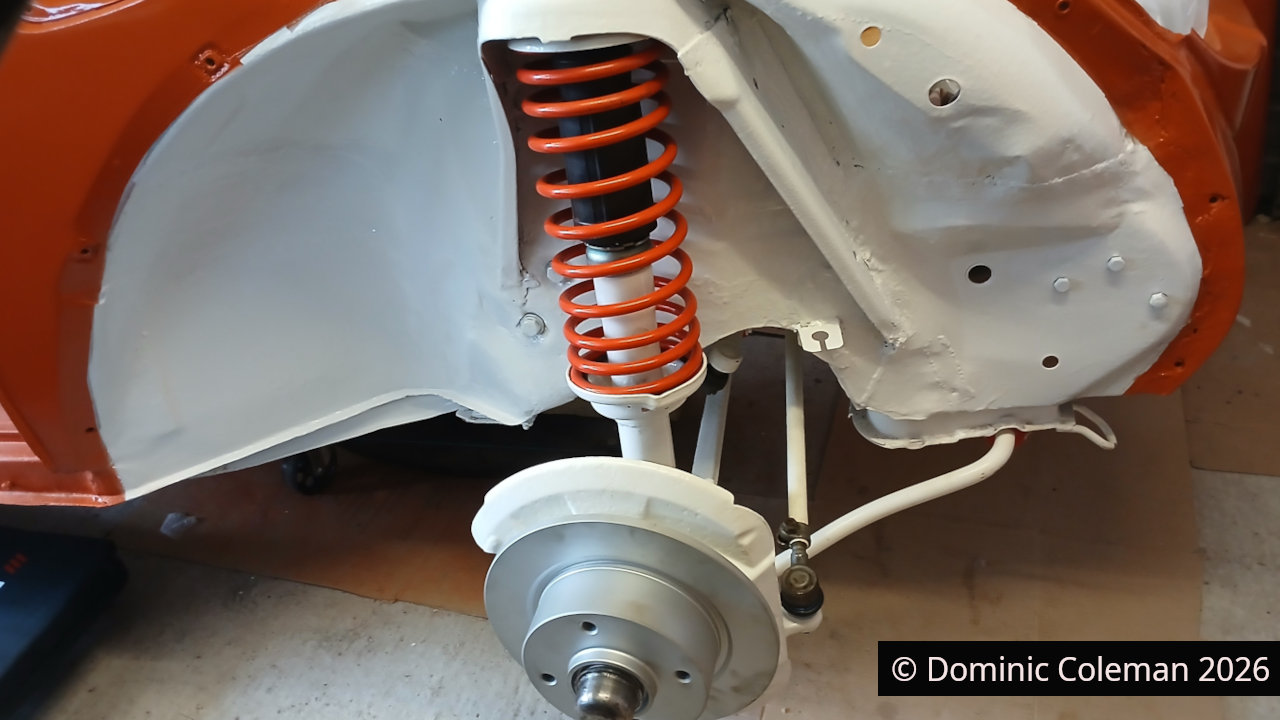
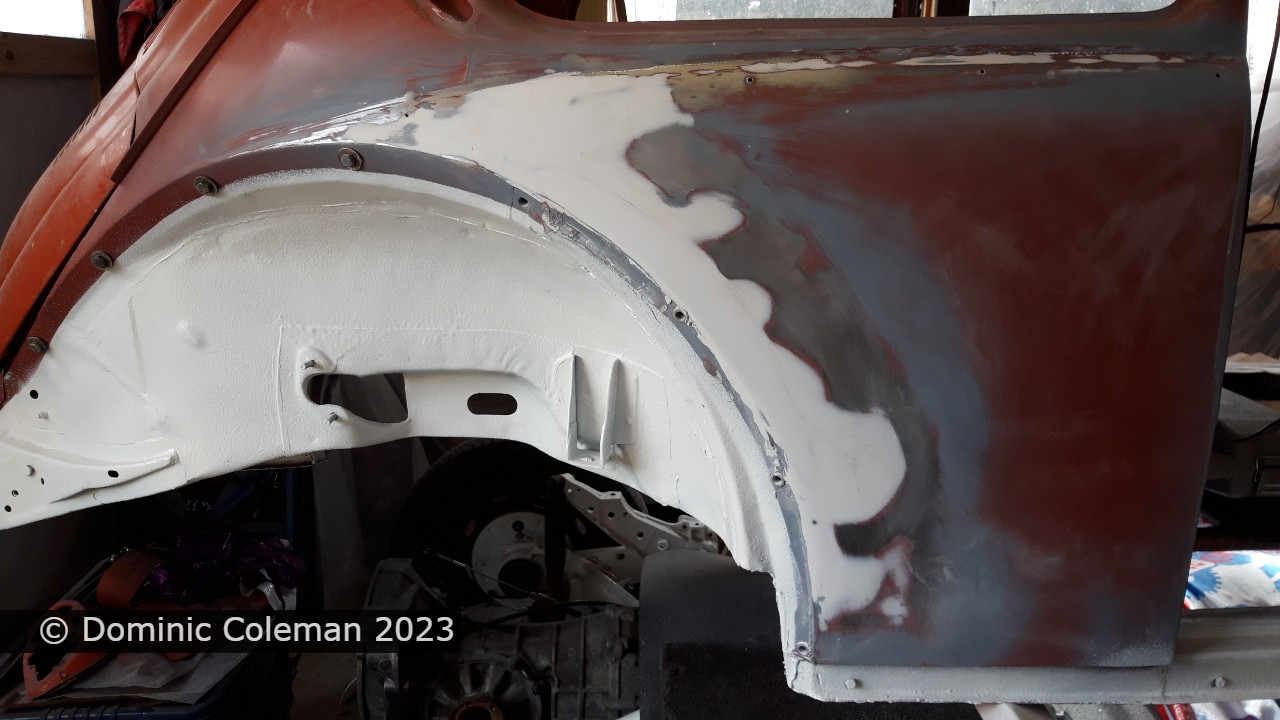
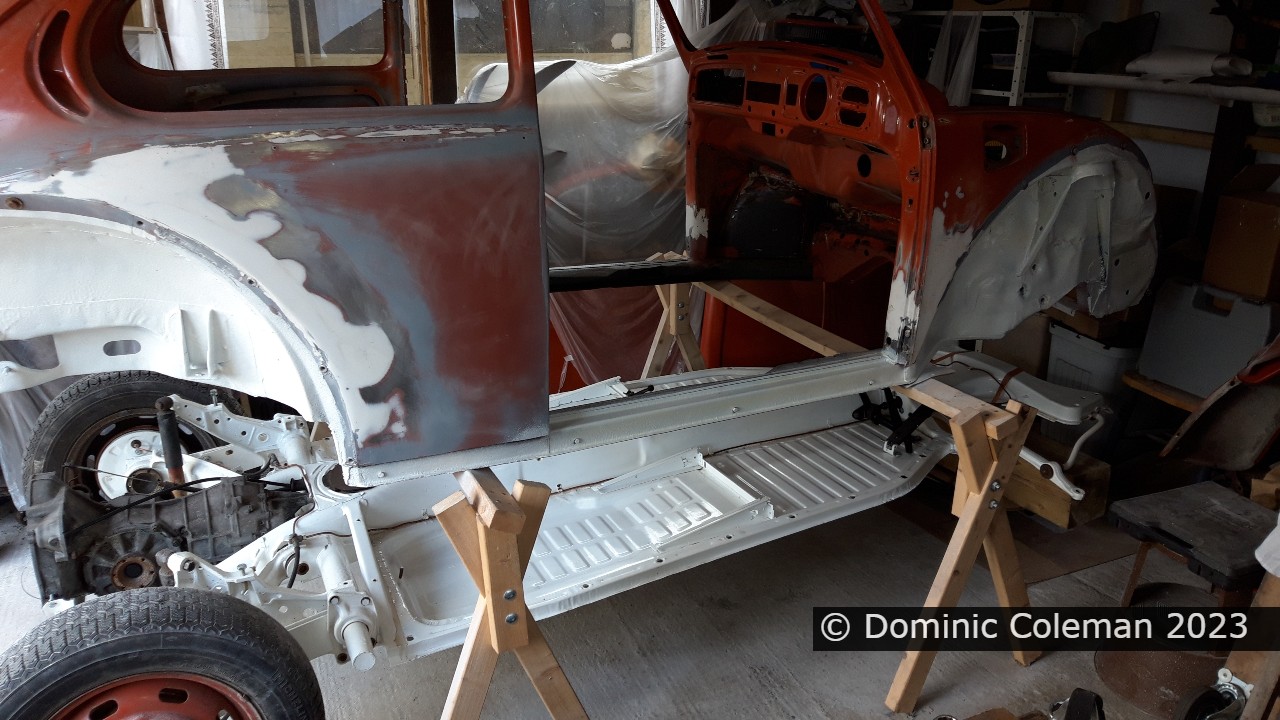
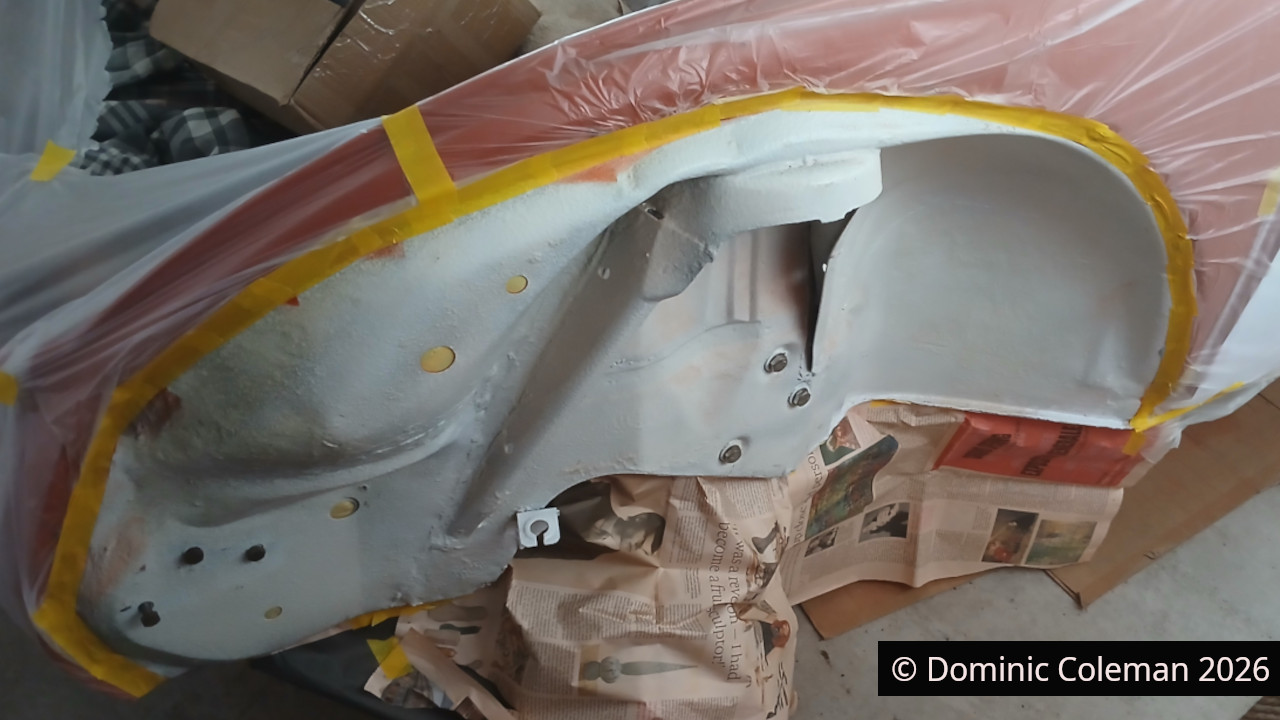
March 2026: With the body and floor pan finally reunited, I was keen to press on and get the brake lines finished and the front suspension components fitted. Before that though, I wanted to freshen up the front wheel arches so they matched the rears. I still had plenty of the white paint left over from doing the engine bay and rear arches last summer. As always, it took longer to set everything up and clean up afterwards than it did to actually get a decent coat on.
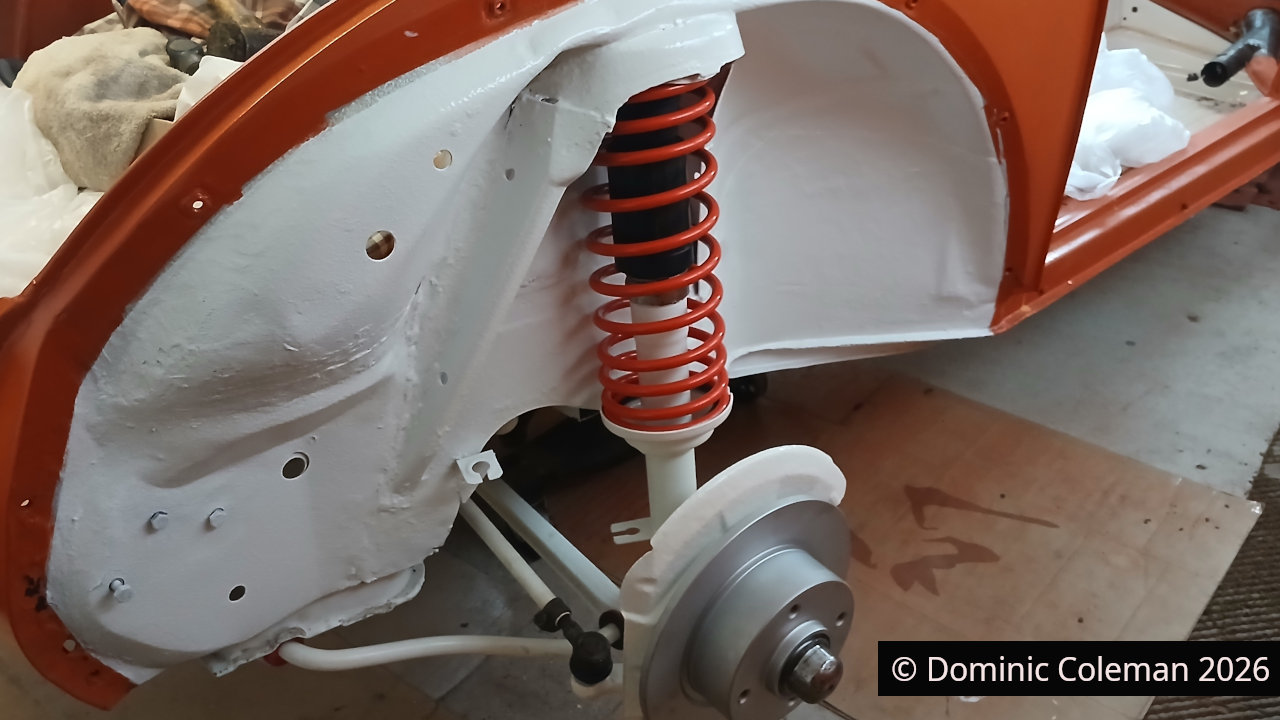
Installing the steering set-up fought me all the way. Initially, there wasnโ€™t enough of the steering shaft protruding to fit the steering wheel, and when I unhitched the column from the universal coupling, there still wasnโ€™t enough length to connect to the steering box. In the end, with the steering wheel fitted and a bit of persuasion from a soft mallet, I eased the column further into its housing until the splined shaft finally met the universal joint on the steering box.

With that small victory, I moved on to fitting the steering tie rods and damper while I still had plenty of room to work.

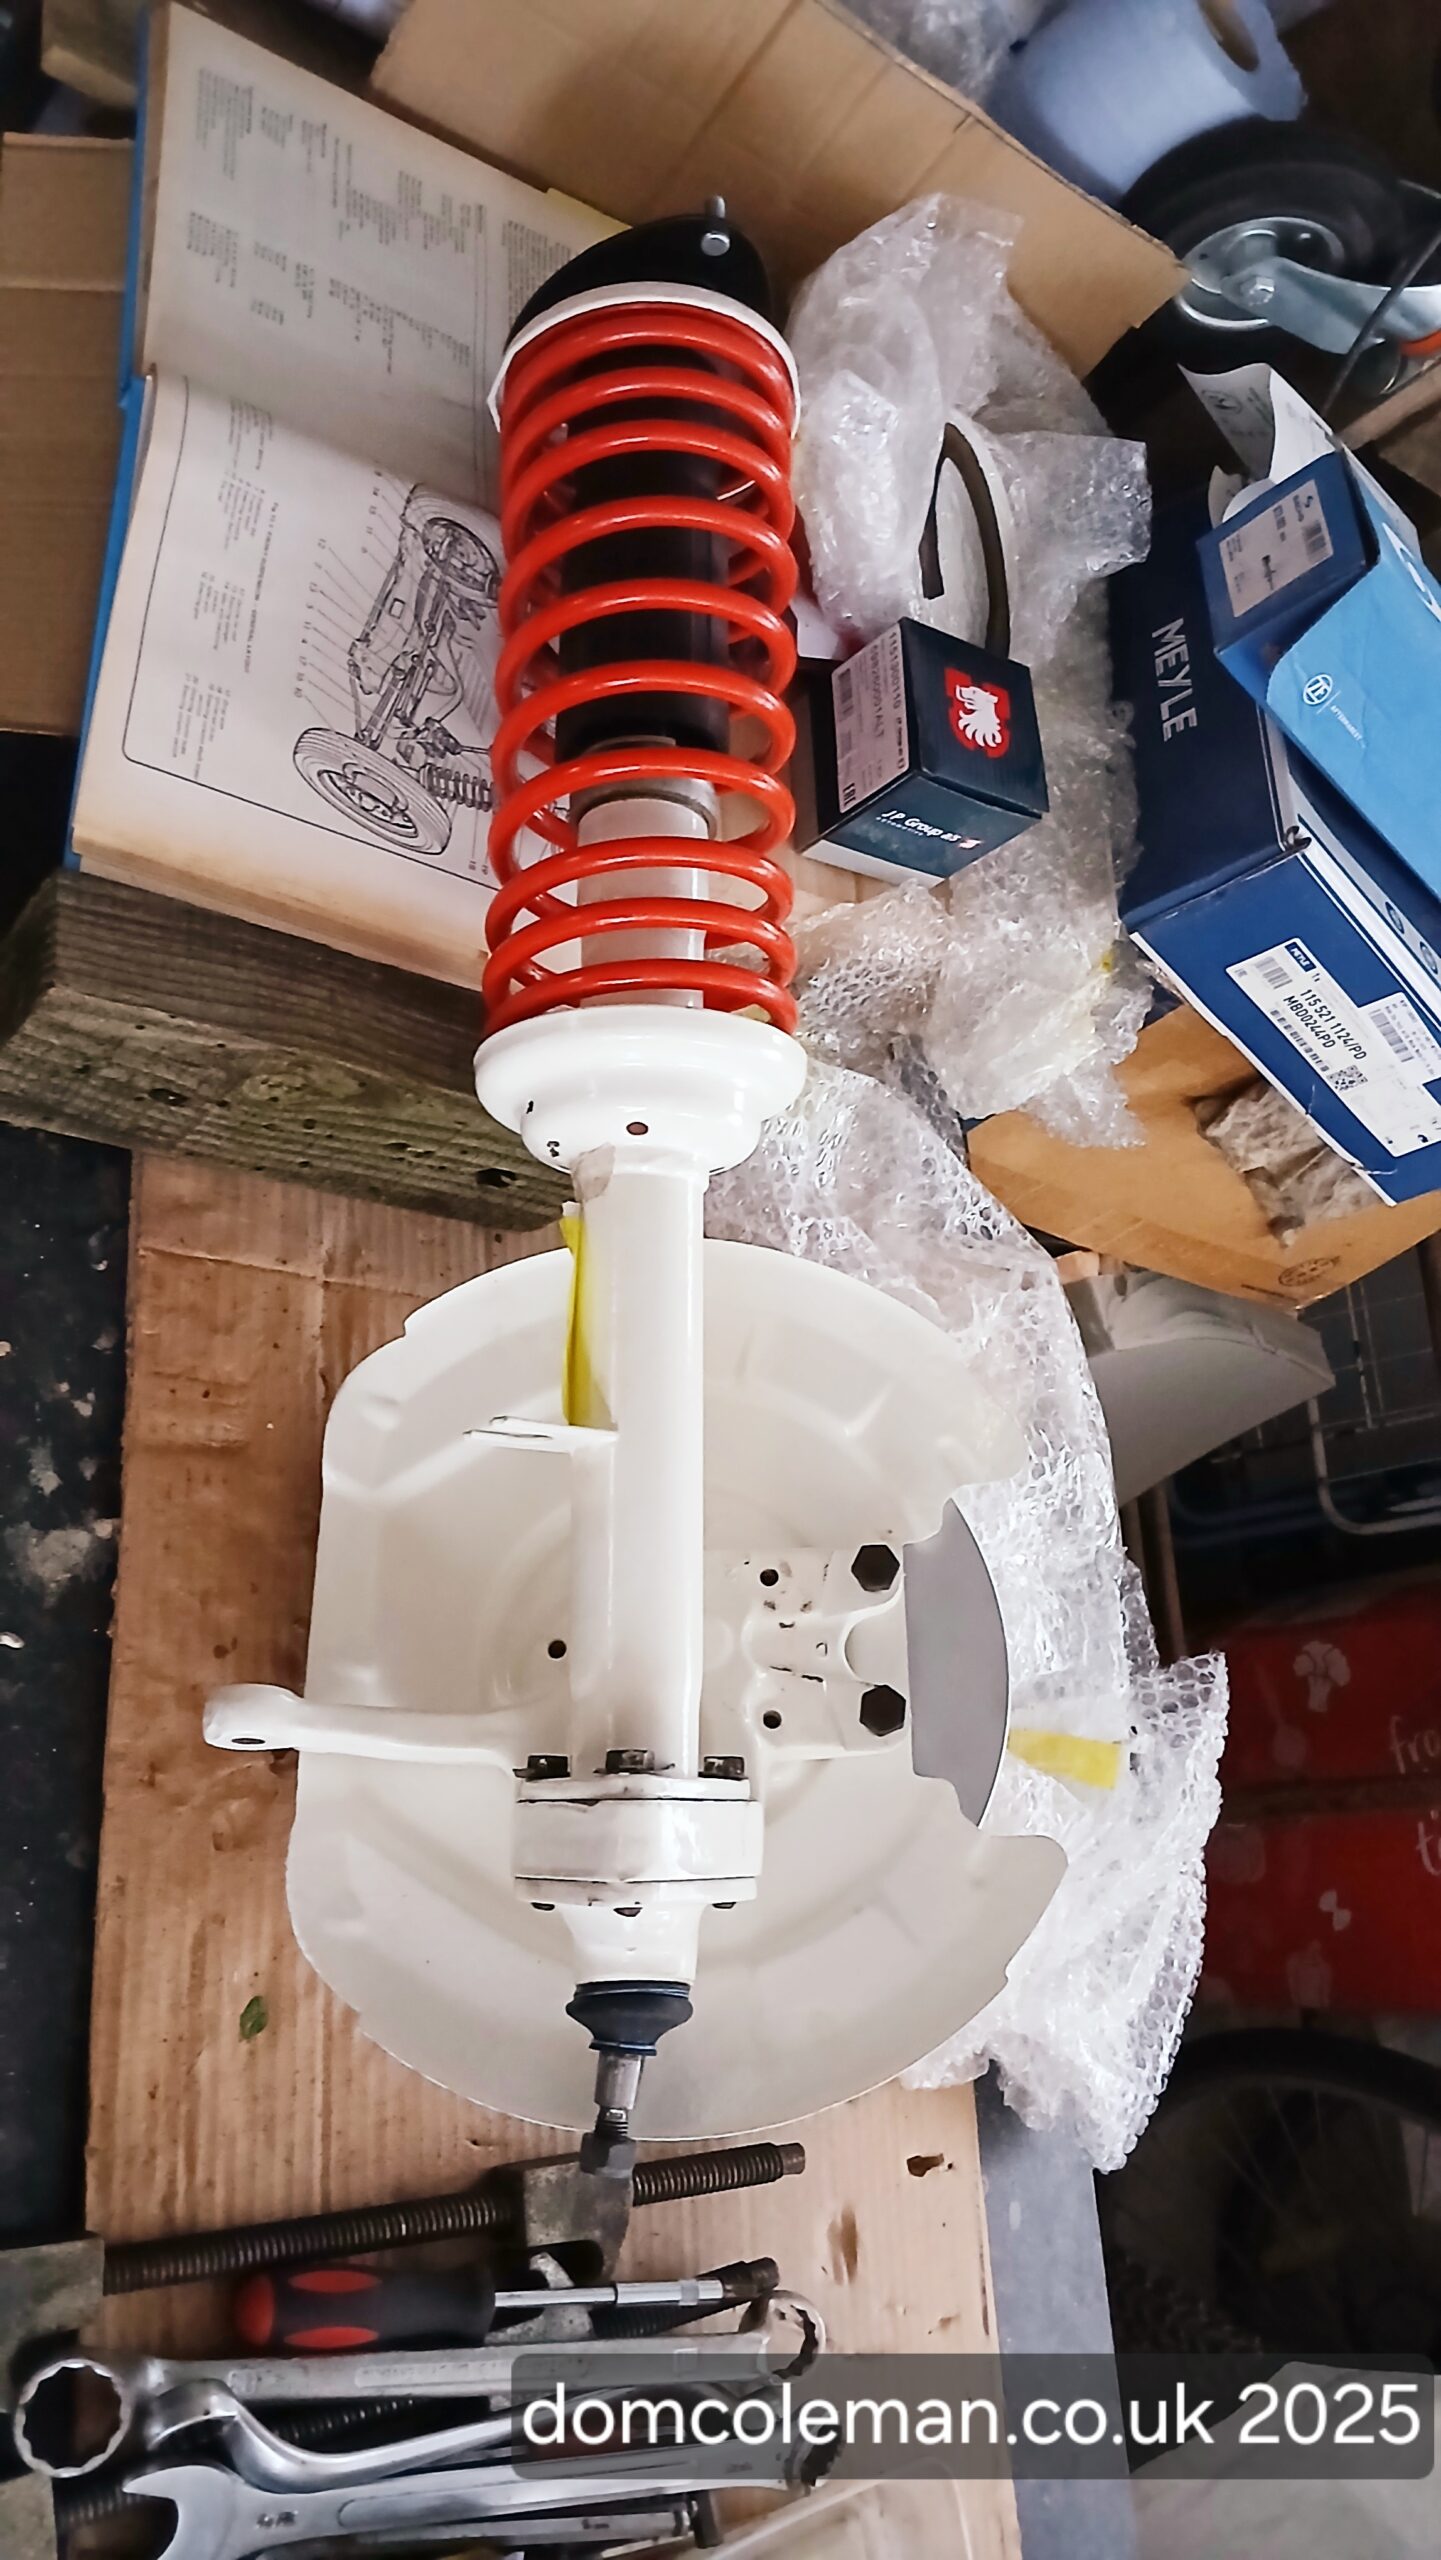
Fitting the rebuilt front struts was relatively straightforward, although I did have to undo the anti-roll bar mountings to get the lower ball joint seated properly into the track control arms. Once in place, I connected the track rod ends to the steering arms on the struts.

Then came the first โ€œahโ€ moment โ€” with the wheels on, they were clearly pointing outwards. Not ideal. It turned out the track rod ends hadnโ€™t been wound far enough into the rods, thanks to threads contaminated with sand and grit from the earlier media blasting and powder coating.
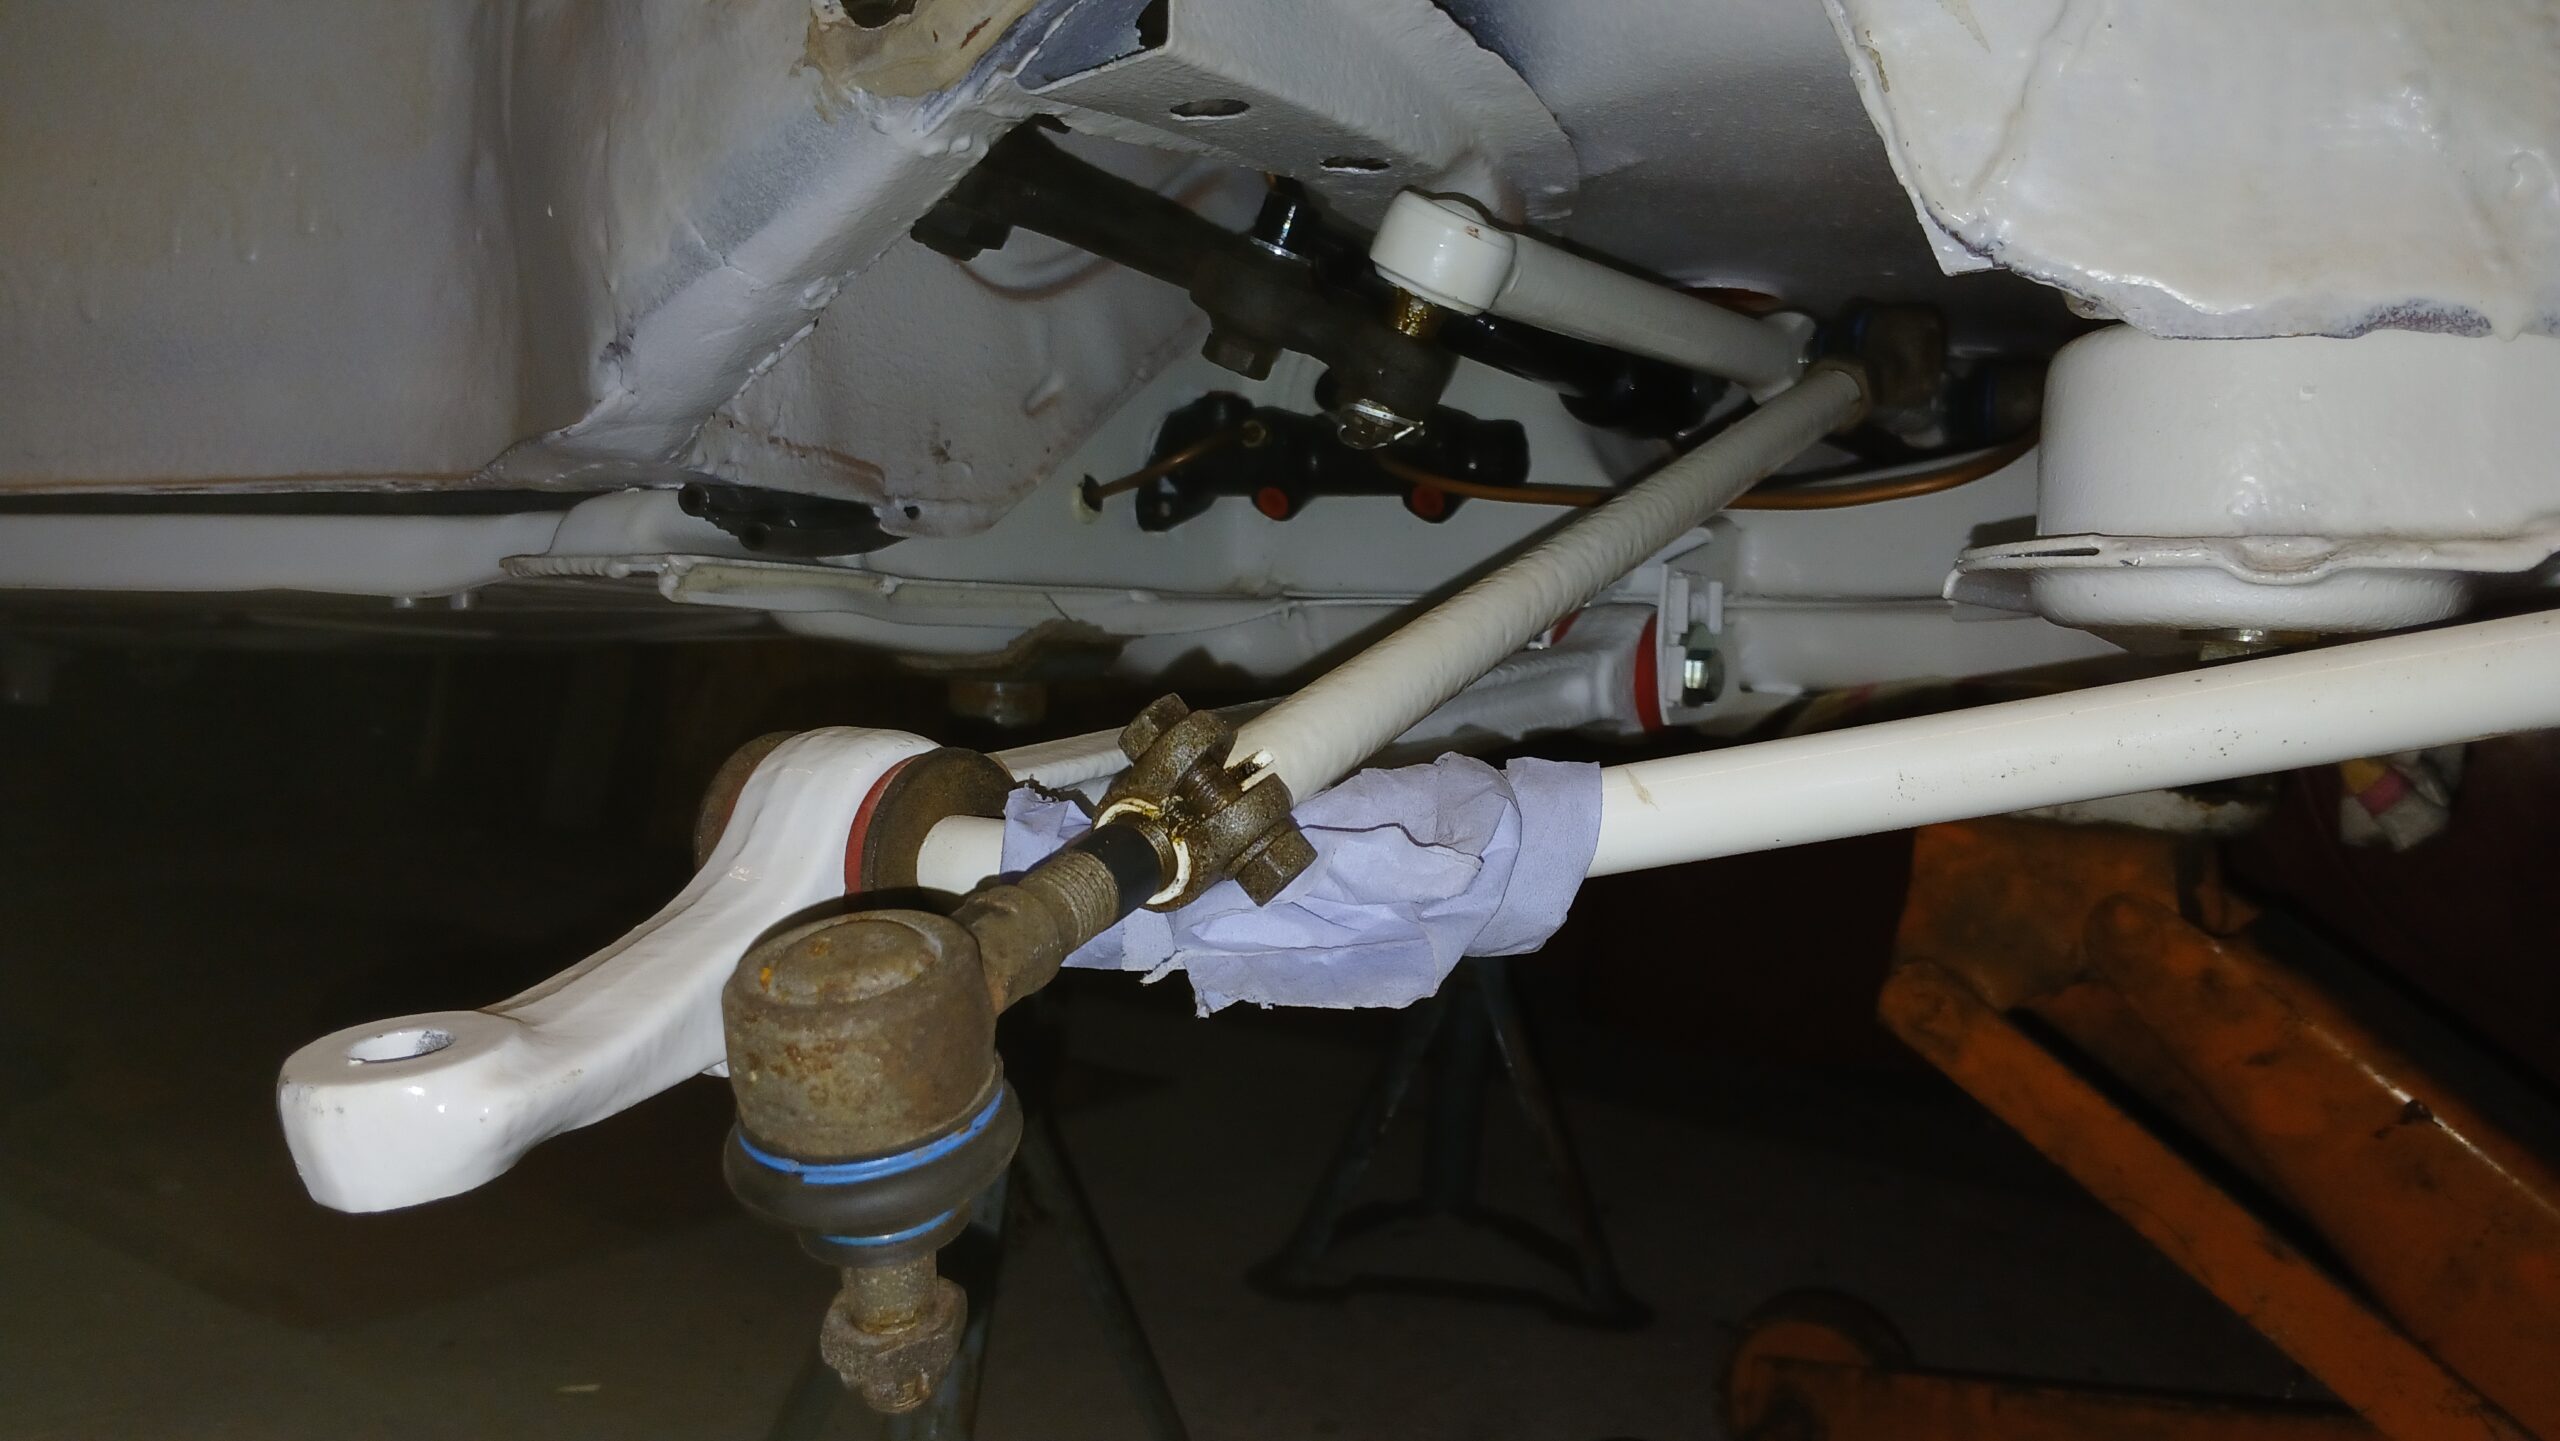
1302S Front right side steering components
Front right side steering components, note the tie rod end not wound in very much

So, out it all came again. This time, carefully manoeuvring everything around the now-fitted struts. With the track rods clamped firmly in the vice on the workbench, I worked the ends in and out, cleaning the threads millimetre by millimetre. It took a while, but eventually I had enough adjustment to make a future alignment possible.

Back under the car on the mechanicโ€™s creeper, I went through the now-familiar routine of refitting everything. Thankfully, it wasnโ€™t too arduous this time. Once reconnected, I stepped back โ€” and the wheels were finally pointing forwards.
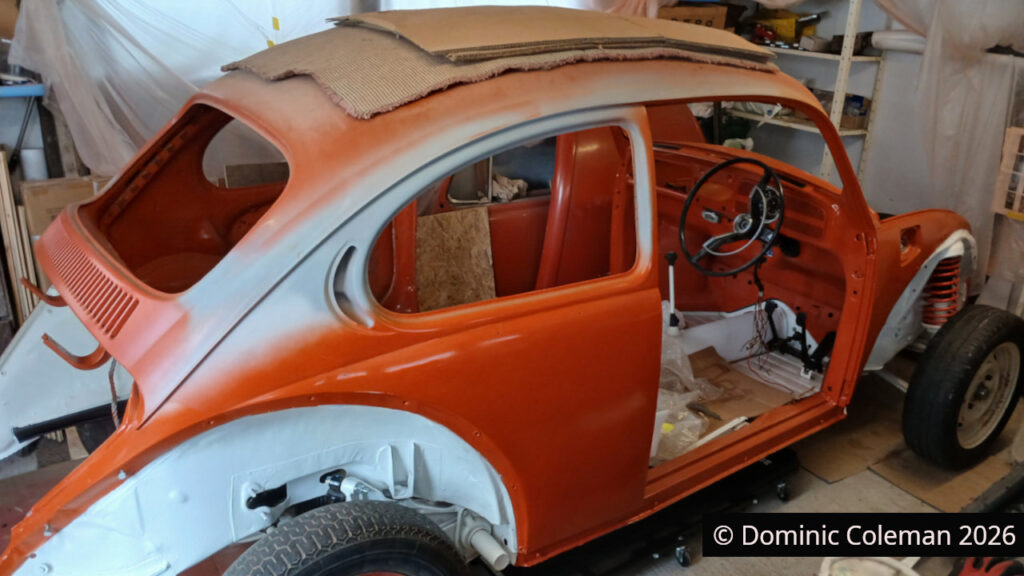
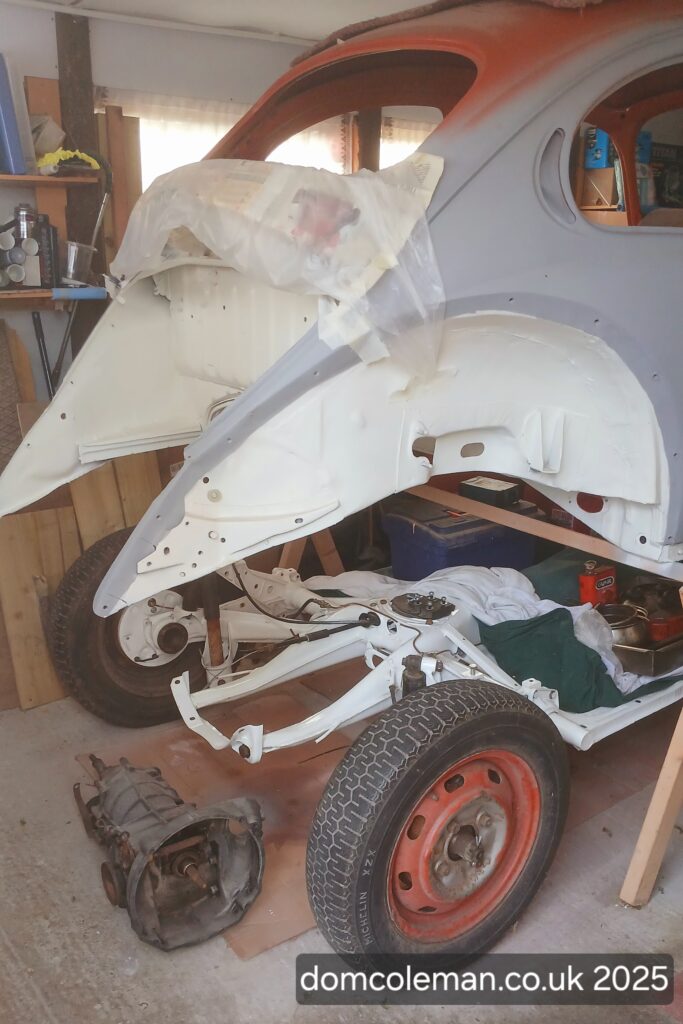
1302S with front suspension and steering fitted

With that sorted, I turned back to the brakes. I finished fitting the copper lines along the frame head and up to the flexi pipe connections, making the most of the access underneath the car while I still could. Fitting the flexi pipes to the front struts was straightforward, and shaping the copper lines neatly around the lower struts to those freshly rebuilt calipers was a particularly satisfying job.
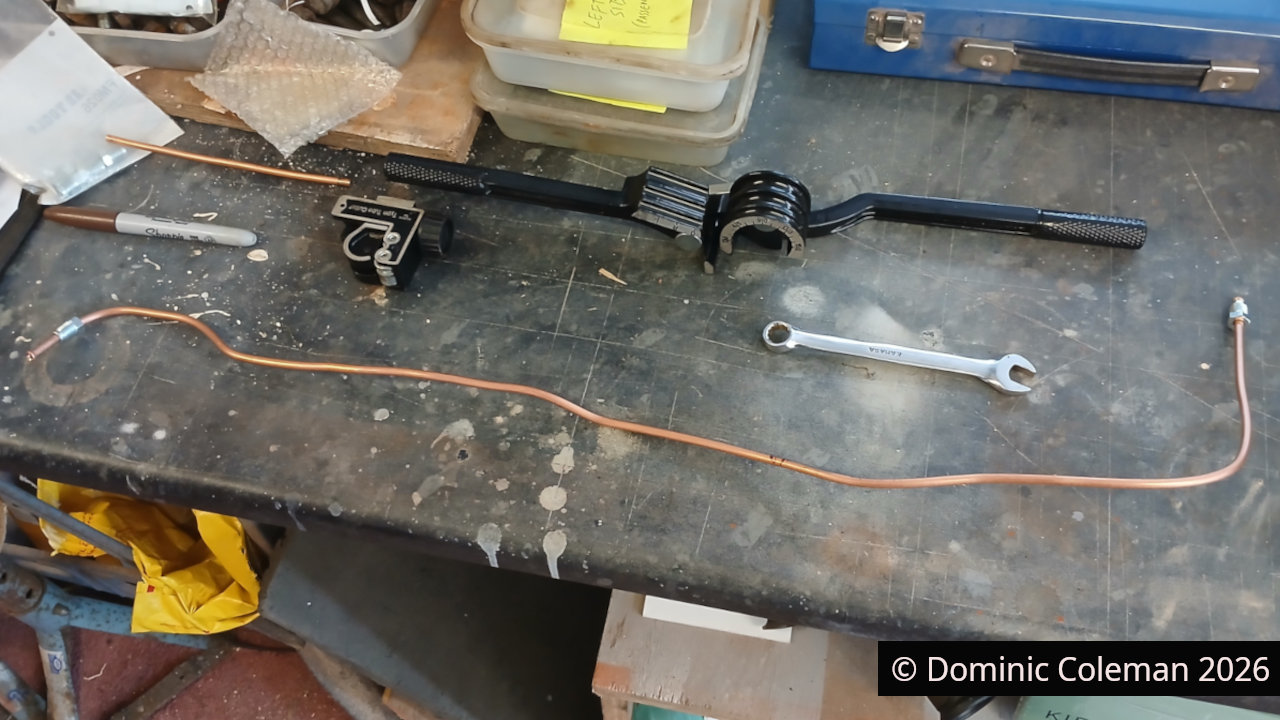
frame head brake line

I also dug out the brake fluid reservoir and its associated pipework from storage, only to find the pipes were in poor condition โ€” and one was missing altogether. New ones will need to be made up from 8mm piping.

With the wheels back on, it marked a bit of a milestone โ€” the first time since June 2021 that the car was back on all fours.
Categories
mechanics suspension

Meanwhile…

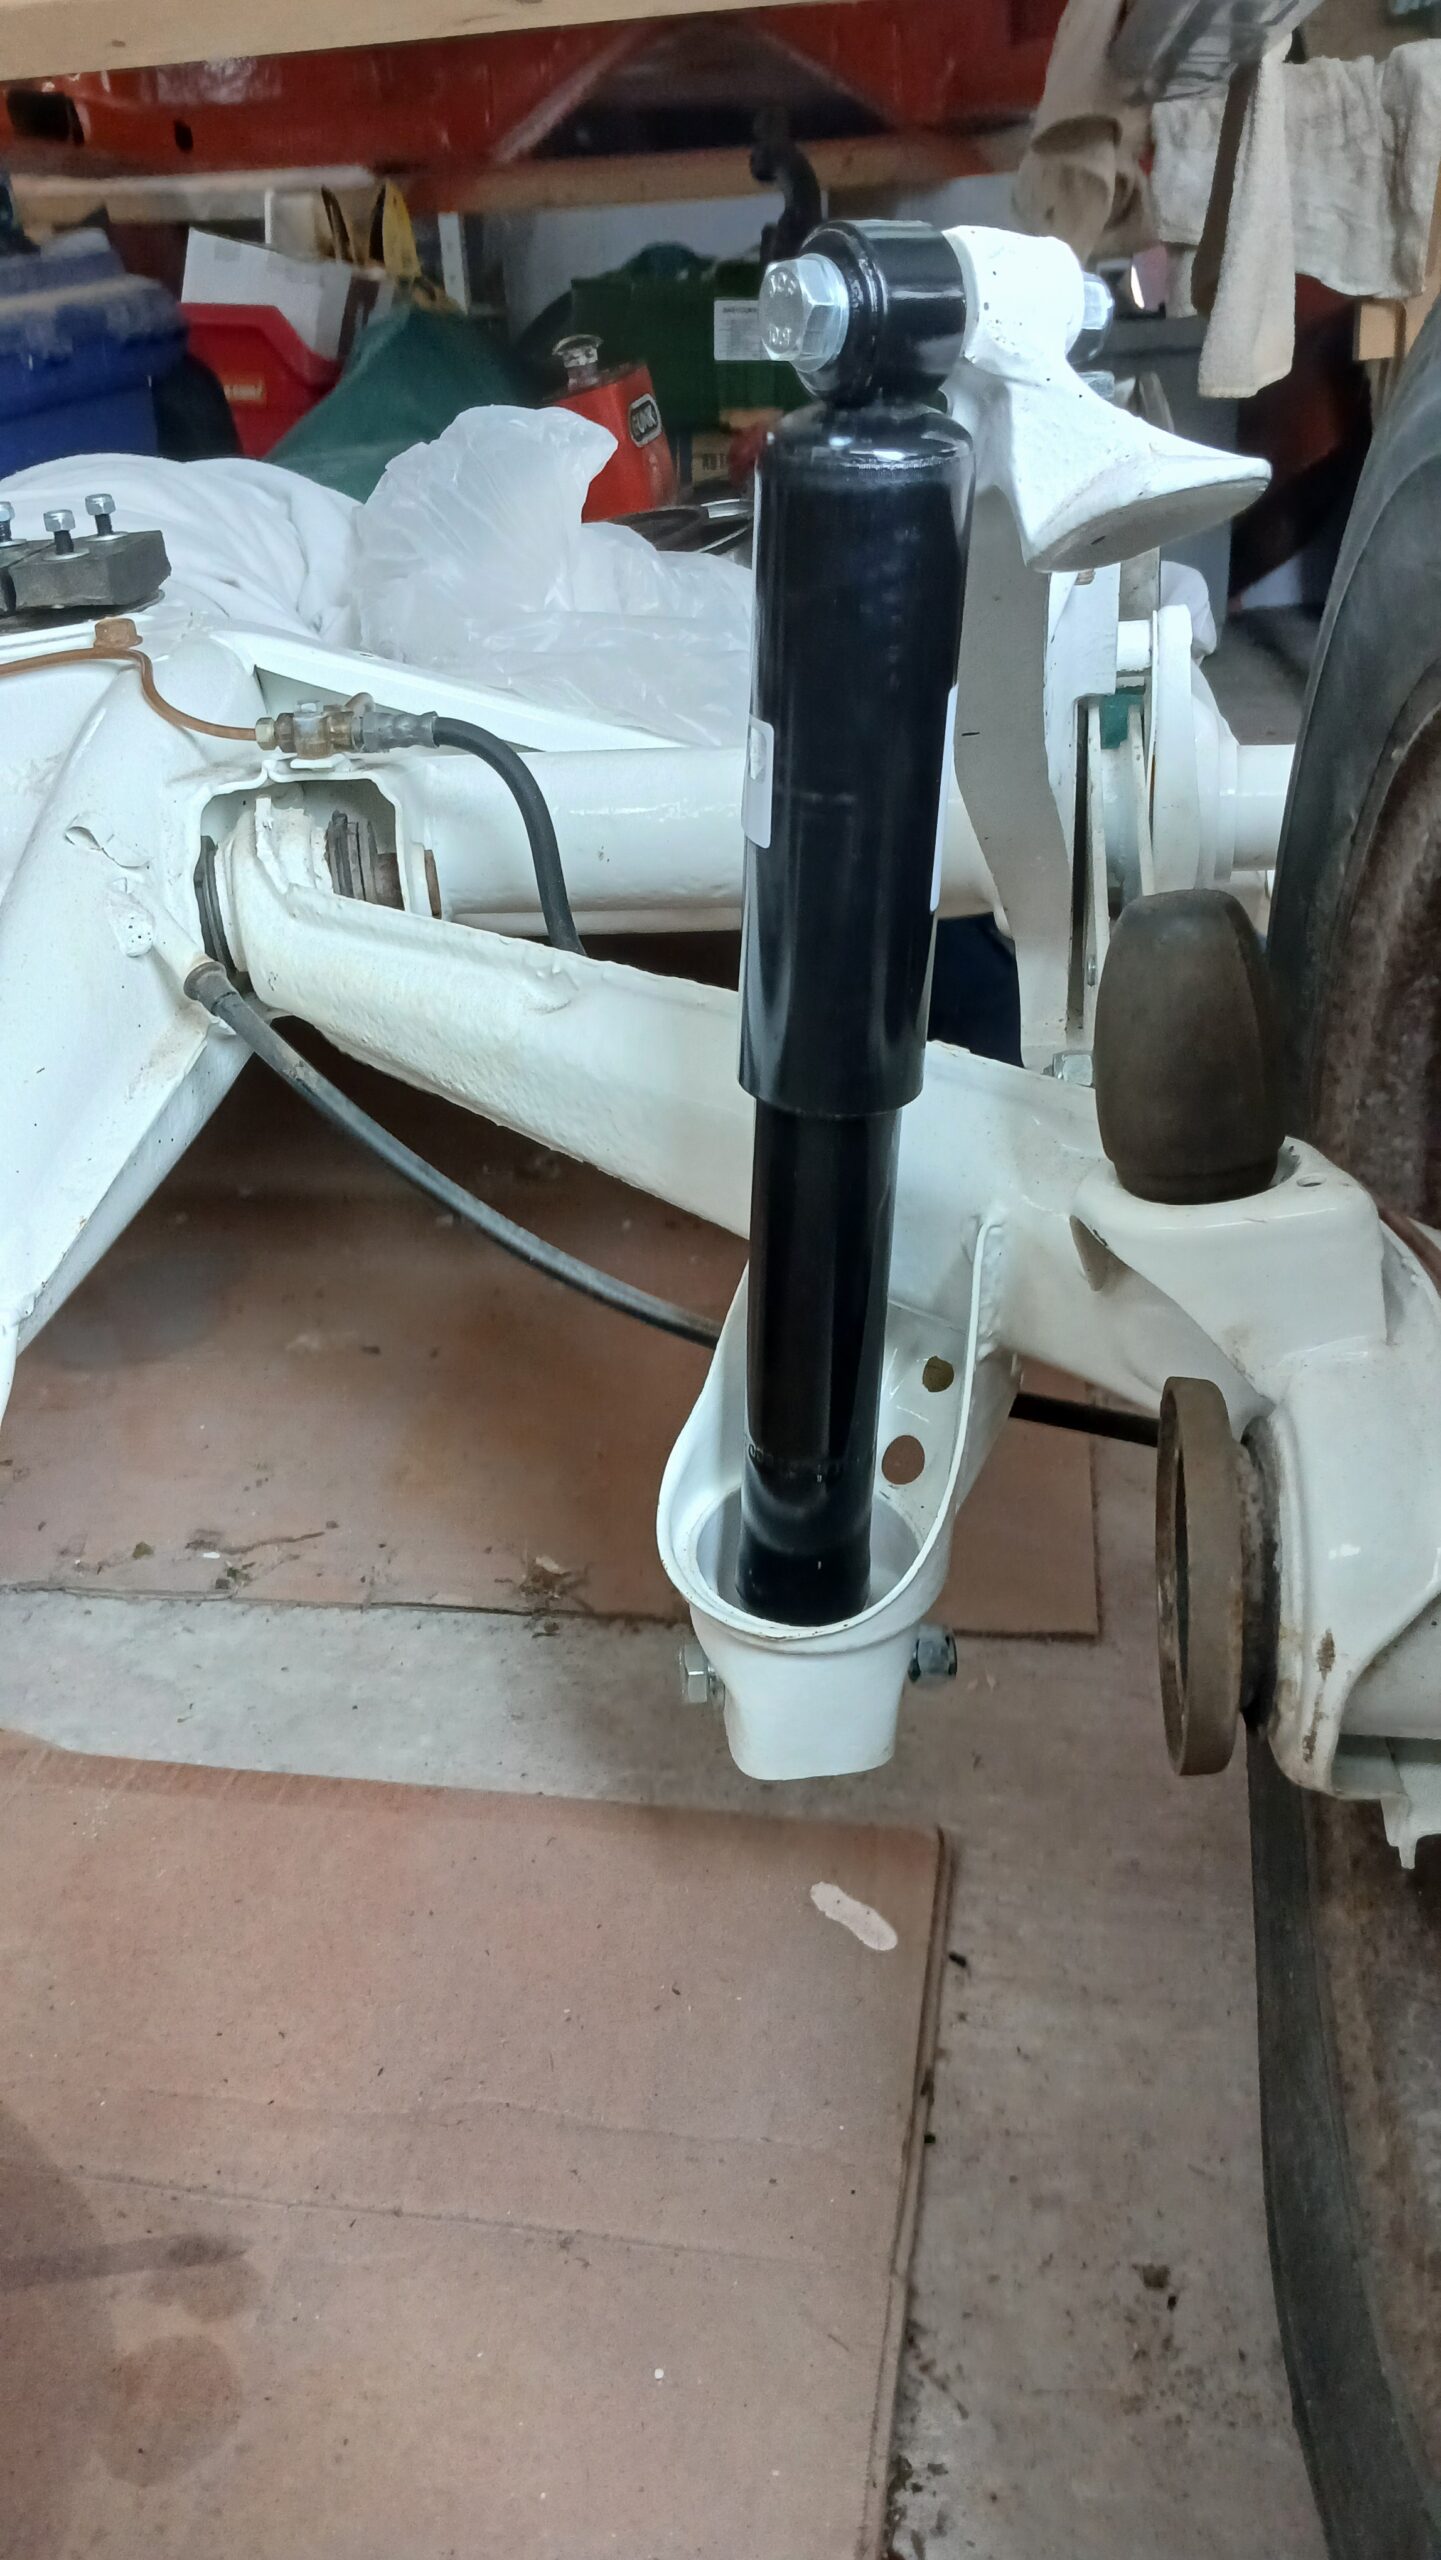
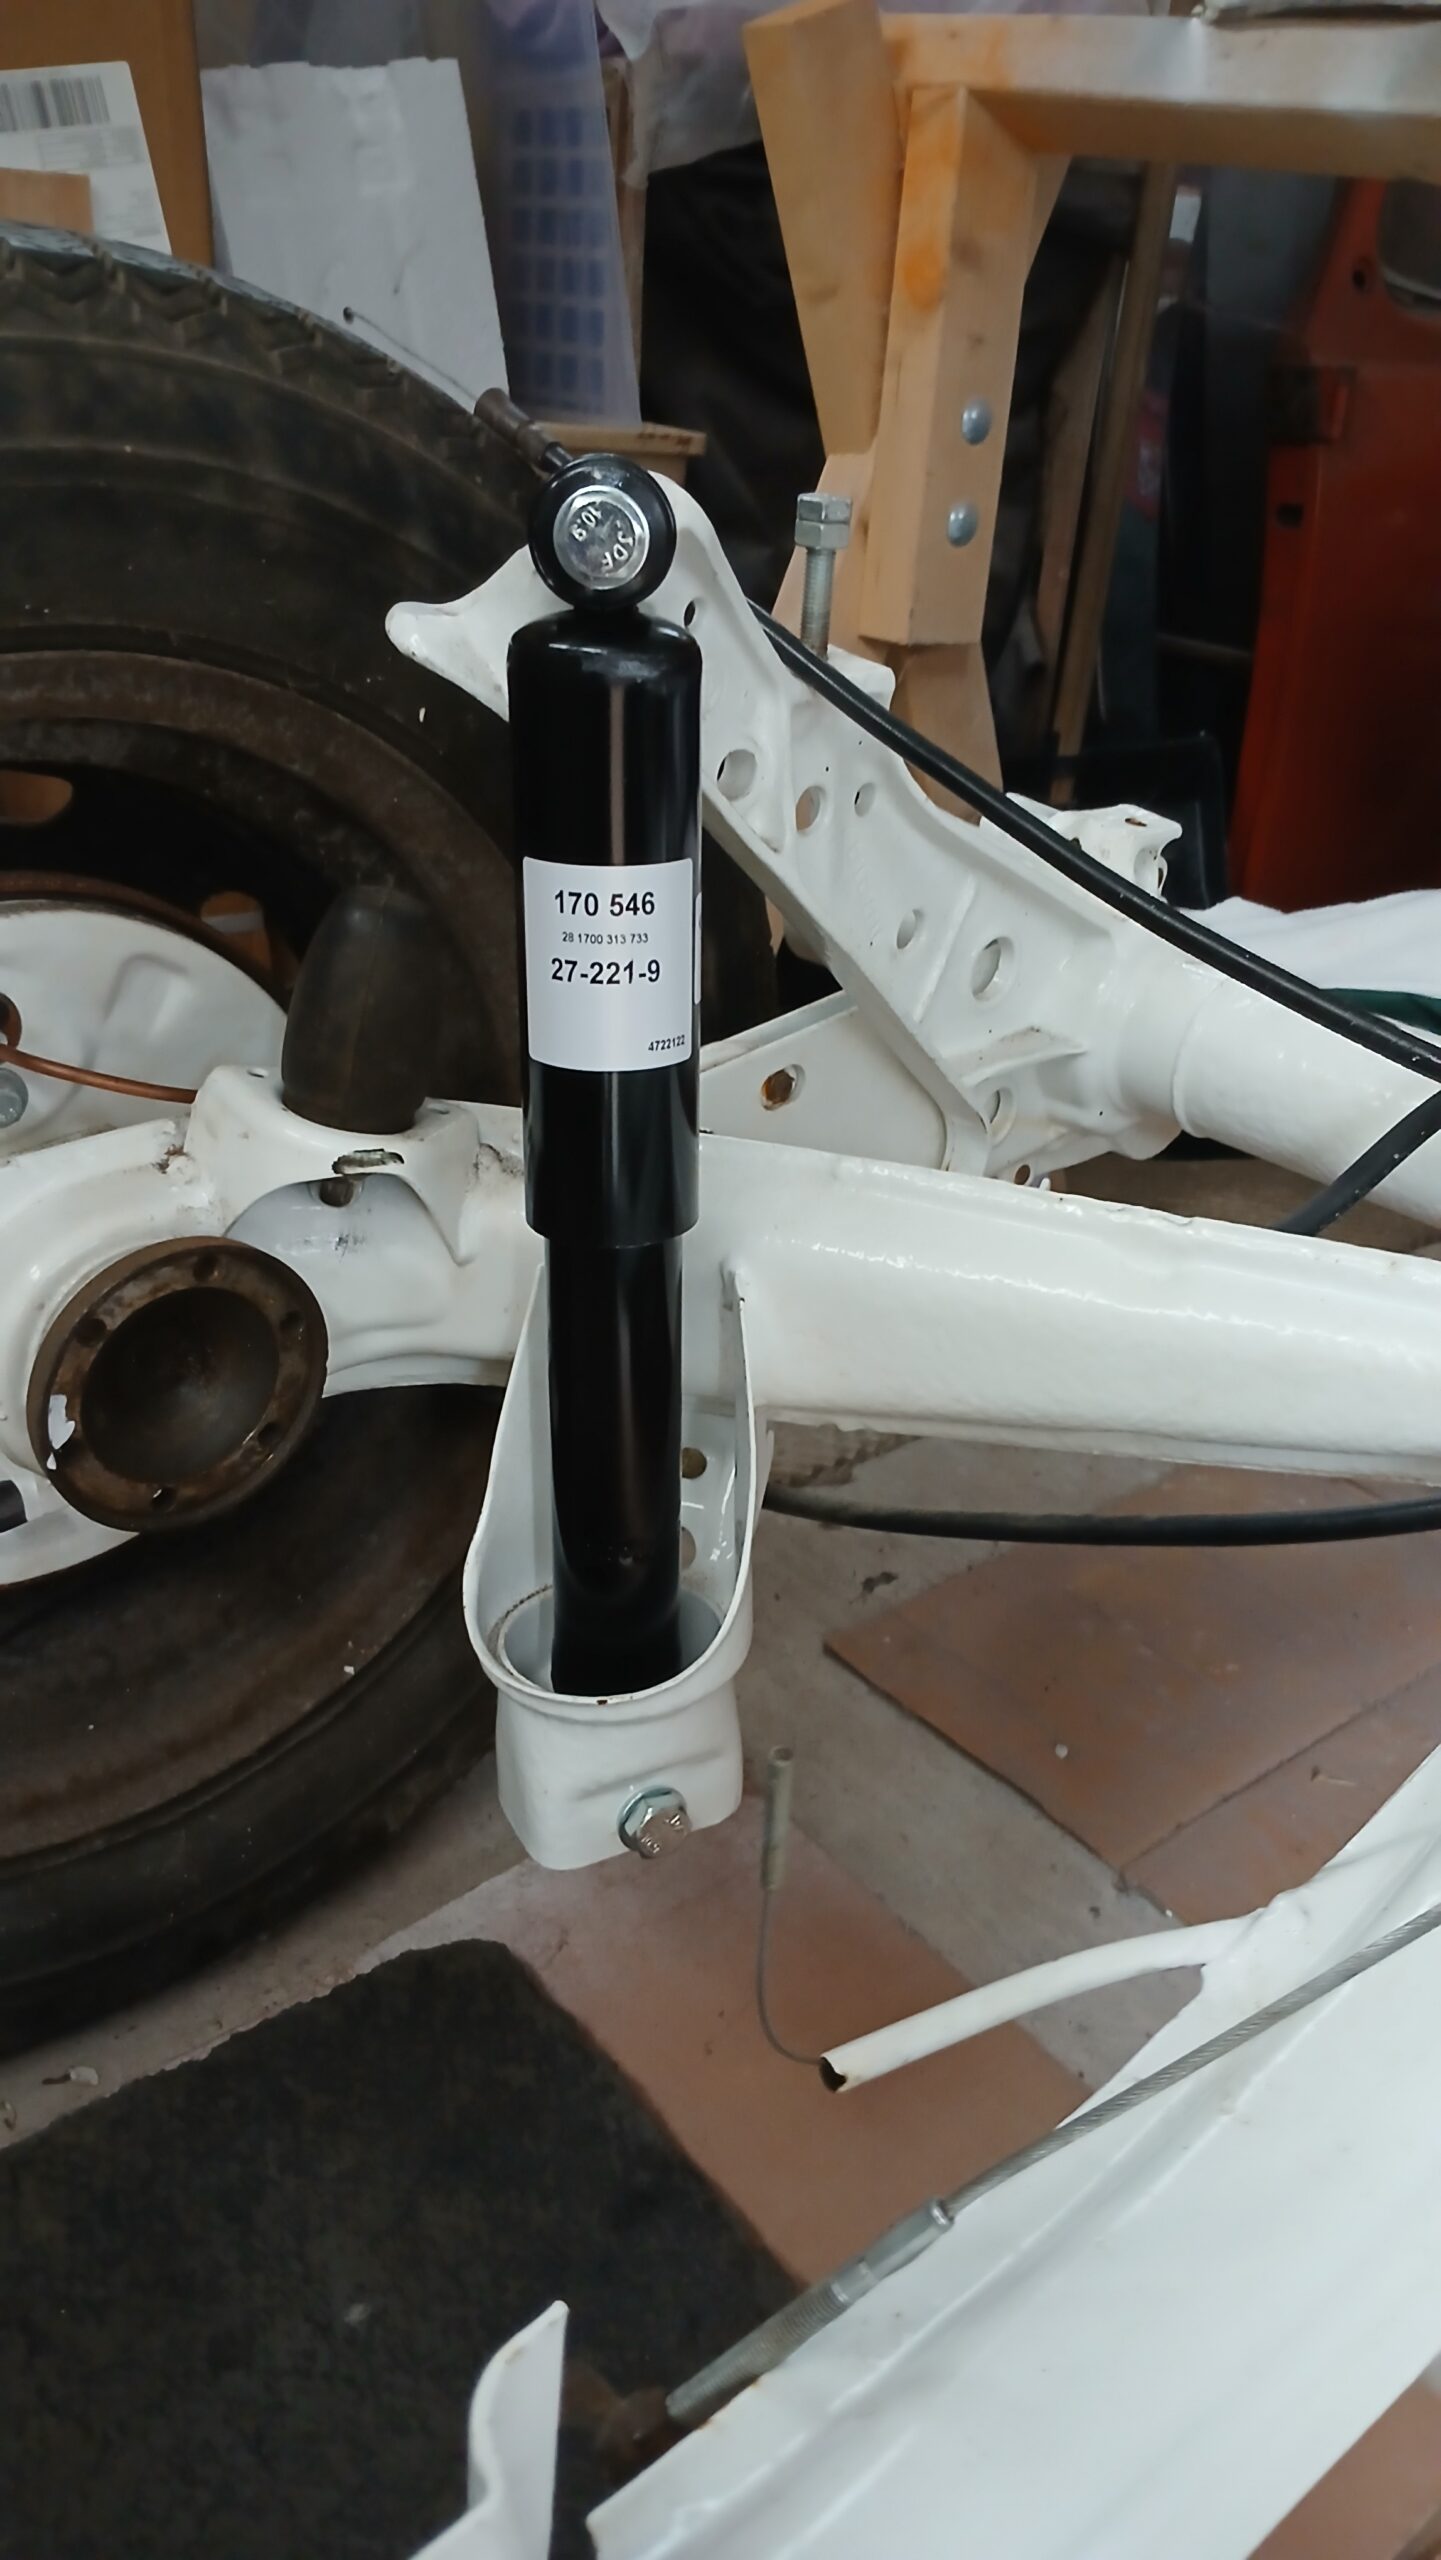
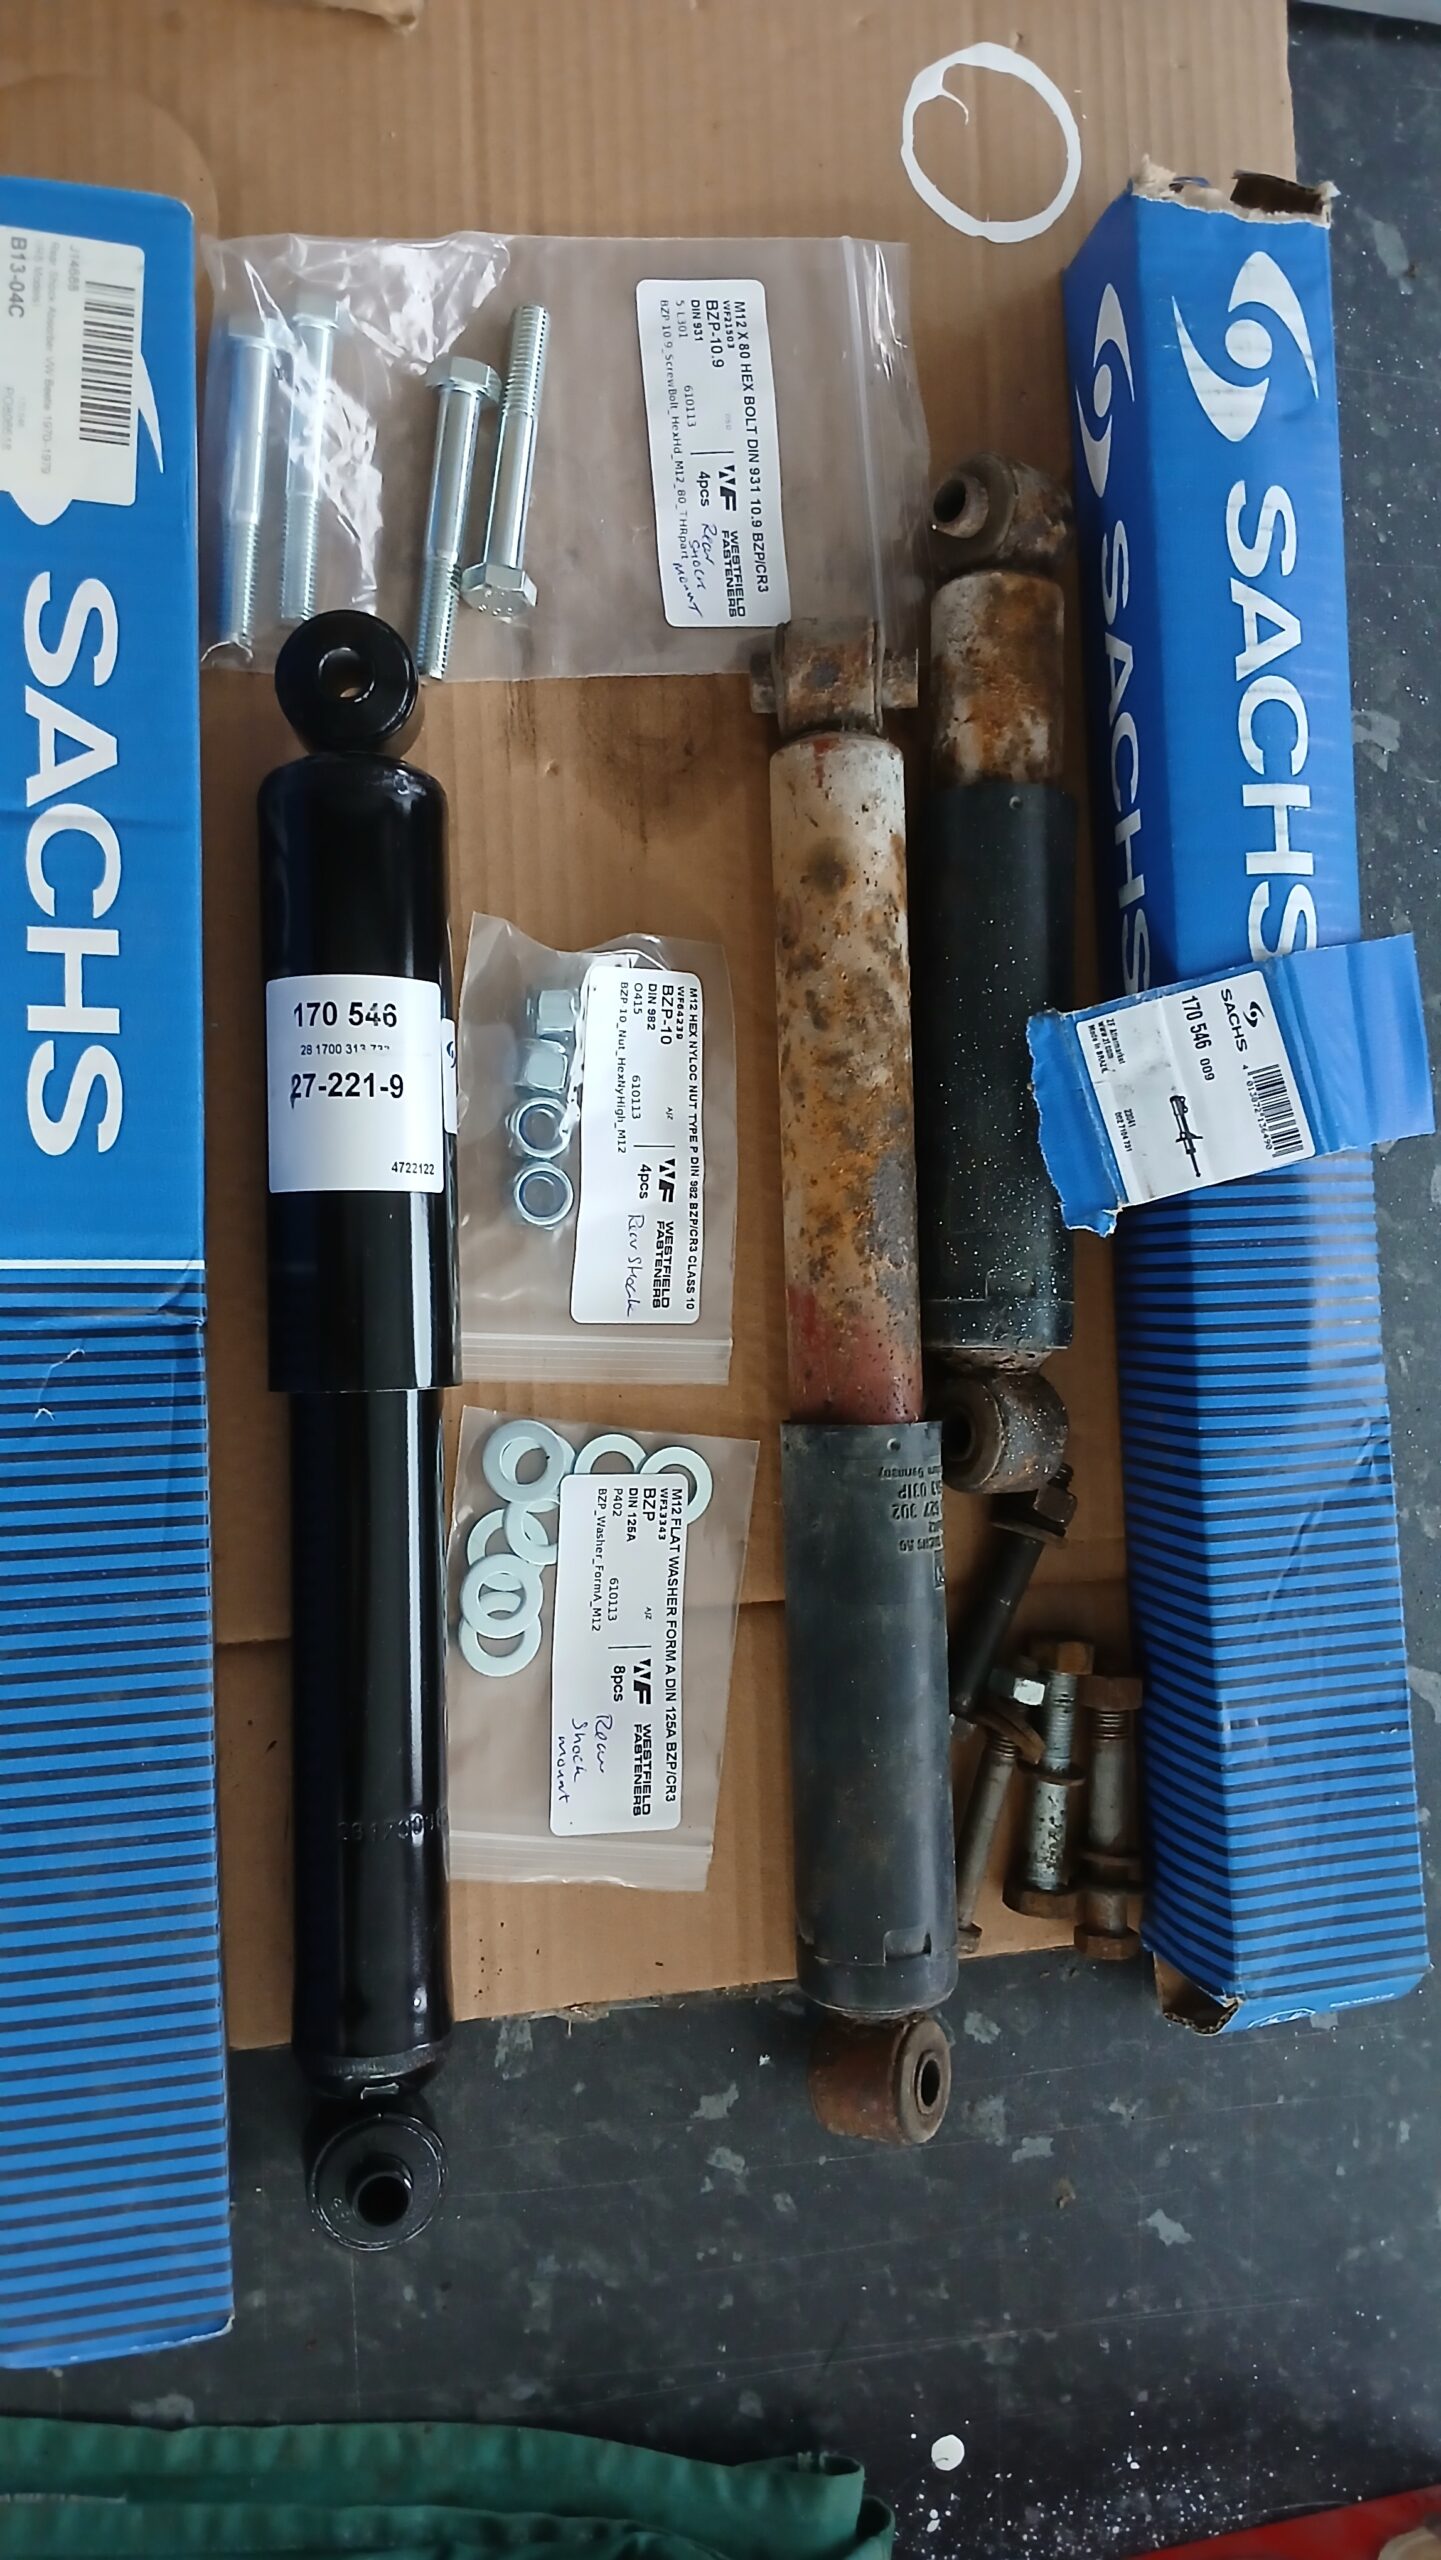
With the gearbox away I took the opportunity to prepare for its return. I rebuilt the driveshafts that I had ‘done’ last year. I had bought 4 new CV joints in January and fitted them, and then re-fitted them, as I had got the washers the wrong way around on the first attempt. I also fitted the new rear (Sachs) shocks I bought a while ago. Rather than purchase new high tensile steel bolts for the rear shock from the likes of Just Kampers/Cool Air/VW Heritage for ยฃ3+ per bolt, I could buy 4 bolts from Westfield Fasteners for less than ยฃ7. I also bought several other bolts, washers and nuts, mostly in stainless steel for re-assembly later on.

A new gear linkage coupling (CSP) polyurethane was also bought and fitted in readiness for when the gearbox cam back from John Walklett. Having spoken to John on the phone in the week, he was hoping to have the box done by the end of April – it was next on his to list but higher priority tasks had jumped the queue.

Categories
steering suspension

Gearbox goes away & front strut reassembly


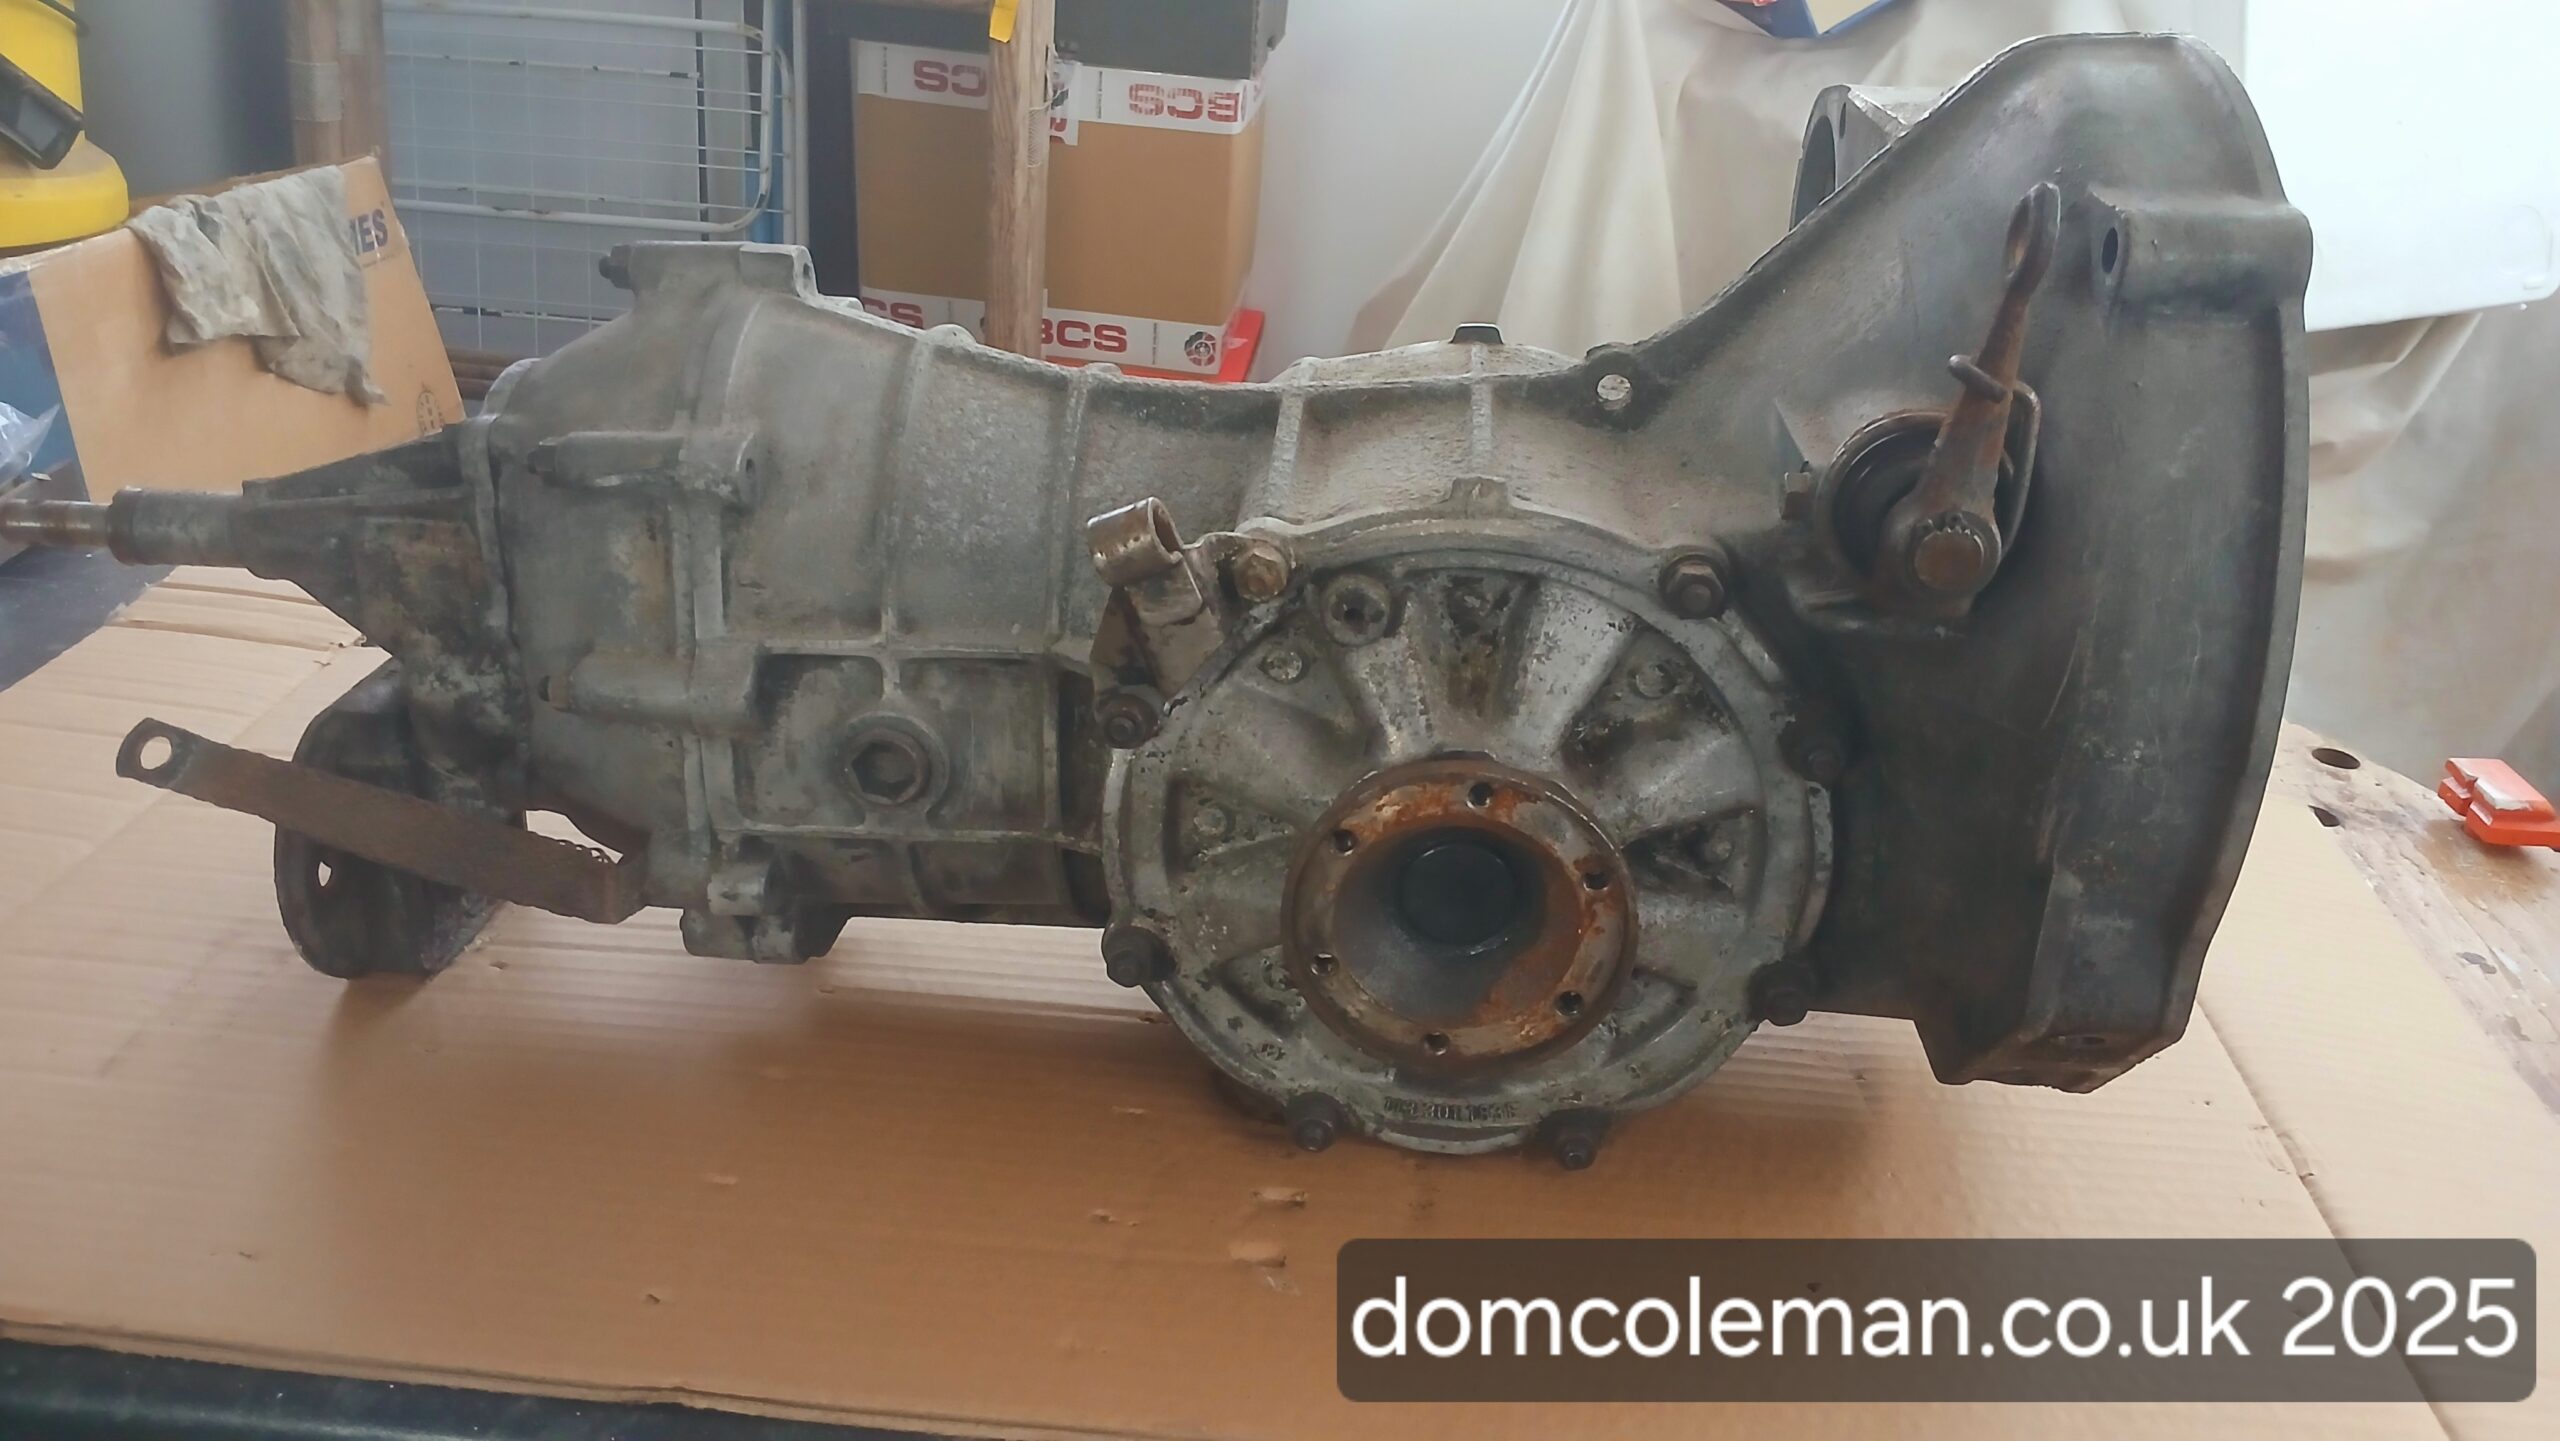
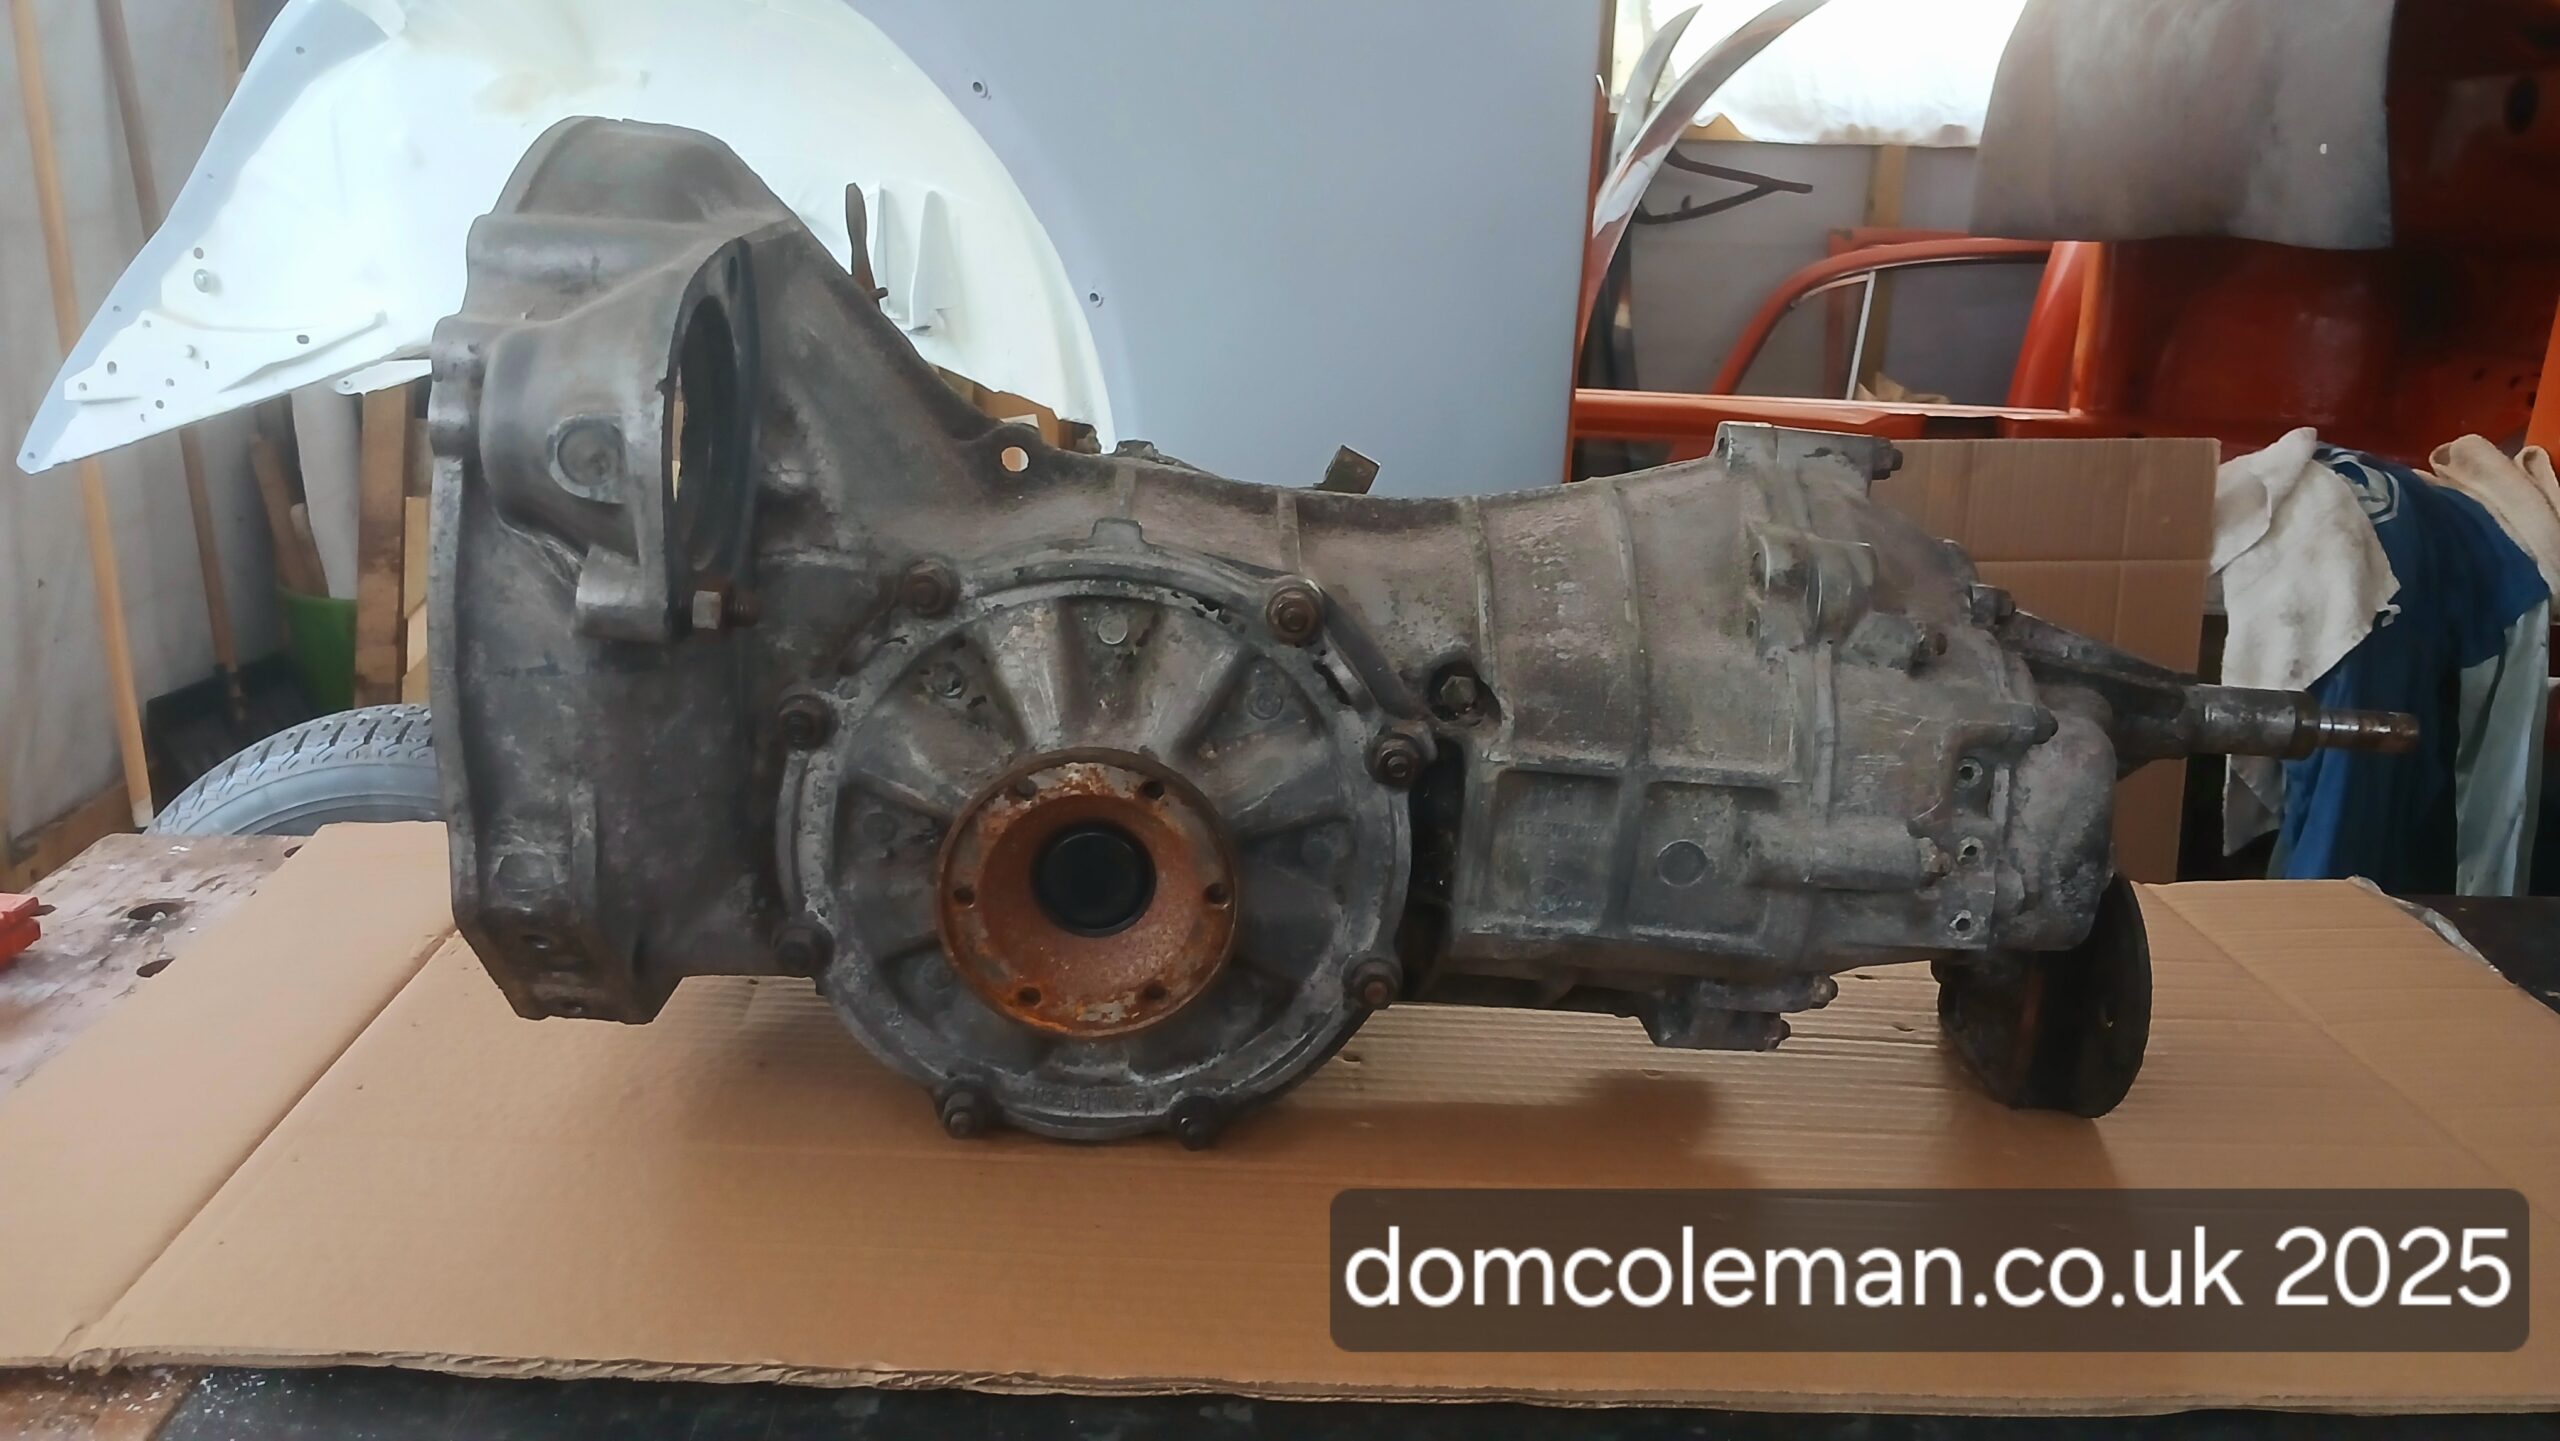
At the end of January, I took myself on a road trip to Newcastle-under-Lyme to visit John Walklett Transmissions. I could have sent the gearbox via courier, but for the cost involved, I may as well go myselfโ€”and this way, I could speak to John face-to-face.

His workshop was a small unit packed to the rafters with VW air-cooled gearboxes and crates of spare parts. We discussed the options for our “AH” code ‘box and settled on a freeway flyer setup with a taller 4th gear, allowing for lower revs at cruising speeds (60โ€“70 mph). Seeing John in action was well worth the trip, giving me confidence in his expertise and a sense that I was a serious customer. I gave him a no-rush deadline but mentioned it would be nice to have the gearbox back before Septemberโ€”he assured me he’d be worried if he still had it by then!

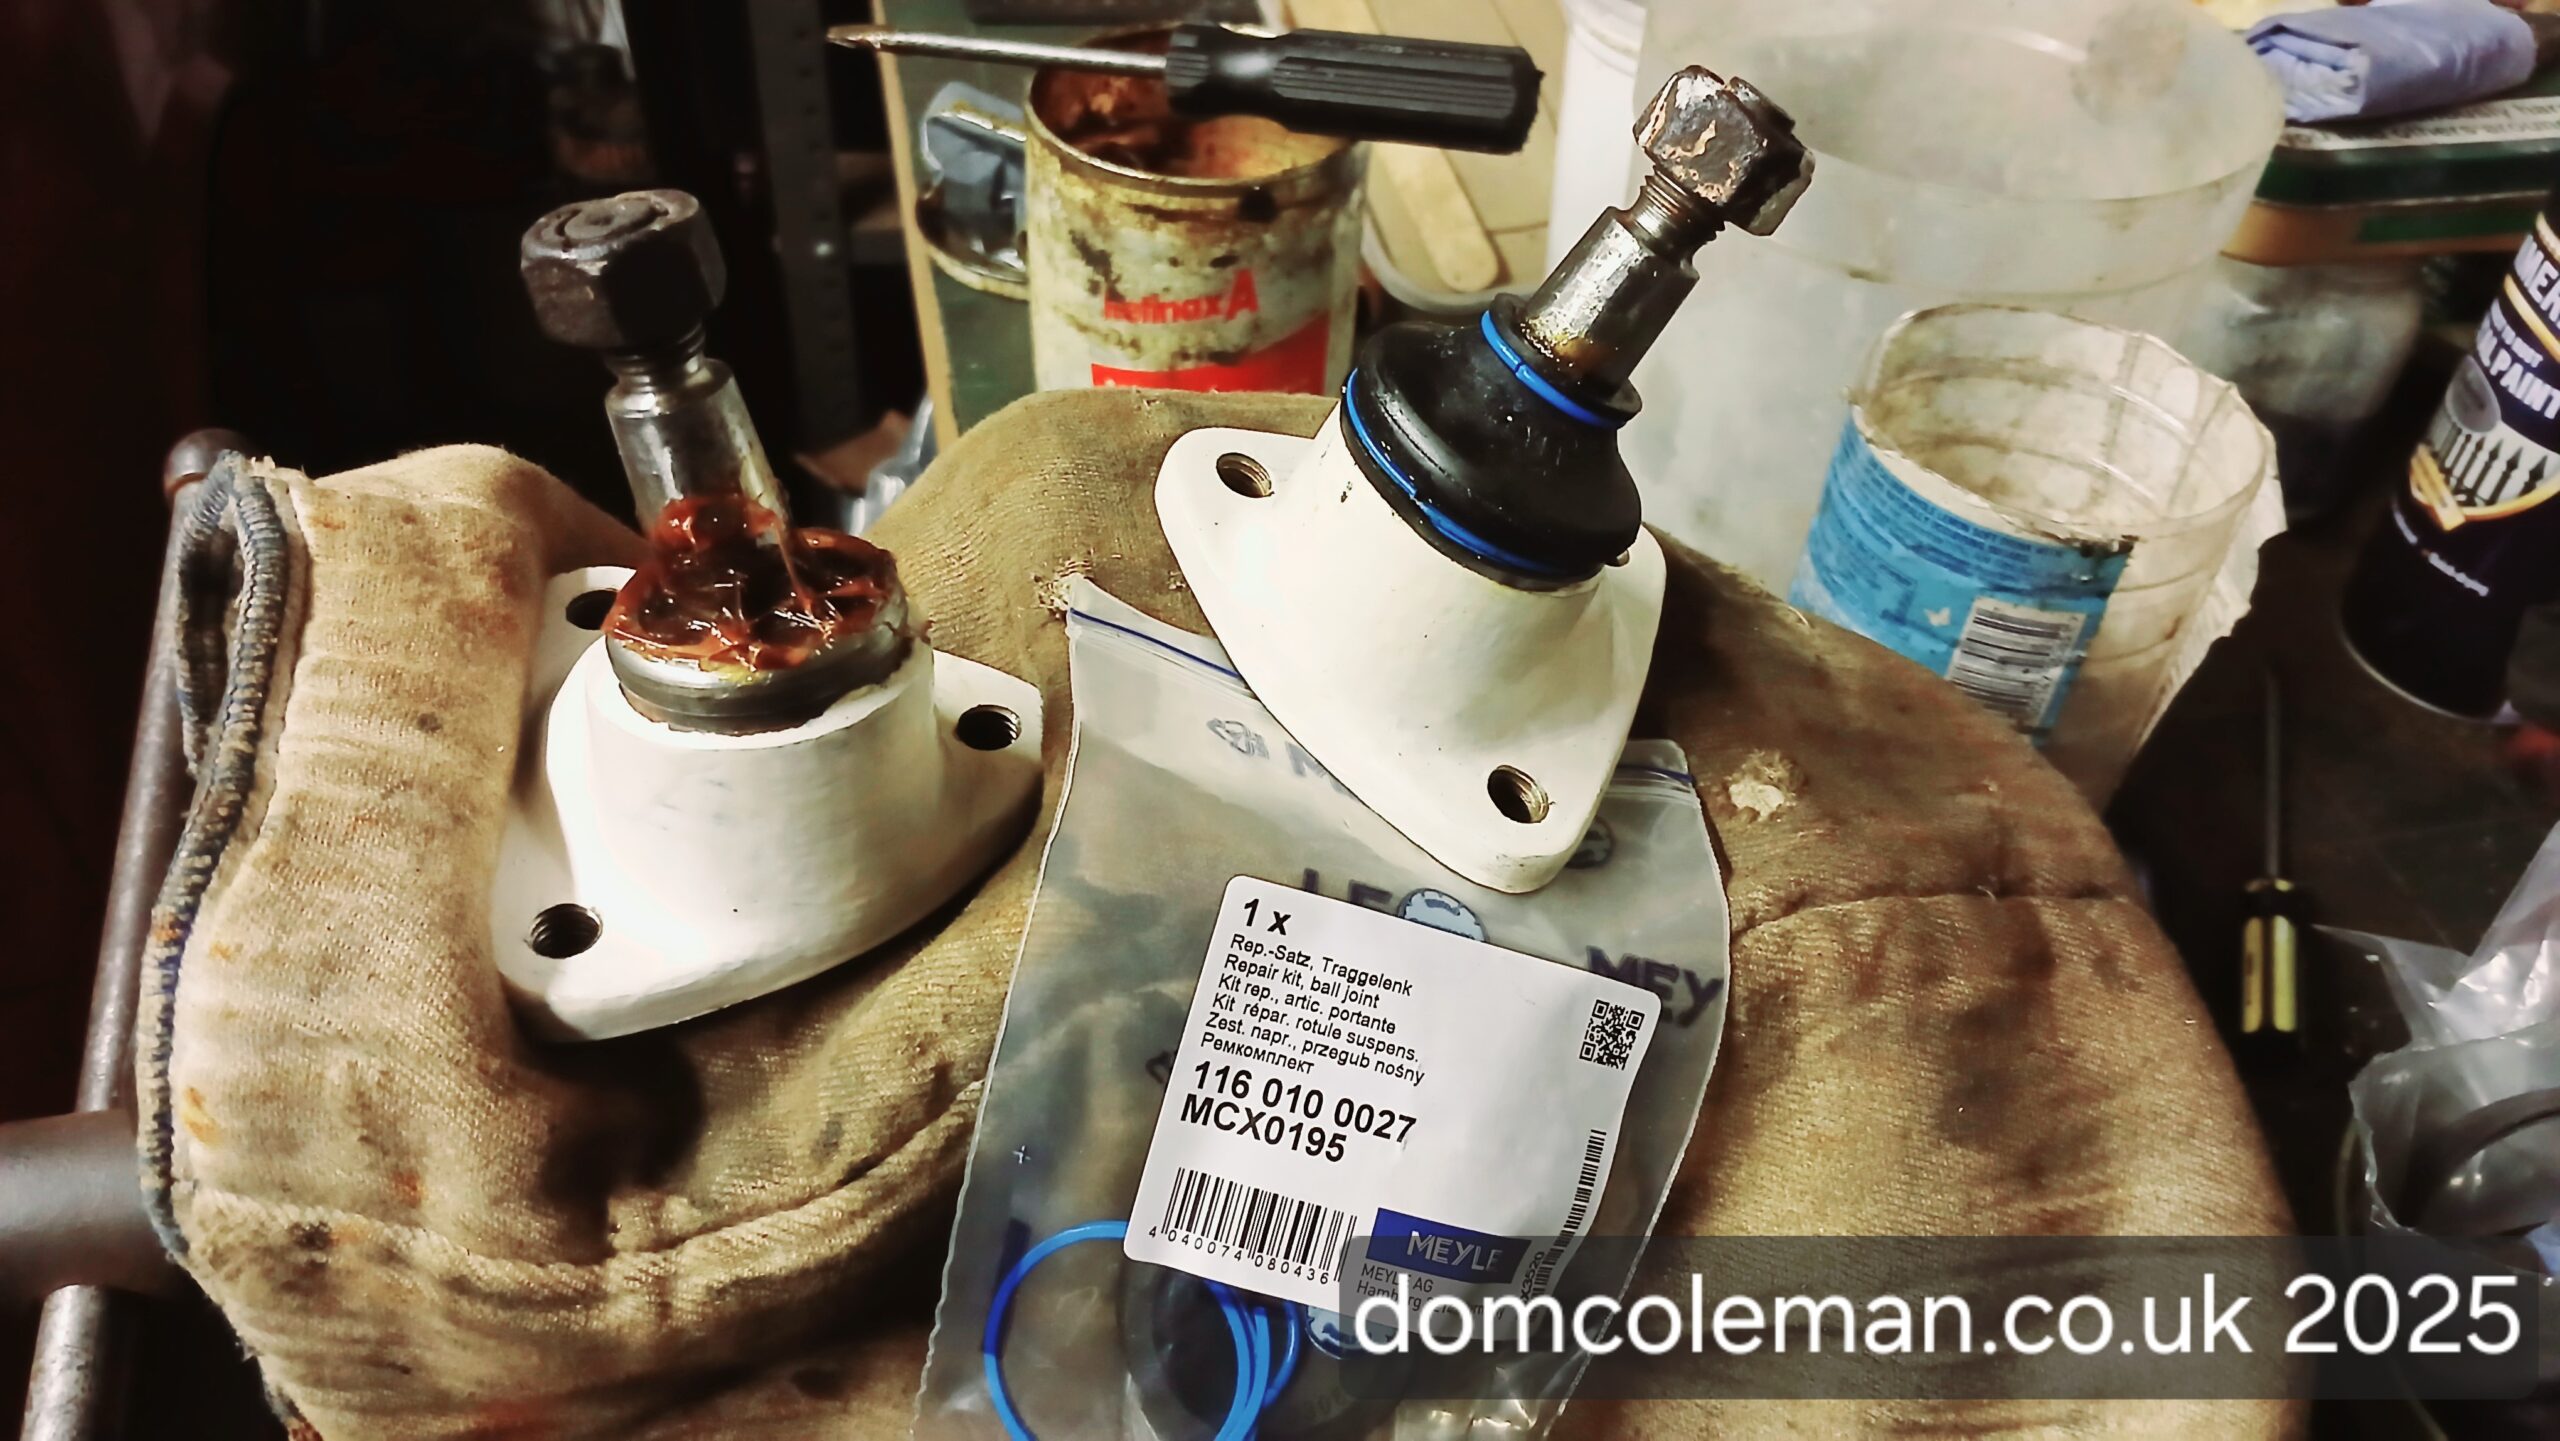
Over the Christmas break, I dug out the front strut components to clean them up and fit new lower ball joint rubber boots. However, the replacements I’d bought some time ago turned out to be too small. I suspect I was guessing the size when I originally ordered them, and I got it wrong.

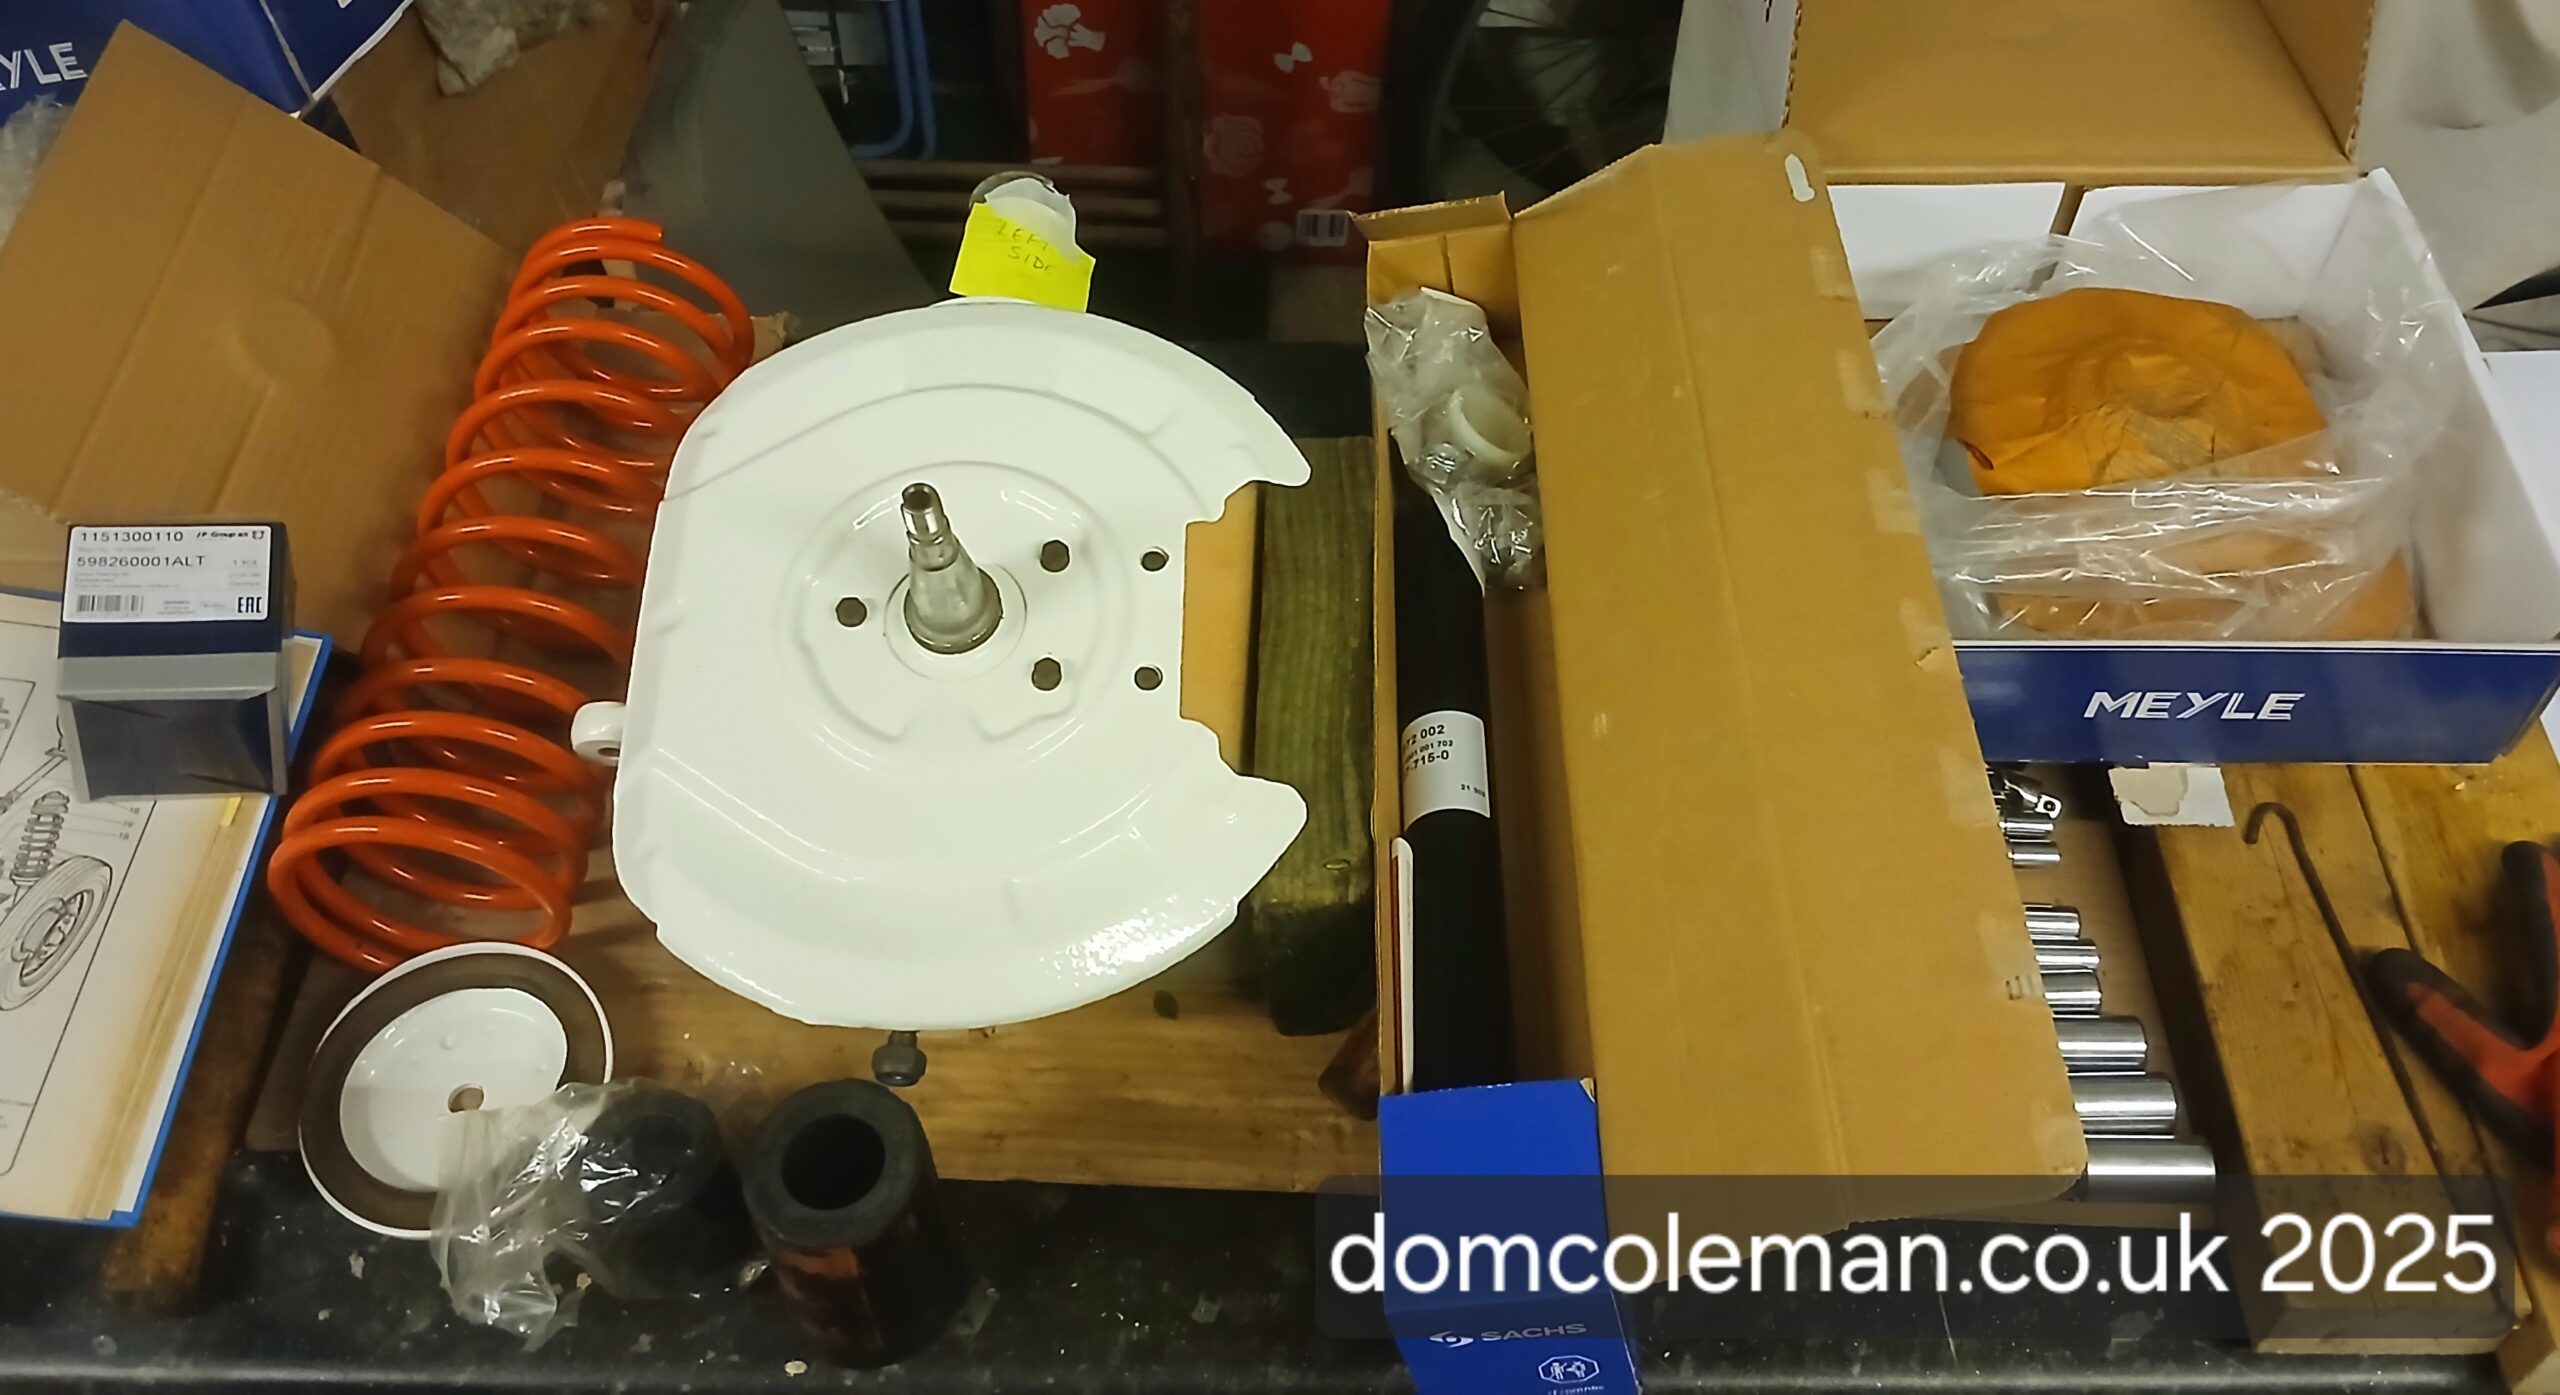
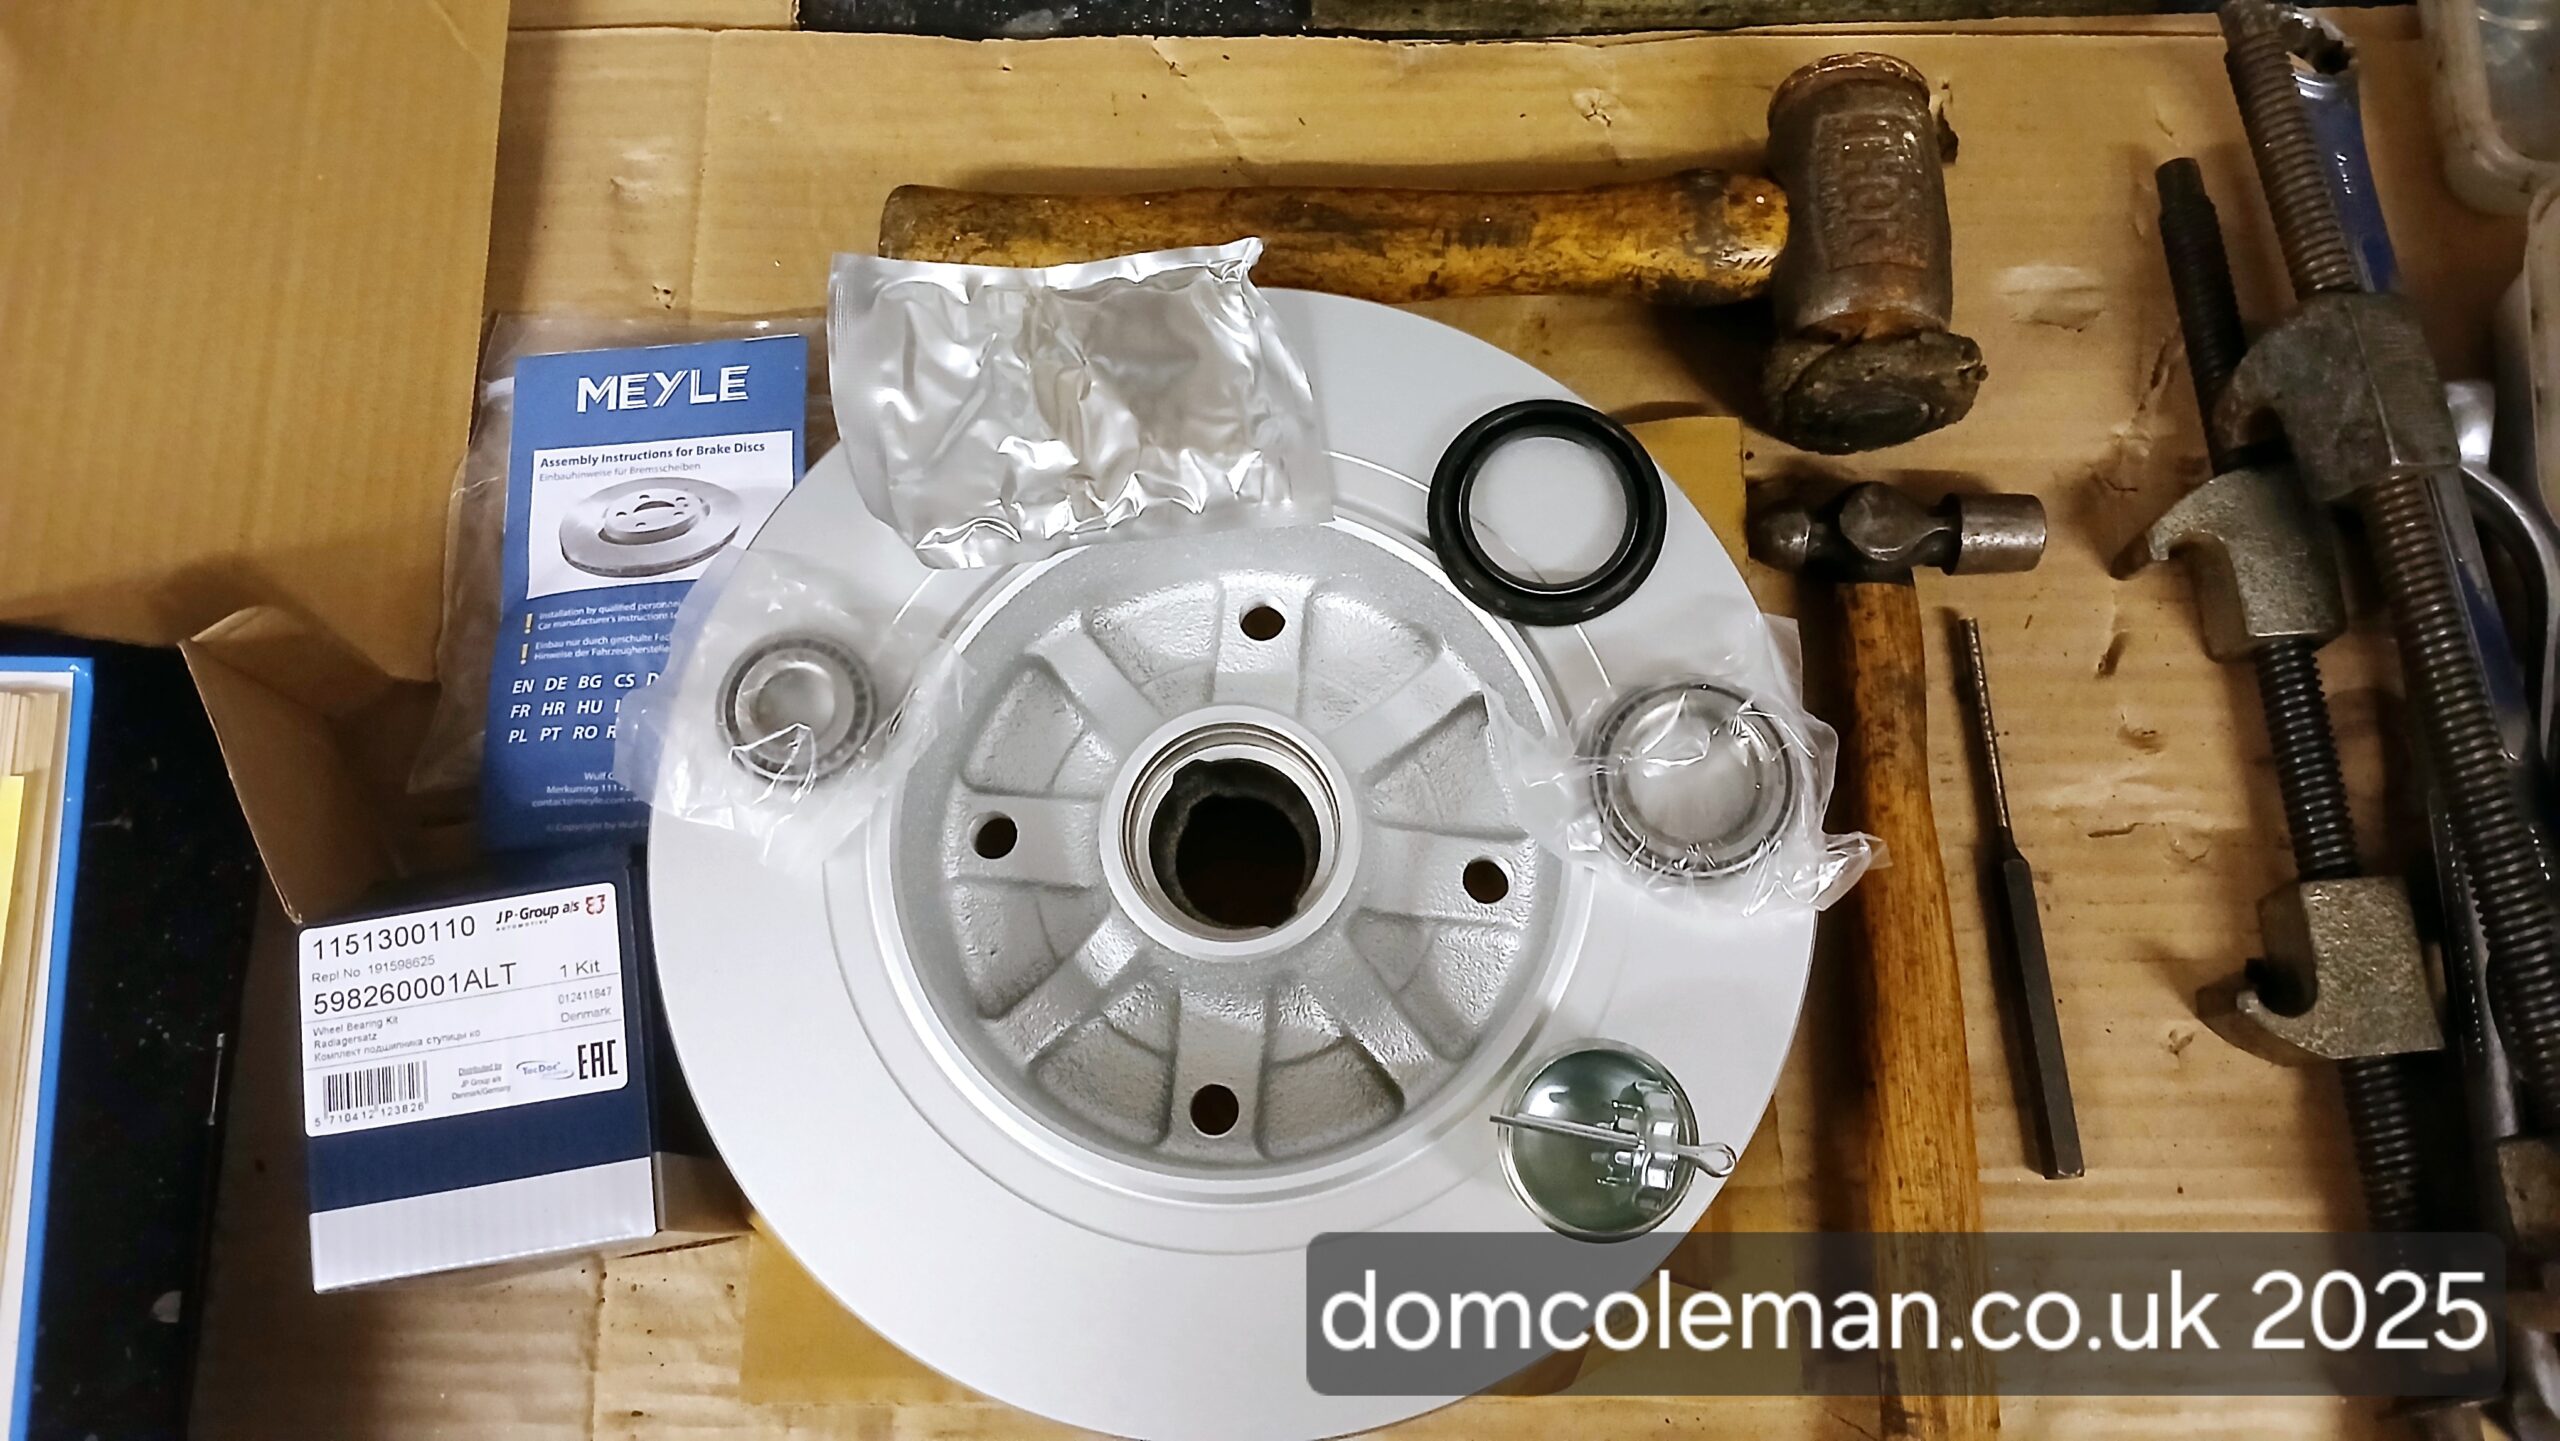
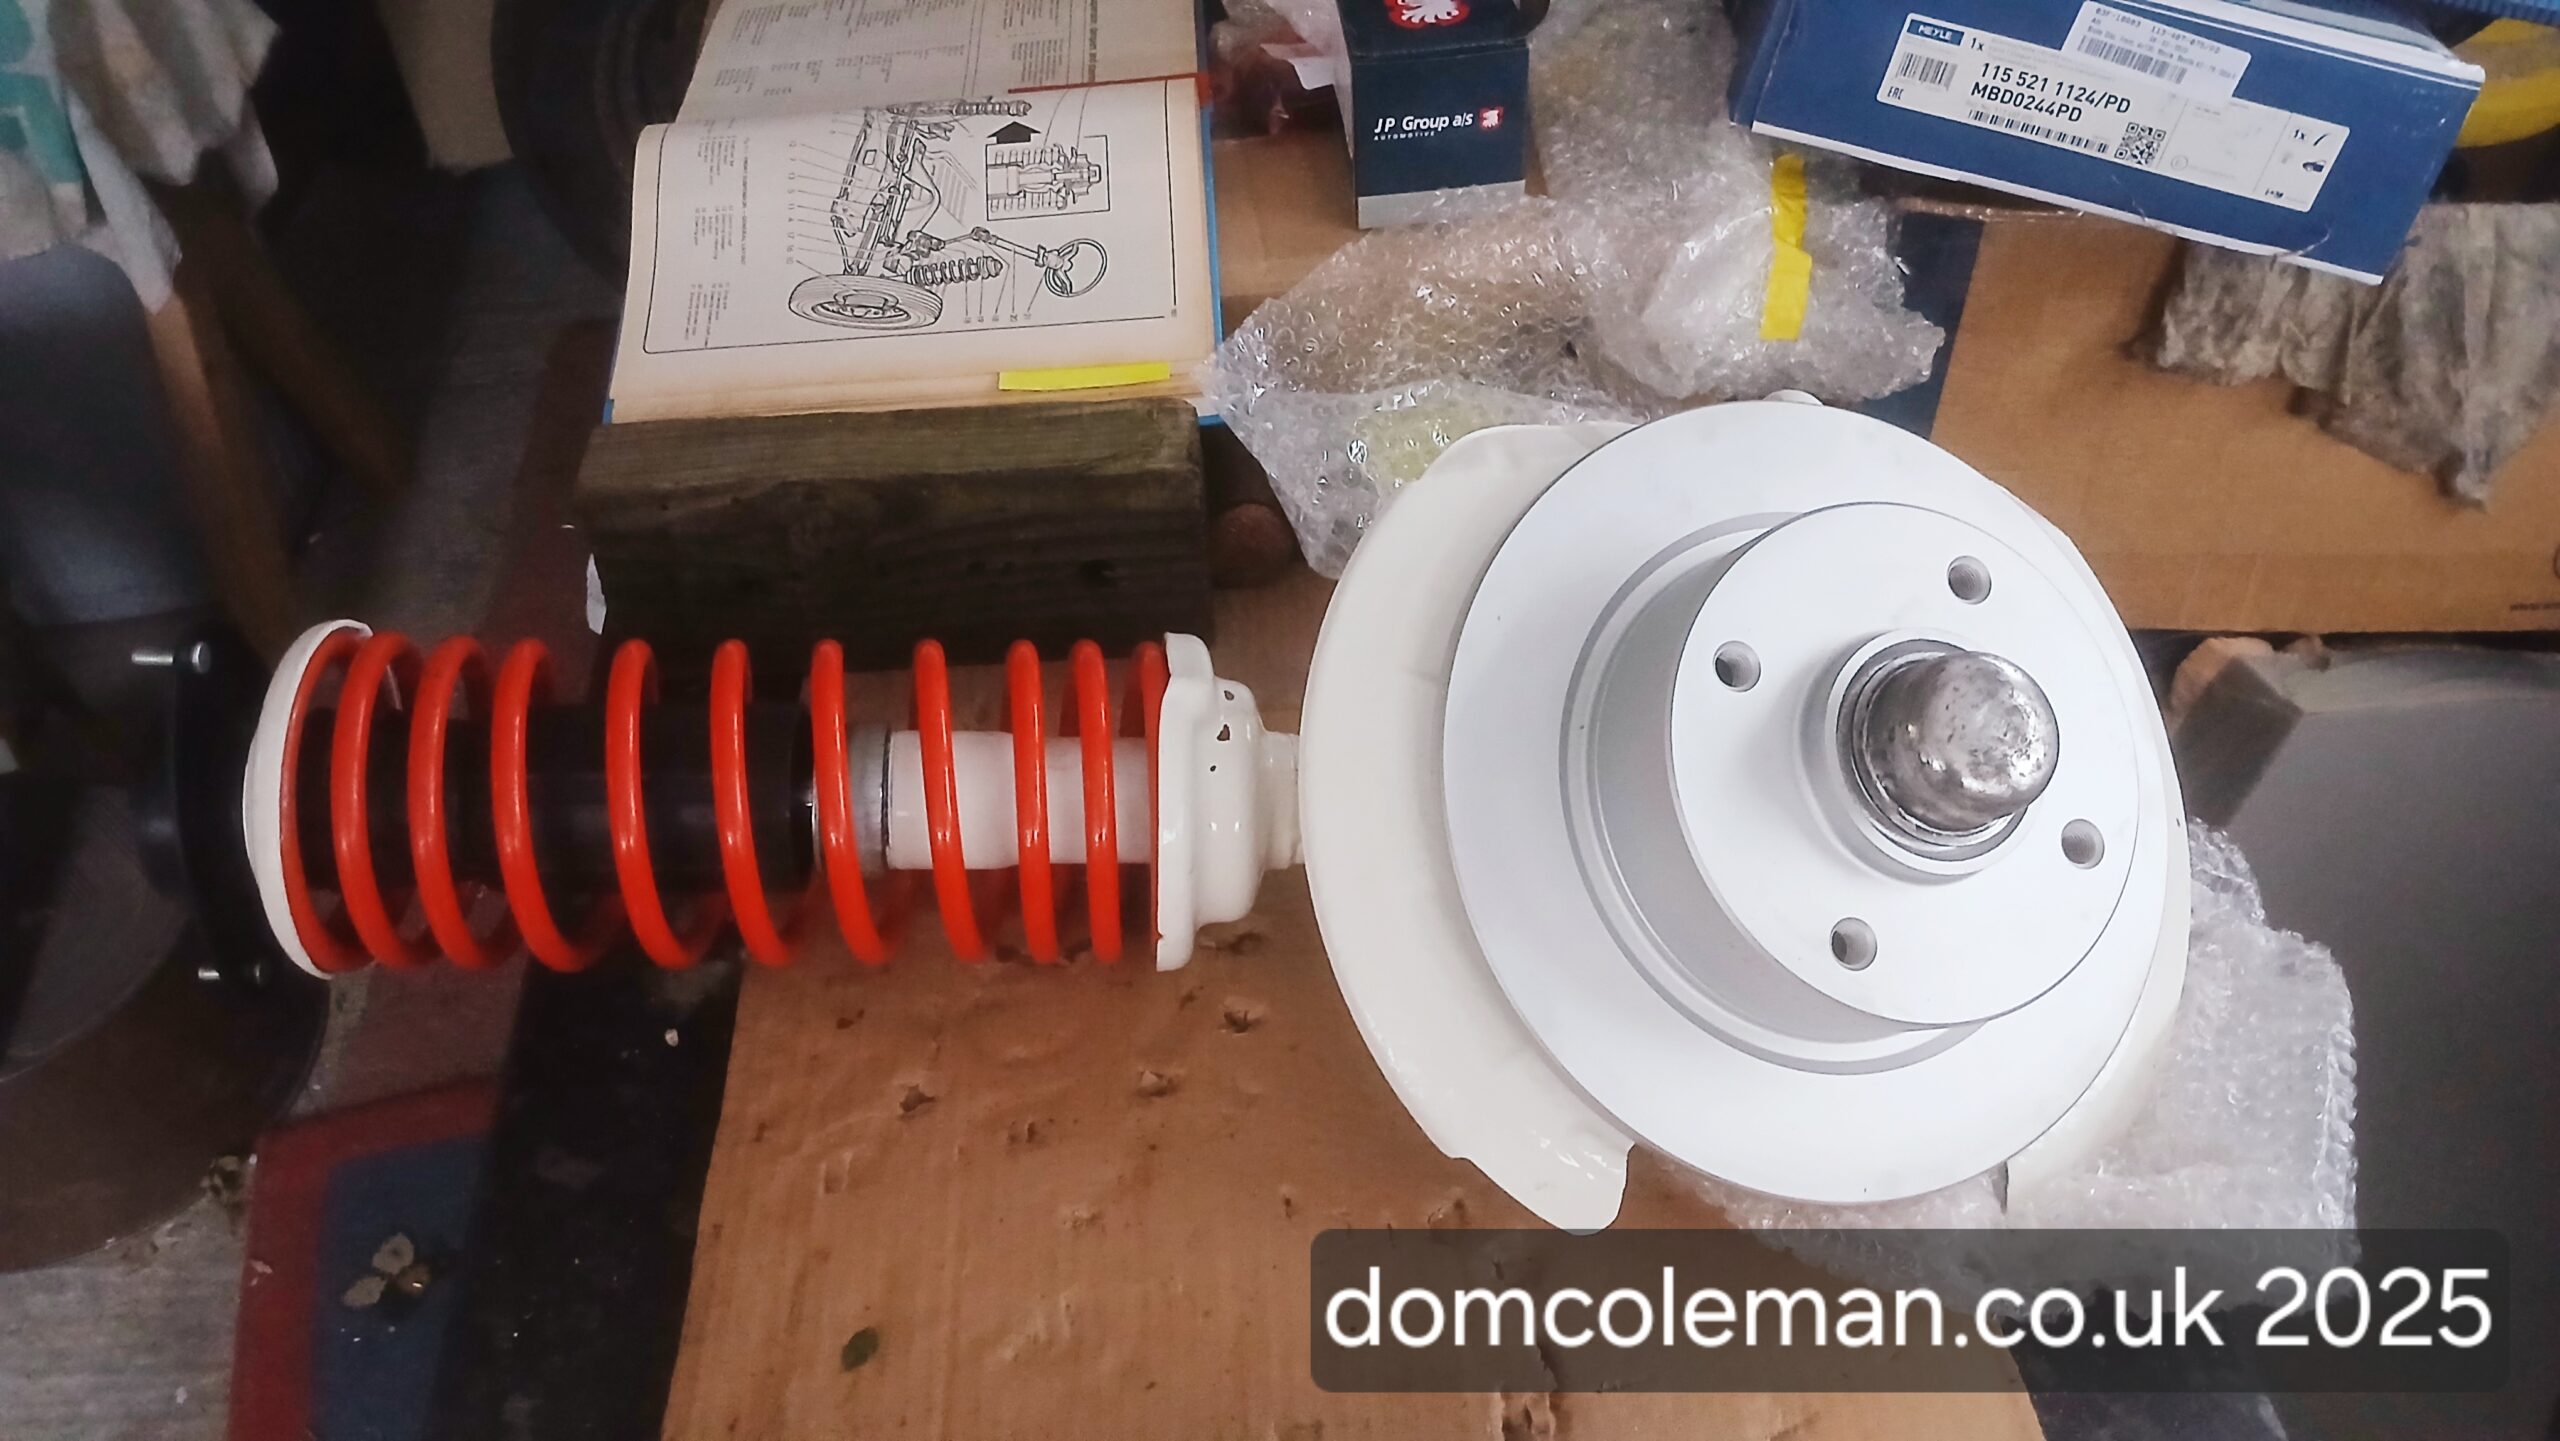
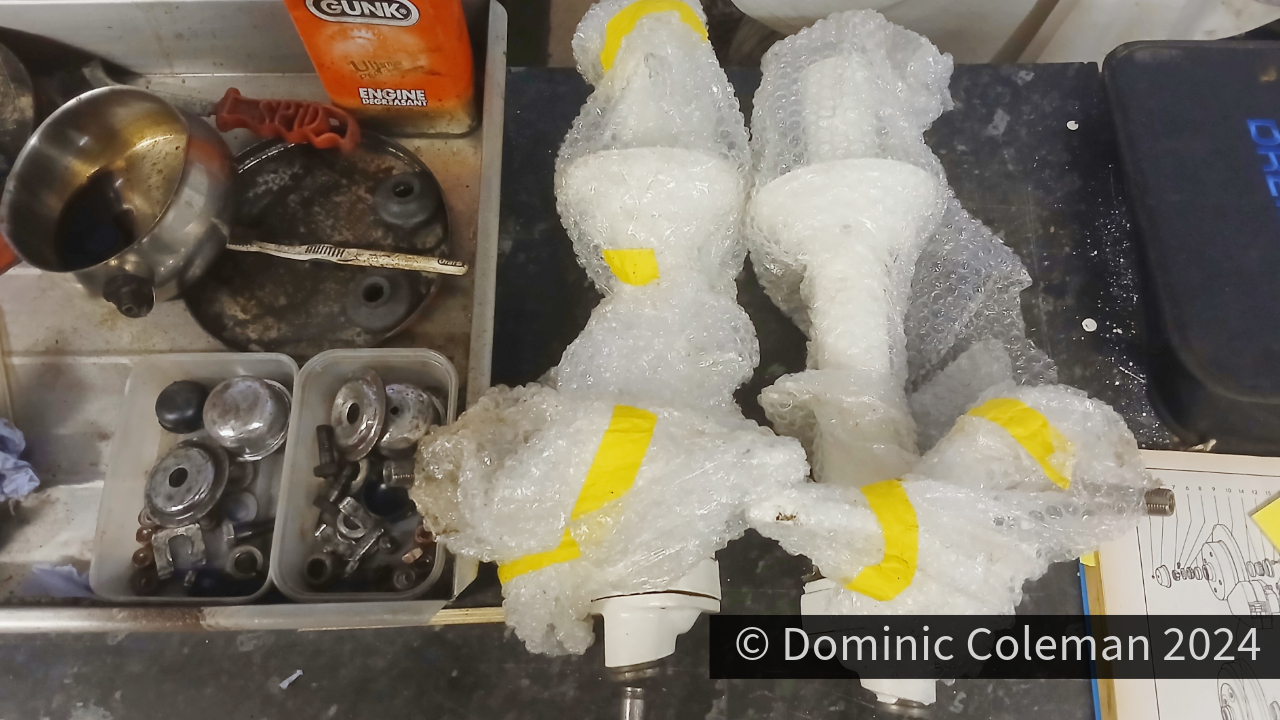
So, in January, I ordered the correct ball joint boots, along with new CV joints to replace last year’s attempted rebuilds, plus a few extra parts to complete the front strut refurb. Over an afternoon and a few evenings I reassembled the front struts with new brake disks, inner & outer wheel bearings, strut inserts, bump stops and the -2″ lowered springs bought way back in the late 1990’s when the wife and I started out on the restoration journey.

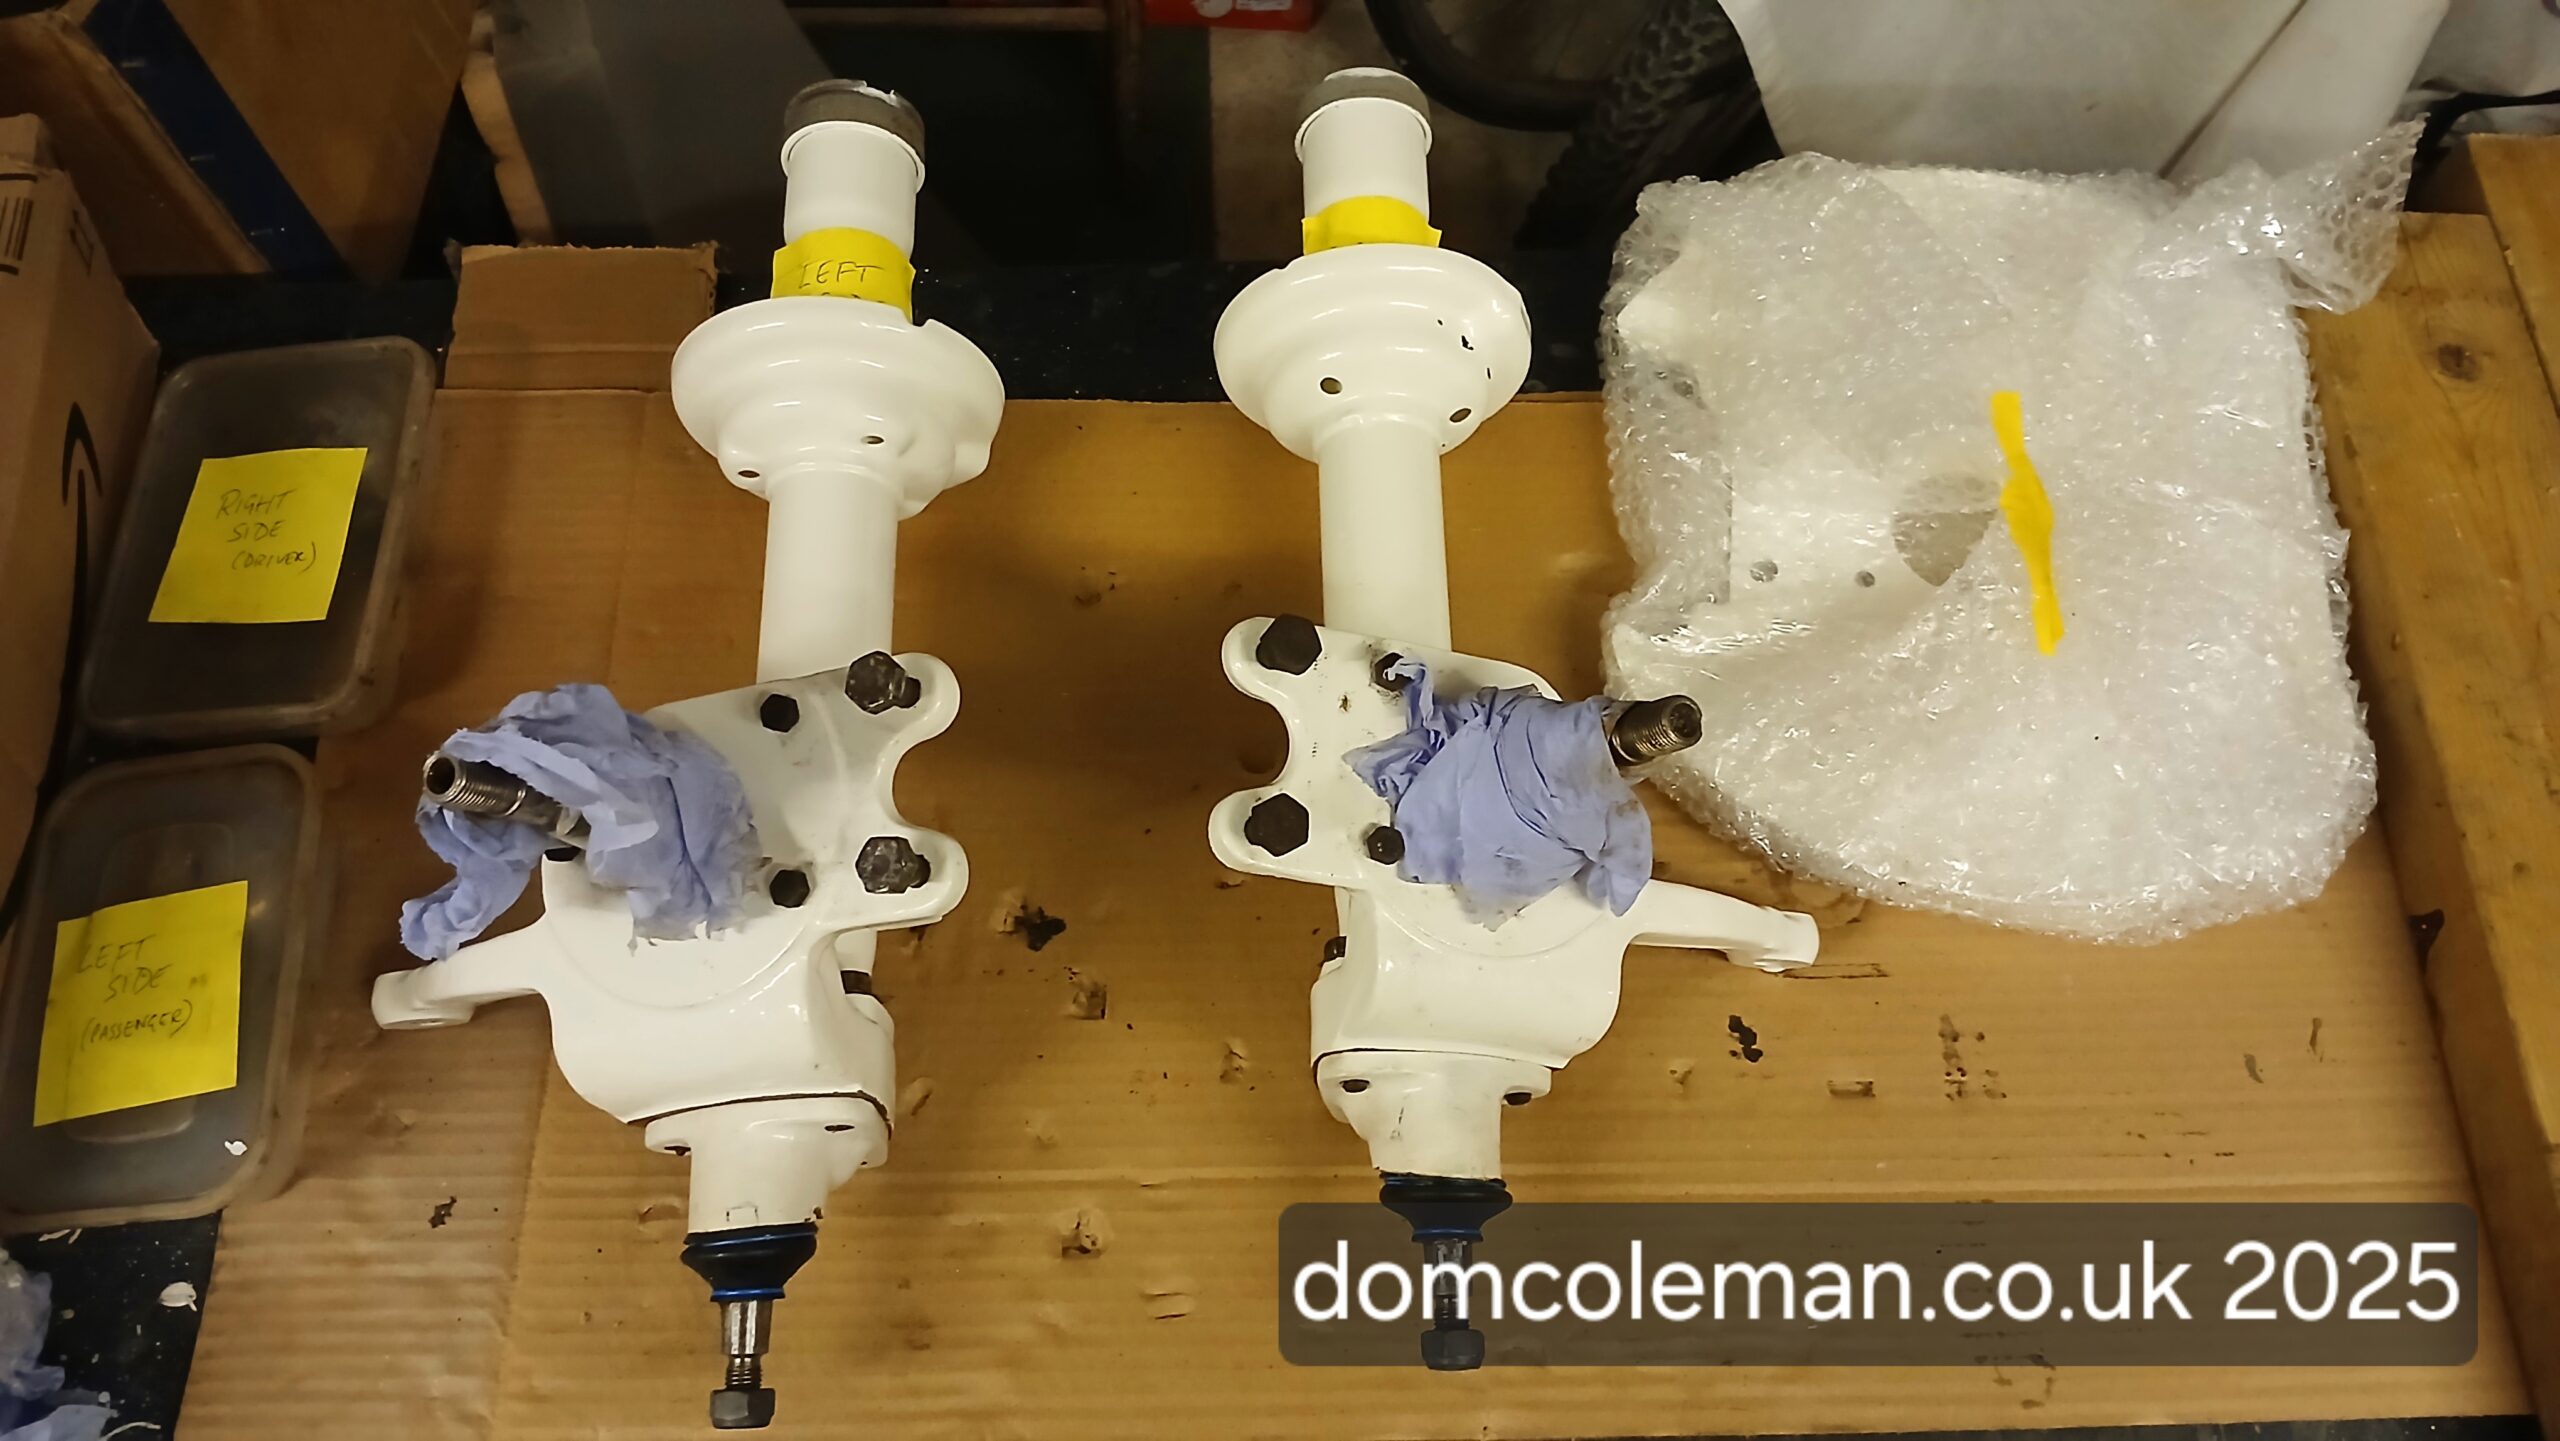
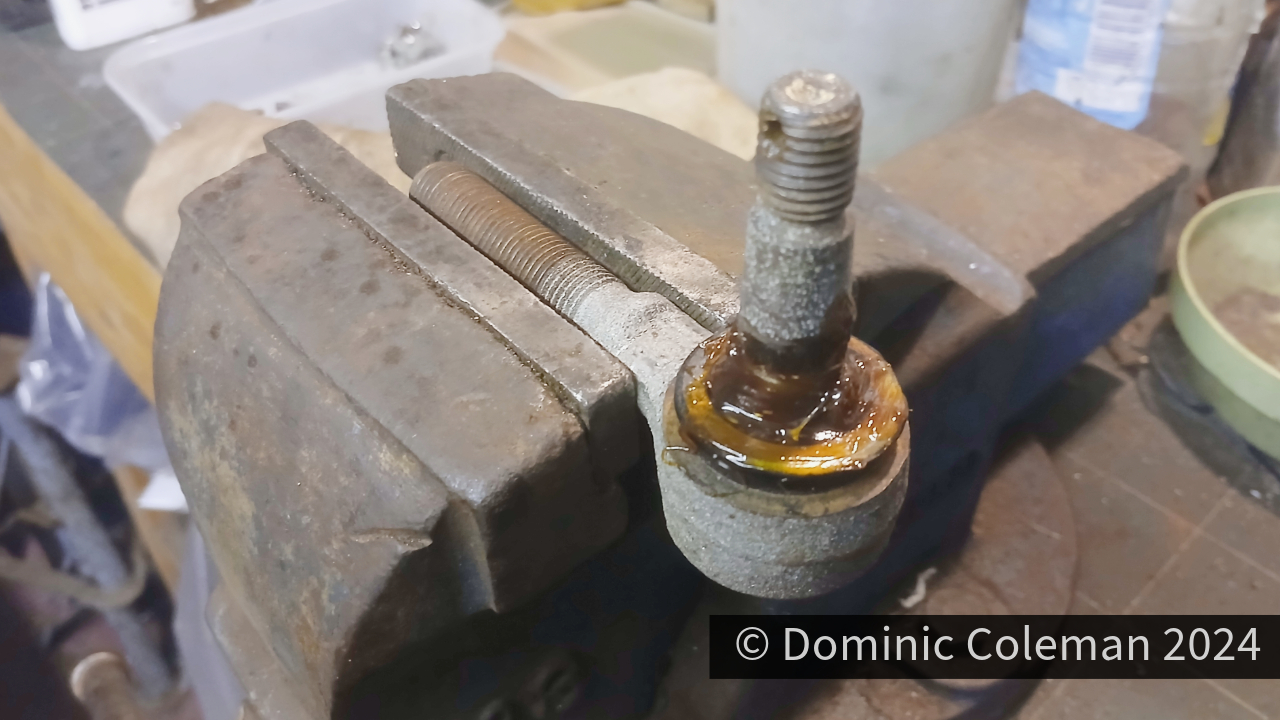
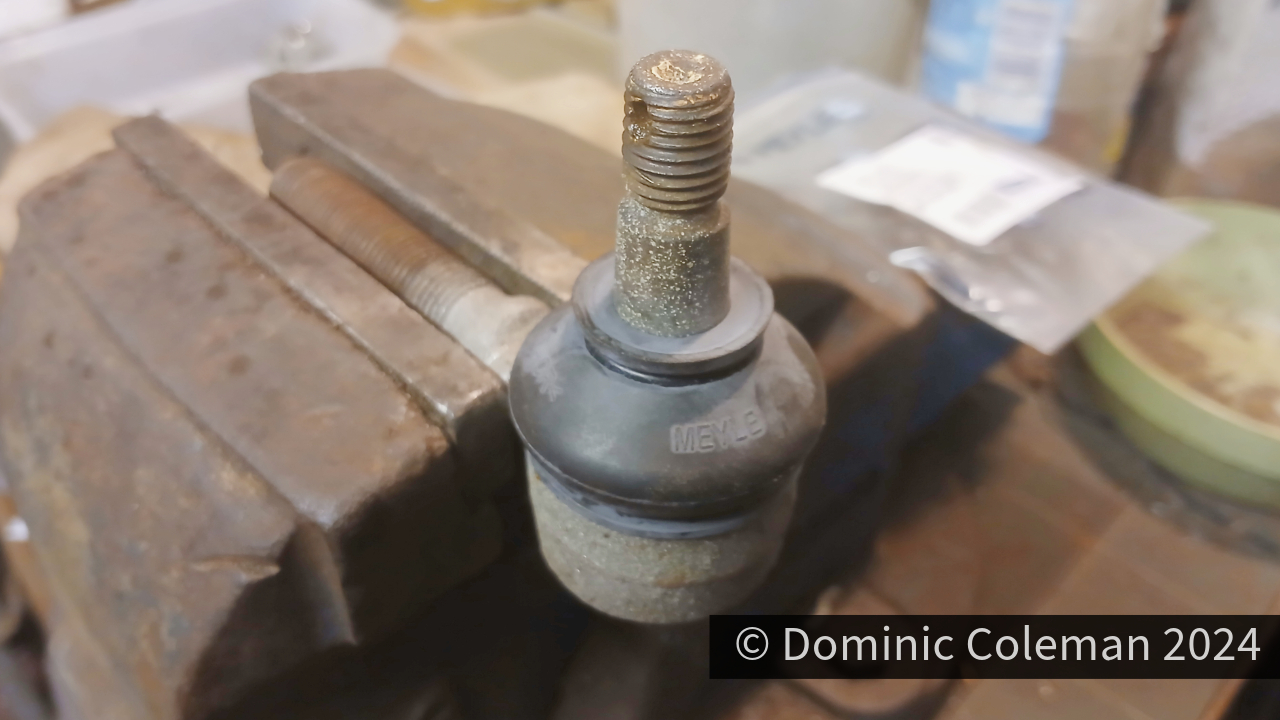
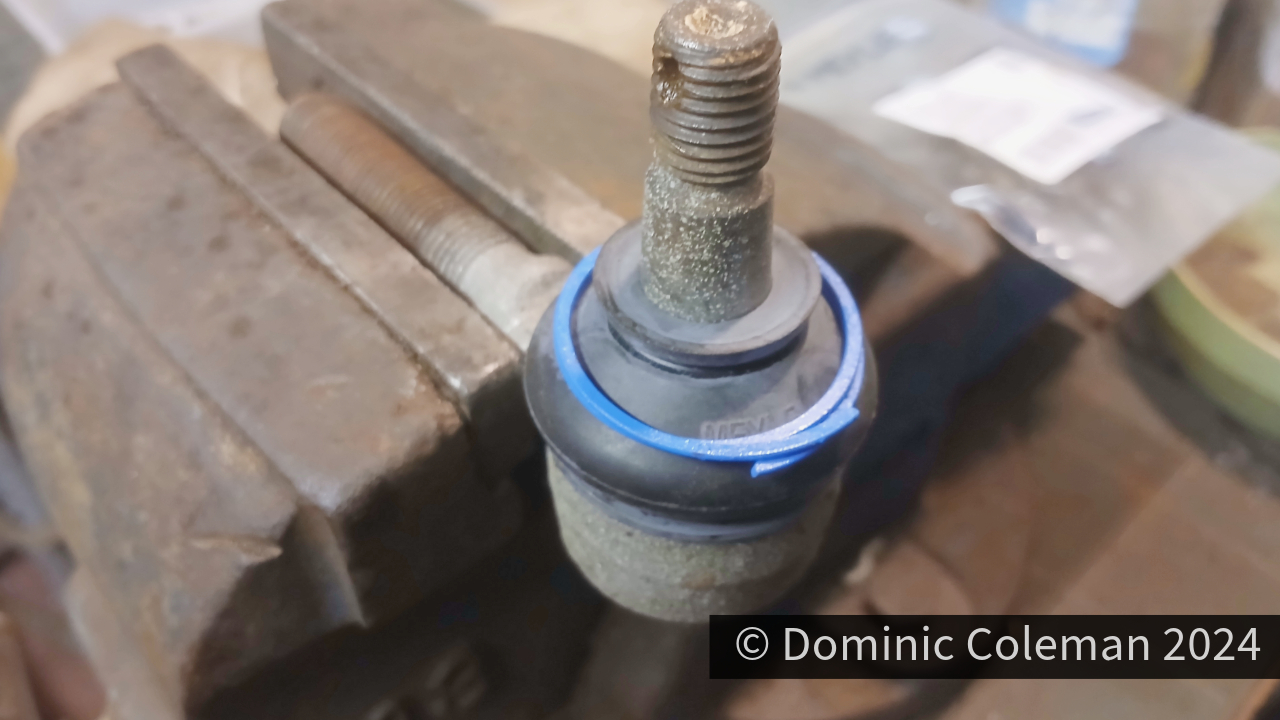
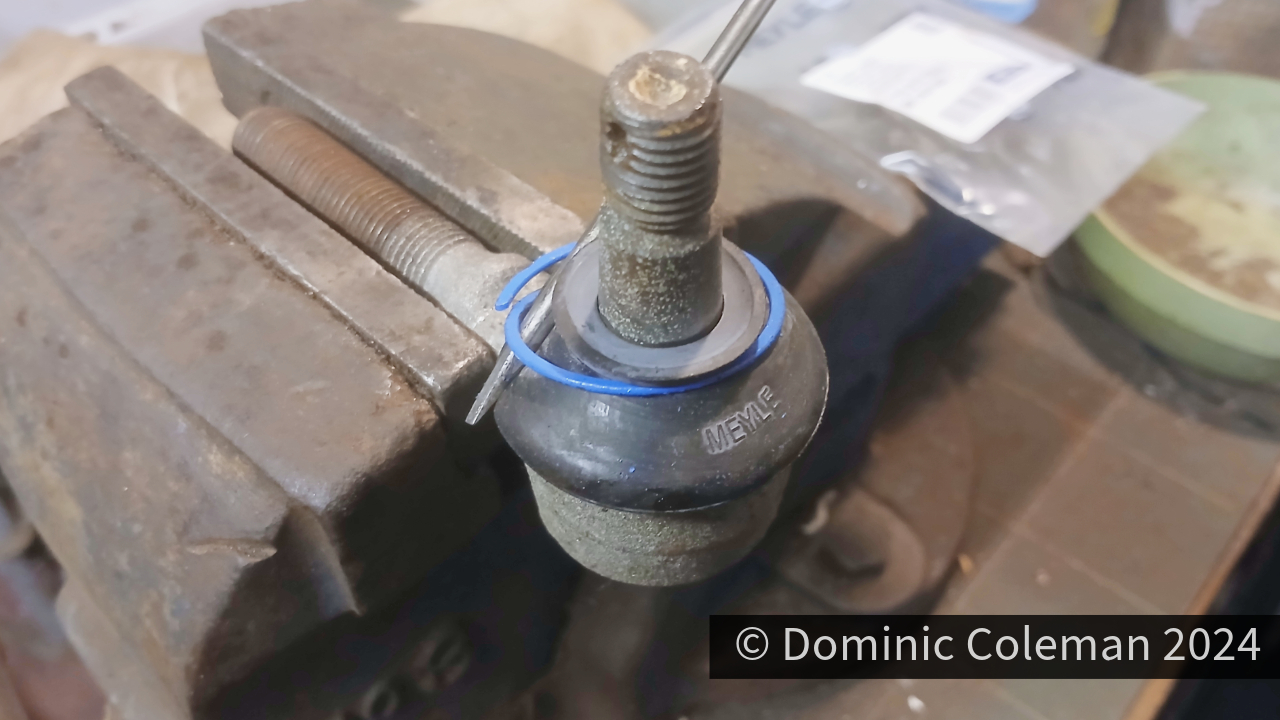
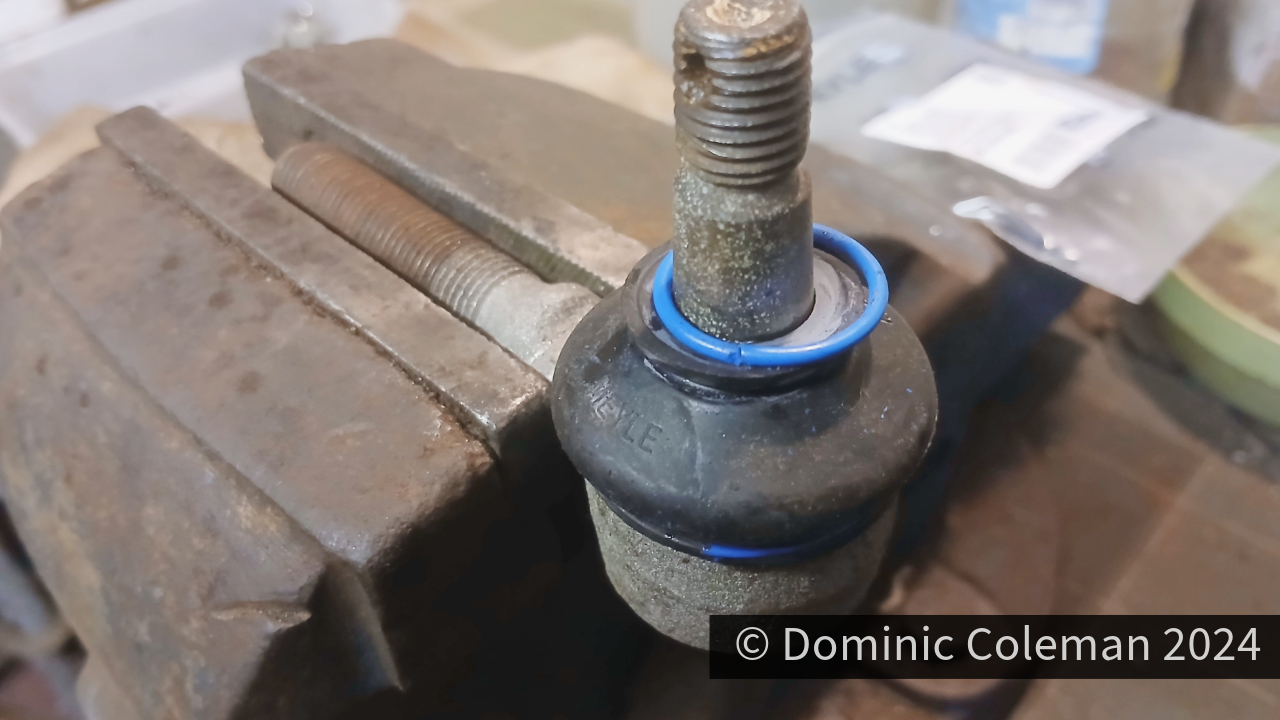
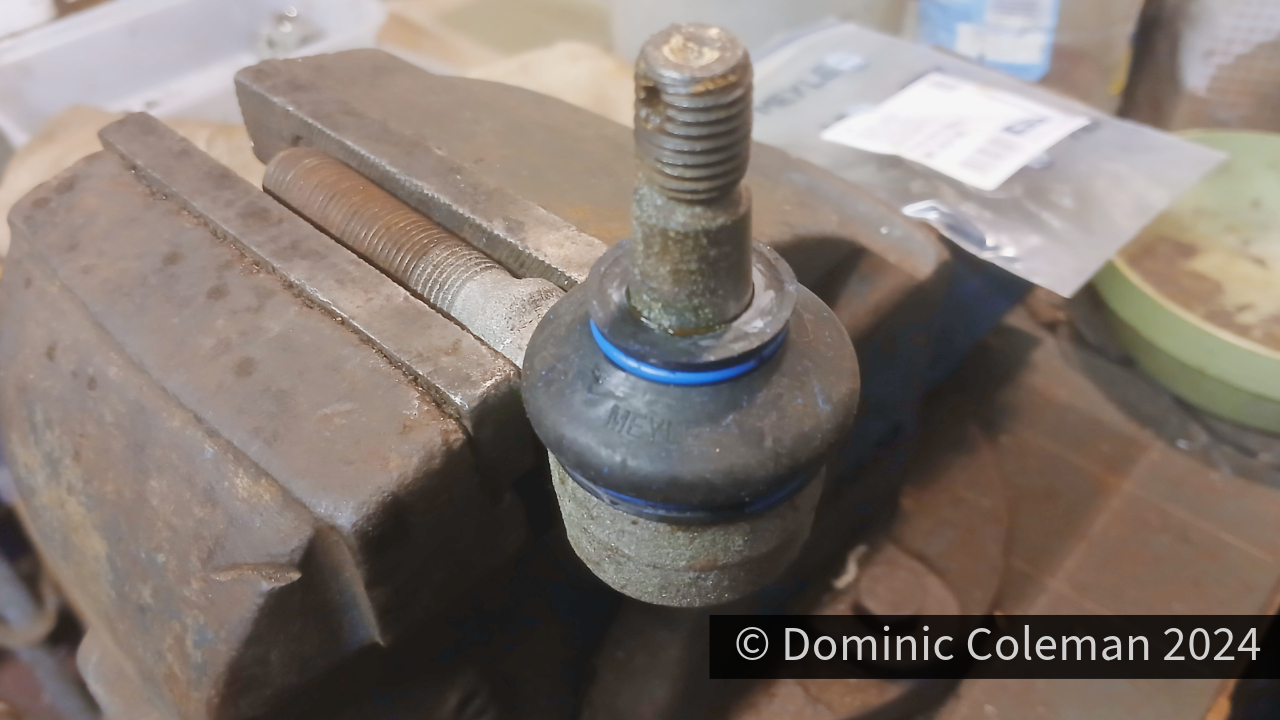
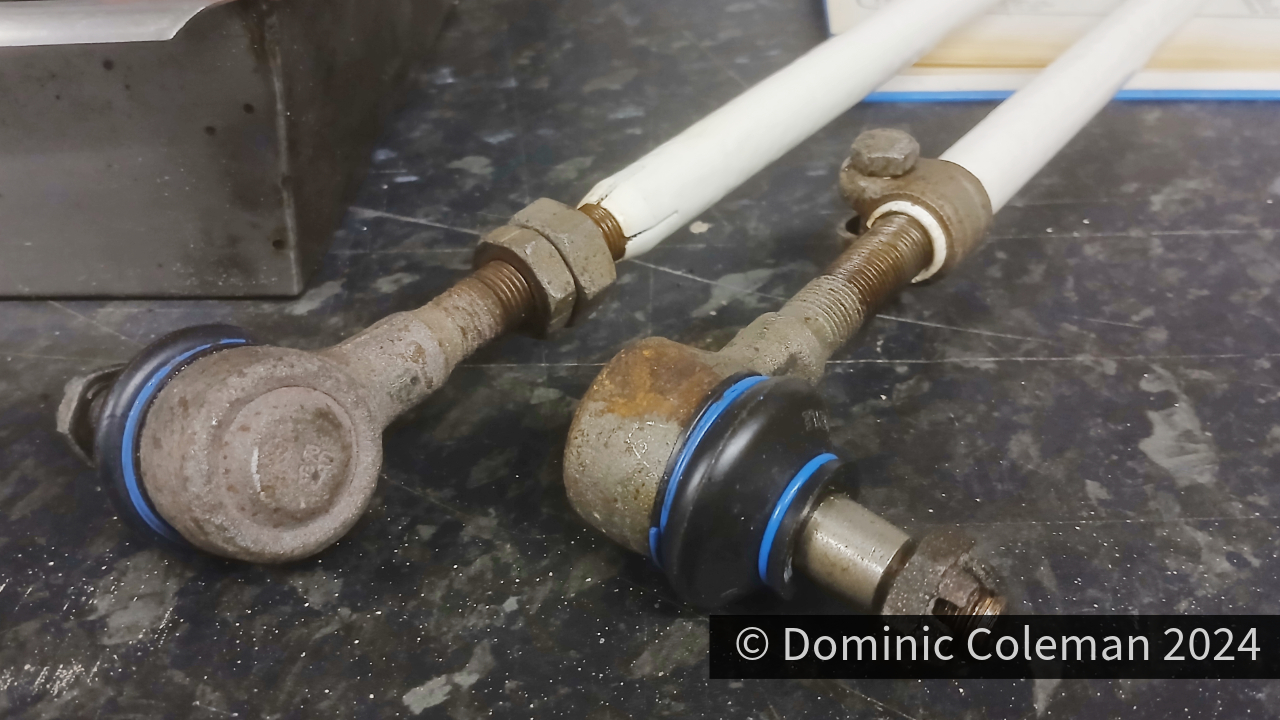
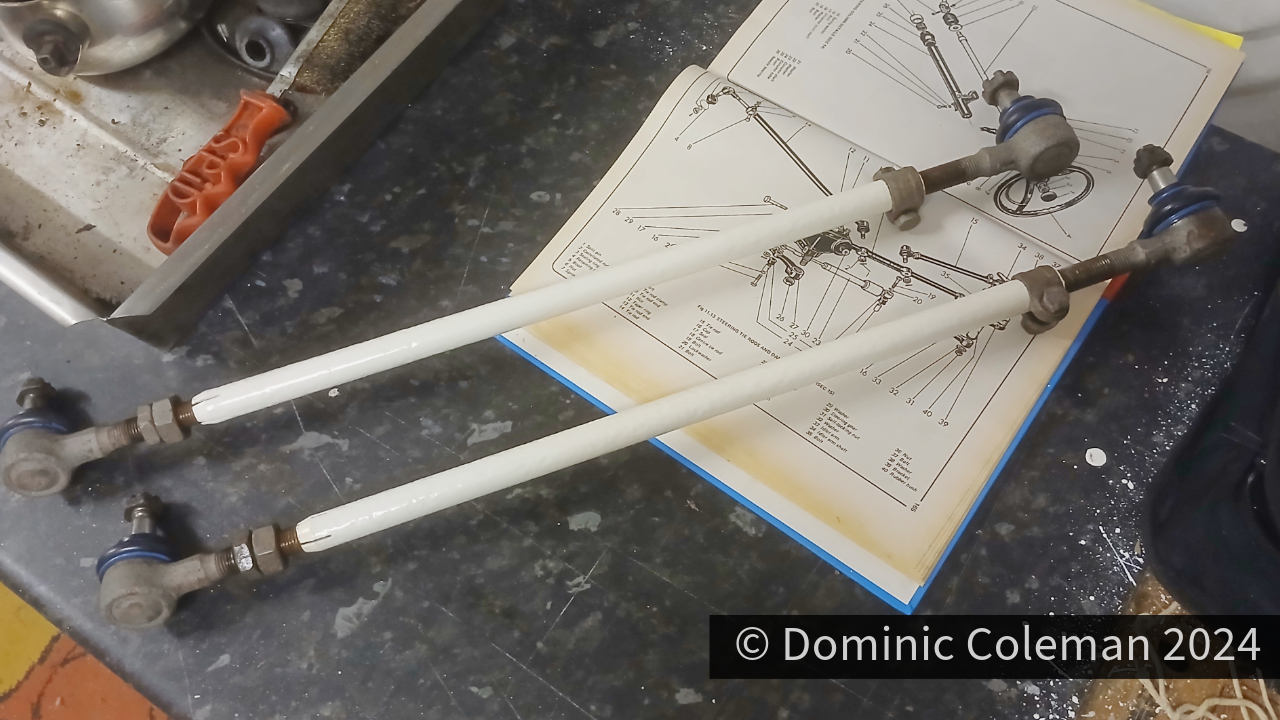
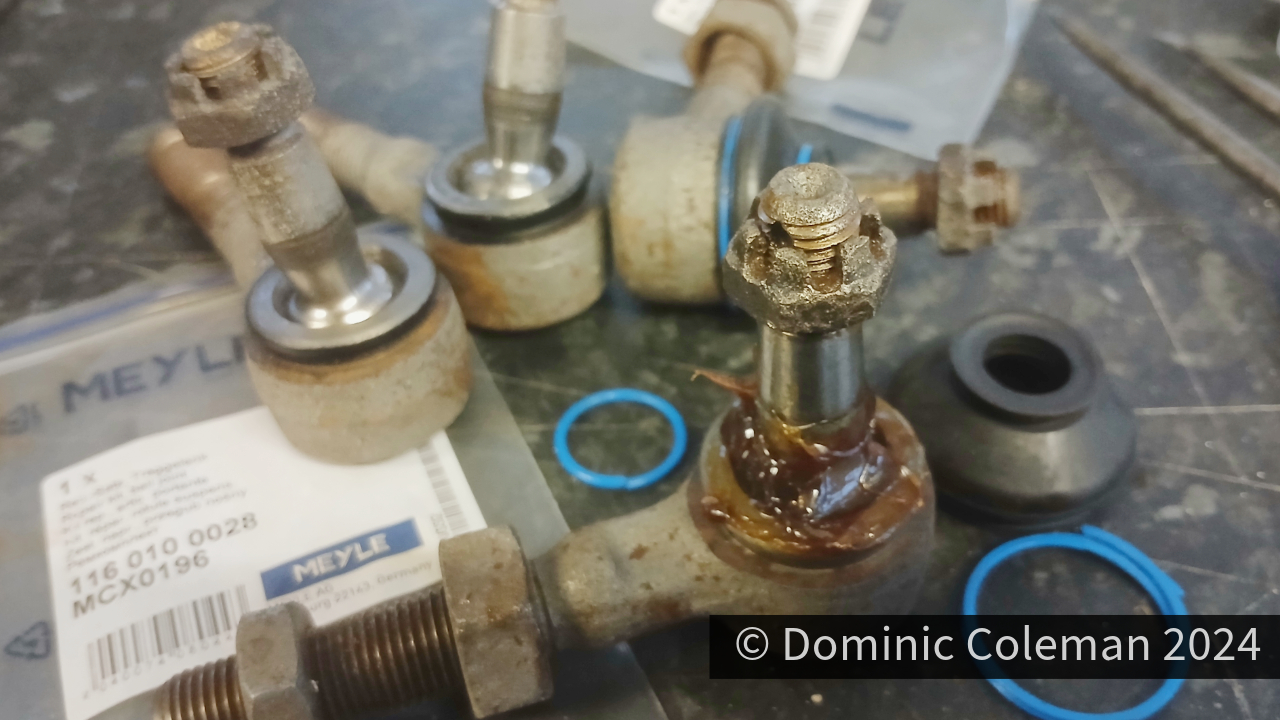
Other parts that received reassembly were new rubber boots added to the steering tie rod ball joints. The gallery below shows that the vice came in very handy as an extra pair of hands while two small screw drivers were used to ease the blue springy clips in to place to secure the boots. Fitting the ball joints to the tie rods was not easy as the threads were quite contaminated from the sand blasting and powder coating process and took quite a of ‘cutting in’ by winding them in and out.

Categories
bodywork brakes steering suspension

End of 2024 Update

It’s been a while but once the daily driver cars were sorted, I could recover from the financial strain they put me under and my focus could get on with fixing the Ford Corsair. I resolved the messed up paint job in the Beetle engine bay by using bright white aerosol primer & paint, however, the white wasn’t as glossy as the 2K paint due to being cellulose or acrylic but it will do for now. By November with the Corsair nearly ready for its MOT my attention went back on to the Beetle.

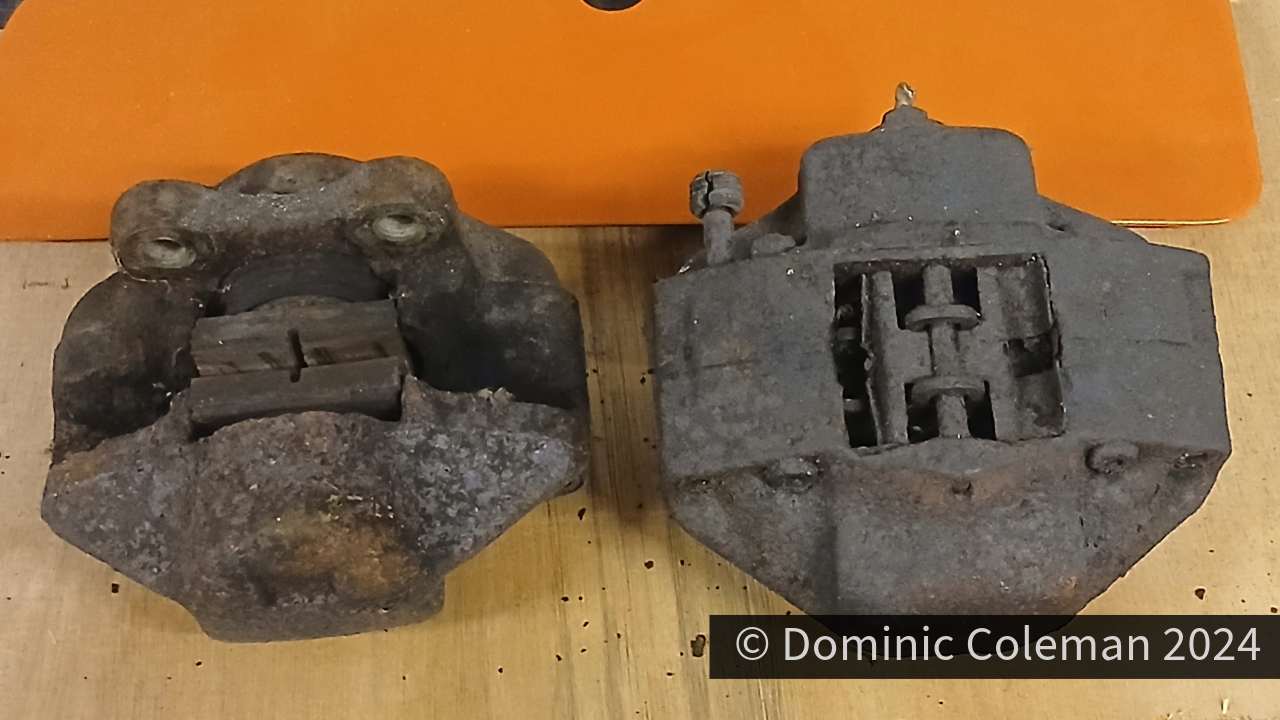
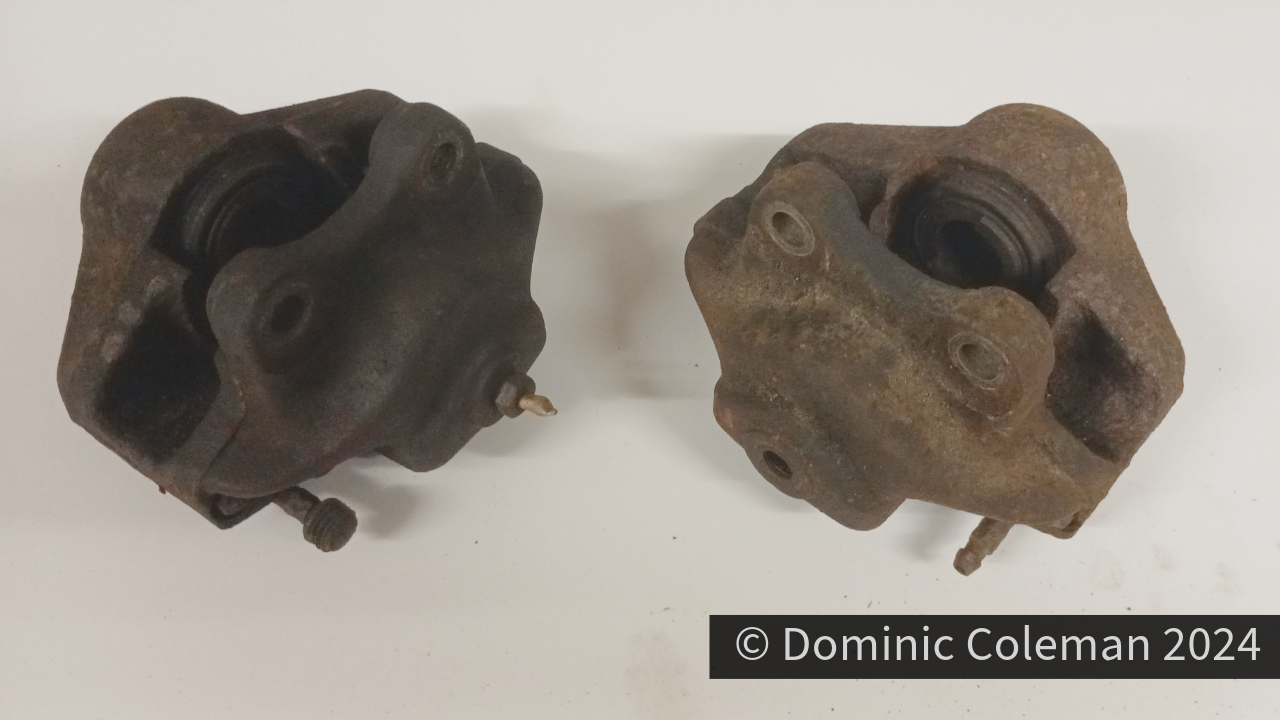
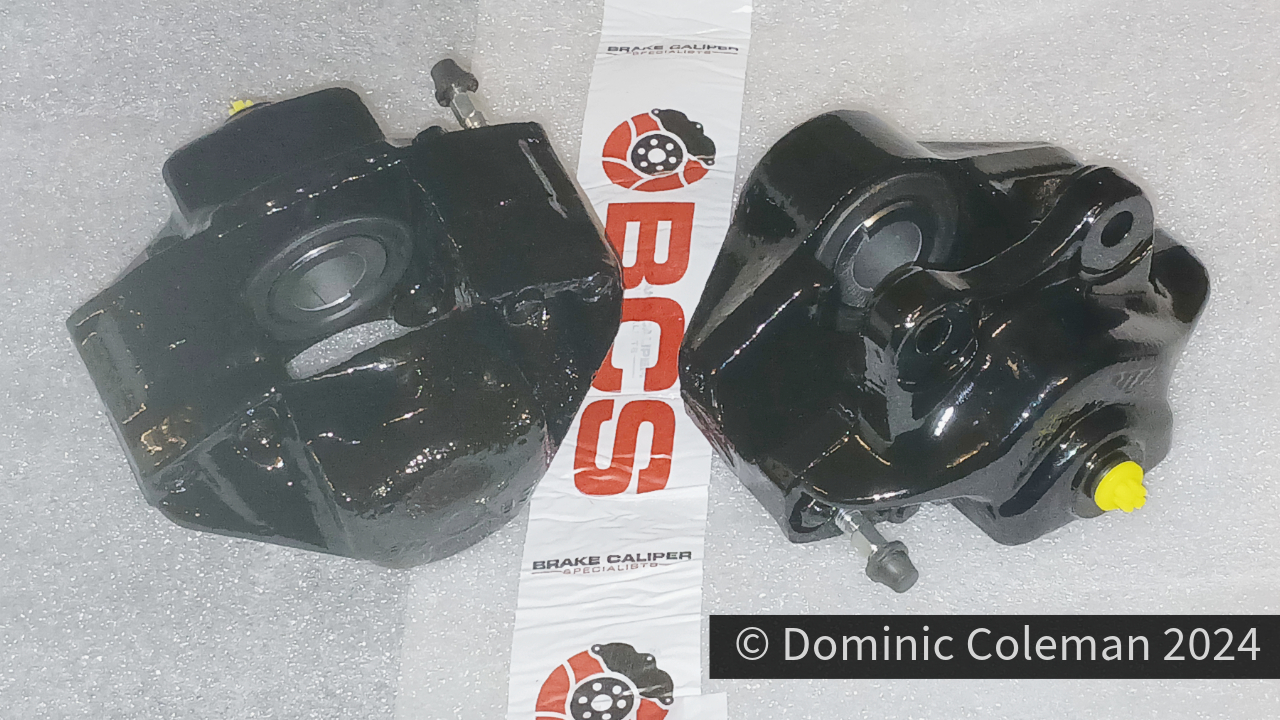
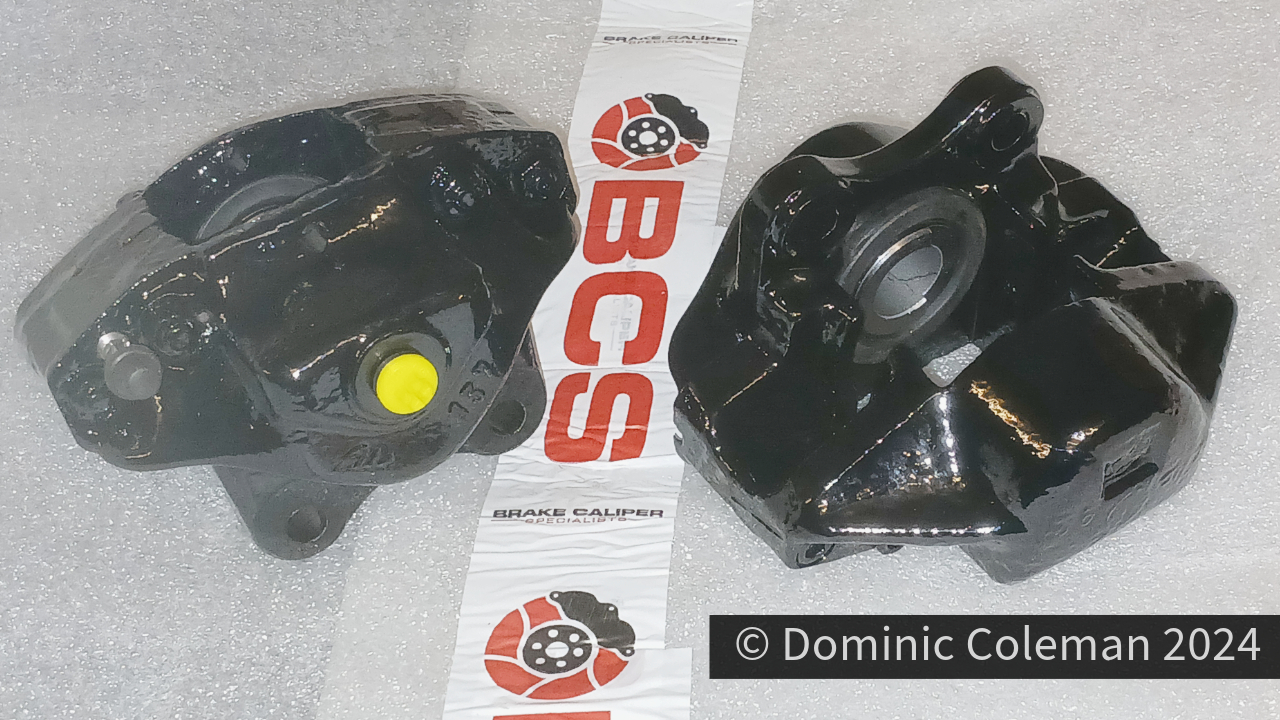
It began with a promo from BCS (Brake Calliper Specialists Ltd) in Nottingham with 25% off all brake calliper refurbishments. I had used them before 5 years ago for the Corsair and they come with a lifetime guarantee so I requested for a quote for refurbishment and painting in the Beetle L20D orange. What they came back with was rather expensive, so I had the quote adjusted for a standard black finish which saved me about ยฃ125.00! The total cost was ยฃ325.00 including the 25% discount which I thought was still quite expensive but assumed ‘business costs’ had gone up quite a lot since 2019.


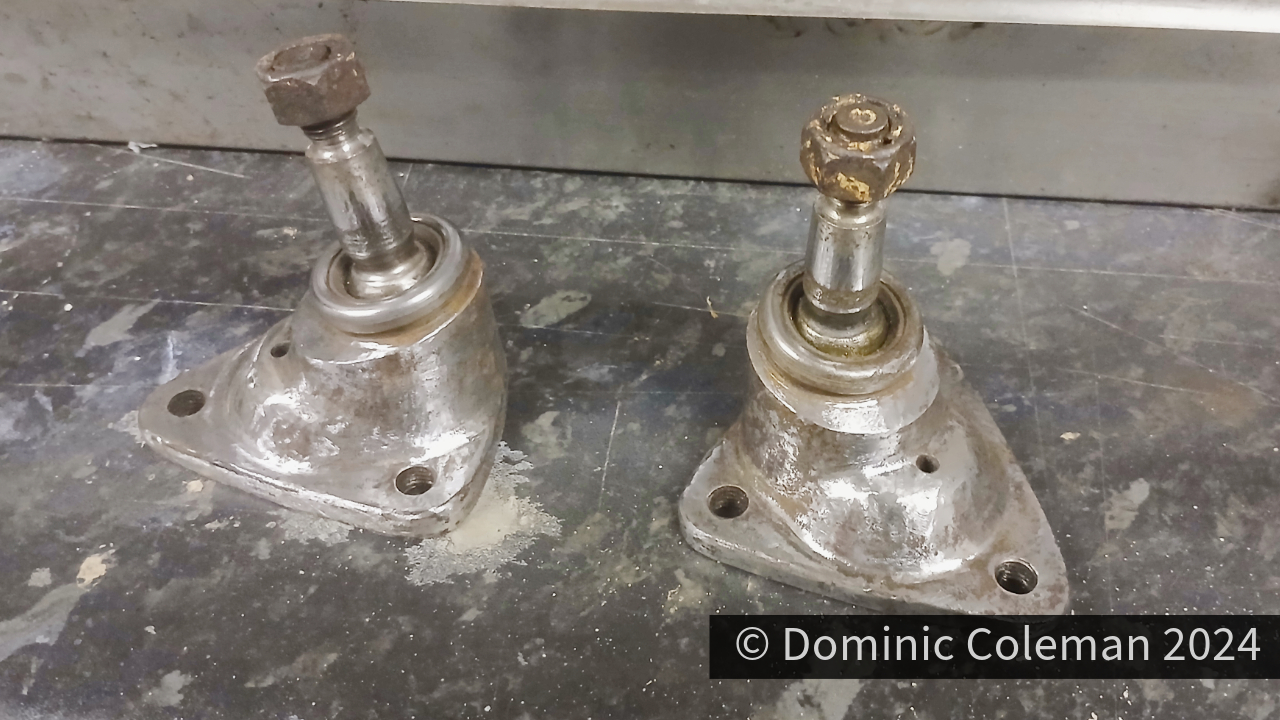
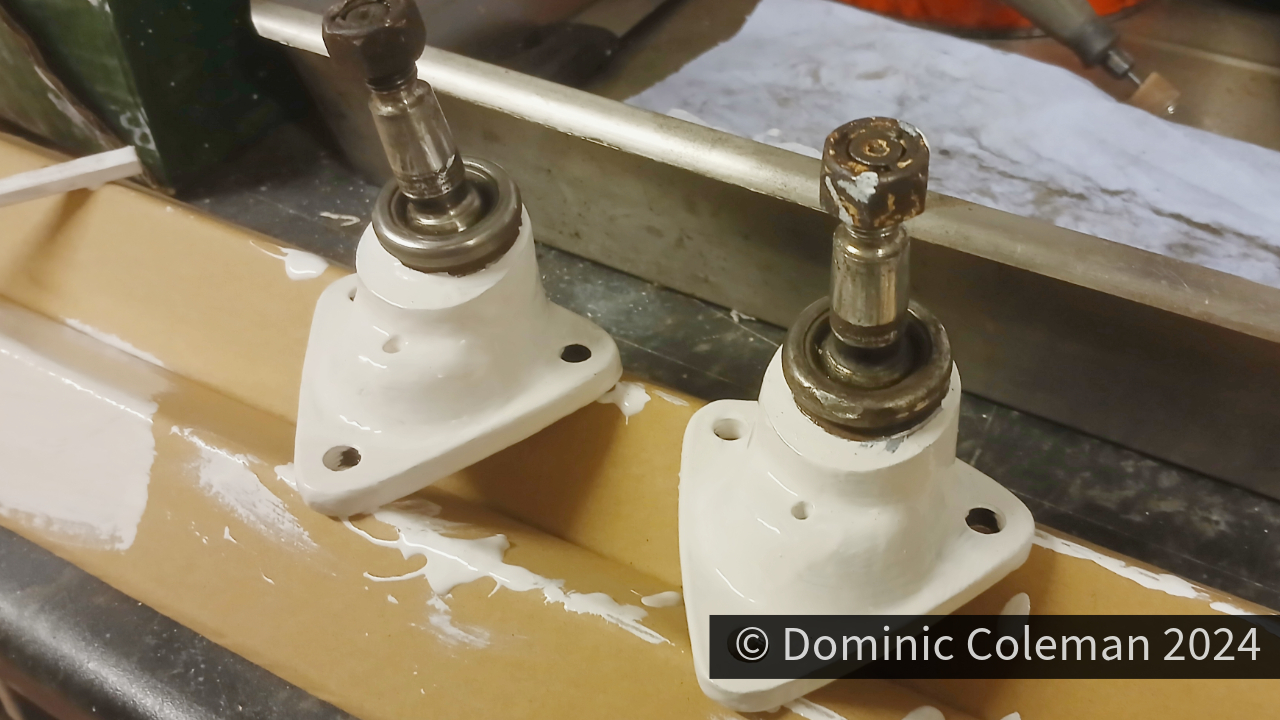
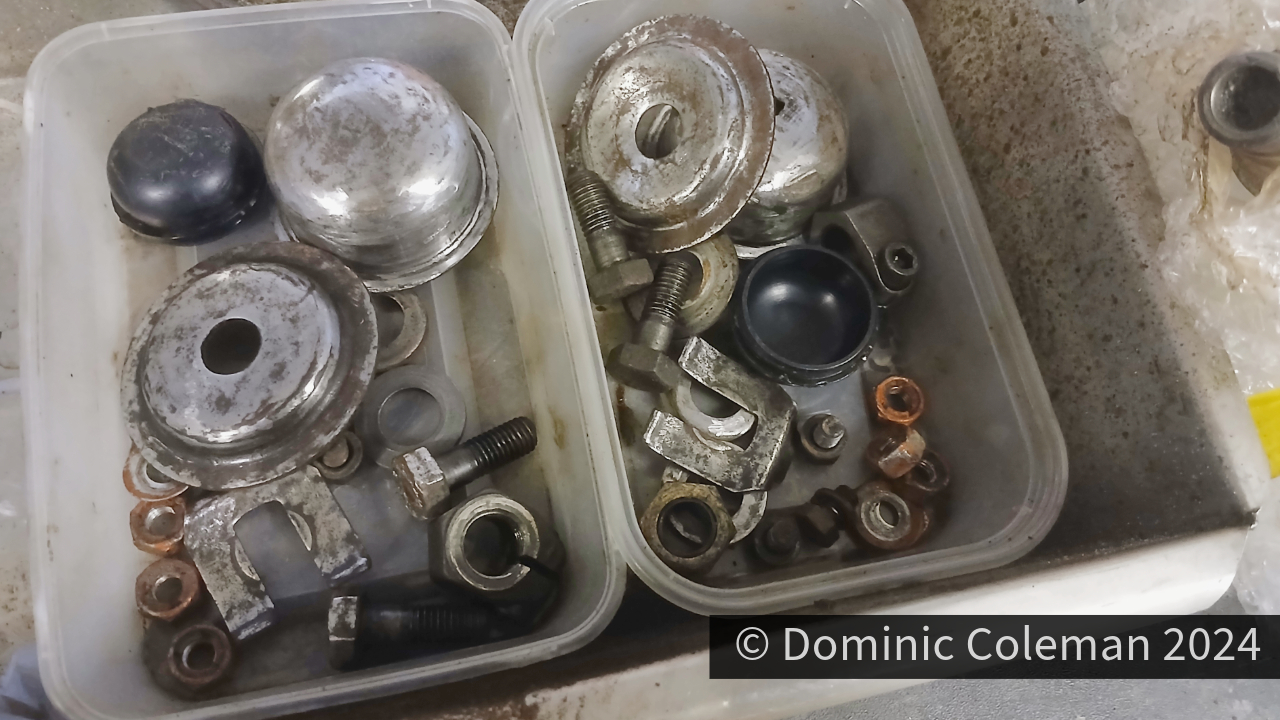
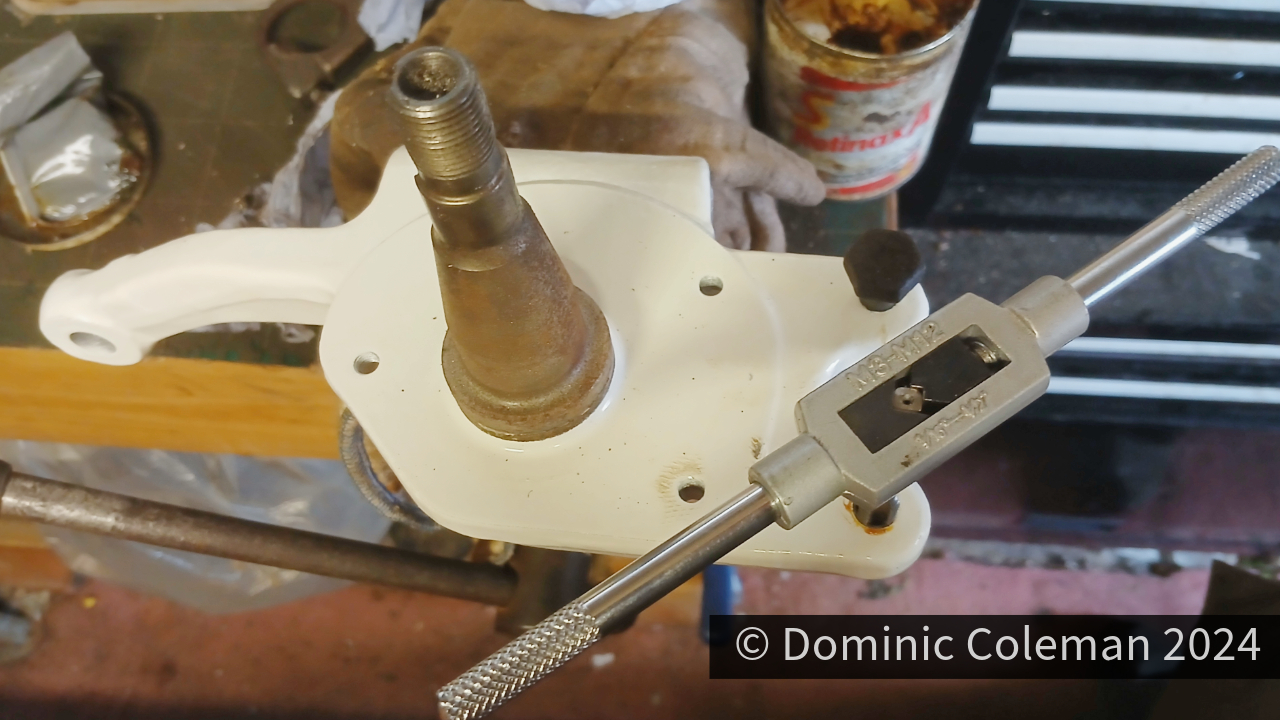
For few days over the Christmas holiday I set about reassembling the front struts and noting extra parts required along the way like lower ball joint dust boots, brake lock tabs and strut rubber bump stops. I started with the lower ball joint and removed the split rubber boot and cleaned out the old dirty grease. I also used my Dremel with a low grit sand paper to get the ingrained dirt off the body and get it back to bare metal to then paint it with smooth white gloss Hammerite. The threads were re-tapped to clean them up and then the struts, stub axle & lower ball joint were loosely assembled together. All the minor components like bolts, dust caps and washers were all degreased and cleaned with the Dremel. On the stub axle, the threads for the brake calliper and back plate were all re-tapped after getting a bit contaminated from the powder coating process. They will be assembled properly once the new parts arrive.


The steering arm ball joints were cleaned up re-greased and new rubber dust boots fitted. Fitting the new dust boots was tricky to begin with but once they were secured in a vice it meant I could use both hands and small tipped flat bladed screw drivers to prise the (blue) metal spring clips to hold the new rubber boots in place. The joints were then assembled on to their tie-rod bars, but they too were a bit contaminated from the powder coating and would require a bit more work to screw in freely.

Categories
bodywork floor pan suspension

Body work and prep

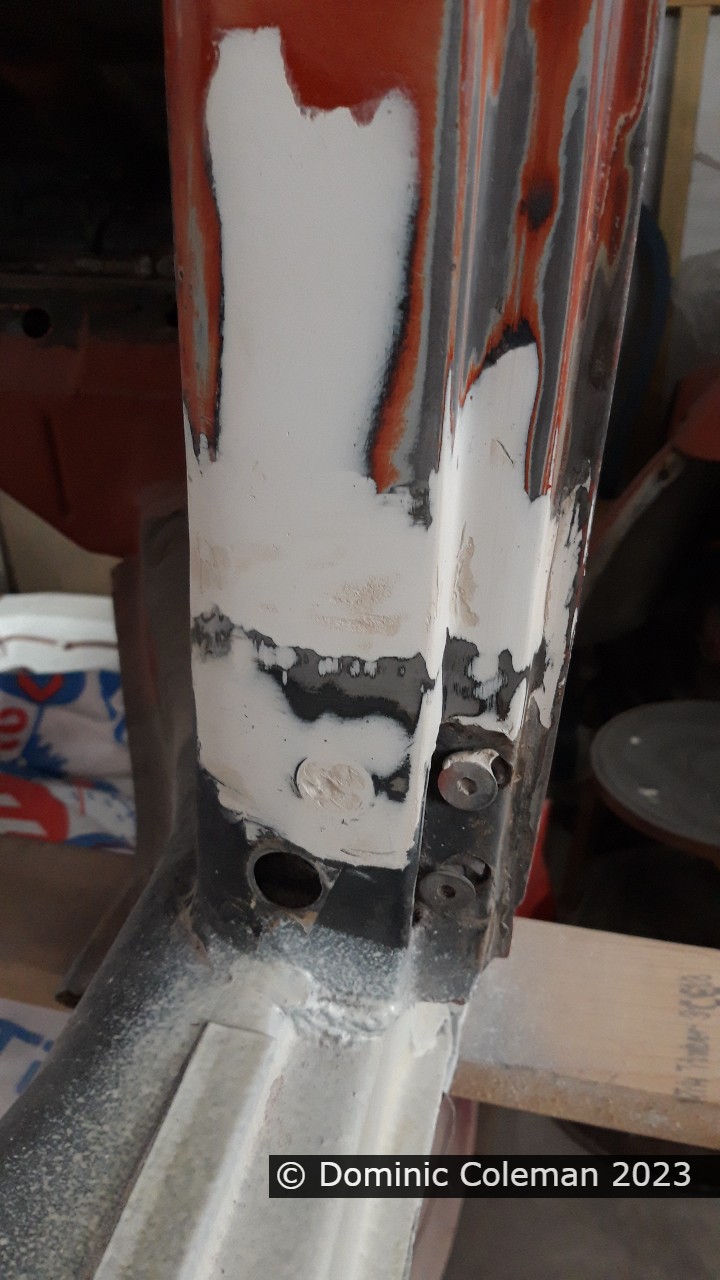
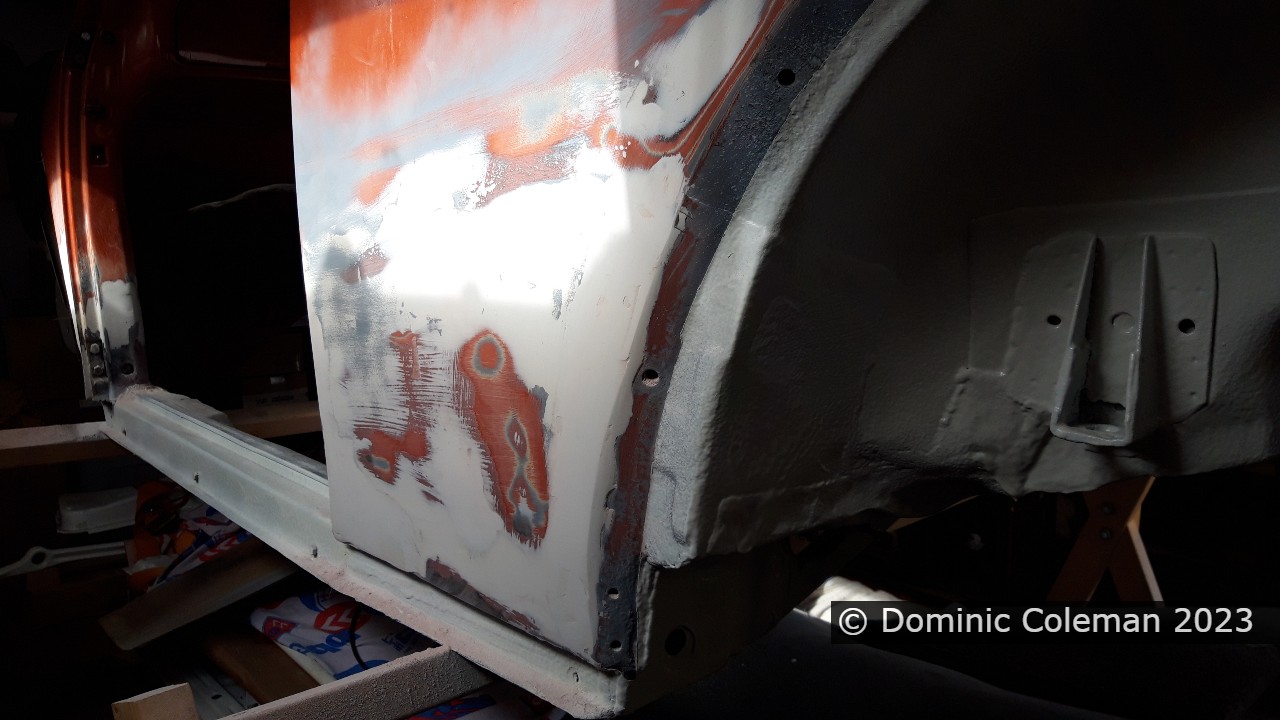
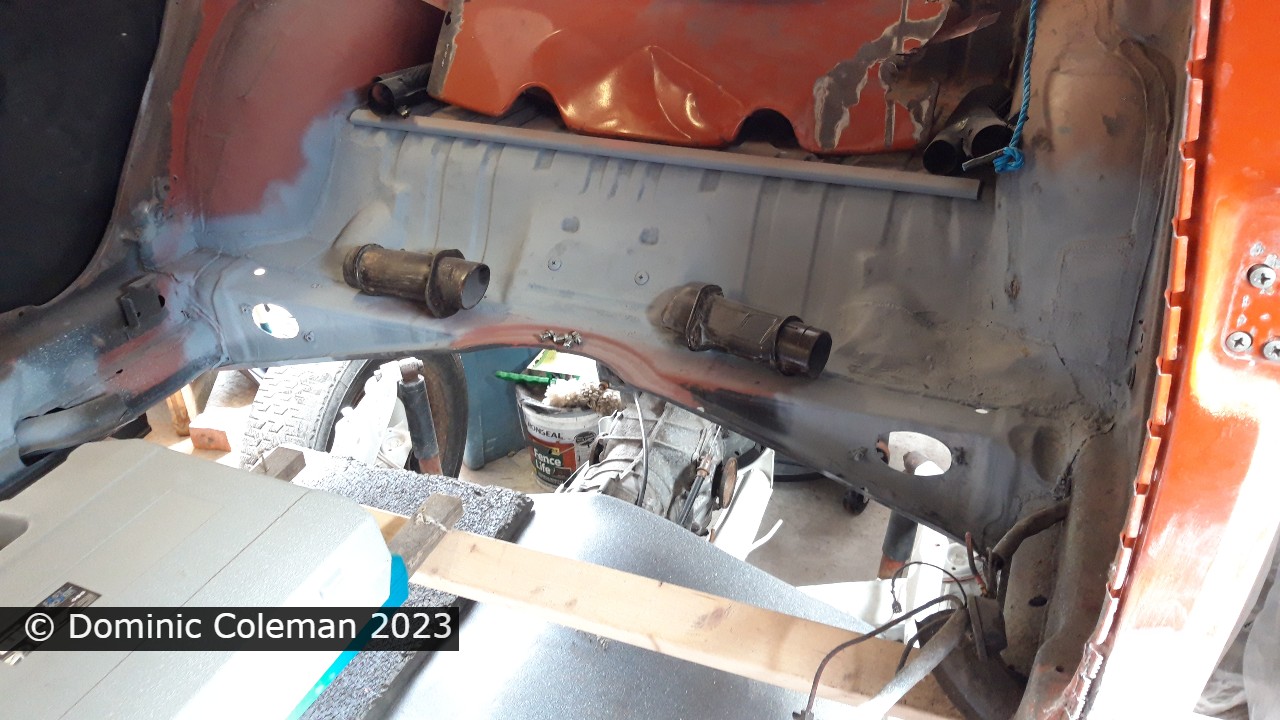
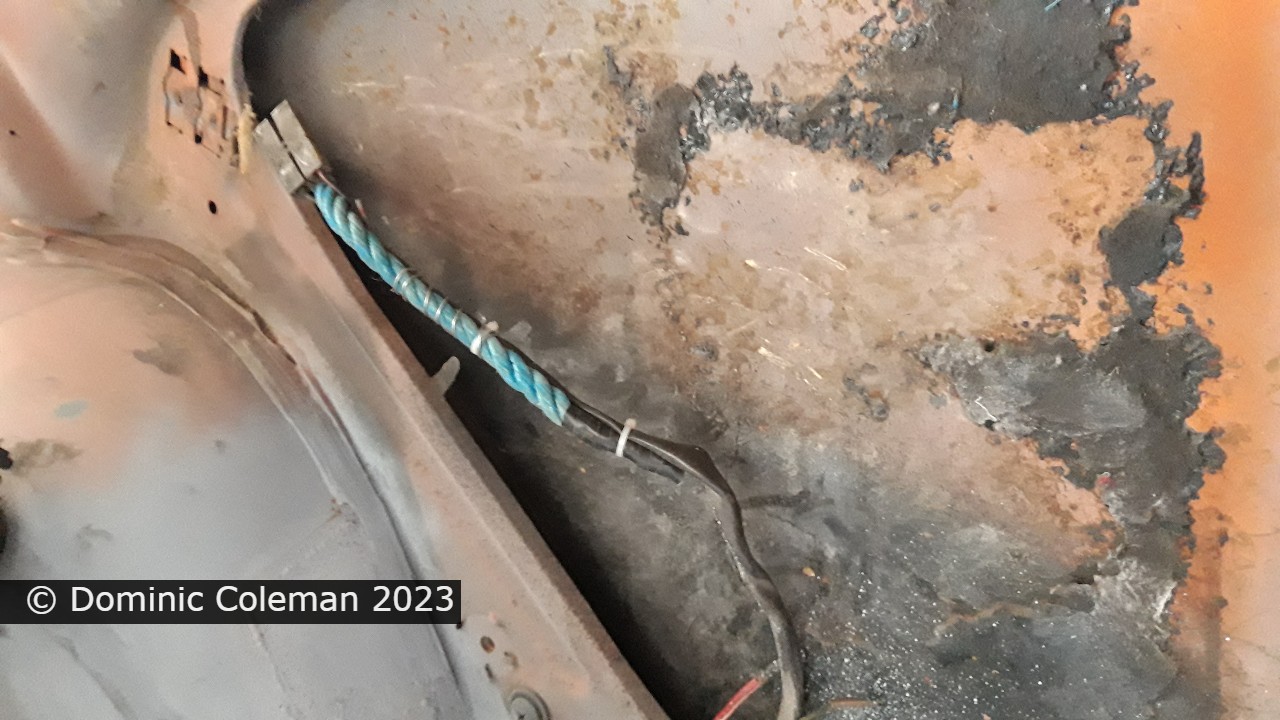
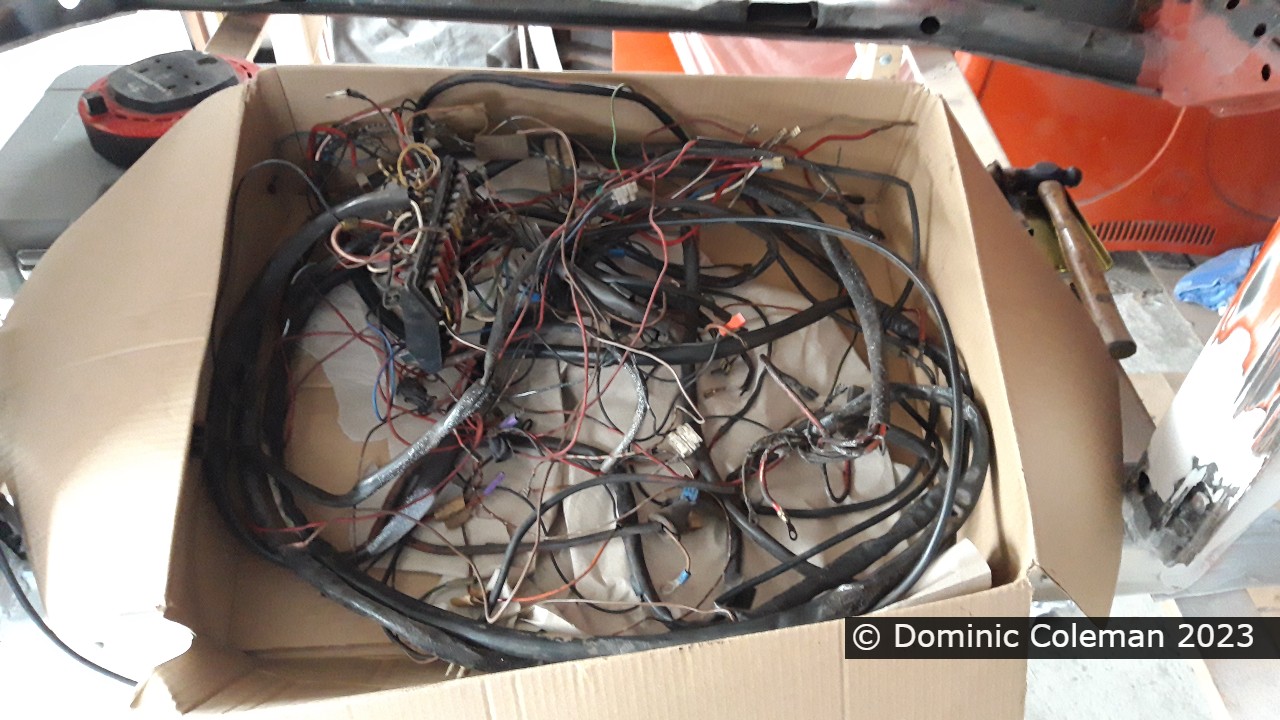
March 2023 saw me make more progress on the Beetle’s body work by the way of a 3rd or 4th round of filling, sanding and cleaning up with more filler on the original 1997 repairs. I also got to flat off the spot welds around the front cowl at bonnet opening and front valance and I completely removed the wiring loom, replaced with rope guides for the future re-install of a new loom.
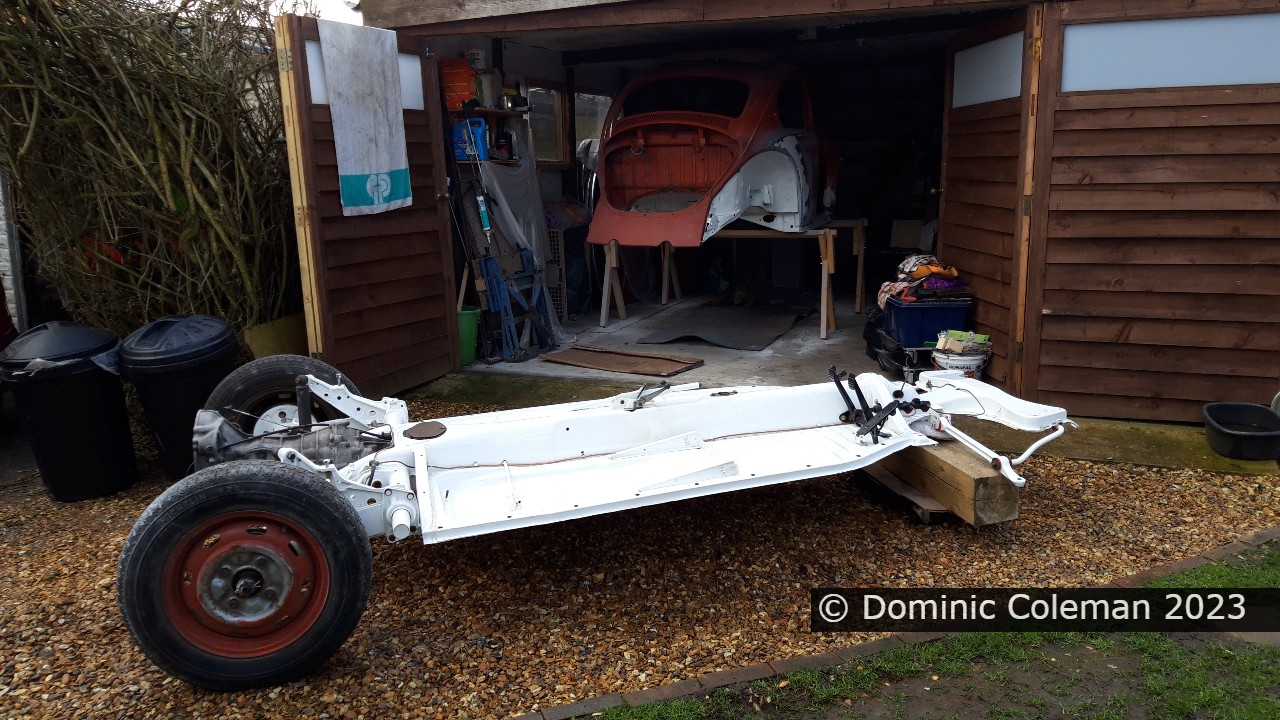
The floor pan had been rolled out on to the driveway so it could be cleaned up and where there was the space to attach the anti roll bar with new poly bushes. I had to enlarge the roll bar clamps bolt holes a while ago as I think my original clamps disappeared on the strip down (June 2021) while at Pauls. Fitting the new polyurethane bushes, washer and nut combinations was not as easy as I thought it was going to be. Not enough of the roll bar thread protruded past the poly bushes for the retaining washer and castle nut to get a purchase. So, I had to hit the bushes with a soft mallet to get them pushed in enough to enable me to fit a thinner washer and nut to press the bush in further. I then had to swiftly remove the nut and washer, then quickly put on the large retaining washer and nut to tighten up before the bush expanded again.
I made a short video walk around, however, the audio and commentary isn’t very good, but you should get the idea.

There were a couple of more items to come out of the beetle shell one of which was the wiring loom and I used some rope to attach to an end in the engine bay. This was so I could pull through the rope that would then stay in place for the later re-install of a new wiring loom. The other was the glove box door and I also took off the engine lid hinge mounts to allow easier access to clean up the engine bay firewall.

With 320 grit paper on an orbital sander I sanded the sides of the car shell up to the rain gutter to flatten off the existing paint and remove other minor blemishes. The dashboard was treated the same to flatten off the gloss paint, smooth out minor blemishes and act as a matt surface for, hopefully, better primer adhesion. I also treated the the engine bay firewall the same way and along with a small block with 320 grit sand paper which also cleaned off some the ingrained grease and dirt. I left the ‘tar board’ hooks in place in case I wanted to put one of those back in at a later date.

The next big step is to get some high build primer on the inside and outside of the body. This should highlight the areas requiring more work for filling and rubbing down. It’s a big step and I will be taking my time preparing the workshop to allow me more space to move around the body and masking off areas that won’t need the primer.

Note: no ChatGPT here, all my own words.

Categories
pedals suspension

Floor Pan Rebuild

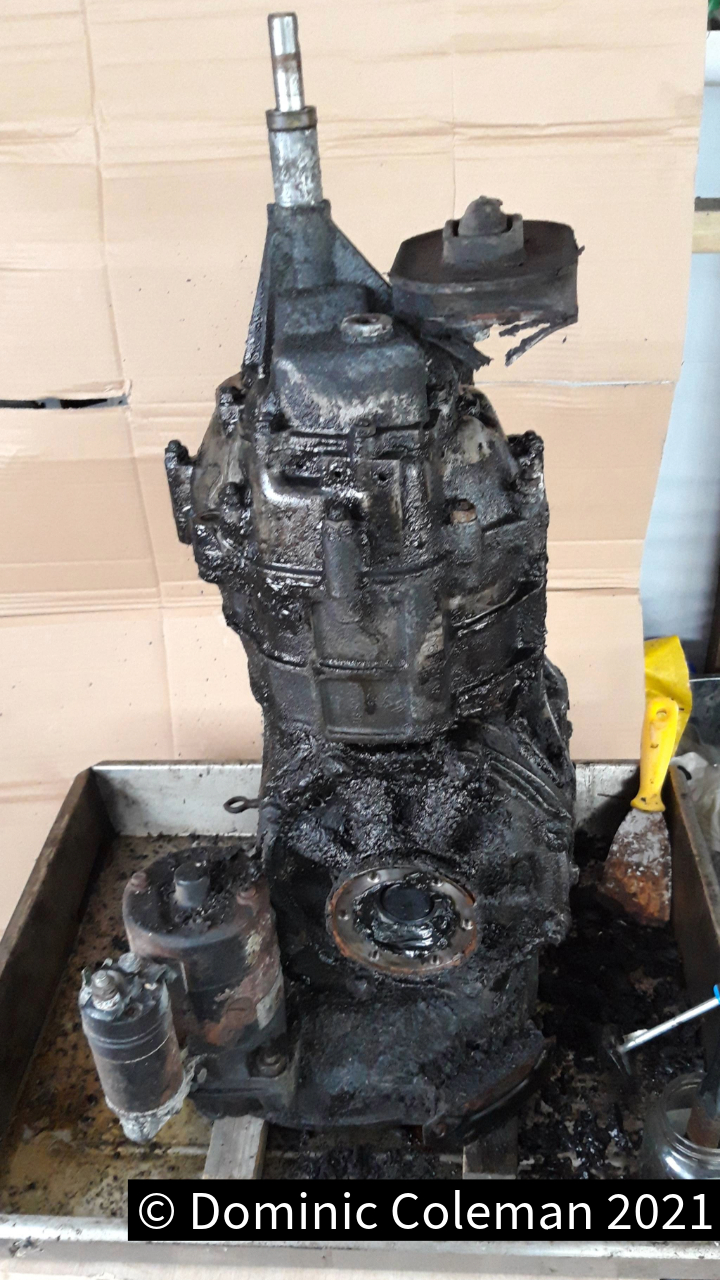
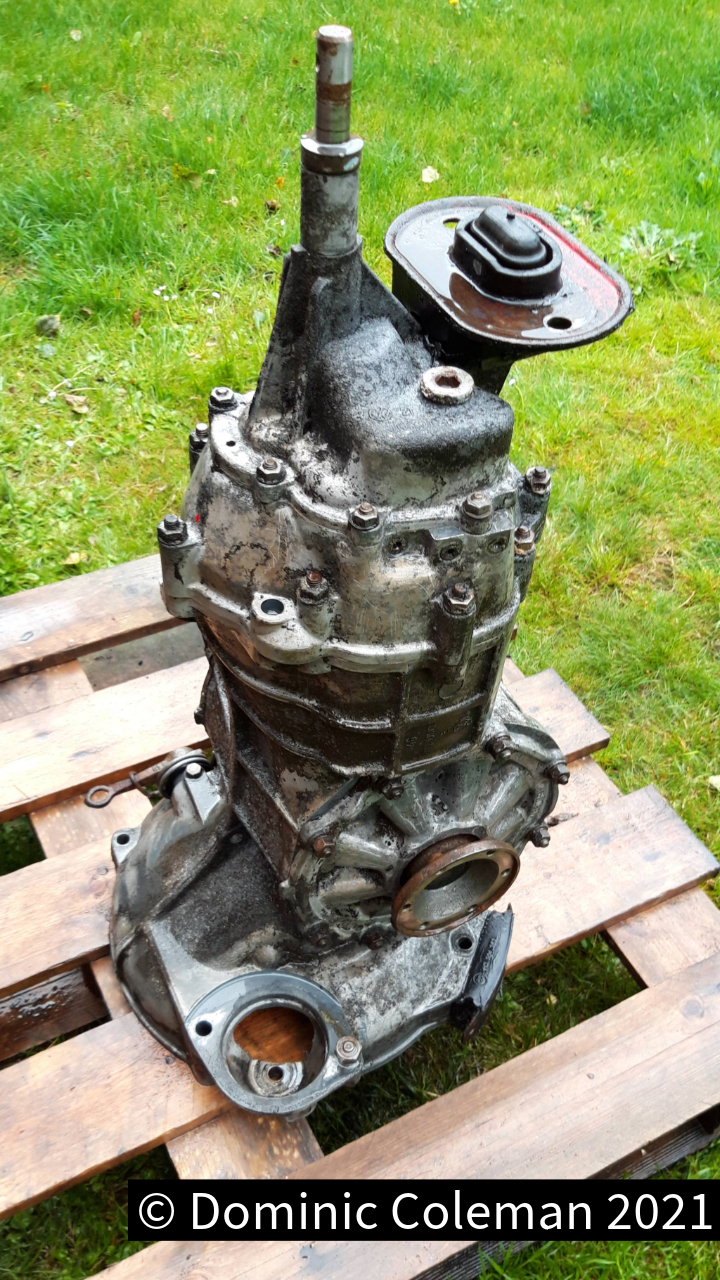
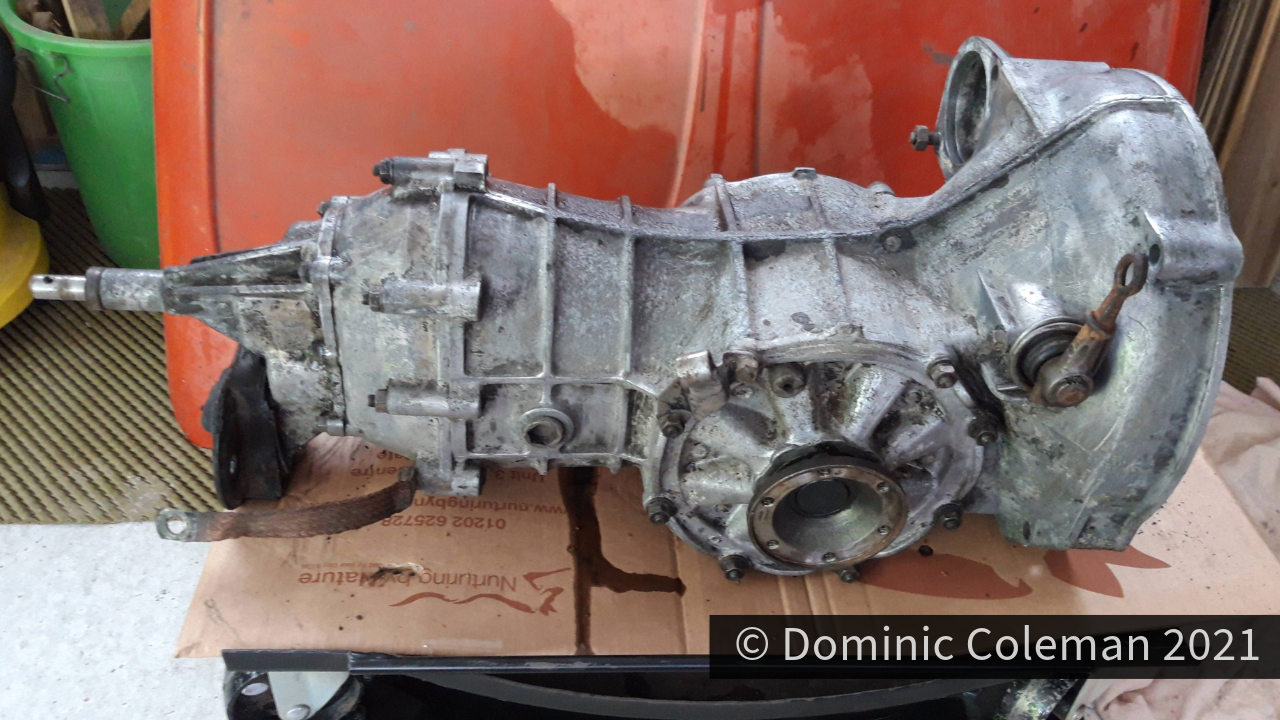
During August I took the opportunity to clean up the gearbox, first by soaking, scraping and scrubbing it with old petrol to loosen the dirt. It was followed by a more detailed clean using a degreaser before finally jet washing.

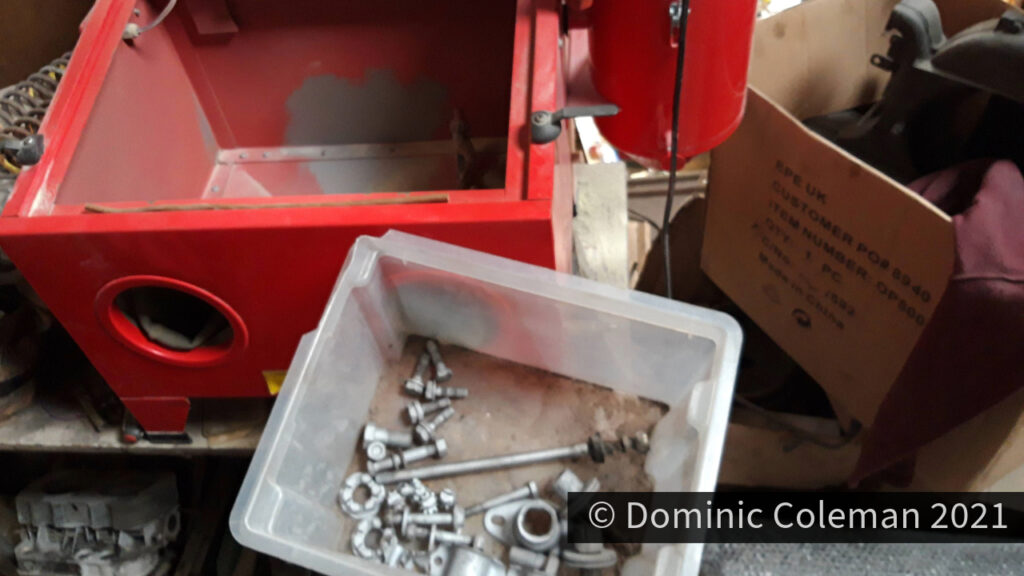
At the end of August 2021 going in to September, I had some time off work to spend a few days at Pauls Workshop to begin reassembling the components back on to the floor pan. It wasn’t as straight forward as I hoped and felt a little bit out of my depth and Paul was busy with other work but he set me up to use his sand blasting cabinet for most part of my first day. It was quite a fiddley process of which I cleaned up several large nuts, bolts, fastenings and the gear stick components.

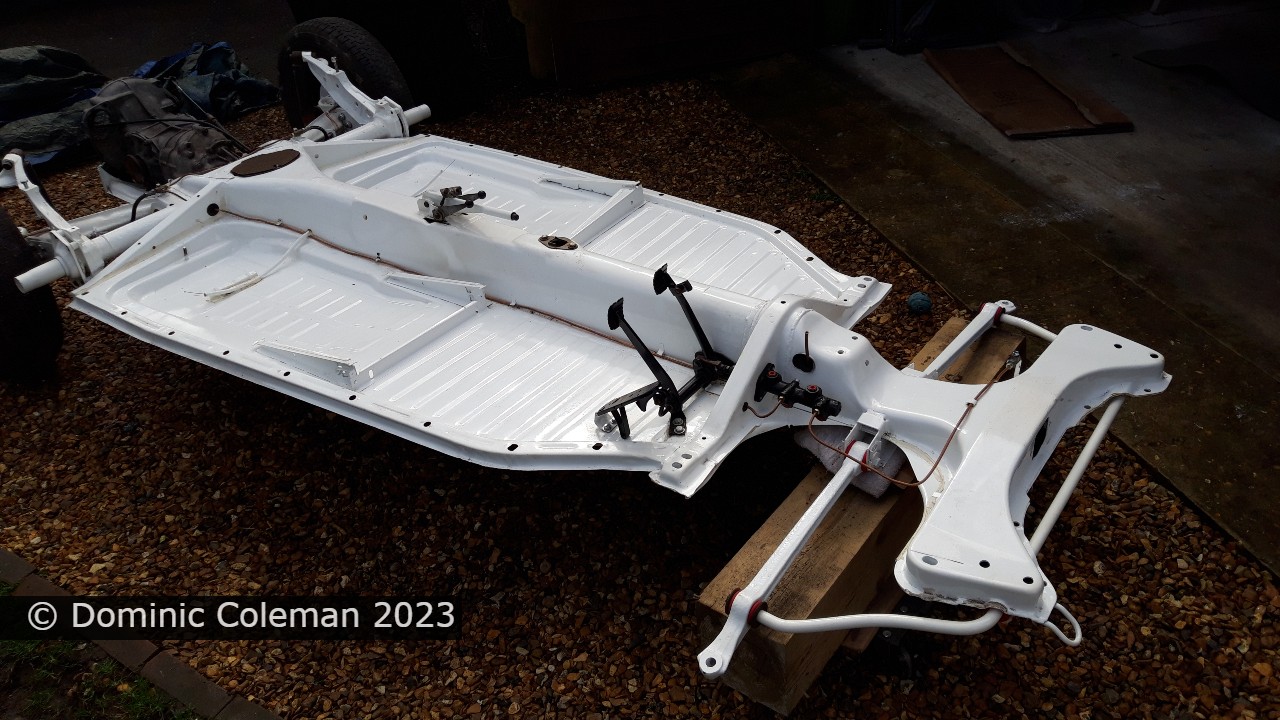
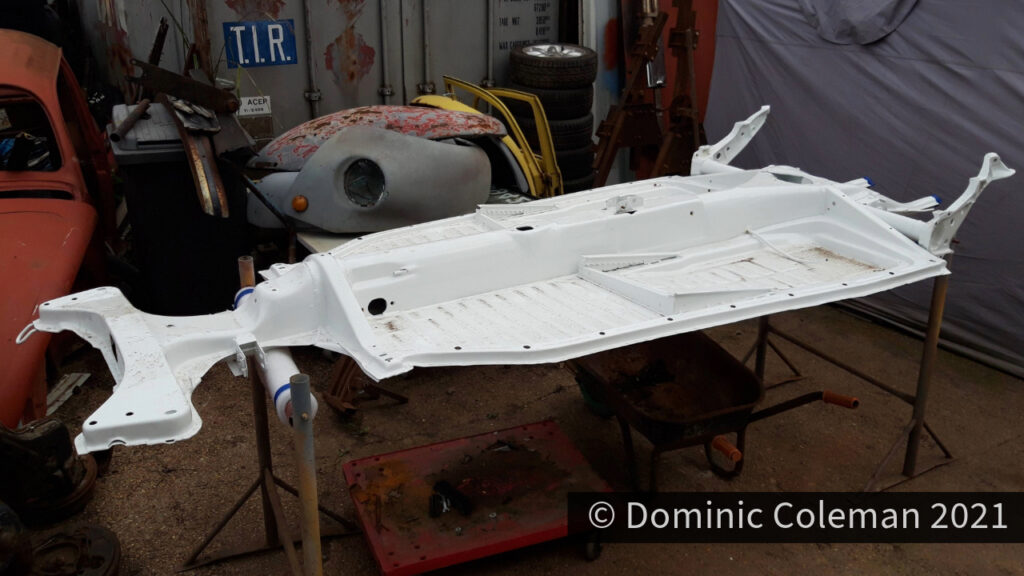
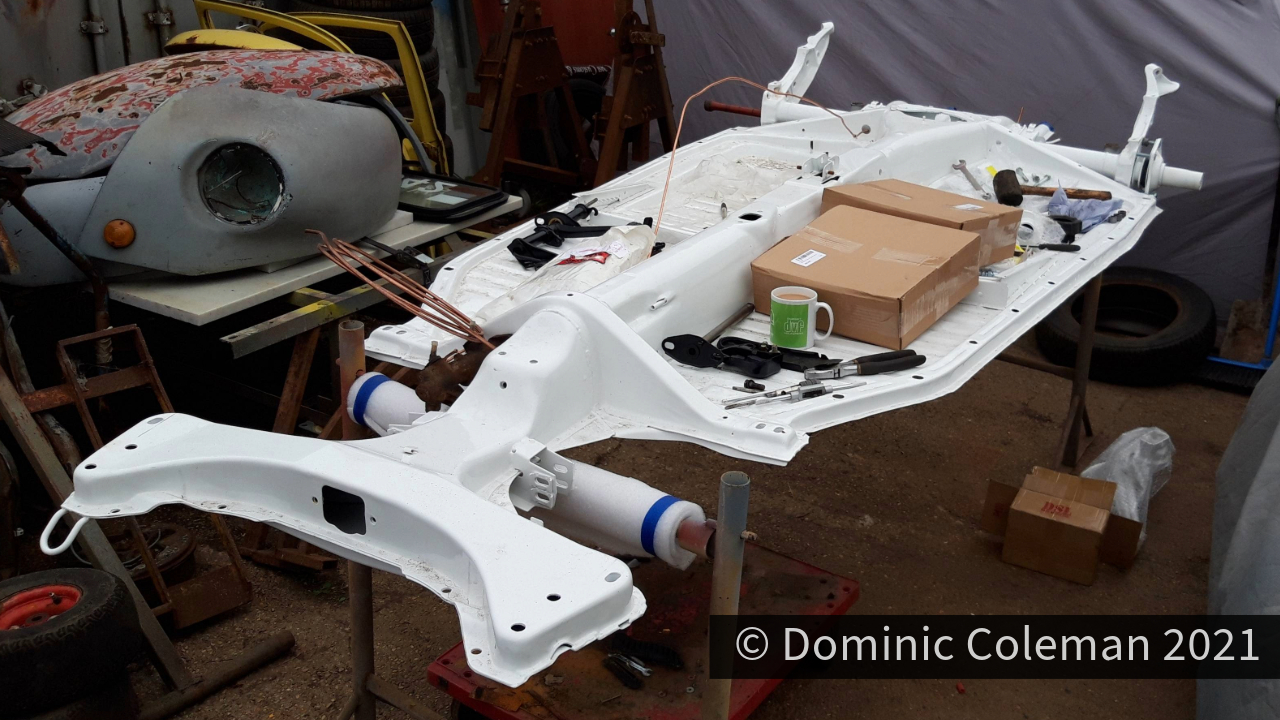
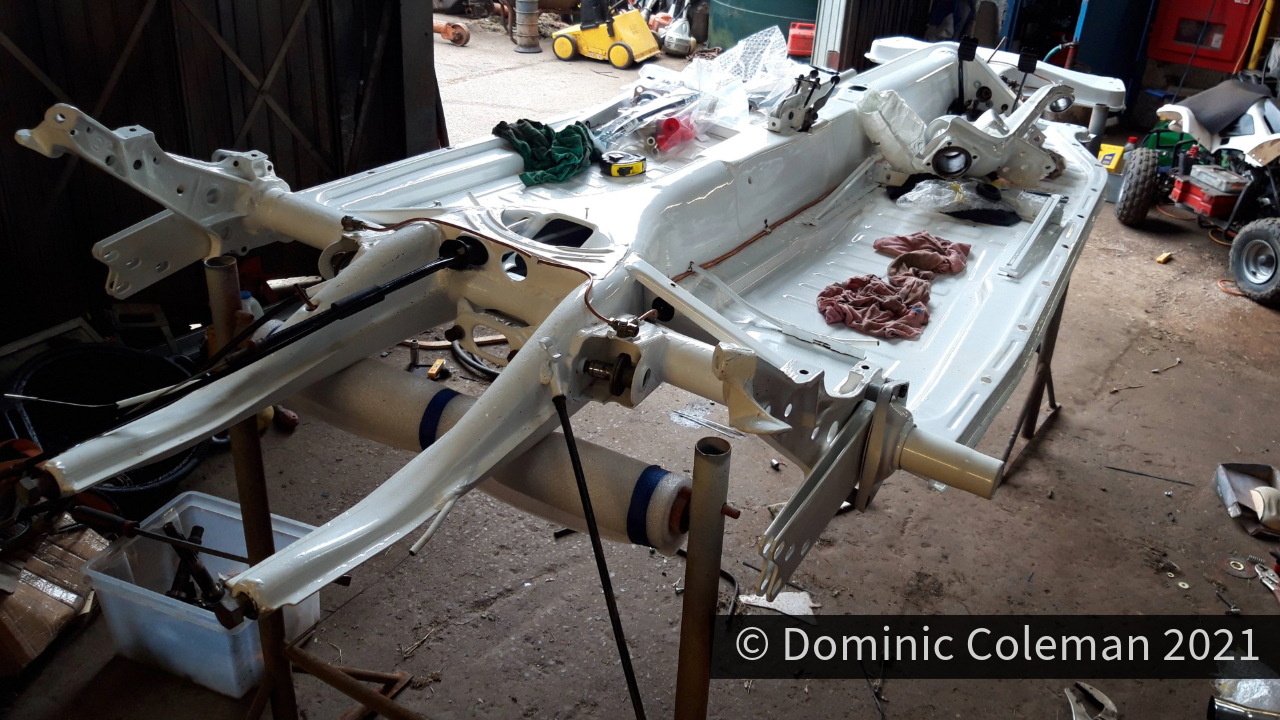
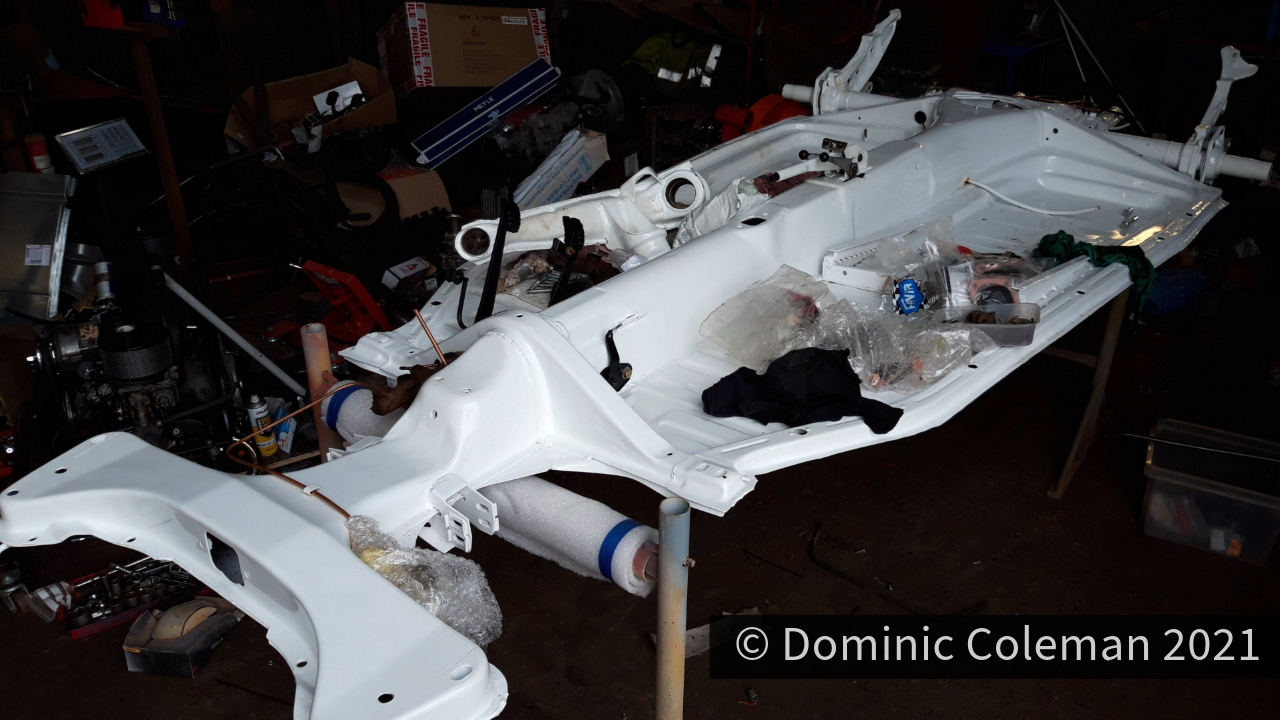
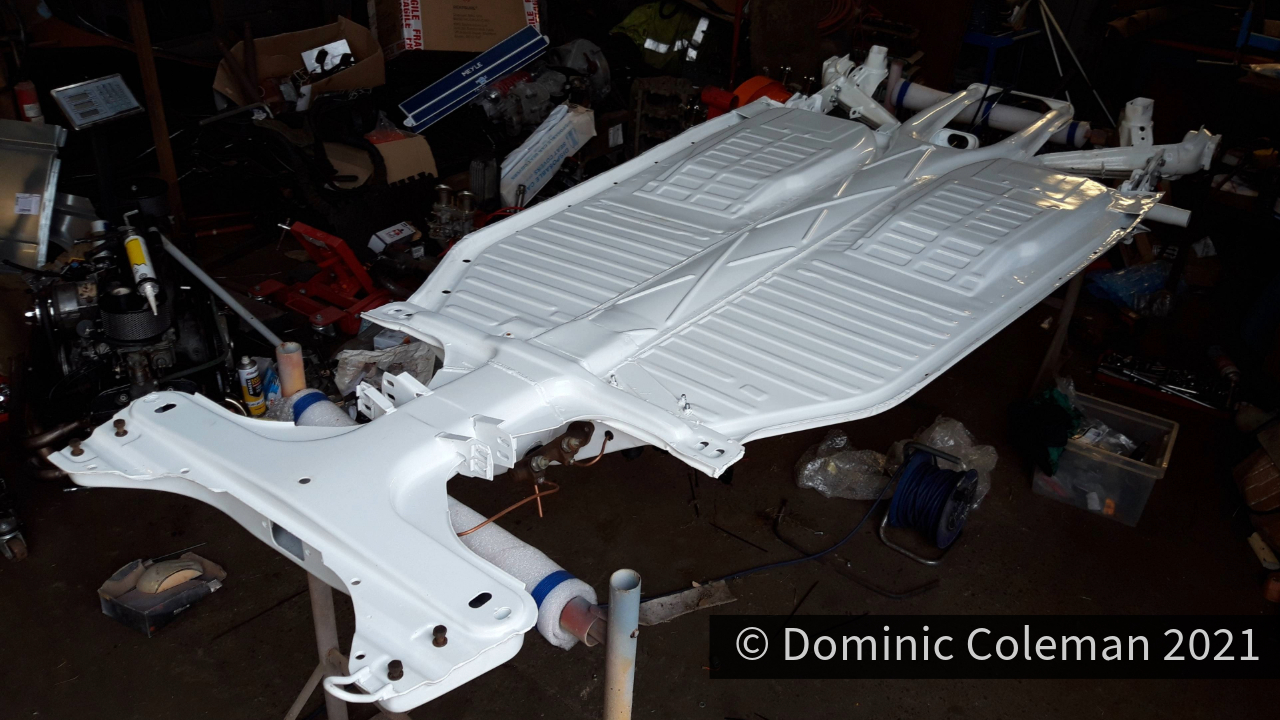
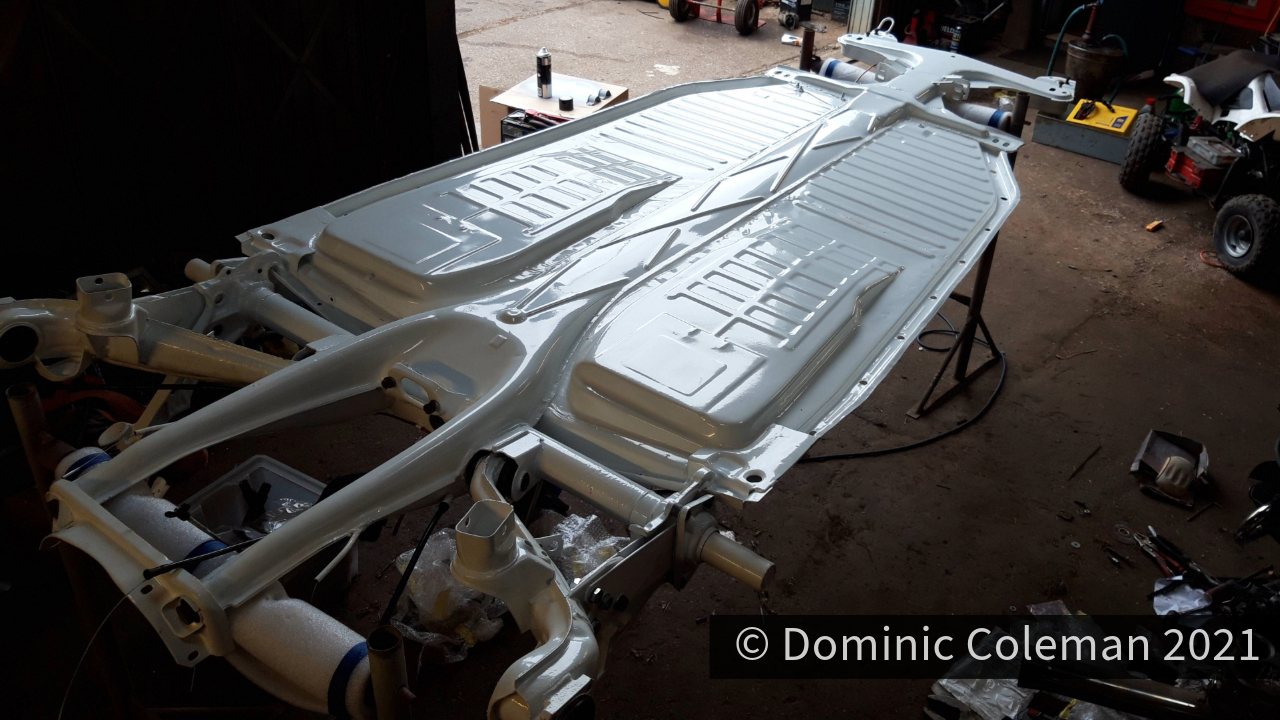
1302S floor pan before anything was re-fitted
Sand blasting nuts and bolts

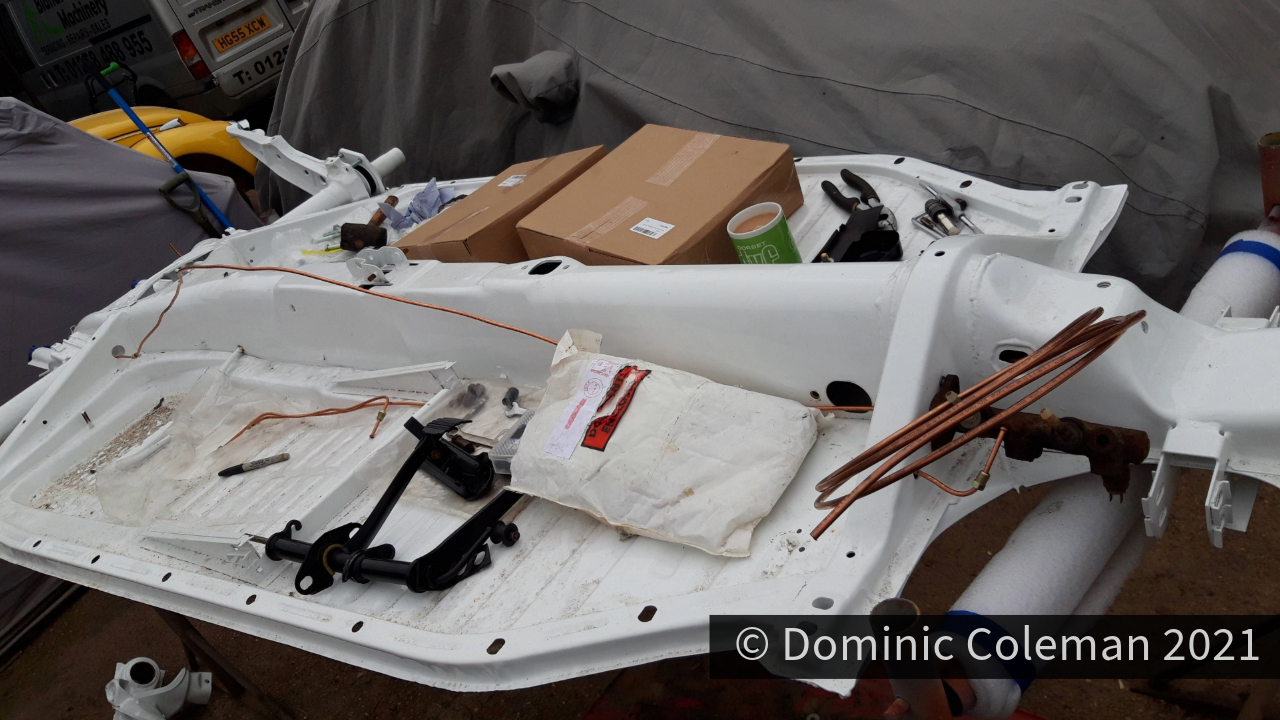
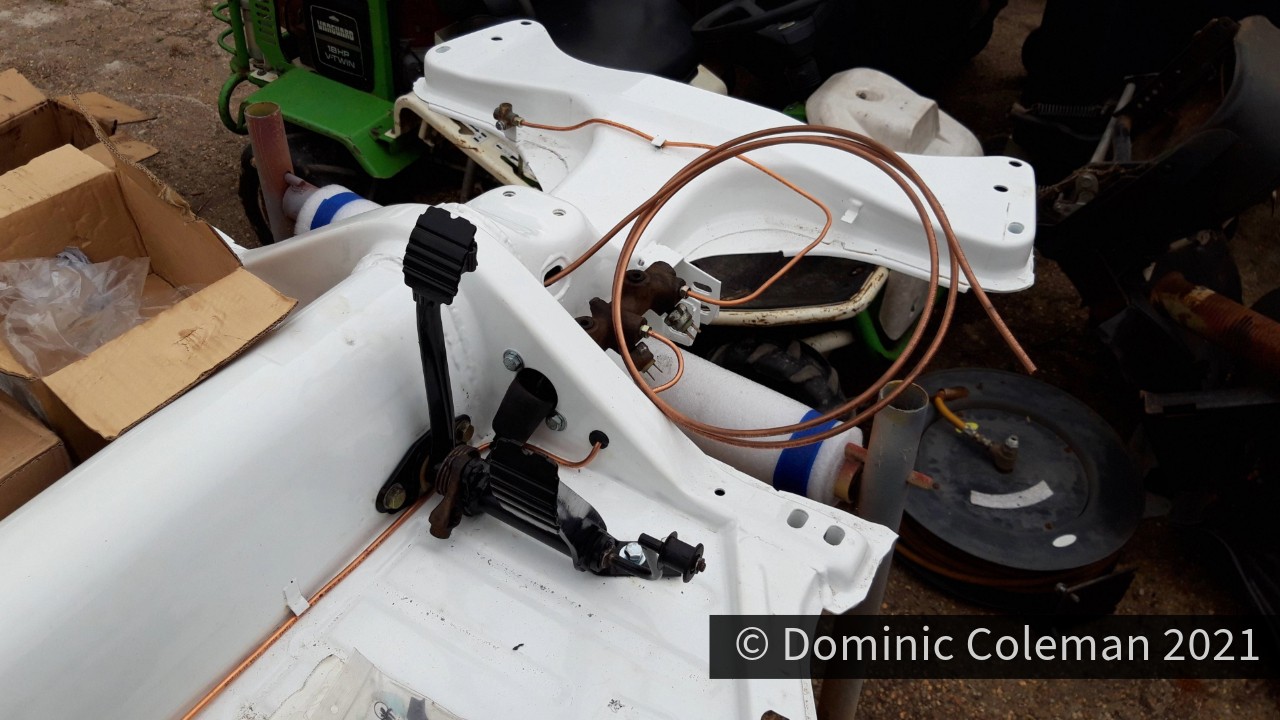
Progress over the 3 days was slow but I had re-tapped all the threads on the floor pan that had been affected by the powder coating process. Paul fitted a new copper fuel line while I worked on new copper brake lines front to back with cleaned up unions and installed the foot pedals, hand brake with cables and new heater control cables. The heater cable guides needed a proper clean out and Paul devised a method utilising a long thin rod from a roof lining support rod and fitted it to a drill. The result eventually cleared the blockage of sand blasting grit coupled with years of dirt build up. All the other cable guides were treated the same and were all clear.

The powder coating of the floor pan was tested for its durability having got a proper drenching in some September downpours, unfortunately the new brake drums were exposed to this weather and suffered, so had to be cleaned up with a wire brush as they had developed some surface rust in a very short period. After a few Saturdays during September spent with Paul, the floor pan was coming together. Working on the trestles made access much easier to laying out and shaping the brakes lines, hand brake cables and heater cables. One oversight (of a few), there were old bushes in the independent rear suspension arms that hadn’t be removed prior to powder coating and I had bought new bushes to replace them. Unfortunately the new powder coating took a bit of abuse as the arms wouldn’t fit or sit straight in the vice while I had to chisel out the old bushes. It wasn’t easy but I managed it under the guidance of Paul. The rear suspension was set up by Paul and I had asked that it be kept at standard ride height, for now.

For the sharp eyed, the spring plates are up side down in the top left photo and were later swapped over to their correct side. A week after these pictures were taken, the rear hubs were built up with new bearings along with new seals and the brakes (with the cleaned up new drums) rebuilt with new cylinders, brake shoes and fixings.

Nearly there, or so I thought.