Categories
bodywork paint painting steering suspension

Front Brakes and Suspension Refit

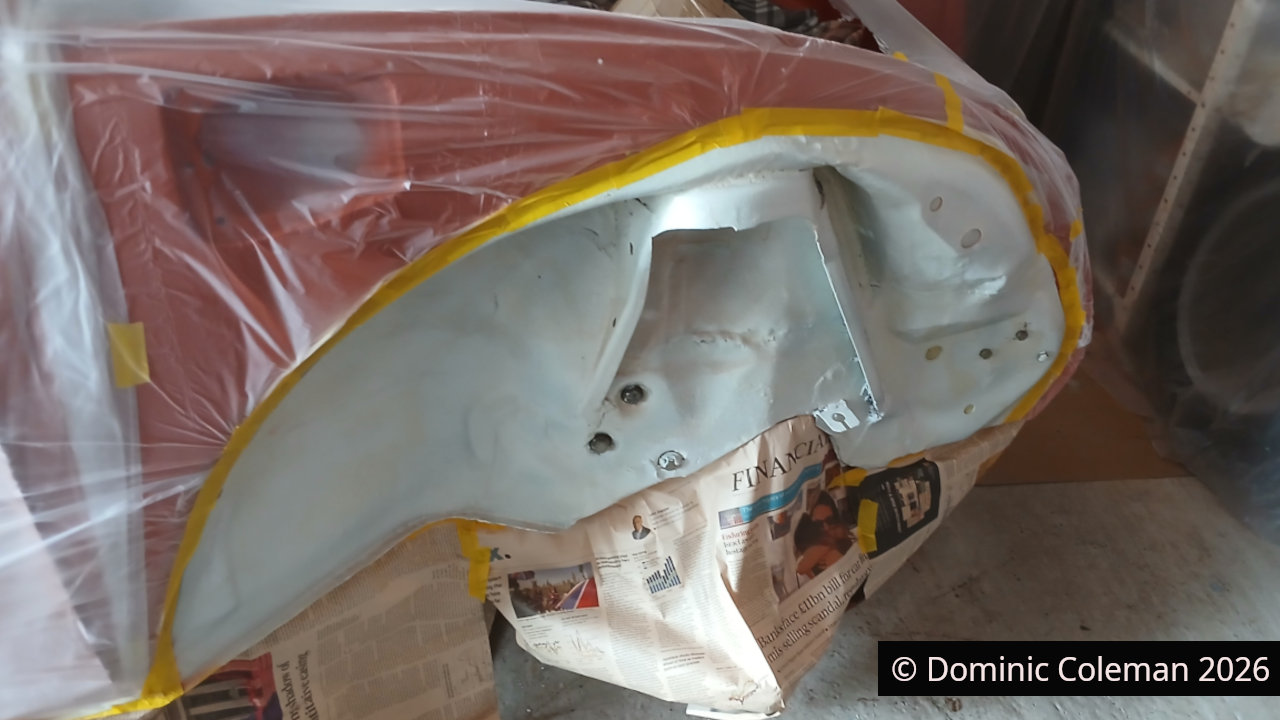
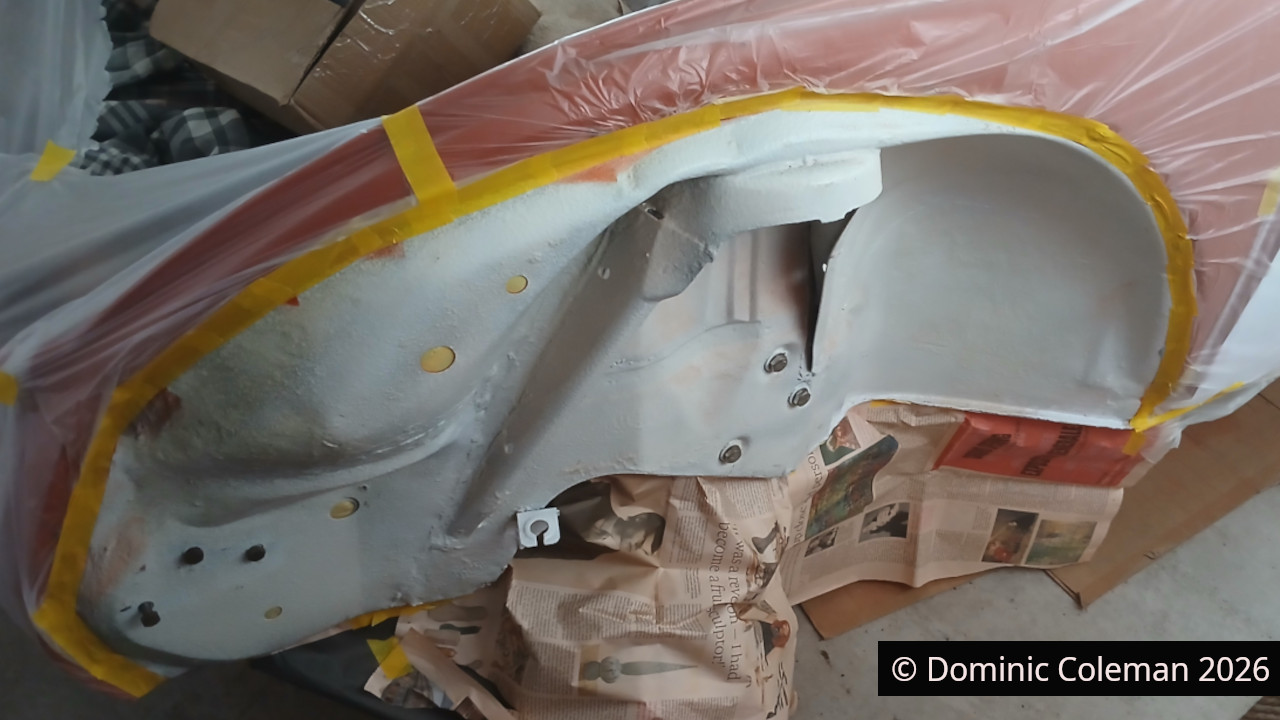
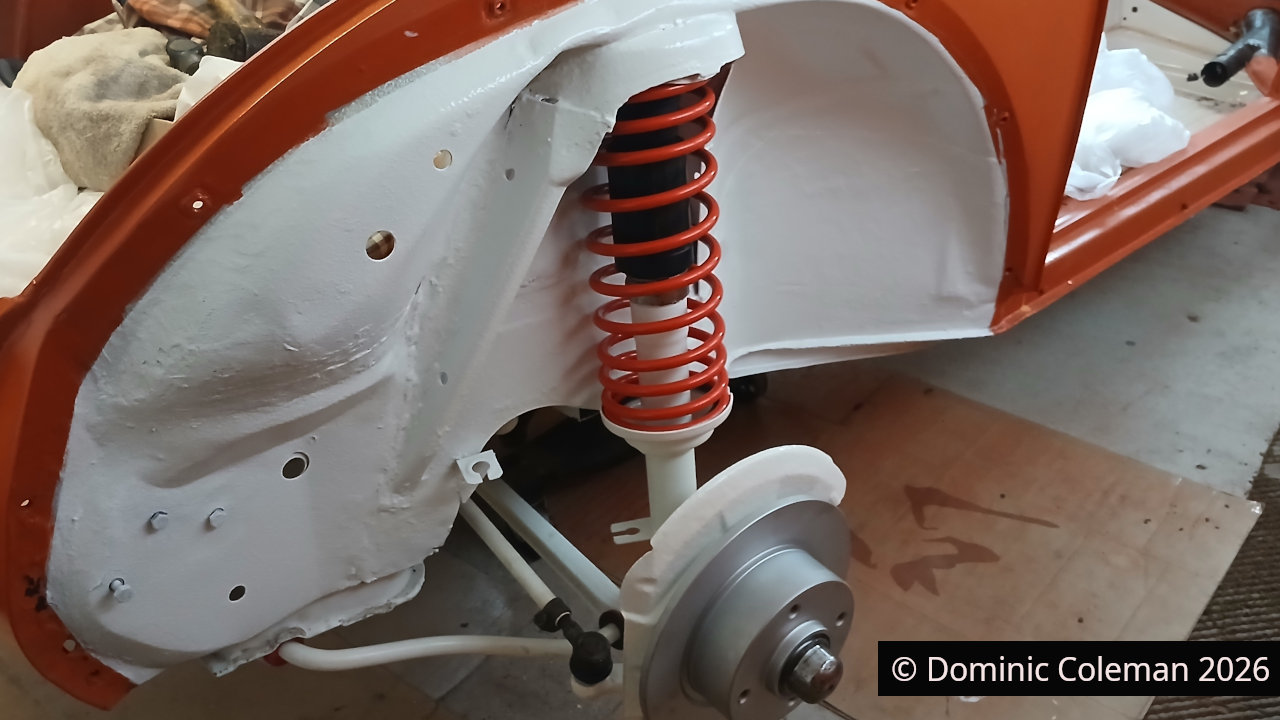
March 2026: With the body and floor pan finally reunited, I was keen to press on and get the brake lines finished and the front suspension components fitted. Before that though, I wanted to freshen up the front wheel arches so they matched the rears. I still had plenty of the white paint left over from doing the engine bay and rear arches last summer. As always, it took longer to set everything up and clean up afterwards than it did to actually get a decent coat on.
Installing the steering set-up fought me all the way. Initially, there wasn’t enough of the steering shaft protruding to fit the steering wheel, and when I unhitched the column from the universal coupling, there still wasn’t enough length to connect to the steering box. In the end, with the steering wheel fitted and a bit of persuasion from a soft mallet, I eased the column further into its housing until the splined shaft finally met the universal joint on the steering box.

With that small victory, I moved on to fitting the steering tie rods and damper while I still had plenty of room to work.

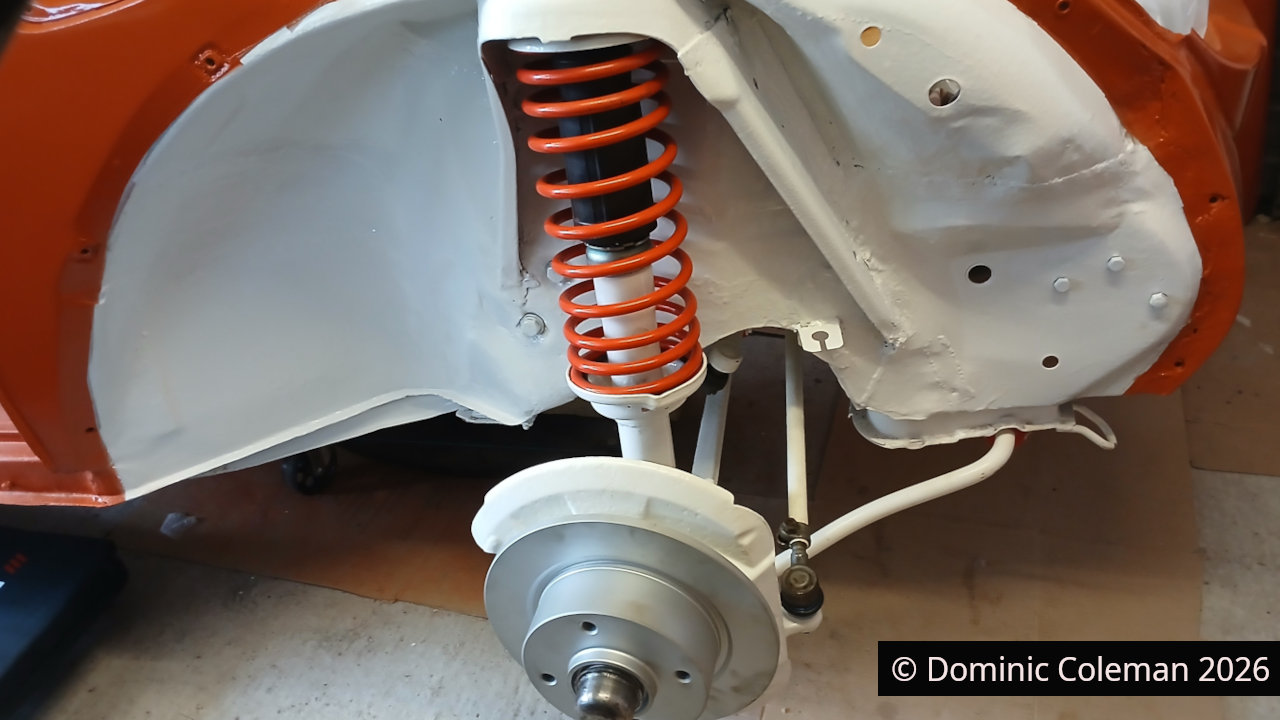
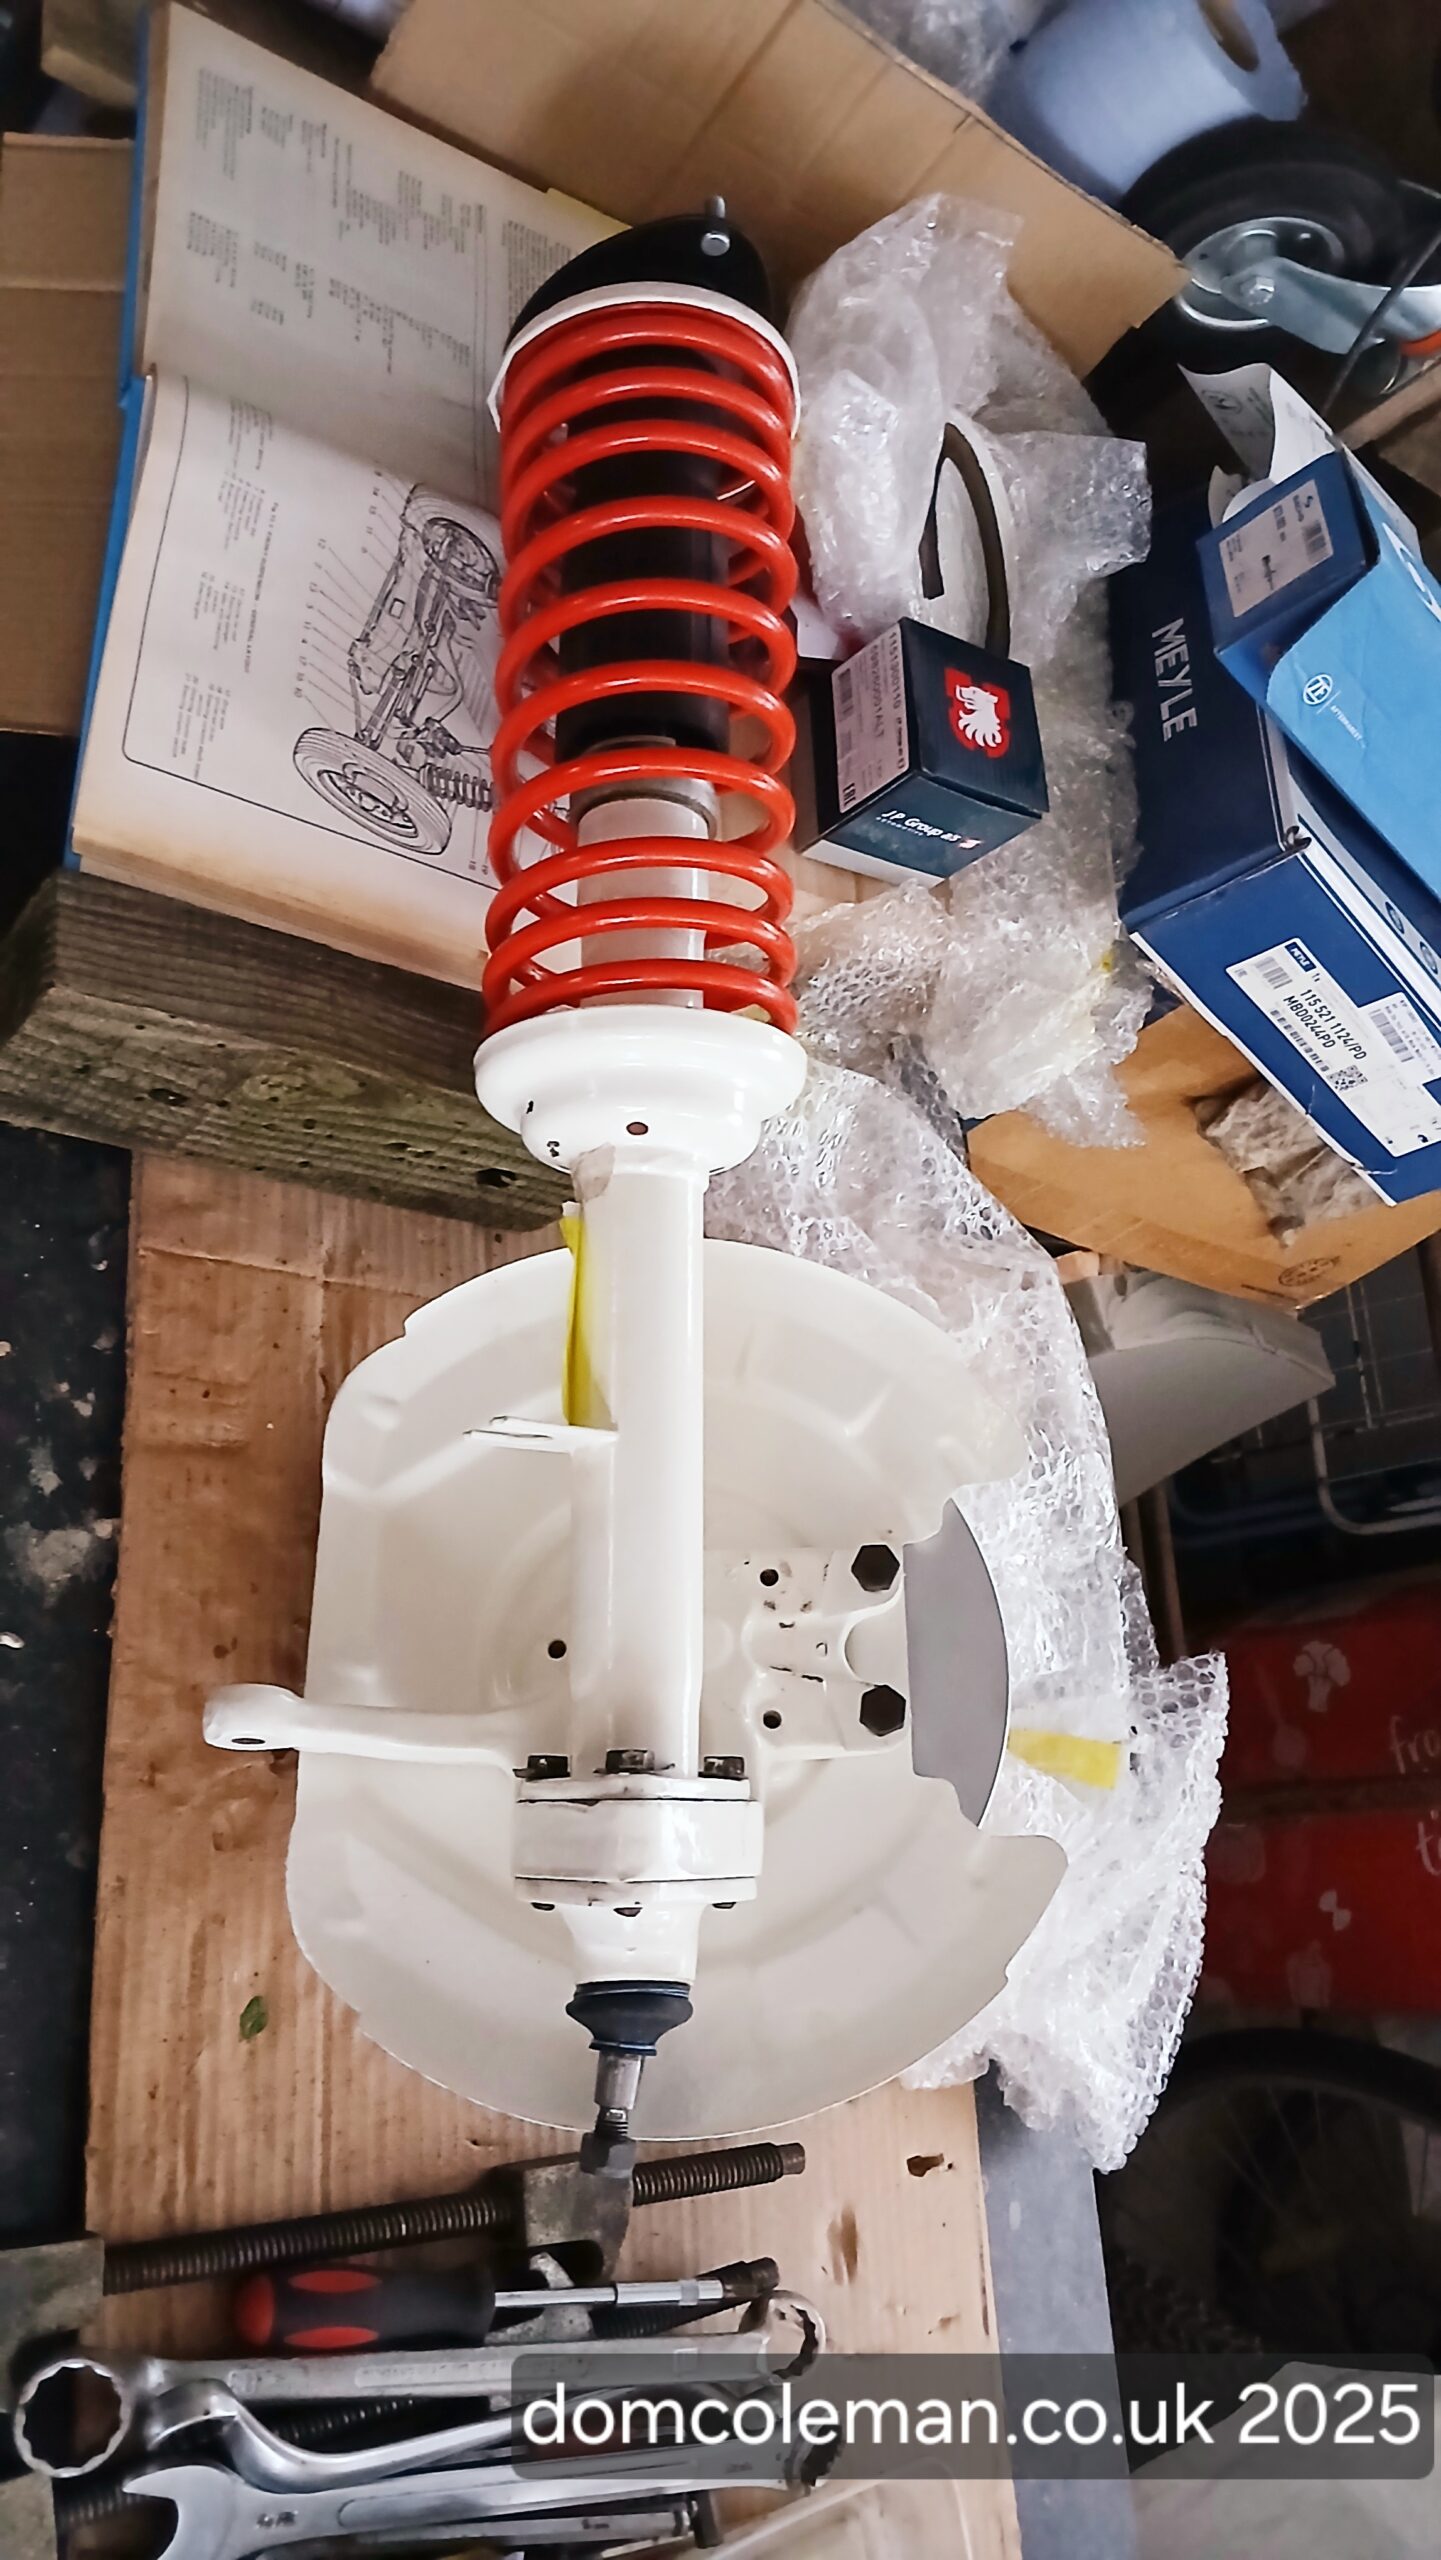
Fitting the rebuilt front struts was relatively straightforward, although I did have to undo the anti-roll bar mountings to get the lower ball joint seated properly into the track control arms. Once in place, I connected the track rod ends to the steering arms on the struts.

Then came the first “ah” moment — with the wheels on, they were clearly pointing outwards. Not ideal. It turned out the track rod ends hadn’t been wound far enough into the rods, thanks to threads contaminated with sand and grit from the earlier media blasting and powder coating.
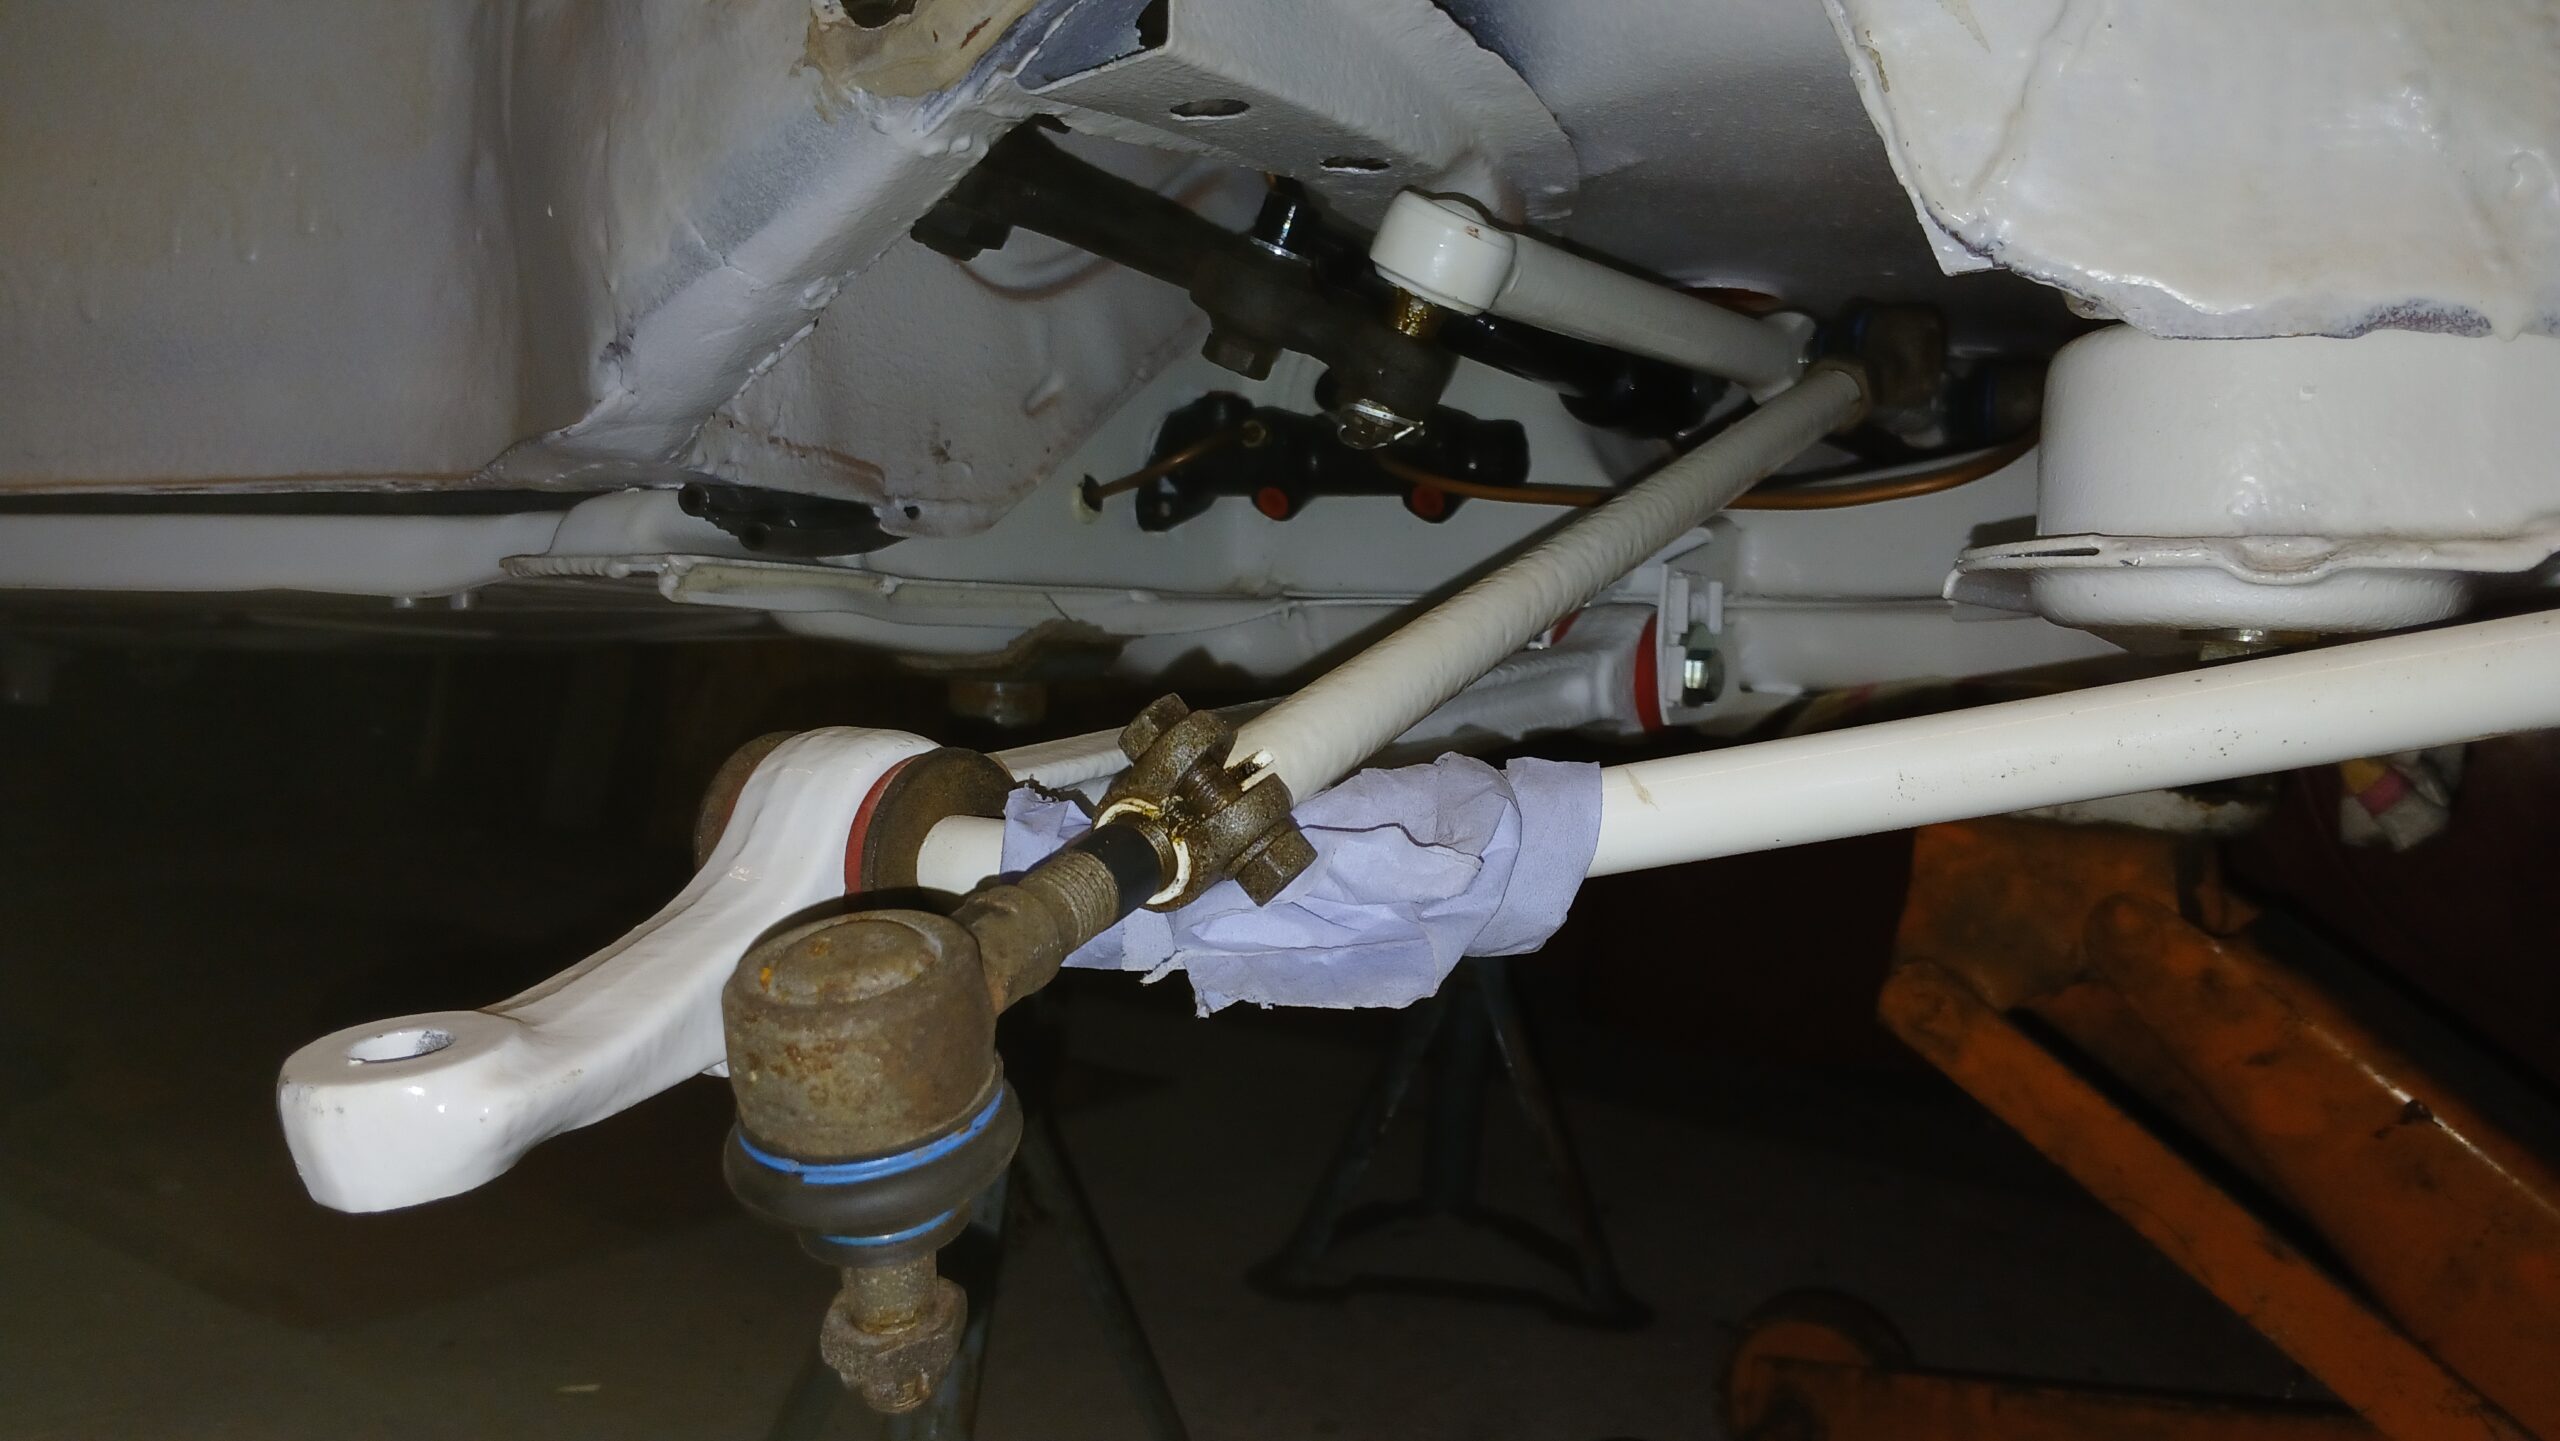
1302S Front right side steering components
Front right side steering components, note the tie rod end not wound in very much

So, out it all came again. This time, carefully manoeuvring everything around the now-fitted struts. With the track rods clamped firmly in the vice on the workbench, I worked the ends in and out, cleaning the threads millimetre by millimetre. It took a while, but eventually I had enough adjustment to make a future alignment possible.

Back under the car on the mechanic’s creeper, I went through the now-familiar routine of refitting everything. Thankfully, it wasn’t too arduous this time. Once reconnected, I stepped back — and the wheels were finally pointing forwards.
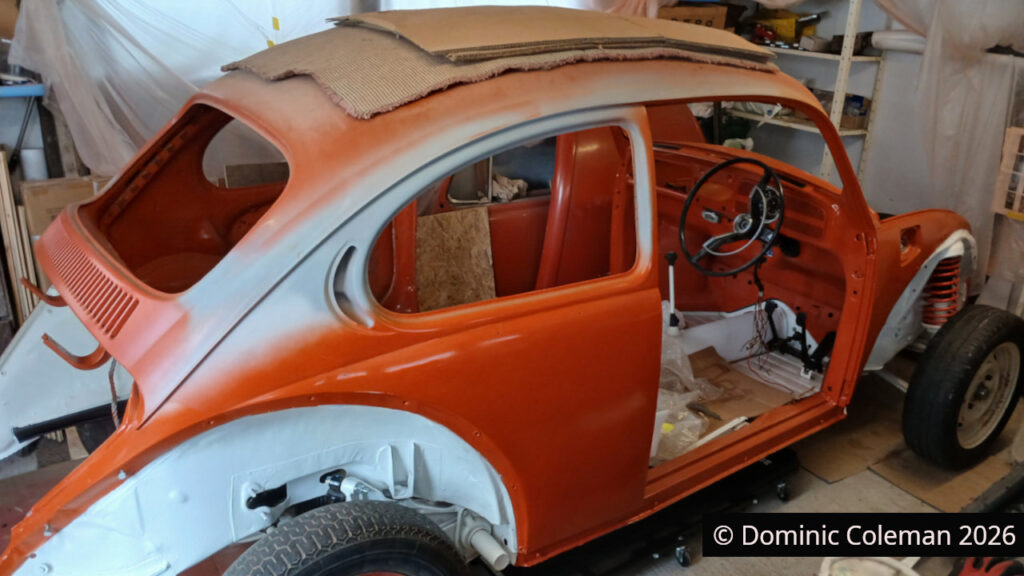
1302S with front suspension and steering fitted

With that sorted, I turned back to the brakes. I finished fitting the copper lines along the frame head and up to the flexi pipe connections, making the most of the access underneath the car while I still could. Fitting the flexi pipes to the front struts was straightforward, and shaping the copper lines neatly around the lower struts to those freshly rebuilt calipers was a particularly satisfying job.
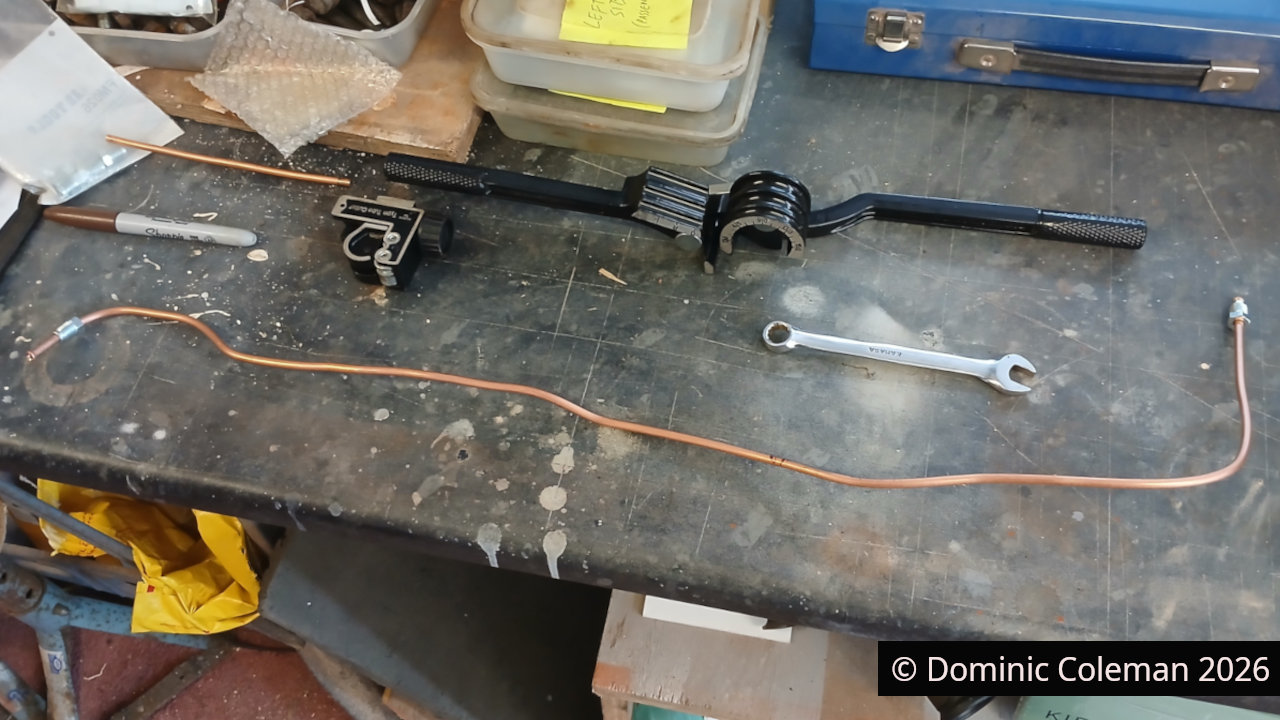
frame head brake line

I also dug out the brake fluid reservoir and its associated pipework from storage, only to find the pipes were in poor condition — and one was missing altogether. New ones will need to be made up from 8mm piping.

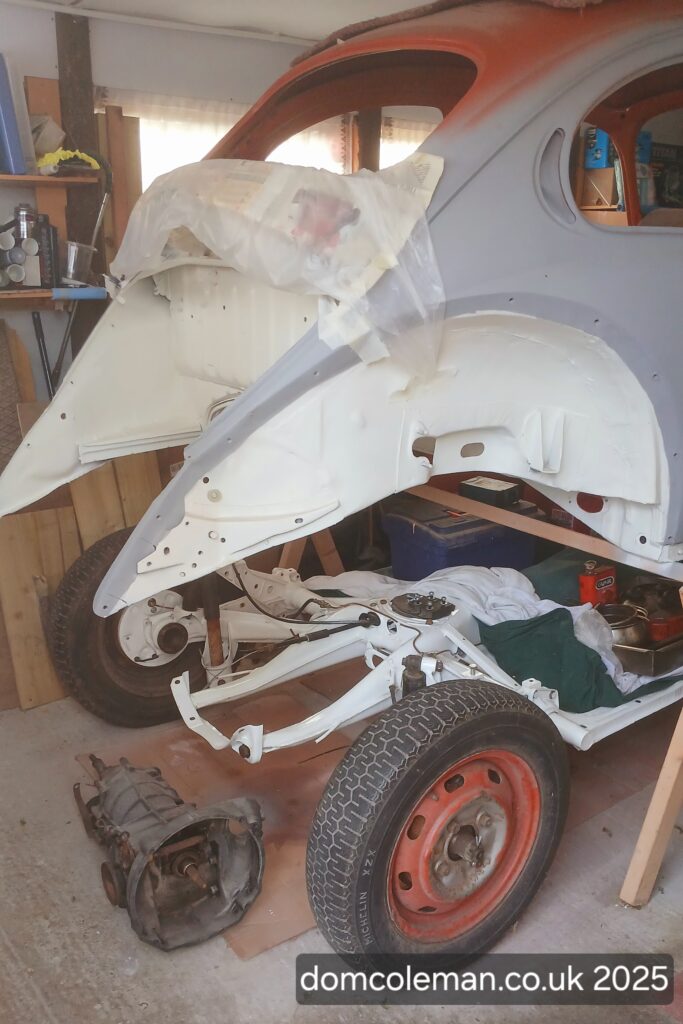
With the wheels back on, it marked a bit of a milestone — the first time since June 2021 that the car was back on all fours.
Categories
steering suspension

Gearbox goes away & front strut reassembly


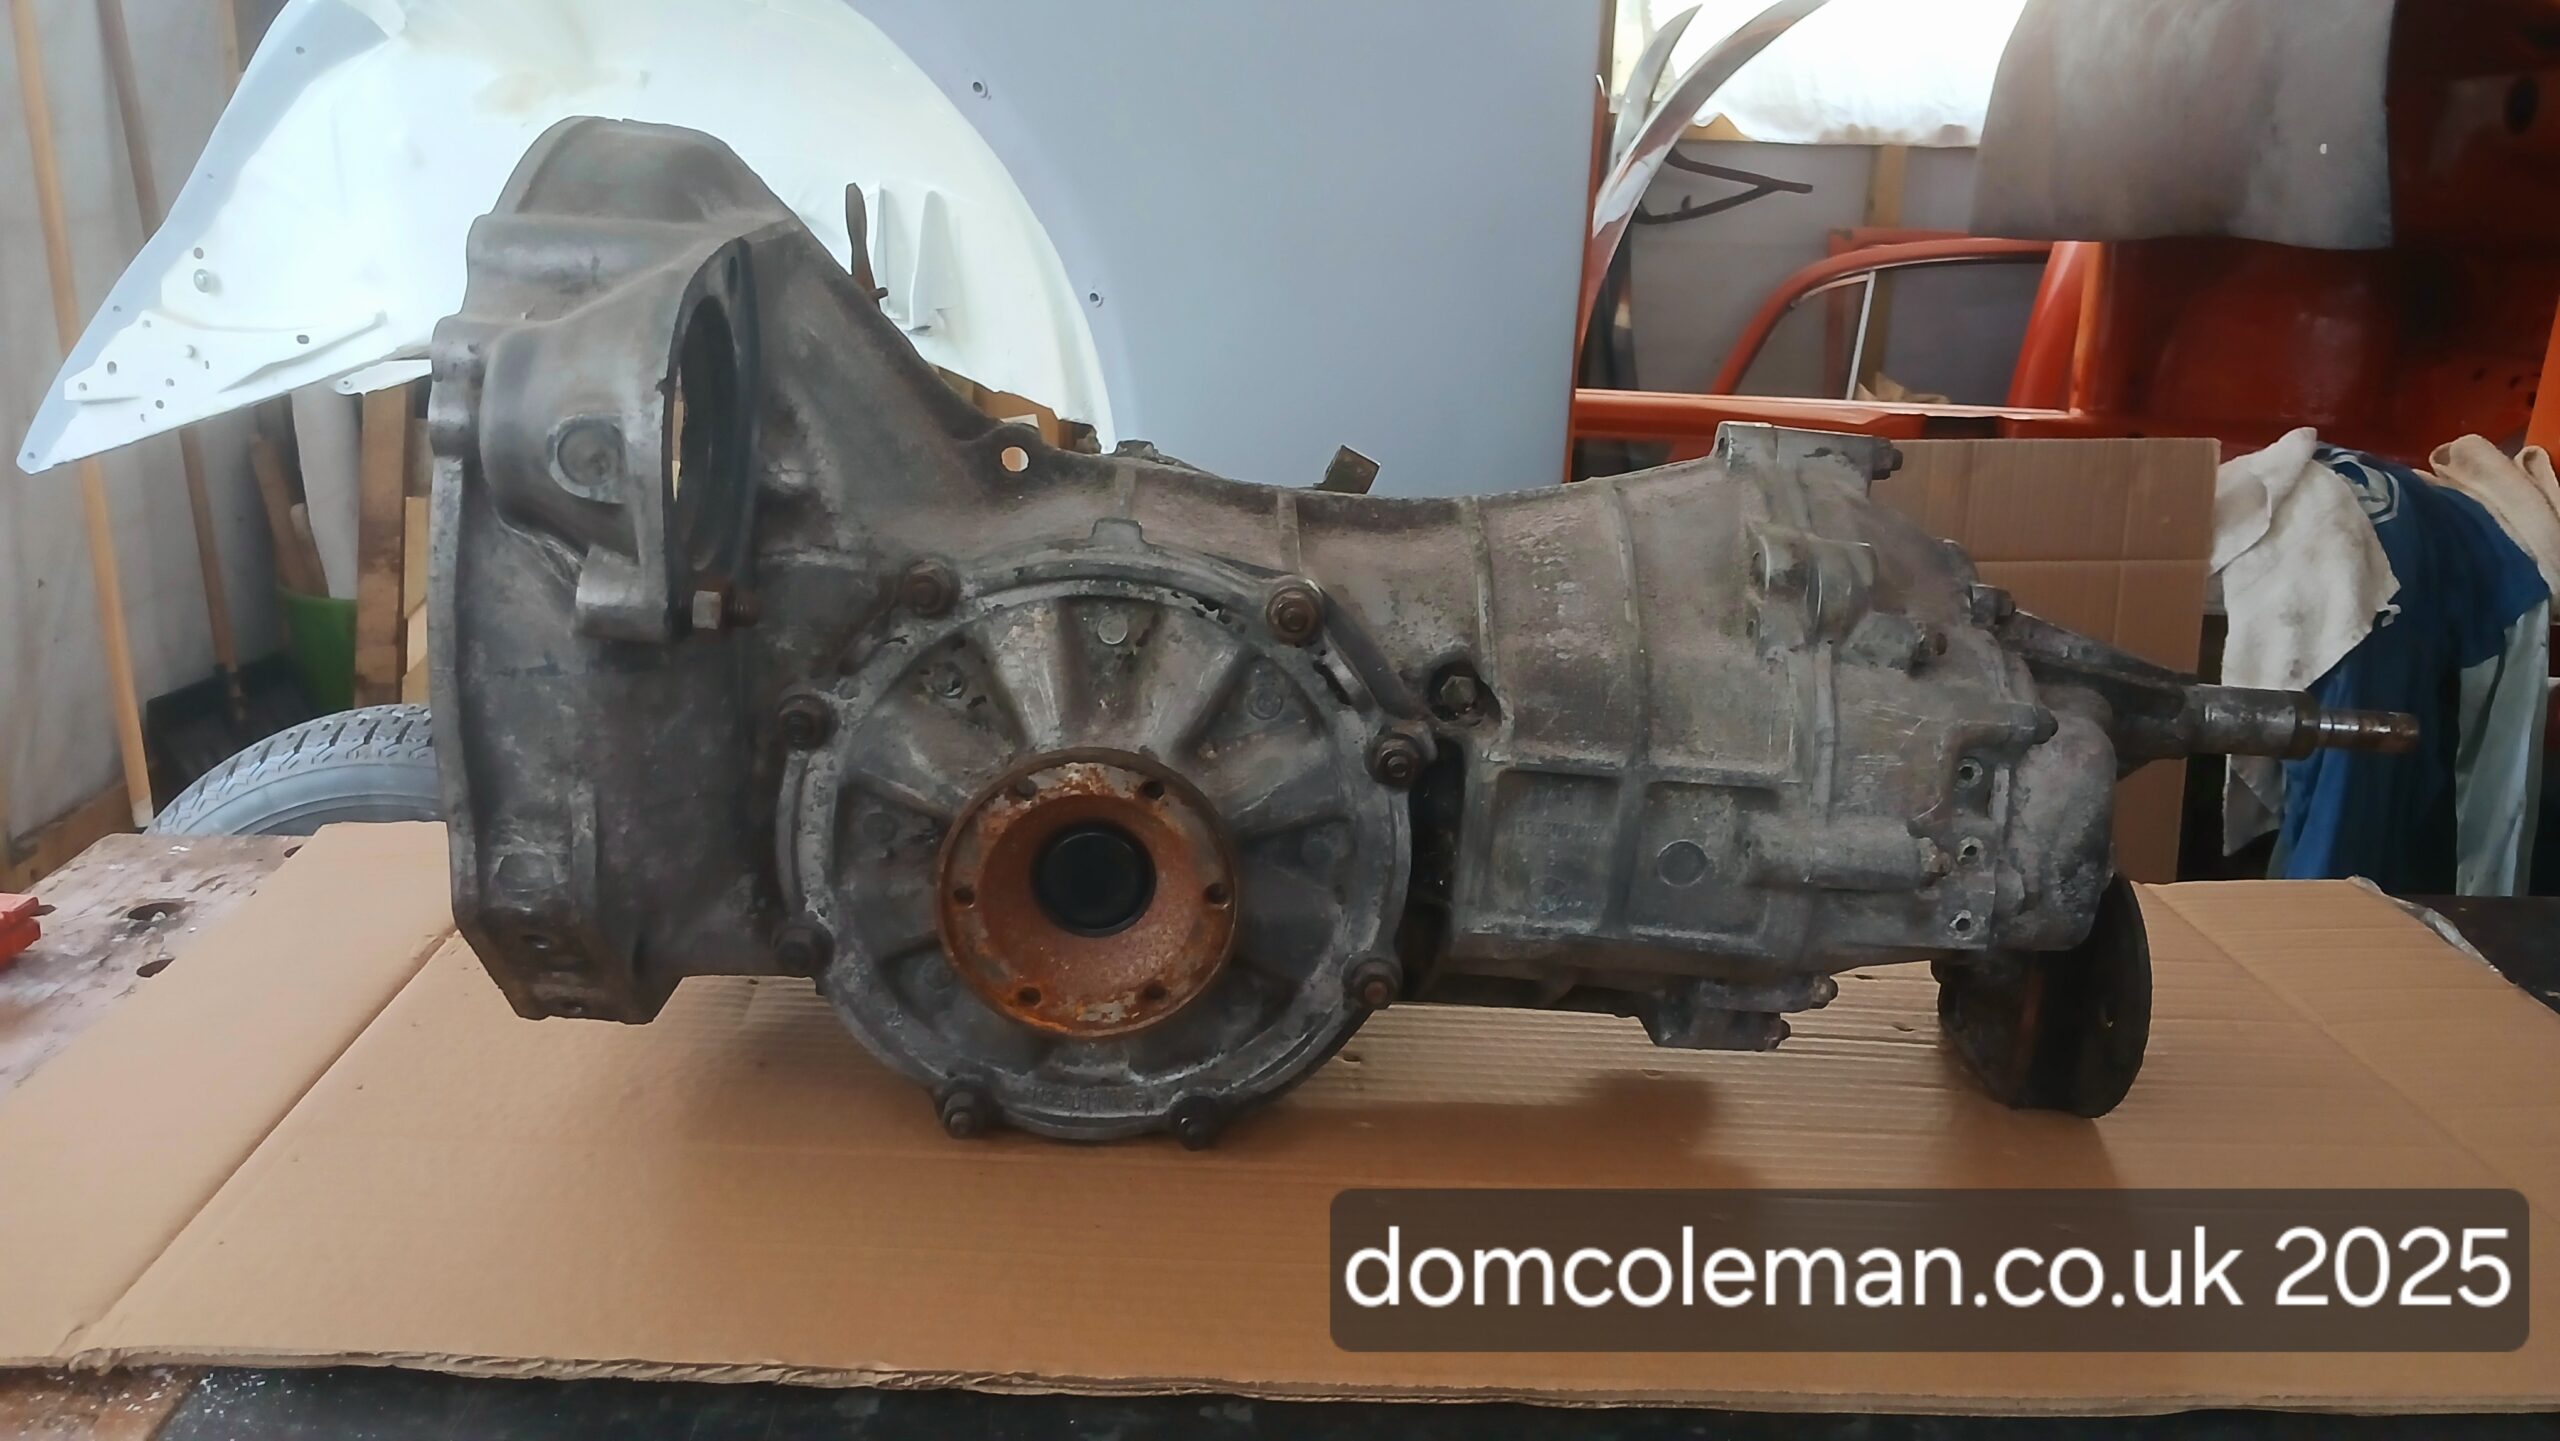
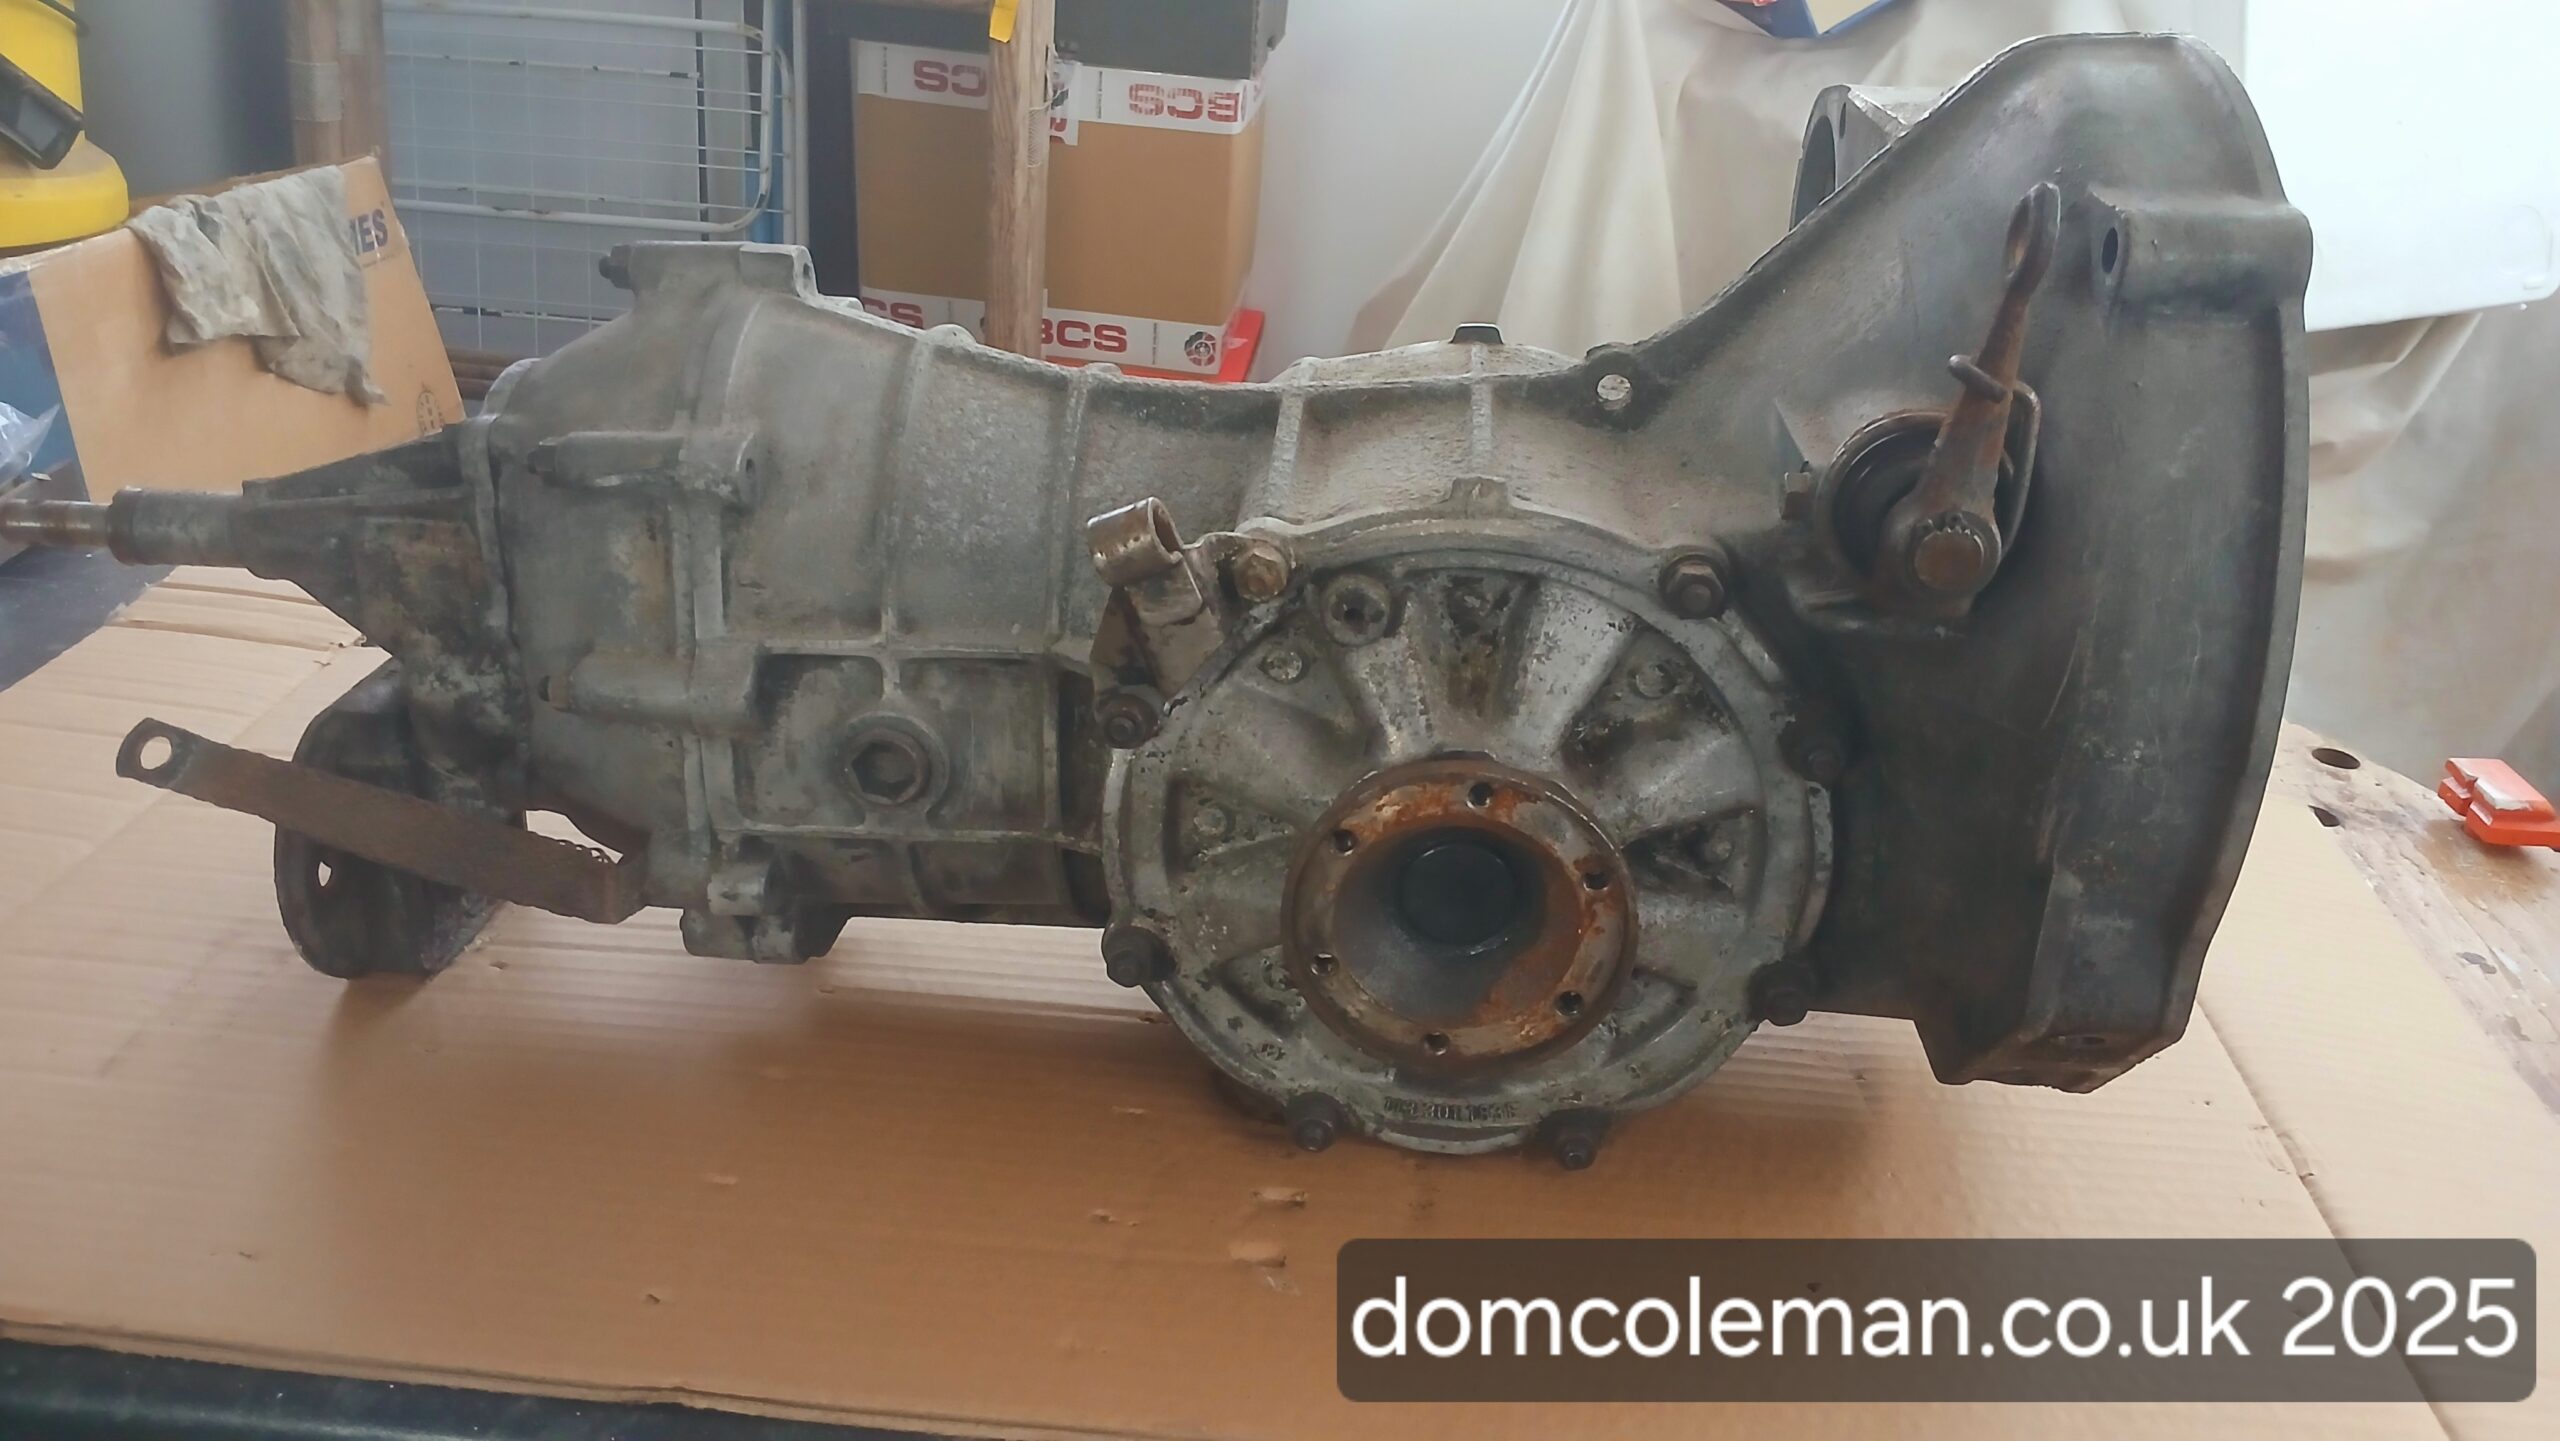
At the end of January, I took myself on a road trip to Newcastle-under-Lyme to visit John Walklett Transmissions. I could have sent the gearbox via courier, but for the cost involved, I may as well go myself—and this way, I could speak to John face-to-face.

His workshop was a small unit packed to the rafters with VW air-cooled gearboxes and crates of spare parts. We discussed the options for our “AH” code ‘box and settled on a freeway flyer setup with a taller 4th gear, allowing for lower revs at cruising speeds (60–70 mph). Seeing John in action was well worth the trip, giving me confidence in his expertise and a sense that I was a serious customer. I gave him a no-rush deadline but mentioned it would be nice to have the gearbox back before September—he assured me he’d be worried if he still had it by then!

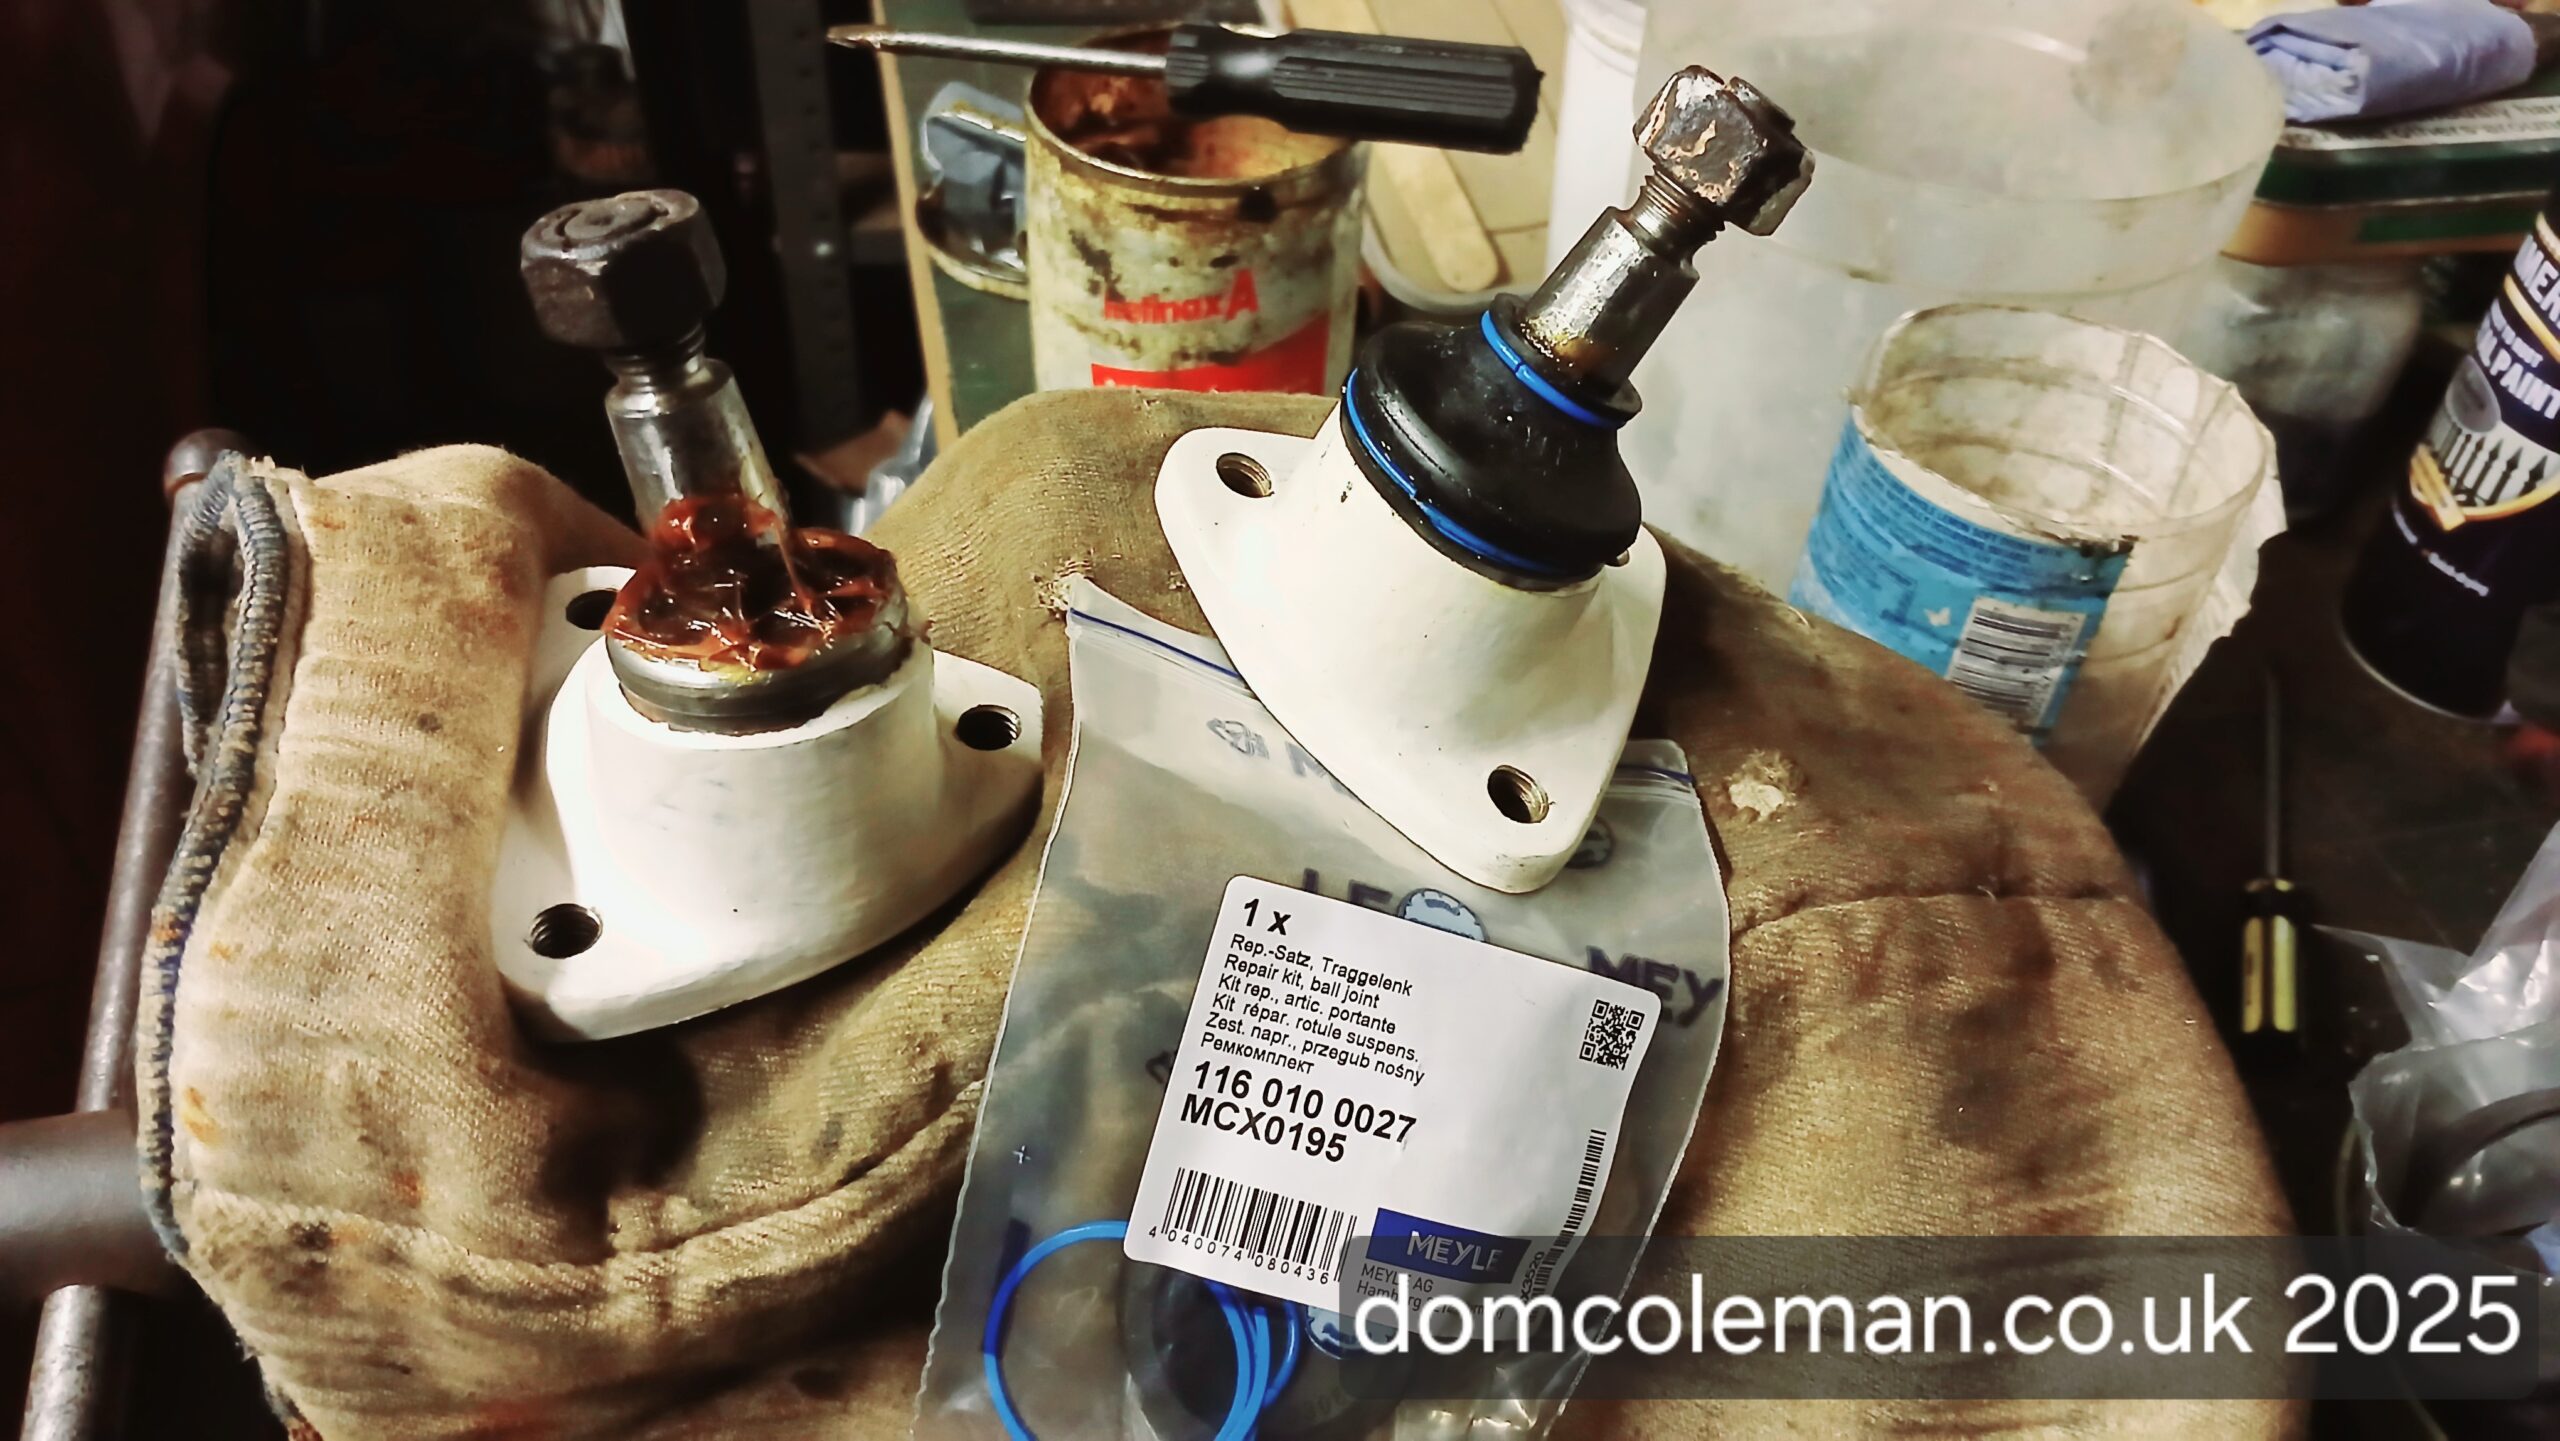
Over the Christmas break, I dug out the front strut components to clean them up and fit new lower ball joint rubber boots. However, the replacements I’d bought some time ago turned out to be too small. I suspect I was guessing the size when I originally ordered them, and I got it wrong.

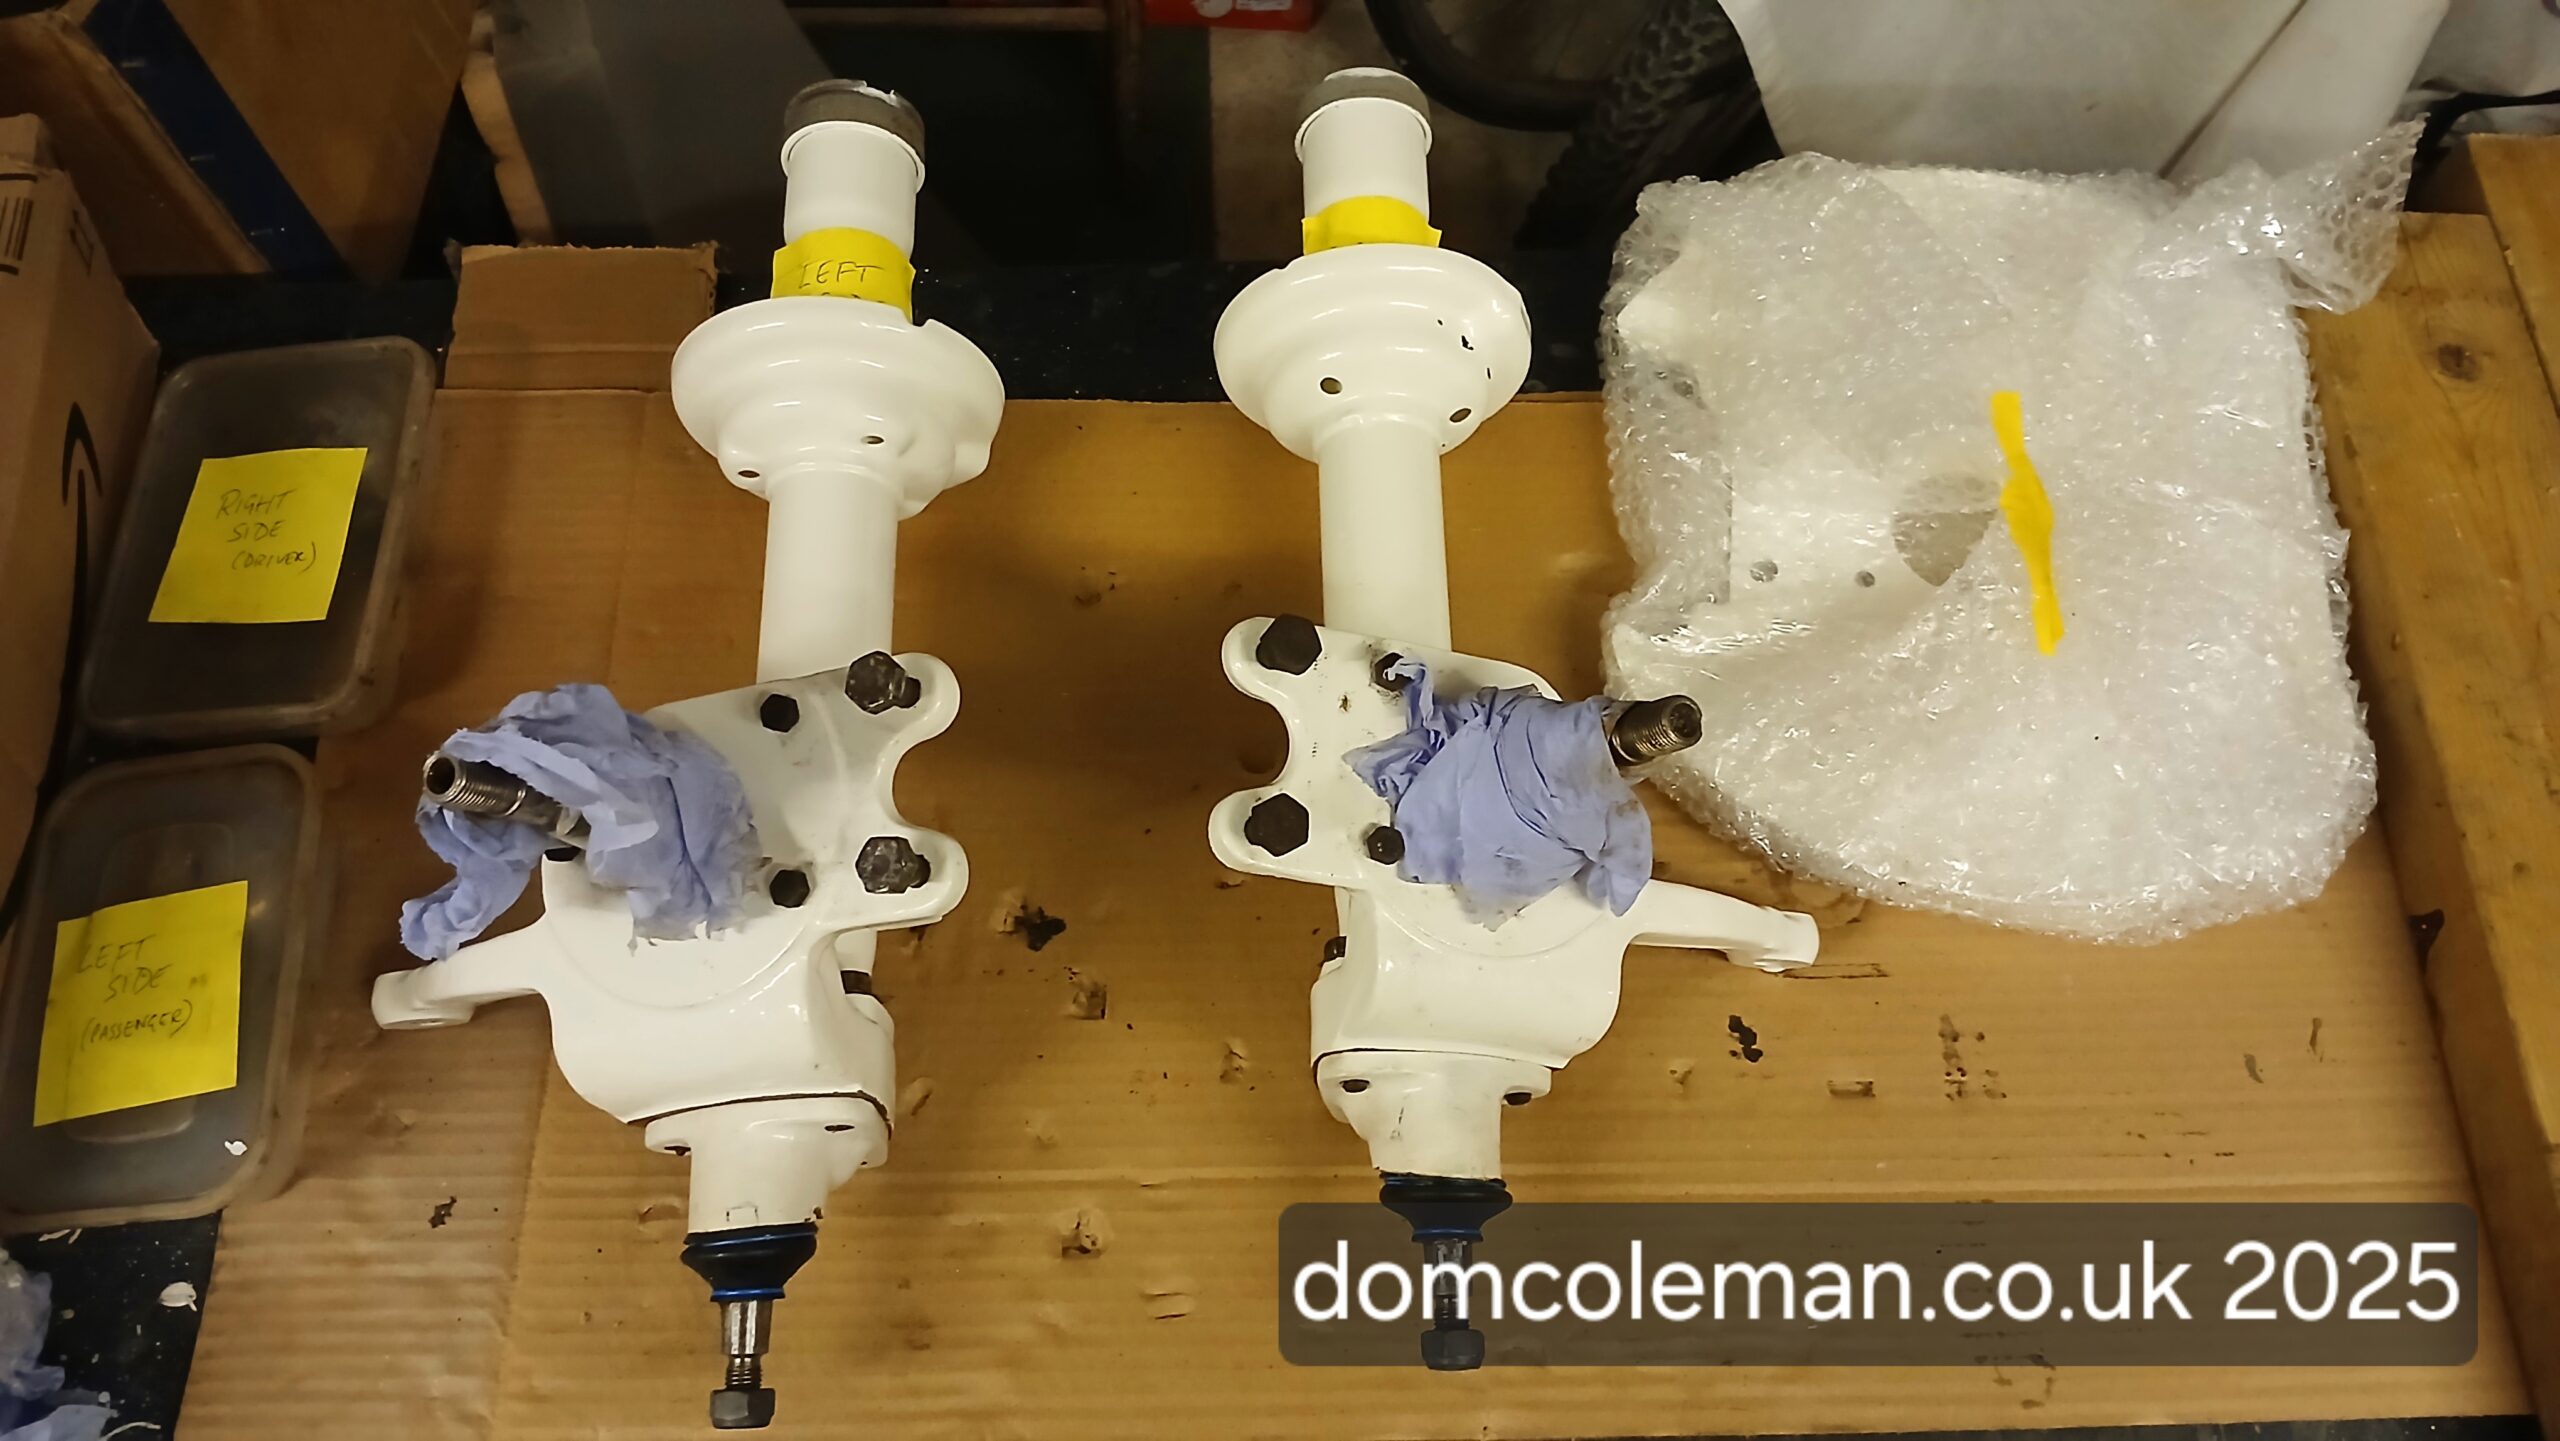
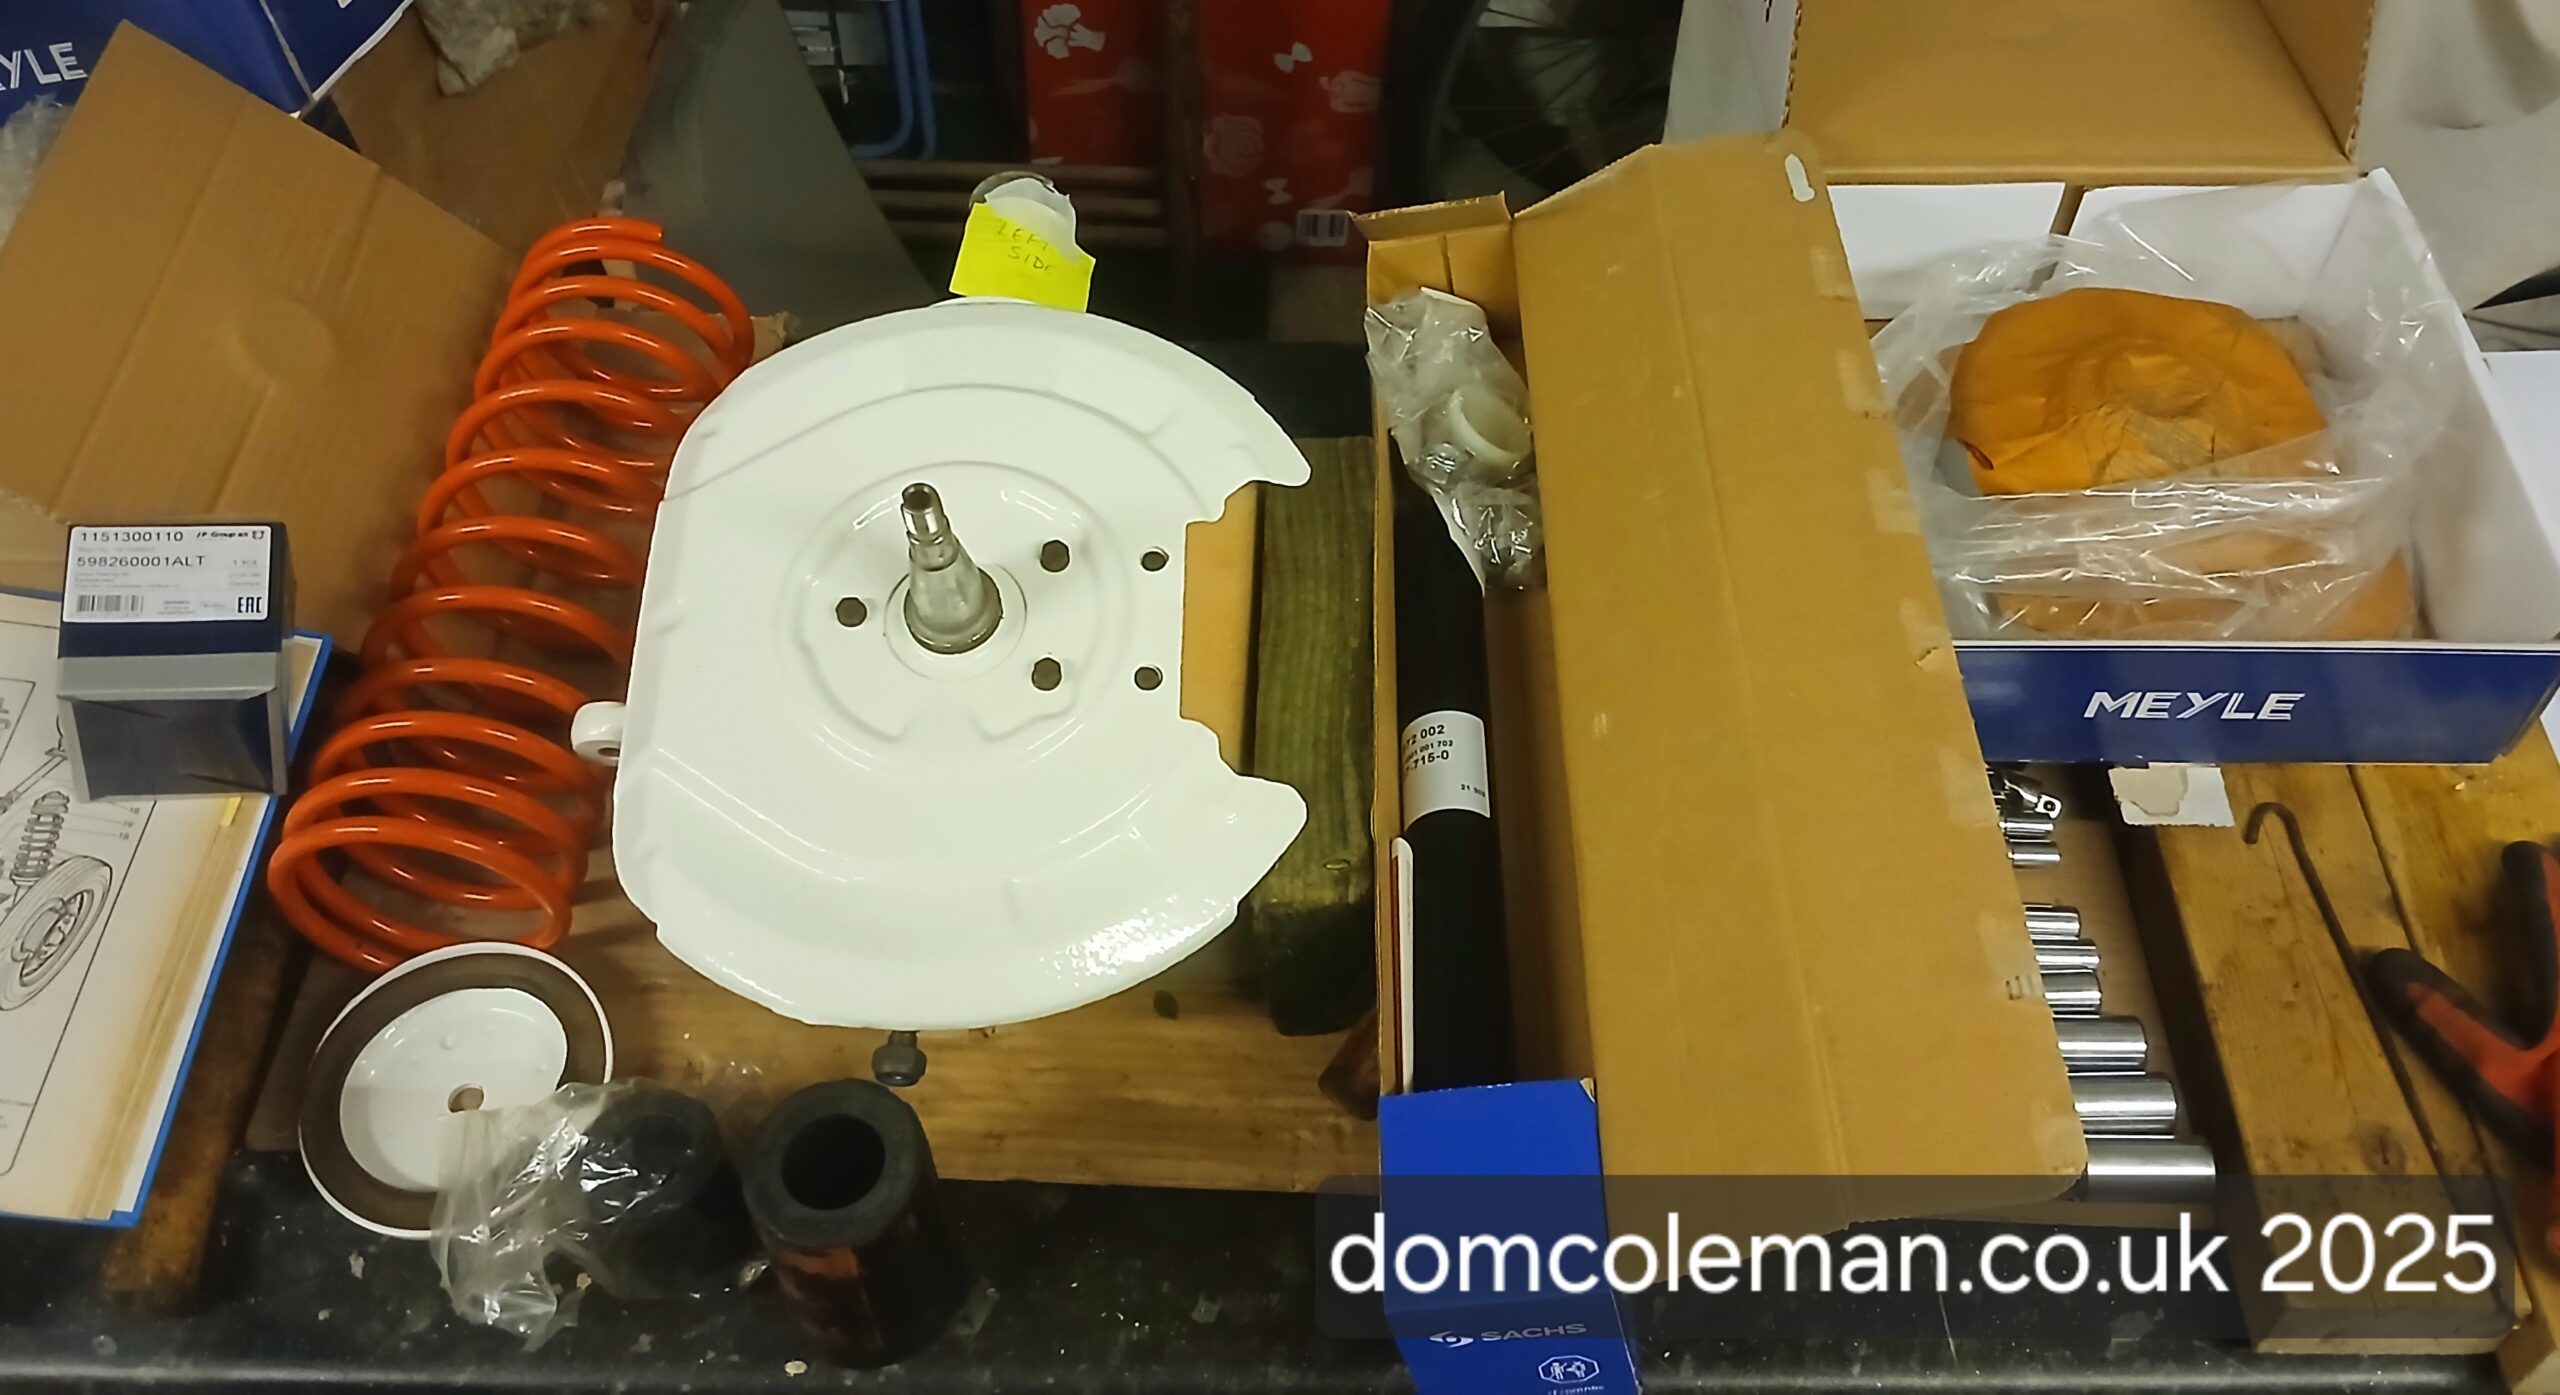
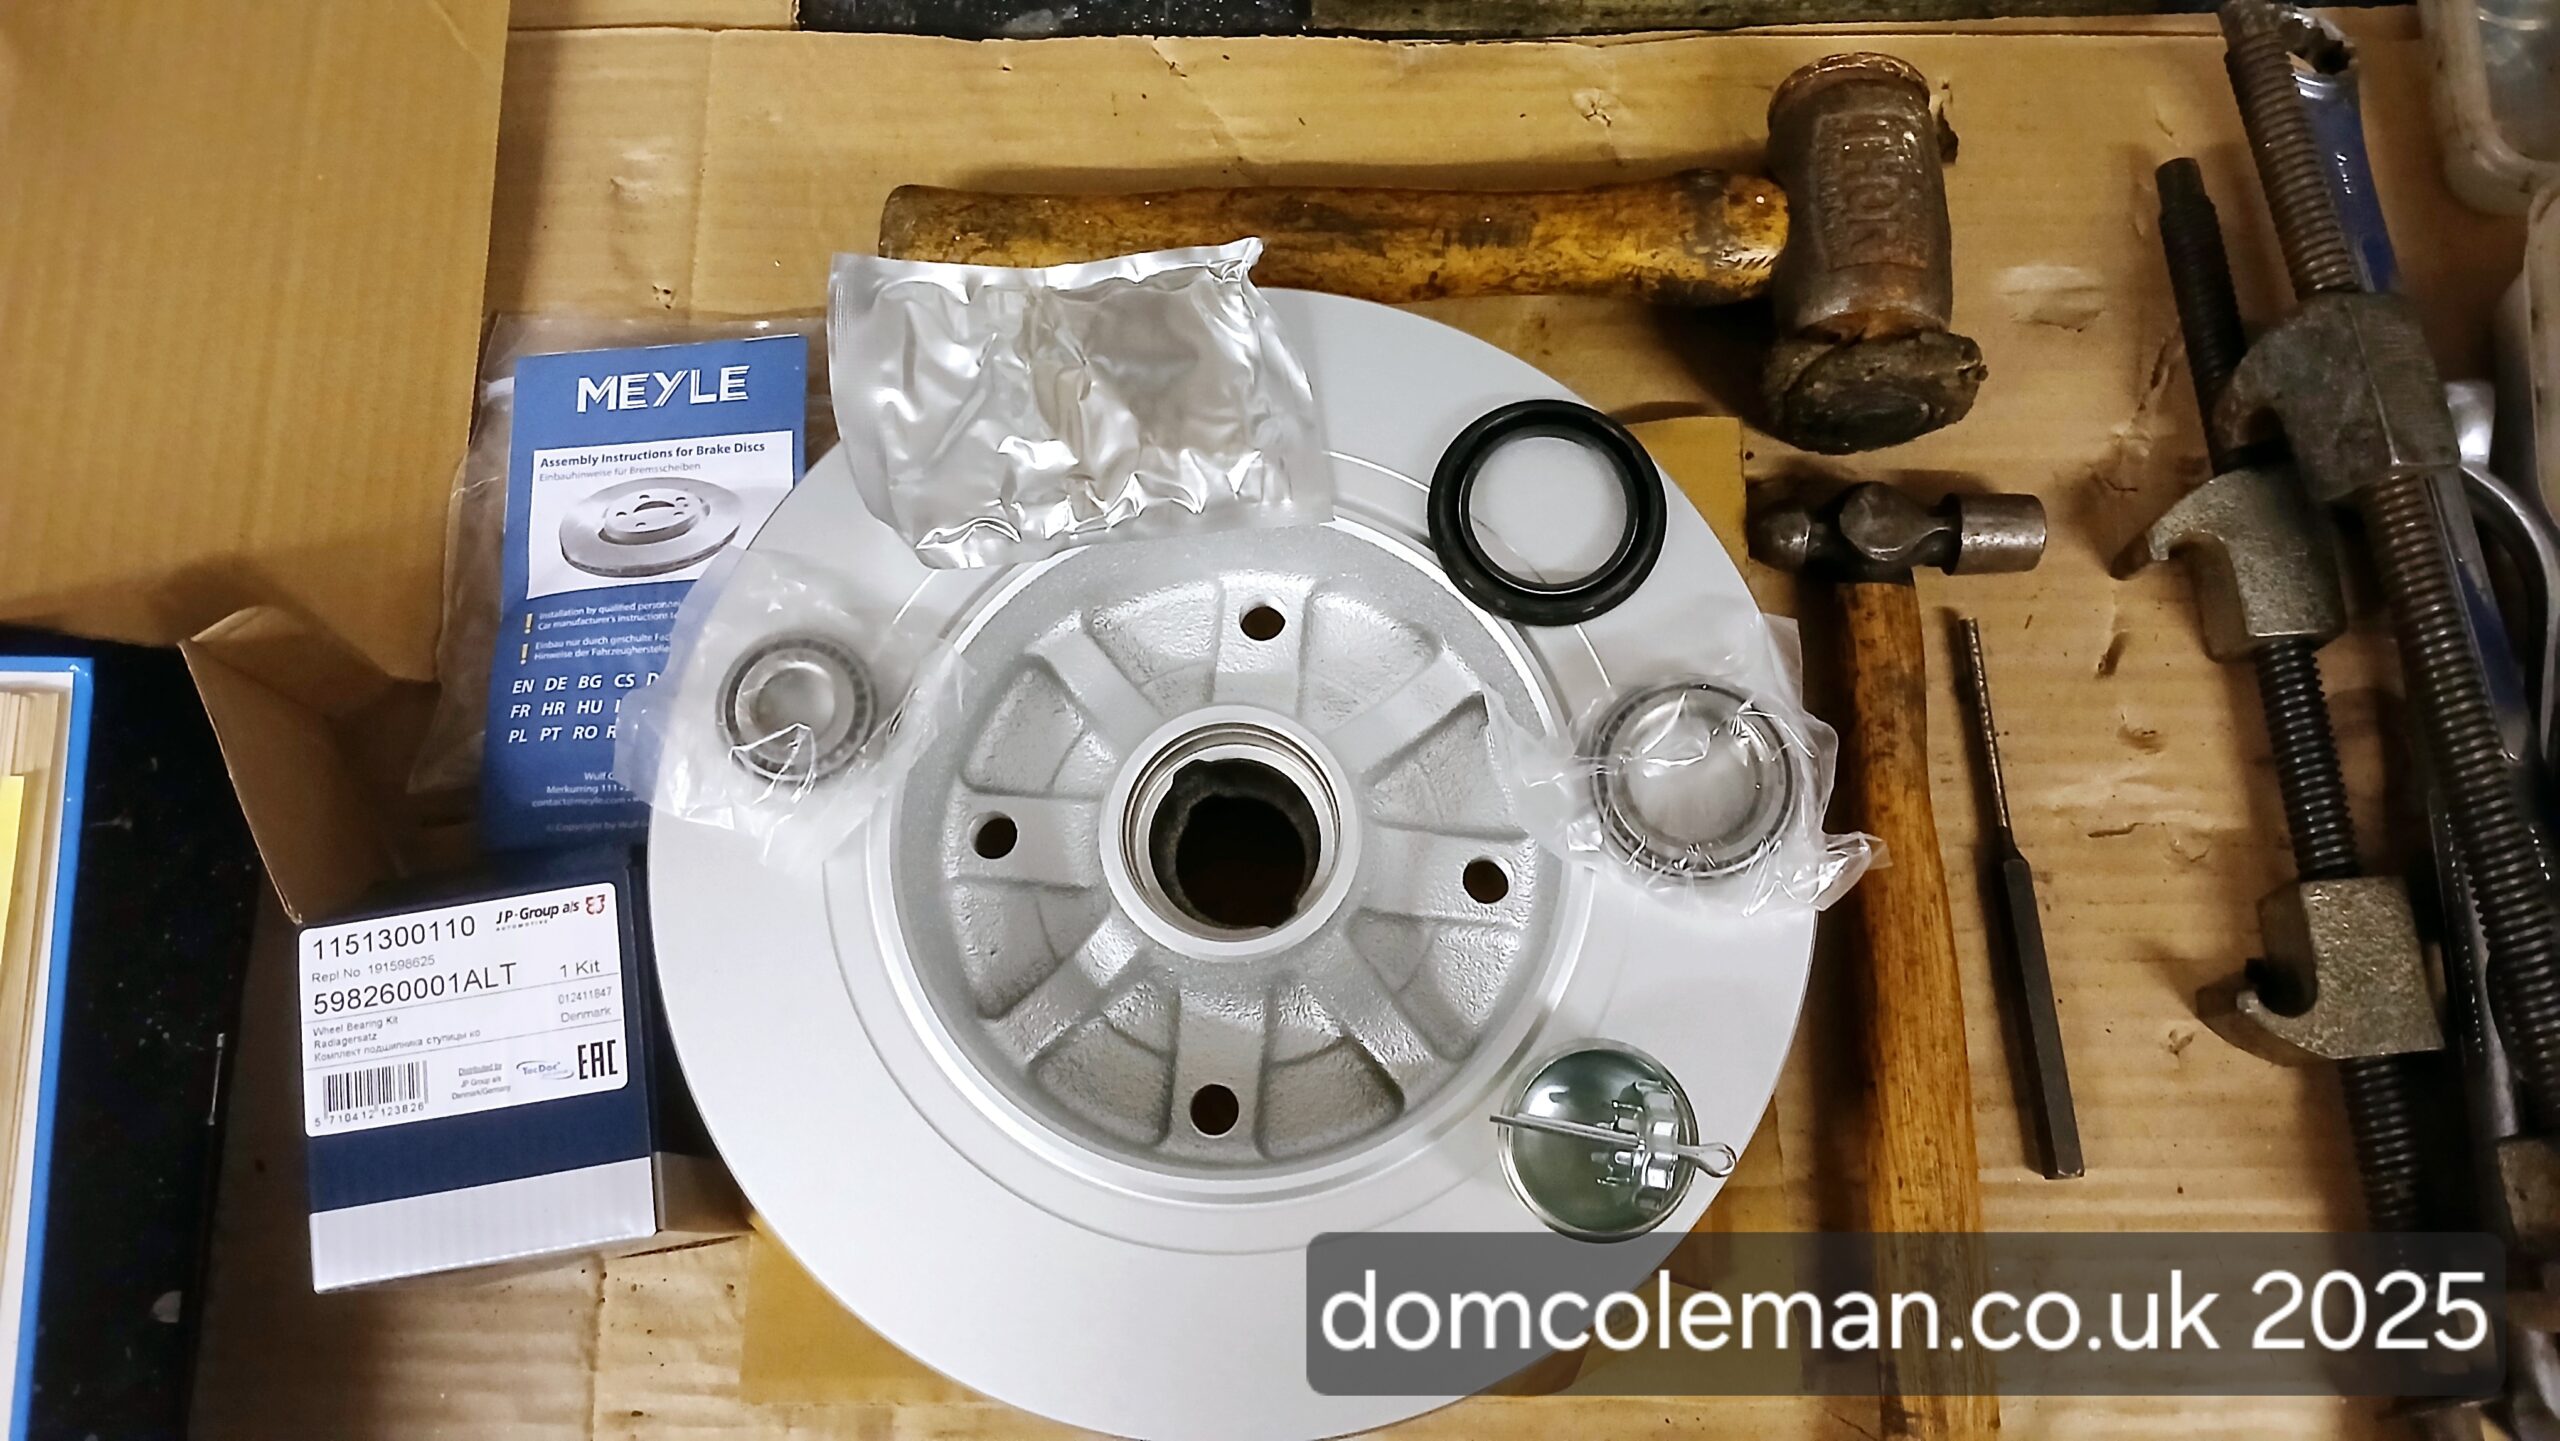
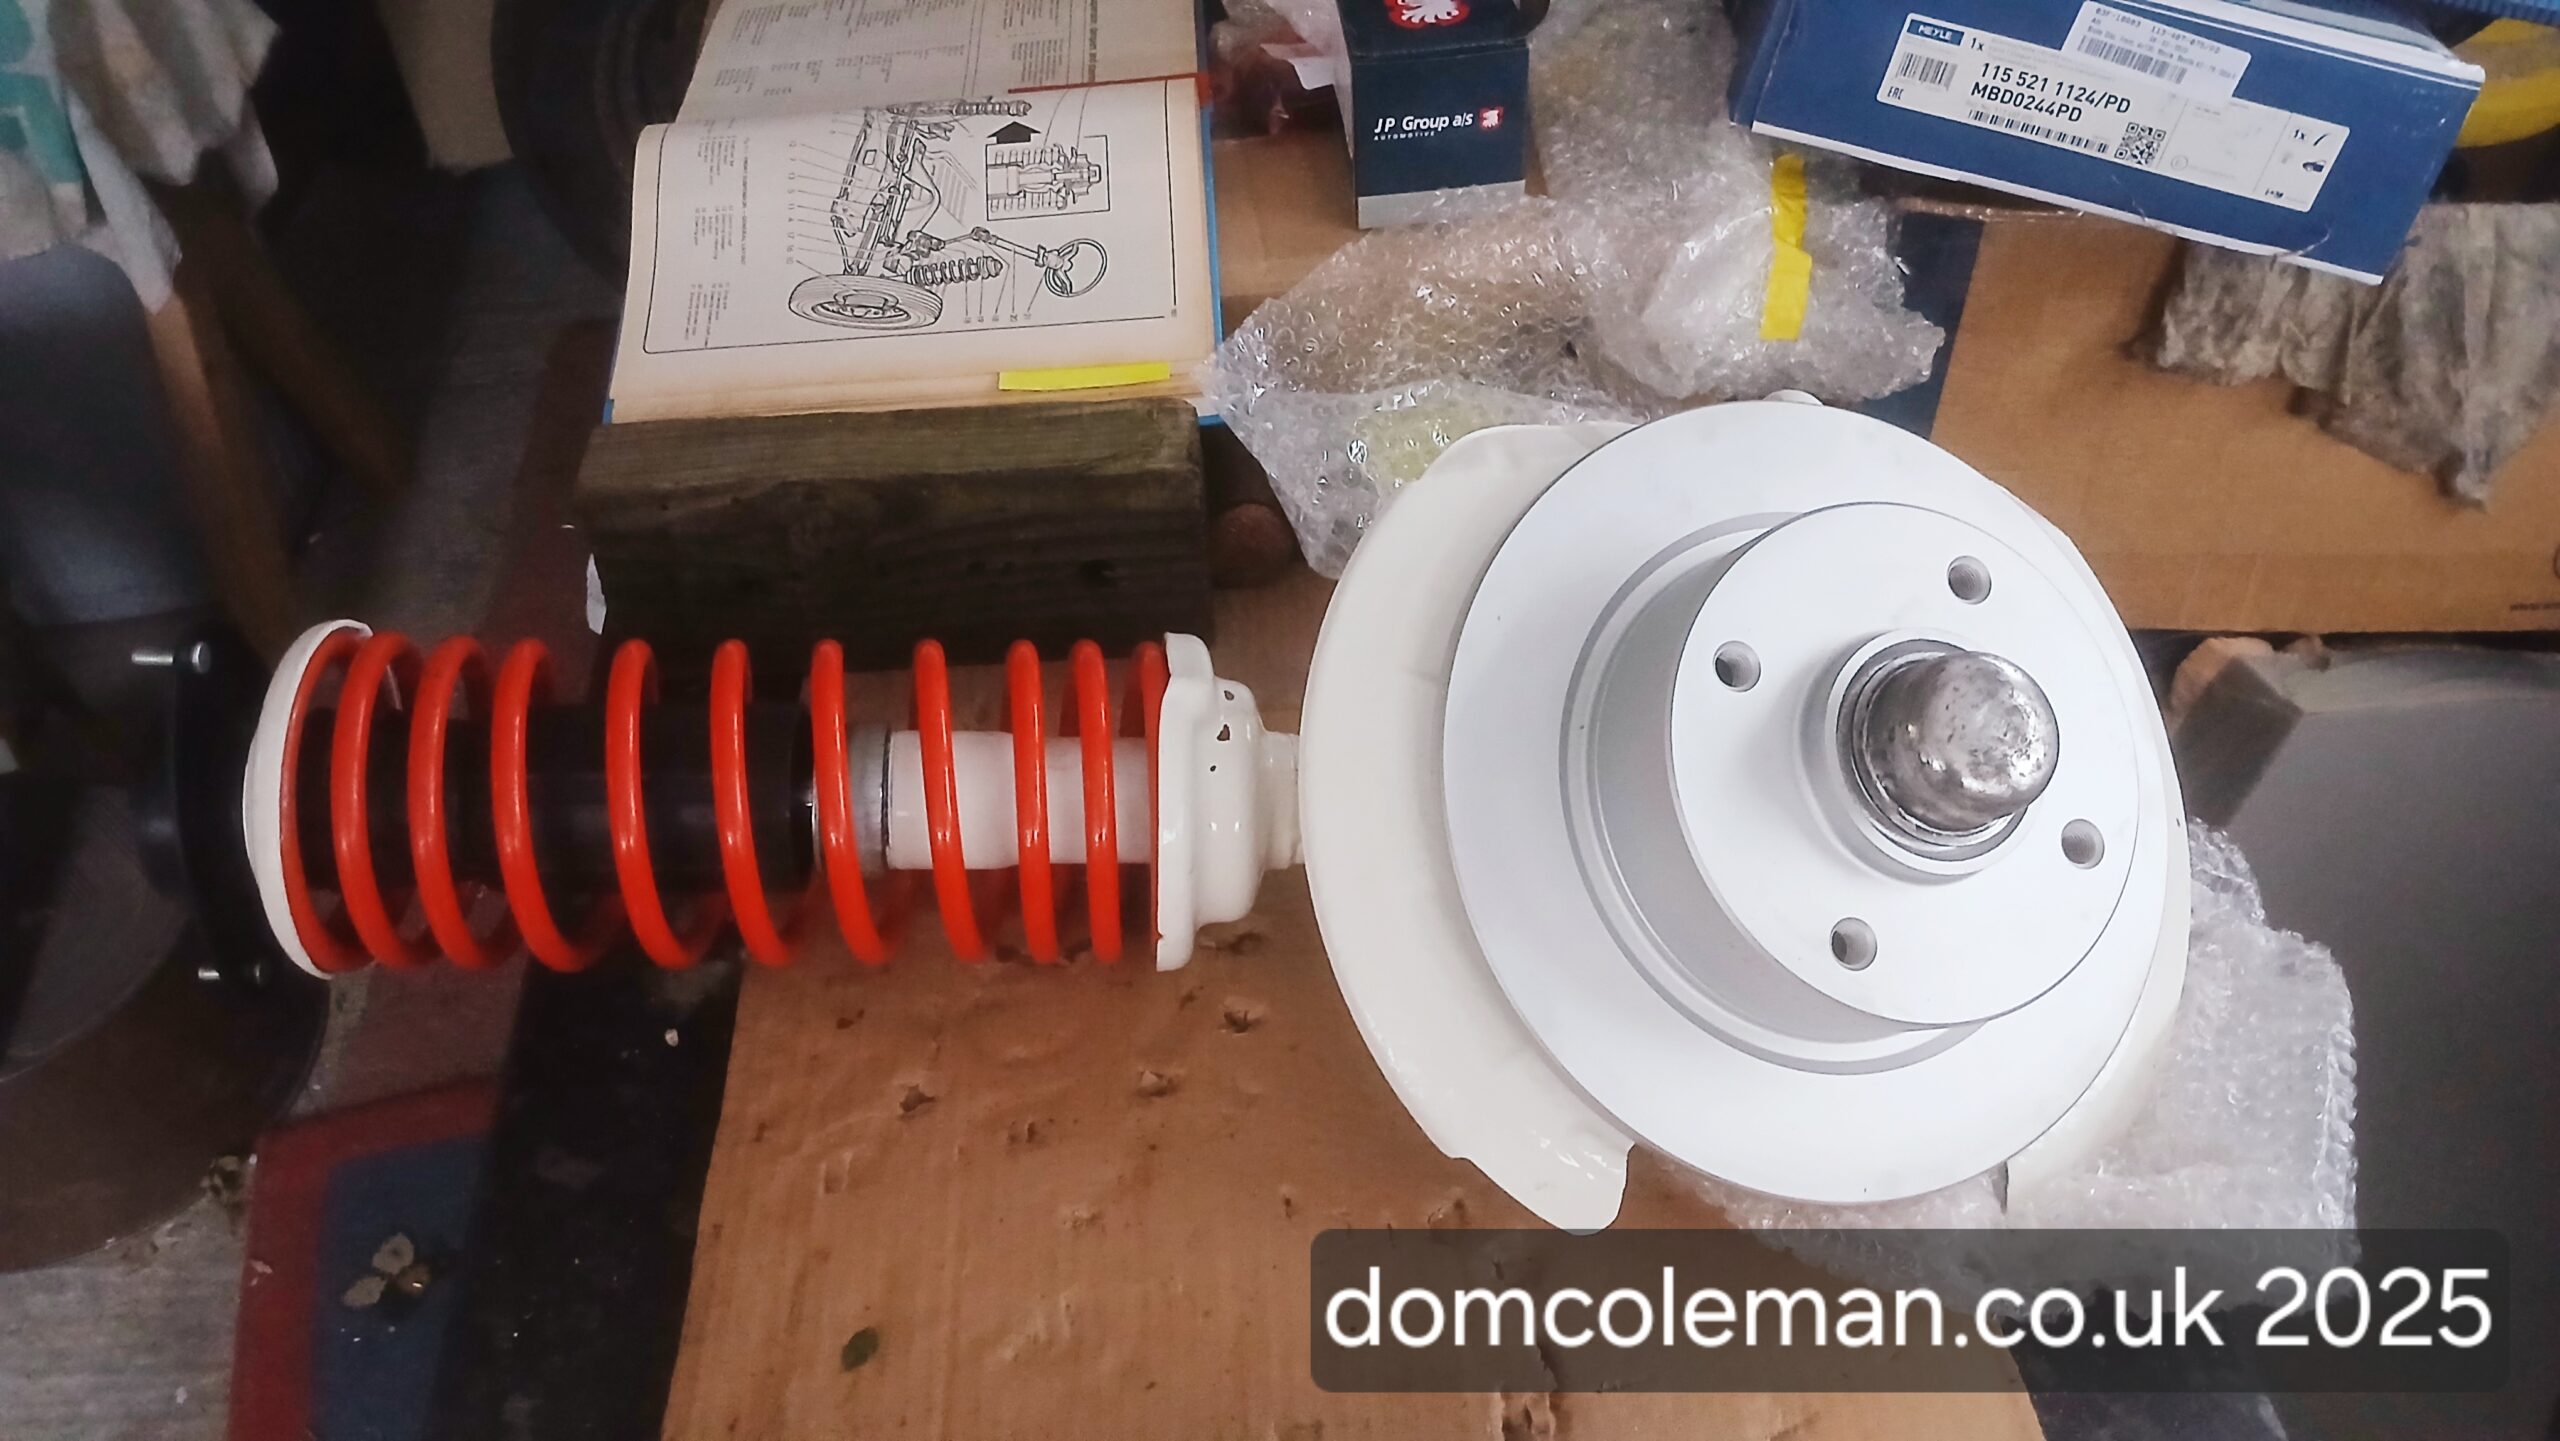
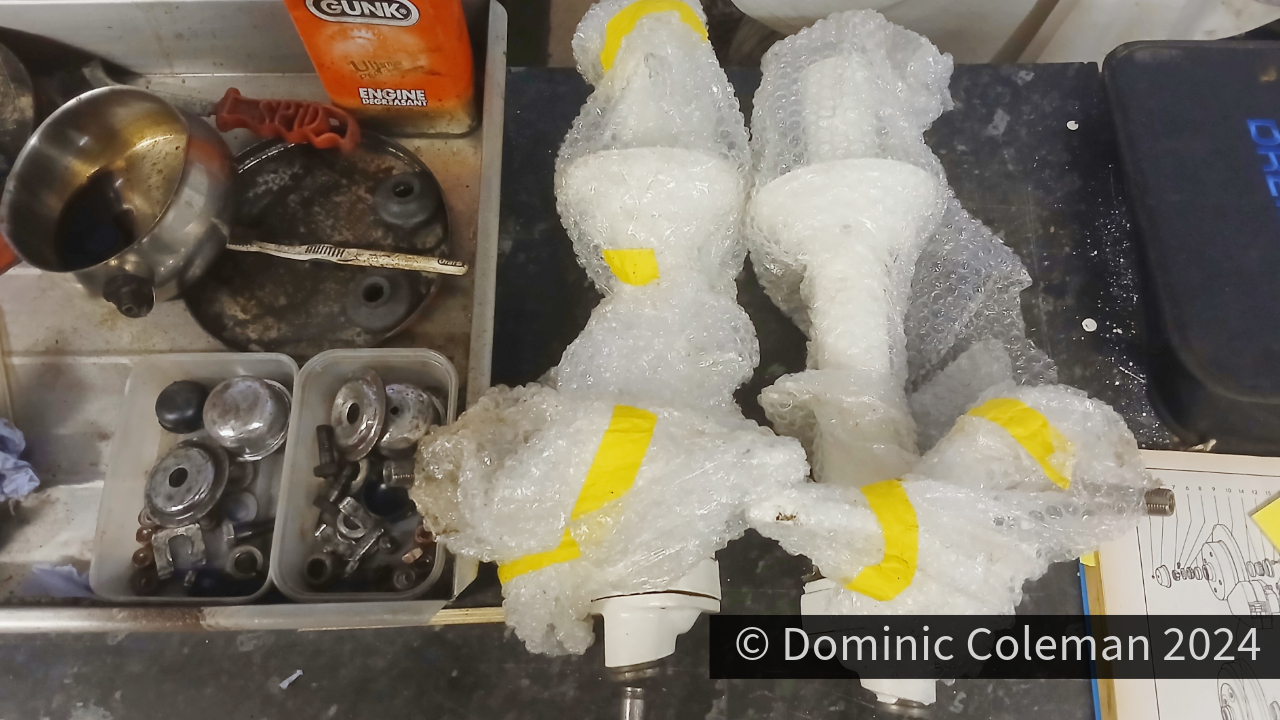
So, in January, I ordered the correct ball joint boots, along with new CV joints to replace last year’s attempted rebuilds, plus a few extra parts to complete the front strut refurb. Over an afternoon and a few evenings I reassembled the front struts with new brake disks, inner & outer wheel bearings, strut inserts, bump stops and the -2″ lowered springs bought way back in the late 1990’s when the wife and I started out on the restoration journey.

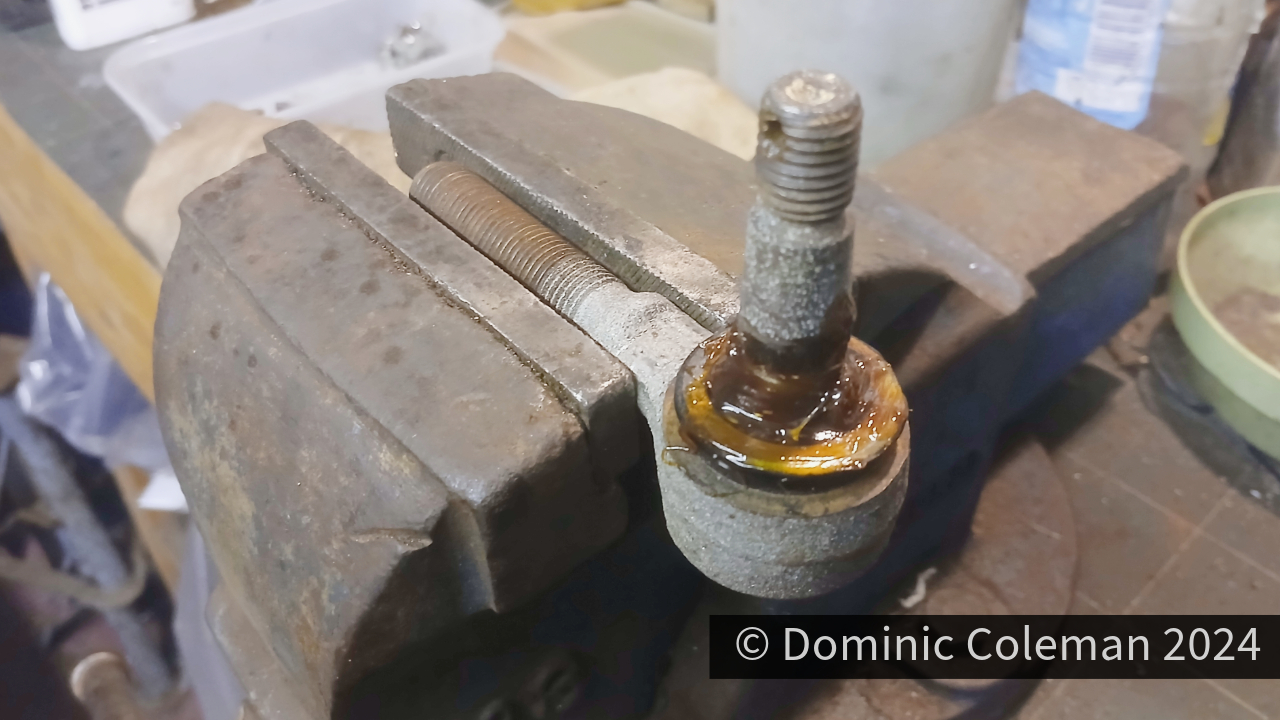
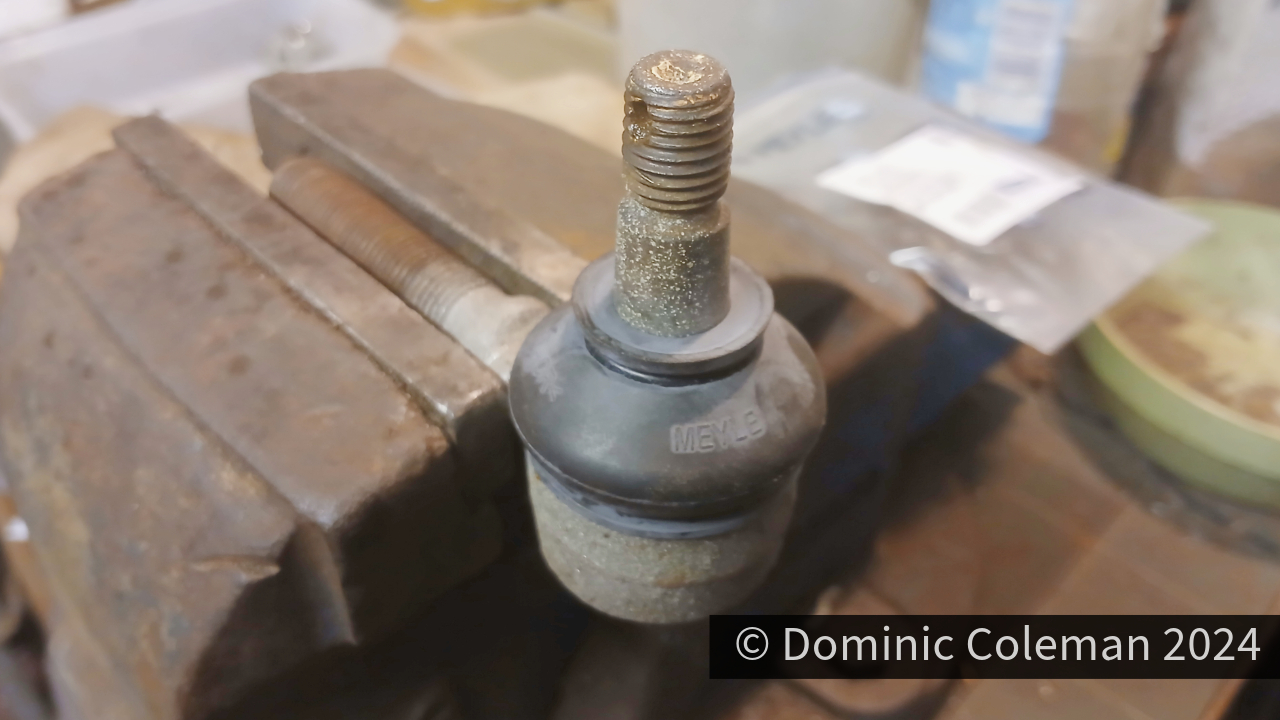
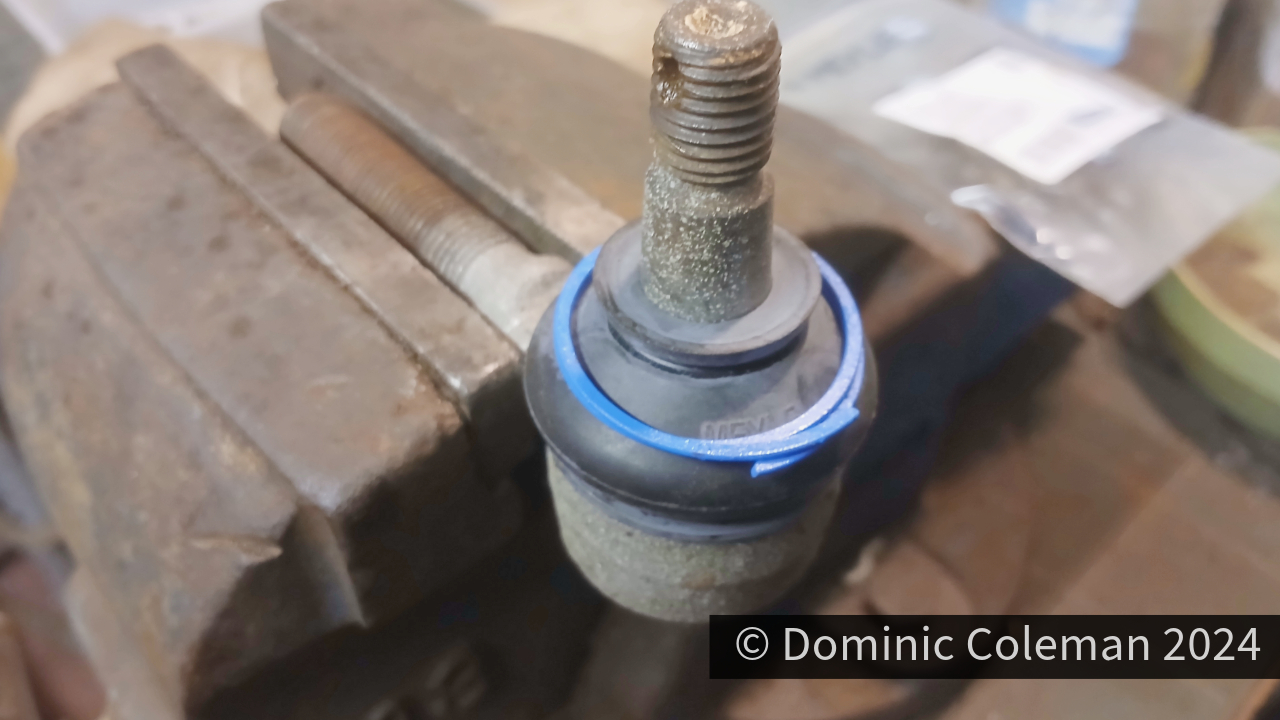
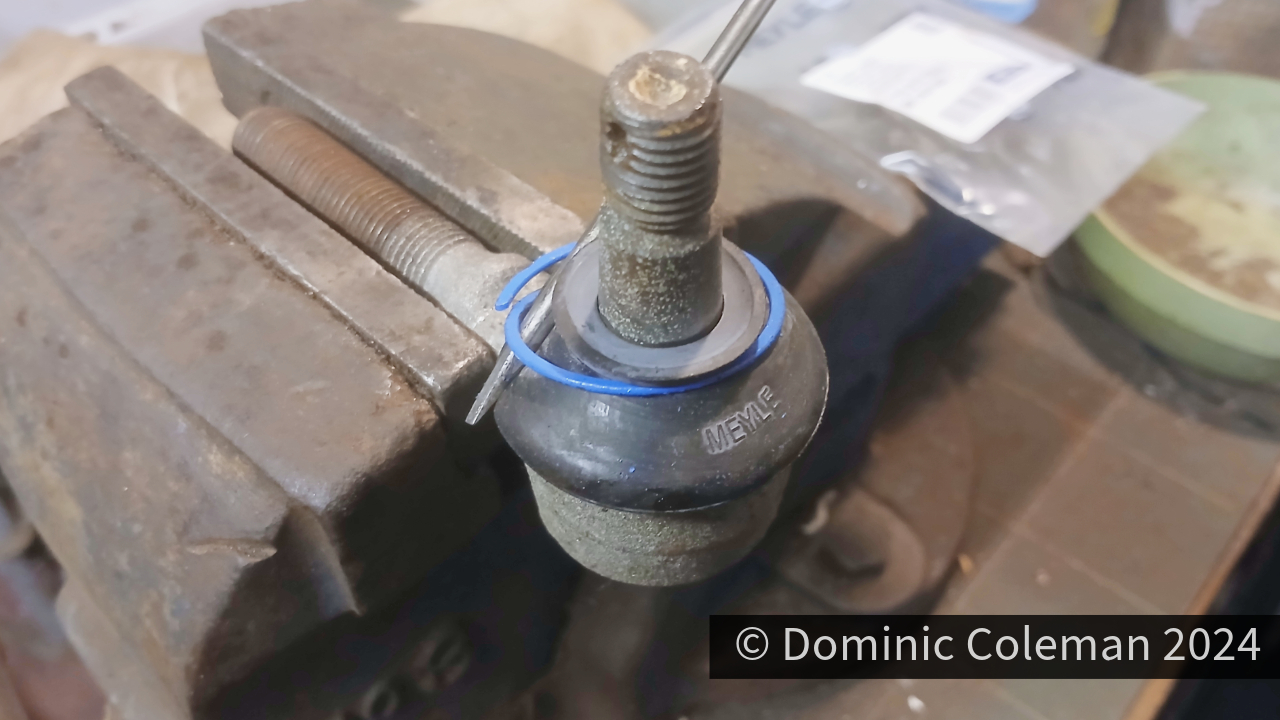
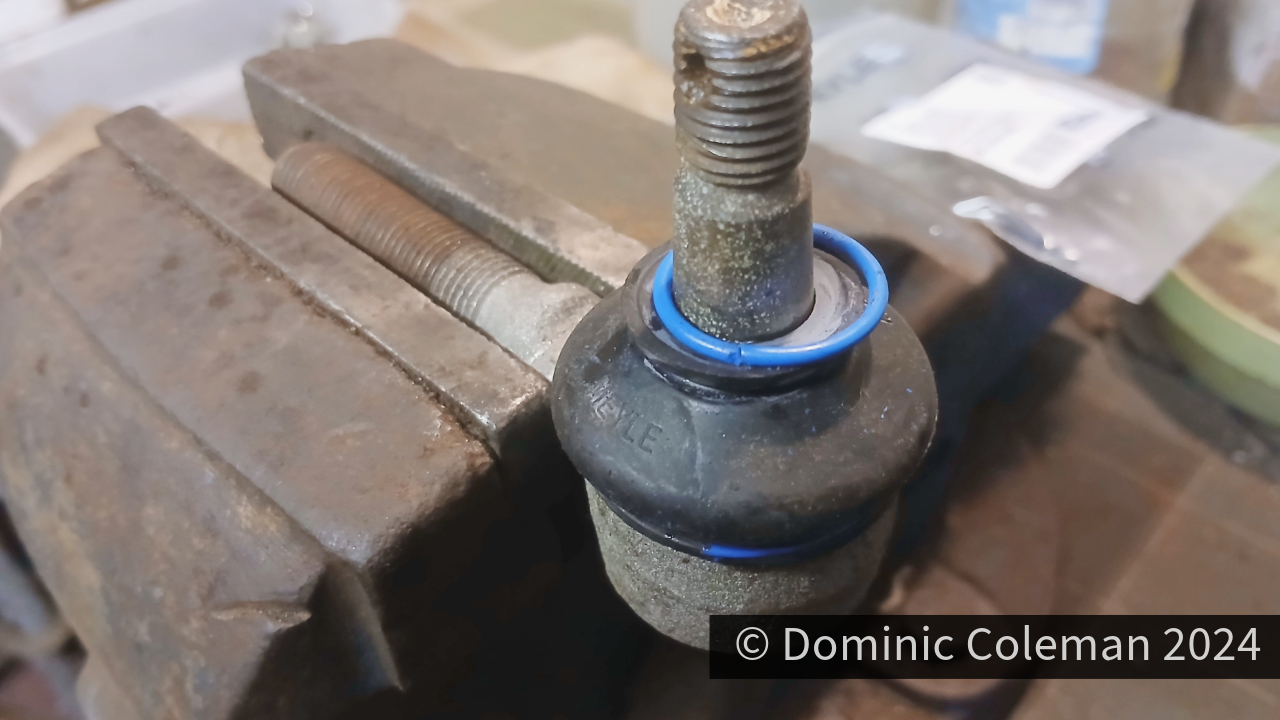
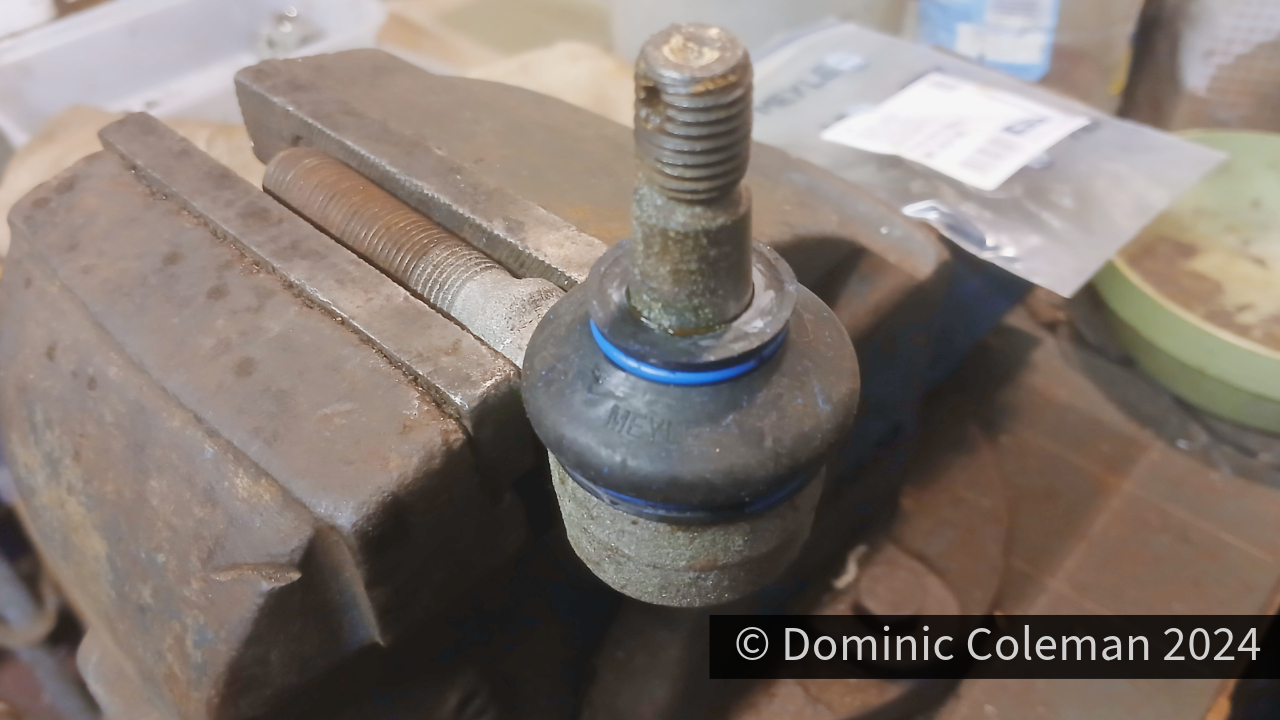
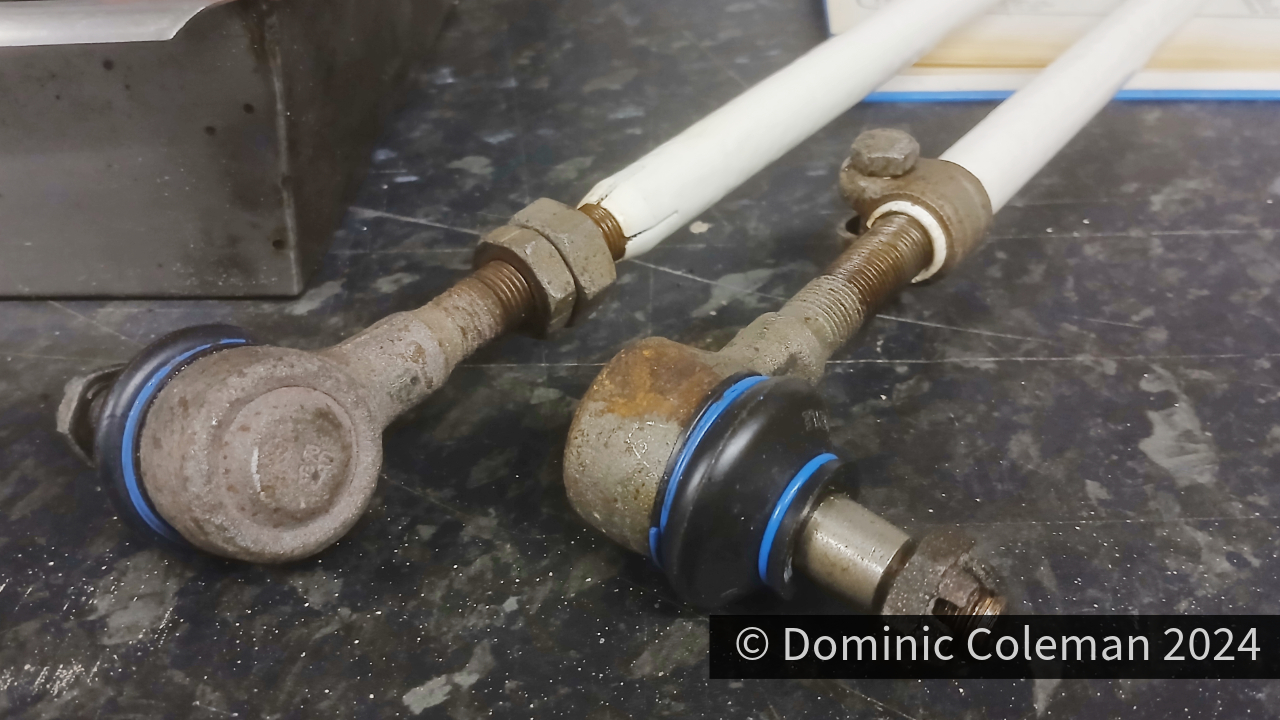
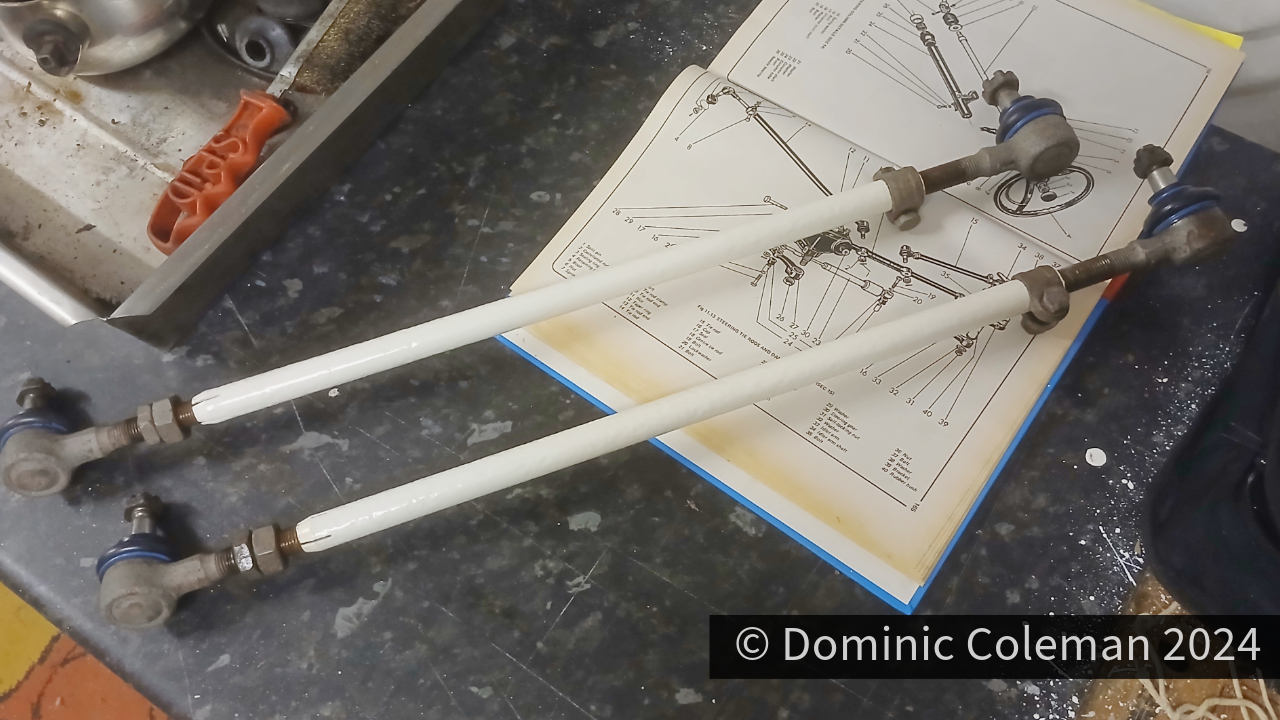
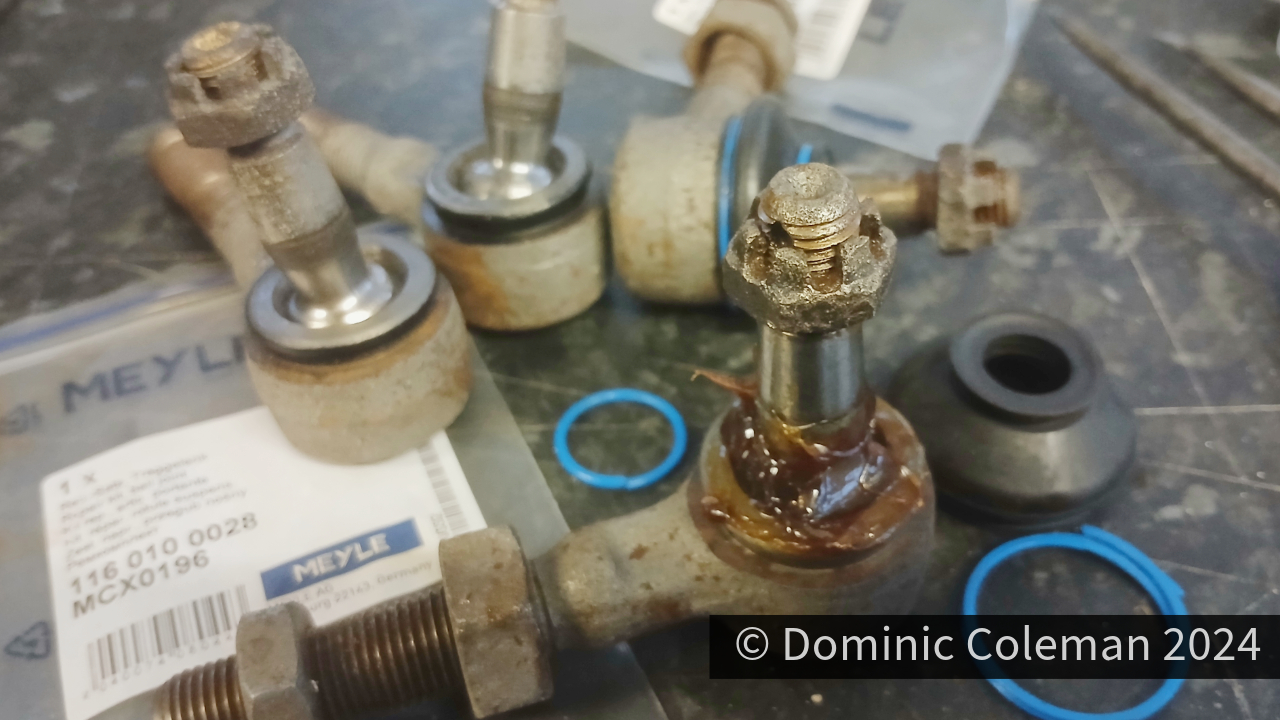
Other parts that received reassembly were new rubber boots added to the steering tie rod ball joints. The gallery below shows that the vice came in very handy as an extra pair of hands while two small screw drivers were used to ease the blue springy clips in to place to secure the boots. Fitting the ball joints to the tie rods was not easy as the threads were quite contaminated from the sand blasting and powder coating process and took quite a of ‘cutting in’ by winding them in and out.

Categories
bodywork brakes steering suspension

End of 2024 Update

It’s been a while but once the daily driver cars were sorted, I could recover from the financial strain they put me under and my focus could get on with fixing the Ford Corsair. I resolved the messed up paint job in the Beetle engine bay by using bright white aerosol primer & paint, however, the white wasn’t as glossy as the 2K paint due to being cellulose or acrylic but it will do for now. By November with the Corsair nearly ready for its MOT my attention went back on to the Beetle.

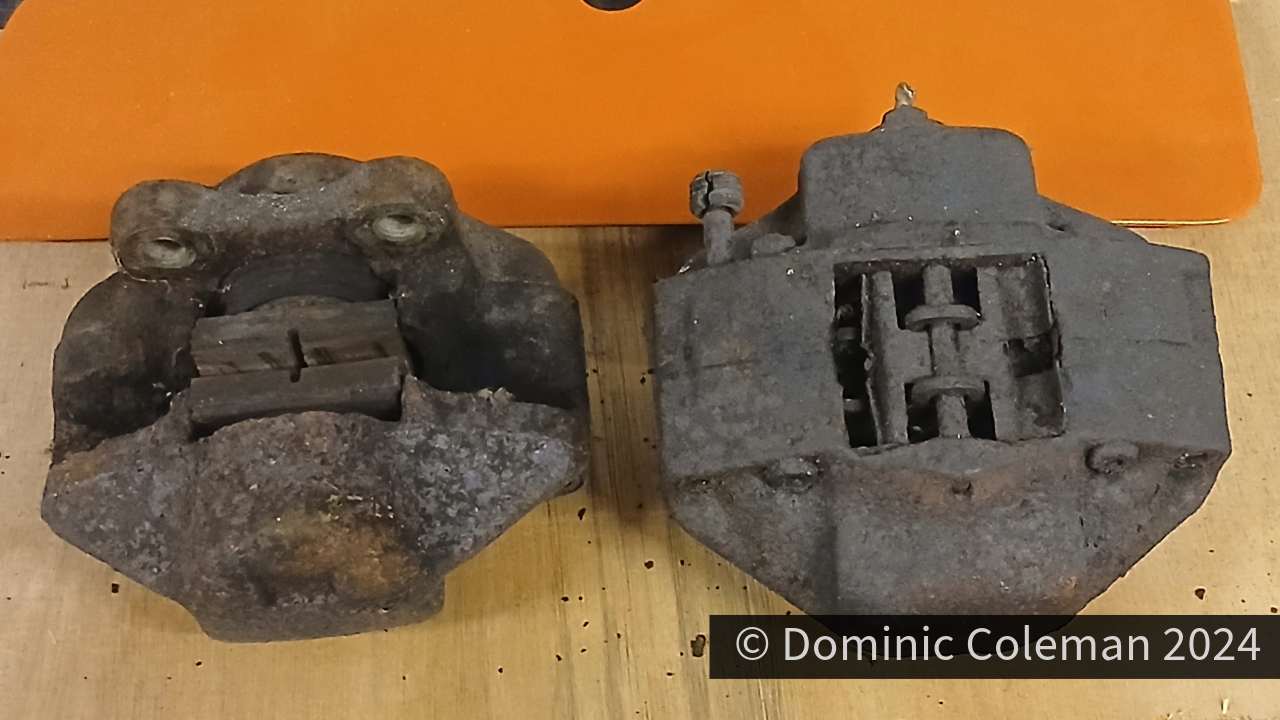
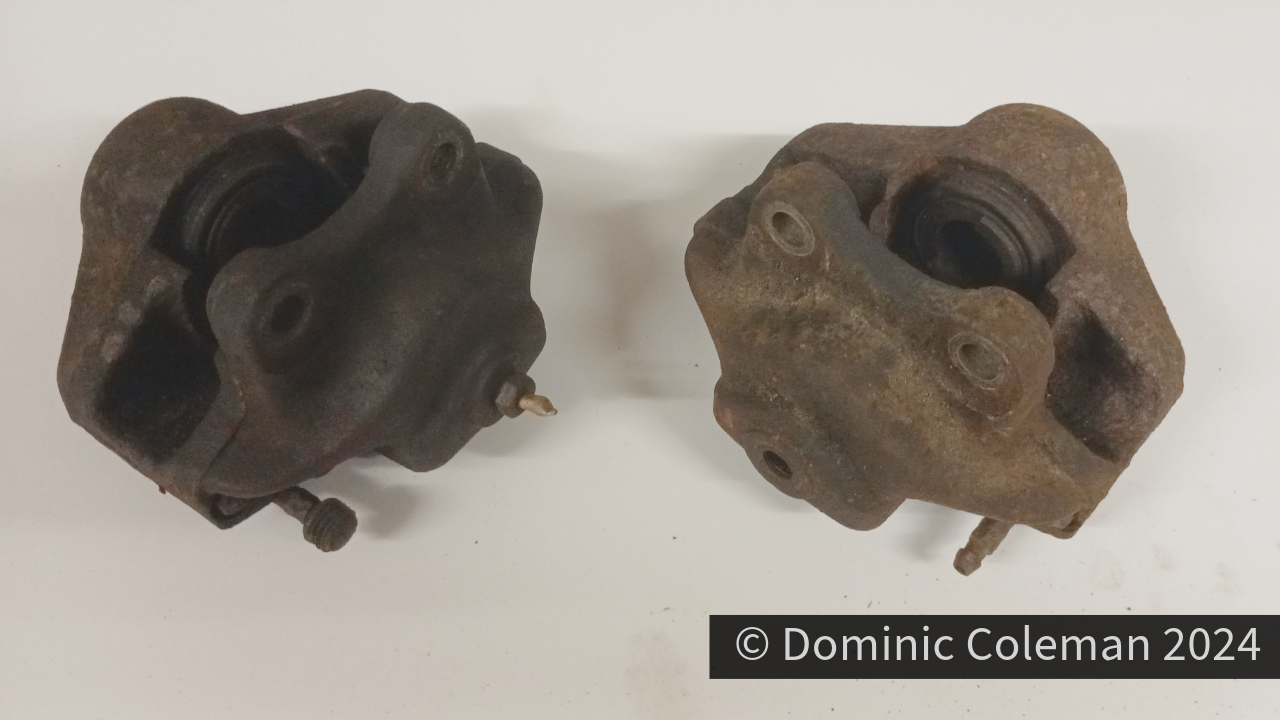
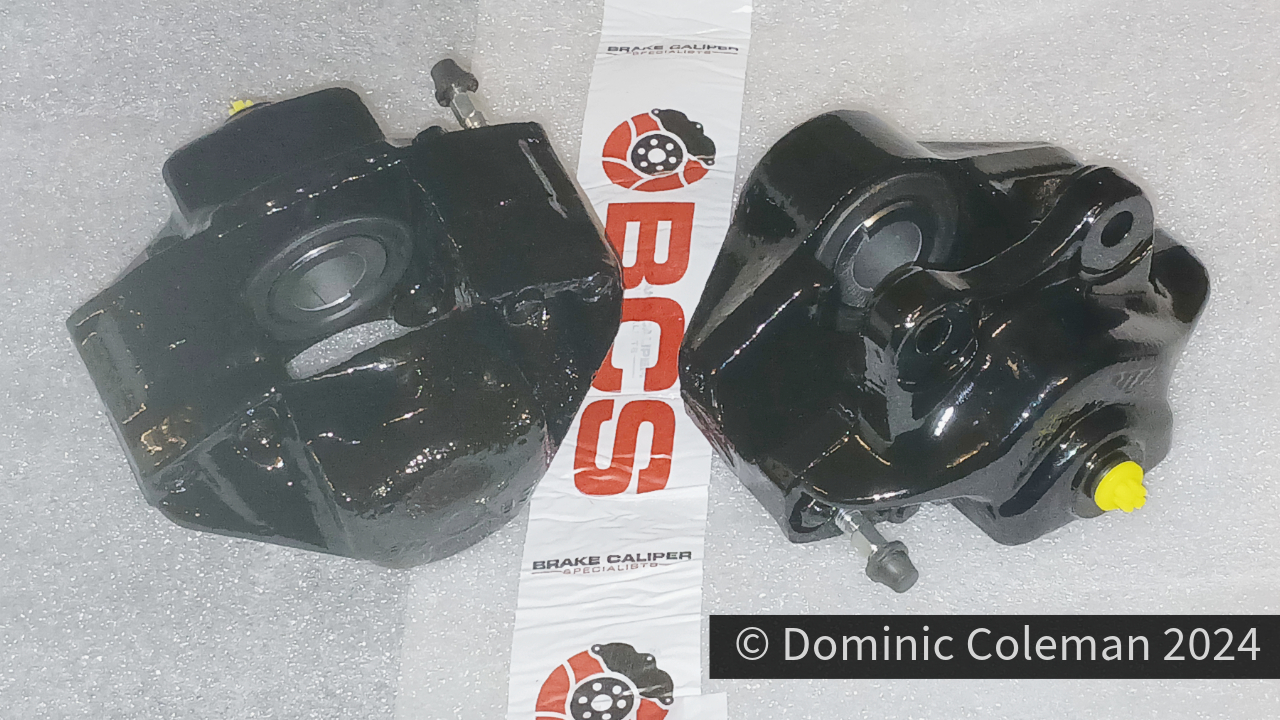
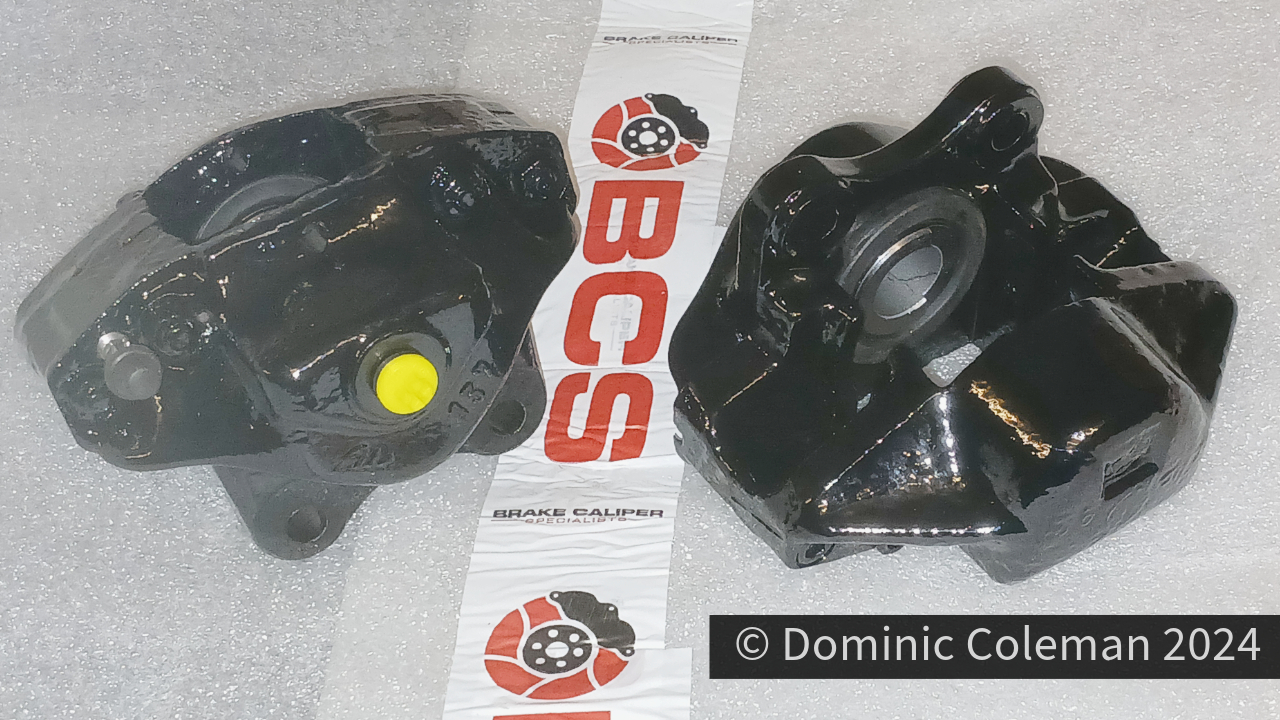
It began with a promo from BCS (Brake Calliper Specialists Ltd) in Nottingham with 25% off all brake calliper refurbishments. I had used them before 5 years ago for the Corsair and they come with a lifetime guarantee so I requested for a quote for refurbishment and painting in the Beetle L20D orange. What they came back with was rather expensive, so I had the quote adjusted for a standard black finish which saved me about £125.00! The total cost was £325.00 including the 25% discount which I thought was still quite expensive but assumed ‘business costs’ had gone up quite a lot since 2019.


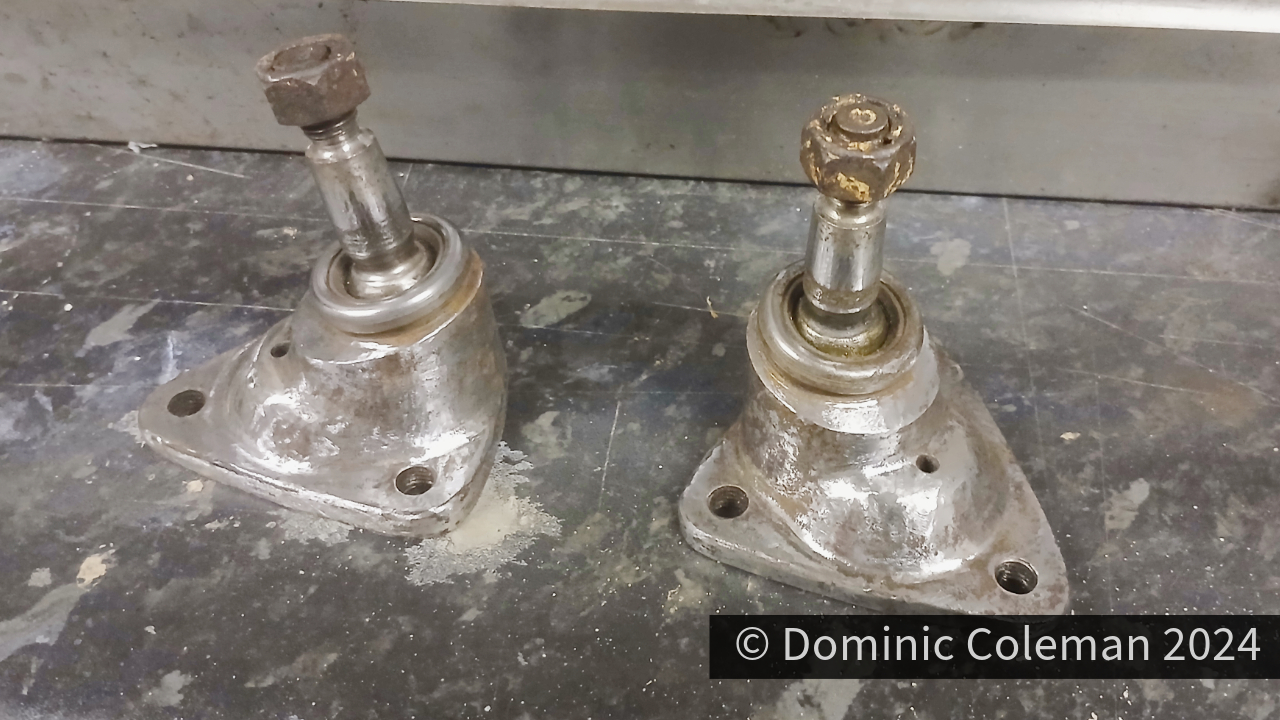
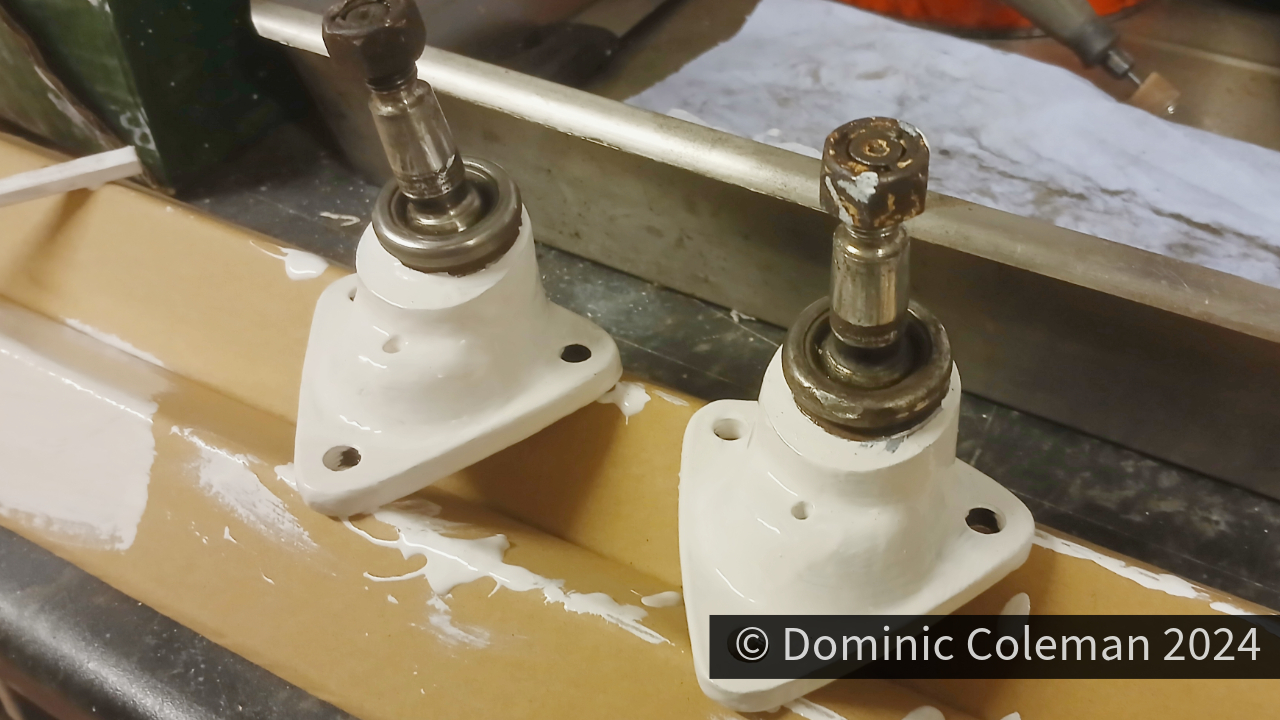
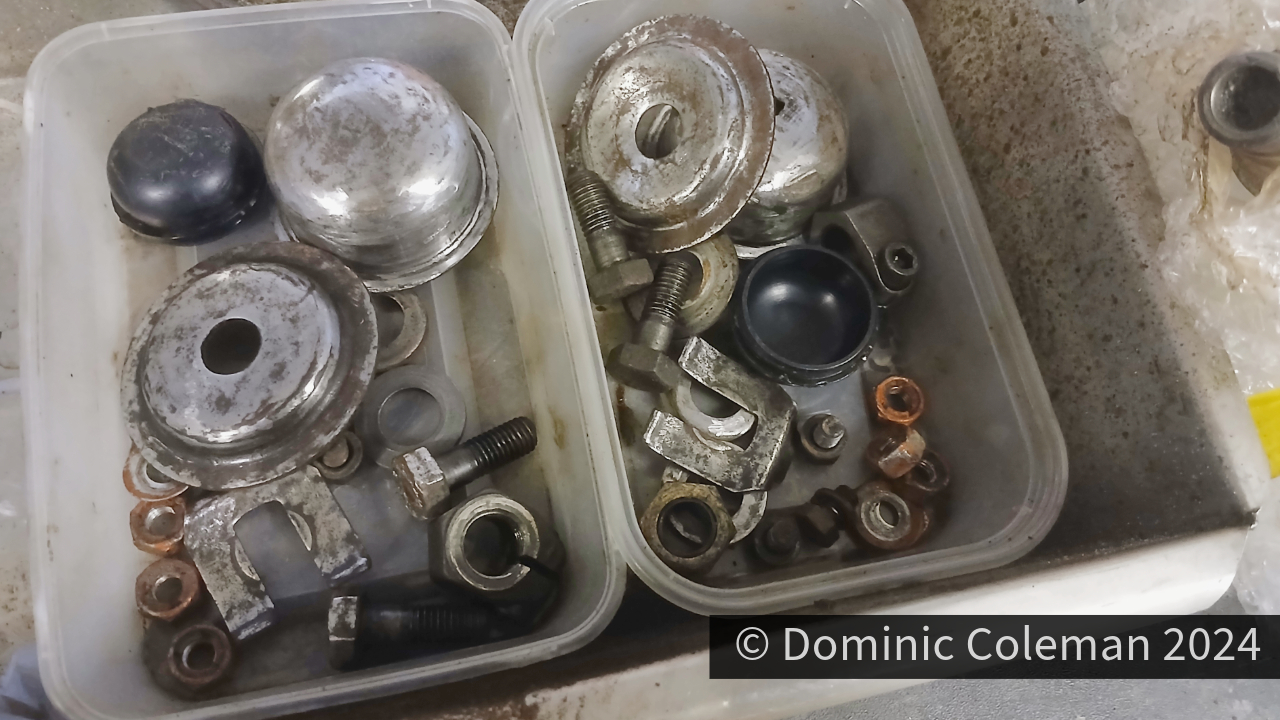
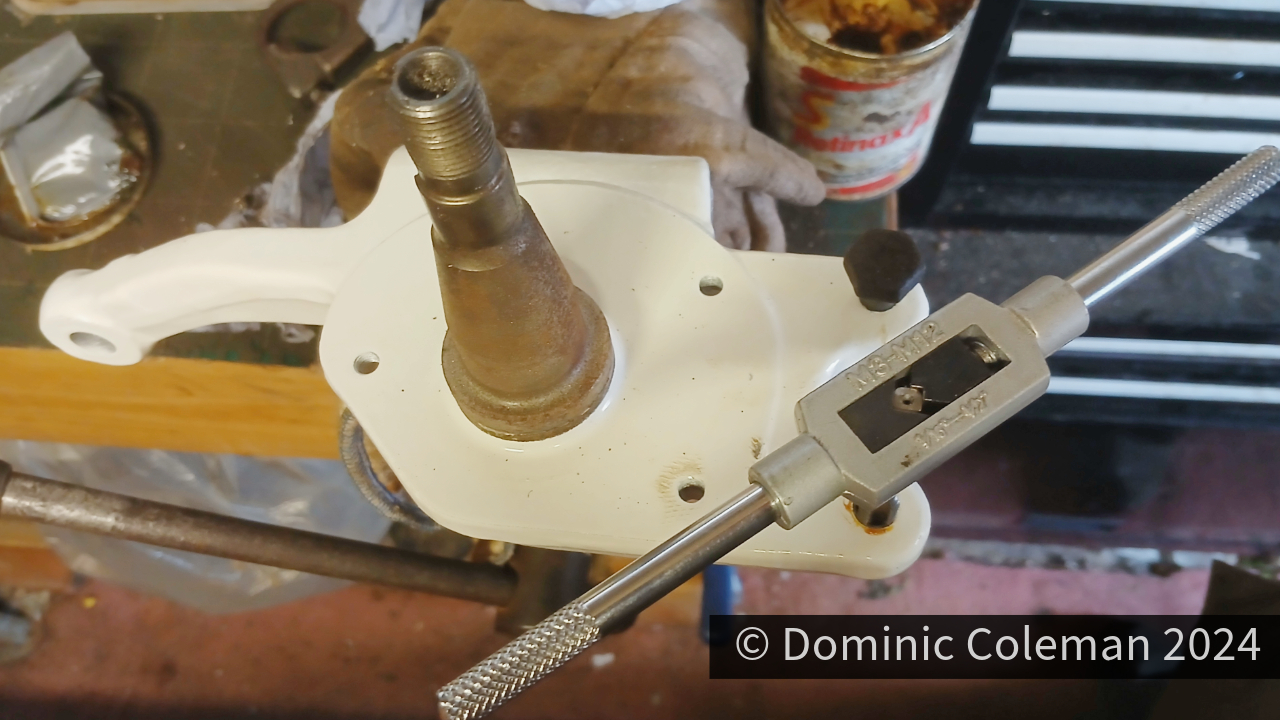
For few days over the Christmas holiday I set about reassembling the front struts and noting extra parts required along the way like lower ball joint dust boots, brake lock tabs and strut rubber bump stops. I started with the lower ball joint and removed the split rubber boot and cleaned out the old dirty grease. I also used my Dremel with a low grit sand paper to get the ingrained dirt off the body and get it back to bare metal to then paint it with smooth white gloss Hammerite. The threads were re-tapped to clean them up and then the struts, stub axle & lower ball joint were loosely assembled together. All the minor components like bolts, dust caps and washers were all degreased and cleaned with the Dremel. On the stub axle, the threads for the brake calliper and back plate were all re-tapped after getting a bit contaminated from the powder coating process. They will be assembled properly once the new parts arrive.


The steering arm ball joints were cleaned up re-greased and new rubber dust boots fitted. Fitting the new dust boots was tricky to begin with but once they were secured in a vice it meant I could use both hands and small tipped flat bladed screw drivers to prise the (blue) metal spring clips to hold the new rubber boots in place. The joints were then assembled on to their tie-rod bars, but they too were a bit contaminated from the powder coating and would require a bit more work to screw in freely.