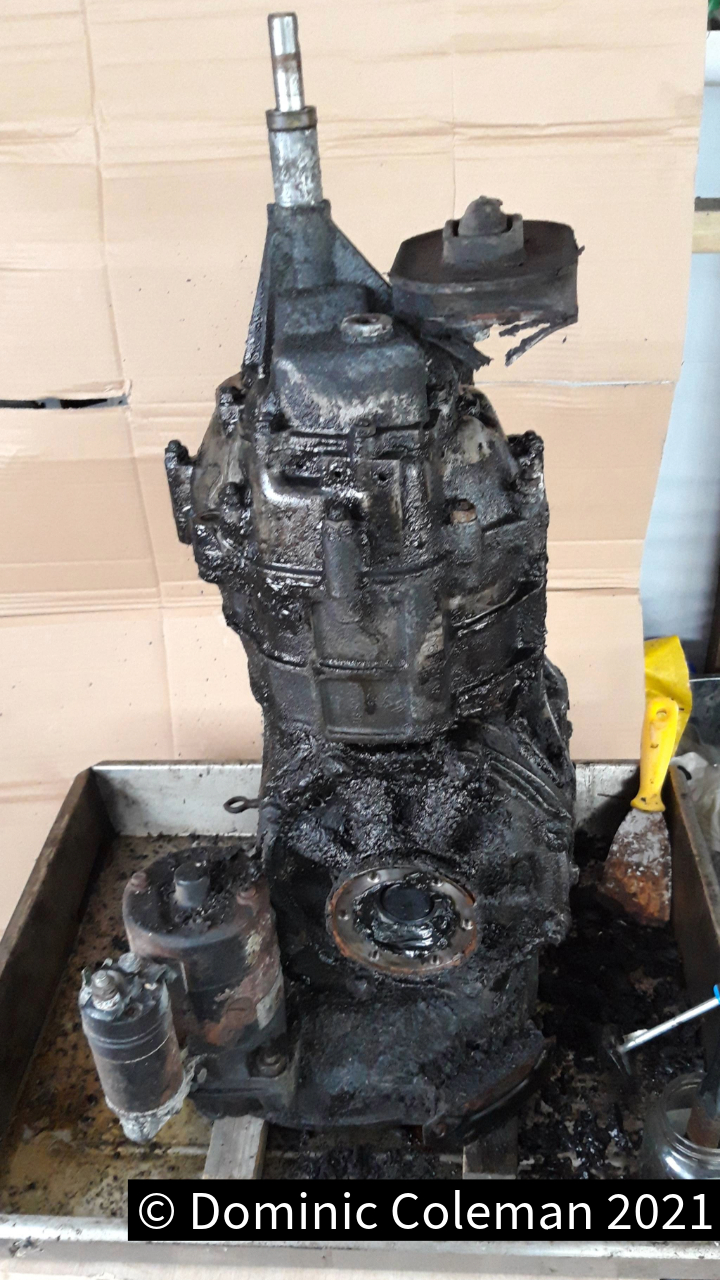
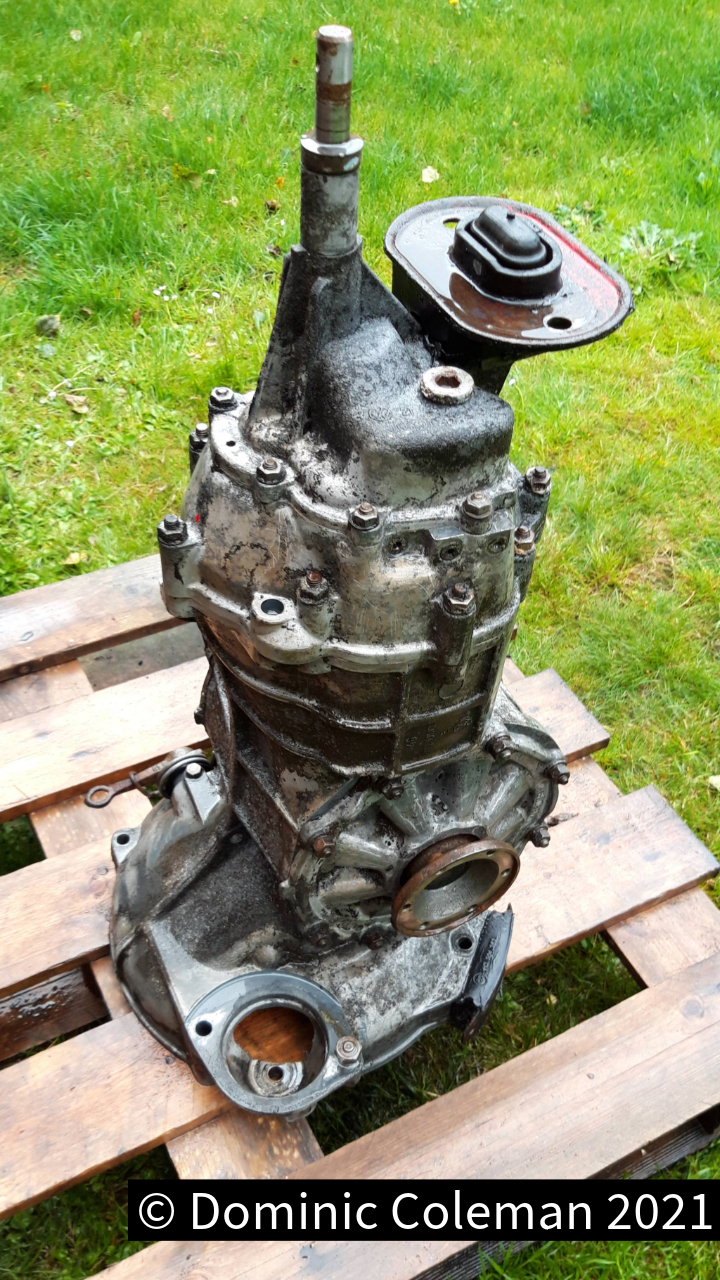
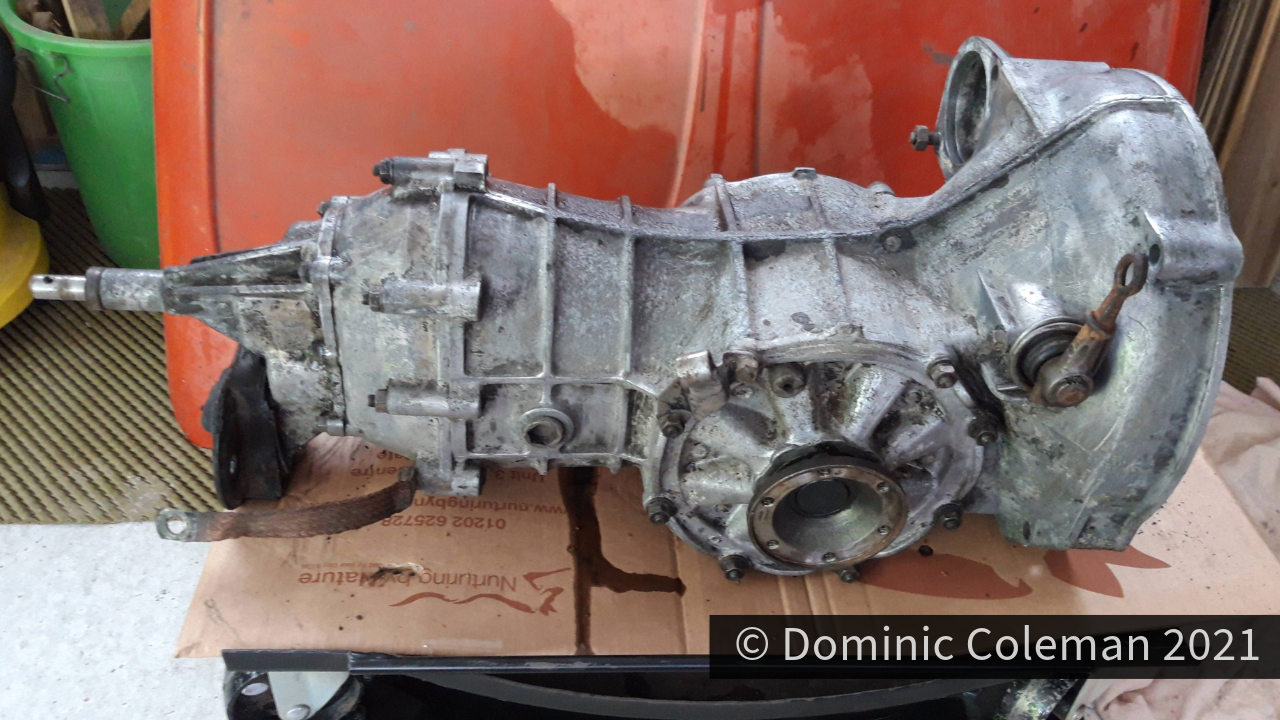
During August I took the opportunity to clean up the gearbox, first by soaking, scraping and scrubbing it with old petrol to loosen the dirt. It was followed by a more detailed clean using a degreaser before finally jet washing.
At the end of August 2021 going in to September, I had some time off work to spend a few days at Pauls Workshop to begin reassembling the components back on to the floor pan. It wasn’t as straight forward as I hoped and felt a little bit out of my depth and Paul was busy with other work but he set me up to use his sand blasting cabinet for most part of my first day. It was quite a fiddley process of which I cleaned up several large nuts, bolts, fastenings and the gear stick components.
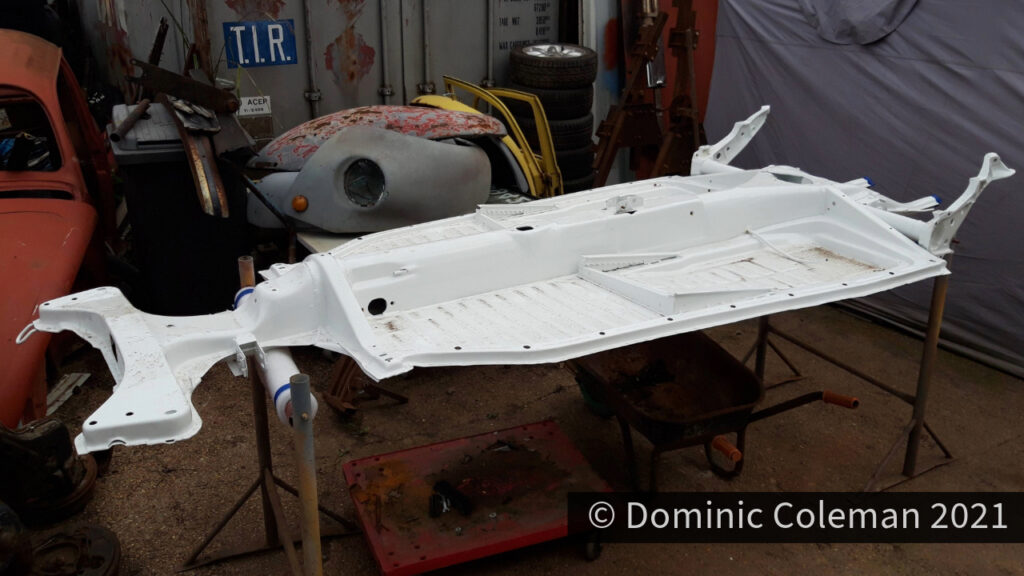
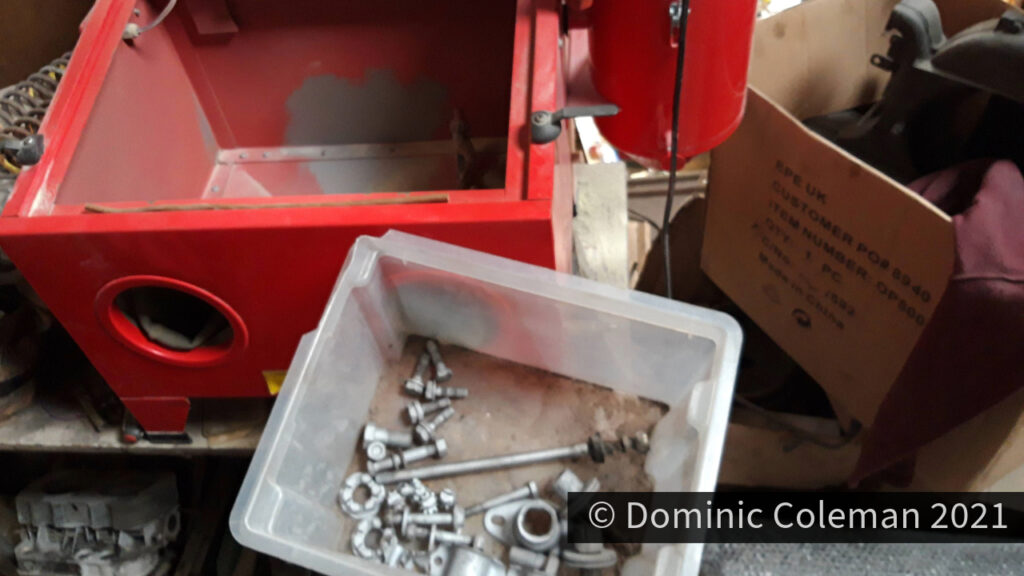
Progress over the 3 days was slow but I had re-tapped all the threads on the floor pan that had been affected by the powder coating process. Paul fitted a new copper fuel line while I worked on new copper brake lines front to back with cleaned up unions and installed the foot pedals, hand brake with cables and new heater control cables. The heater cable guides needed a proper clean out and Paul devised a method utilising a long thin rod from a roof lining support rod and fitted it to a drill. The result eventually cleared the blockage of sand blasting grit coupled with years of dirt build up. All the other cable guides were treated the same and were all clear.
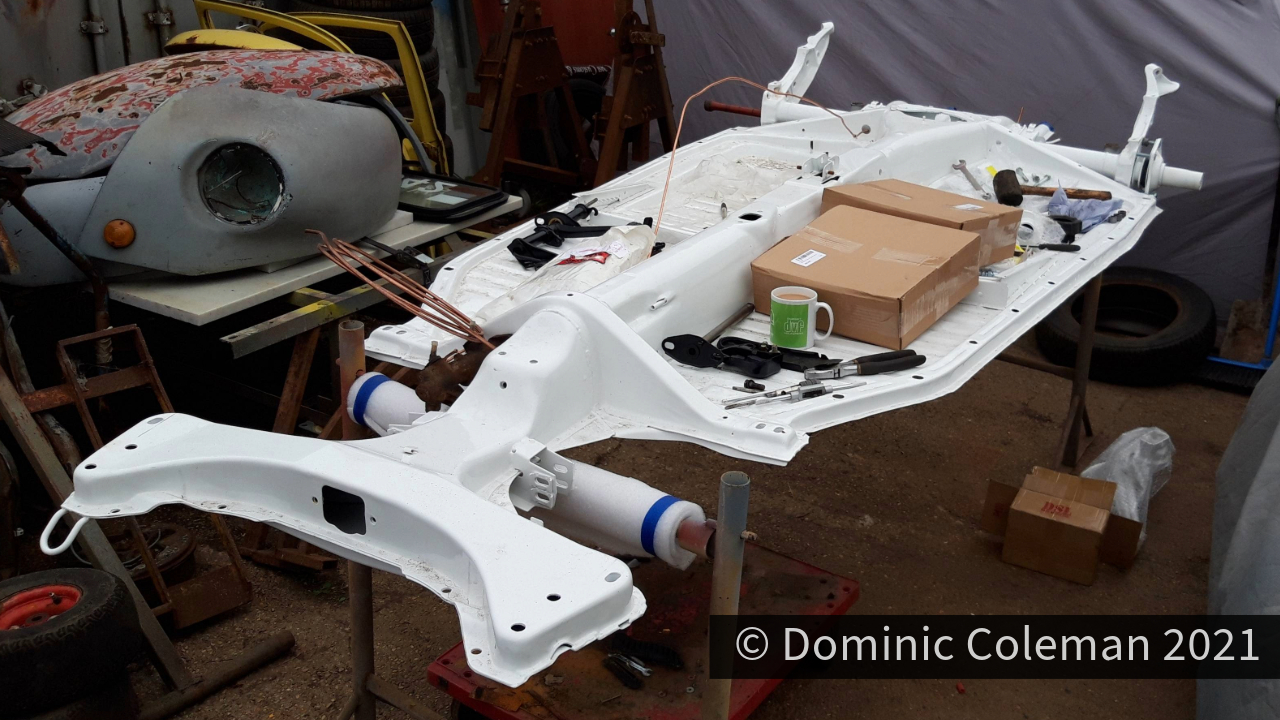
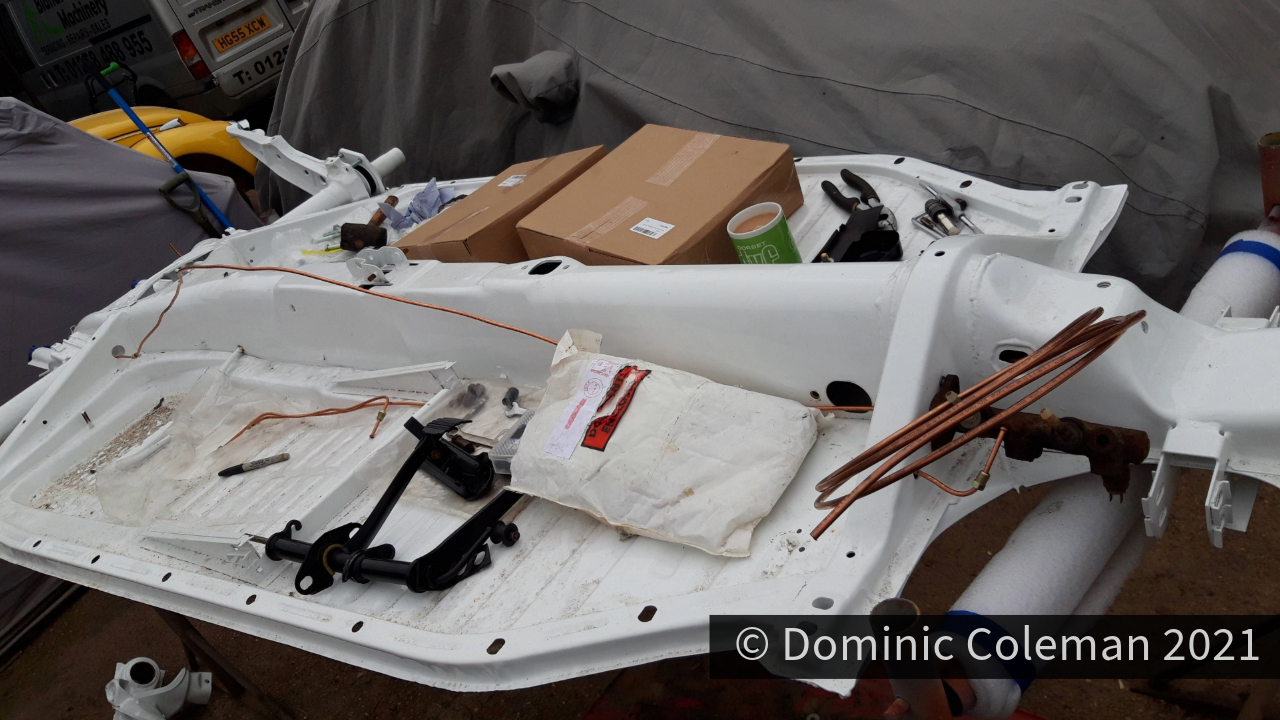
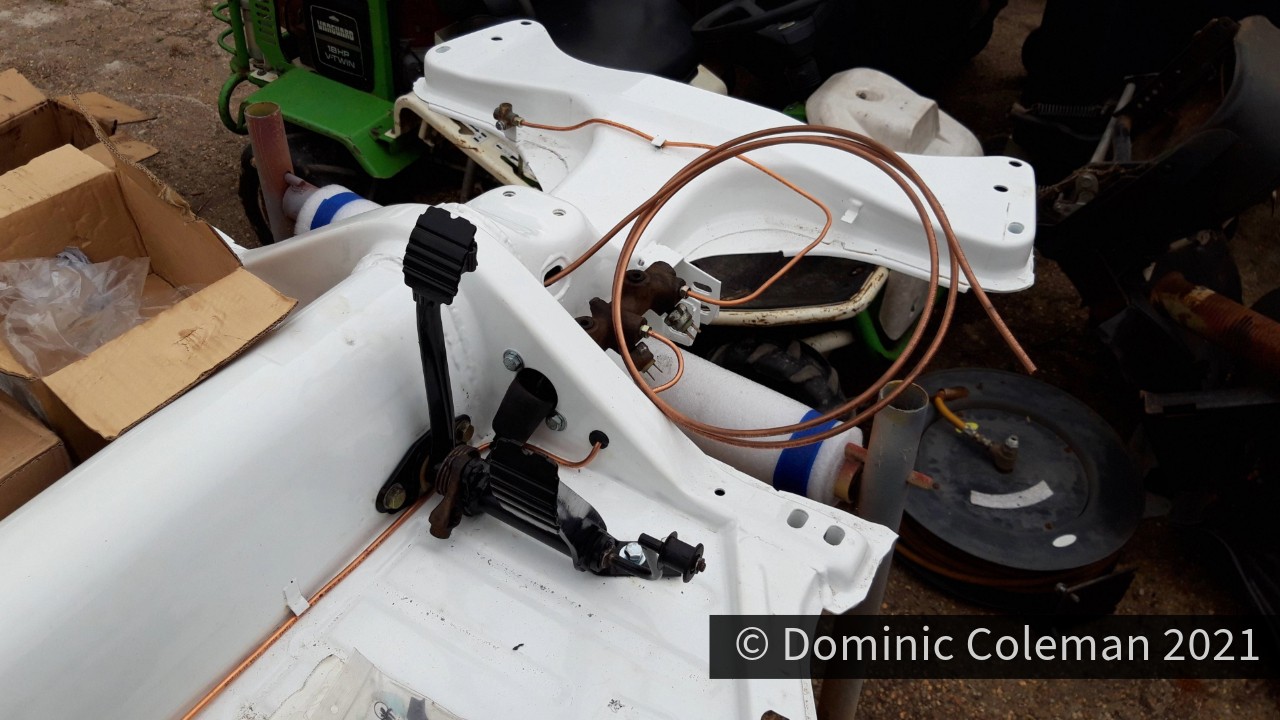
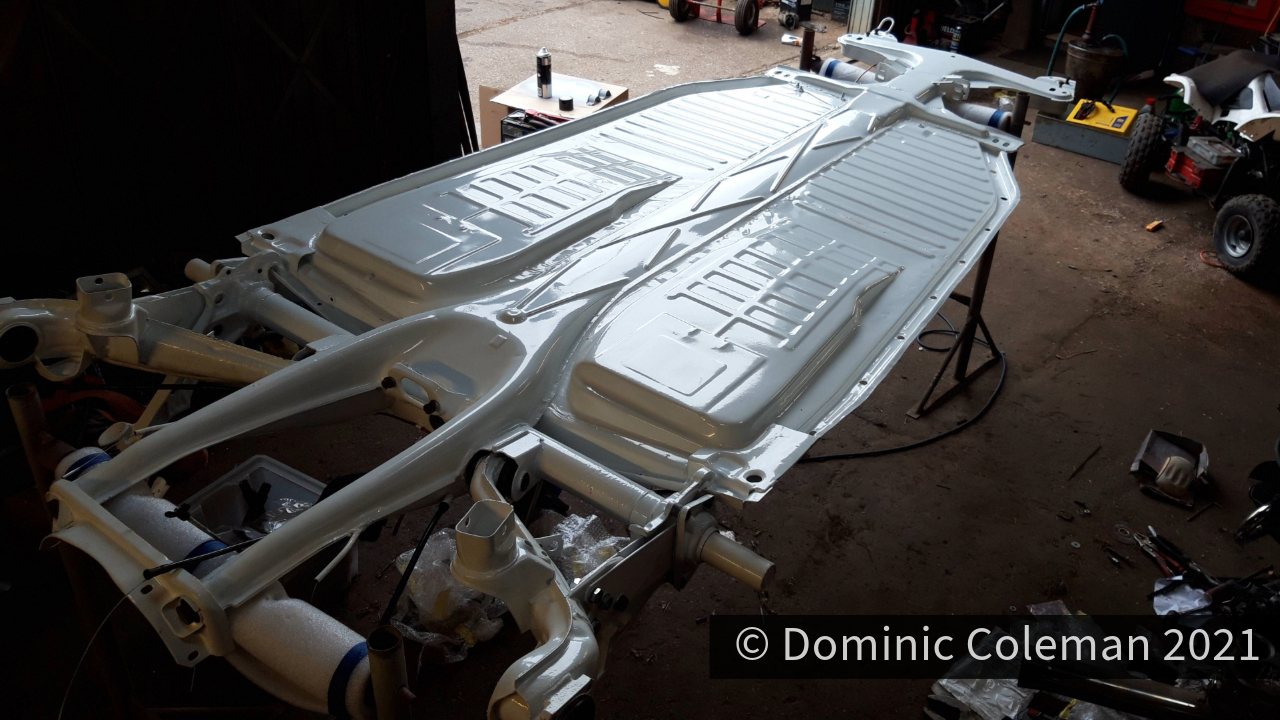
The powder coating of the floor pan was tested for its durability having got a proper drenching in some September downpours, unfortunately the new brake drums were exposed to this weather and suffered, so had to be cleaned up with a wire brush as they had developed some surface rust in a very short period. After a few Saturdays during September spent with Paul, the floor pan was coming together. Working on the trestles made access much easier to laying out and shaping the brakes lines, hand brake cables and heater cables. One oversight (of a few), there were old bushes in the independent rear suspension arms that hadn’t be removed prior to powder coating and I had bought new bushes to replace them. Unfortunately the new powder coating took a bit of abuse as the arms wouldn’t fit or sit straight in the vice while I had to chisel out the old bushes. It wasn’t easy but I managed it under the guidance of Paul. The rear suspension was set up by Paul and I had asked that it be kept at standard ride height, for now.
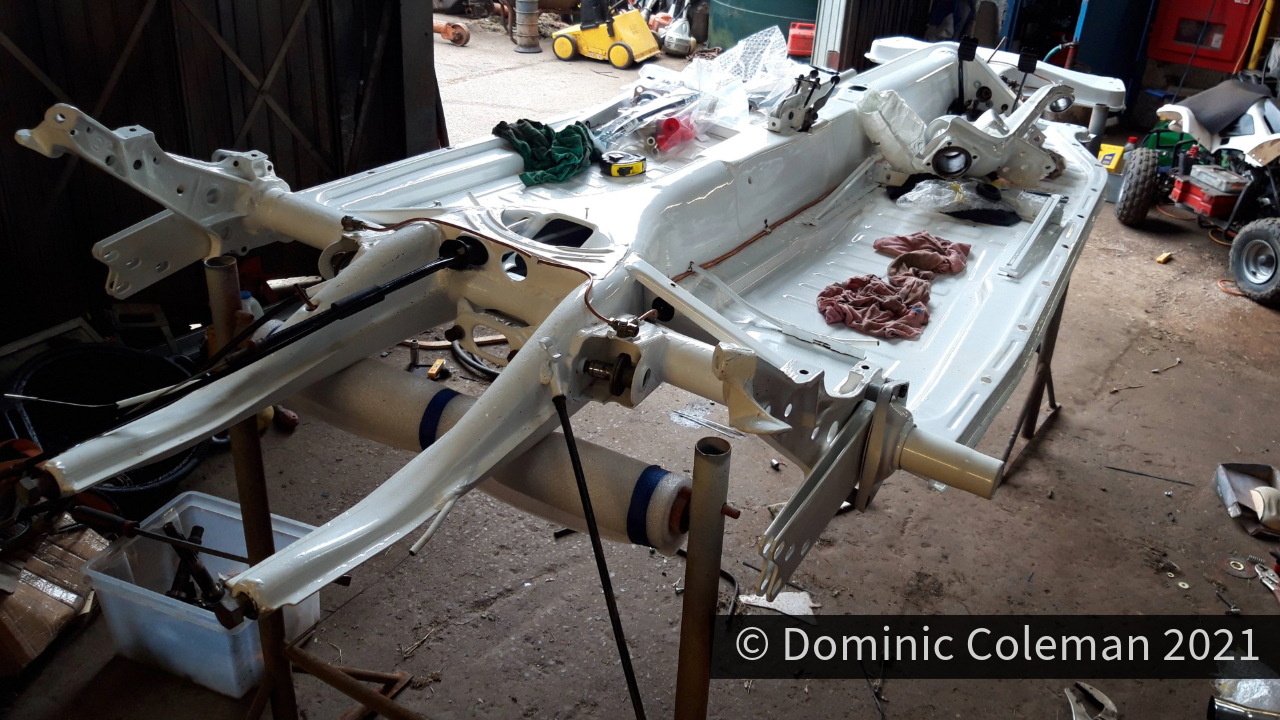
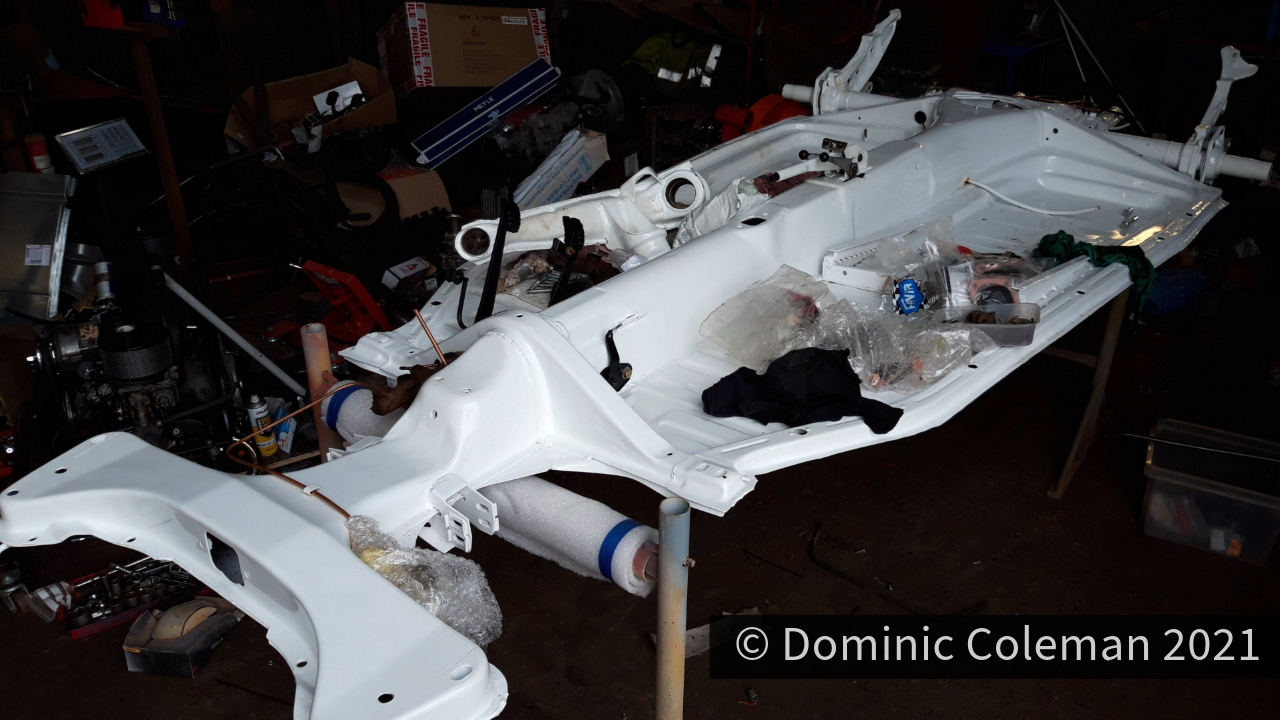
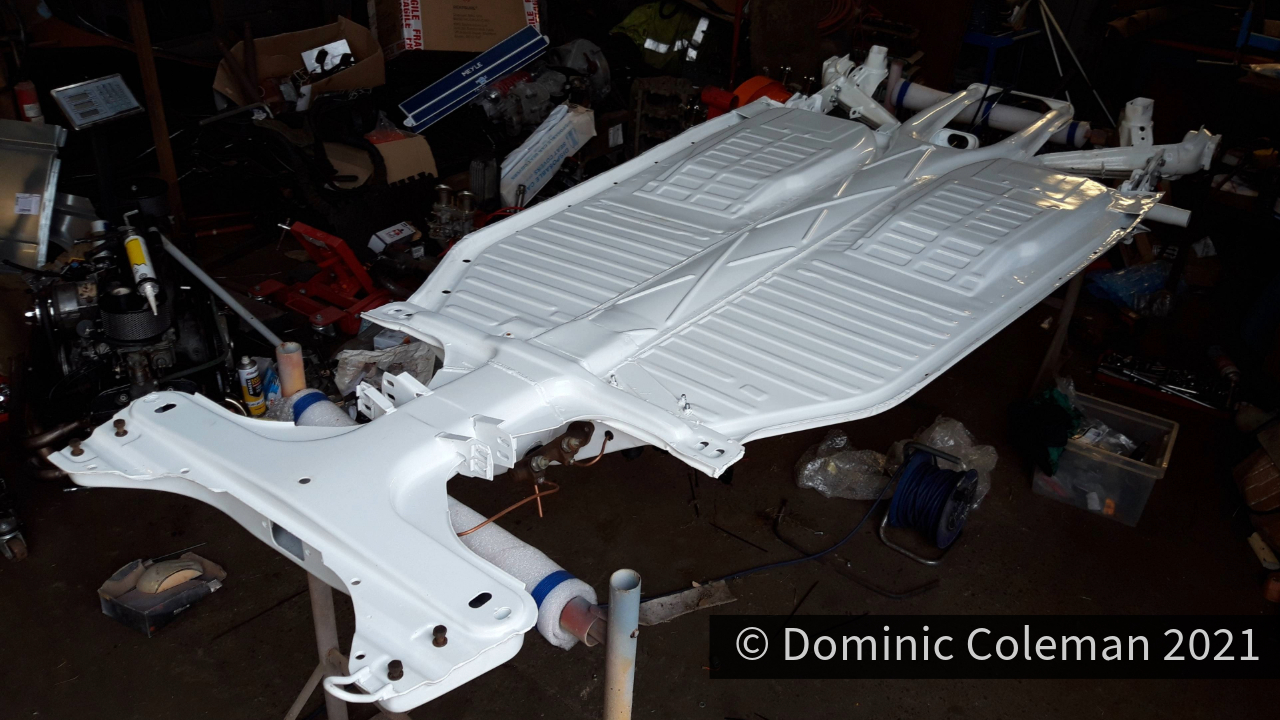
For the sharp eyed, the spring plates are up side down in the top left photo and were later swapped over to their correct side. A week after these pictures were taken, the rear hubs were built up with new bearings along with new seals and the brakes (with the cleaned up new drums) rebuilt with new cylinders, brake shoes and fixings.
Nearly there, or so I thought.


