Categories
bodywork welding

The Body Shell

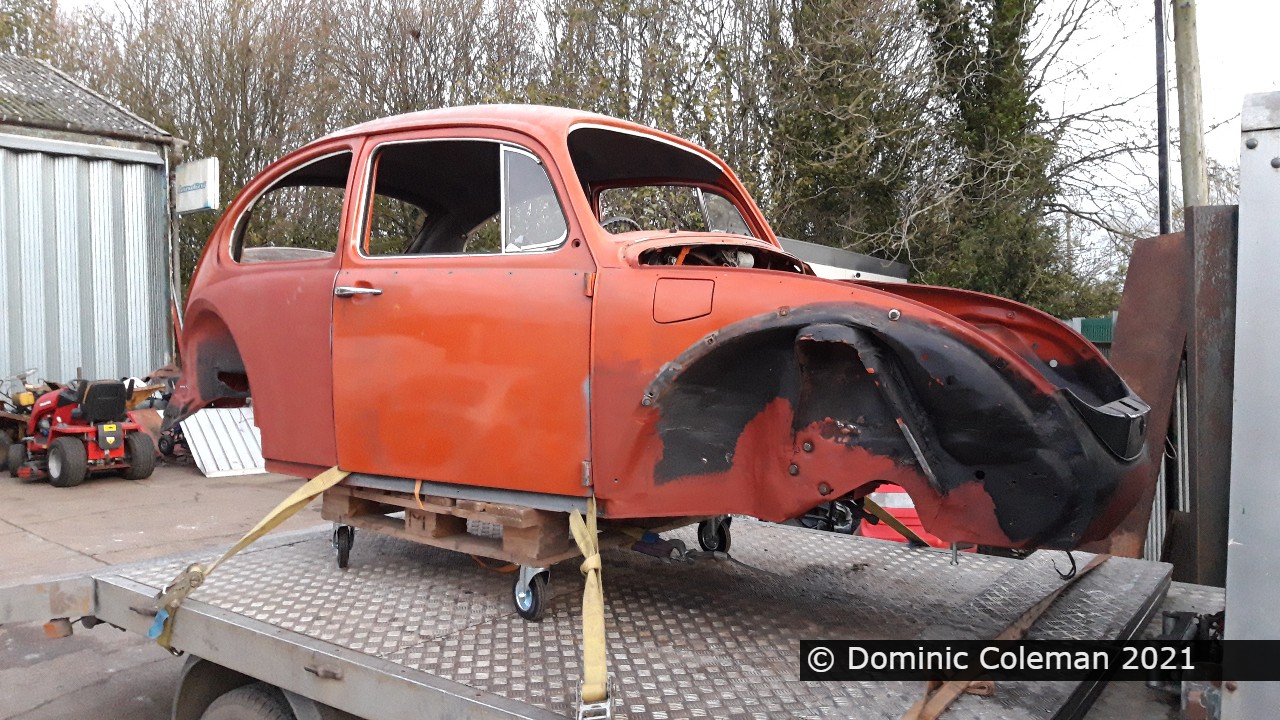
November 2021: With the semi-rolling floor pan returned home, Paul had the body shell to work on. By the time I went back to his workshop to help out, a couple of weeks later, he had already replaced the rear bumper bracket mount, repair sections so as to get it up on to a rotisserie. He had also formulated the rudimentary set up for the removable rear valence. The removable rear valence would greatly assist in the installation and any future removal of the engine.
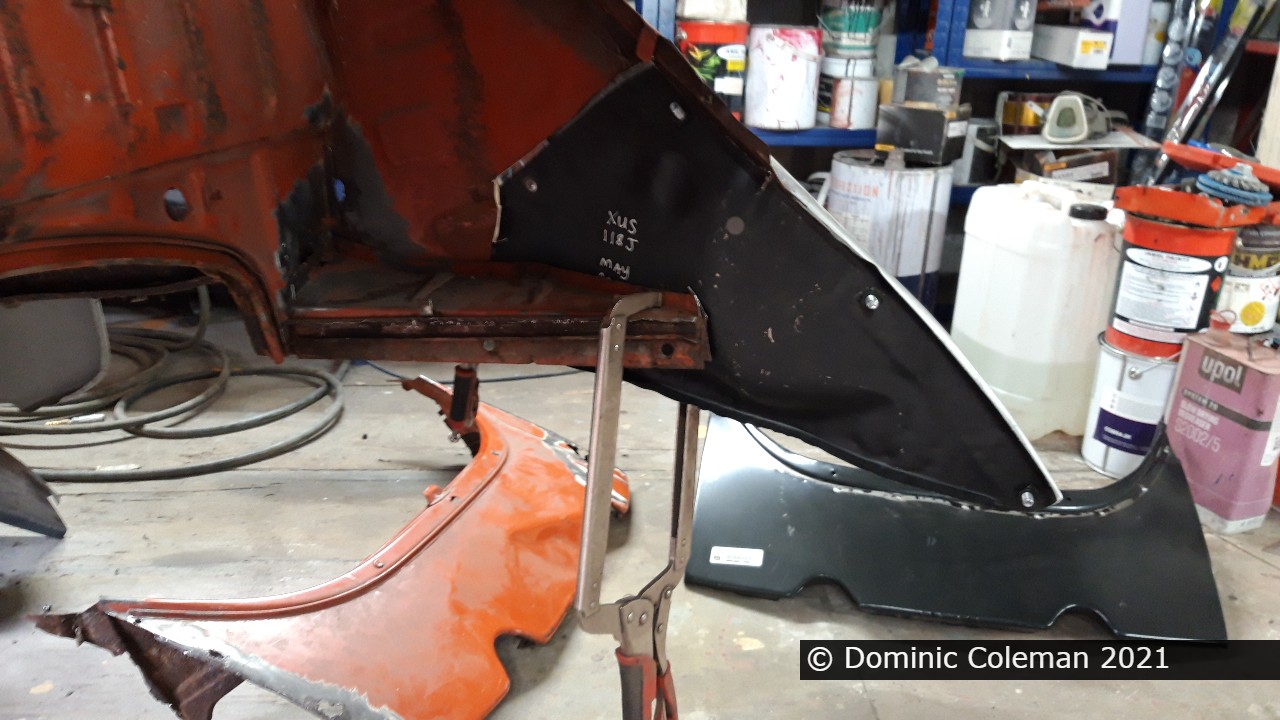
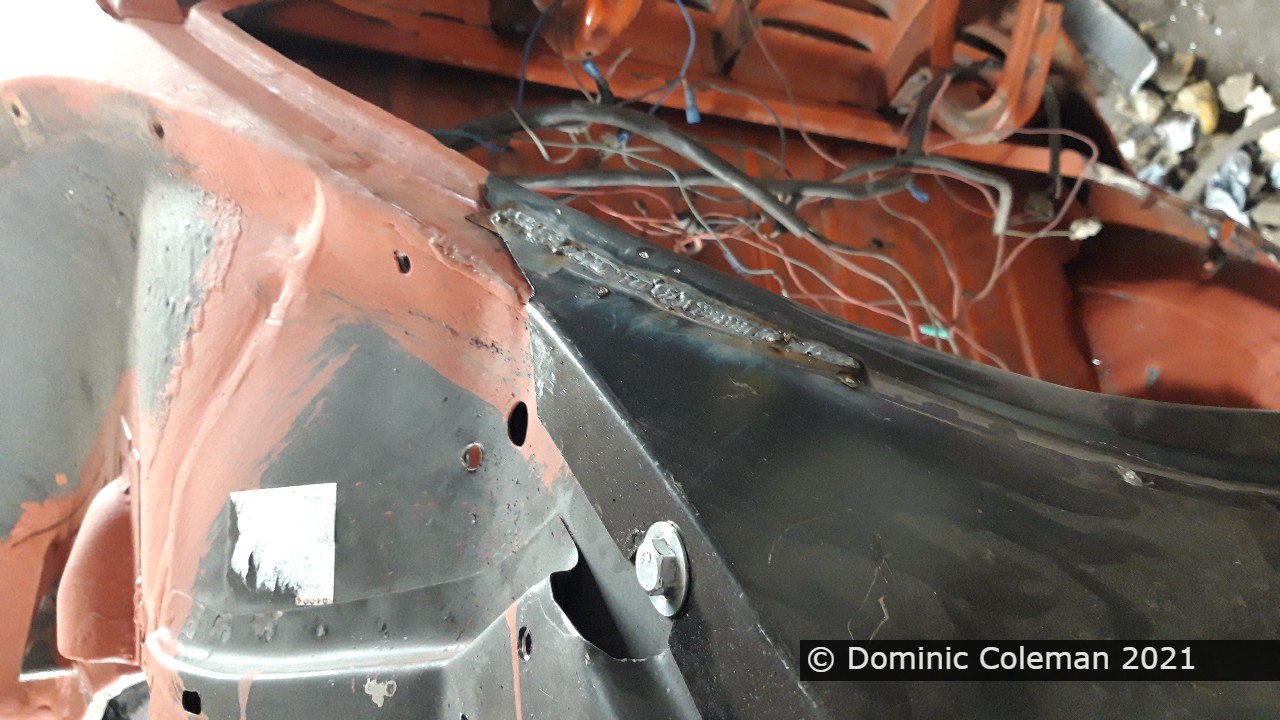
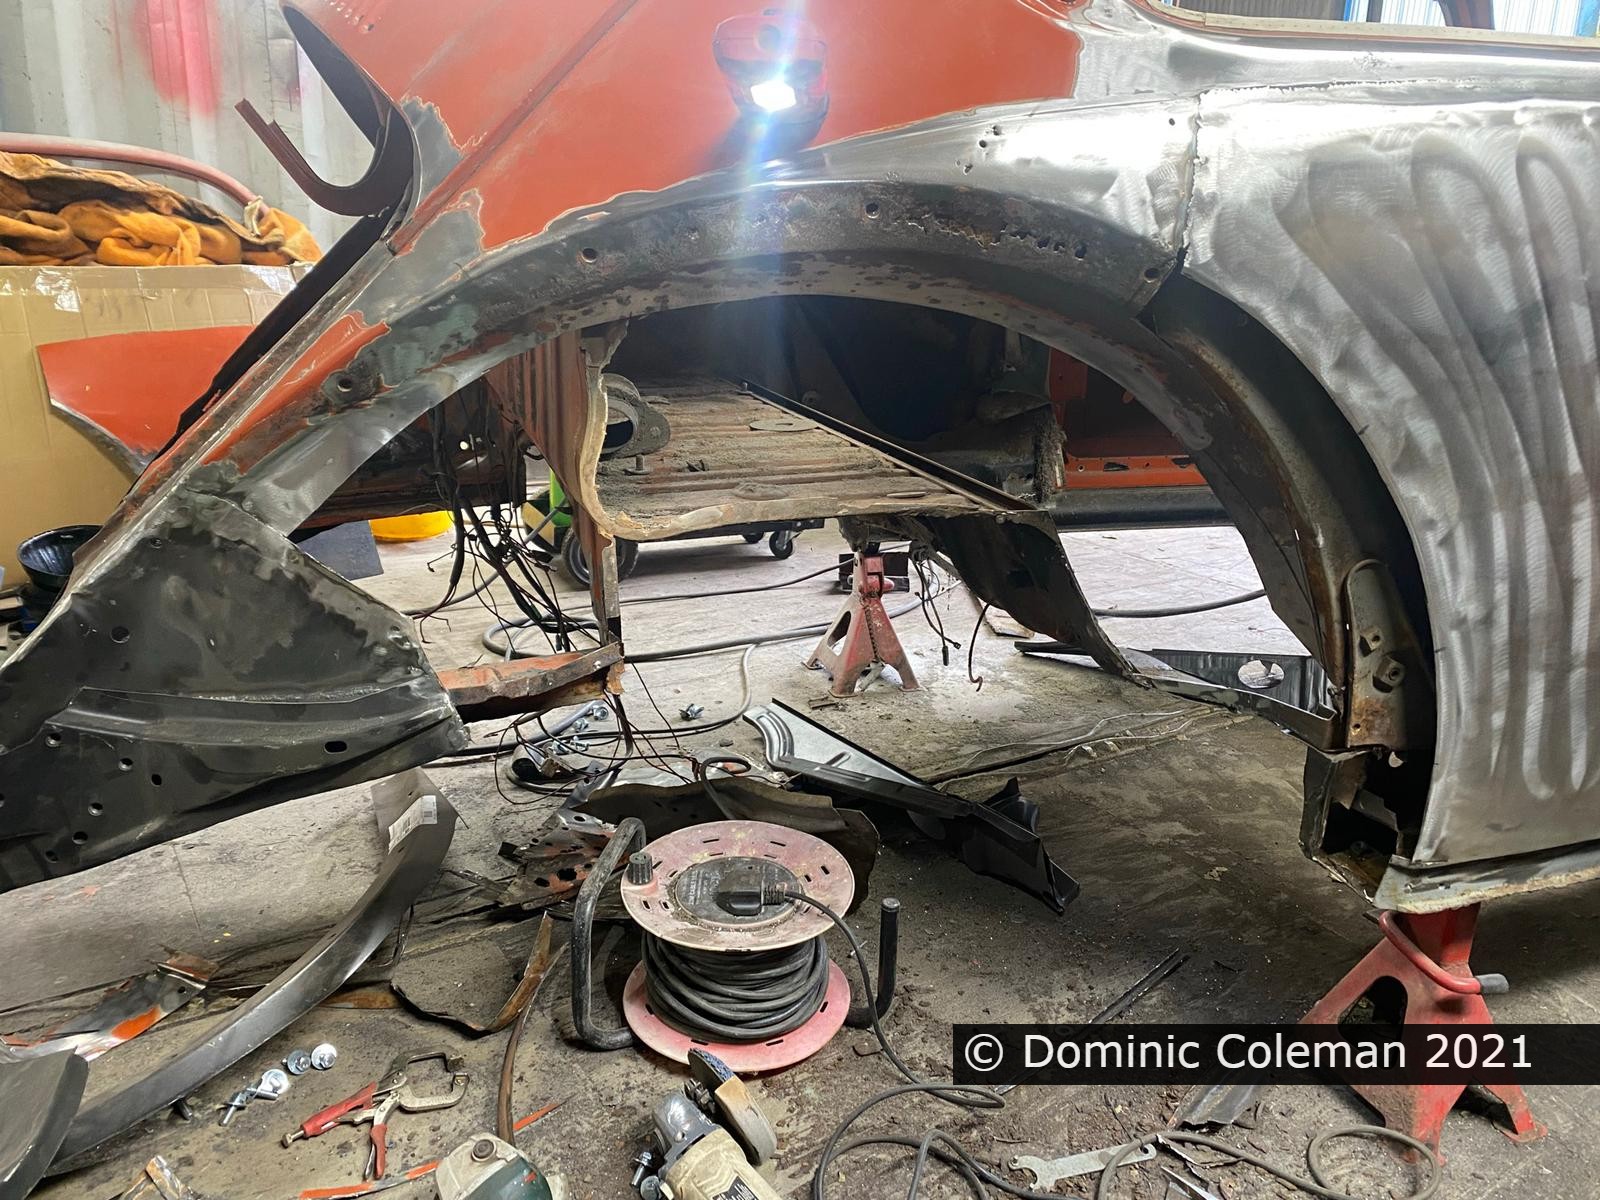
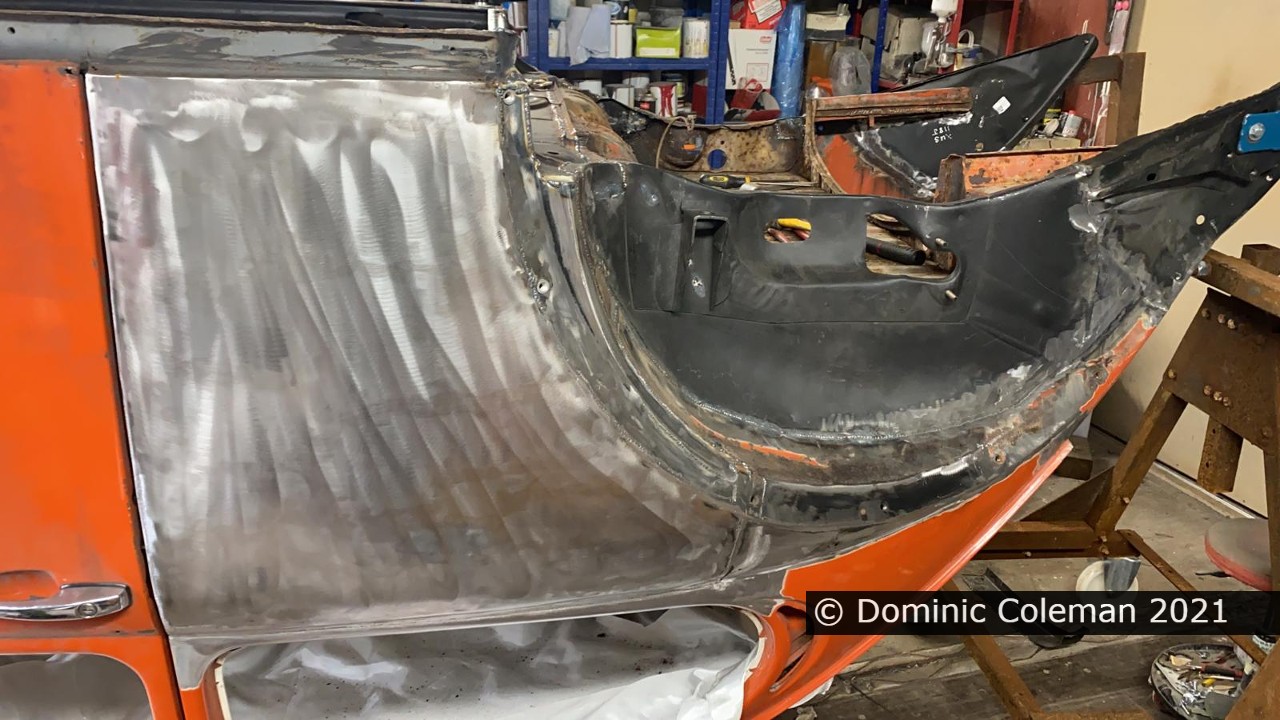
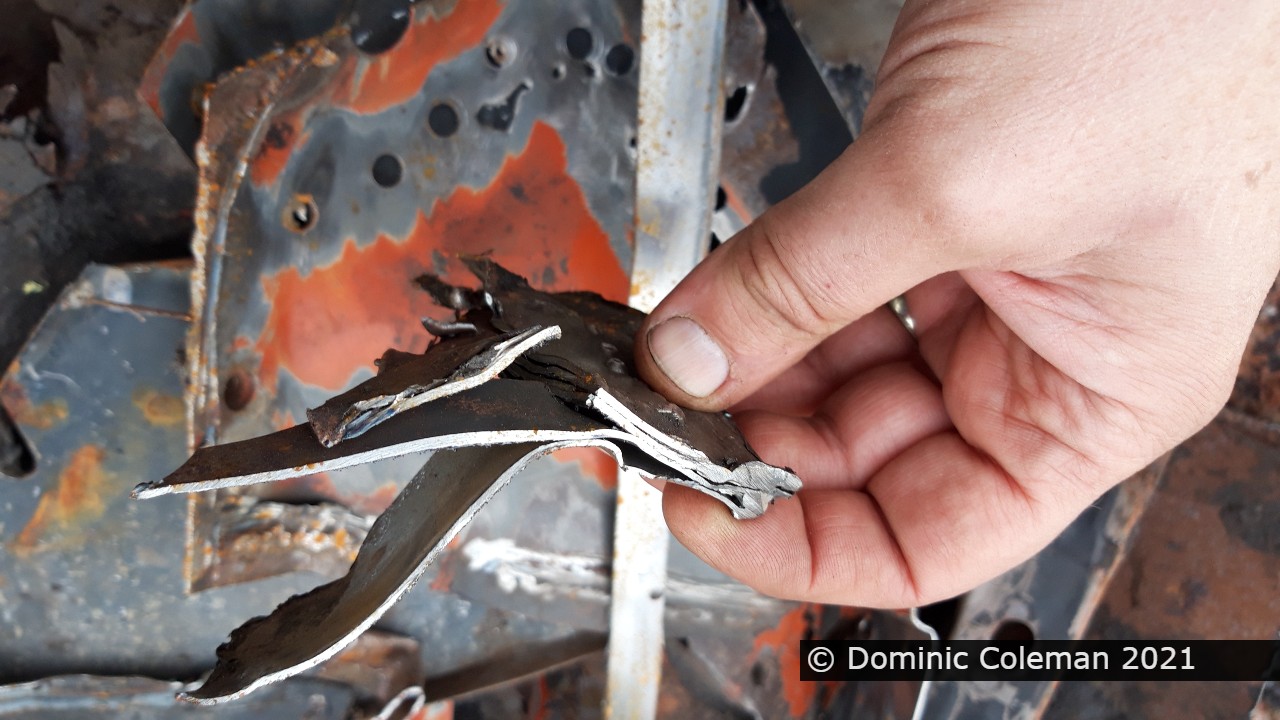
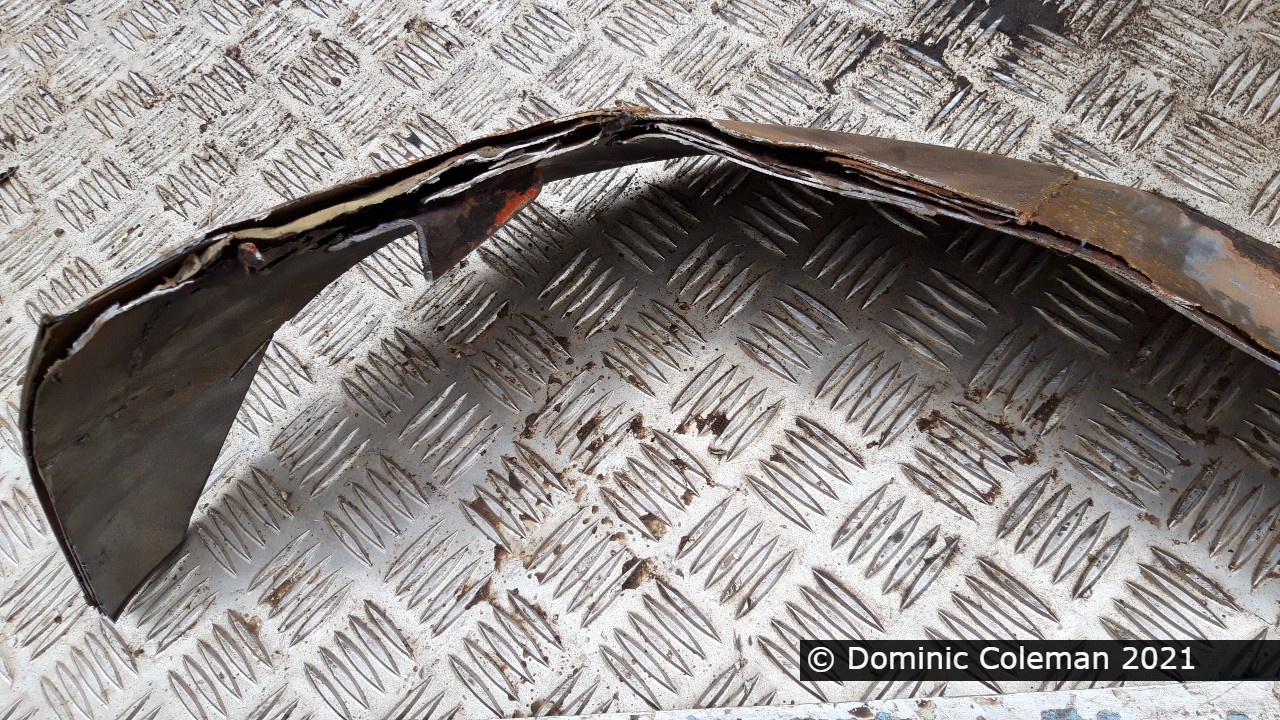
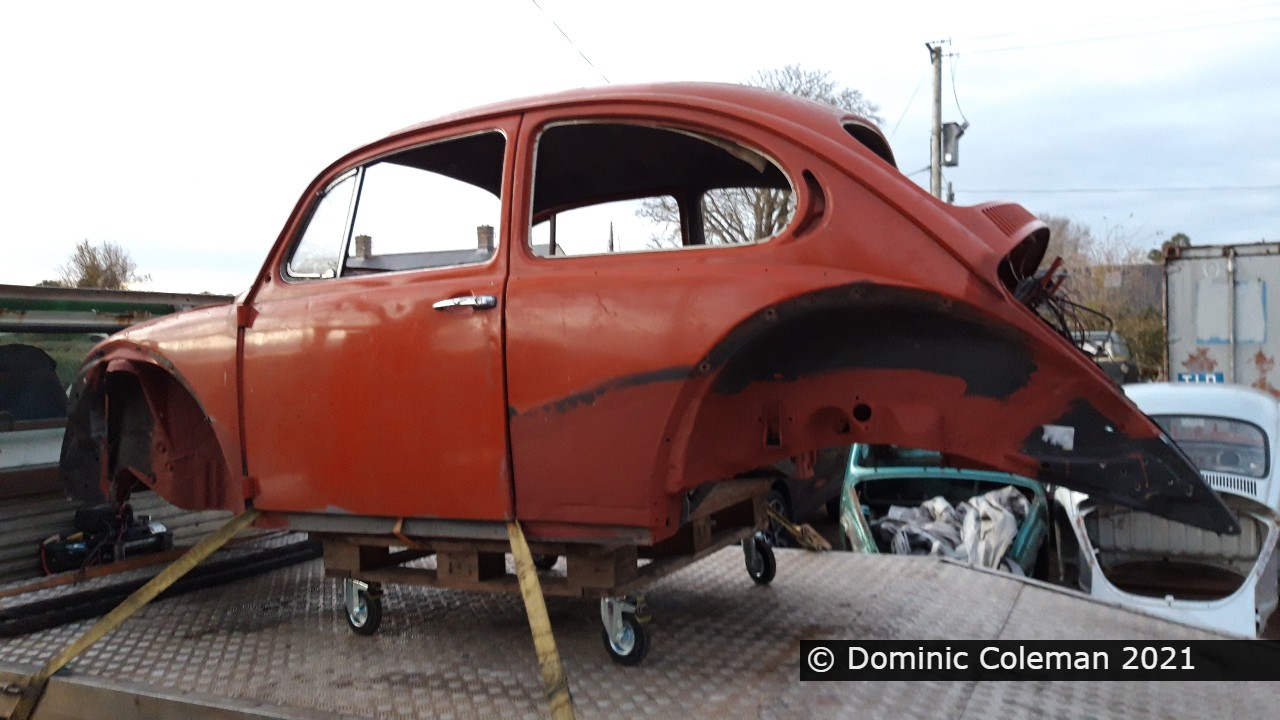
With the bumper mounts repaired, attention was to look at the quarter panel repairs previously done in 1997. It was apparent that the welding on both sides were of varying quality (possible by two different people) and the repair panels overlapped the old metal by a large amount. The right side (UK driver side) was the worst with deformation and warpage and Paul felt it was best to cut the whole rear quarter out and replace it with a new panel. The left side wasn’t too bad but Paul trimmed the excessive overlap on the 1997 repair and welded it in further down the existing original rear quarter meaning less filler would be needed to cover the repair.
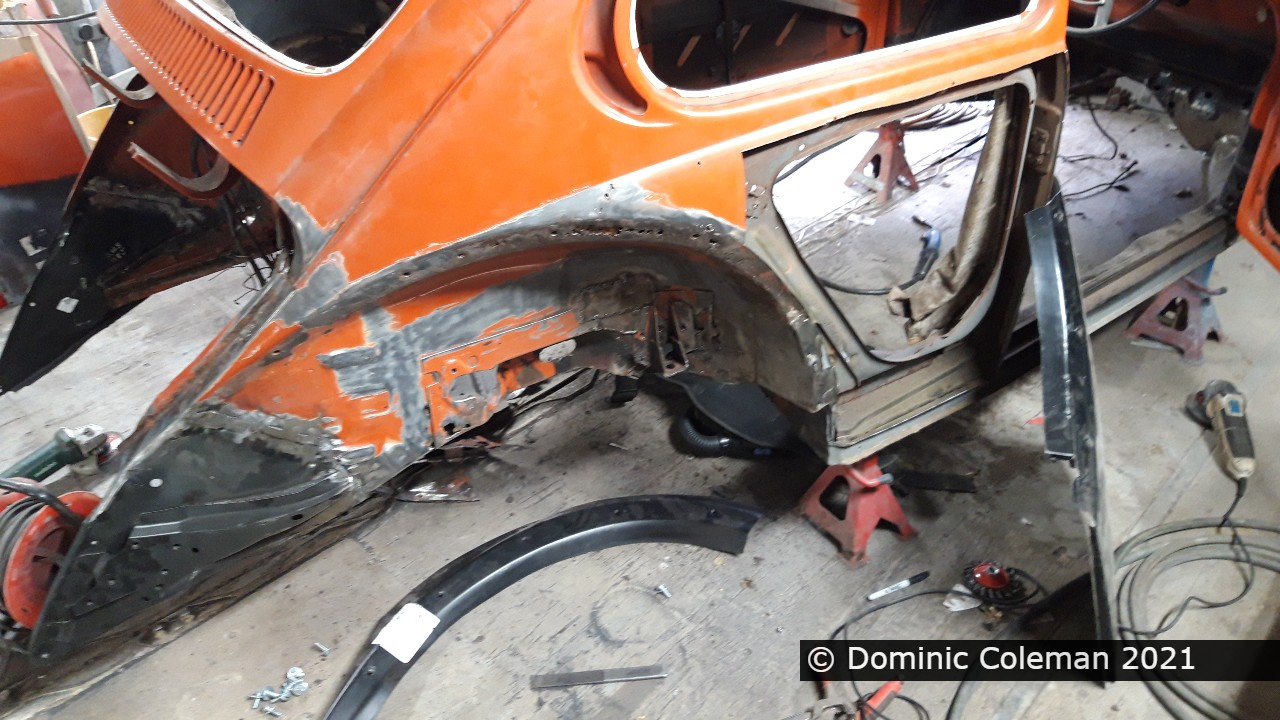
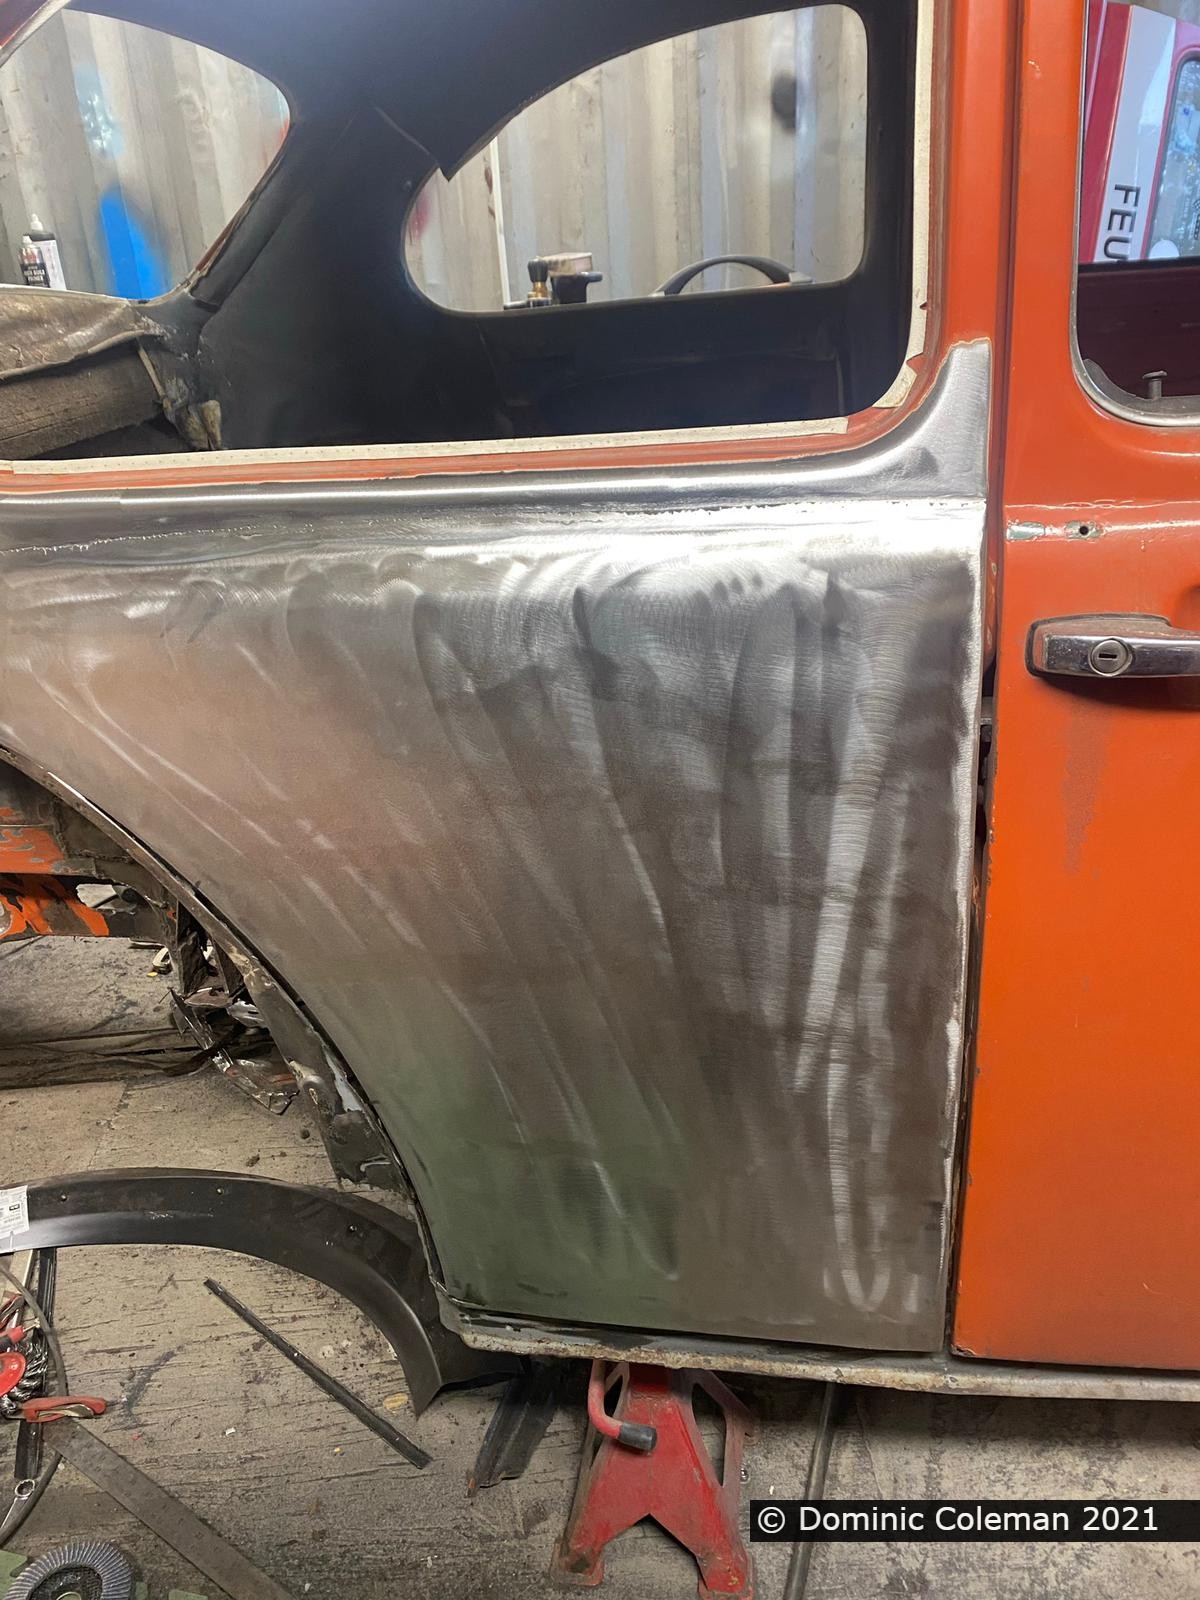
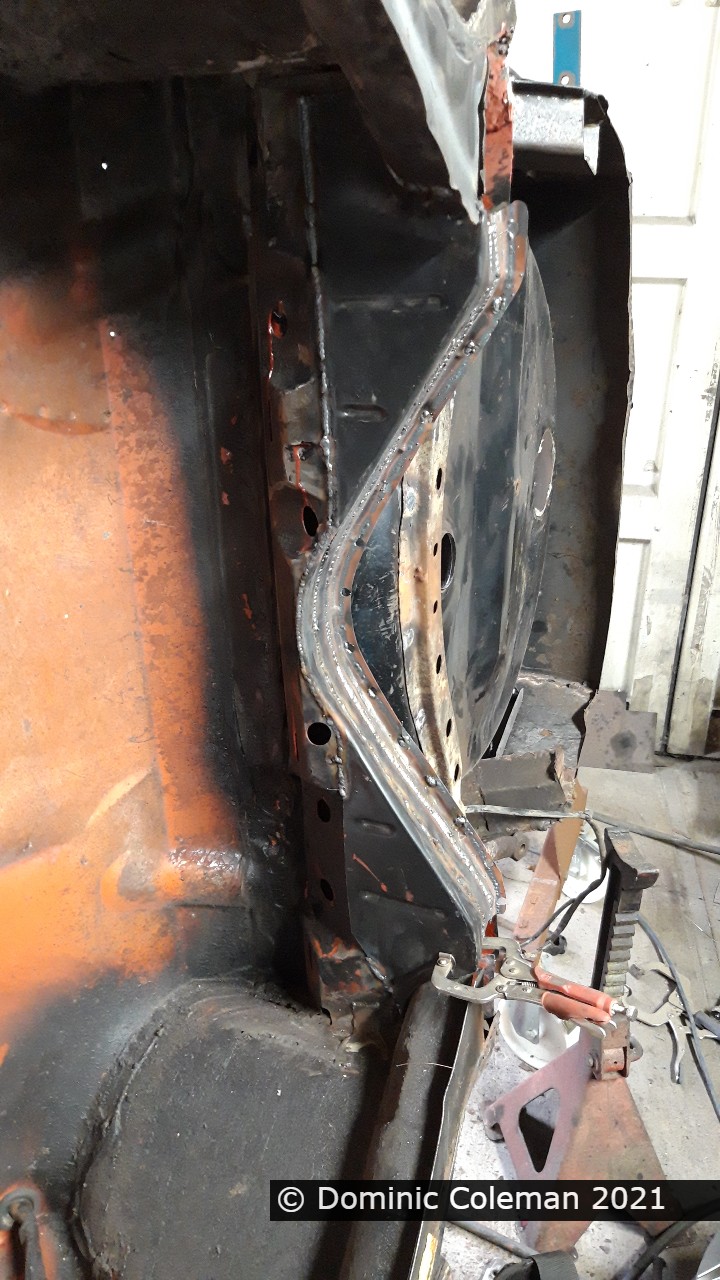
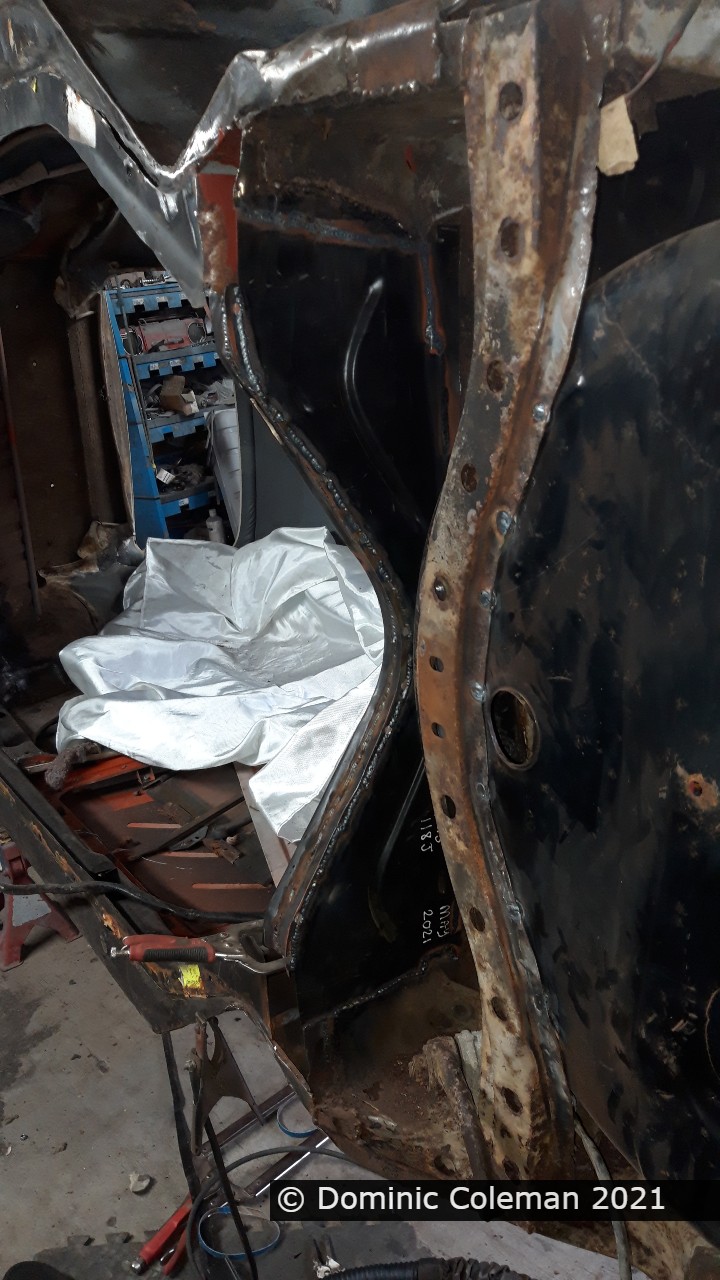
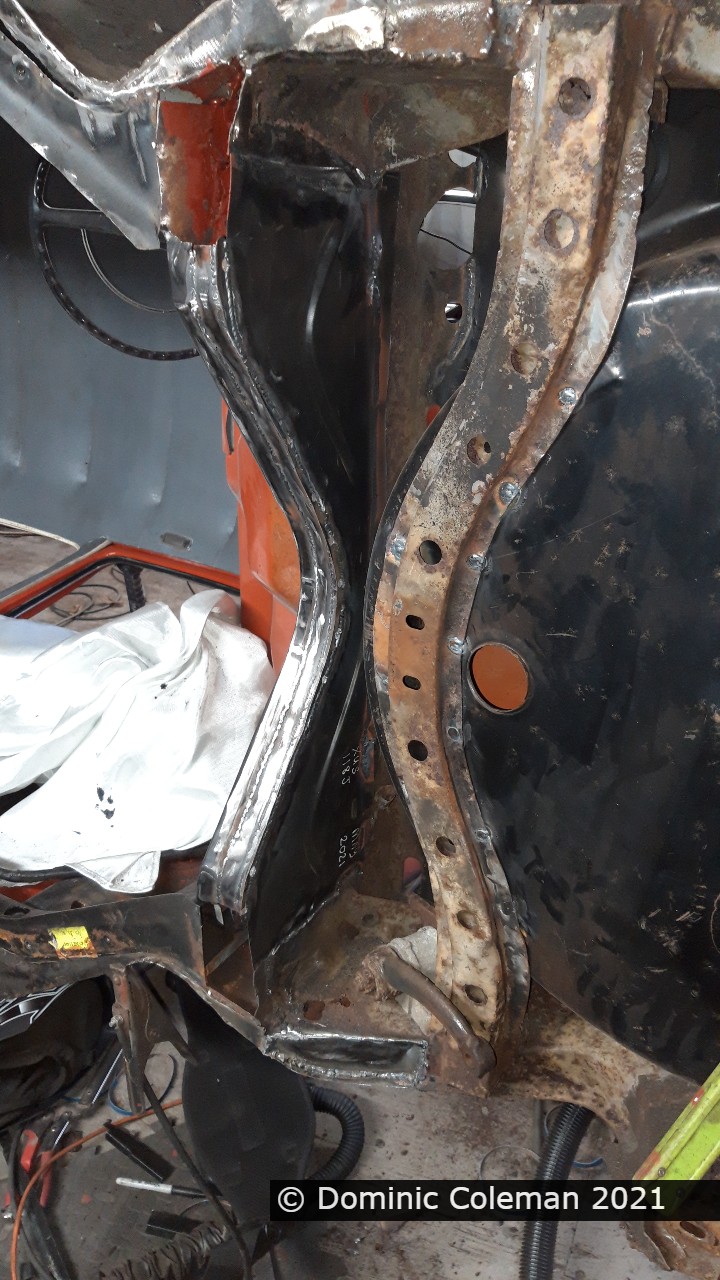
With some strength back in the body, Paul set to work on the right inner rear wheel arch repair with the body mounting bracket. A large repair section had been purchased by me earlier in the year and judging by the pictures it seemed this was a relatively straight forward job.
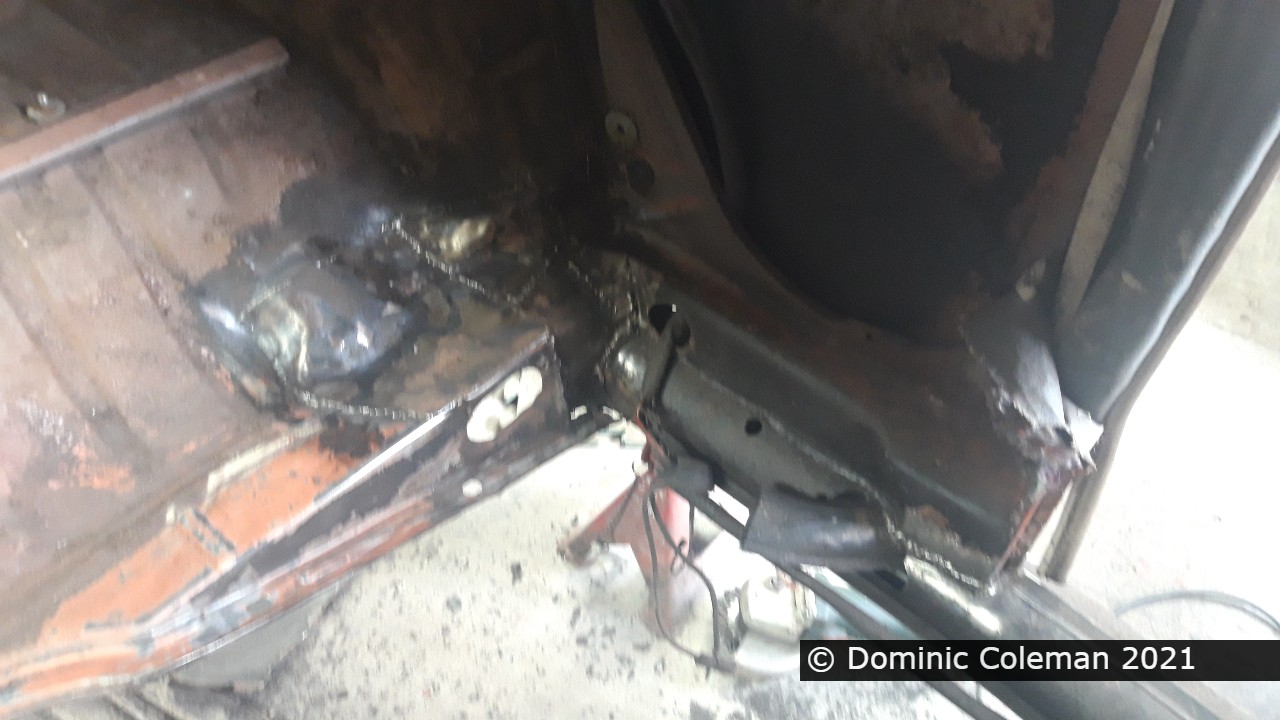
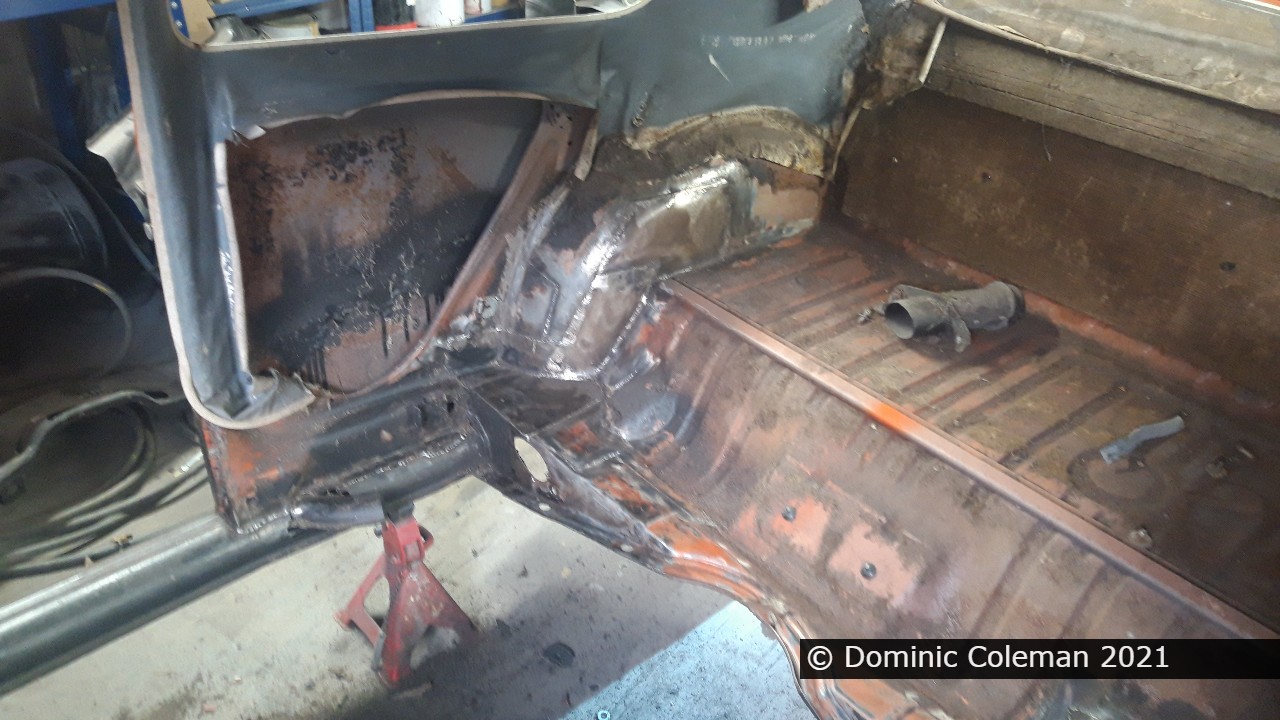
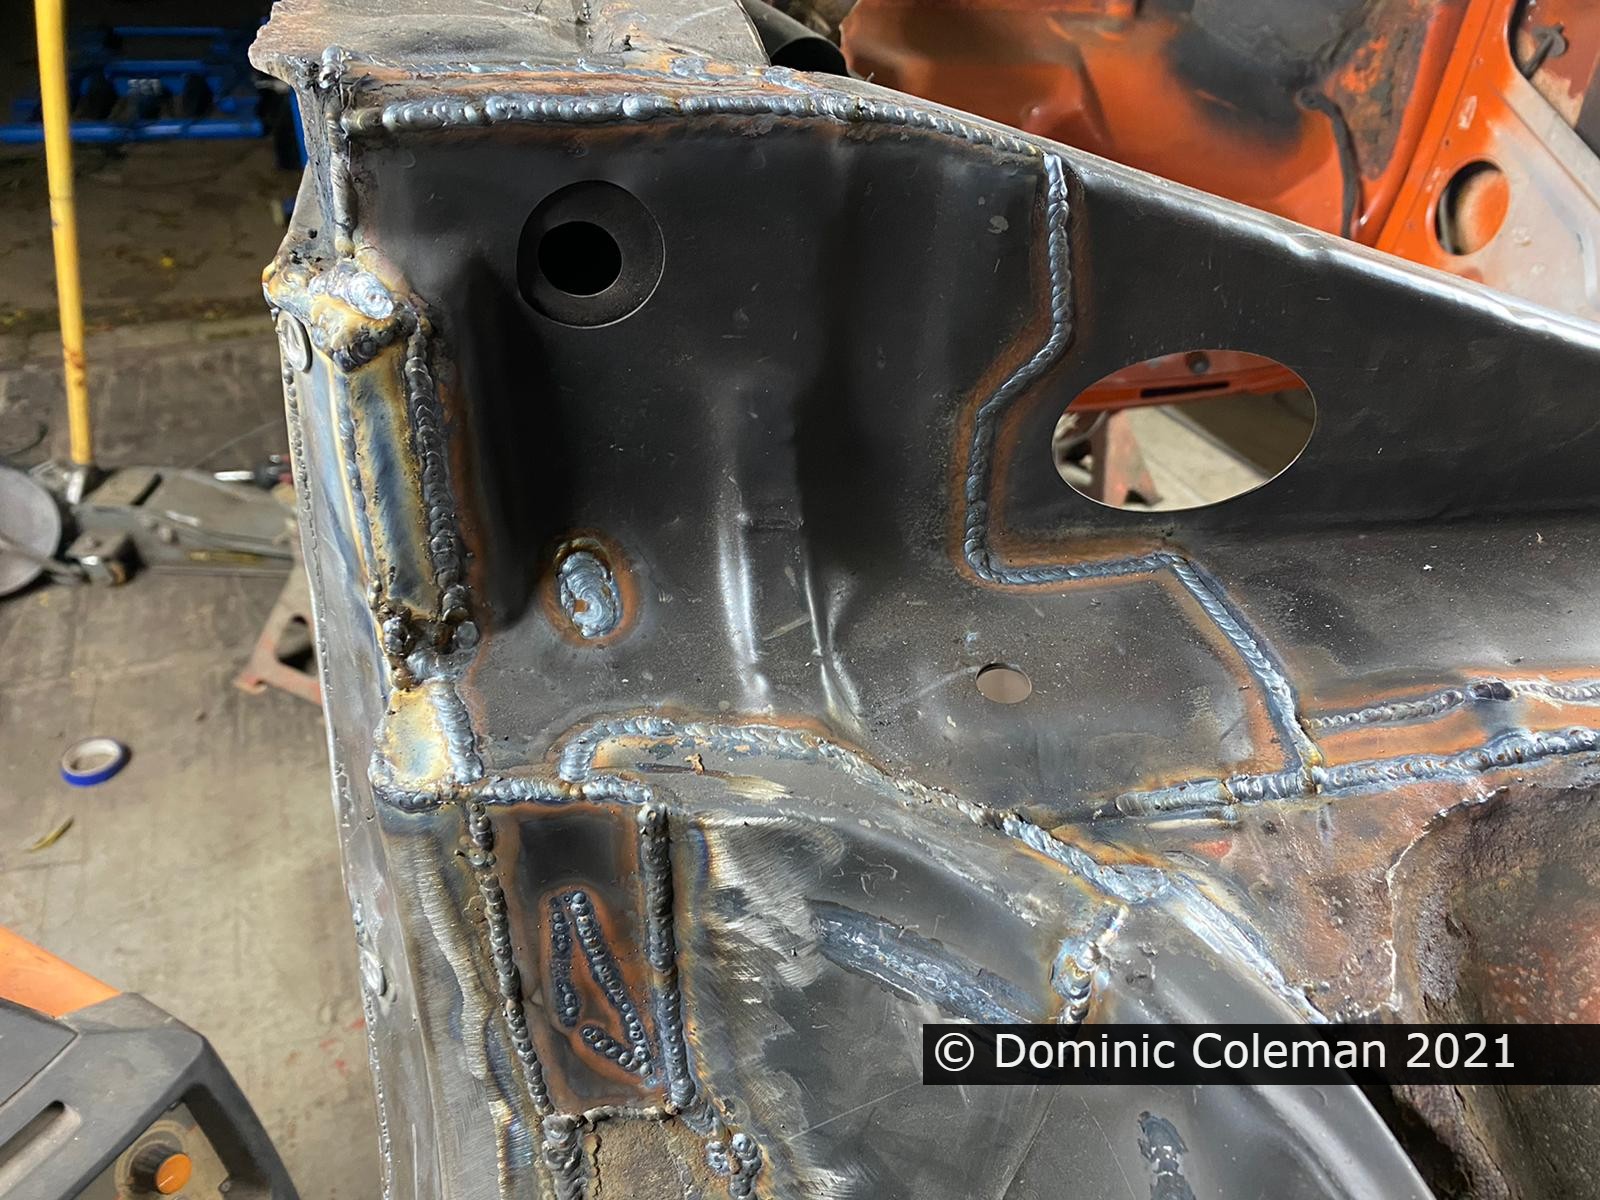
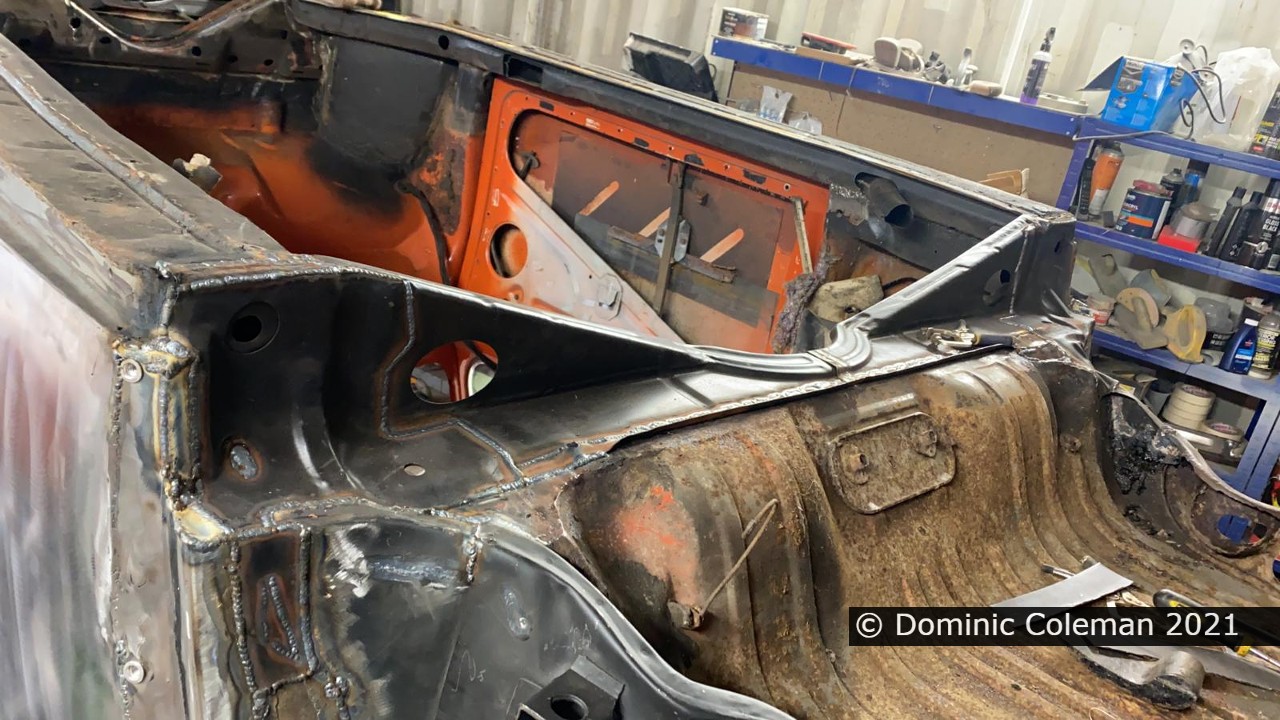
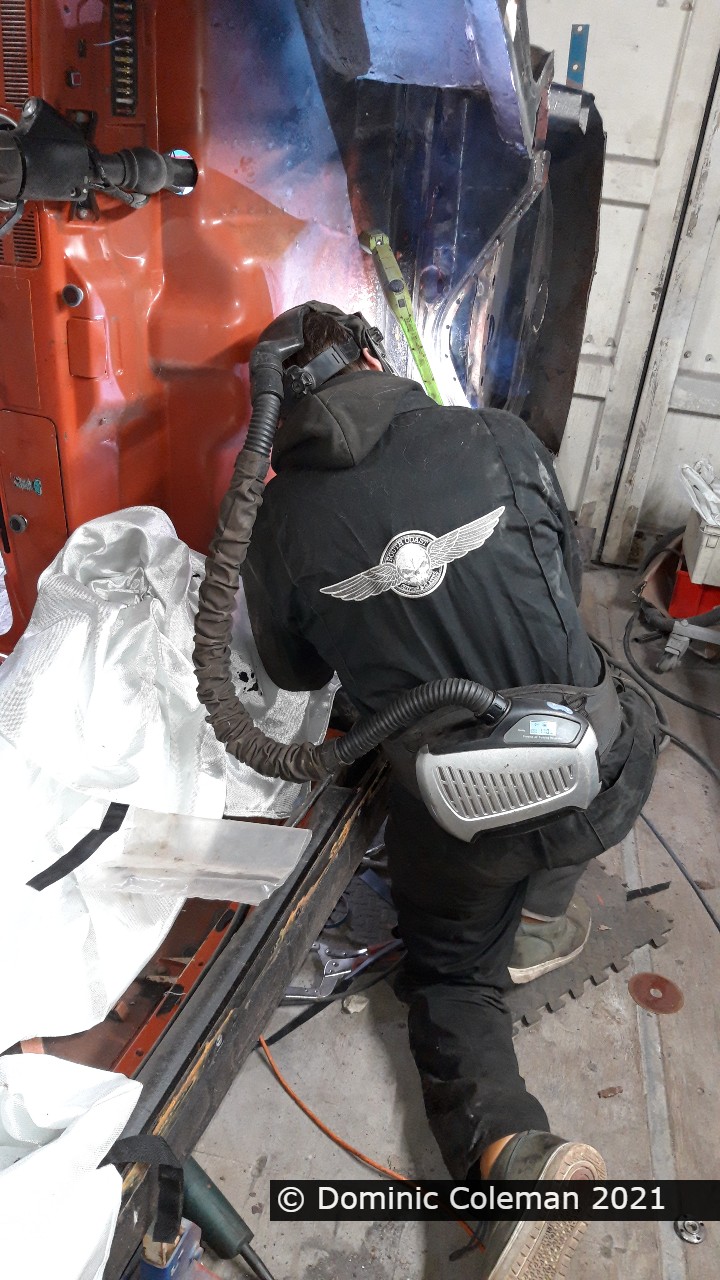
A not so simple job, was the replacement and widening of the front firewall. The (cheaper Klokkerholm) panel I had supplied meant Paul spent quite a bit of time cutting and fabricating this up to be right, along with a front left strut repair. As for me, I was grinding down the welds on the earlier jobs done by Paul as well as cleaning up the underside of the rear body and painting all the exposed metal in red oxide primer.
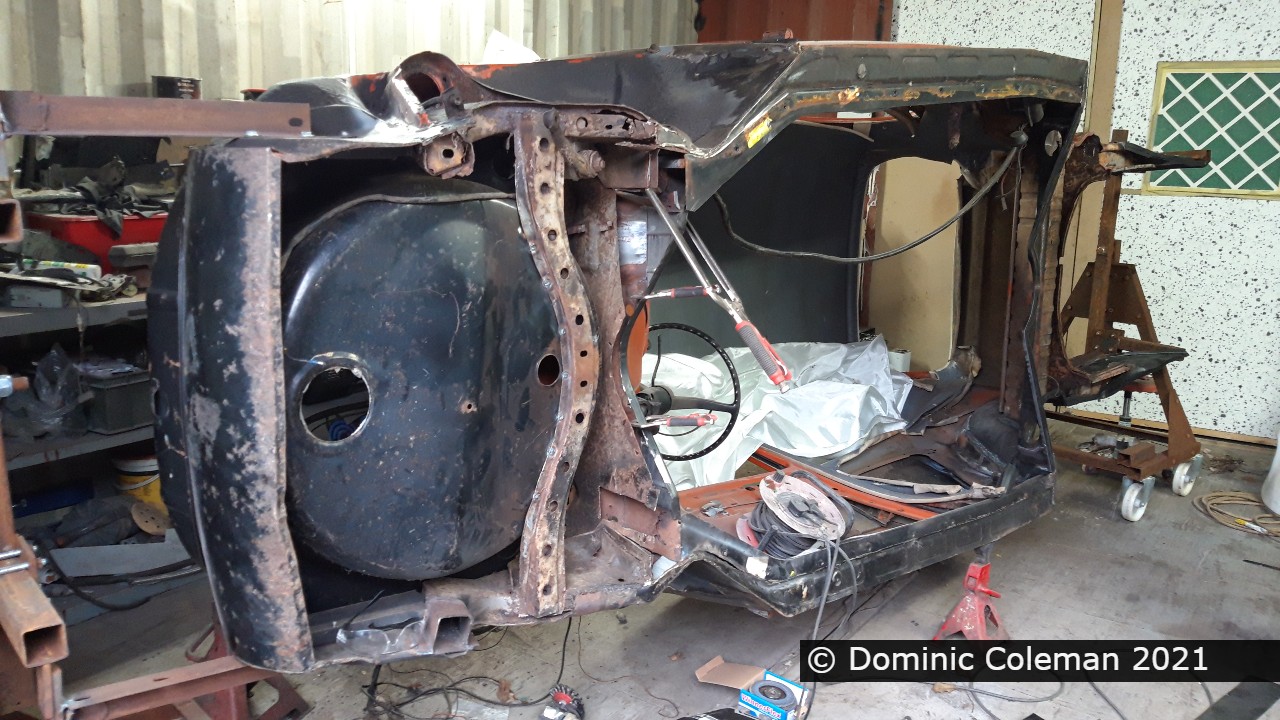
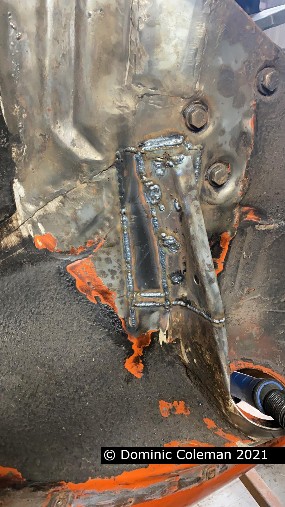
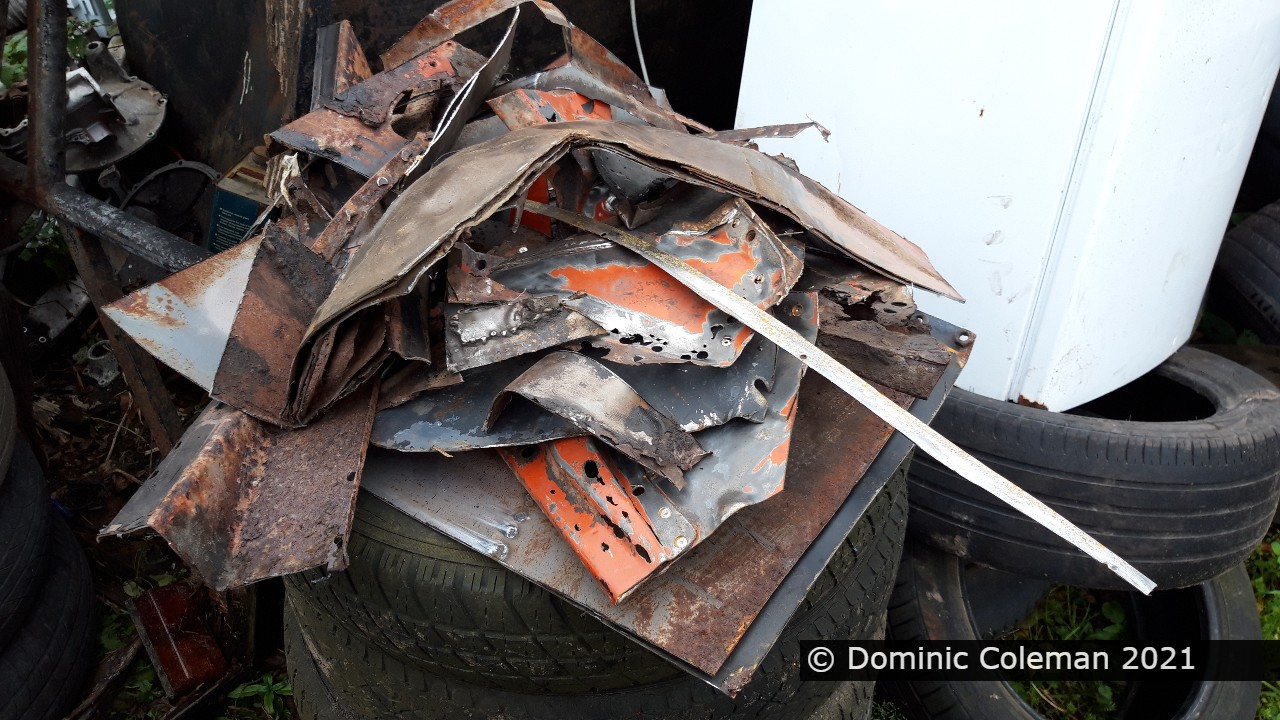
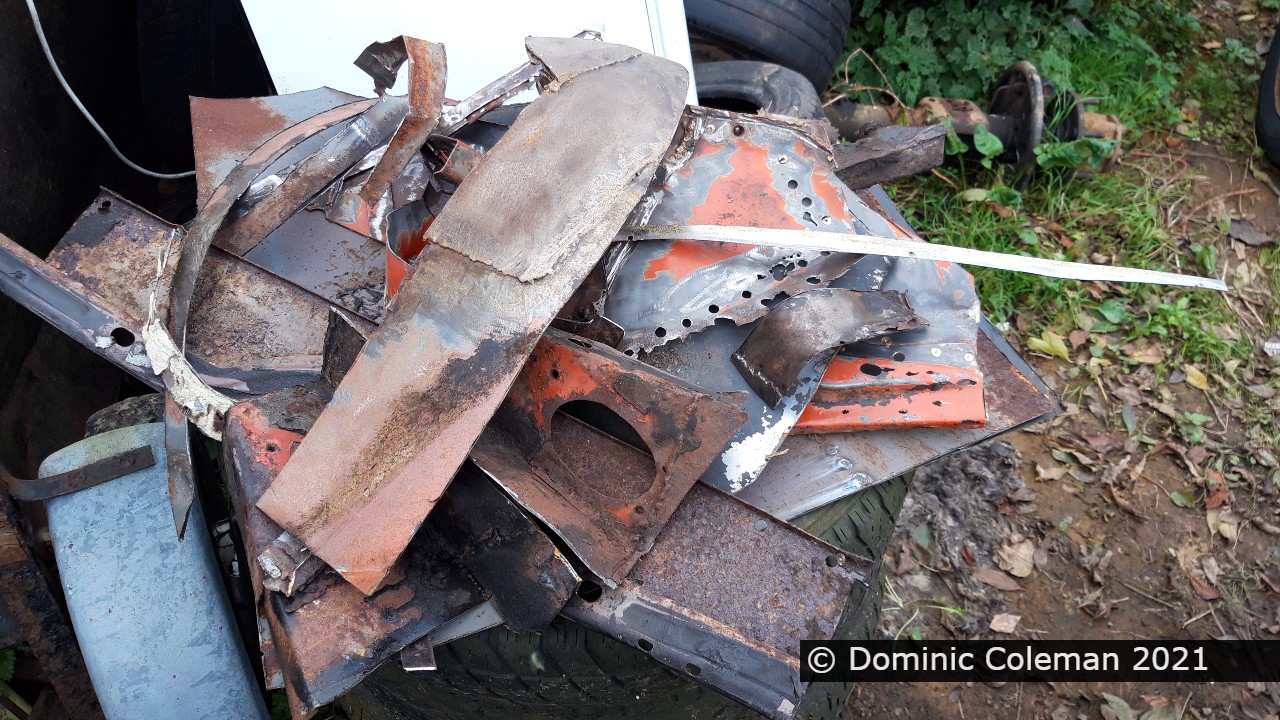
Some more images to show the work that was done. The pile of removed metal was quite substantial and there were layers upon layers of repair patches – that should save a bit of weight.
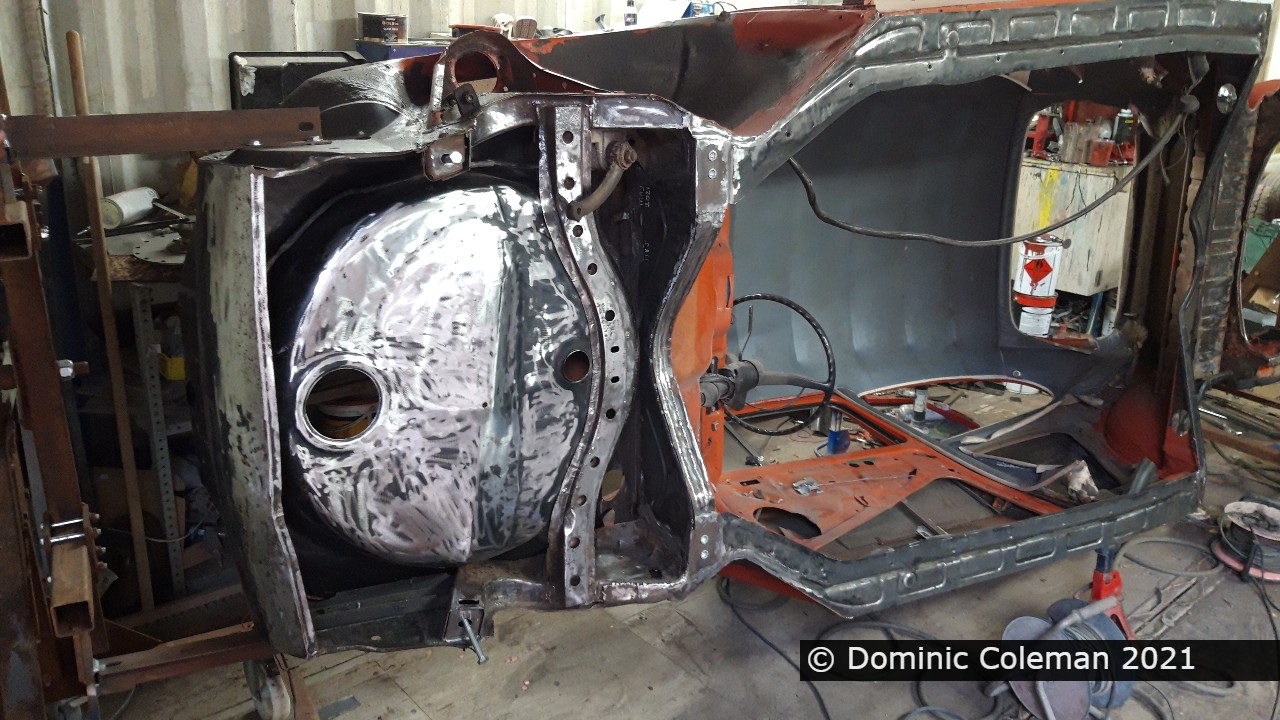
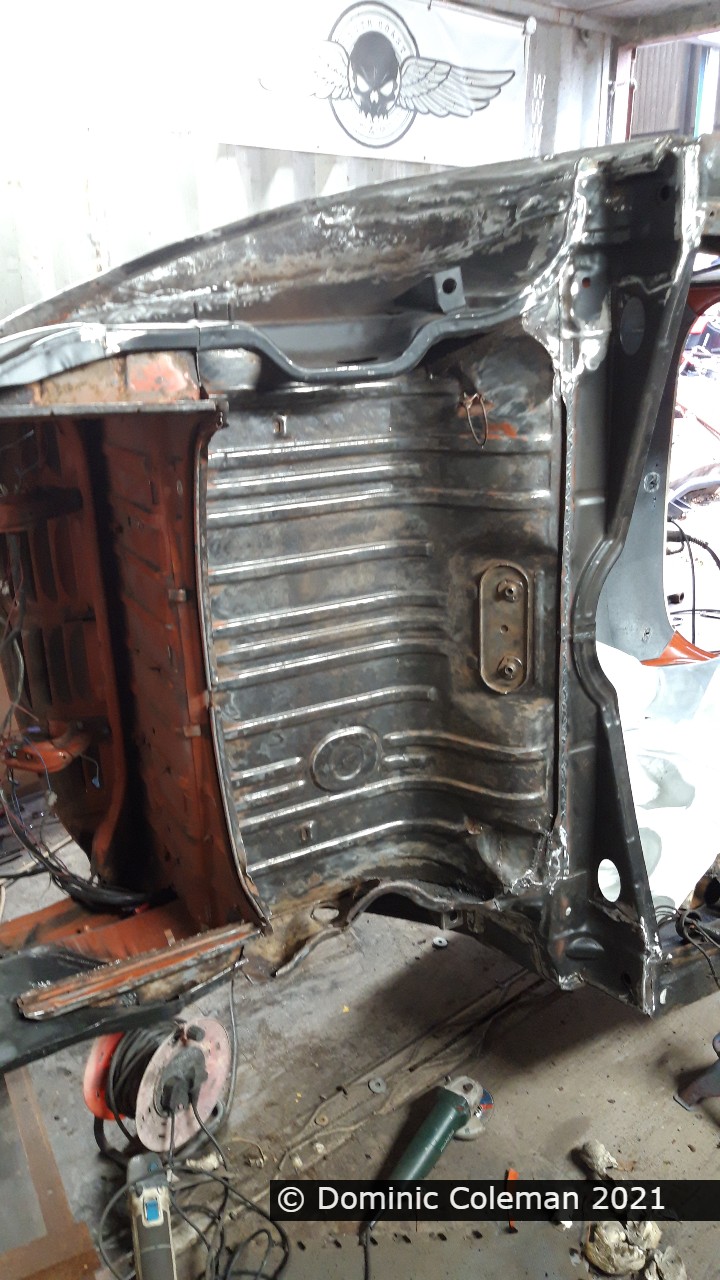
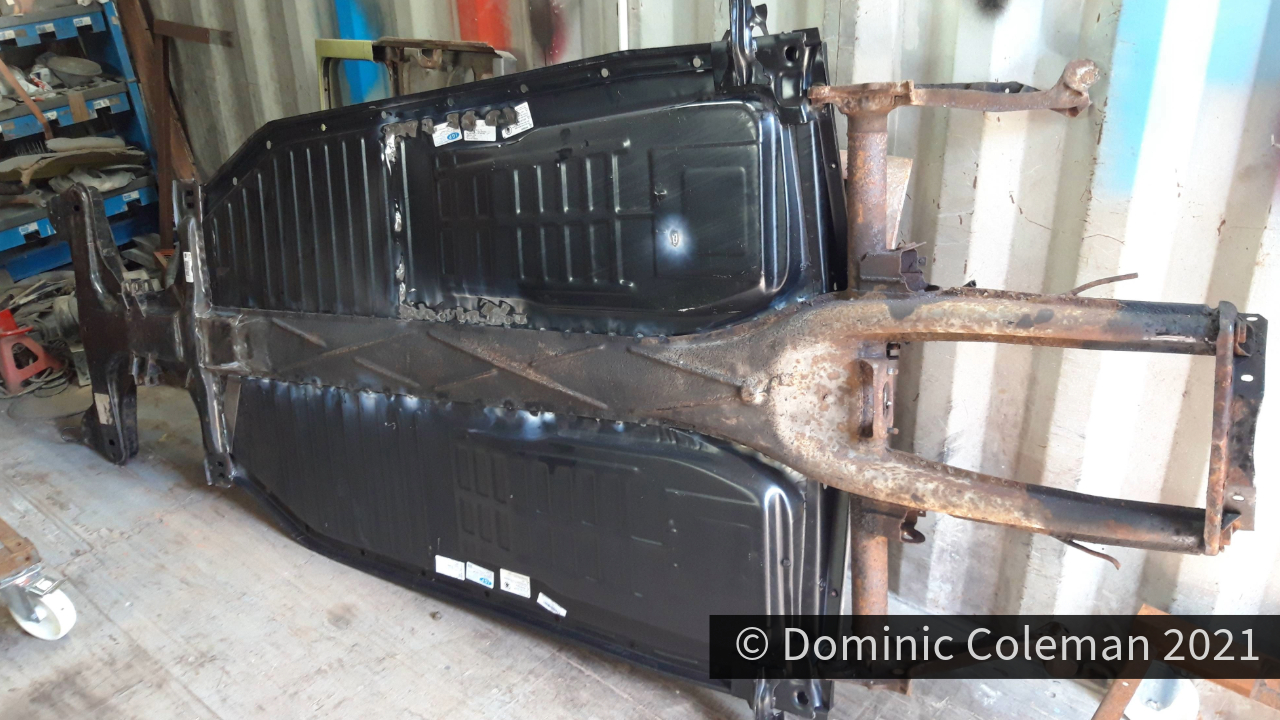
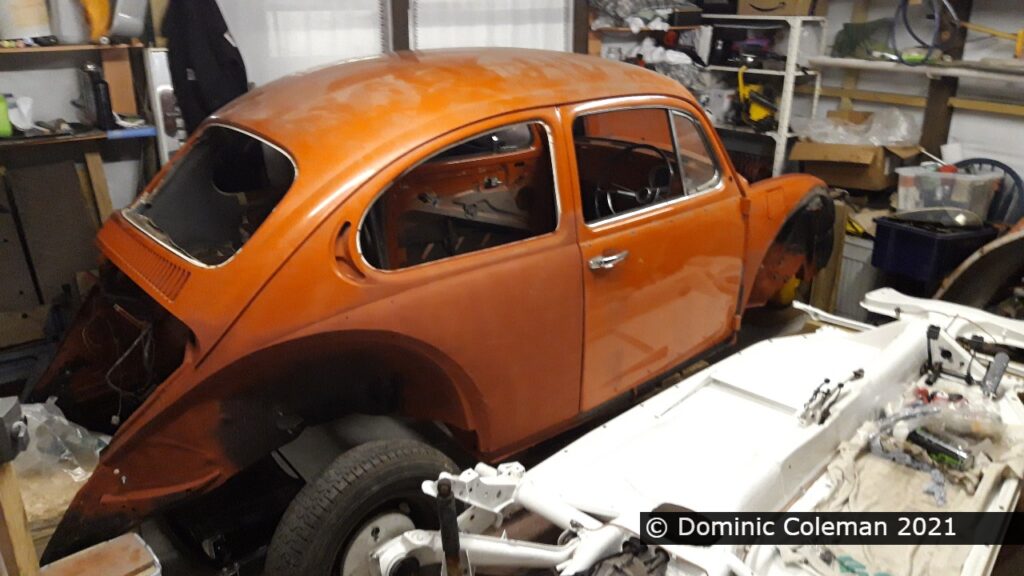
By the end of November, the 1302 body shell was returned home and put alongside it’s floor pan.
Categories
floor pan

The Floor Pan

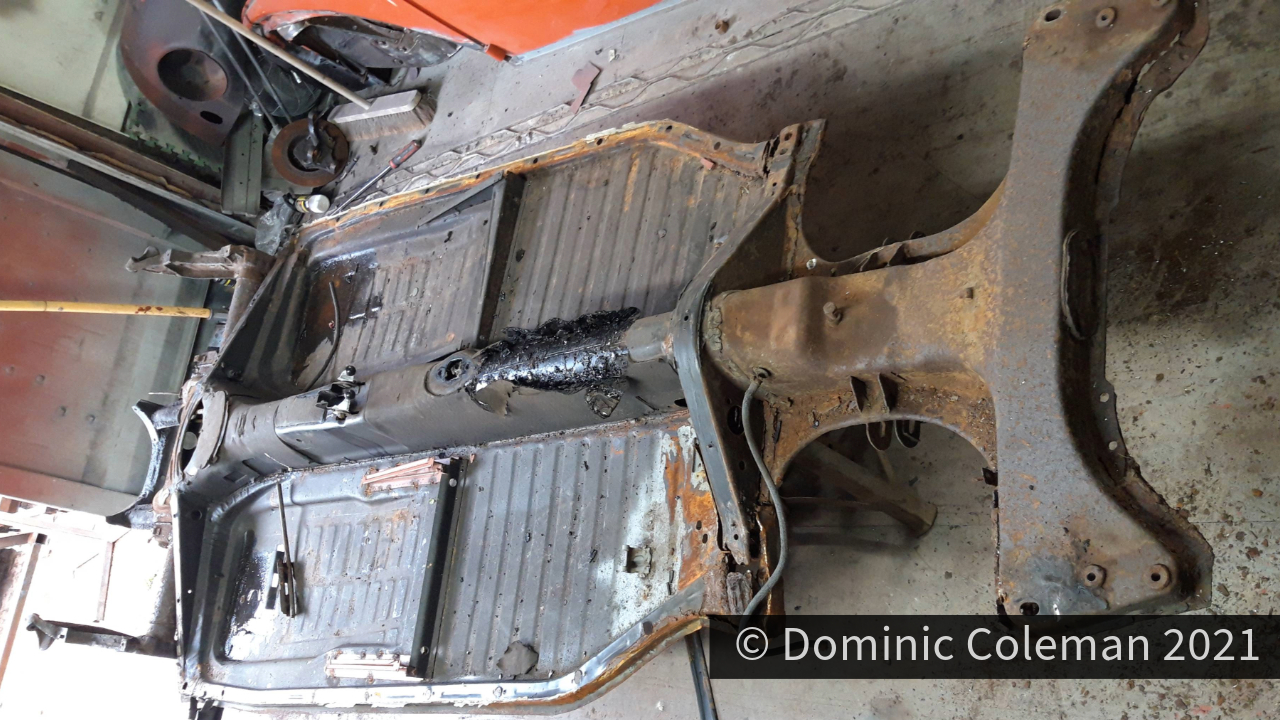
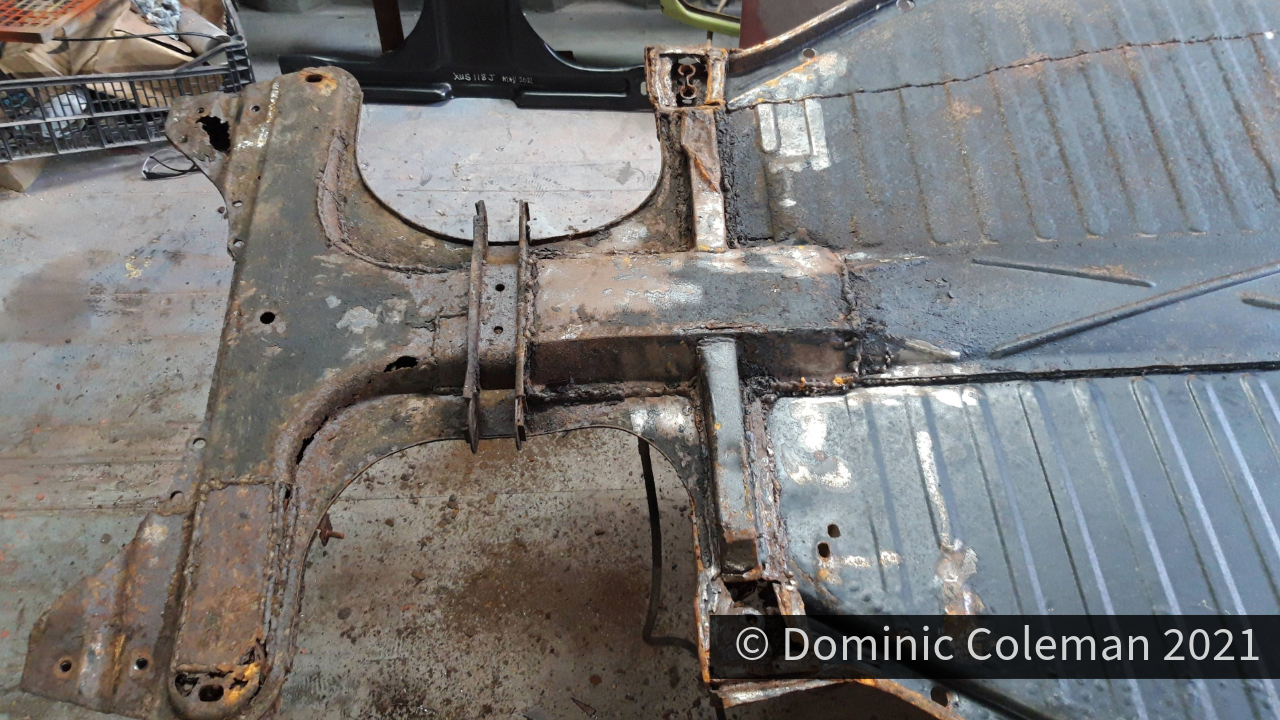
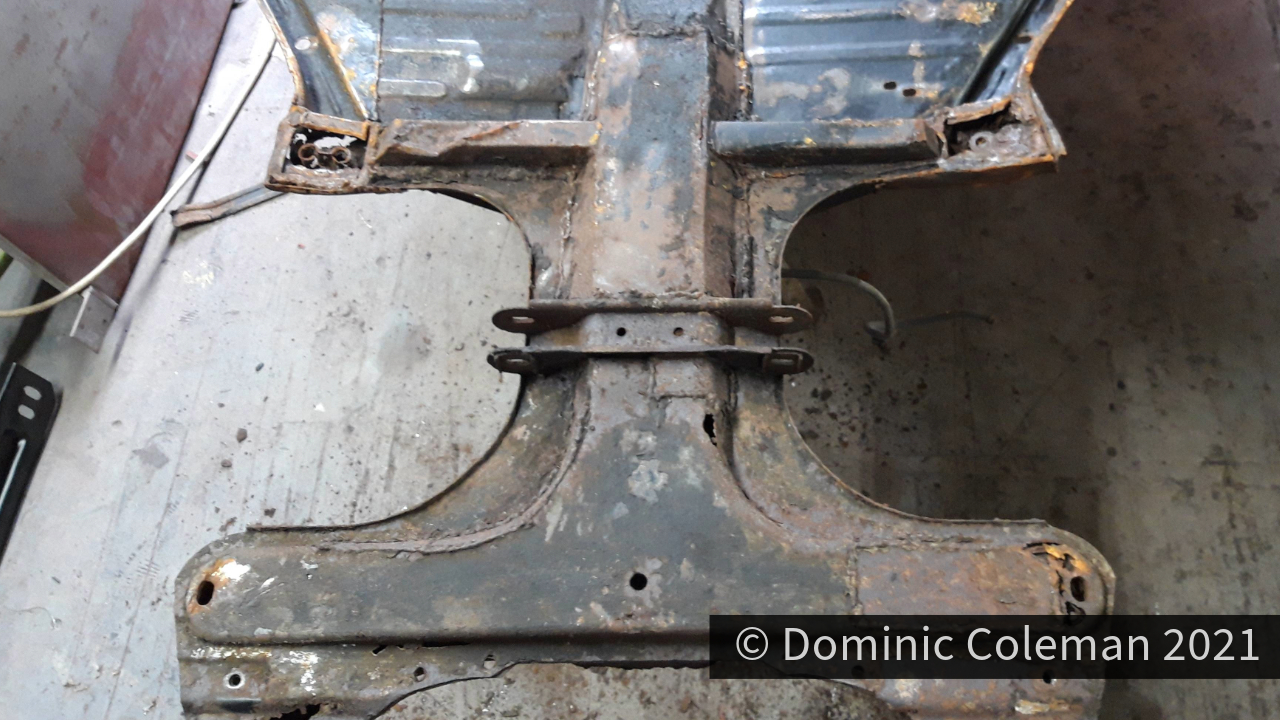
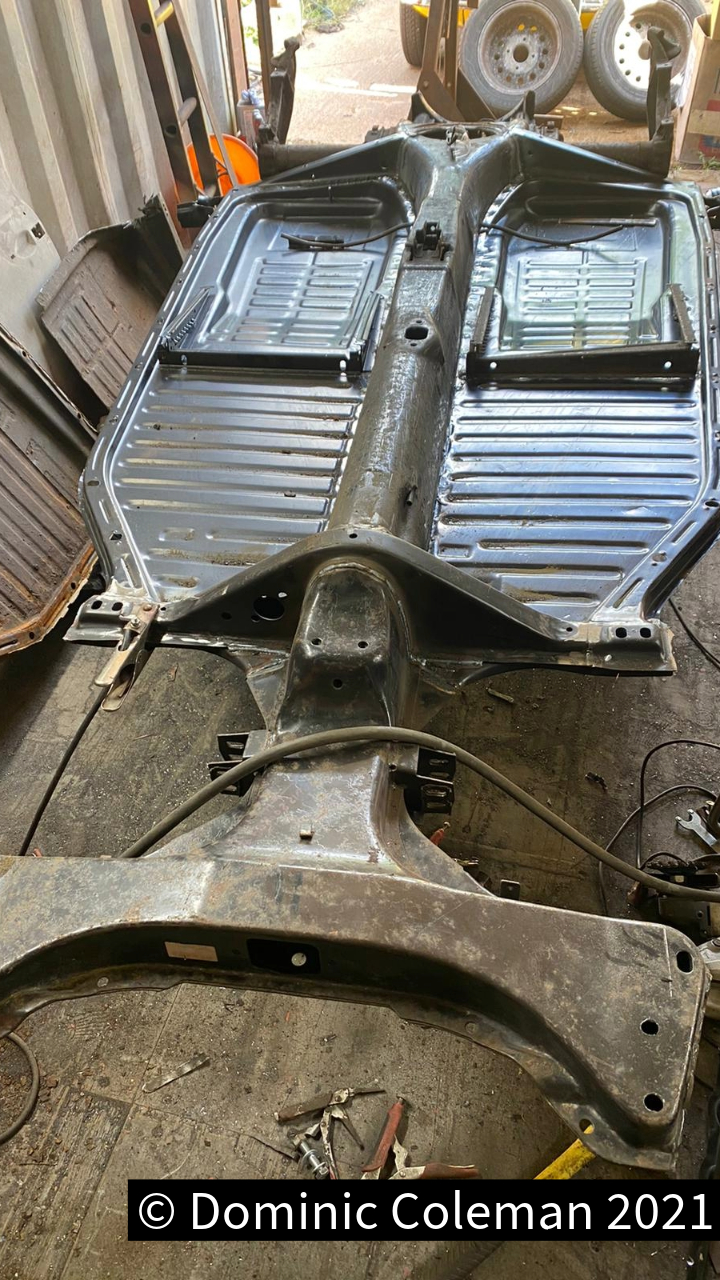
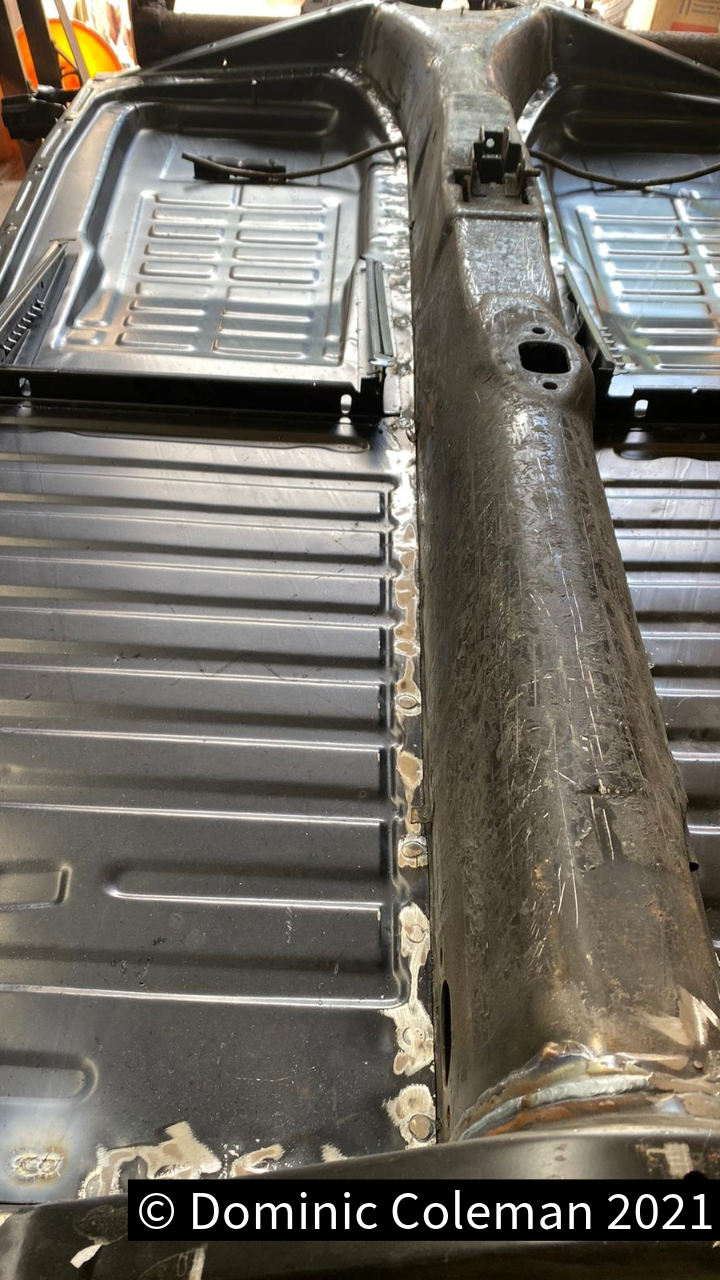
July 2021: A few weeks after separating the body from the floor I went over to help Paul strip the floor pan down to its bare chassis spine. To start, we had to remove the previously replaced floors by cutting as close to the main central tunnel as we could, but ensuring not to cut into the tunnel structure its self as this was where the floors would be spot (or plug) welded to. Using a trusty cold chisel, Paul then hammered out all the spot welds on the left side (passenger side RHD), as this was still the original factory floor because in 1997 we only had a ‘half’ floor fitted. On the right side the floor that was fitted in 1997 had been seam welded along its length to the chassis central spine. Initial thoughts were that this was going to be a problem but upon closer inspection the seam weld had been done on top of the remains of the old original floor. Thankfully, this allowed Paul to use his chisel and knock out the factory spot welds on the original floor and thus taking the newer welded floor left overs with it.

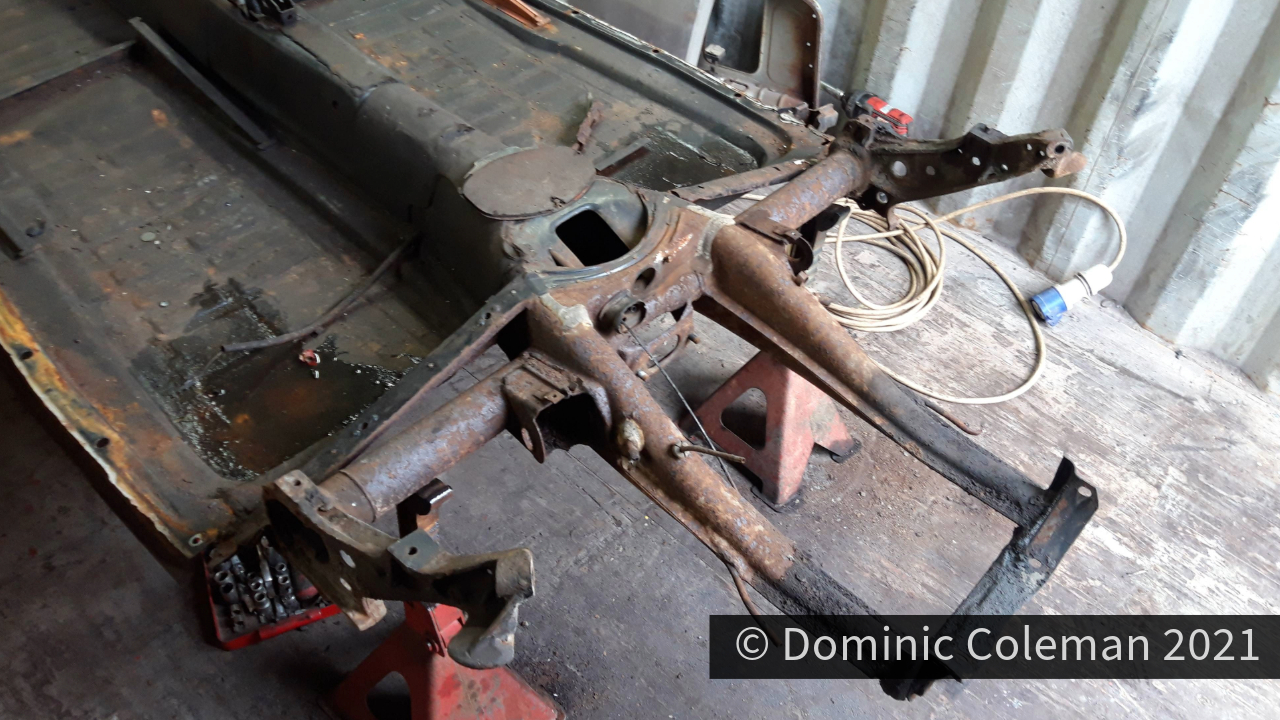
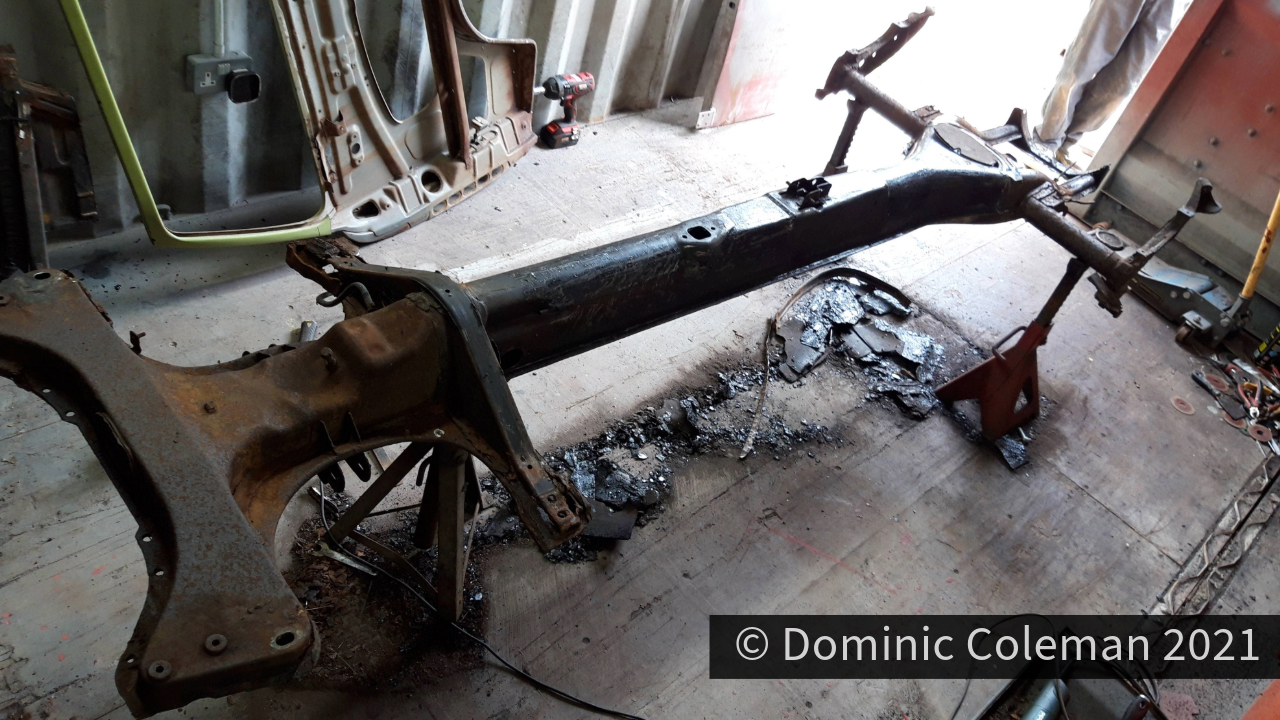
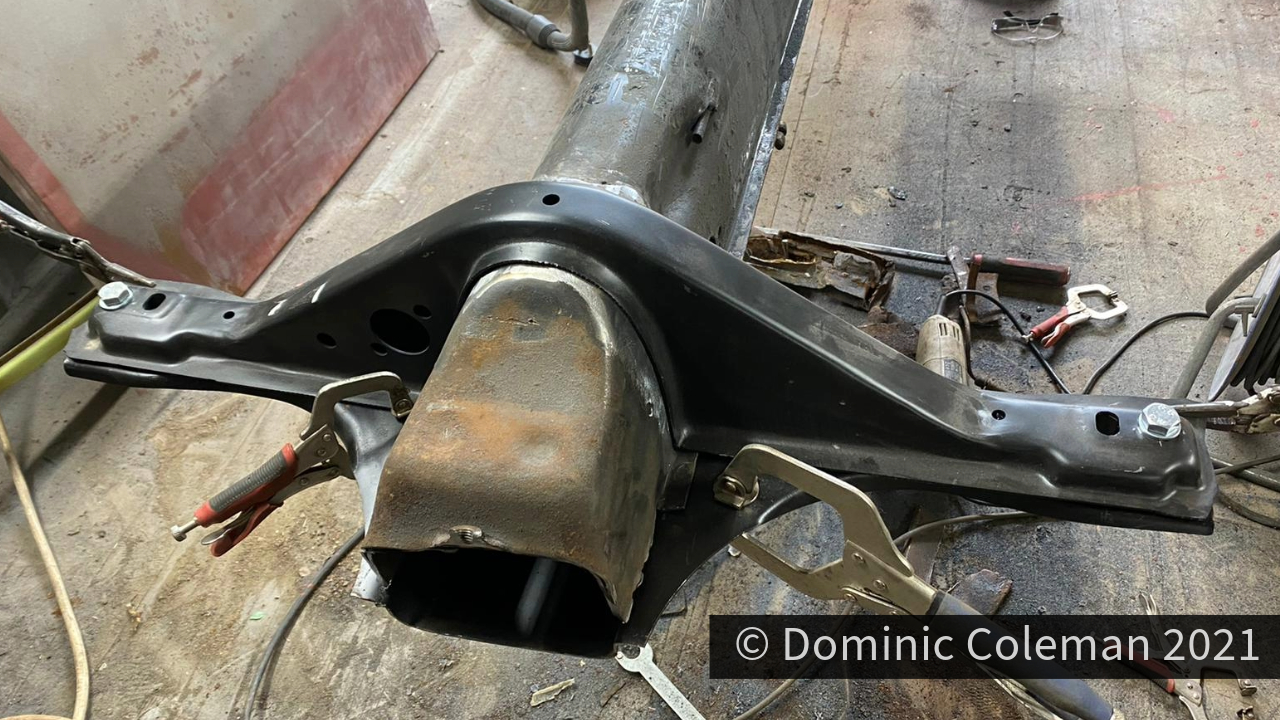
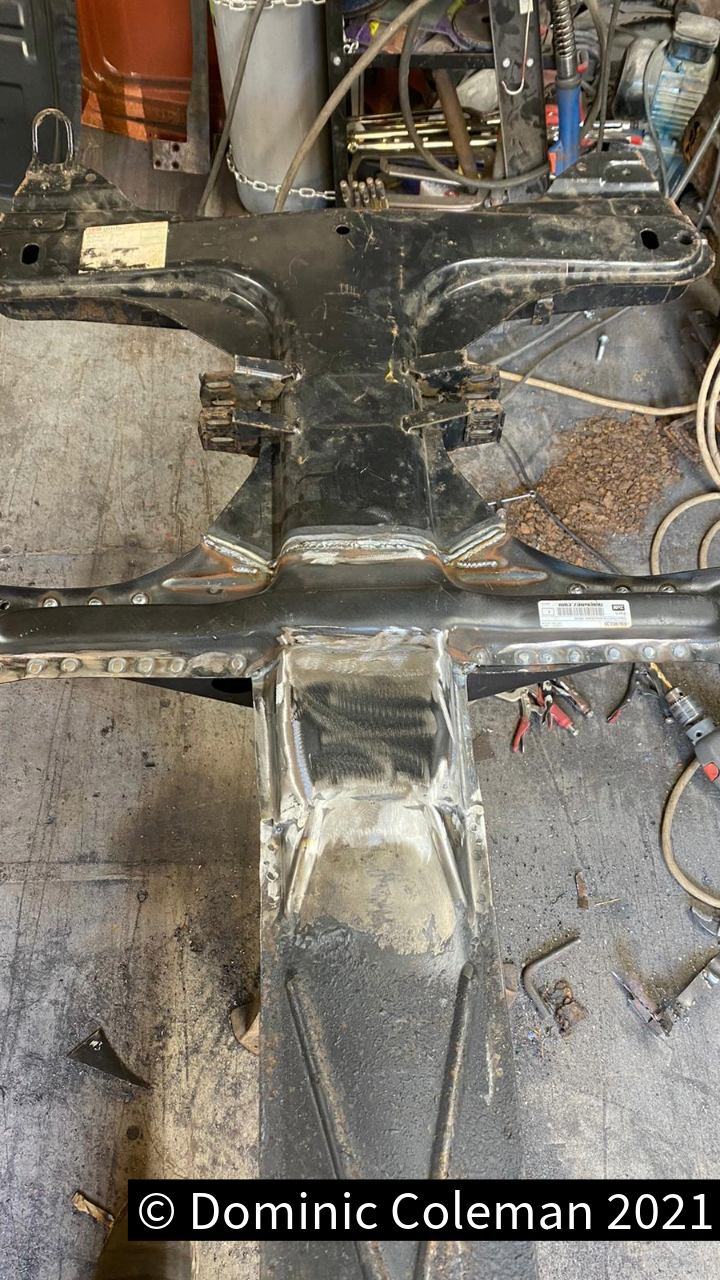
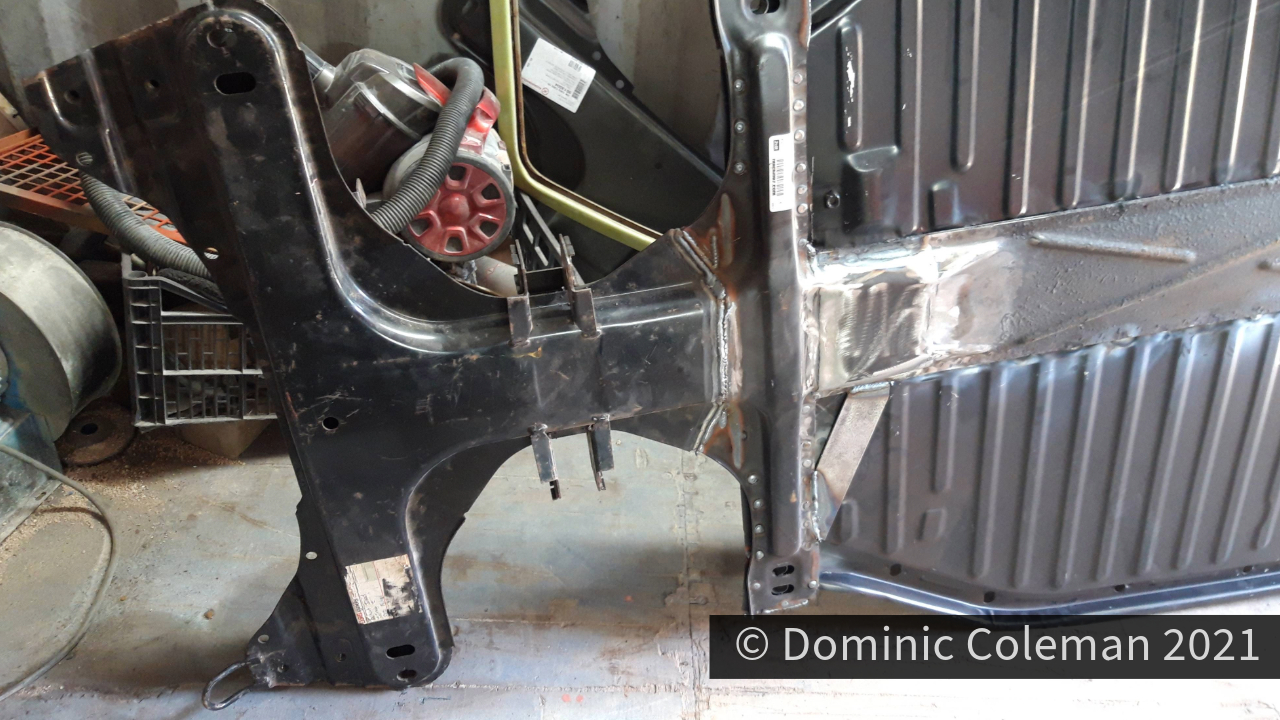
The central tunnel was covered in a tar based sound deadening board, so chipping and cleaning off this material was my job and something I could actually do. It didn’t take too long and by early afternoon the chassis was stripped bare. All that was needed was for the frame head to be replaced, but Paul would have to make up a jig to ensure the new frame head and the underside part of the Napoleon’s Hat, a section to be grafted in, would all align.

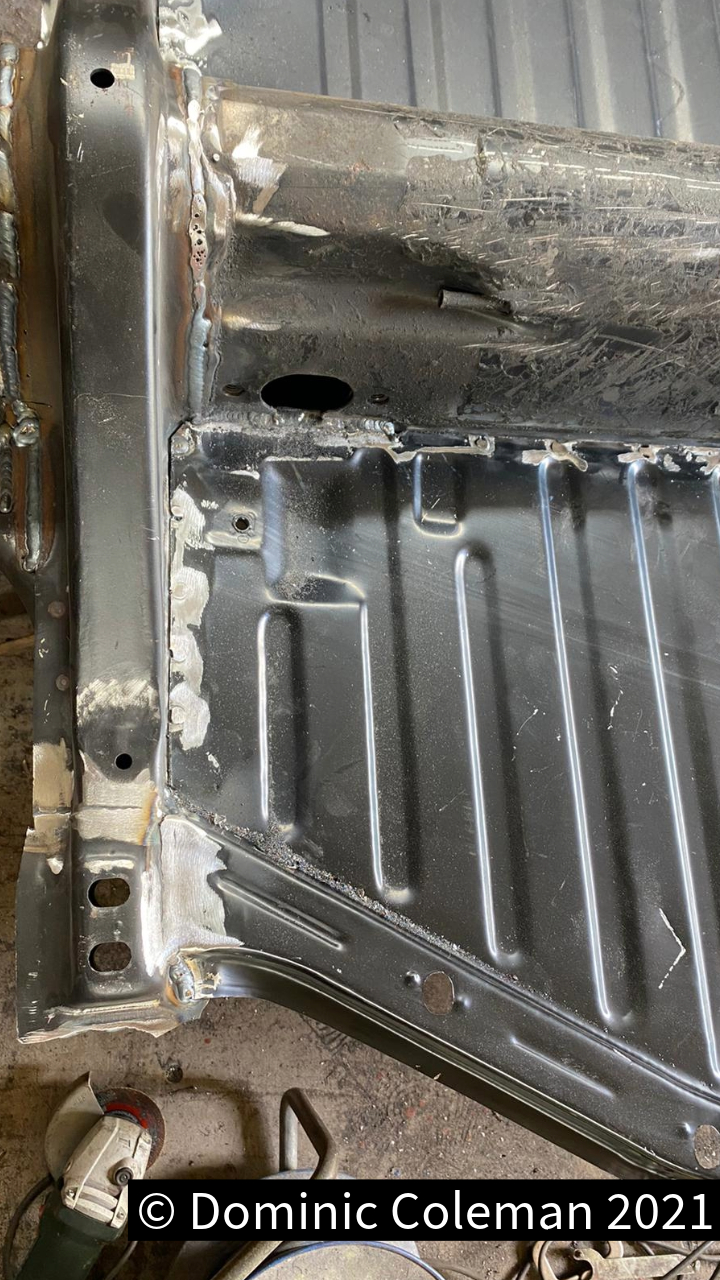
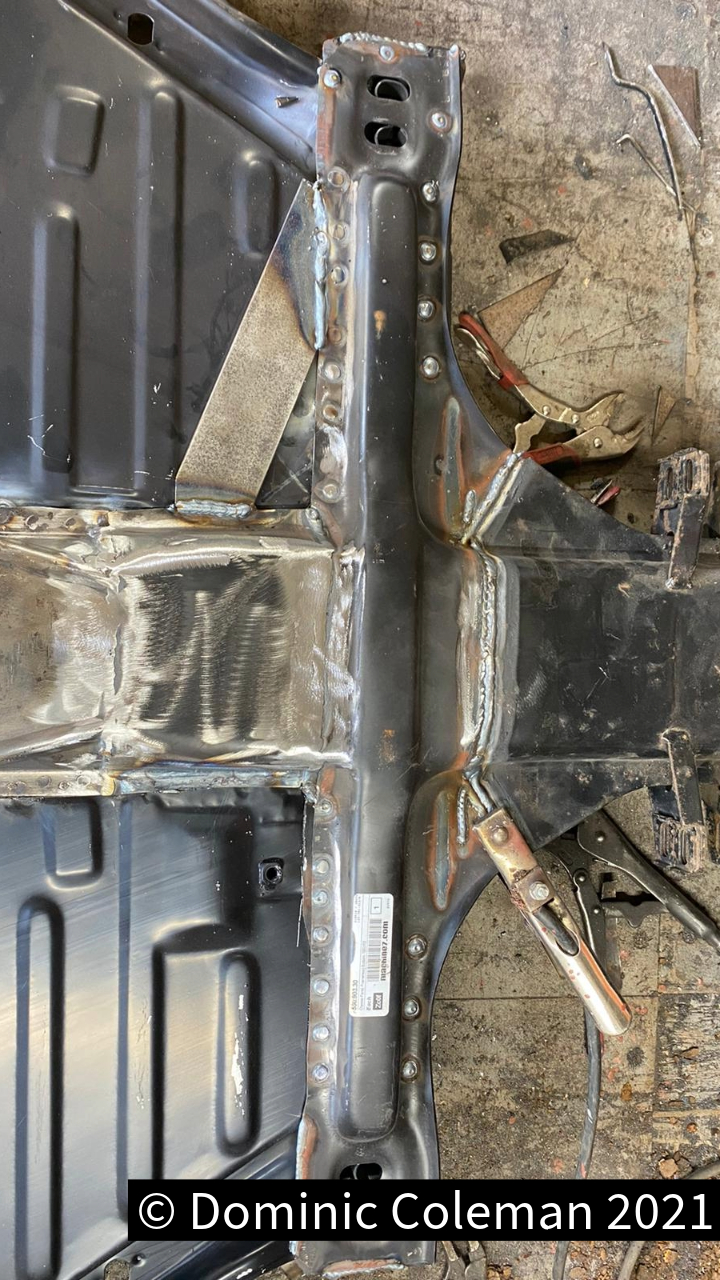
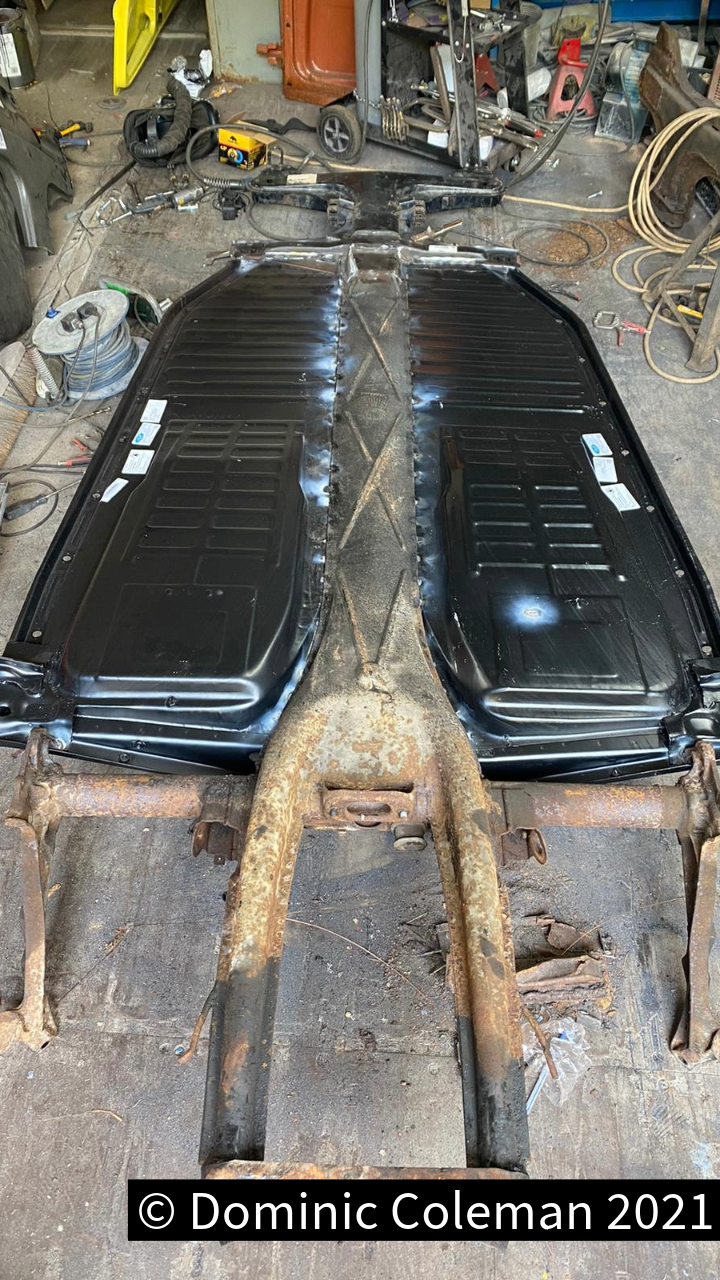
A few days later I got a message with pictures from Paul to say he spent a whole day on the chassis and got the new frame head on, new floors fitted, and also the Napoleon’s Hat section of the floor grafted in. He had a spare 1302 shell in his yard that he used to offer the floor up to ensure everything aligned as it should.

The following week I went over again to Pauls to see the results of his welding and look over the thorough job he had done. Later, we set to stripping down the IRS arms, spring plates, rear brakes, front TCAs and other small parts in readiness to be sent away for media blasting and powder coating.

Categories
bodywork chit chat pedals

Runners and Pedals

The financial situation had eased which helped fire up the enthusiasm with the Beetle in the spring of 2008. The covers were removed to reveal the Beetle was fairing well in the car port under a tarpaulin. At some point, Grey zinc primer had been applied to the surface rust that was appearing on the repairs done in 1998.

A pair of correct style seat runners were purchased as the new floor that had be done 10 years previously had the wrong type. I also bought a new accelerator and clutch cable as well as some foot pedal spare parts. There is not any photo graphic evidence, but I replaced the seat runners by drilling out the spot welds on the existing runners and successfully welding in my new ones. My welding had improved (albeit some what agricultural) since 1996, as I had built this dragster for my then young son for a carnival.

By early summer 2008 and I had the foot pedals with other associated parts powder coated in readiness for installation. The powder coater had unfortunately painted over some areas that needed to be clear of paint and a fair bit of rubbing down was required so it would all fit together and operate smoothly. Installation was tricky but I had to drill holes in the new floor to weld captive nuts on the underside so I could bolt down the mounting bracket for the whole assembly. I welded the accelerator pedal bracket to the floor, it was not pretty but functional. Fitting the clutch cable was nigh on impossible even with guidance in the Beetle bible (How To Keep Your Volkswagen Alive) so I left that for another time.

Categories
Uncategorized

Professional Help

A year later, Autumn 1997, we had the finances to take the Beetle to seek a professional and were directed to a chap known as Mike the Welder, who was taking over a former VW specialist garage on the Wimborne Road in Bournemouth. Buoyed by his no problem approach and promising to keep his current rates for the project he took it on as his first car at the new premises, now renamed as Small Car Projects, in October 1997. Mike and a member of his team worked on the Beetle on and off through to the November of 1997. New front inner arch panels left and right, rear lower quarter repair panels left and right, new right hand floor, new half left hand floor, new lower A post panel repairs left and right and rear floor repairs right side were done.

Mike kept the car over the winter as he identified that it would be easier to replace the spare wheel well and front valence rather than repair the accident damage. We needed to save up a bit more cash in that time. By March 1998 the front end had been replaced with new panels and the beetle was delivered back to our lock up. Mike had assured us all was good with the body and that it could be removed from the floor if needed in the future. We were happy and it looked like a good job had been done.

Other life events took over from mid 1998 and the Beetle lay dormant in the garage until it had to be moved in the Summer of 2000.