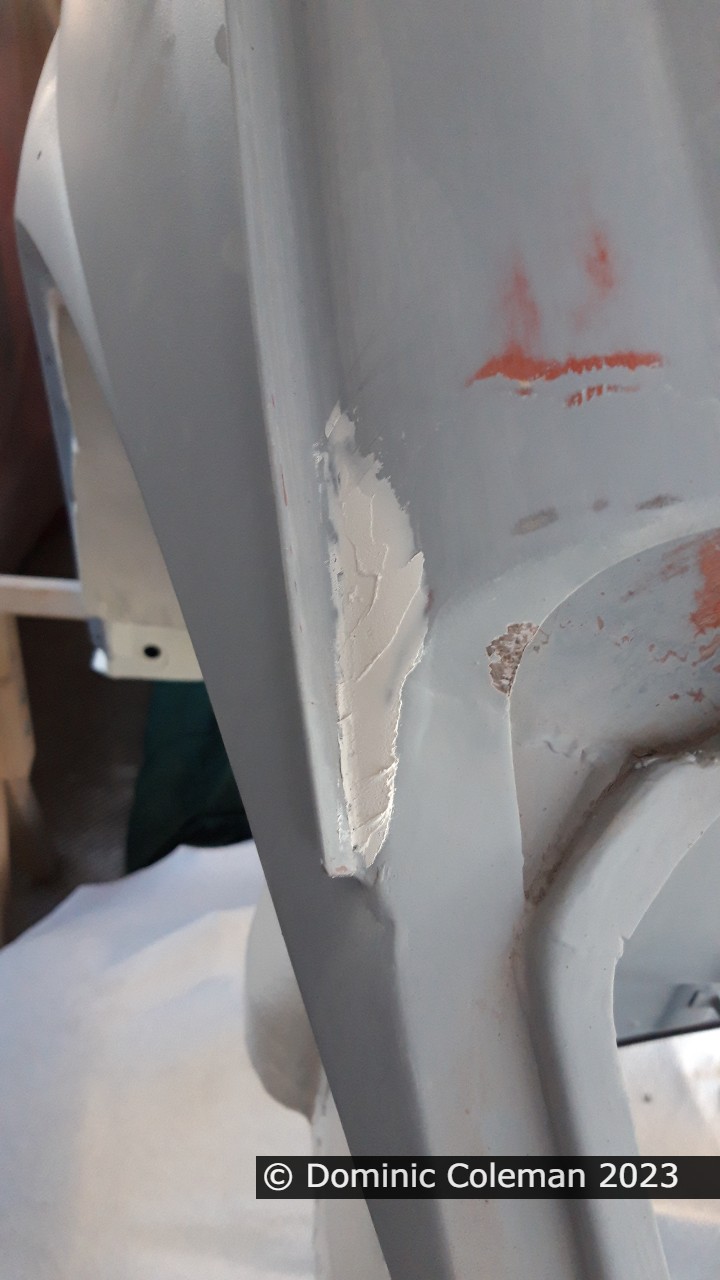
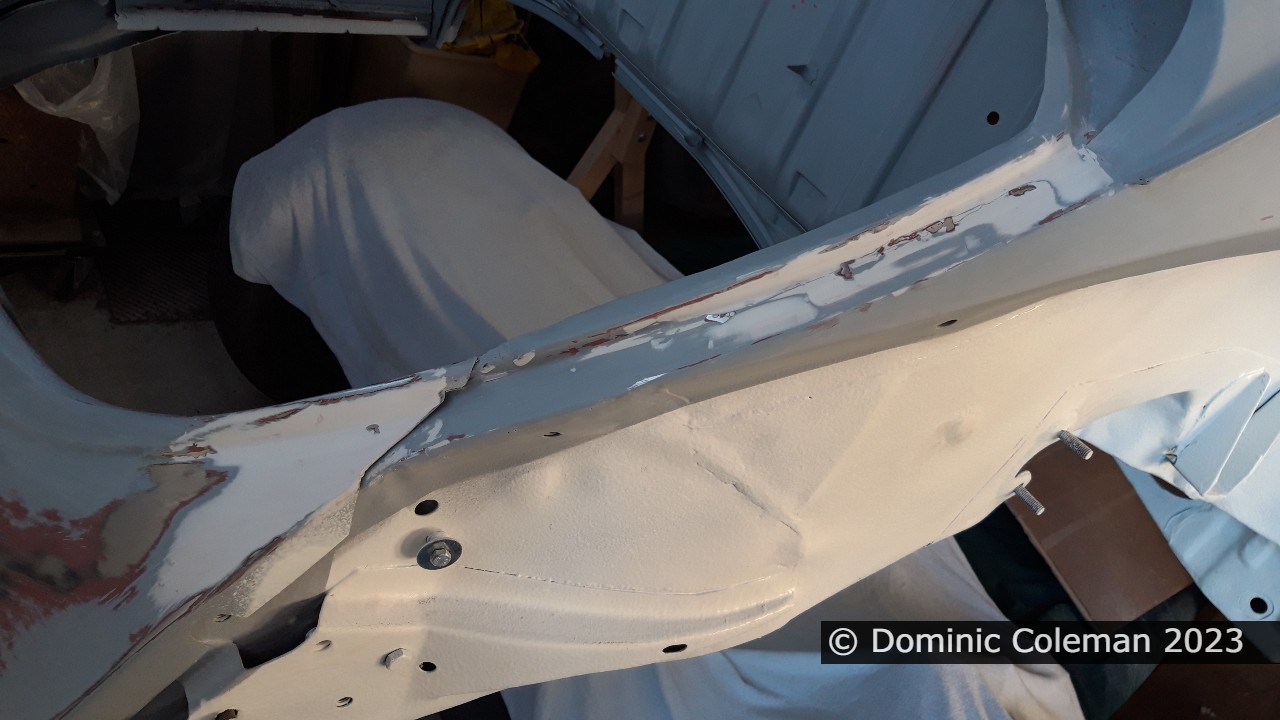
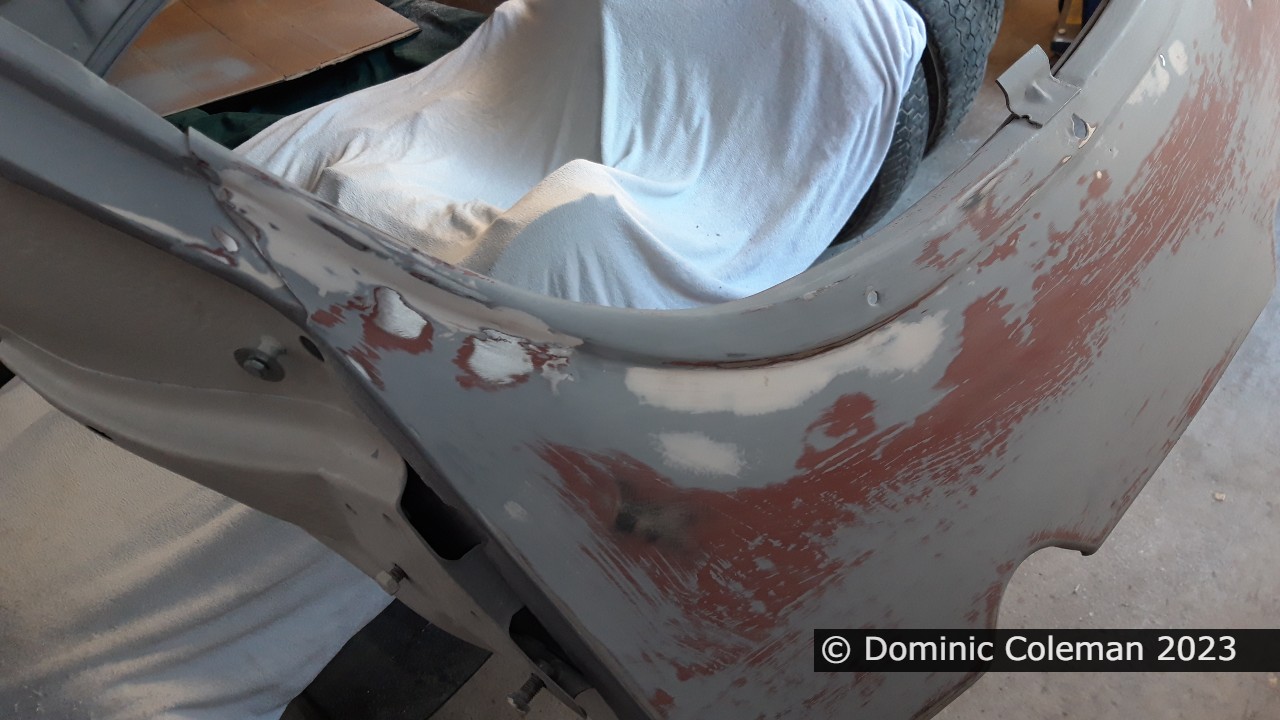
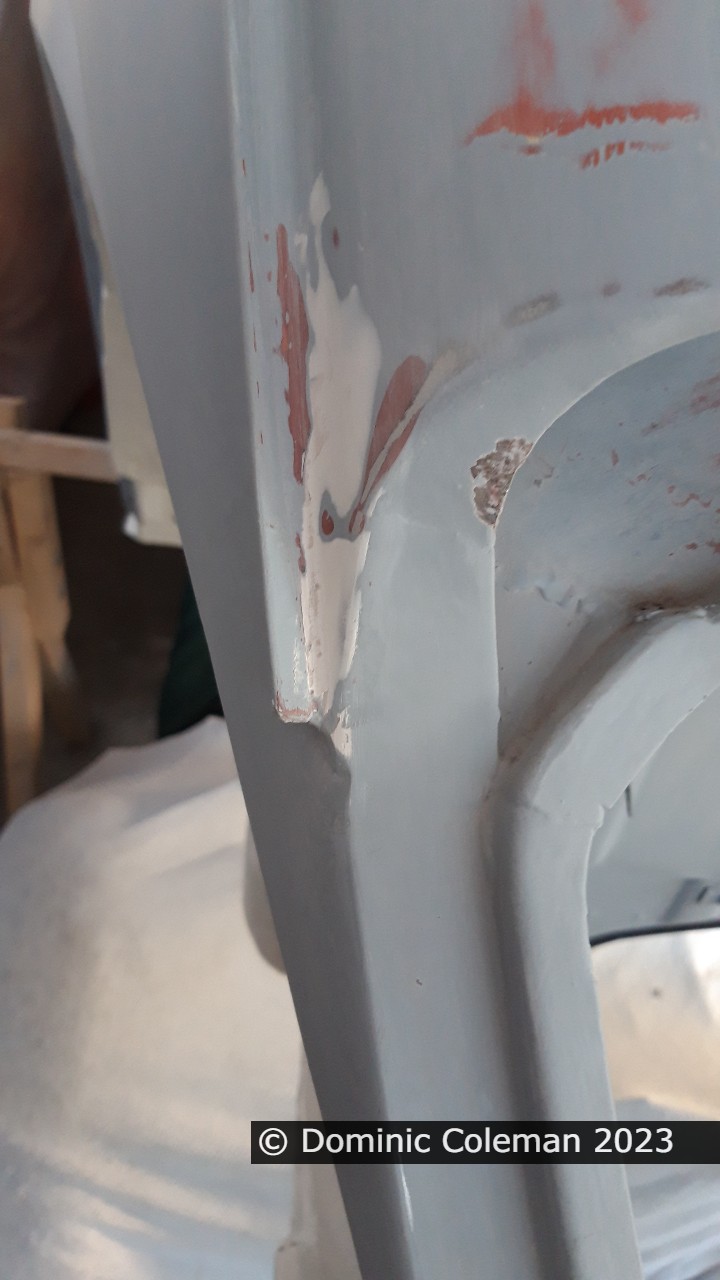
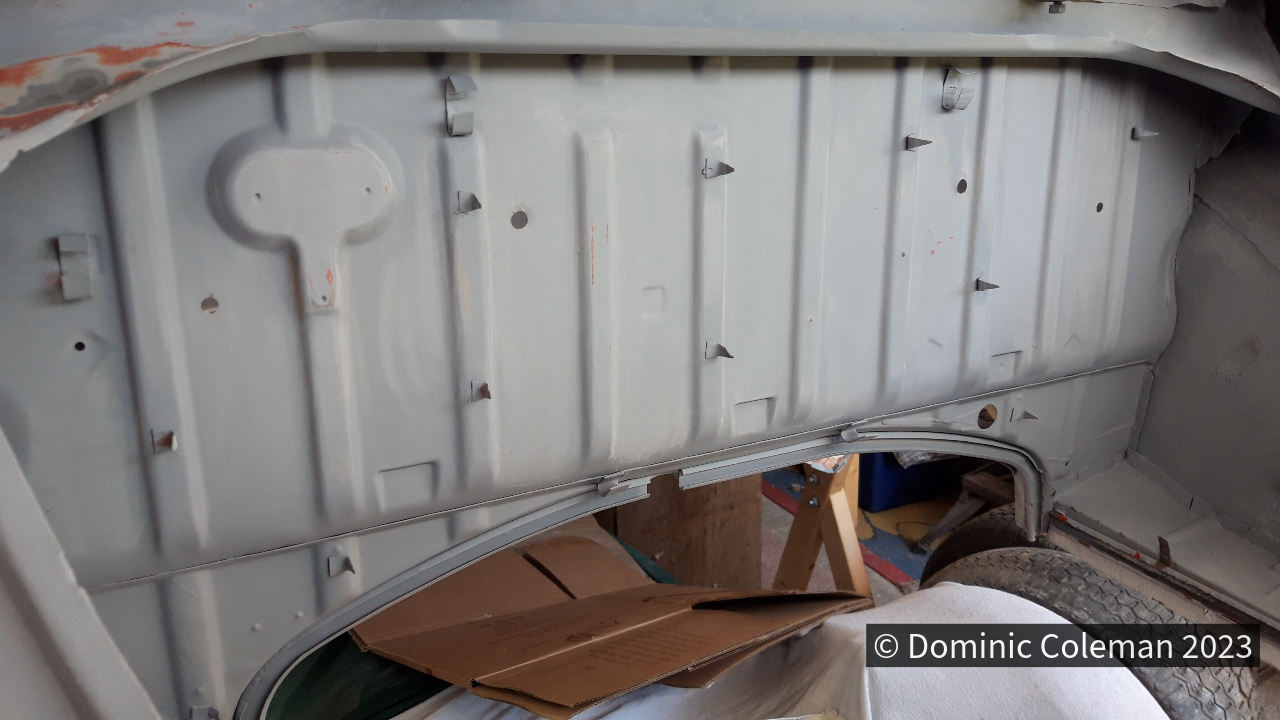
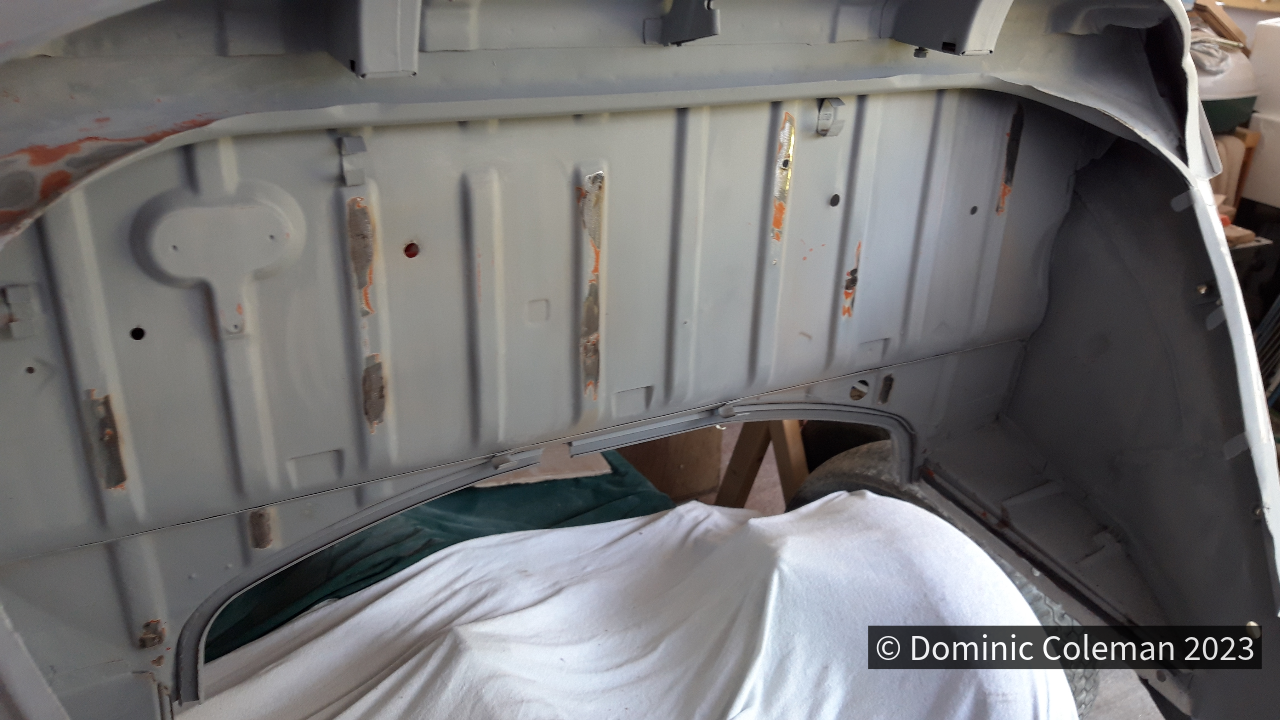
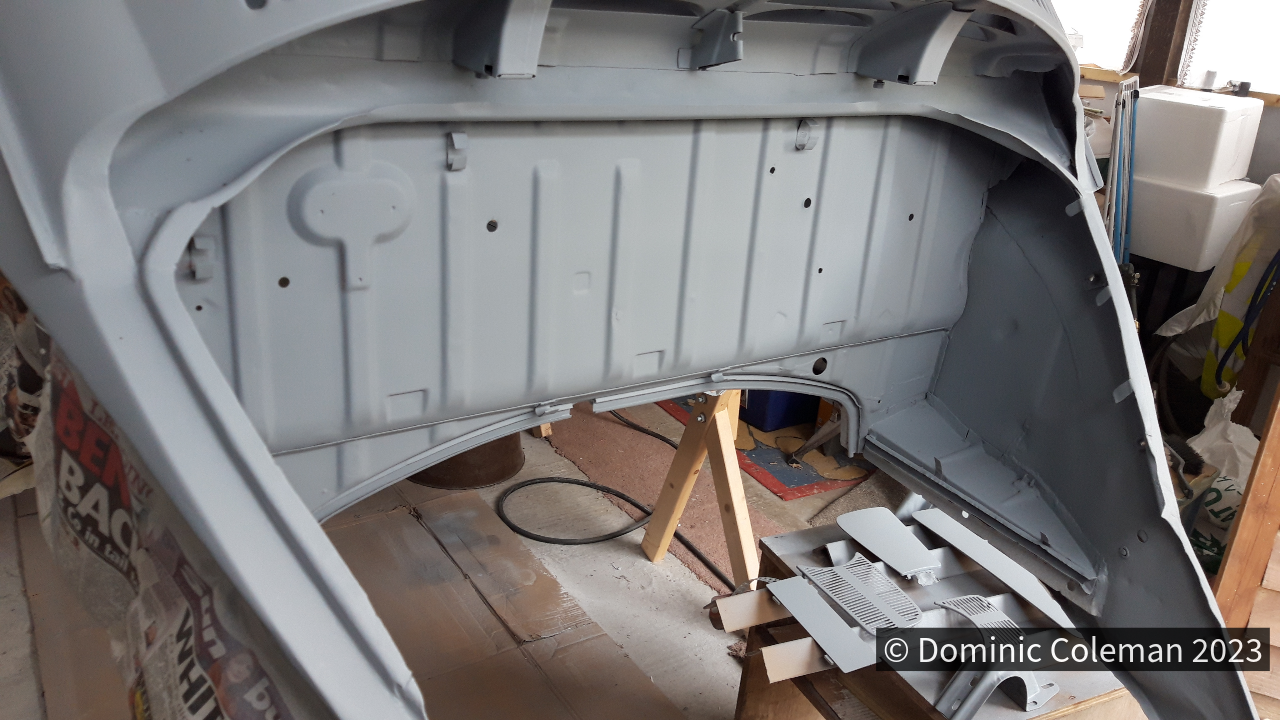
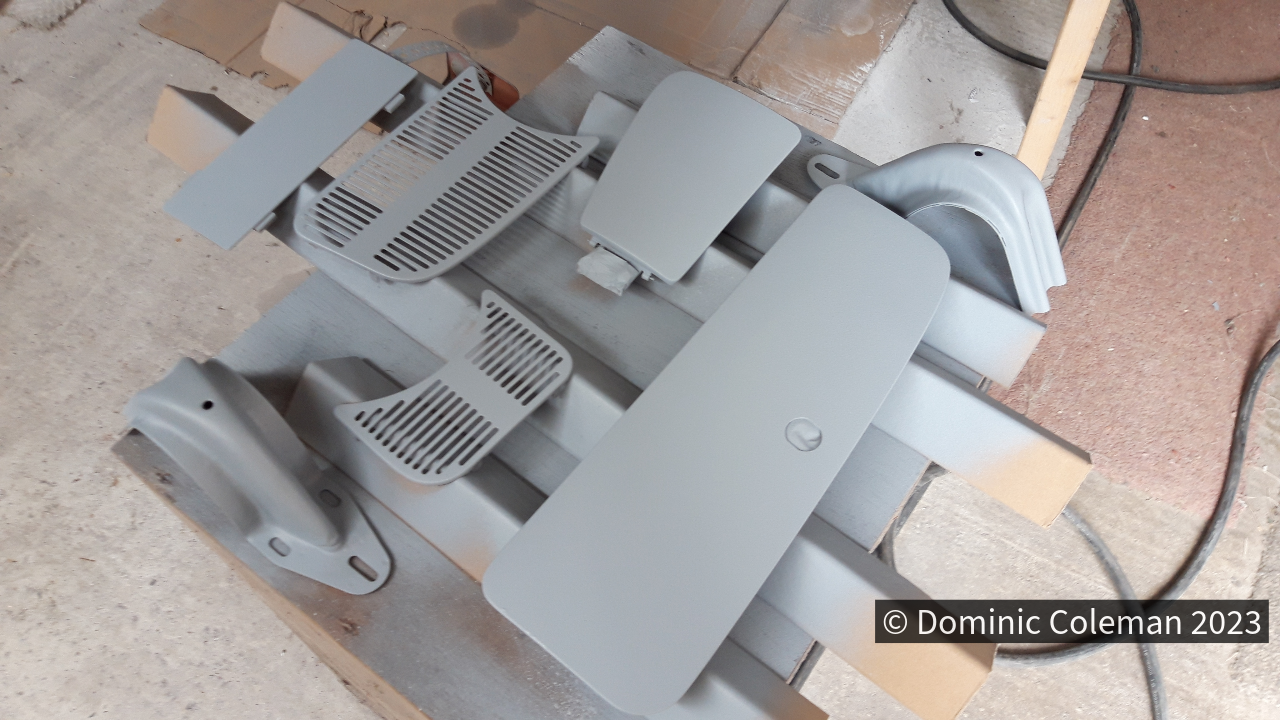
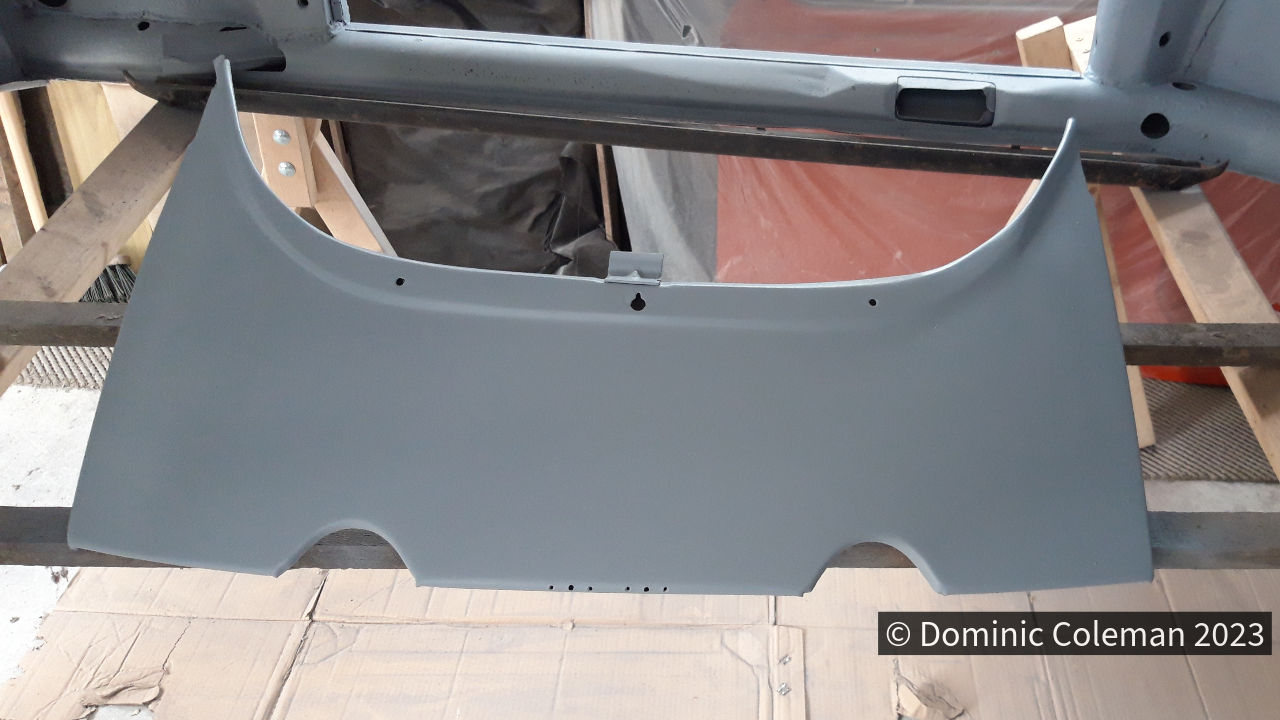
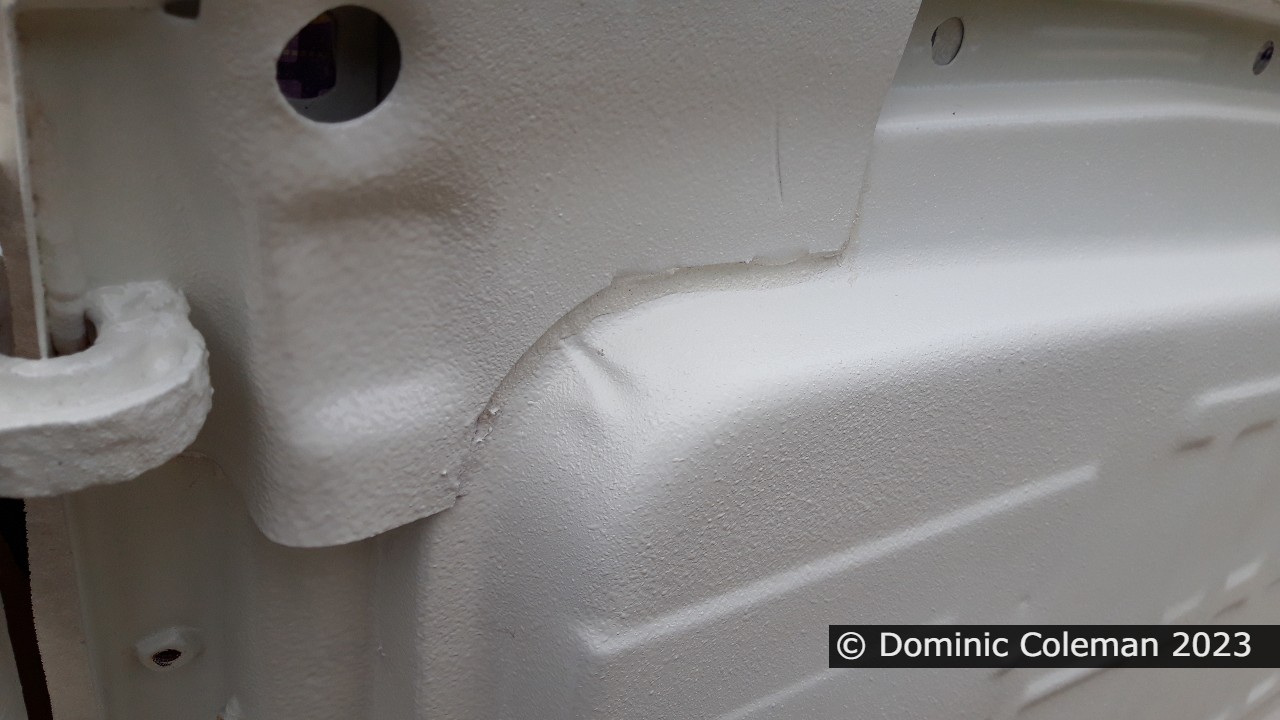
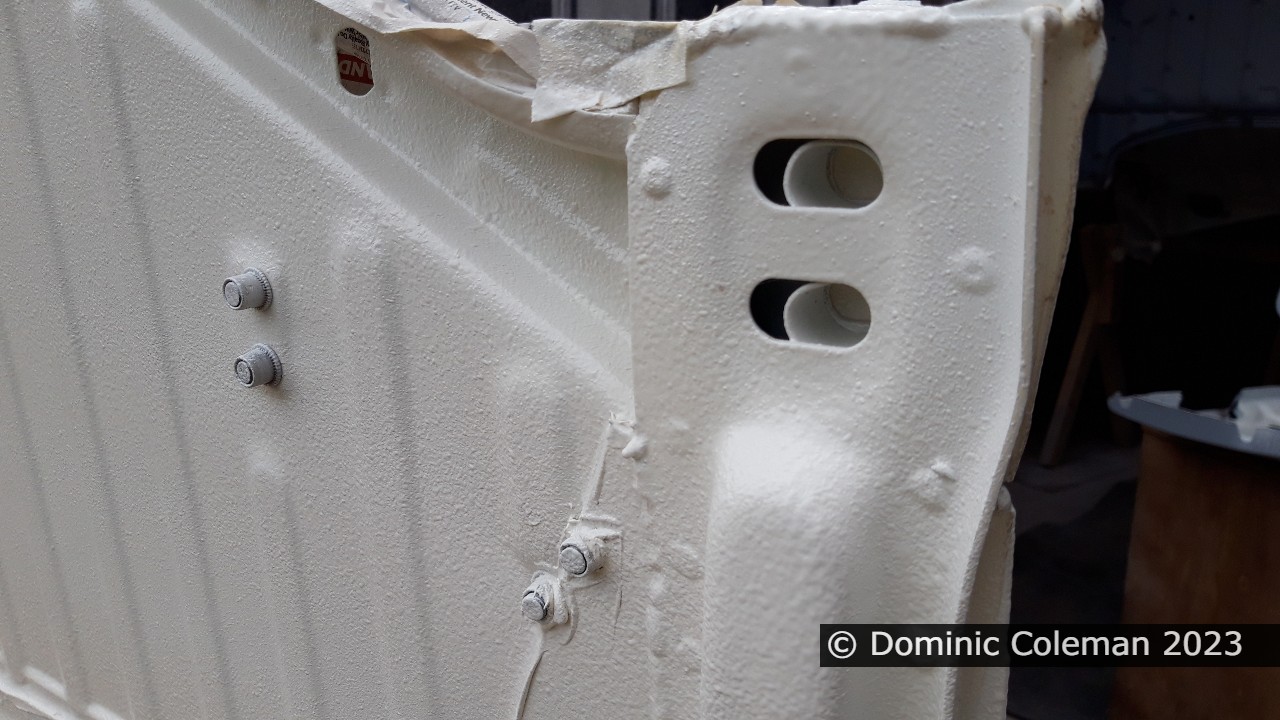
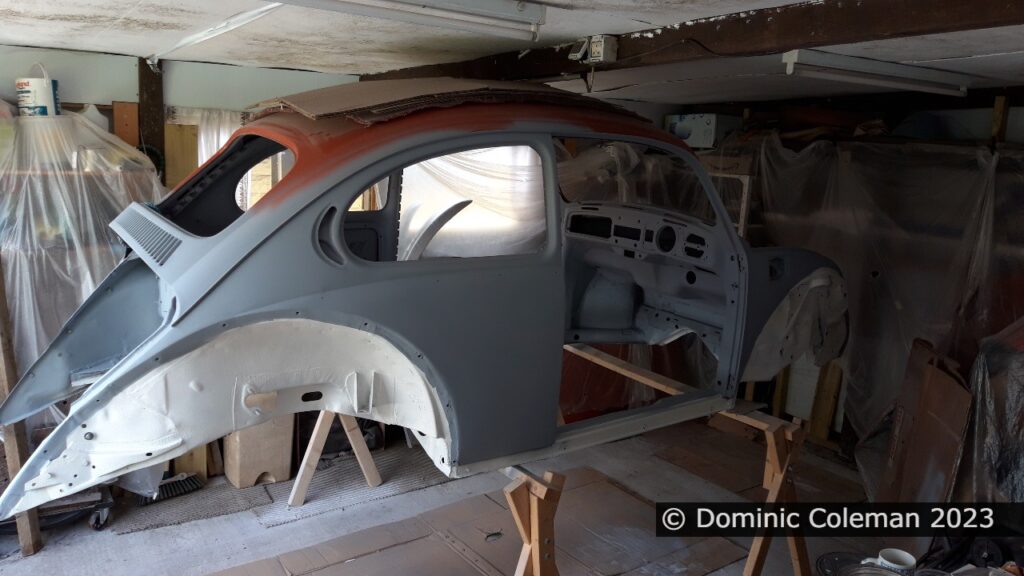
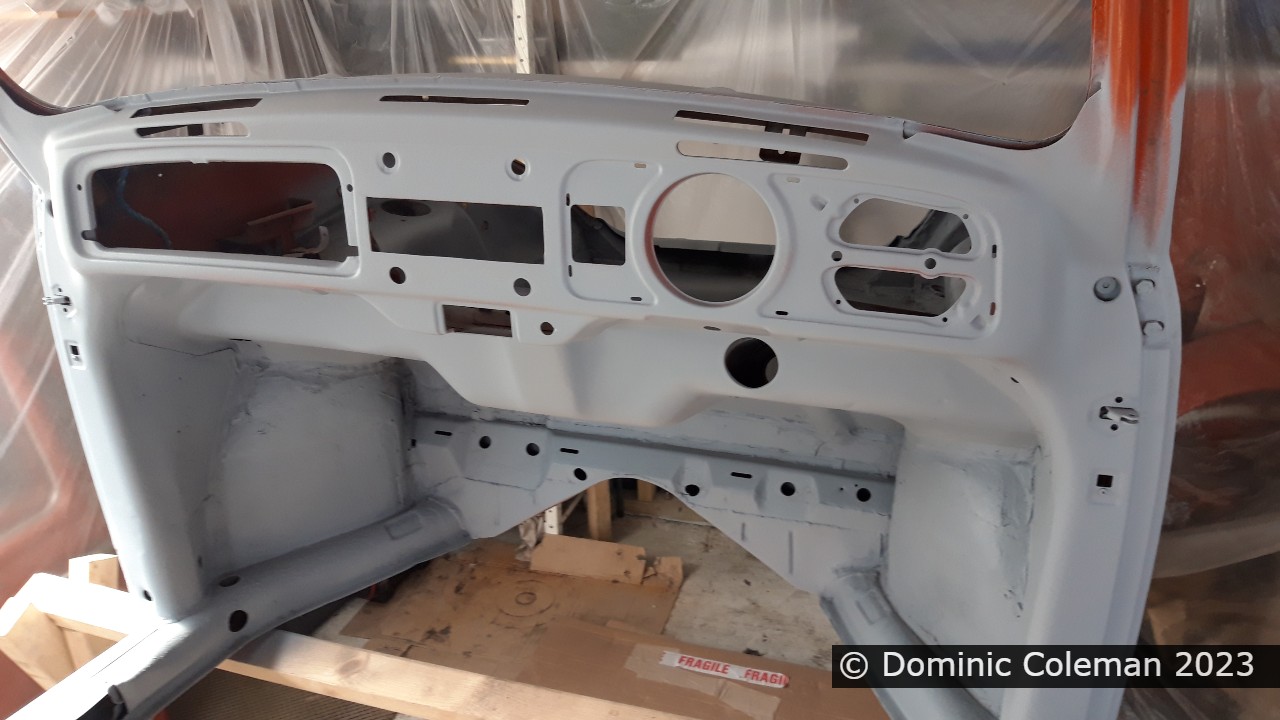
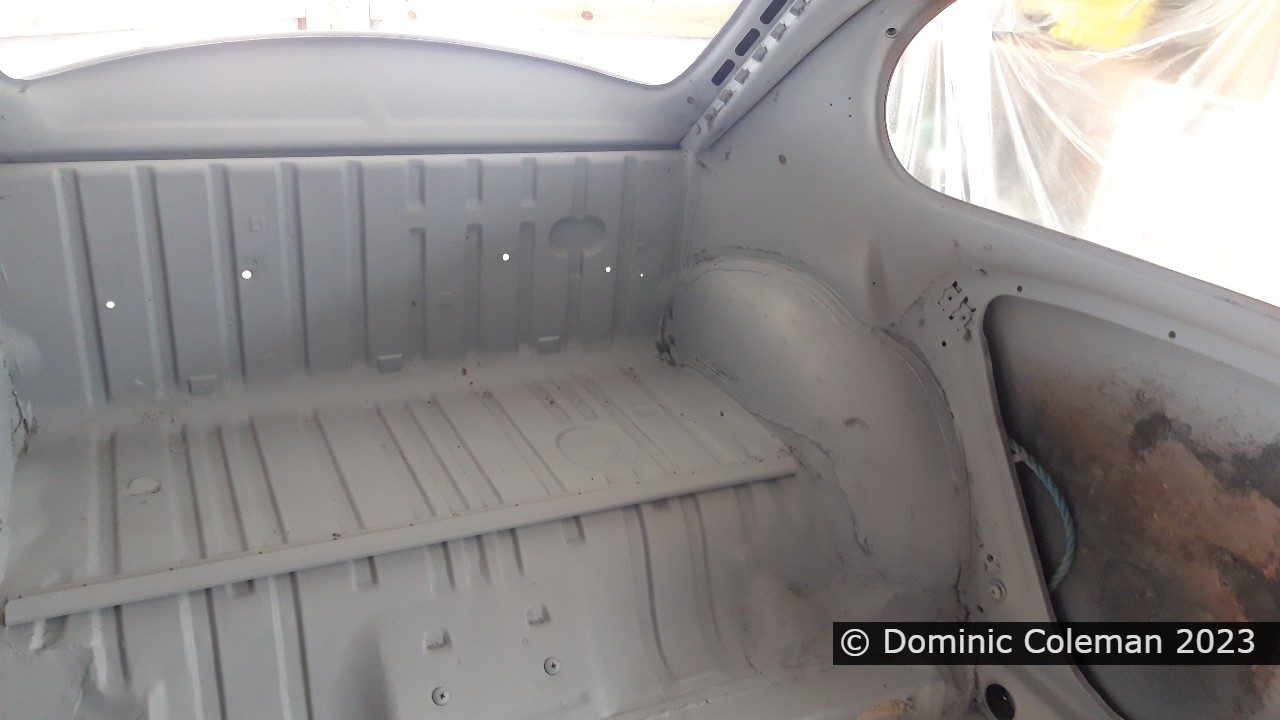
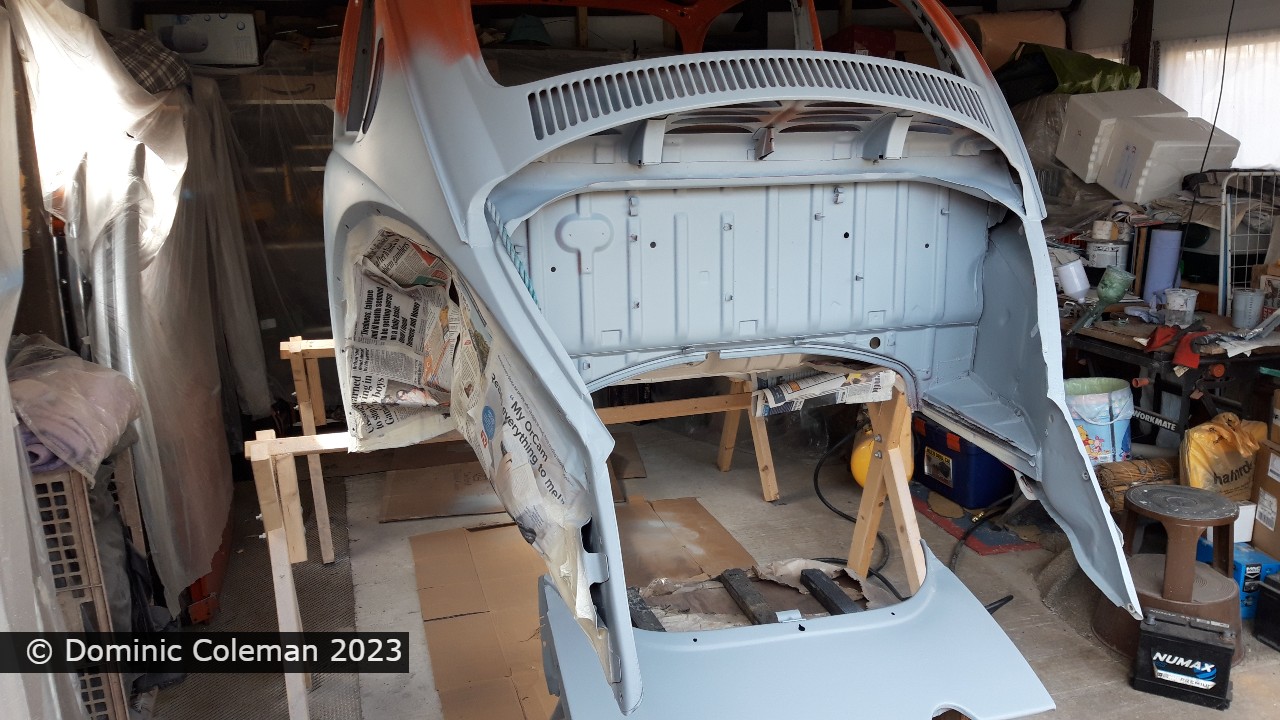
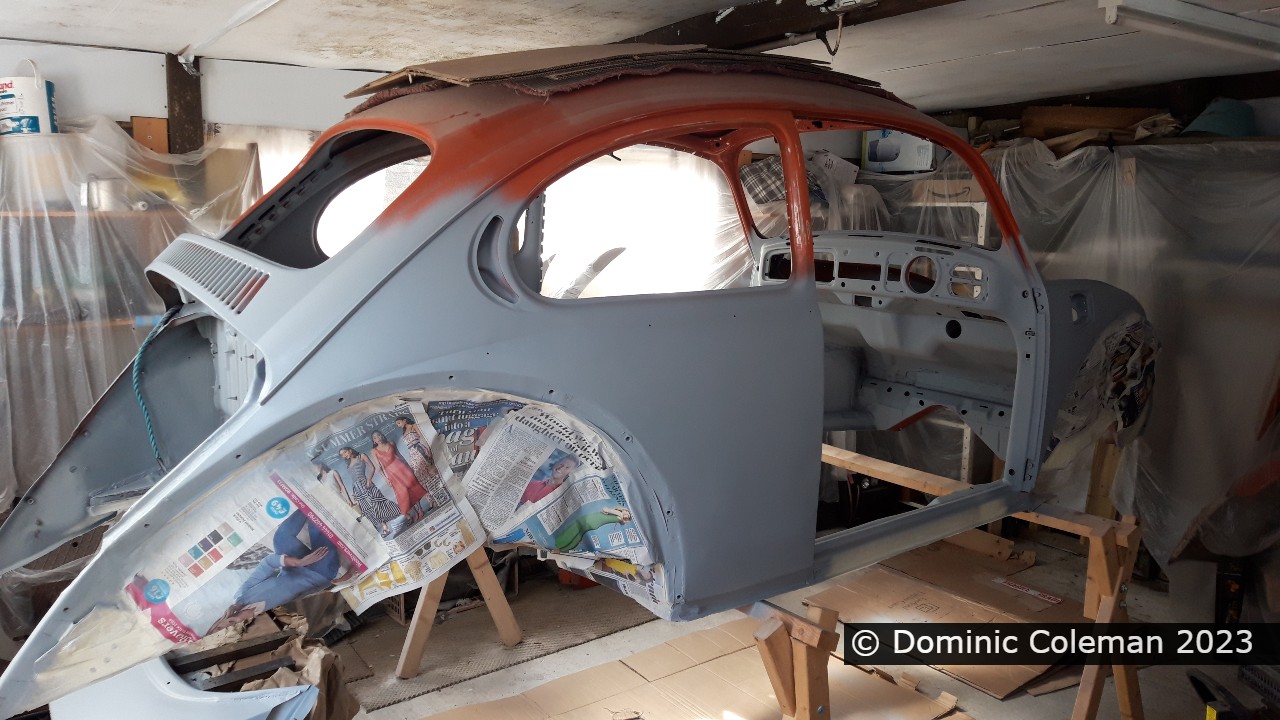
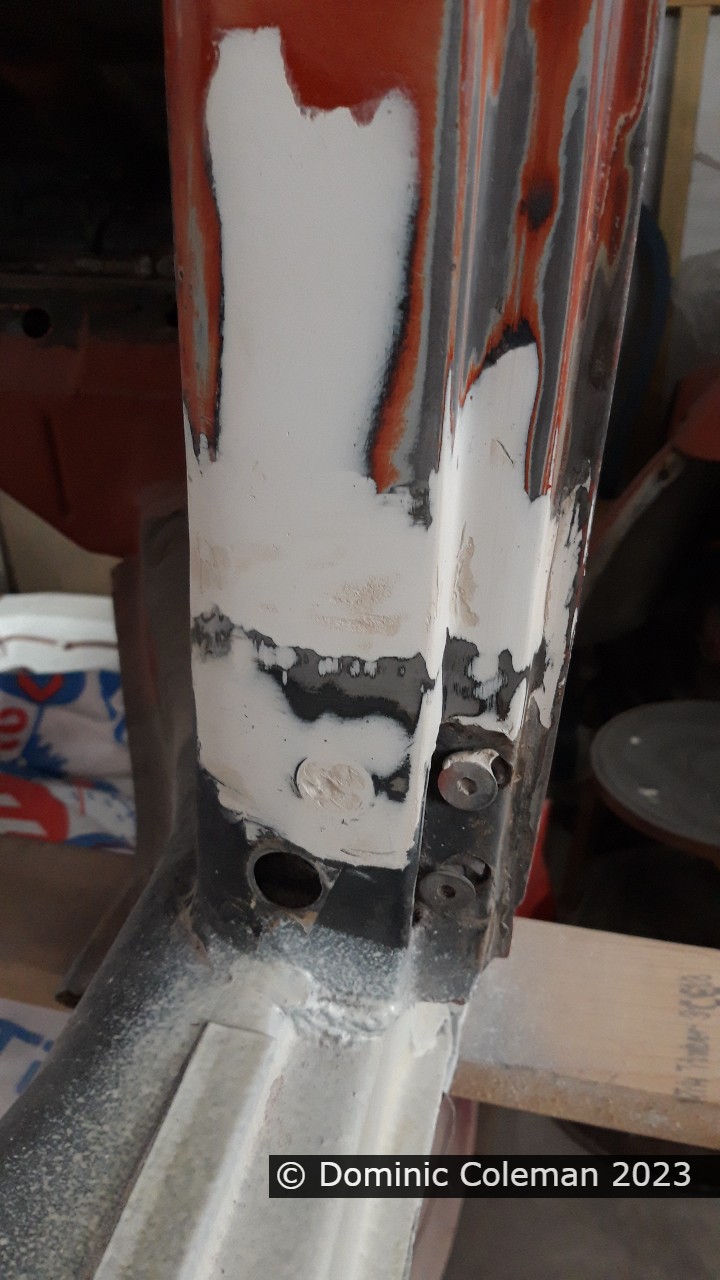
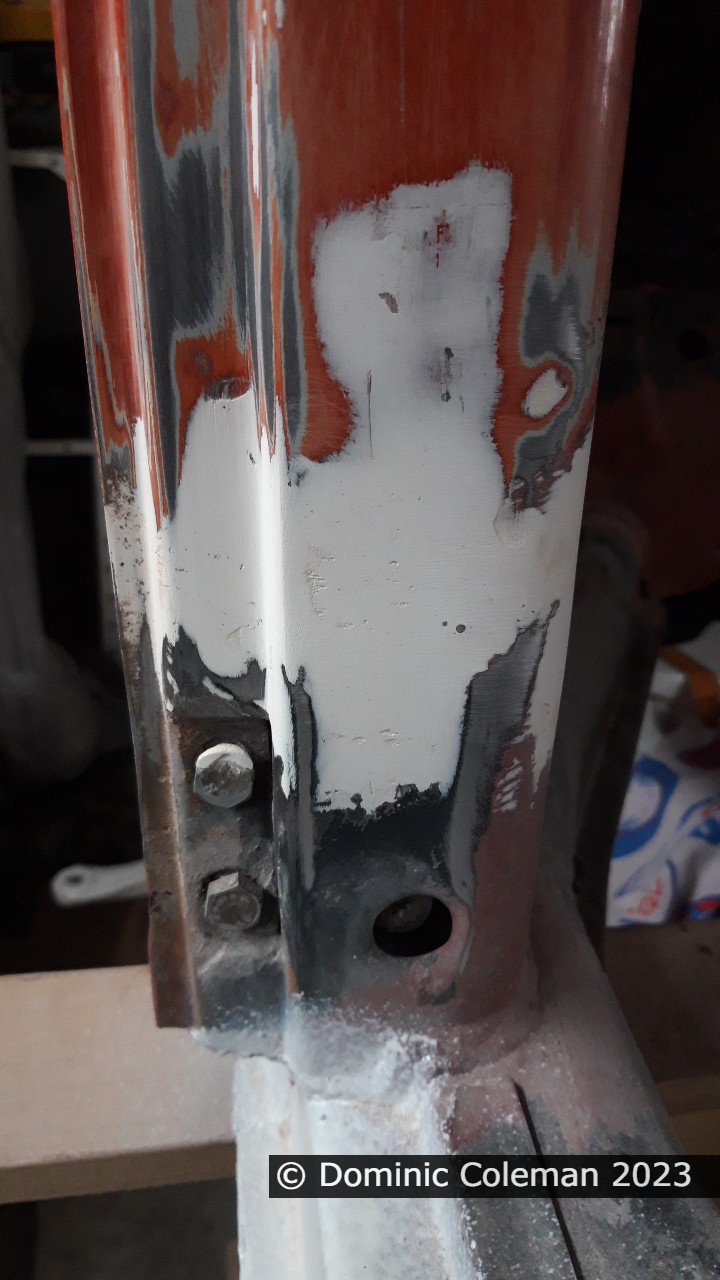
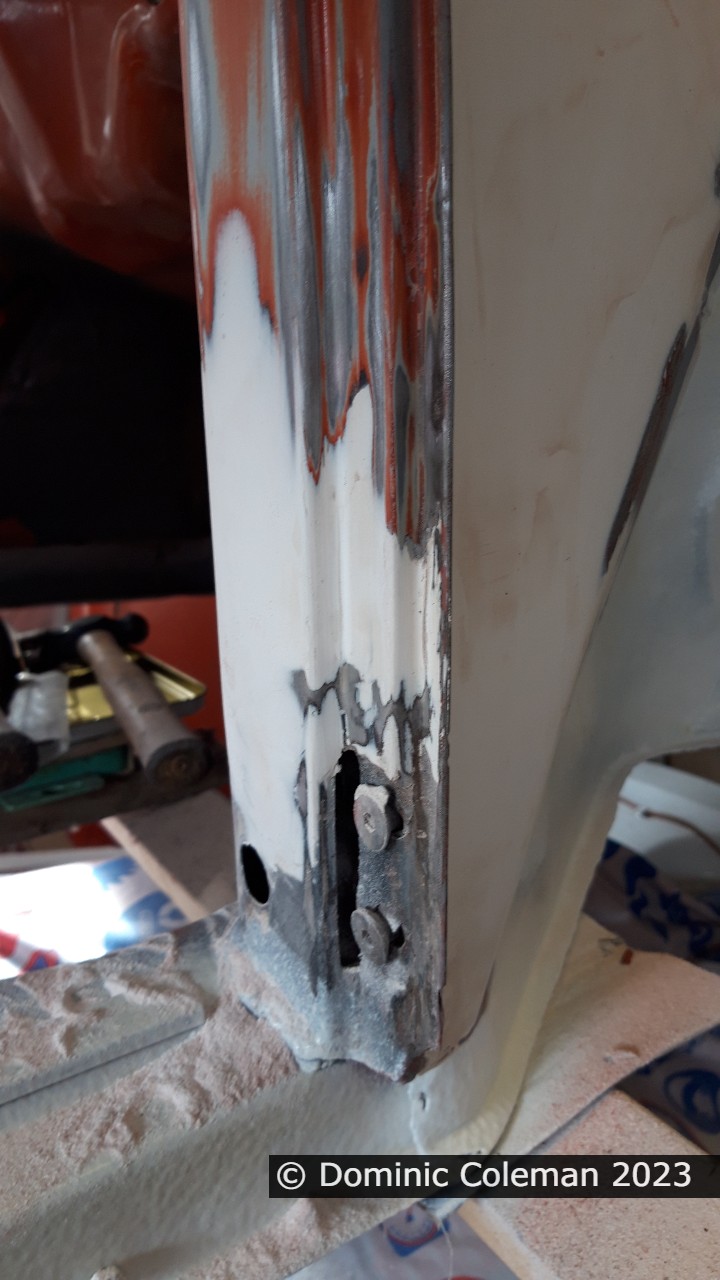
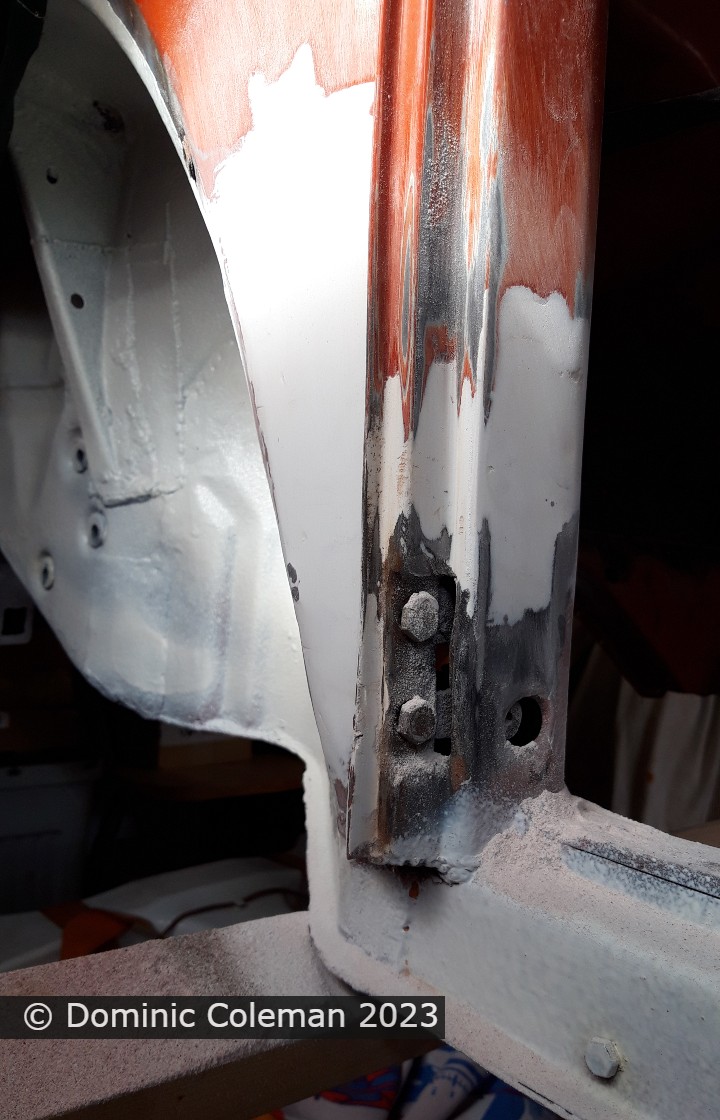
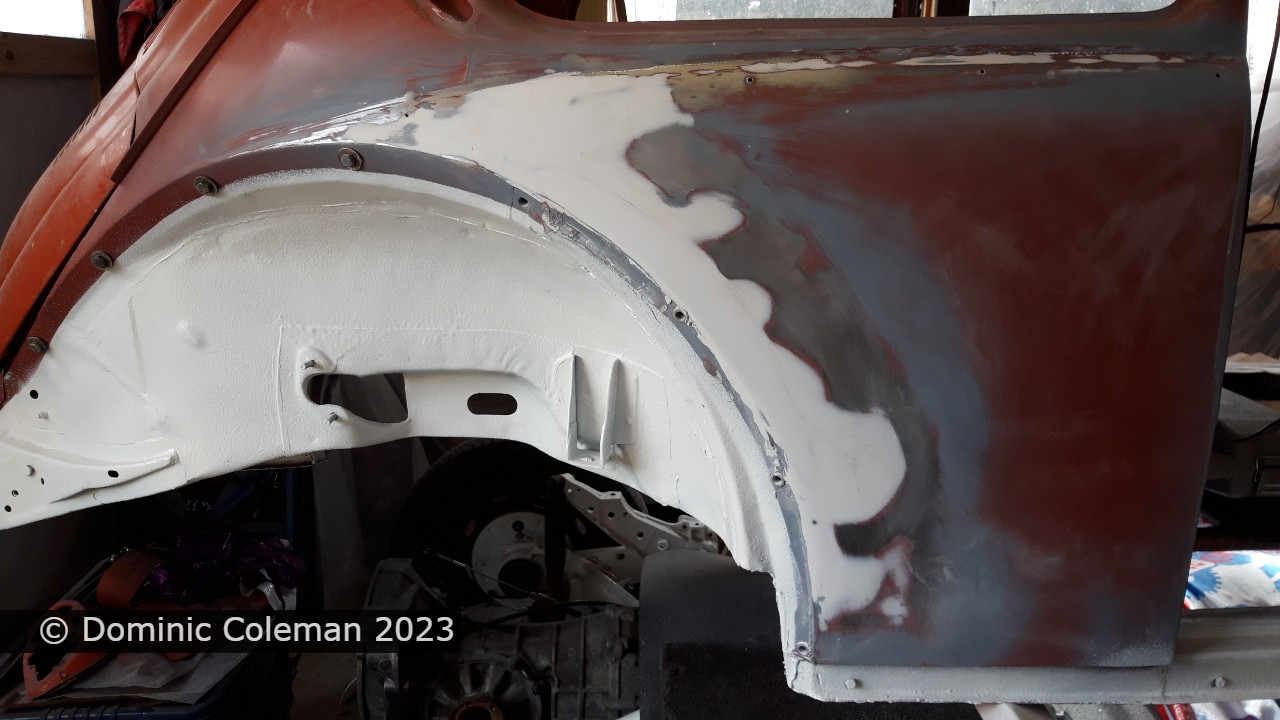
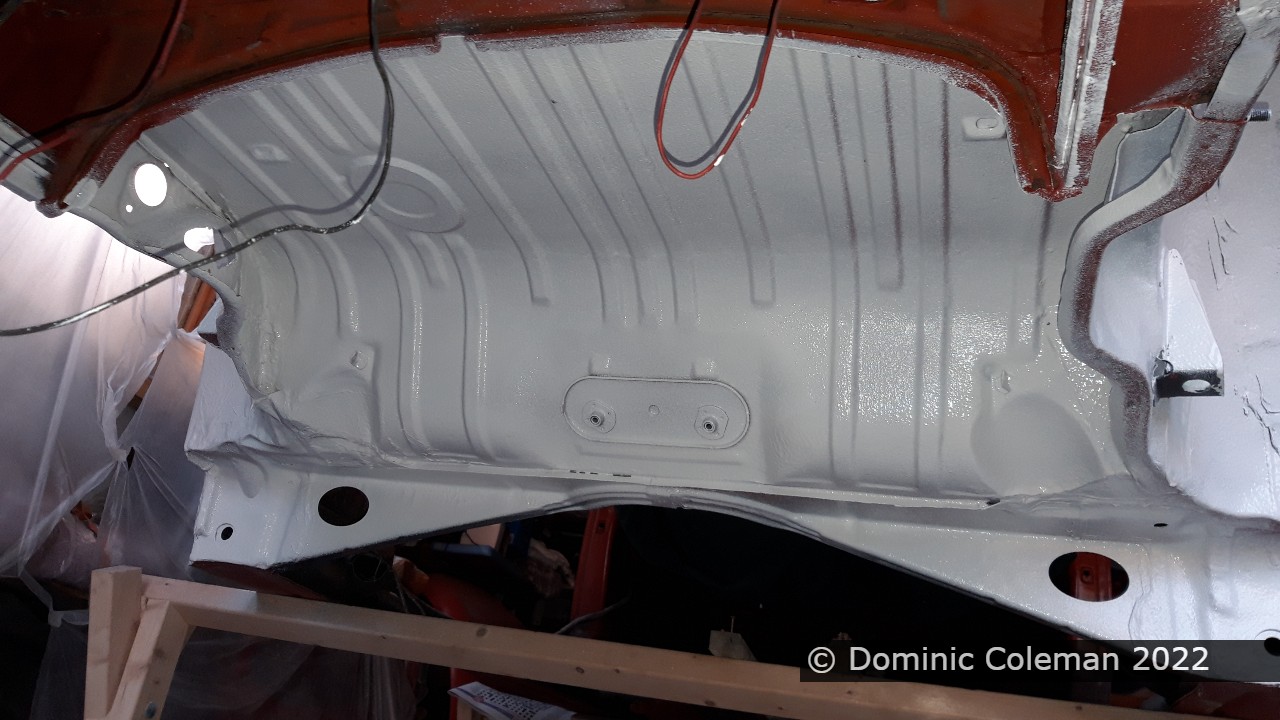
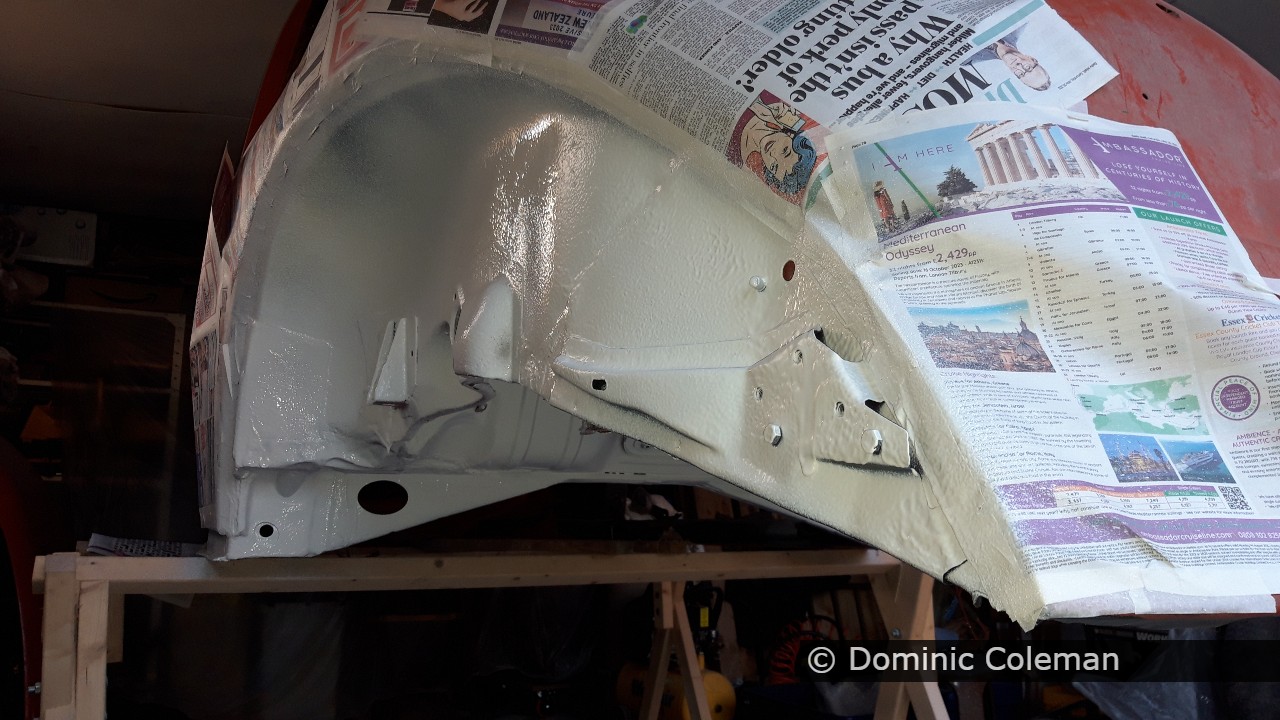
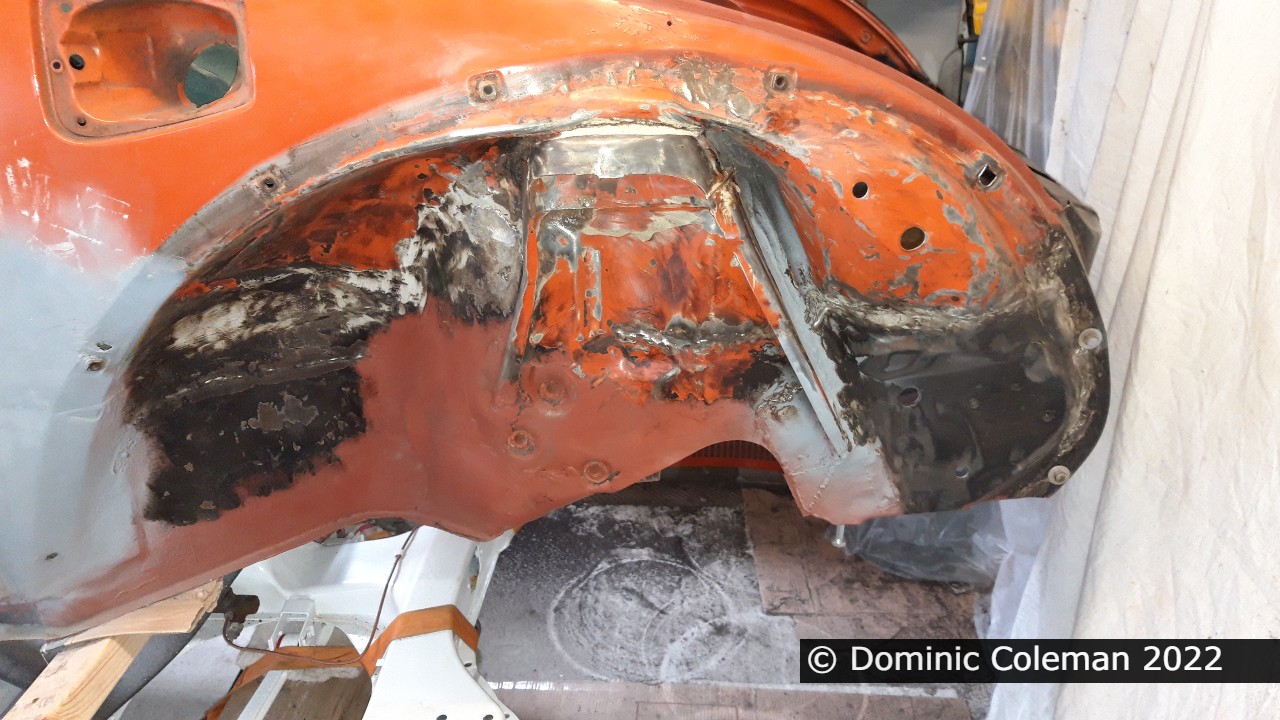
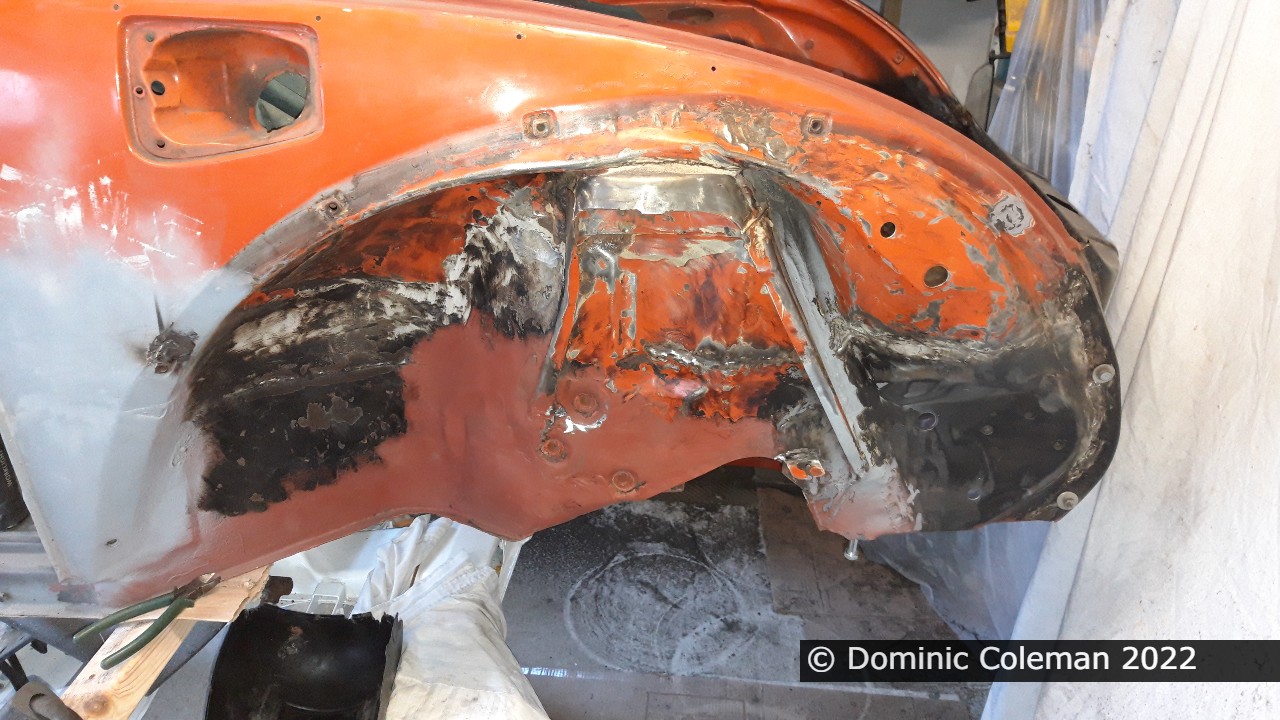
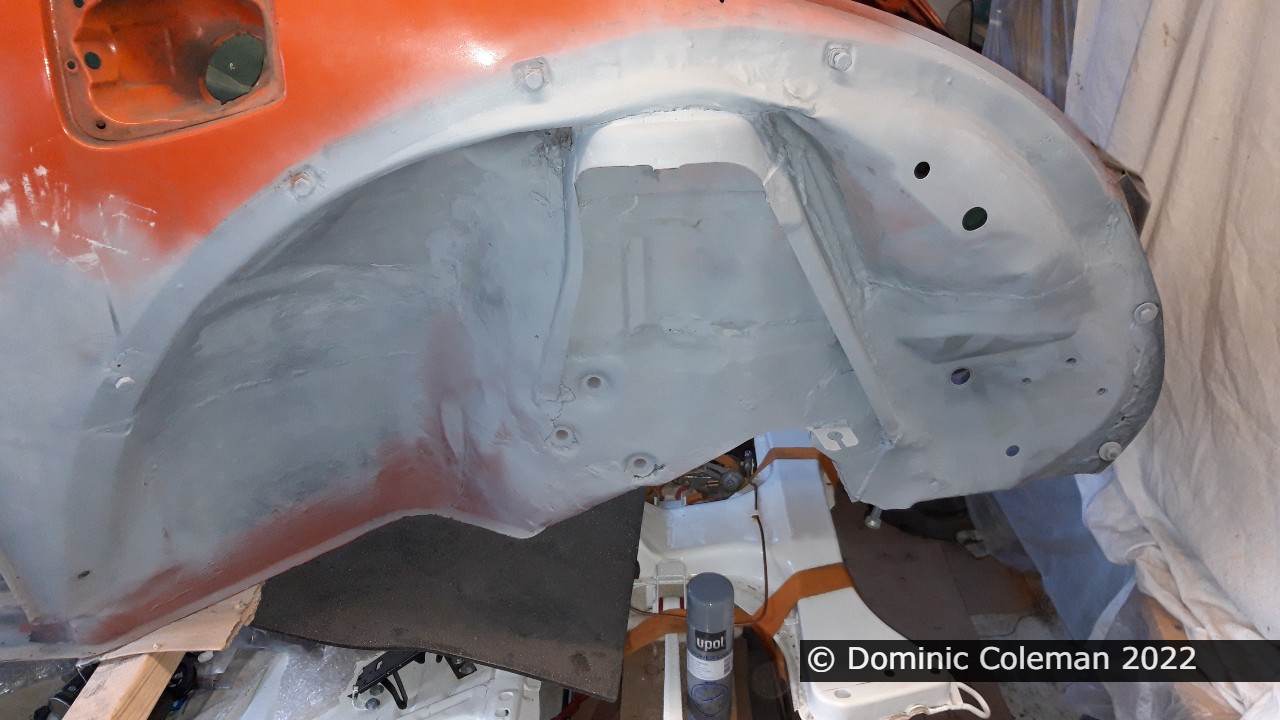
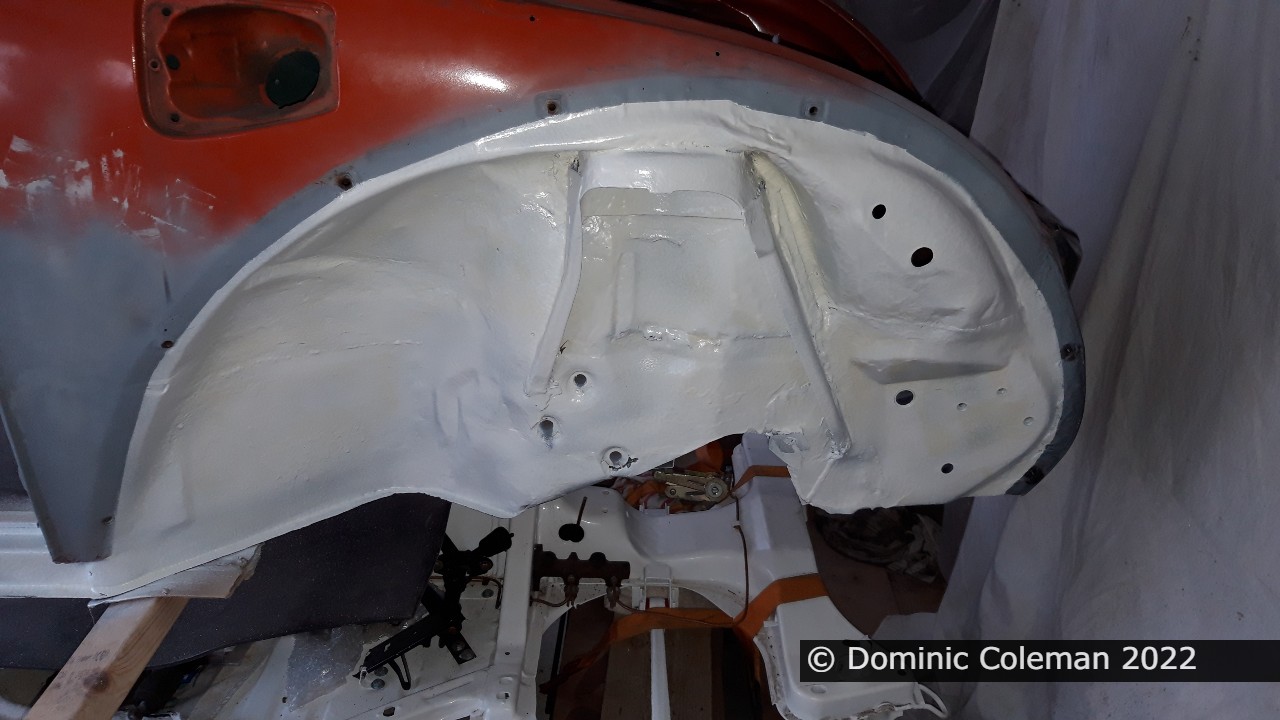
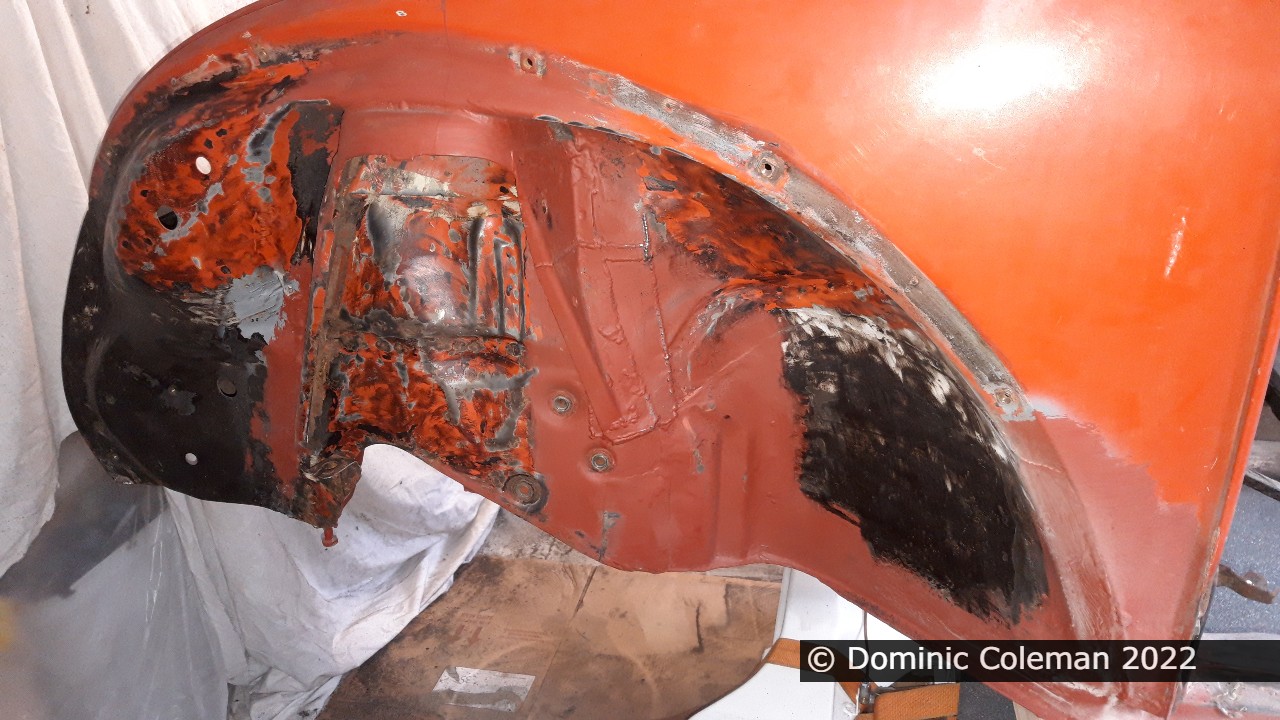
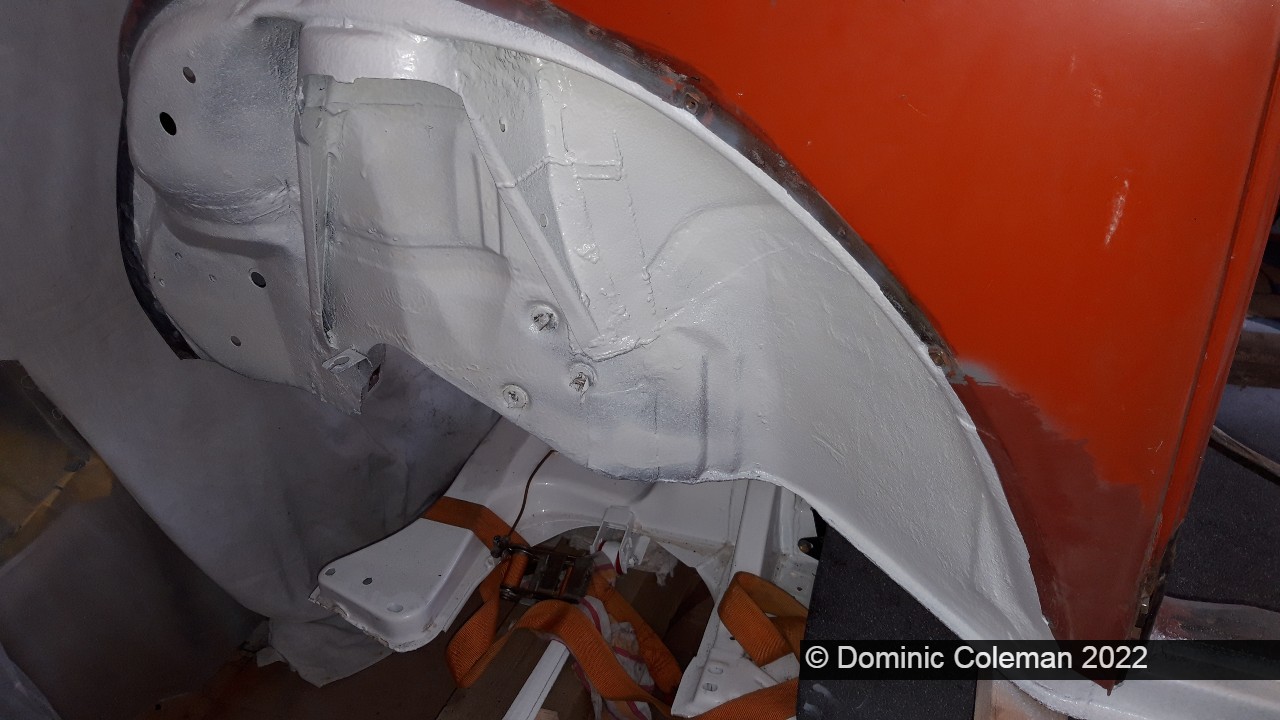
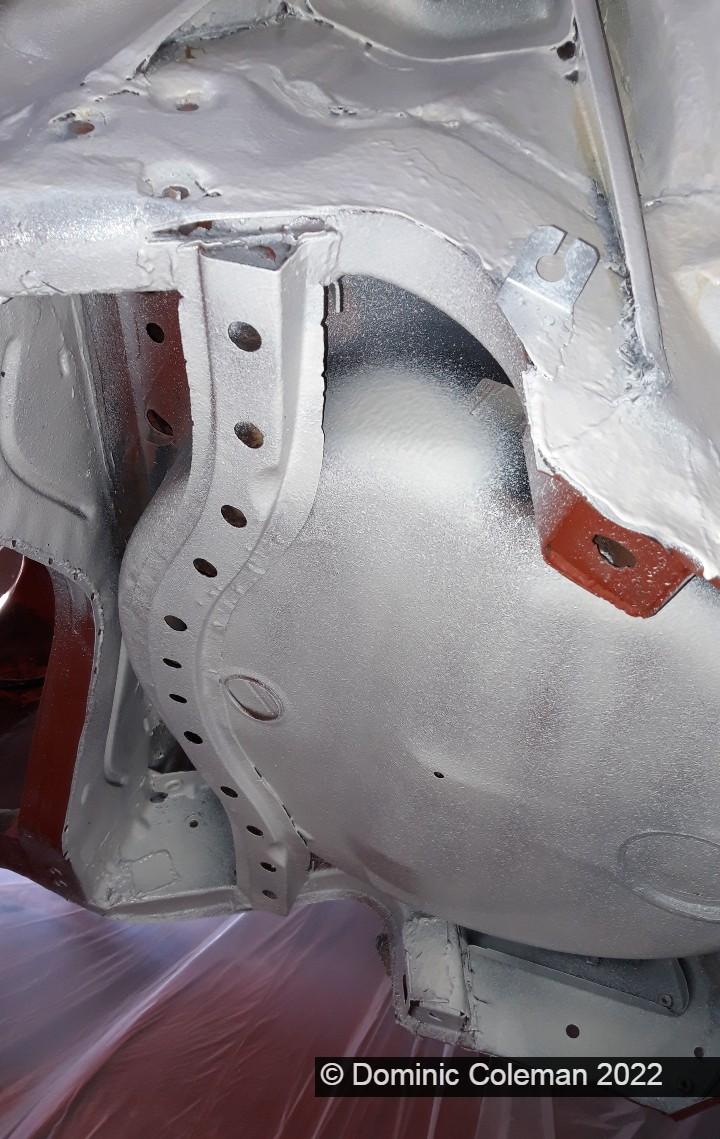
After watching a few YouTube videos, I gave spray painting a shot in the engine bay around the end of July 2023. I chose bright white (RAL 9010) and used the hardener/activator that came with the primer. I was careful not to use too much, as I thought the primer and hardener were best kept to work together in their specific proportions.
My first try didn’t go so well. I put on too much paint at once and used too high of an air pressure. This resulted in paint running, dripping, and forming pools in the engine bay. I was able to fix it by sanding down the runs, getting rid of the drips, and smoothing out the pooled paint. This got things ready for my second attempt. I also had to apply some primer again on the areas where I had sanded down to bare metal.
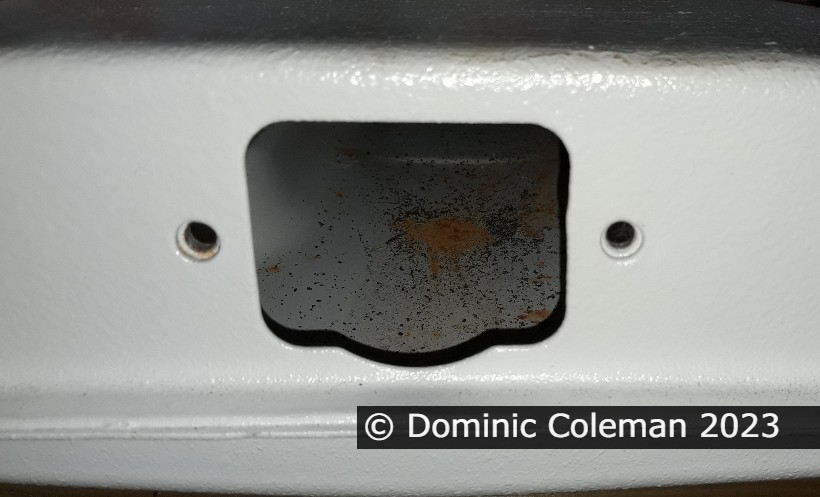
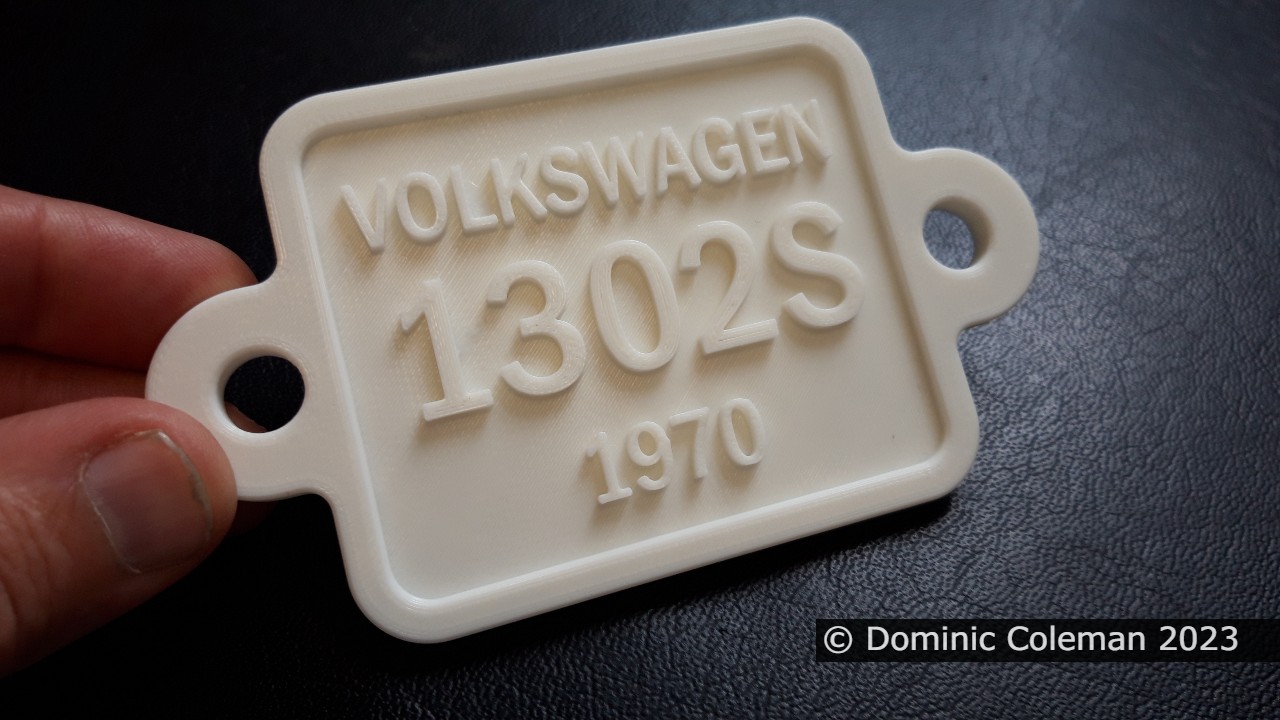
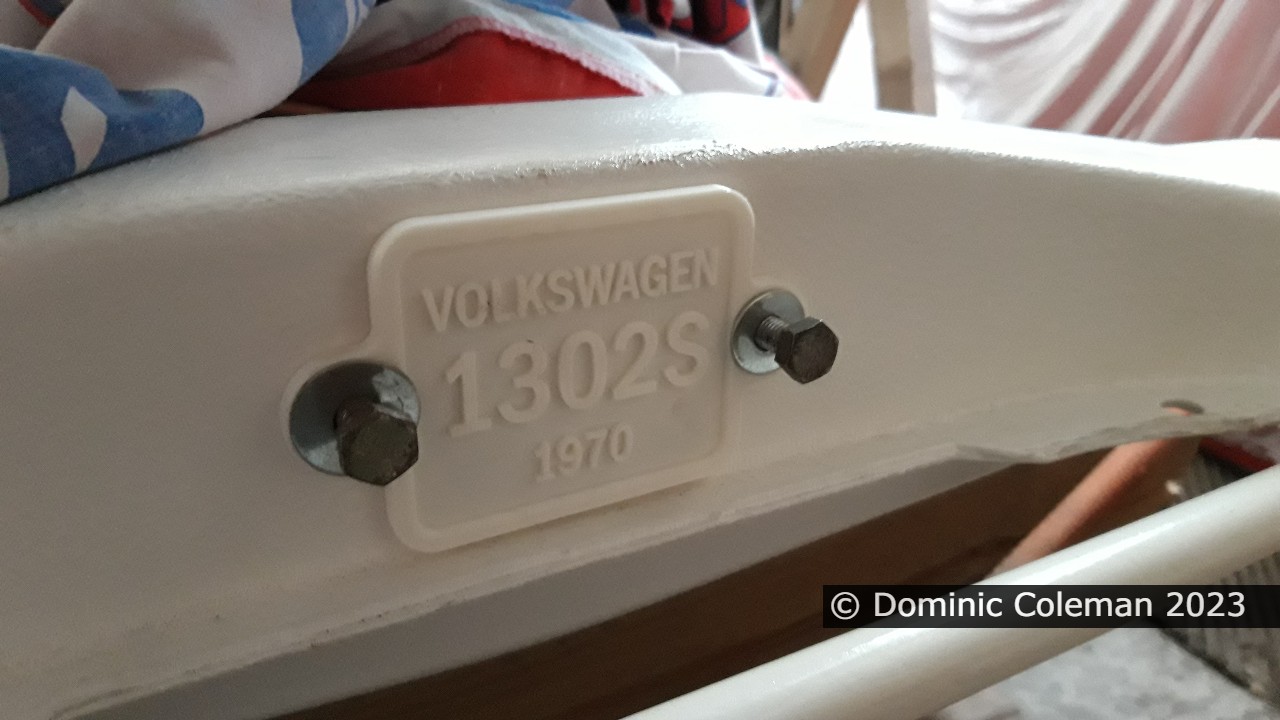
Just a short update: The frame head had a hole that would need covering. With the availability of 3D printing at my place of work I created a drawing in Adobe Illustrator and passed it to our ‘man’ who then did the necessary work to output to the 3D printer. The end result was a custom framehead blanking plate.
1302S Frame Head1302S Frame Head 3D printed cover plate1302S Frame Head 3D printed cover plate mounted
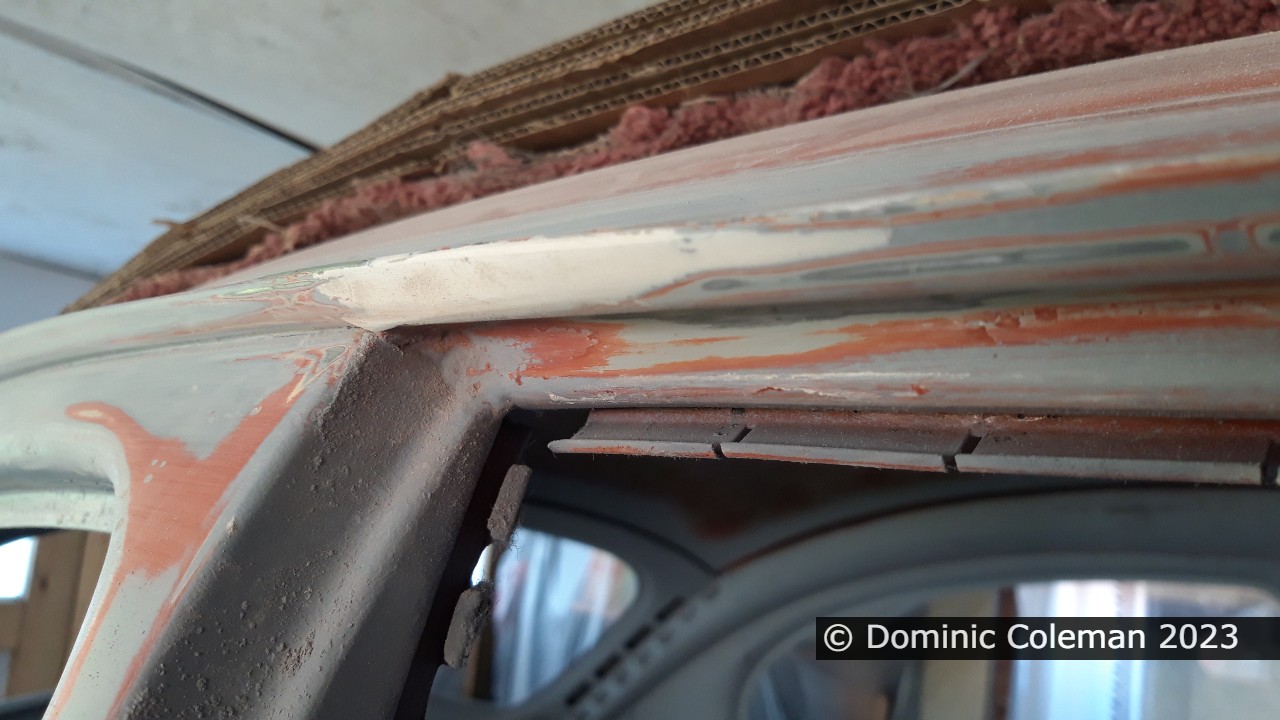
1302S Beetle right side rain gutter repair from above1302S Beetle right side rain gutter repair from beneath
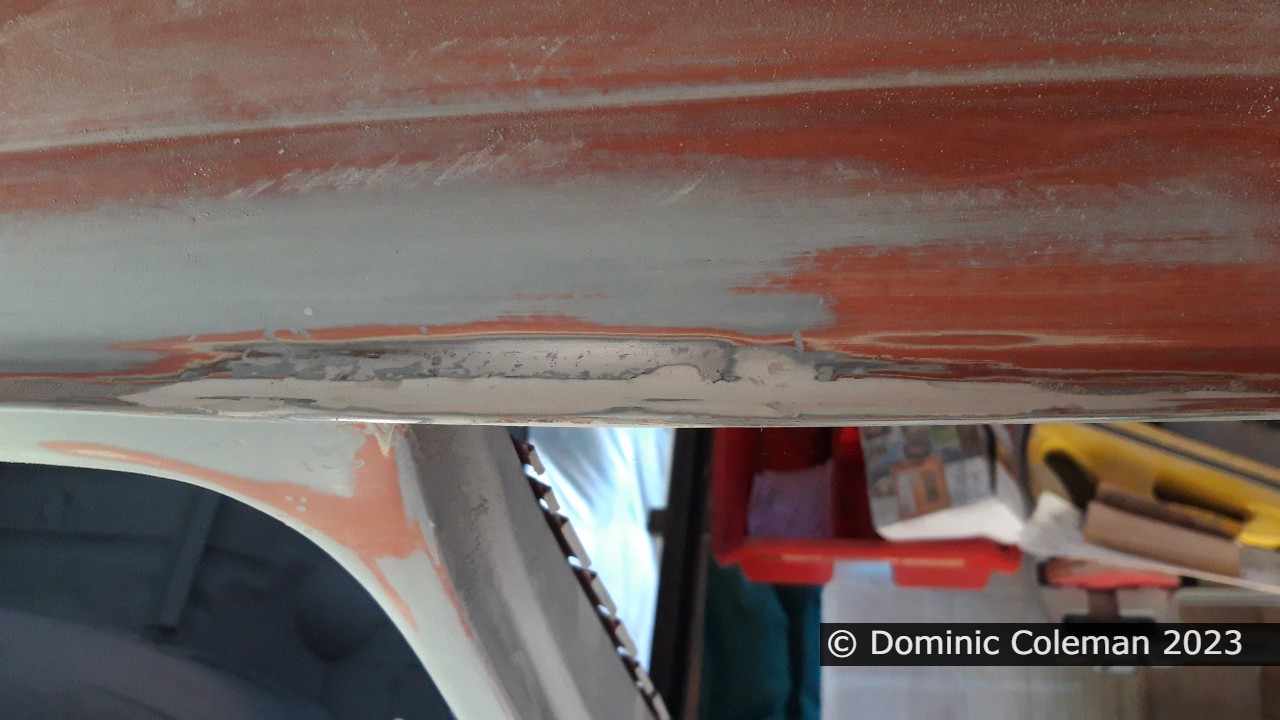
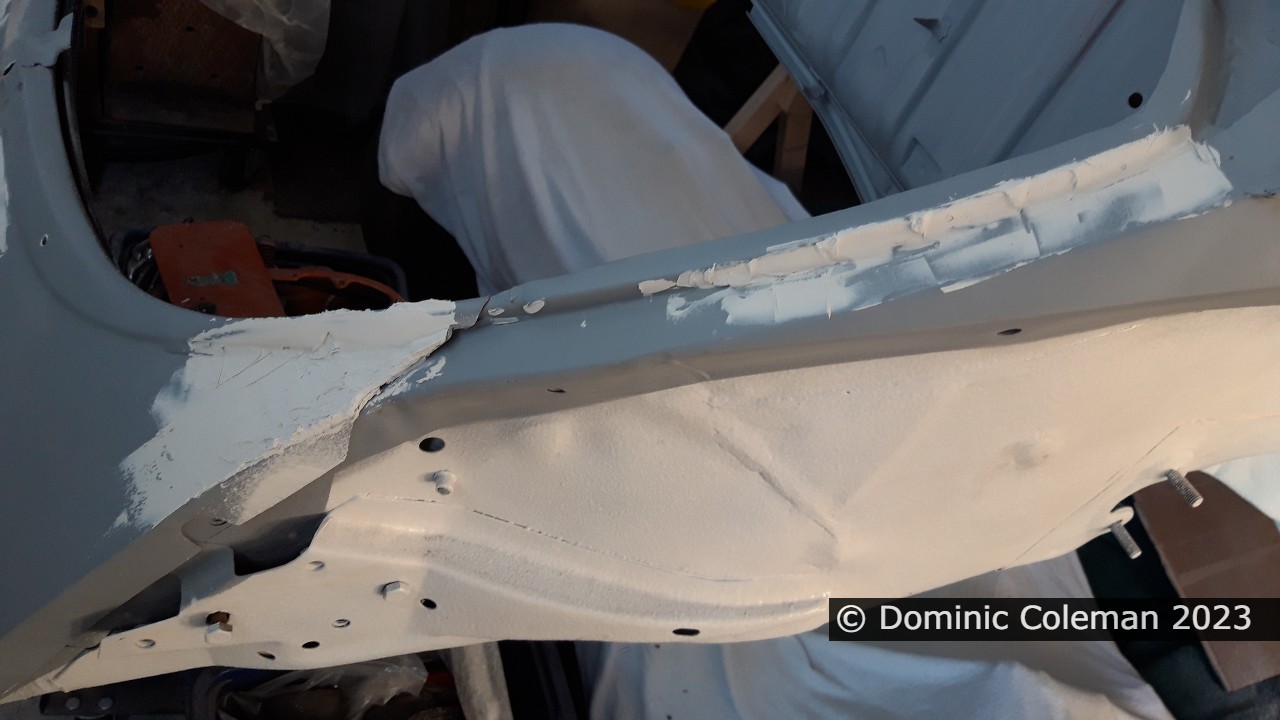
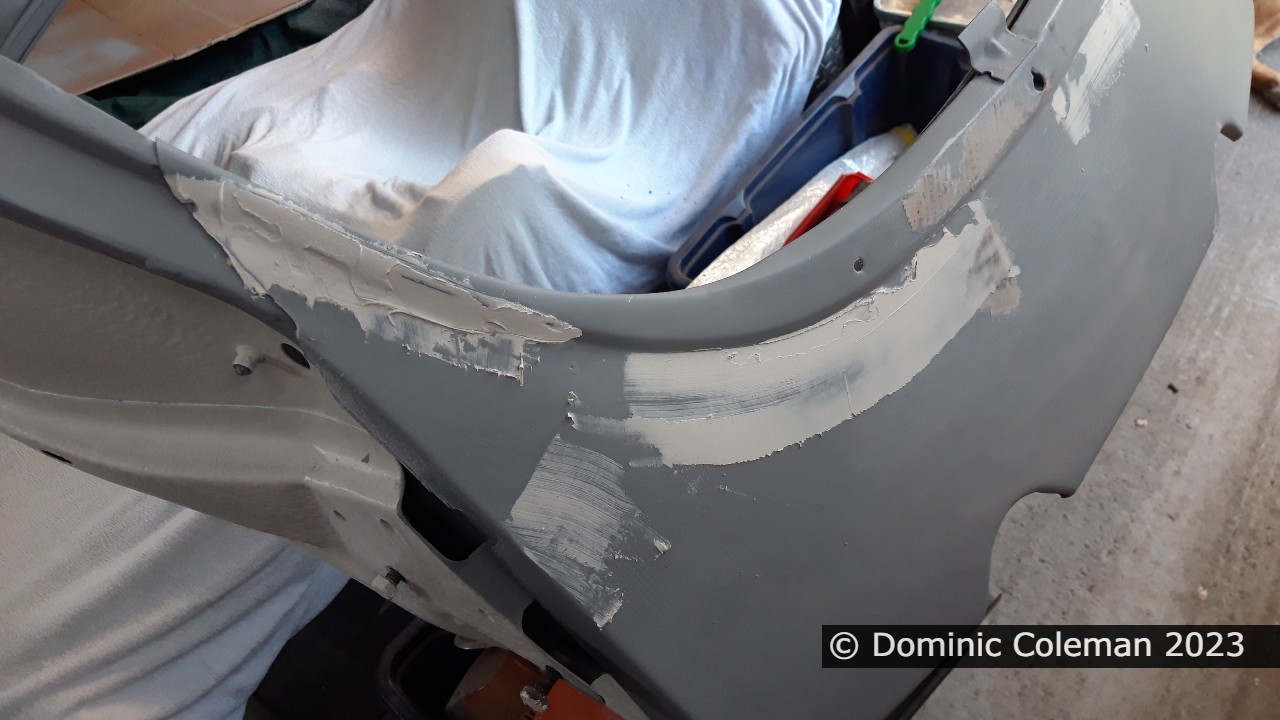
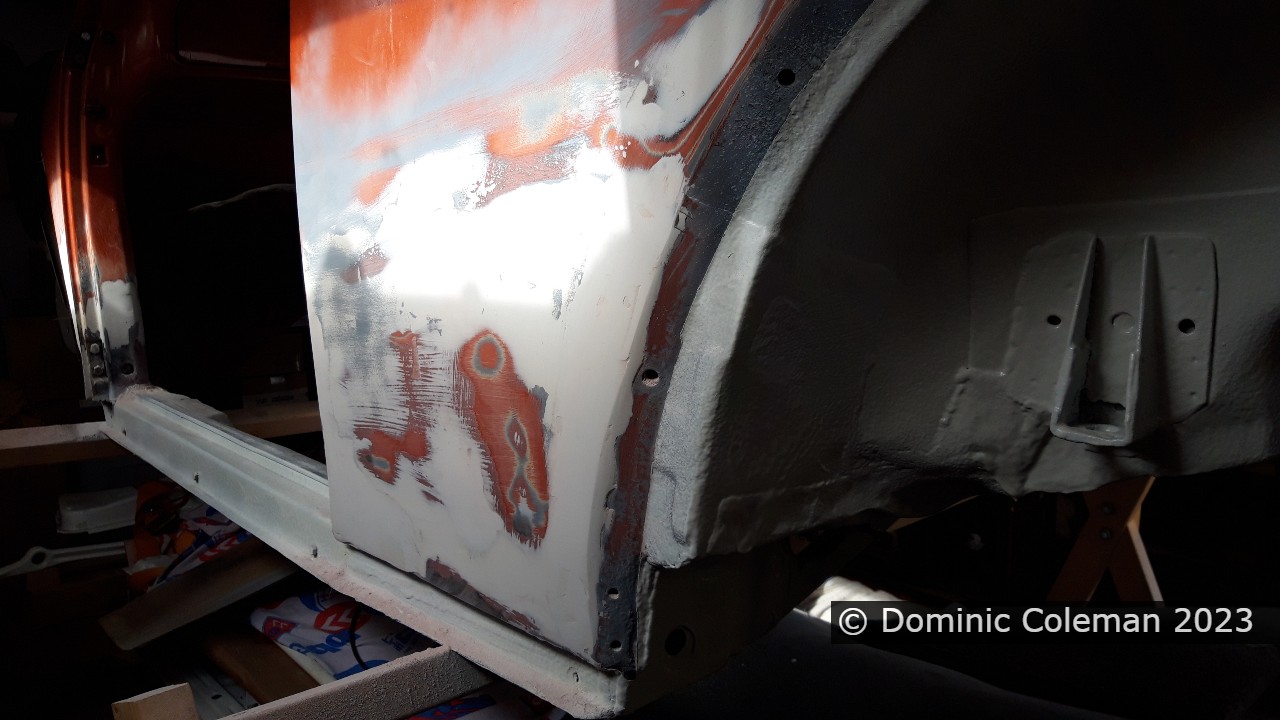
By the end of May I had plopped on some more filler to smooth out a few bumps and high spots, mainly on the rear valence and engine bay aperture. I also added some filler to sort out the minor corrosion on the rain gutter on the right side (UK drivers side) above the door. I spent a few on/off days of May into June, rubbing back the filler on the rain gutter repair, rear valence and other small areas on rear portions of the body. I was beginning to think the body was now in the final stages of near completion, but I still have plenty of filler if needed. Around this time I visited Paul at South Coast Customs and he had a 1966 Beetle that he was restoring but was taking it back to bare metal first. The filler on that car was 5-10mm thick on the lower rear quarter panels and hid a multitude of poorly executed repairs, something I wanted to avoid this car in having too much filler.
1302S rear valence and engine bay opening with touch up filler1302S rear valence and engine bay opening with touch up fillerrear left side rain gutter touch upFiller rubbed down on engine lid opening and rear valenceFiller rubbed down on engine lid opening and rear valencerear left side rain gutter rubbed down
At the end of this stage I was considering the options of installing a third brake eye, behind the cooling grills above the engine compartment. There was a mixture views on the Volkszone forum, especially cutting into the metal work beneath the rear window to insert a removable plate with an after market LED brake light fitted. With the 1302S being a relatively scarce Beetle these days, I had begun second thoughts on making a cut out under the rear window to insert the 3rd brake eye and started to consider a self adhesive LED light strip instead.
My other question to the forum was whether I should grind off or keep the tar board hooks on the engine bay firewall – I didn’t need much convincing… I decided to grind off the tabs which in doing so was sending an unmanageable shower of sparks that were getting everywhere all over me. I resorted to knocking them off with my spot weld chisel and then grind back with a flap disc, far less sparks flying all over the place. The only problem with knocking off the spot welds was that it created two more holes in the fire wall that I will have to fill or cover up.
1302S engine bay firewall with tar board tags1302S engine bay firewall with tar board tags removed1302S engine bay firewall, smooth and painted in primer1302S dash board grills, radio blanking plate, glove box door, fuel filler flap and engine lid hinge mounts.1320S rear valence in primer
I laid a (fourth) coat of primer on the rubbed down areas and the engine firewall looked a lot neater with the tar board tags having been removed. The rear valence was repainted and other smaller parts like the fuel filler flap and engine lid hinge mounts were painted in primer as well.
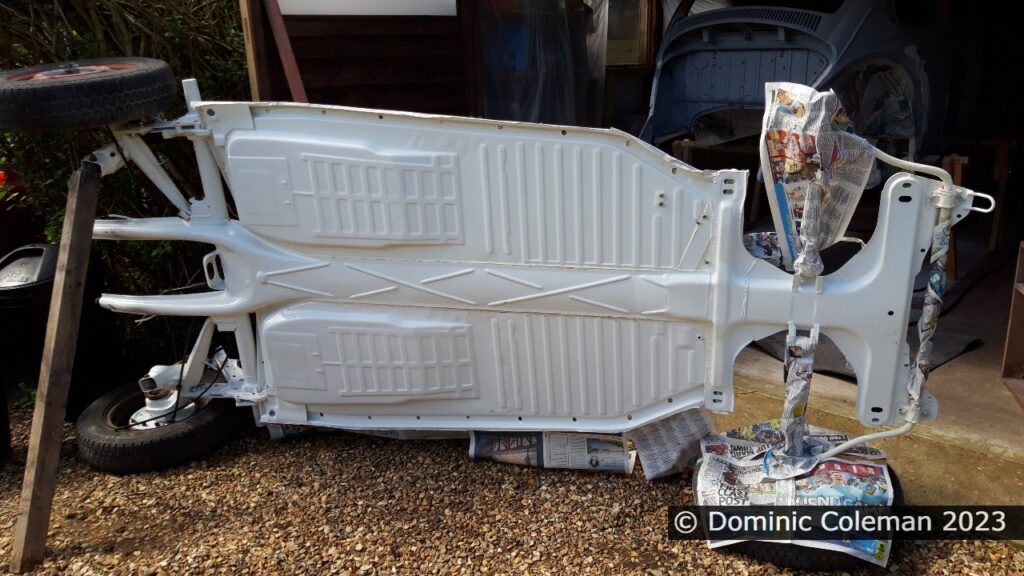
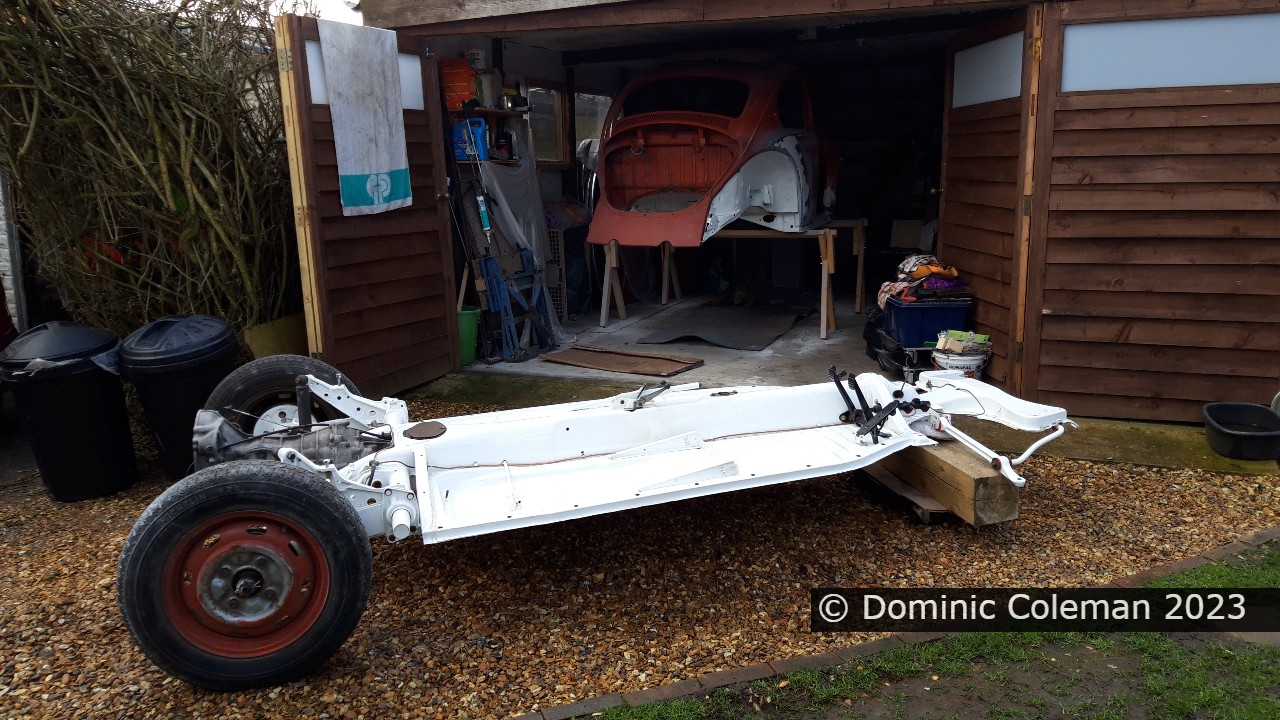
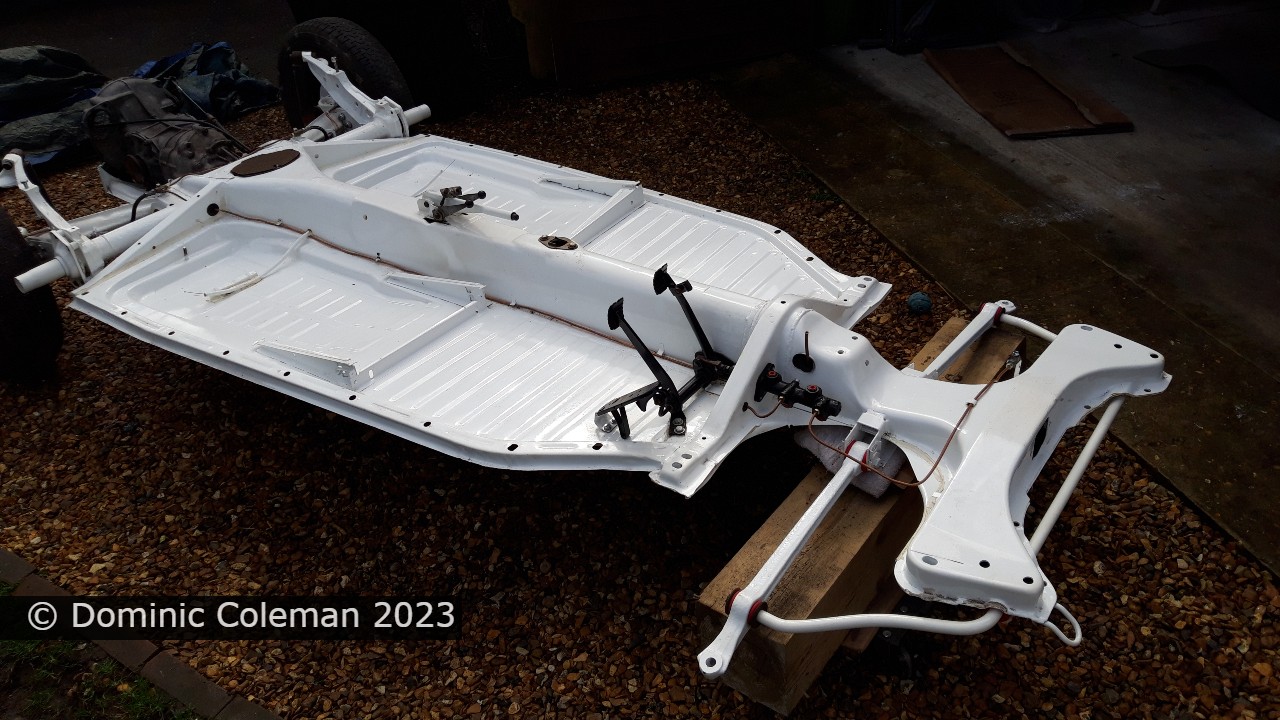
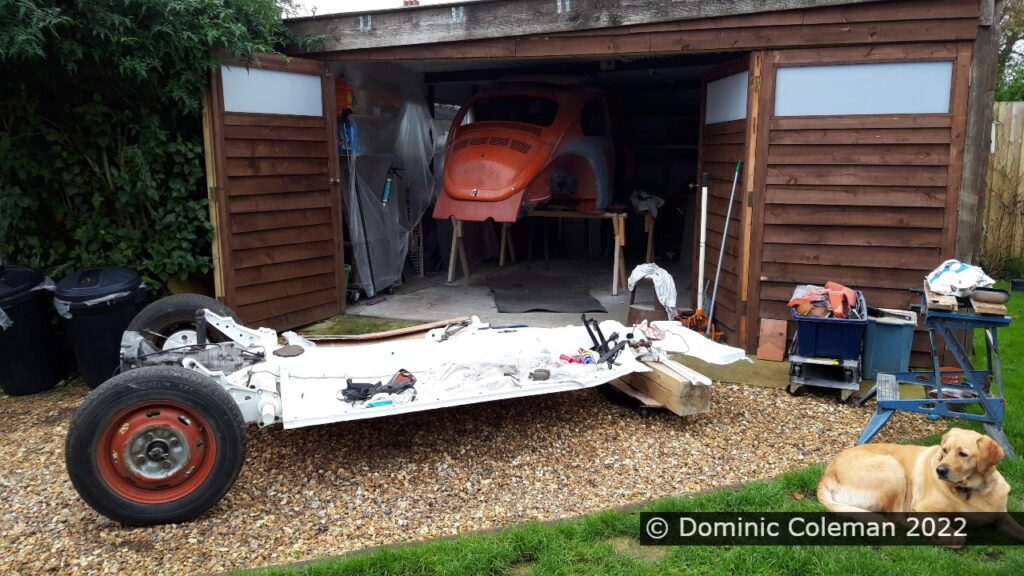
As it was a good day for weather last Sunday (7th May) I got to roll the floor pan out and, with some help, turn it on it’s side in readiness to spray on the Bedliner for Color. It was the last of the 3 bottle batch I bought last year. It was something I had been wanting to do for a while. The main reason for the Bedliner/Shultz is that powder coating is nice but it chips easily, as I found out again when I caught the gearbox on the rear horns when I removed it to aid the turning of the floor pan on to its side. Also, if applied thickly it is supposed to help with the sound deadening, guess I’ll take those people’s word for it.
1302S floor pan turned on its side ready for Bedliner to be applied
I only did the floor underside and the frame head as, in my (uneducated) opinion, they were most likely to take the brunt of the road rash, when this car finally makes on the road. Note, the wooden beam was just a precaution, the whole thing on its side was self supporting with out it. At the front, the track control arm end is through the centre hole of the wheel (wrapped in a cloth) and the anti roll bar is resting on a wooden block.
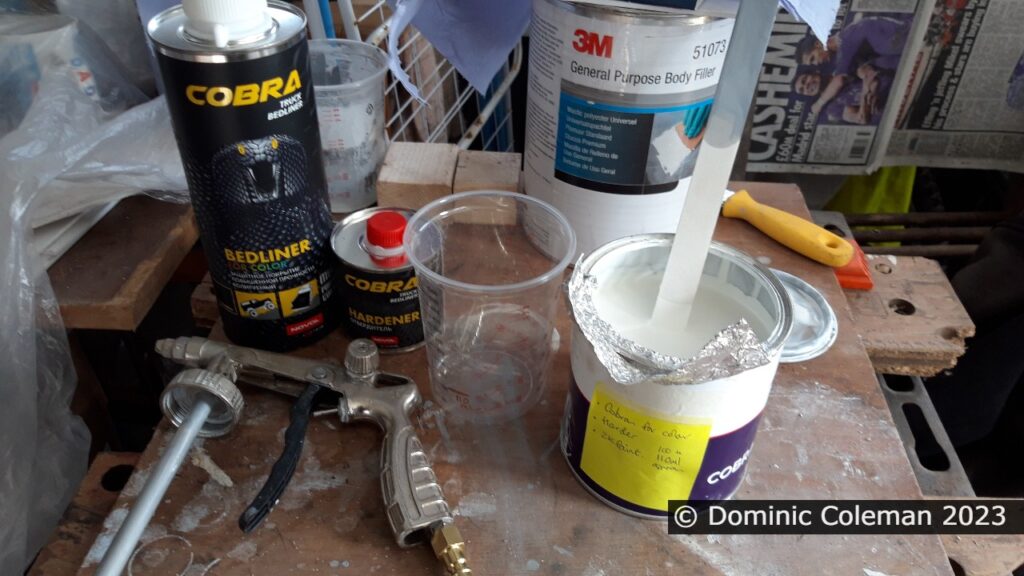
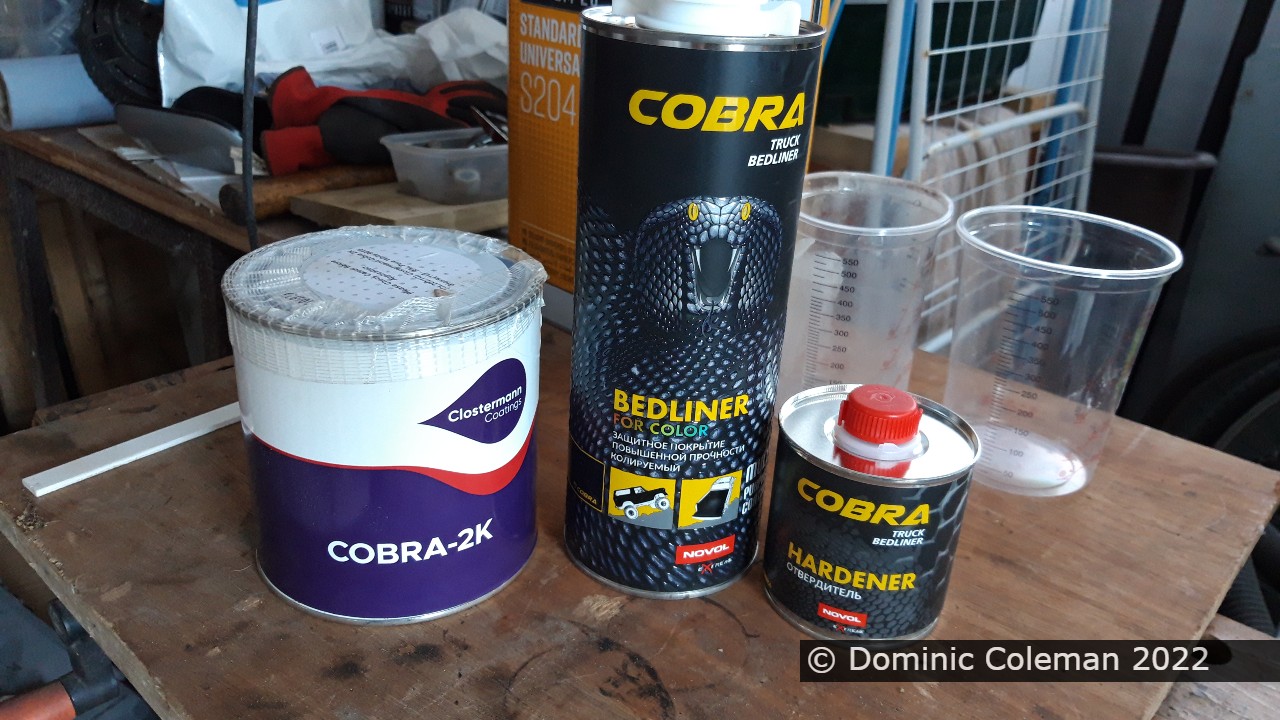
Cobra Bedliner for Color anti stone chip system – 110ml of white added
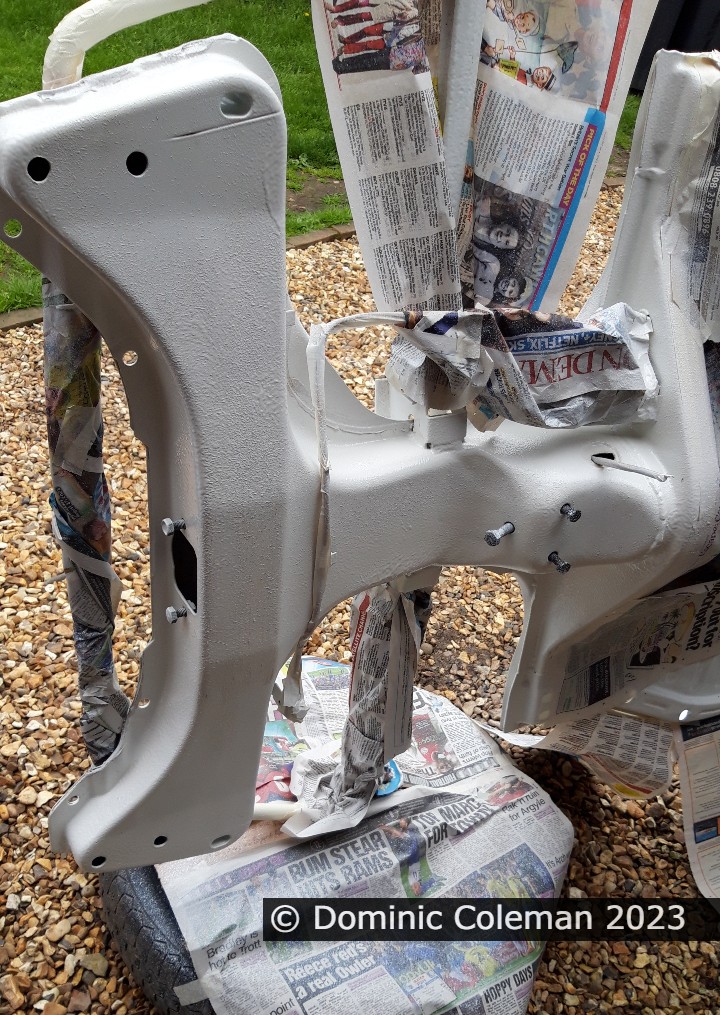
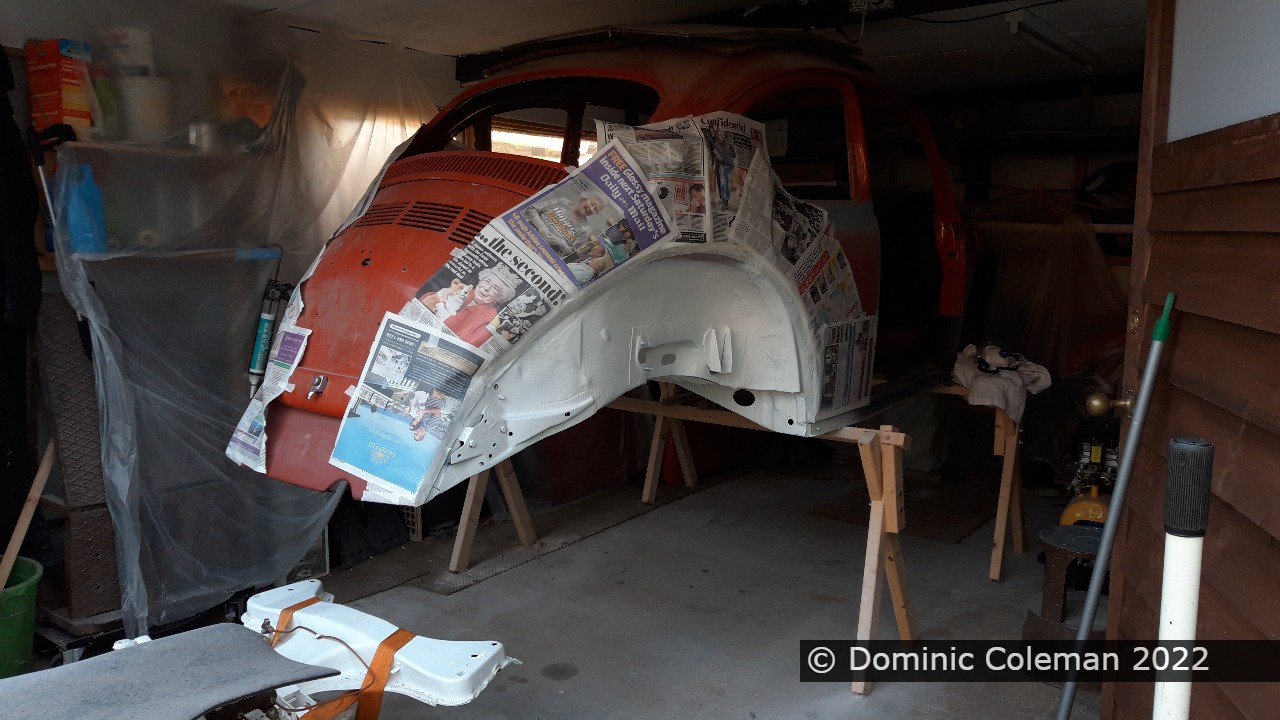
So this is what I used (above), as before on the beetle body shell inner wings, underside of the engine/gearbox cover and at the front underside. I also got to revisit missed areas of the body shell when I thought I made a good coverage of the floor pan/frame head. Hopefully that will be good enough to withstand various road conditions.
1302S Frame Head with Bedliner applied1302S floor pan rear portion with Bedliner applied1302S floor pan front area with Bedliner applied
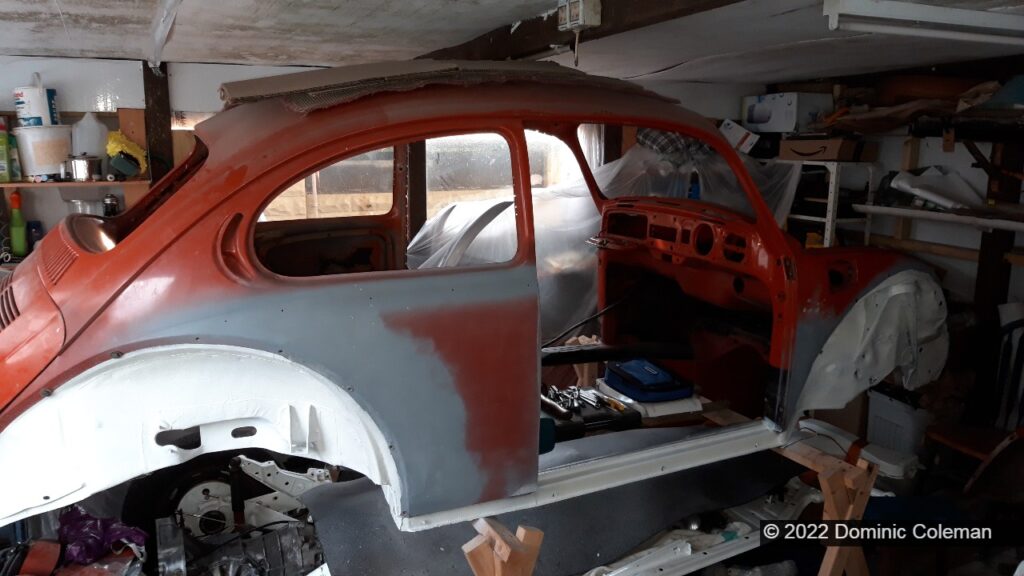
While the compressor and spray stuff was all out and the floor pan was drying I decided to re-apply more primer after the last primer session in April was rubbed down after more filler had been applied and rubbed back again. The end result is much better, it just needs a light rub back and then I will leave it for now to decide if more touch up filler is needed. There is a rust repair to do on the drip rail, just above the drivers door and most of the metal is there, so it will be a filler job.
1302S in primer and with Bedliner on inner wheel arches
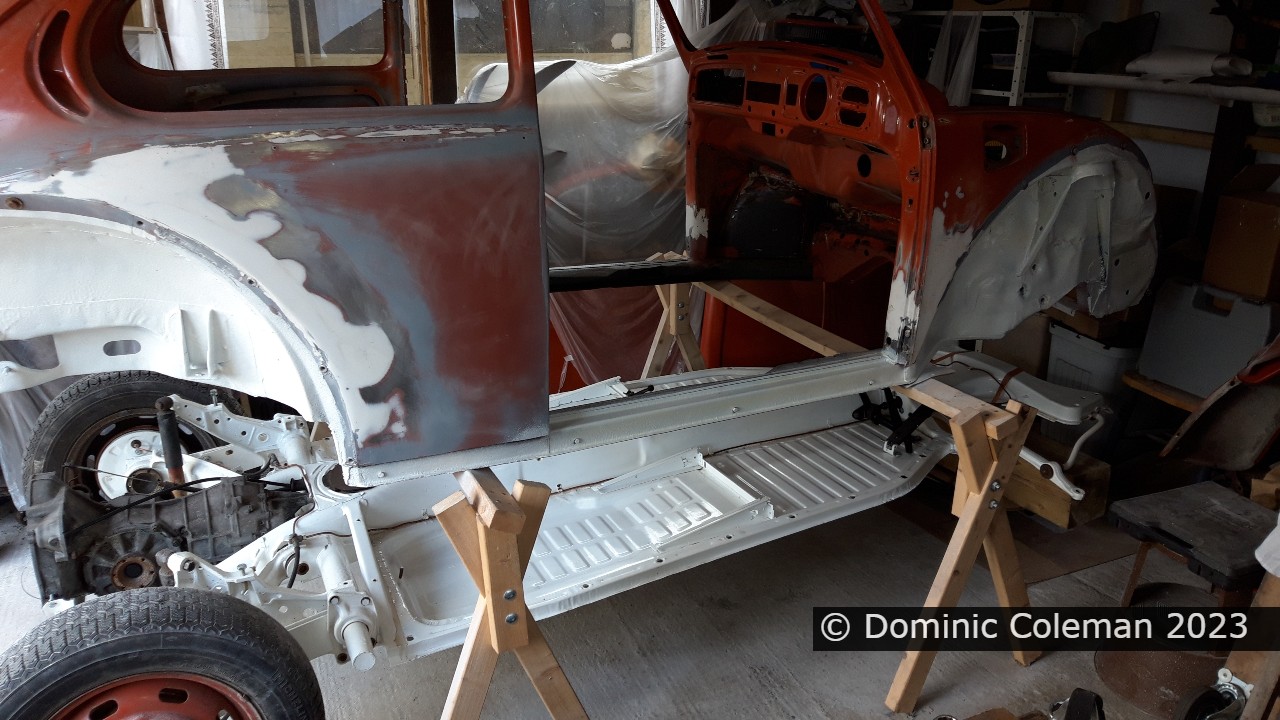
I am very tempted to get the colour (Clementine L20D) done on the inside… However, I overspent a bit this month on spares, so it will have to wait until next month. The floor pan was dusted down, cleaned up, then covered in dust sheets and rolled back under the 1302 body shell.
Easter Sunday (April 2023) and I took the plunge for my first attempt to apply a coat of primer with the spray gun. The work space around the Beetle was tidied, cleared of obstructions and covered up and I had set up the compressor with the new air hose line for better air delivery to the spray gun. The next step was to mix up the primer paint, I had tried out on the Corsair last year, with questionable results. The measuring cup made things quite easy with appropriate markings for the proportional amounts I needed for the primer, hardener of 4 to 1 with 15% thinners. I used a tip, from the internet, of covering the edge of the tin with foil to make pouring of the primer a bit more controlled and a cleaner experience, and it worked fairly well.
Primer paint, hardener and thinners (ratios 4:1:15%) as per the red markings on the cup
With the mixture ready and added to my used spray gun which came with the compressor, obtained last year, I started to spray. Well, more like it spat the paint out as if it were silly string. Luckily I had a clean unused spare from the same source as the compressor and I transferred the paint to the new gun. The paint came out as it should and I set to painting the interior first. All was going well and I mixed up a second batch to continue with the exterior, spare wheel well and engine bay.
Beetle dash and front footwell in primerRear engine cover in primer1302S Engine bay in primerBeetle body lower portion in primer
On the whole I was pleased with my efforts with the primer giving a good smooth and even finish masking the different layers of filler and flattened original paint. I could now see where more filler would be required to even out the low/high spots and touch up the rough or uneven areas.
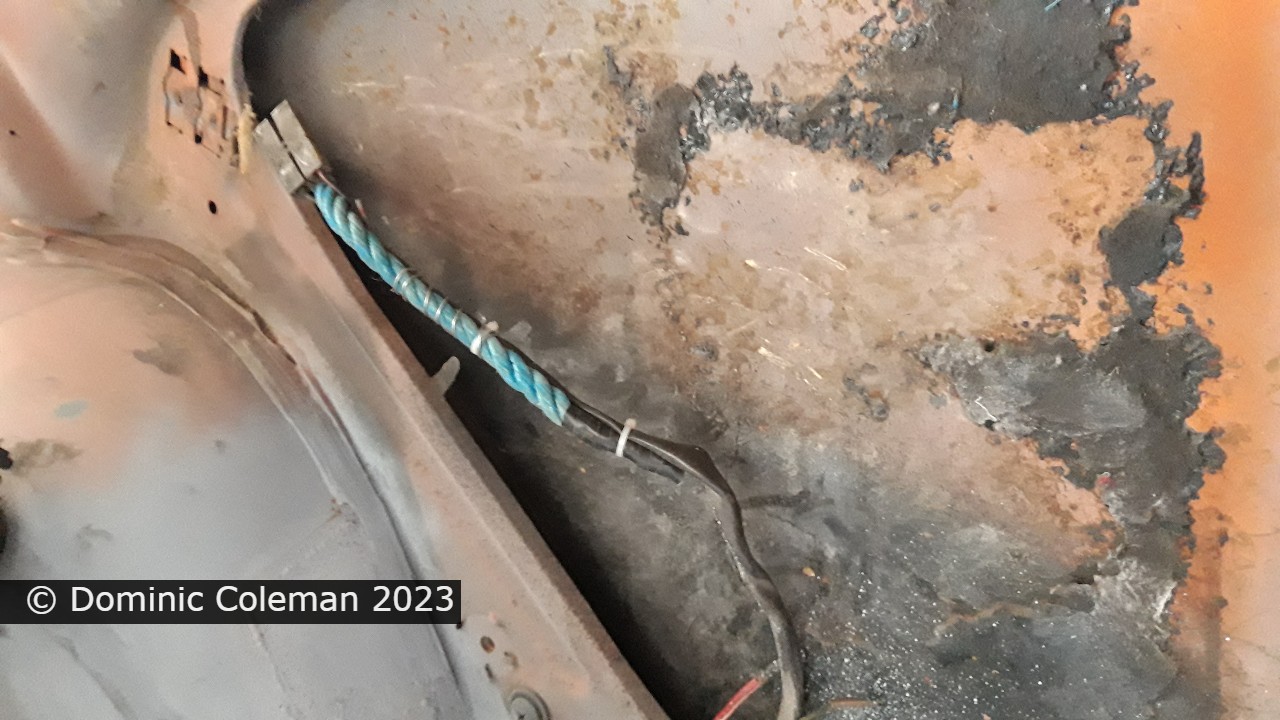
March 2023 saw me make more progress on the Beetle’s body work by the way of a 3rd or 4th round of filling, sanding and cleaning up with more filler on the original 1997 repairs. I also got to flat off the spot welds around the front cowl at bonnet opening and front valance and I completely removed the wiring loom, replaced with rope guides for the future re-install of a new loom.
Right Side A Post – filler 2nd layerLeft Side A Post – filler 2nd layerRight Side A Post – filler 3rd layerLeft Side A Post – filler 3rd layerRight Side Rear Quarter – filler 5th or 6th layerLeft Side Rear Quarter – filler 5th or 6th layerBody Work filler latest as at March 2023
The floor pan had been rolled out on to the driveway so it could be cleaned up and where there was the space to attach the anti roll bar with new poly bushes. I had to enlarge the roll bar clamps bolt holes a while ago as I think my original clamps disappeared on the strip down (June 2021) while at Pauls. Fitting the new polyurethane bushes, washer and nut combinations was not as easy as I thought it was going to be. Not enough of the roll bar thread protruded past the poly bushes for the retaining washer and castle nut to get a purchase. So, I had to hit the bushes with a soft mallet to get them pushed in enough to enable me to fit a thinner washer and nut to press the bush in further. I then had to swiftly remove the nut and washer, then quickly put on the large retaining washer and nut to tighten up before the bush expanded again.
I made a short video walk around, however, the audio and commentary isn’t very good, but you should get the idea.
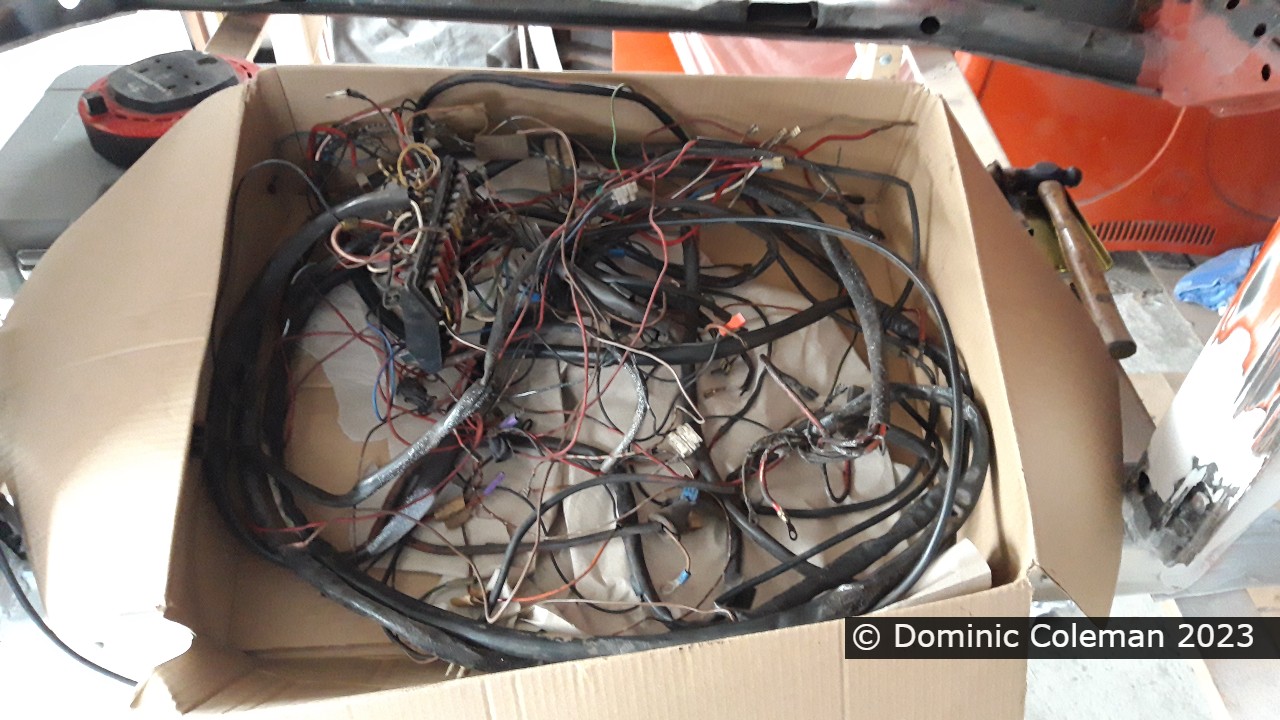
There were a couple of more items to come out of the beetle shell one of which was the wiring loom and I used some rope to attach to an end in the engine bay. This was so I could pull through the rope that would then stay in place for the later re-install of a new wiring loom. The other was the glove box door and I also took off the engine lid hinge mounts to allow easier access to clean up the engine bay firewall.
With 320 grit paper on an orbital sander I sanded the sides of the car shell up to the rain gutter to flatten off the existing paint and remove other minor blemishes. The dashboard was treated the same to flatten off the gloss paint, smooth out minor blemishes and act as a matt surface for, hopefully, better primer adhesion. I also treated the the engine bay firewall the same way and along with a small block with 320 grit sand paper which also cleaned off some the ingrained grease and dirt. I left the ‘tar board’ hooks in place in case I wanted to put one of those back in at a later date.
Interior engine firewall, note the small nuts welded for mounting the heat exchanger pipesWiring Loom from the engine bay attached to rope to allow a re-install of a new loom1302S Beetle old wiring loomVW Beetle 1302 Floor Pan with anti roll bar fittedVW Beetle 1302 Floor Pan, with anti-roll bar fittedVW 1302 Body and Floor Pan
The next big step is to get some high build primer on the inside and outside of the body. This should highlight the areas requiring more work for filling and rubbing down. It’s a big step and I will be taking my time preparing the workshop to allow me more space to move around the body and masking off areas that won’t need the primer.
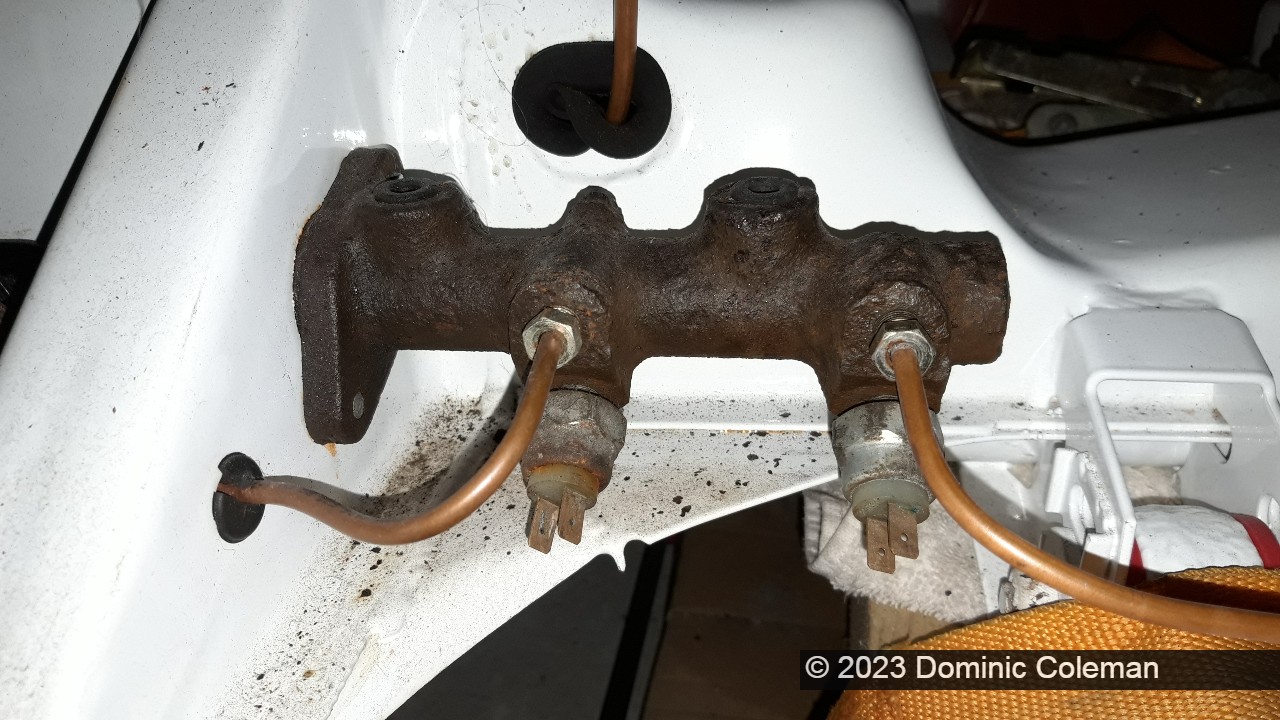
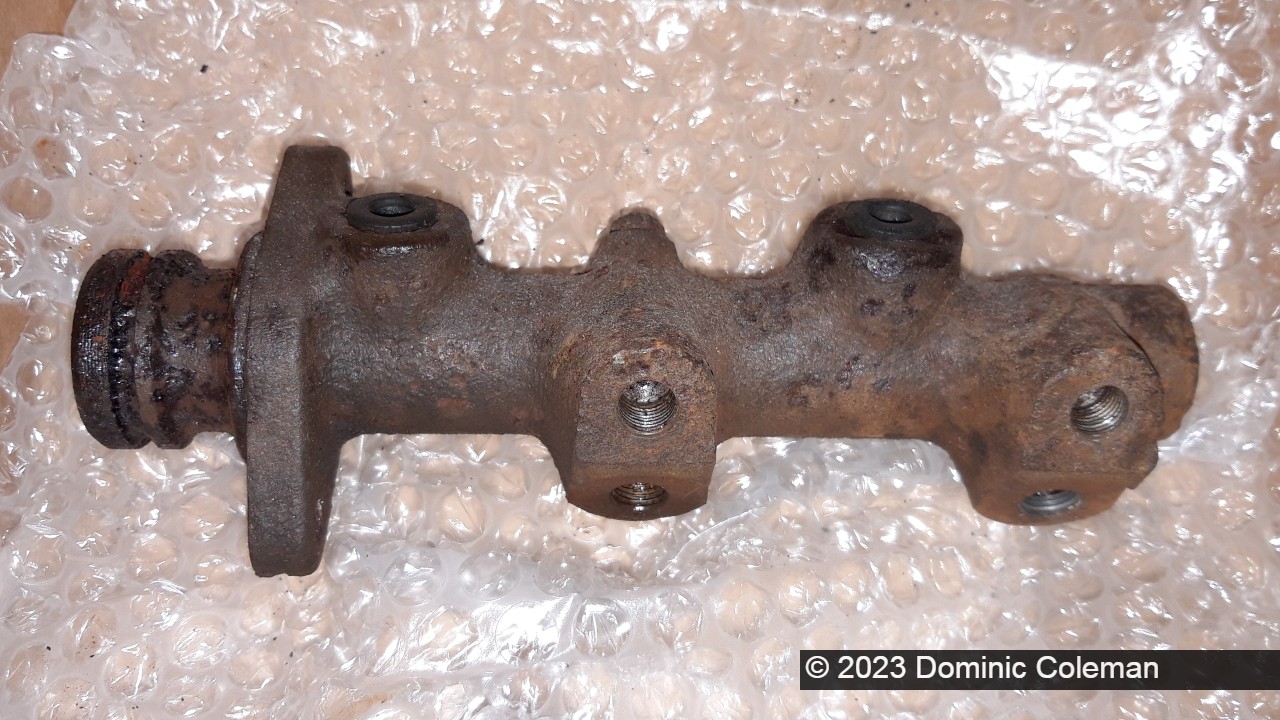
1302S RHD original master brake cylinder1302S Brake Master cylinder prior to being sent away for refurbishment
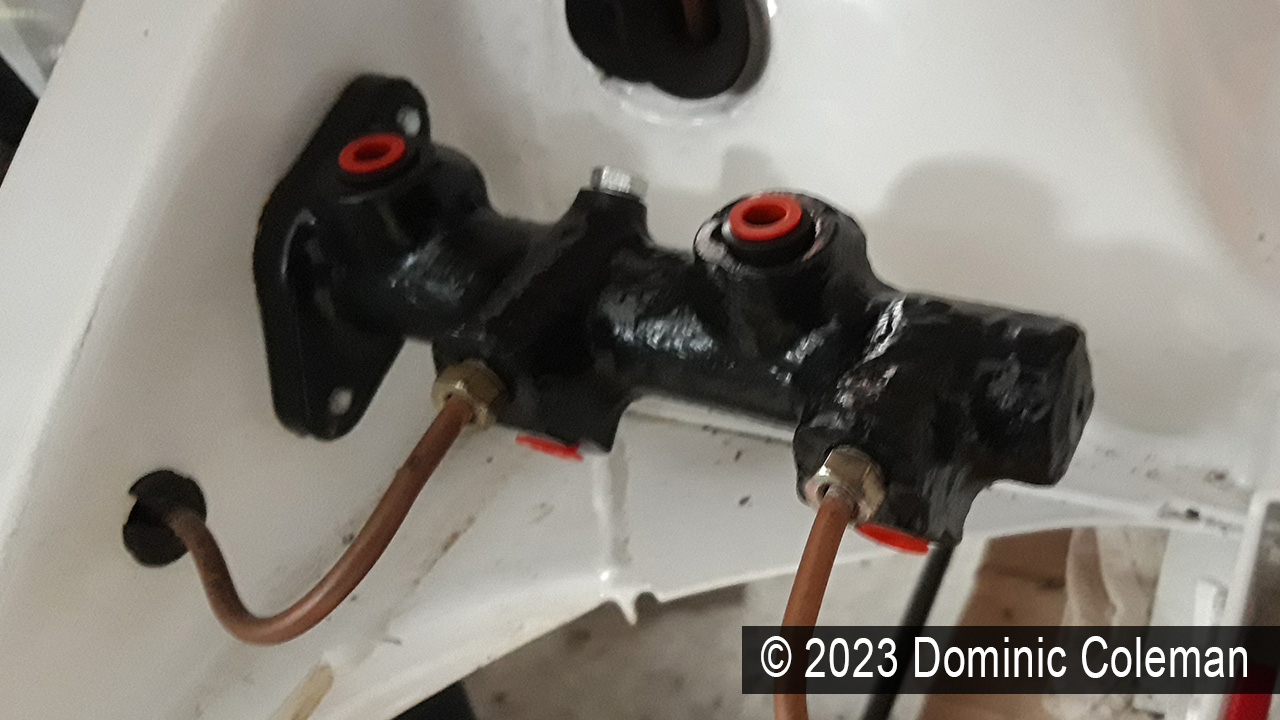
After a year of waiting, I finally got around to sending my brake master cylinder for refurbishment in January/February 2023. As the pictures show, it was in a sorry state after sitting unused for over 27 years, causing it to dry out and deteriorate.
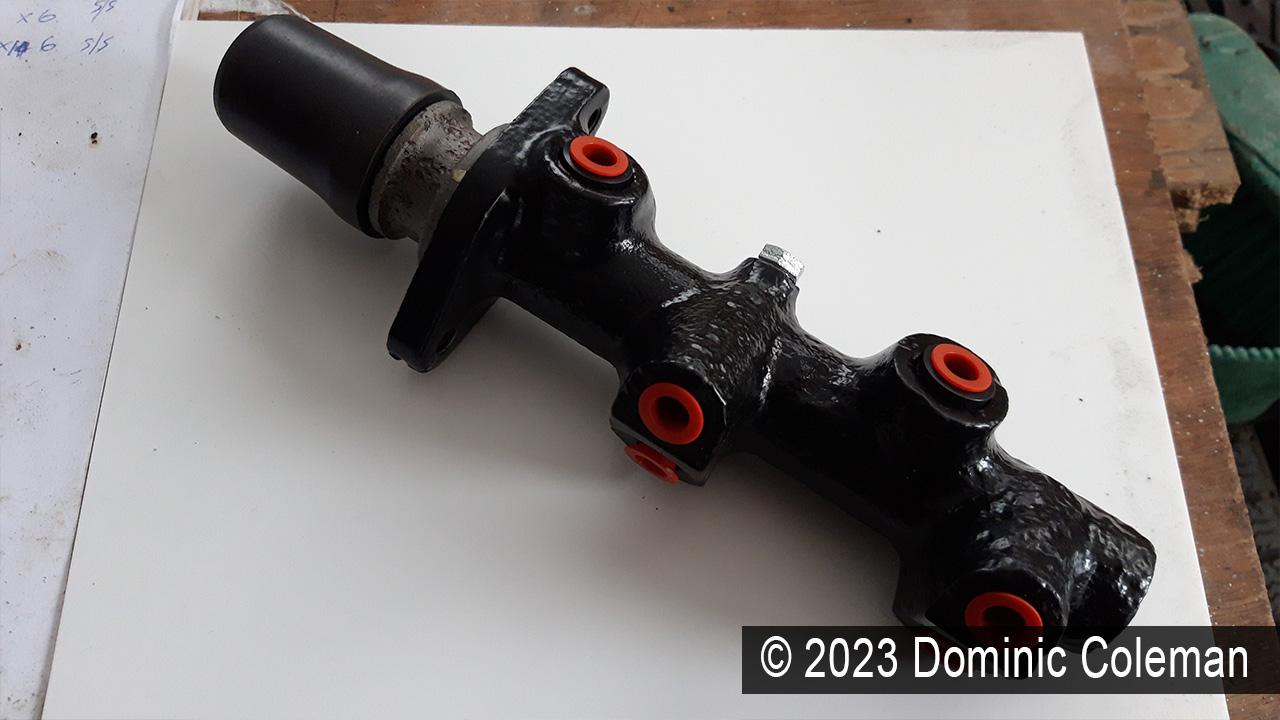
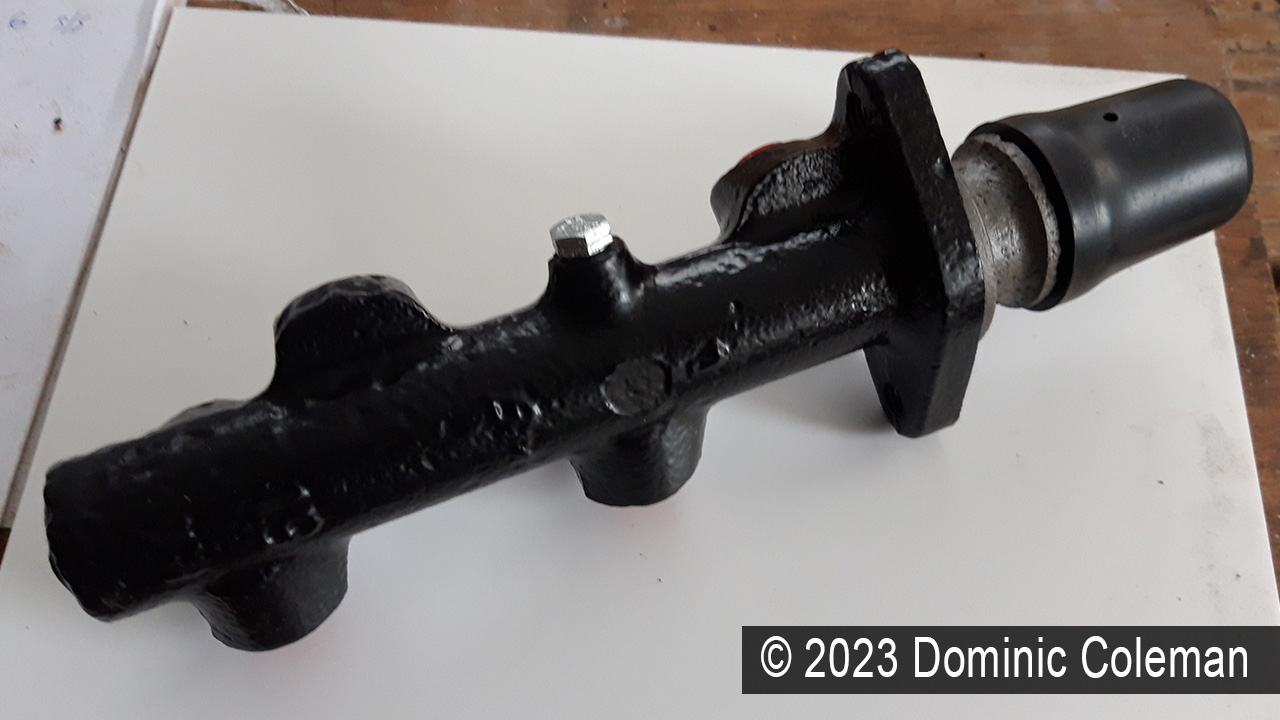
Initially, I considered buying a brand-new RHD master cylinder, but the cost of £200+ made it a less appealing option. Instead, I decided to opt for refurbishing my original one with a stainless steel inner sleeve, new seals, and black powder coating. The entire process was carried out by Past Parts, a reputable company based in Bury St Edmunds, UK, and took about two weeks to complete.
In the end, the cost of the refurbishment was less than £150, including all postage fees, allowing me to save a significant amount of money. This saving will be put towards purchasing new German brake circuit warning switches, which I hope to acquire soon.
Overall, I am pleased with the outcome of the refurbishment, and I’m glad that I opted for this option rather than buying a new part. It’s a great feeling to see my old brake master cylinder come back to life after so many years.
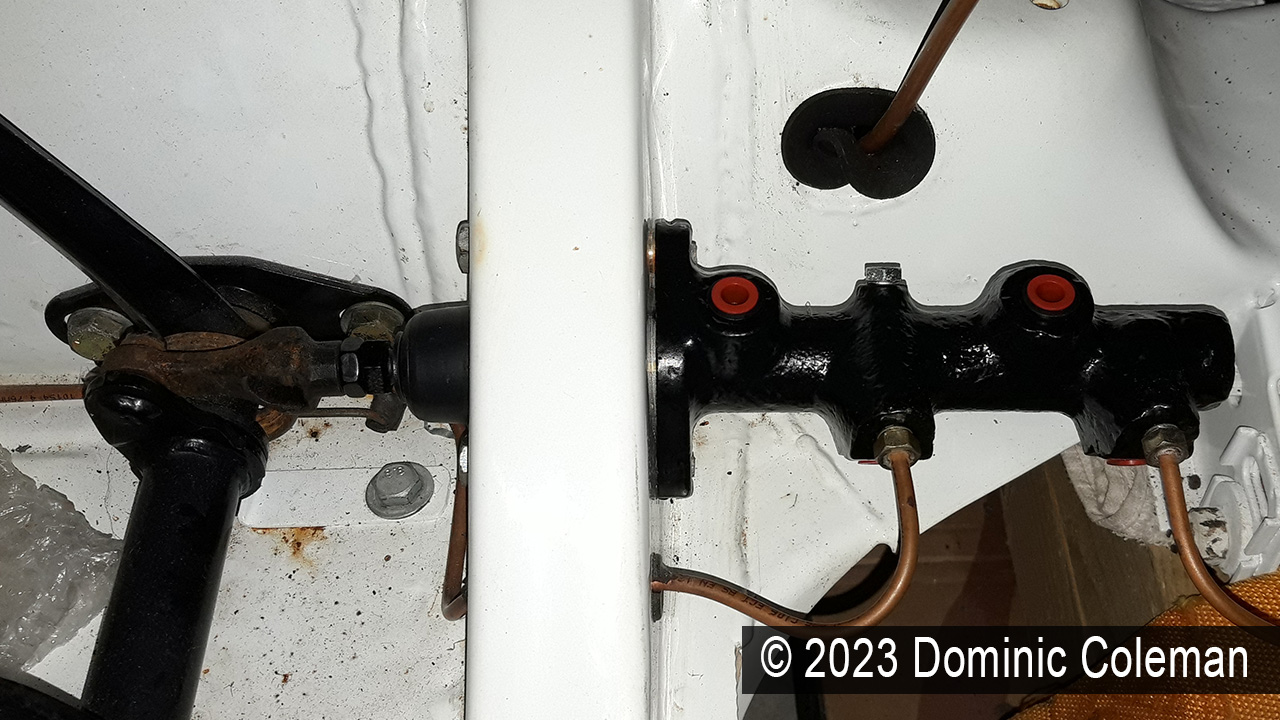
VW Beetle Type 1 1302S RHD brake master cylinder, refurbishedVW Beetle Type 1 1302S RHD brake master cylinder, refurbishedBrake master cylinder, refurbished and back in placeVW Beetle Type 1 1302S RHD brake master cylinder, refurbished and back in place
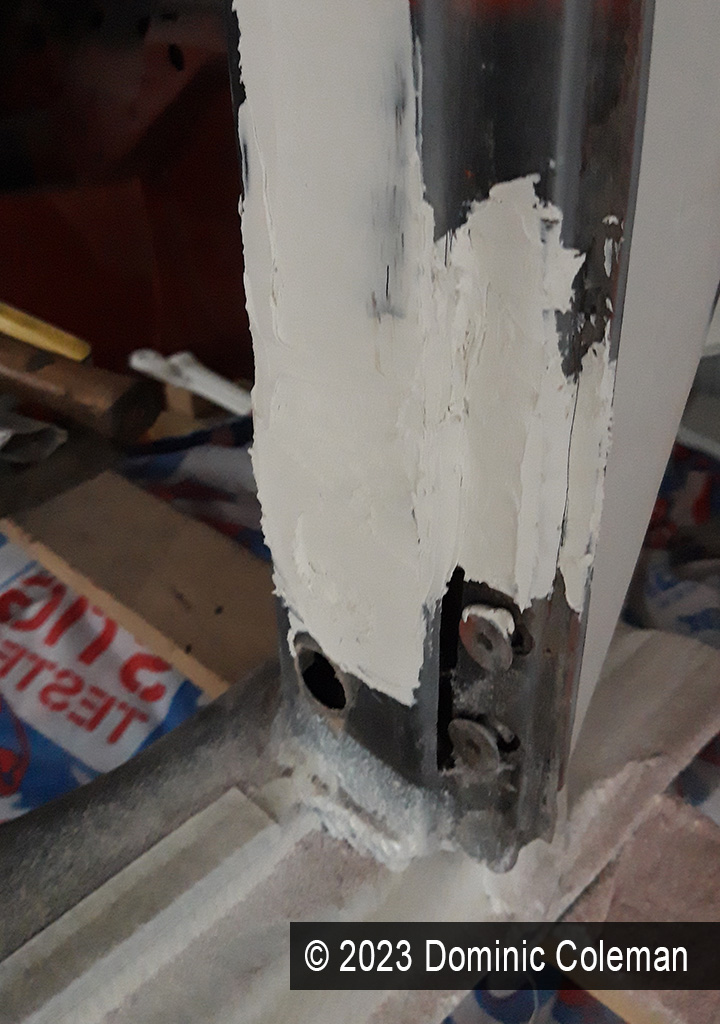
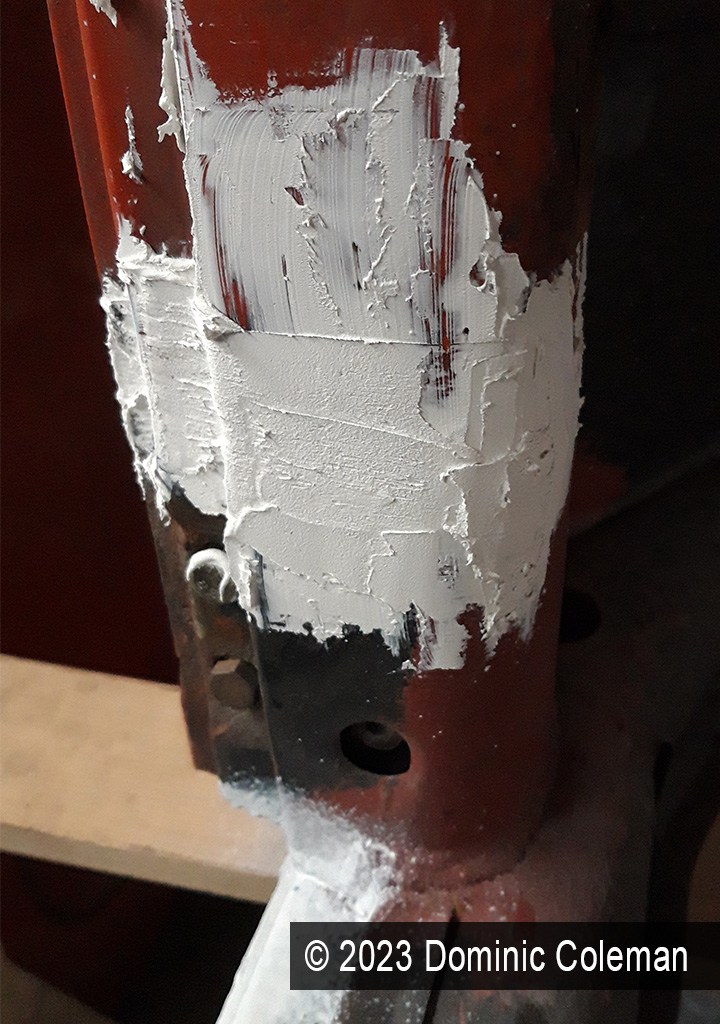
While I was in the workshop on a relatively mild day, I took the opportunity to do some body filler work. I started by sanding down the front right side quarter filler using 80 grit paper, before adding some more filler to the lower door ‘A’ posts to smooth out the lip from repair work done in 1997.
Right side door post, lower portionLeft side door post, lower portion
Last year, I spent some time researching how to work with automotive body filler and came across Bad Chad’s YouTube channel. His long but detailed video on filling and sanding techniques was particularly helpful, and I used his guidance to achieve decent results on the rear quarter panels. I also had some insightful conversations with John, a friend who restores classic cars and has worked on my Ford Corsair, as well as with Paul from South Coast Customs over the Christmas period. John offered to give me a hands-on tutorial on filling, sanding, and prepping for primer and paint in the spring, depending on his workload.
Recently, I discovered another YouTube channel by a British customizer named Paul Bacon. I was impressed by his straightforward, no-nonsense approach to bodywork and appreciated his creative style. His work, including the epic Automatron custom car, inspired me to continue learning and improving my skills. You can check out one of his videos below.
Note: This blog was written with the help of ChatGPT. The original blog post can be seen here.
1302S Body shell stripped of wiring loom and steering column
Dec 2022 – Jan 2023: Stripping out the dash, the wiring and finally removing a stubborn steering column were the last of the jobs to reduce the body shell down to a… shell. The wiring loom was left in place as I hadn’t found any suitable cord or cables to re-route and pull it through to maintain a method for replacing with a new loom, in the future.
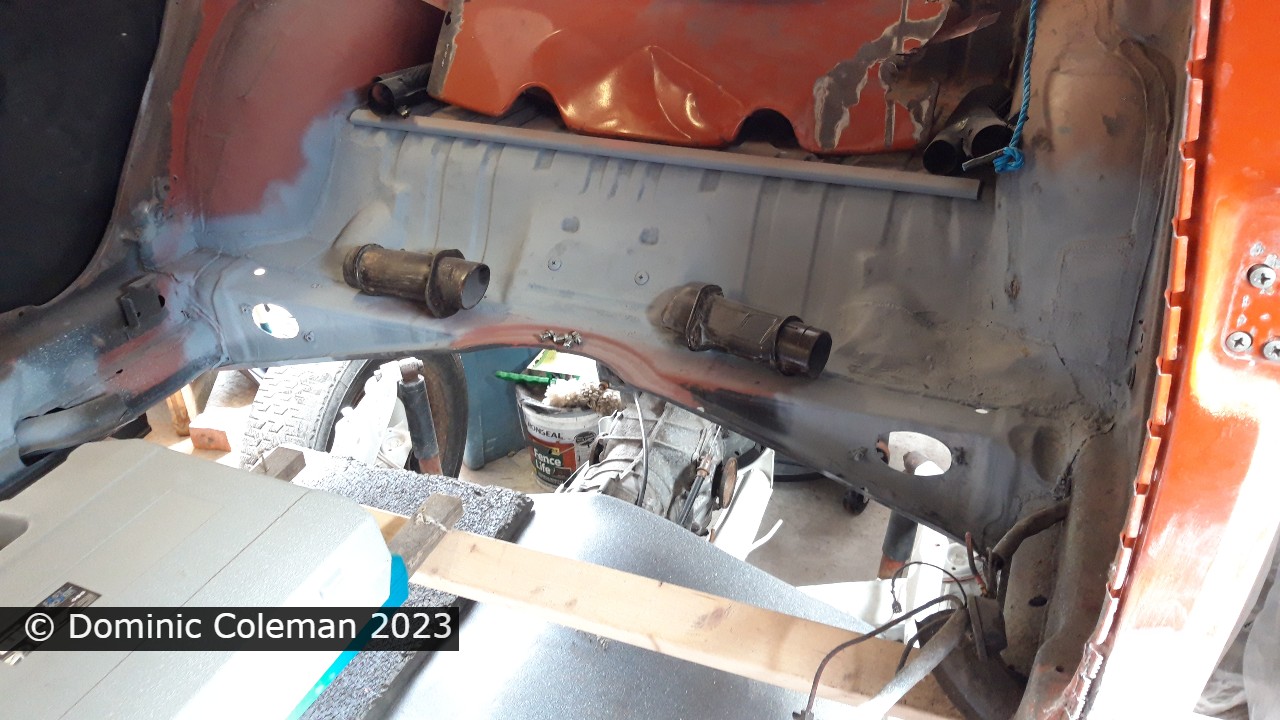
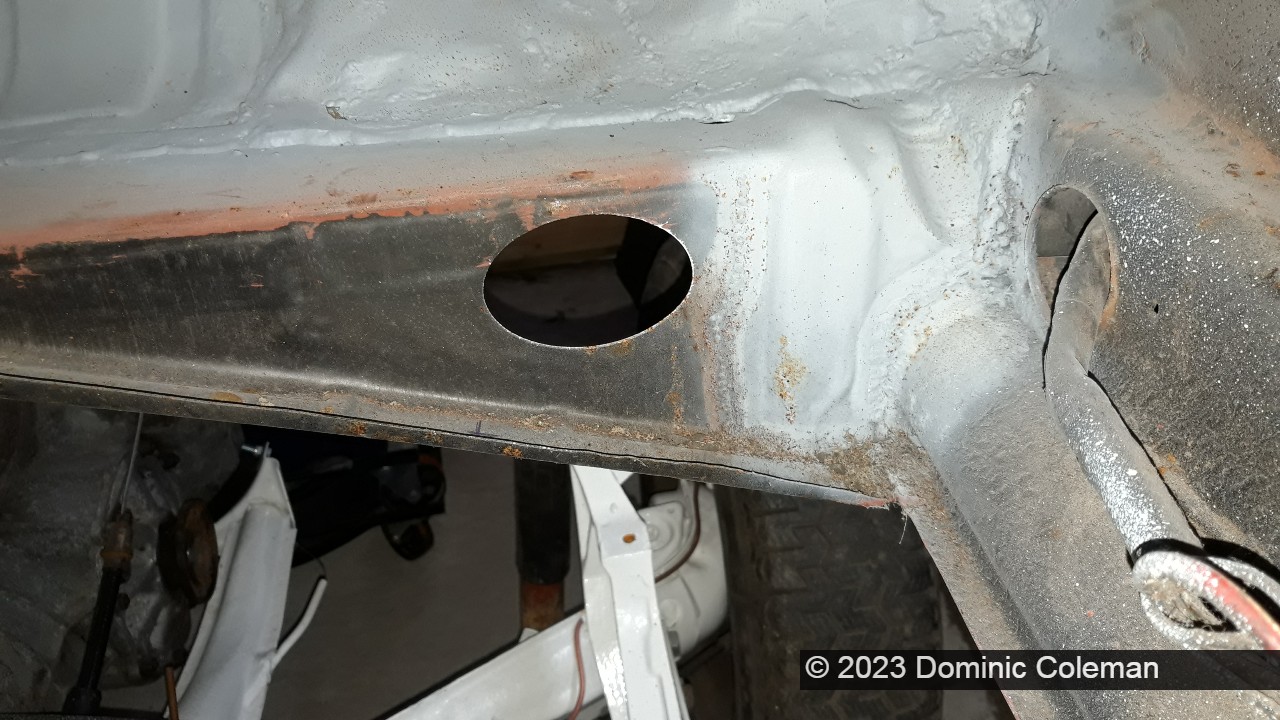
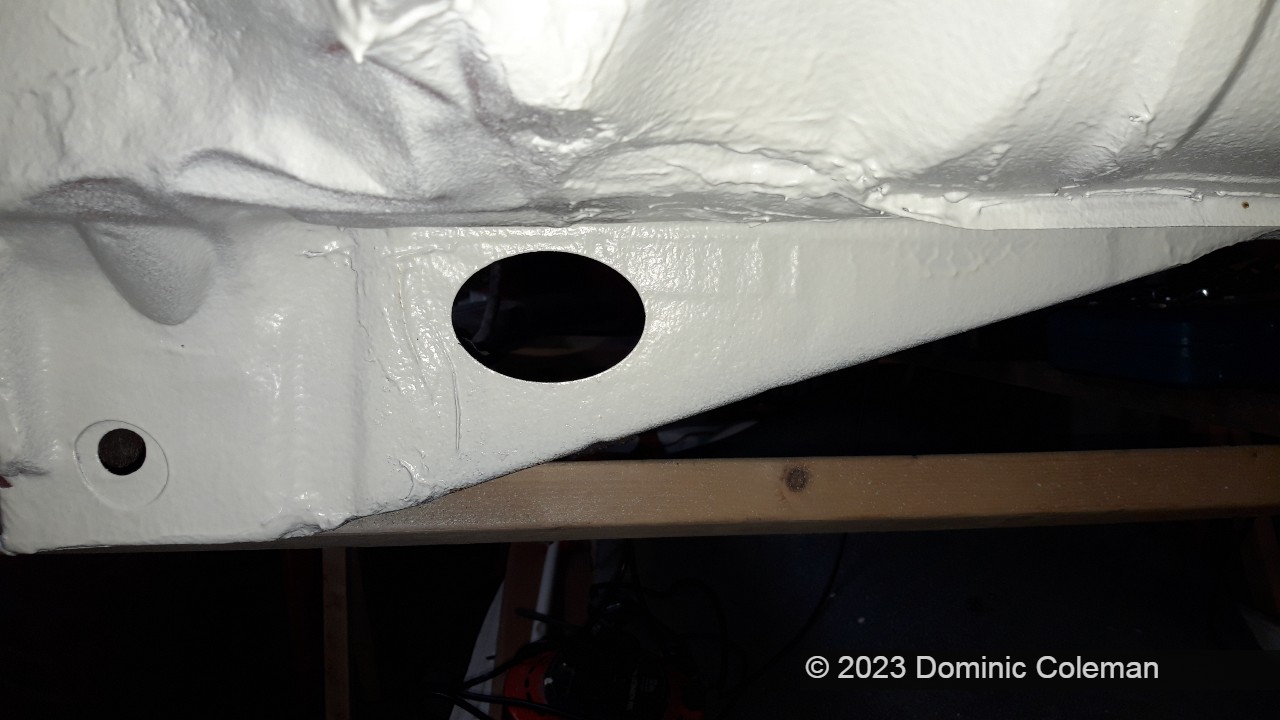
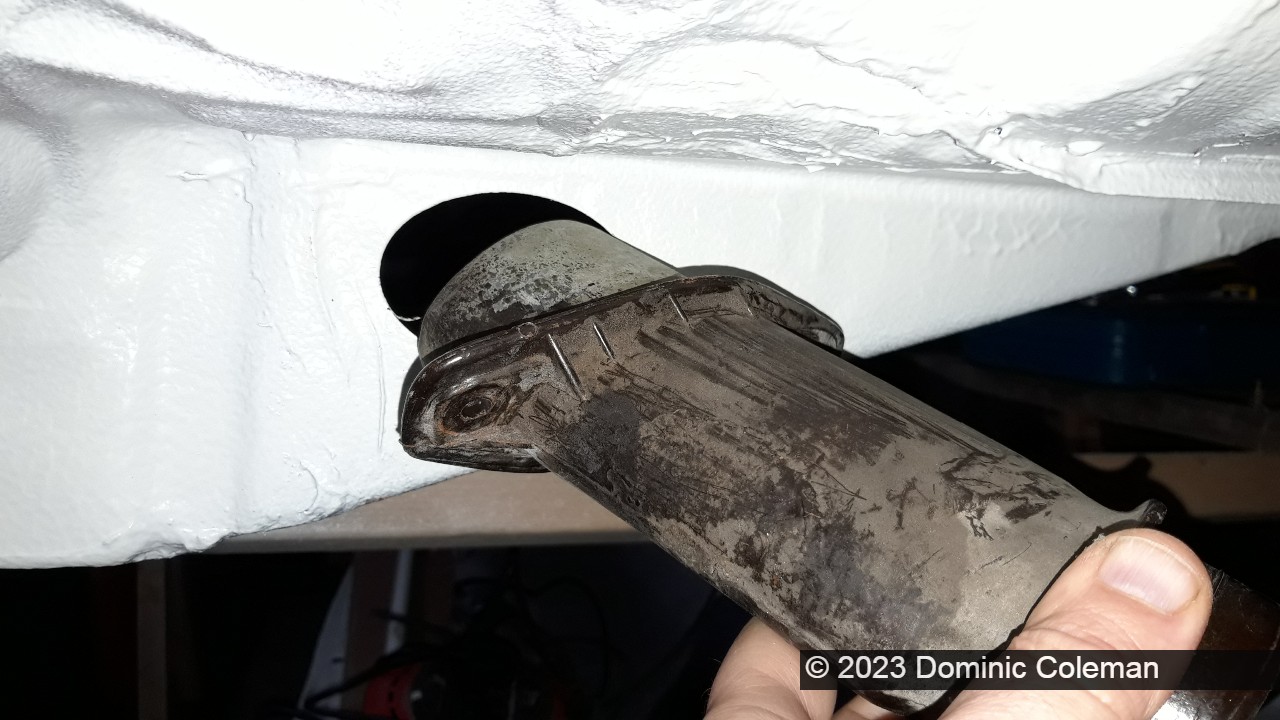
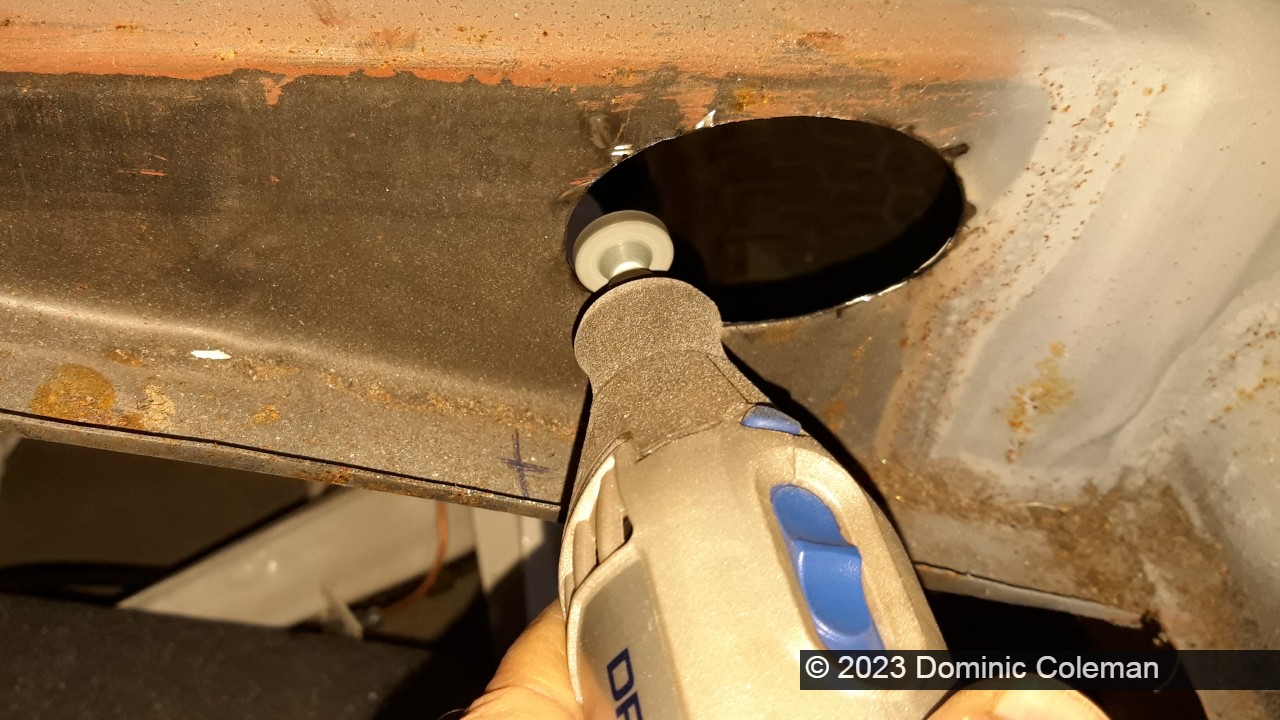
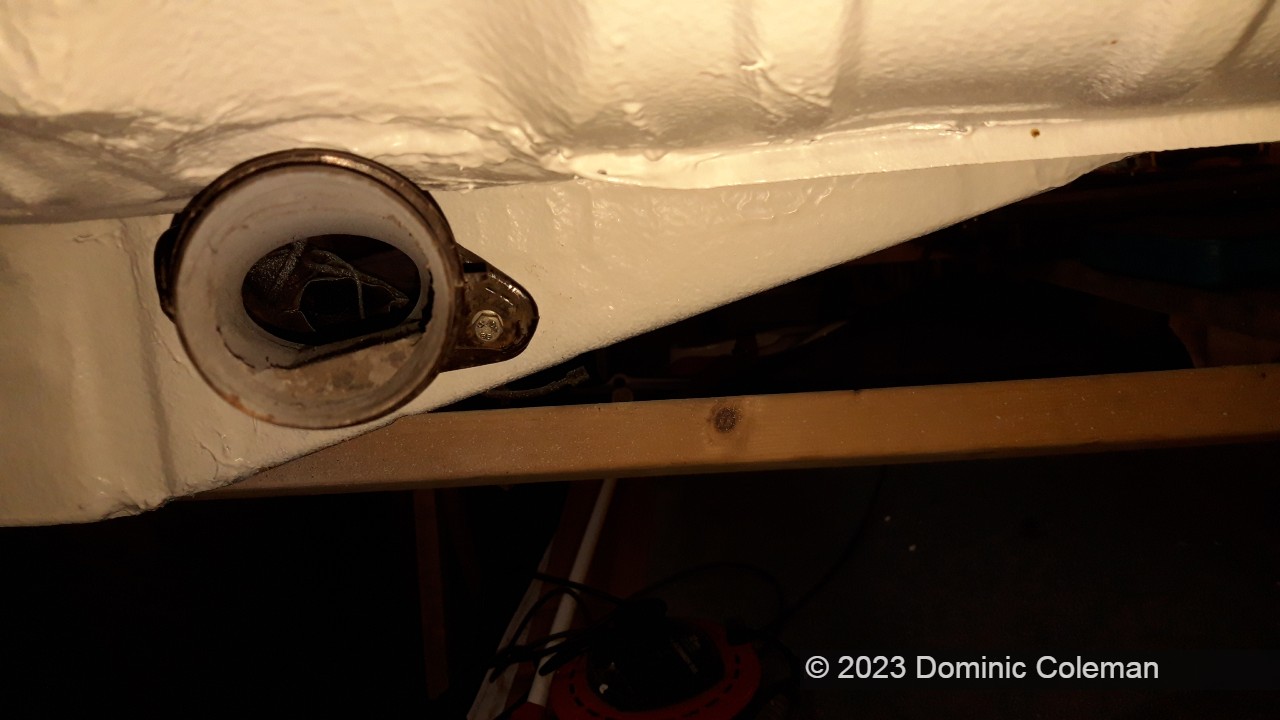
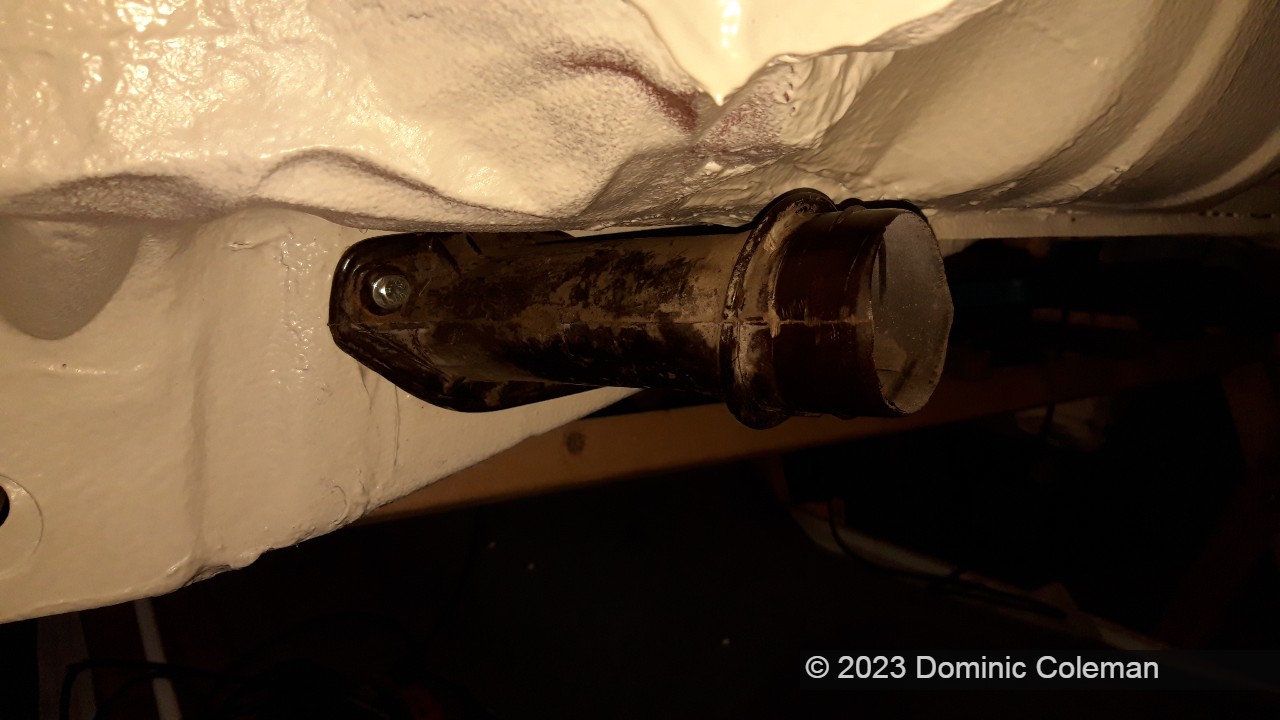
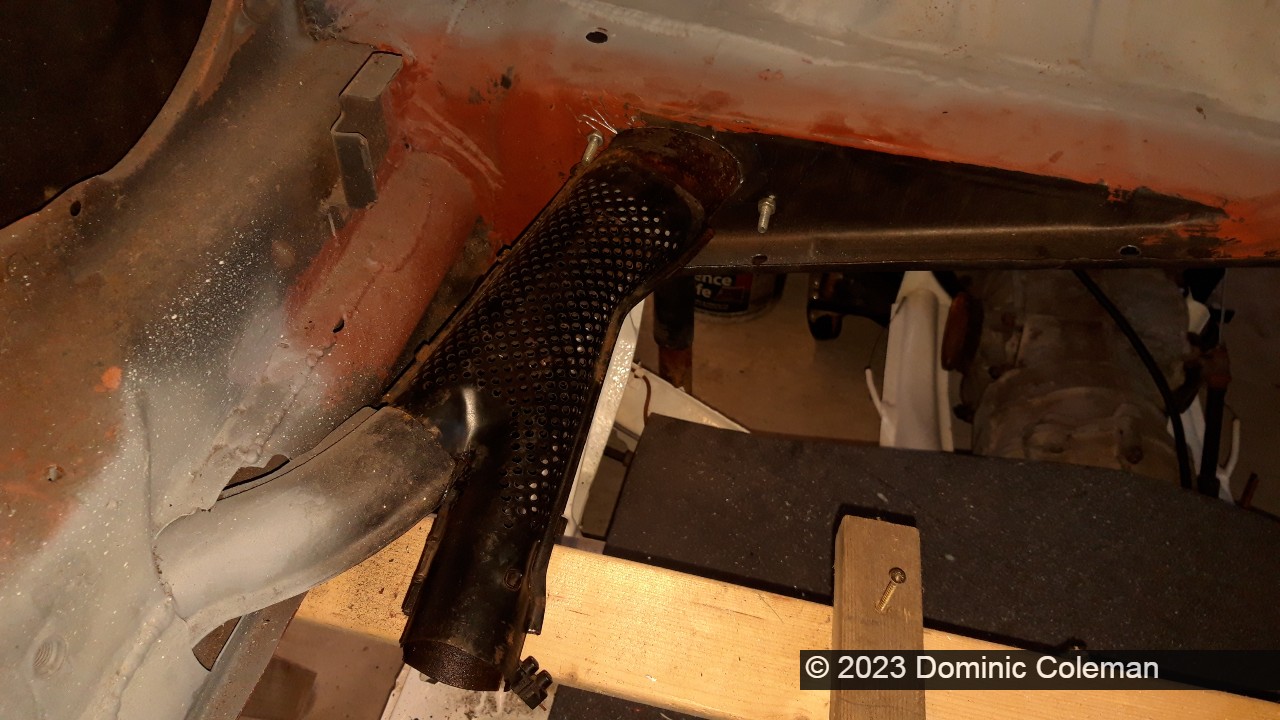
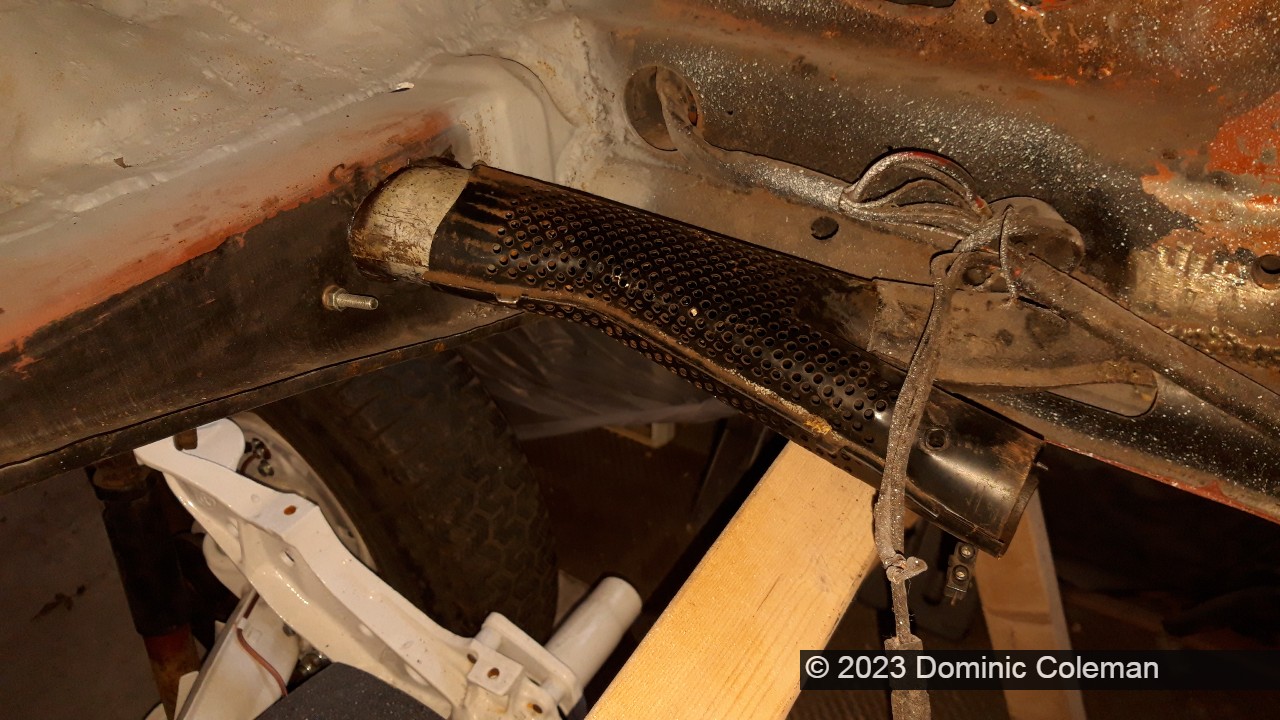
One job that I was keen to get done was to ensure the left and right handed Bakelite heater tubes that mount through the rear cross member were in position with the holes drilled for mounting. It turned out the oval holes were not big enough for the Bakelite heater tubes and I had to grind out the ovals. Luckily I had a Dremel (4000) with a couple of grinding attachments, one of which broke 3/4 of the way through the job on one of the apertures. It took over an hour of careful grinding on each side for the tubes to fit flush and enable me to mark up and drill the holes for the mounting bolts. The heater branch pipes were mocked up and fitted well which began to make things were moving in the right direction.
left side rear cross member with heater tube mounting holeleft side rear cross member with heater tube mounting hole (external view)offering up the Bakelite heater pipe – it doesn’t fit at this stageGrinding out the heater pipe apertureBakelite heater pipe (left side) installedBakelite heater pipe (left side) installedRight side heater pipe branch fitted between Bakelite to heater channelLeft side heater pipe branch fitted between Bakelite to heater channel
The bolts will need to be welded to the cross member, as per on the original panels which would make installation of the heater pipes much easier when the body is back on the floor pan. By mid January 2023, It got very cold (sub zero) and enthusiasm waned for the remainder of the month.
November 2022 and with the earlier jobs done I could take a closer look at the bodywork in some more detail. It had been on my mind for some time but I was keen to try out the Cobra Bedliner I had bought back in March 2022. It all looked simple on the video I watched a few times and in reality the process of mixing and application was not difficult, though a bit messy.
I approached the task in two stages, the rear end was to be first as it was more accessible with less prep work required and the front was to be the second stage, requiring more preparation and other minor jobs.
Materials used for the Bedliner (anti-stone chip) applicationFirst application of BedlinerRear underside coated with Cobra BedlinerRear wheel arch coated with Cobra Bedliner
For the second stage on the front end, I needed to clean up the excess welds, unwanted previous black undercoat, weld up some minor holes and fit a brake pipe bracket on the front right inner wheel arch. I hadn’t attempted welding on bodywork since those disastrous days way back in 1996. It took a few attempts to securely weld the bracket and plug the holes in the wing arch mounting areas but in the end all turned out OK.
Front right side inner wing prepped for welding the brake line bracketFront right side inner wing now with holes welded up and brake line bracket welded onFront right side inner wing prepped in primer ready for BedlinerFront right side inner wing with sprayed with white BedlinerFront left side inner wing prepped for BedlinerFront left side inner wing with Bedliner Shultz sprayed onFront under side (spare wheel well) Shultz sprayed with Bedliner
The overall experience of applying the Bedliner was OK and not as difficult as I first thought it was going to be. I tried my best to take my time and not rush things. Measuring the 2K bright white paint from the tin into the measuring pot (roughly) was probably the most messy part of the process. I seemed to hurry myself spraying, thinking the Bedliner would start to dry in the Shultz gun before I could finish, and if I had been slower I probably would have made a better job of coverage on the underside areas. I used two bottles of the Cobra Bedliner, one for each end of the car and I have a third that I intend to use on the floor pan, underside and touch up on the body where needed.
December 2022 – The weather took a turn for sub-zero temperatures and work stopped for a short period.
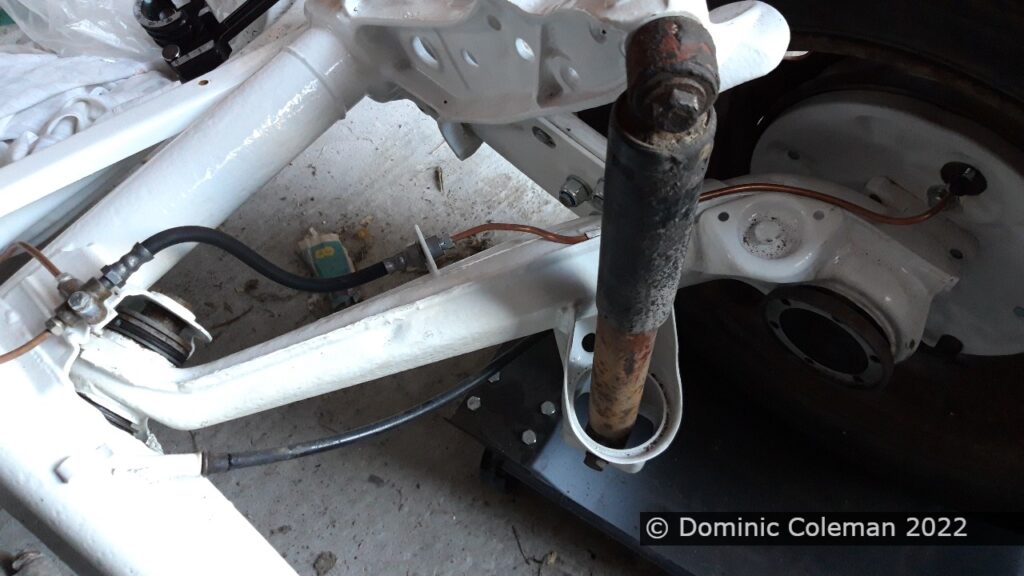
During October 2022, one of the other little jobs that had hung over me for the most part of 12 months was to finish off the brake lines for the rear. During the summer, I had found on eBay nearly new, flexible brake pipes for the front and rear and finally ordered from Amazon some male/female 10 mm brake pipe unions. I already had some 6 mm copper brake pipe left over from when I had done my Ford Corsair brake lines a few years ago. The pipes were made up and flexible hoses were fitted but only loosely tightened as they didn’t have any fluid in them. The master cylinder was still at this point needing to be sent away for refurbishment.
Rear brake line fitted and routed along the IRS arm
Having dabbled with filler and satisfied myself that there was a fair bit of work to be done I turned my attention to other parts of the car. If I was going to go the whole hog of a full body repaint then I needed to strip the body shell of more items. First was the headliner, which I kept for future refitting reference. Next was removal of door latches, interior light, dashboard instruments and switches. Removal of the dash instruments wasn’t too difficult, but putting it back together maybe something of a nightmare. I also removed the wiper mechanism along with the wirng loom, which was a birds nest of a mess as the plan is to renew it.
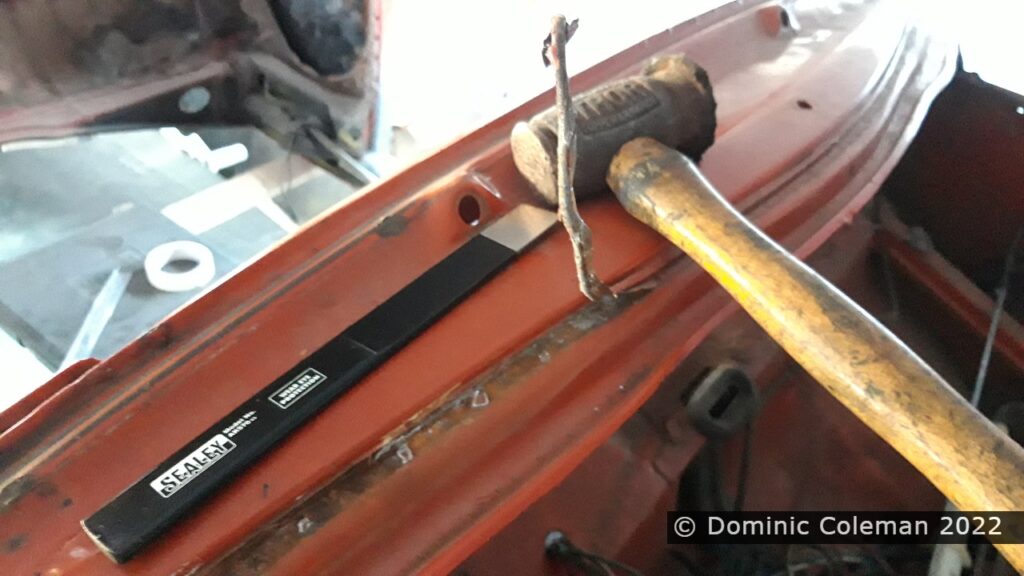
With the dash stripped out I could look at the body work side of things in more detail. One job that again had been hanging around in my head was the removal of the seal retaining strip that would have held the bonnet rubber. Paul had suggested that I go the Mexican Beetle method of the rubber that attaches to the bonnet and engine lid for a cleaner finish. So with a new spot weld chisel I set to breaking off the spot welds and had the retaining strips removed in a relatively short space of time. The remnants of the spot welds just needed to be ground flat and smoothed. I doubt the car (if/when finished) will see much of the rain when used, especially if the new seals (when fitted) aren’t very good.
Weather strip rubber gripper removal
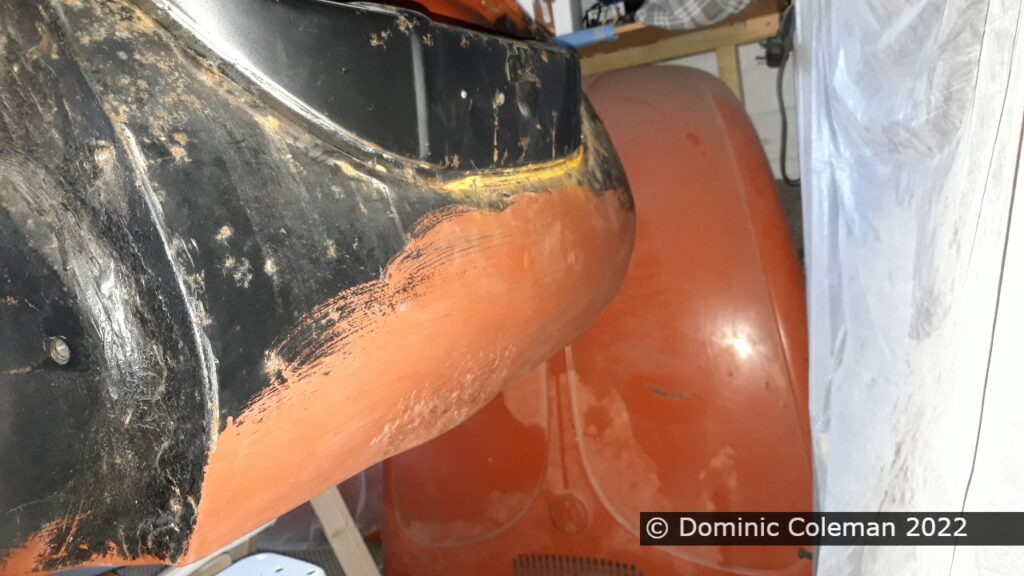
The front valence had taken a bit of a battering when the body was being removed from the floor pan way back in June 2021. Paul had knocked out the worst of the dents and deformation before returning the body to me but I had a go with my planishing hammer and dolly to re-shape it some more. The result was an improvement and the first time that I had done such panel beating. The surface will be finished with filler.
Front valance panel beaten out some more and the rubber gripper removed
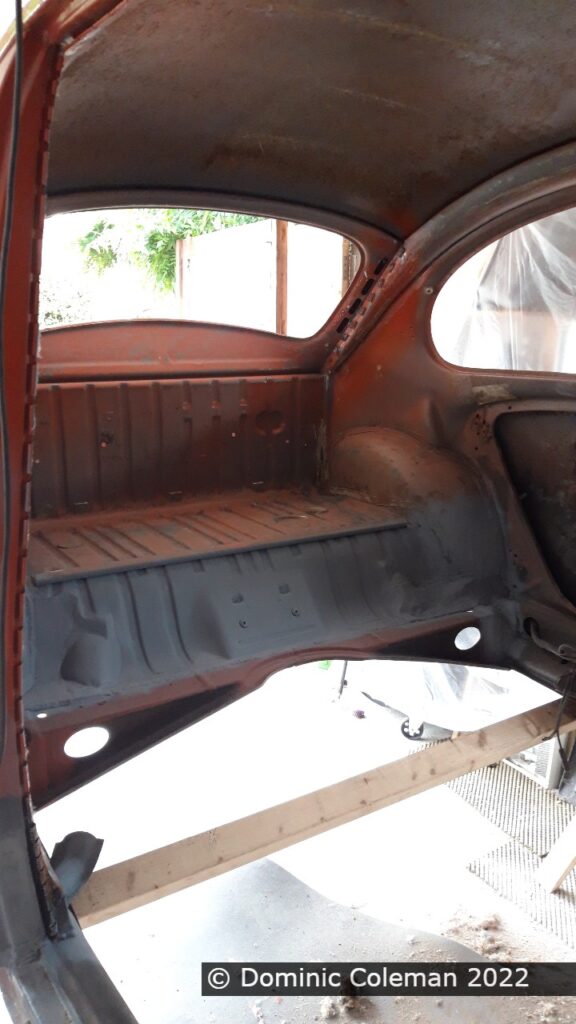
One of the last jobs, prior to doing the Bedliner job (next post), was the very dusty task of cleaning up the rear luggage area from the remains of old insulation and sound deadening materials. I used a cupped wire brush and a knotted wire wheel on my angle grinder. It meant it was a clean area ready as a practice area for trying out primer and painting colour, later on. On the rear lower cross member with the large oval holes, these would accommodate the heater pipes from the engine. Captive nuts would need to be welded around these vent holes before any attempt at primer spraying would be done. I acquired from Paul a couple of vent pipes that had gone missing as replacements and to act as templates to sort his out.
Rear engine cover cleaned up and primed ready for painting later