Categories
bodywork floor pan seals

Body to Floor Pan

February 2026: The day finally arrived for the body to be put back onto the floor pan. Paul and his assistant, Ash, came over on Saturday afternoon, and I had prepped the work area as much as I could think of beforehand.
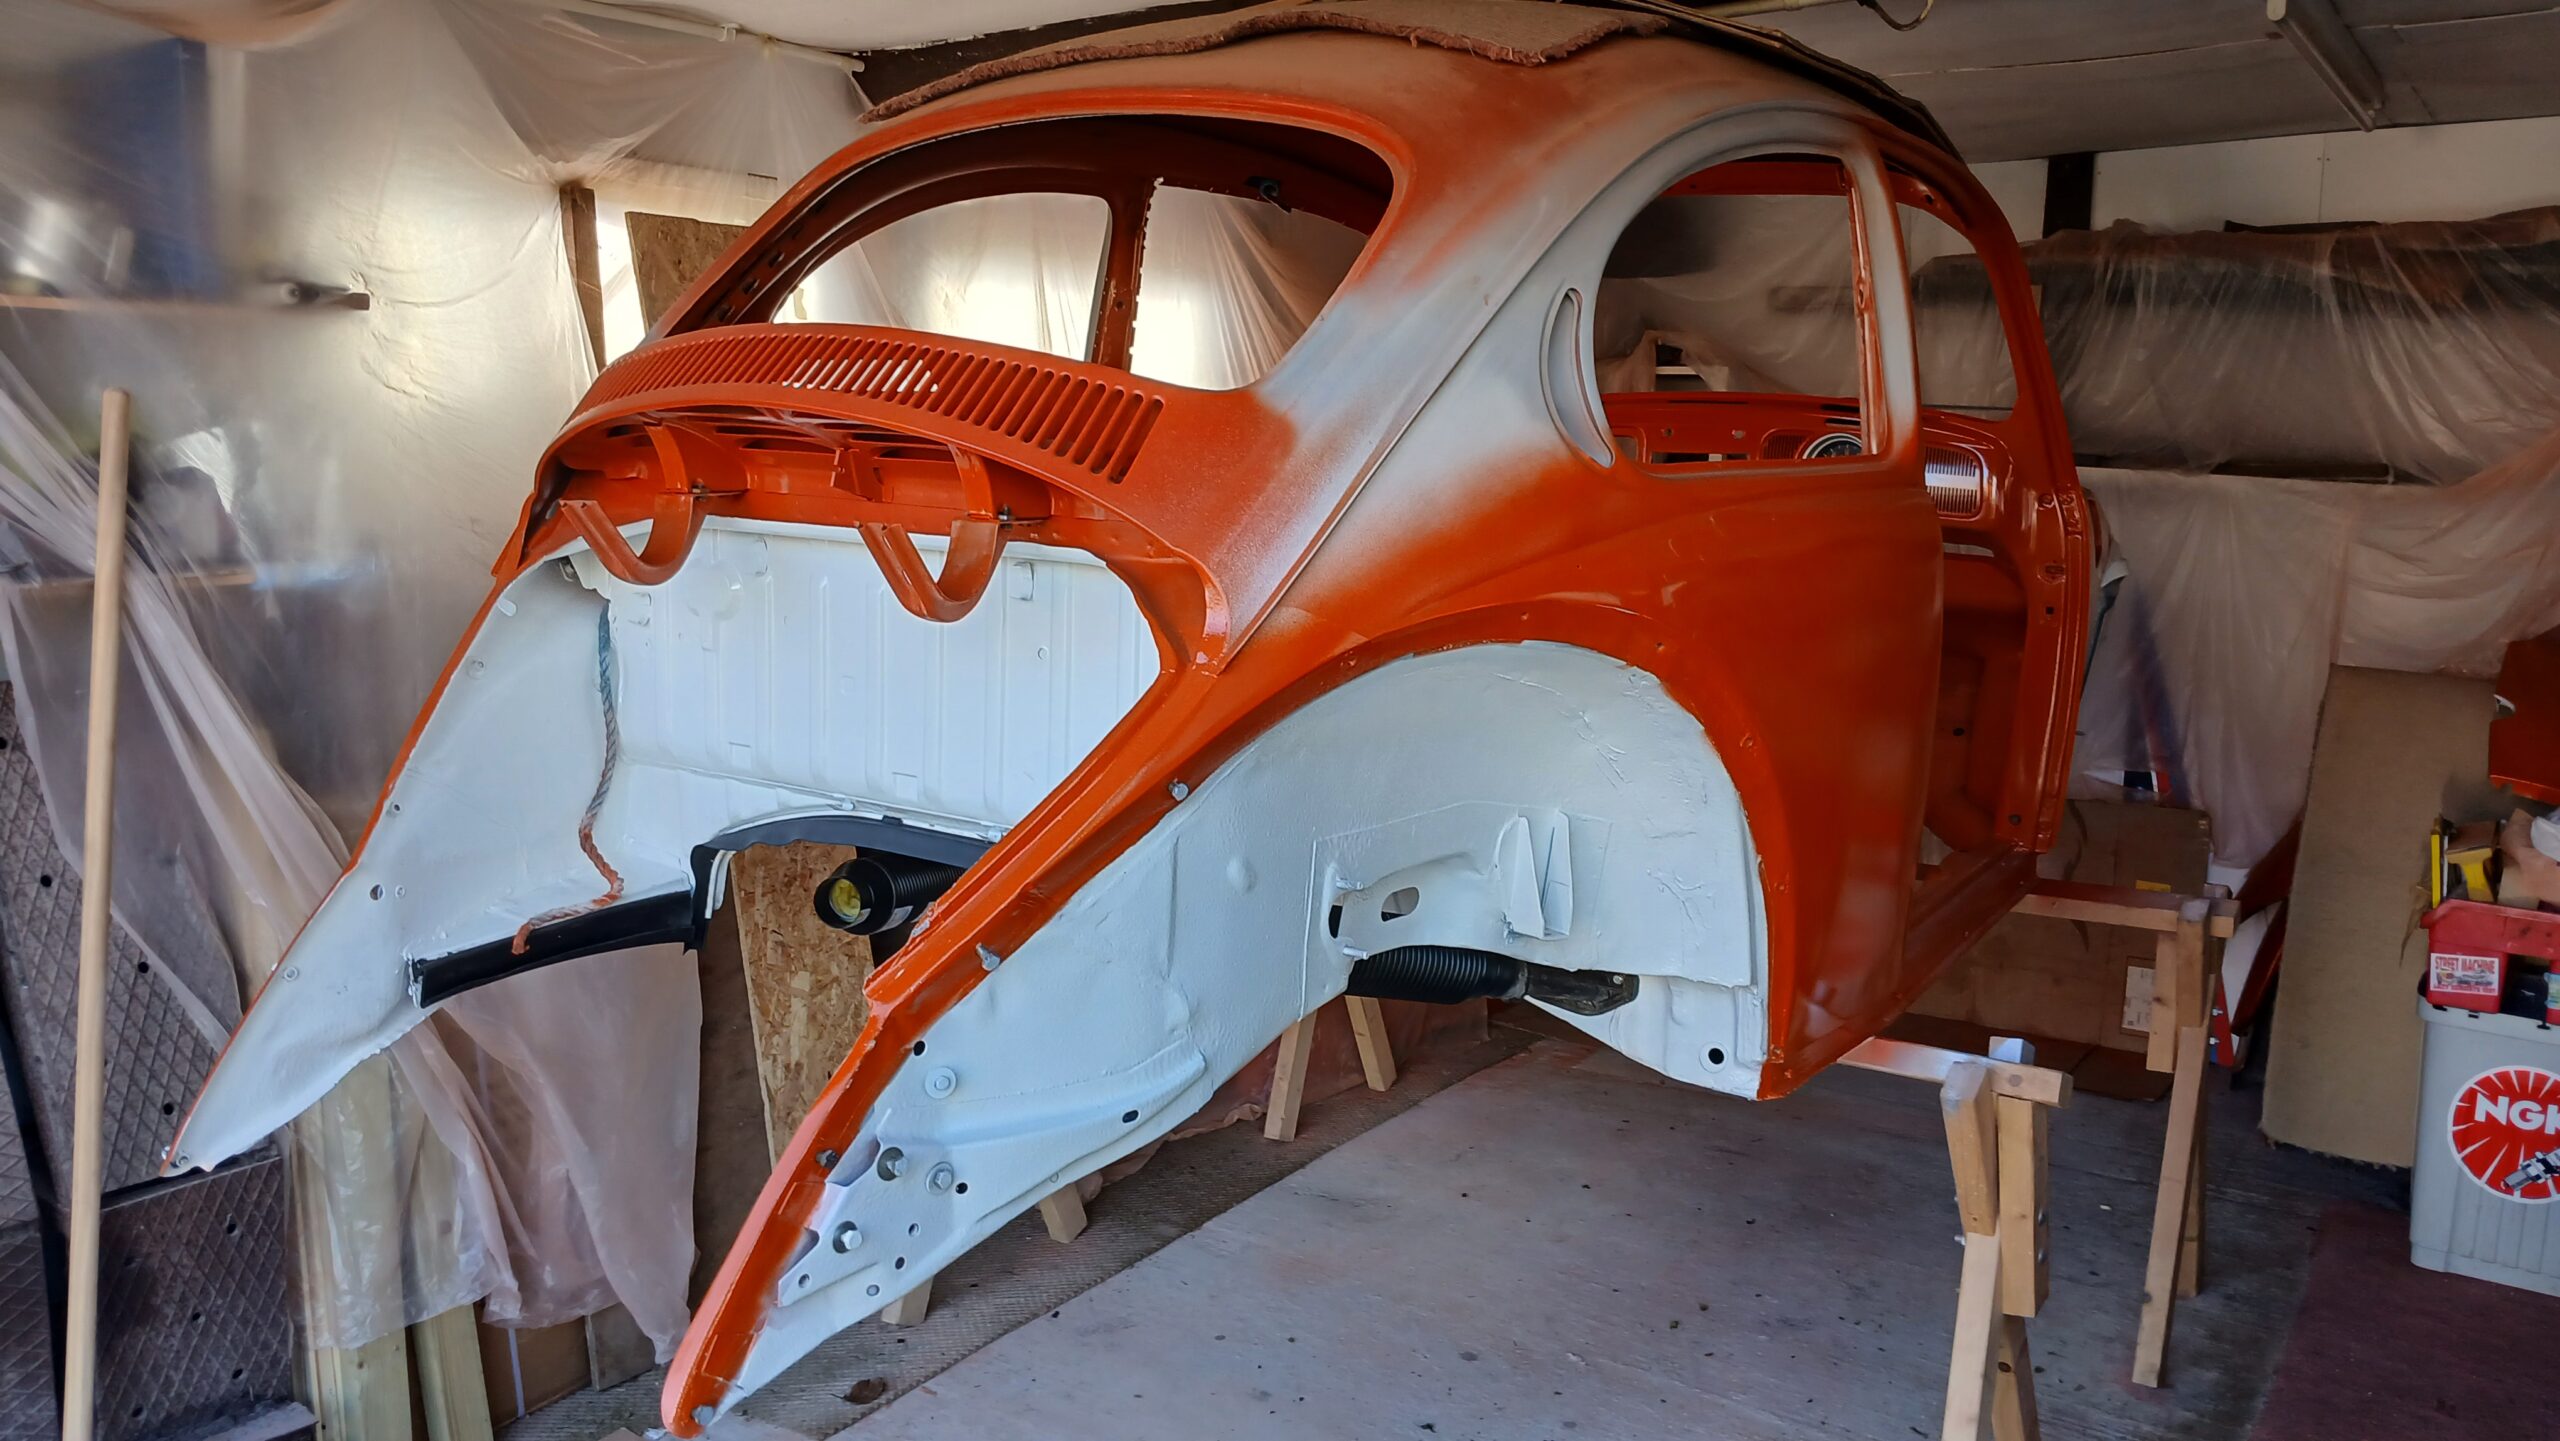
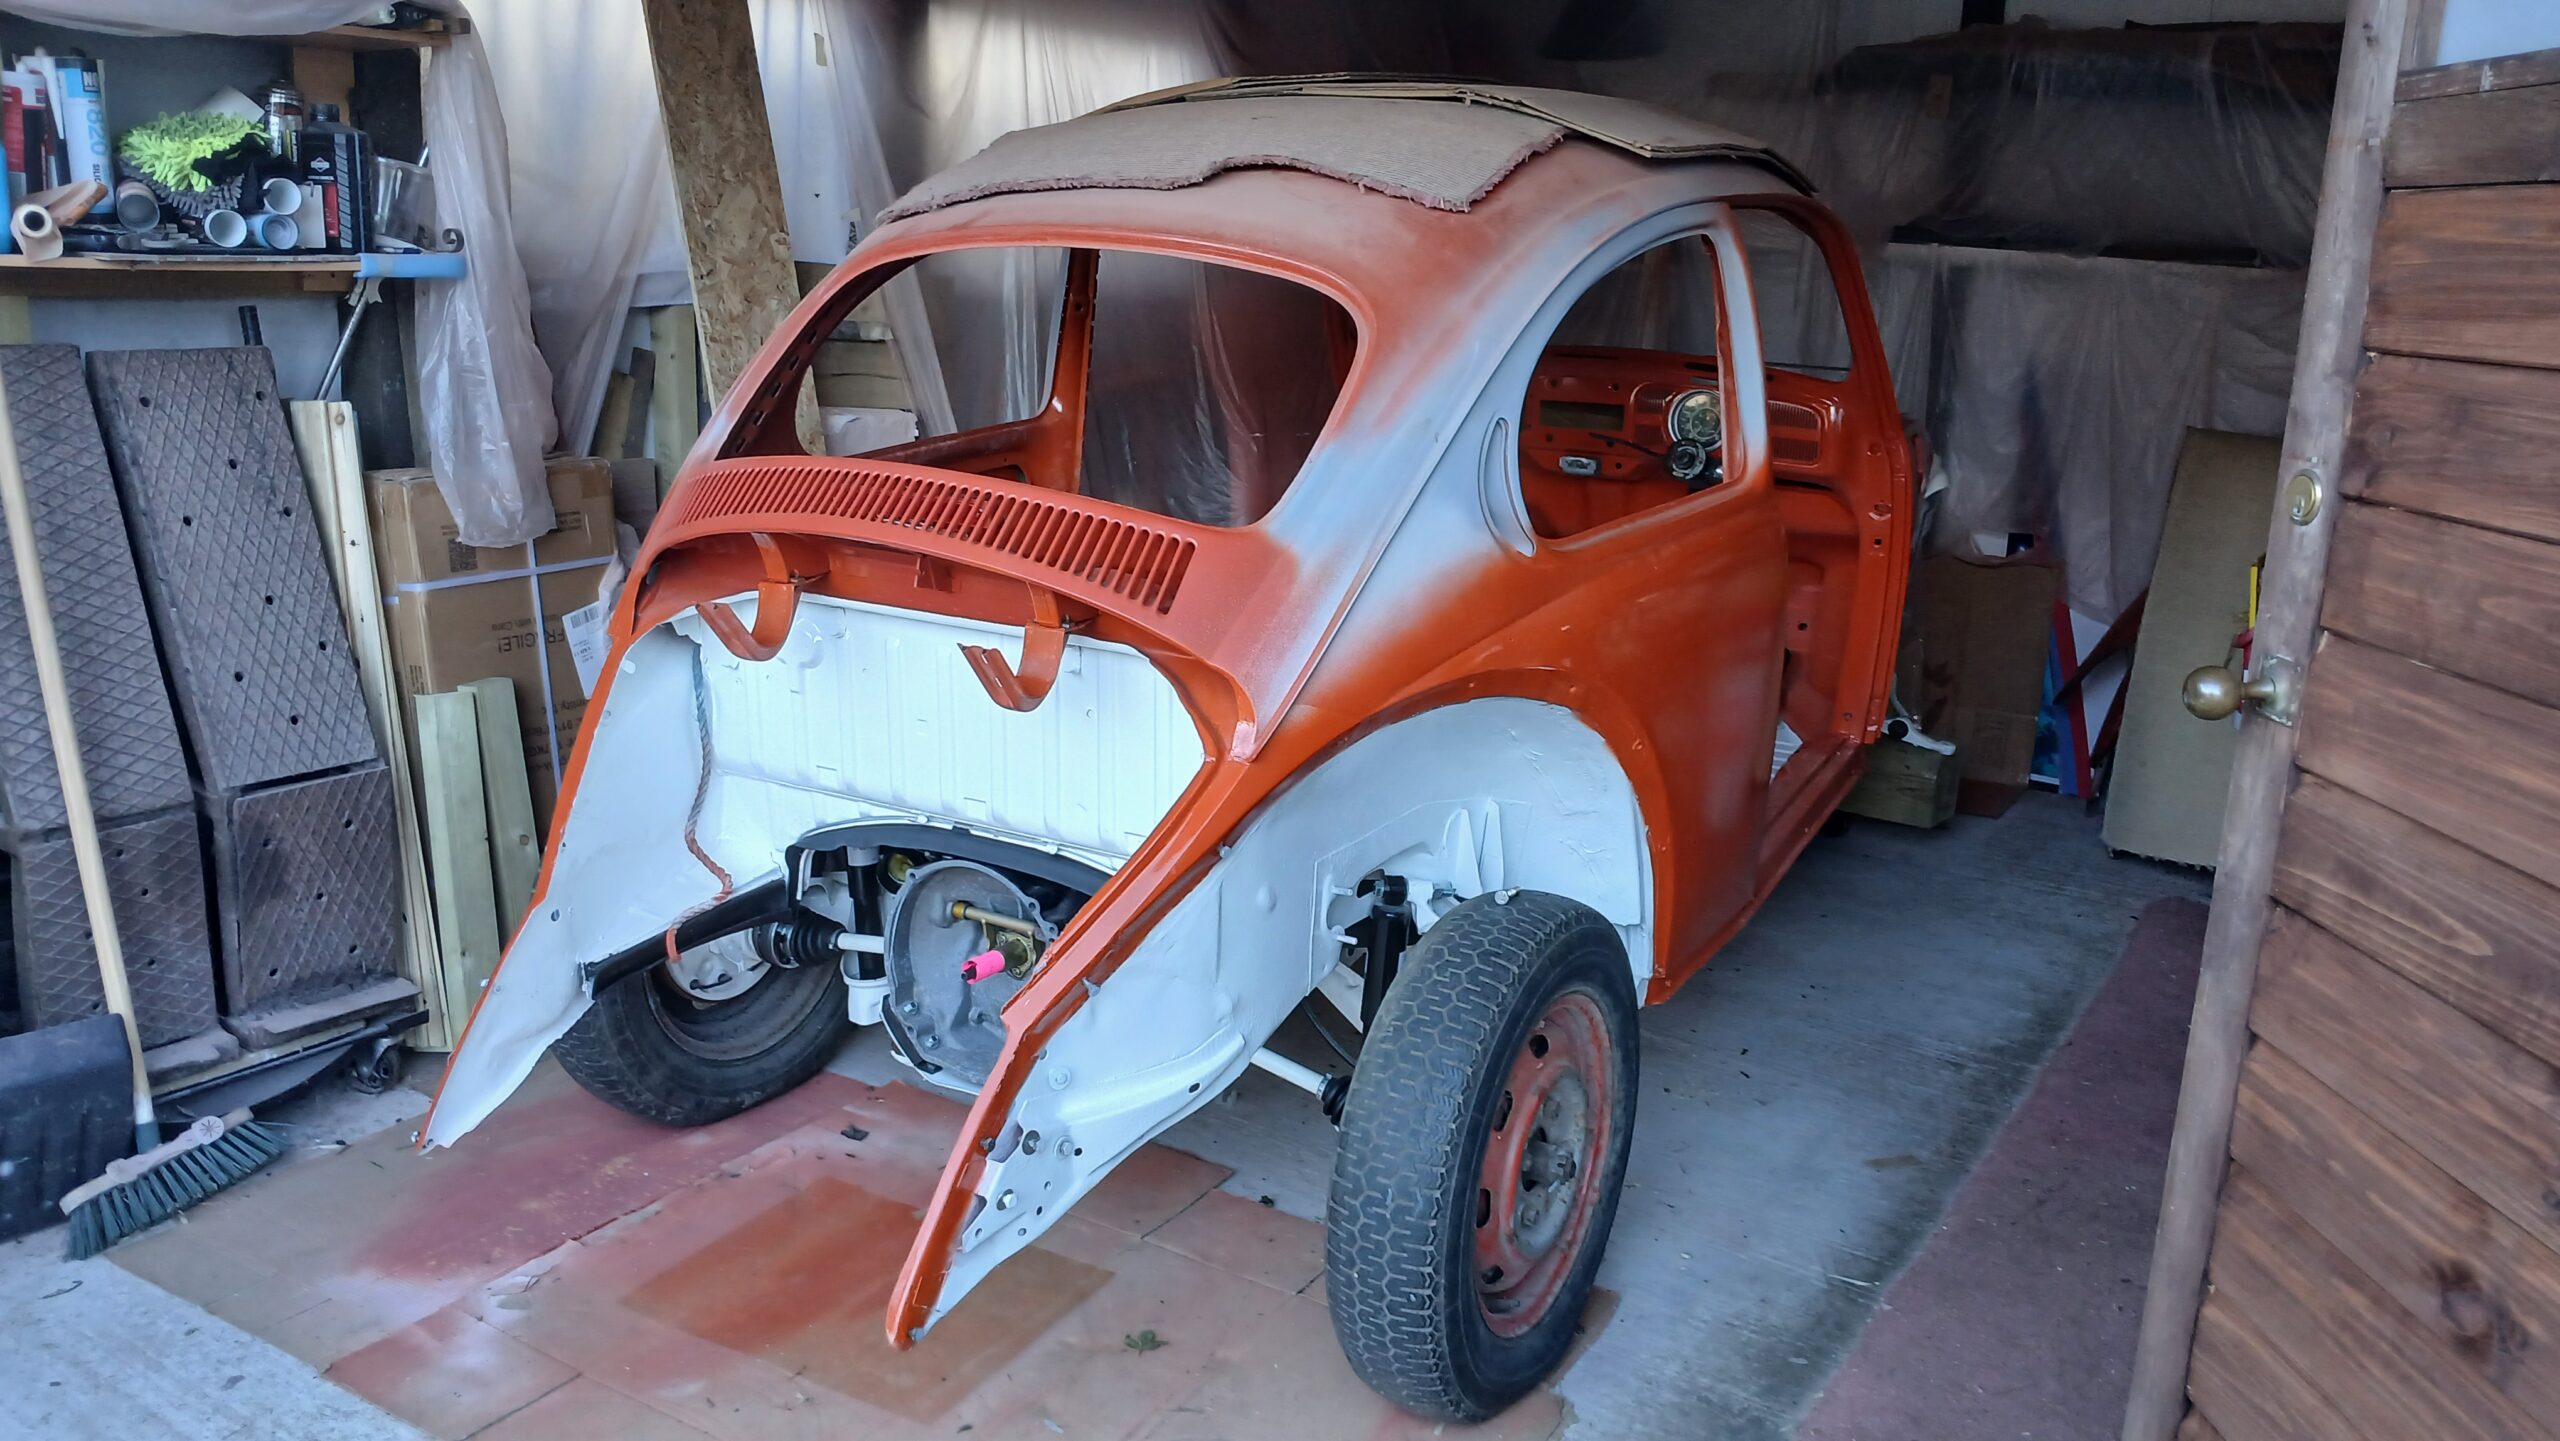
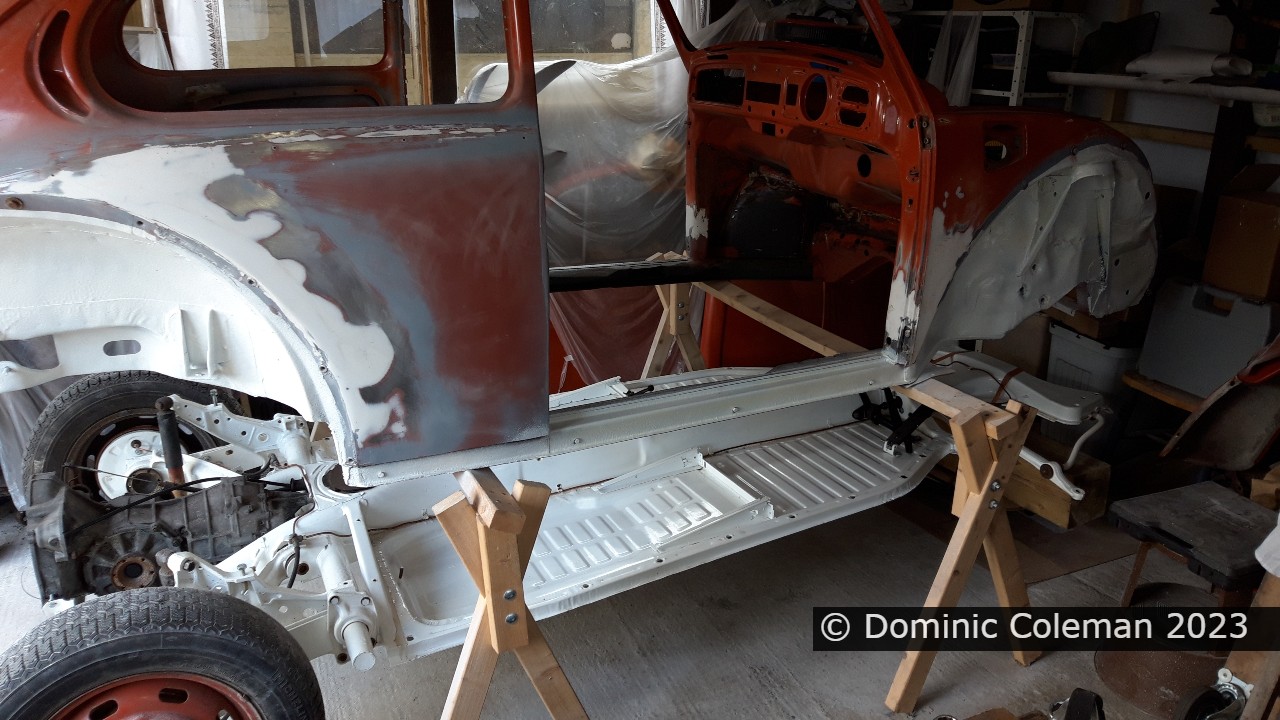
VW Beetle 1302S body on tressels
The body on tressels prior to fitting onto the floor pan.

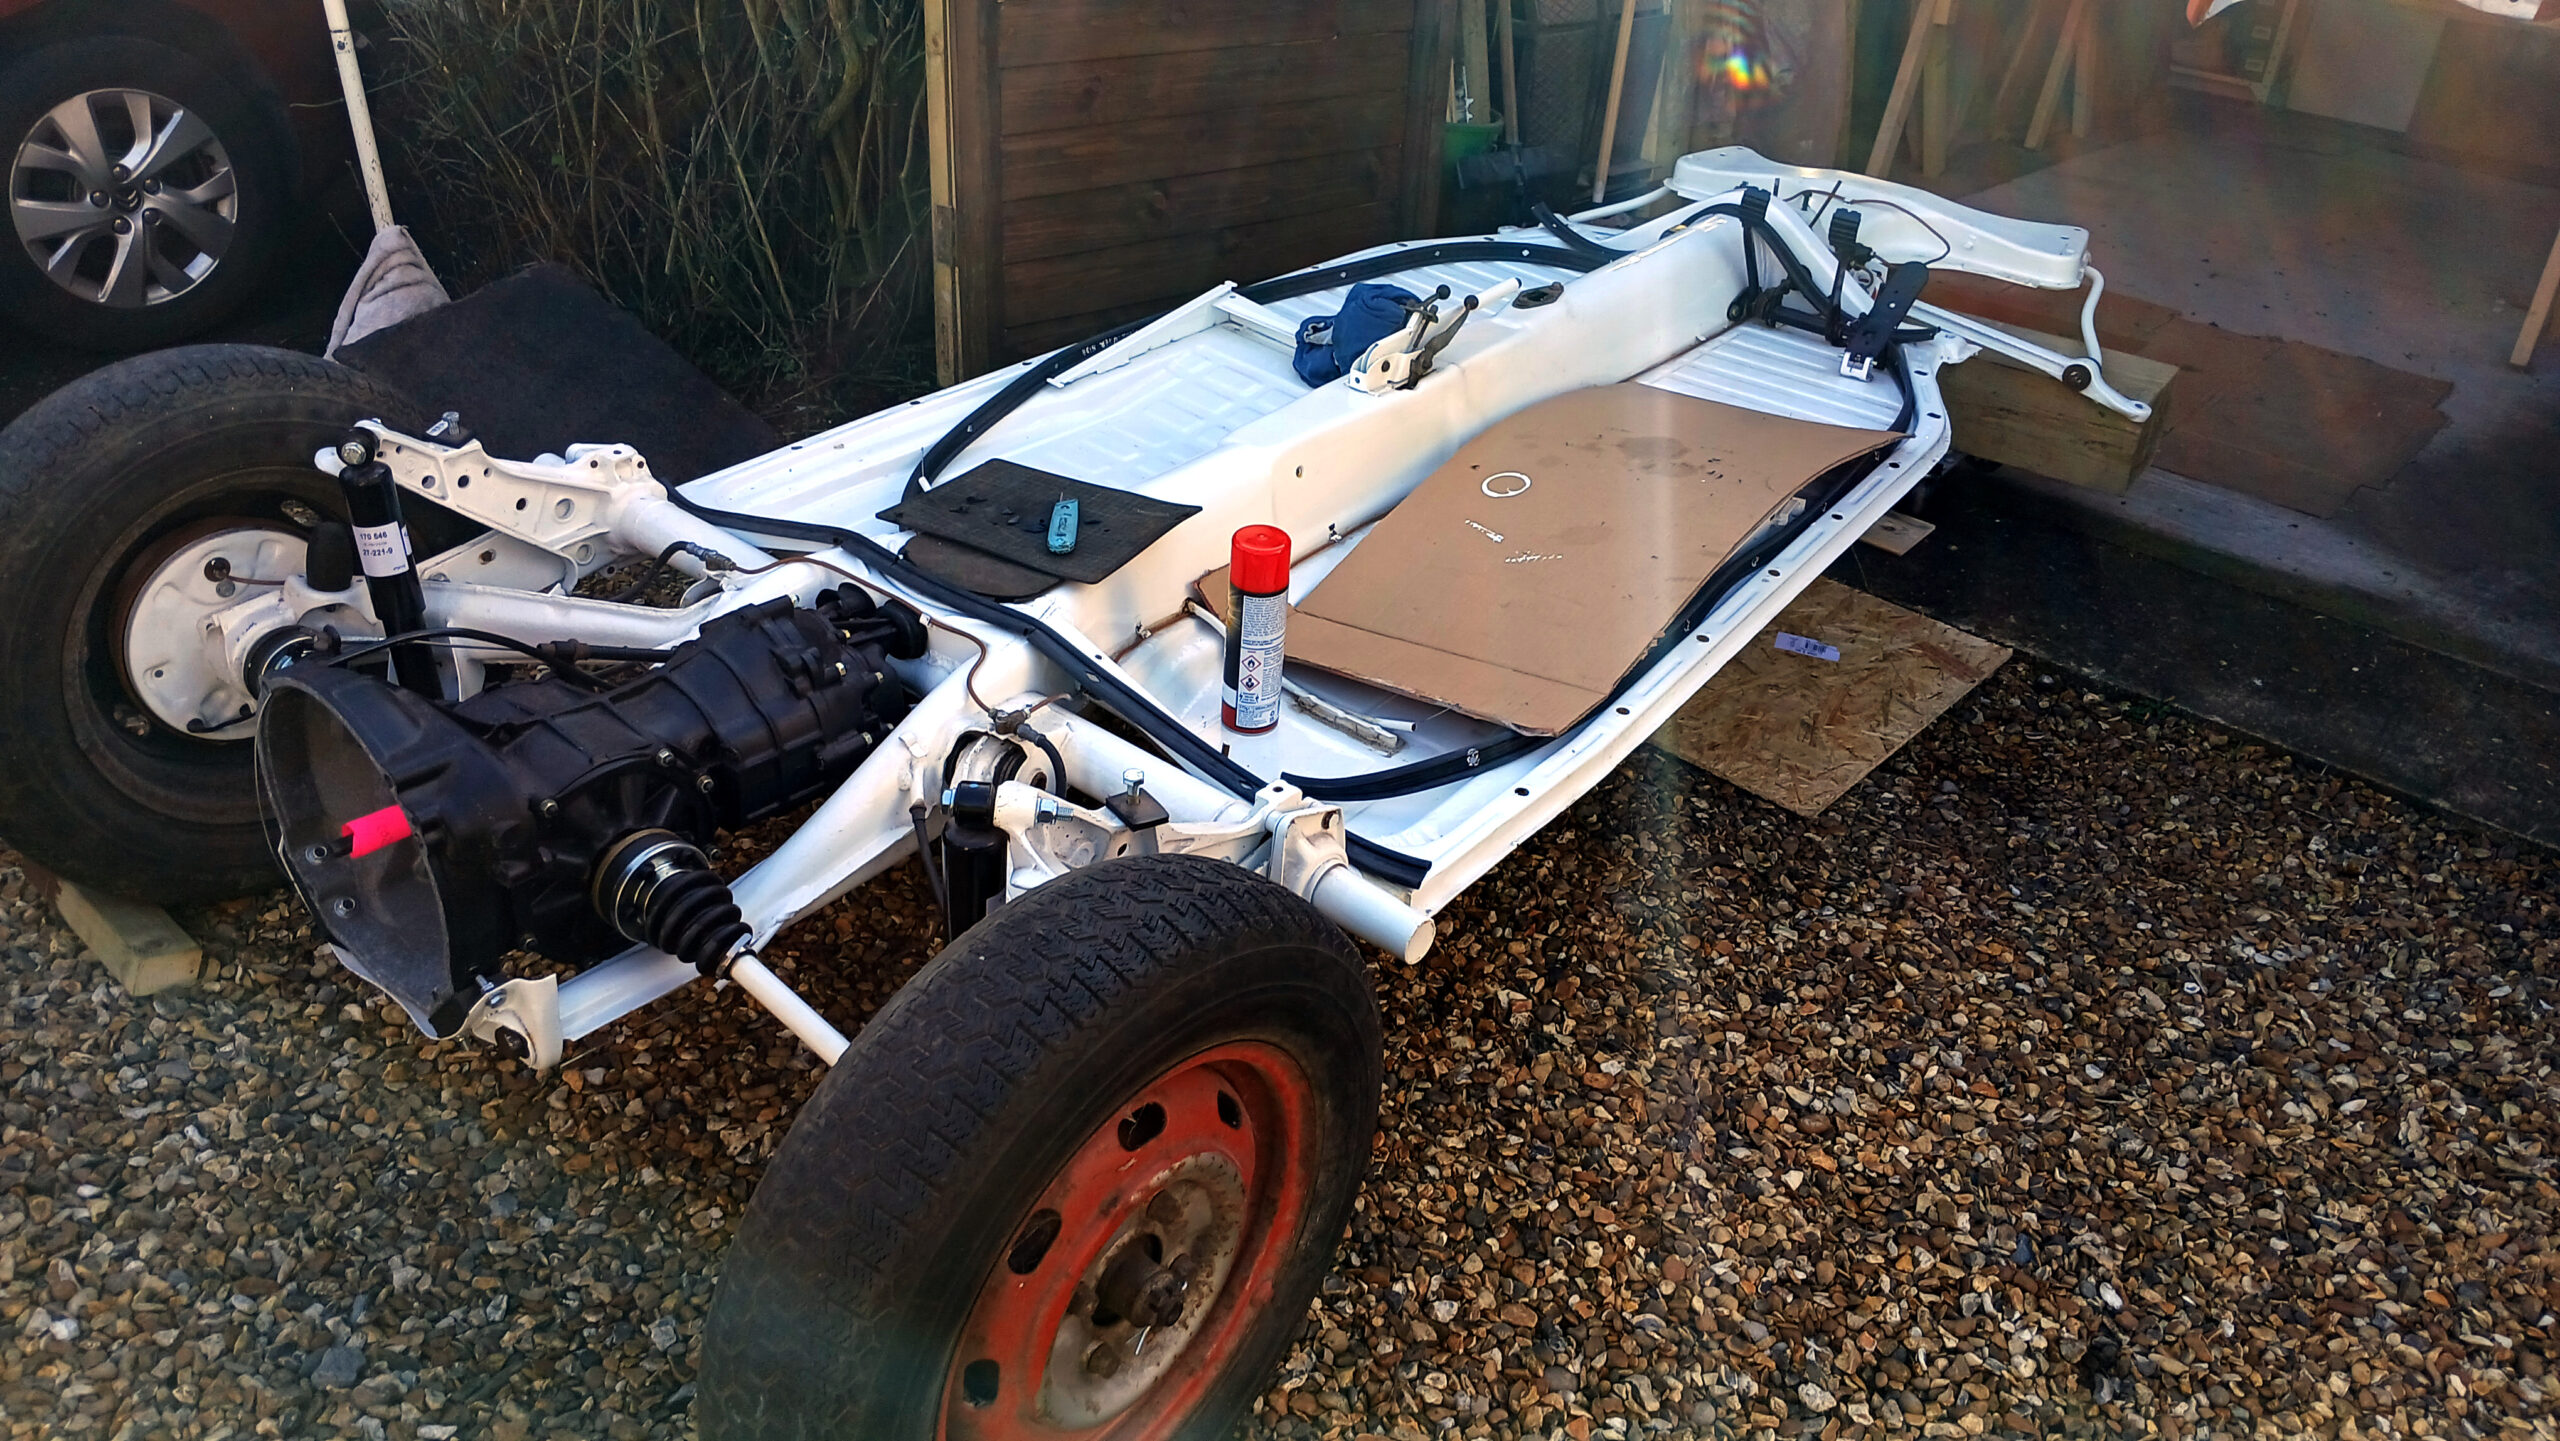
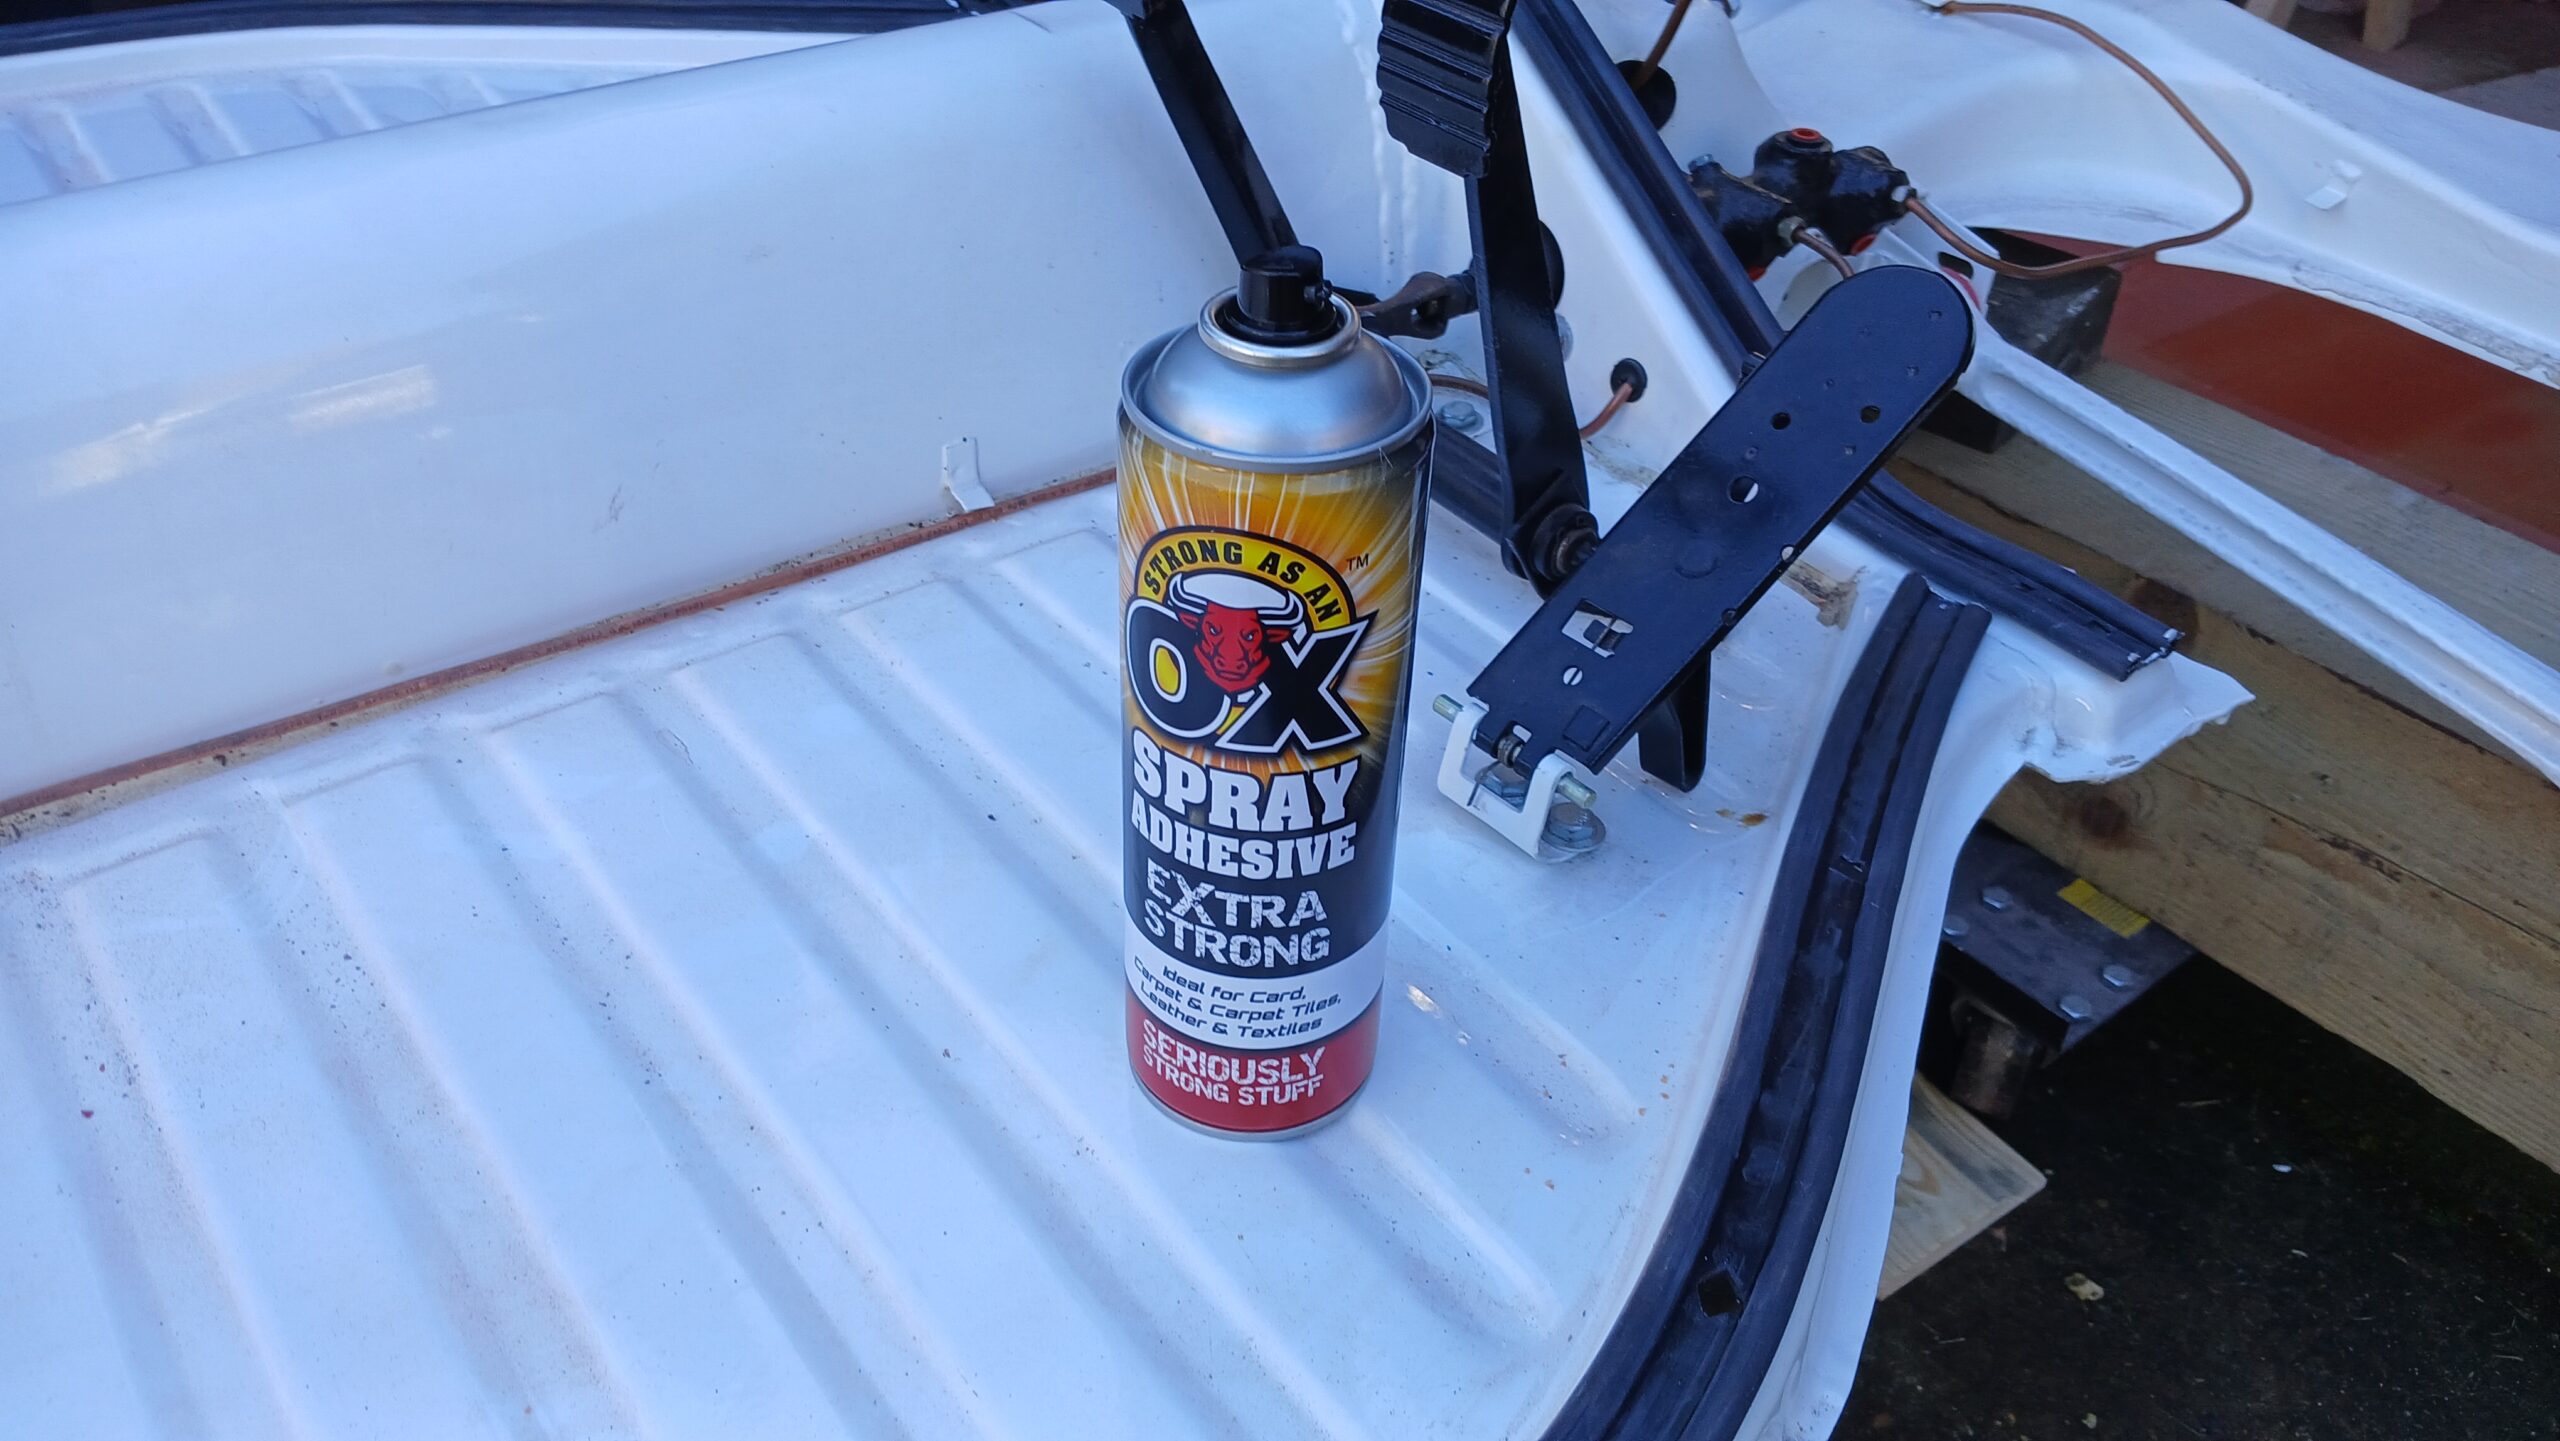
Paul got straight to it, quickly cutting some notches in the rear crossmember rubber seal. We then used a strong carpet spray adhesive to stick the rubber seals to the floor pan.

The floor pan was wheeled back into place under the body, which had been supported on trestles for the last four years. While Paul and Ash lifted the body, I removed the trestles and they lowered it onto the floor pan in virtually one manoeuvre. After a couple of adjustments, all the heater channel bolts went in.

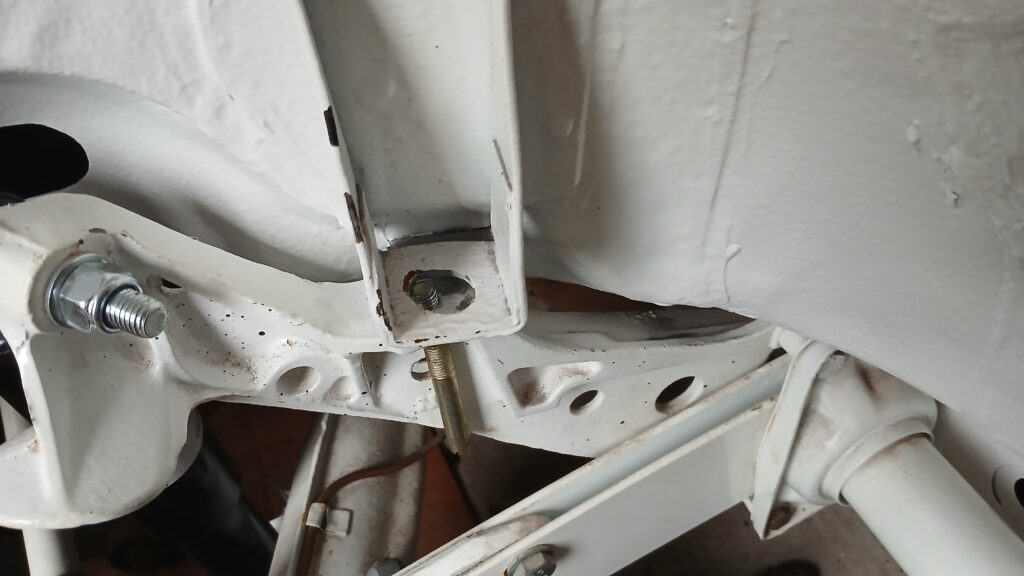
The rear crossmember body holes needed to be enlarged slightly for the bolts and washers to be installed properly. With some persuasion, the front crossmember bolts on the left side (RHD passenger side) went in. Paul then identified a problem on the right-hand side of the front crossmember, where the floor pan bolt holes (x2) were about 5mm off-centre. He said he would need to come back with his die grinder to enlarge the holes to access the captive nuts properly.
On Sunday, I managed to fit the front frame head bolts to secure the body on both the left and right sides. With a bit of leverage and some brute force, I fitted the left rear mounting bolt. The right side took more time, requiring the Dremel and a grinding tip to enlarge the mounting bracket hole.

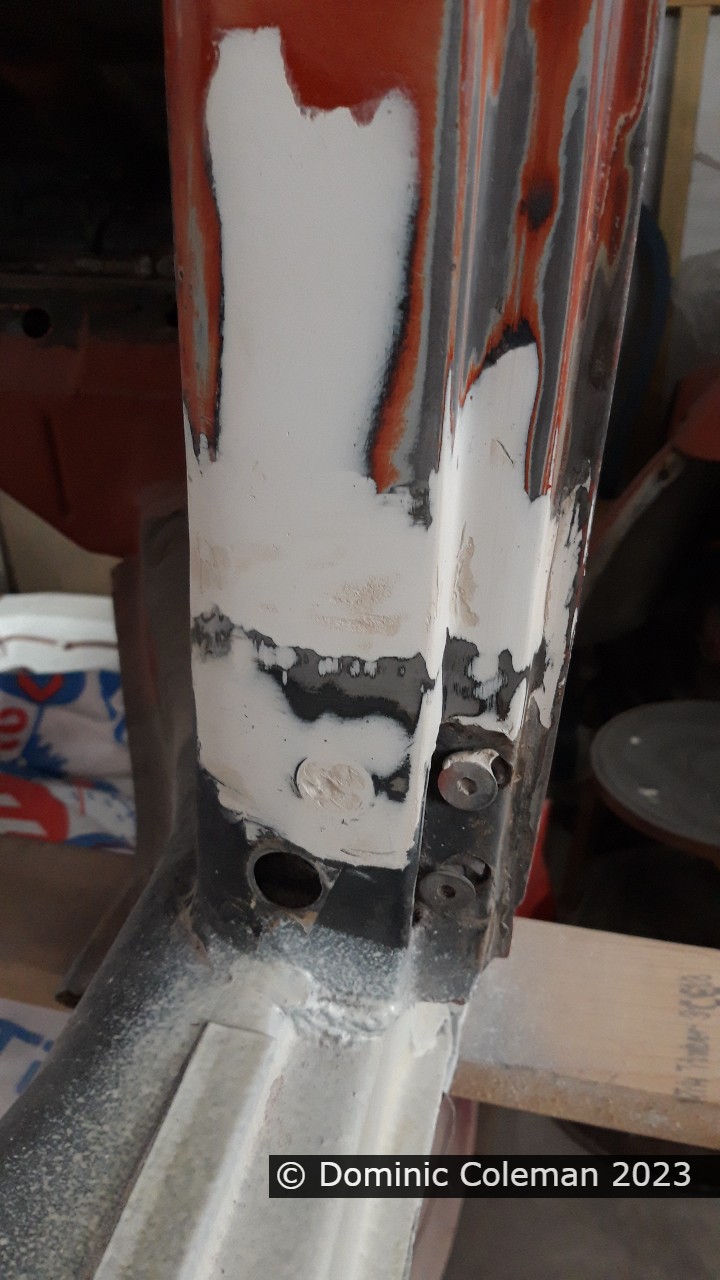
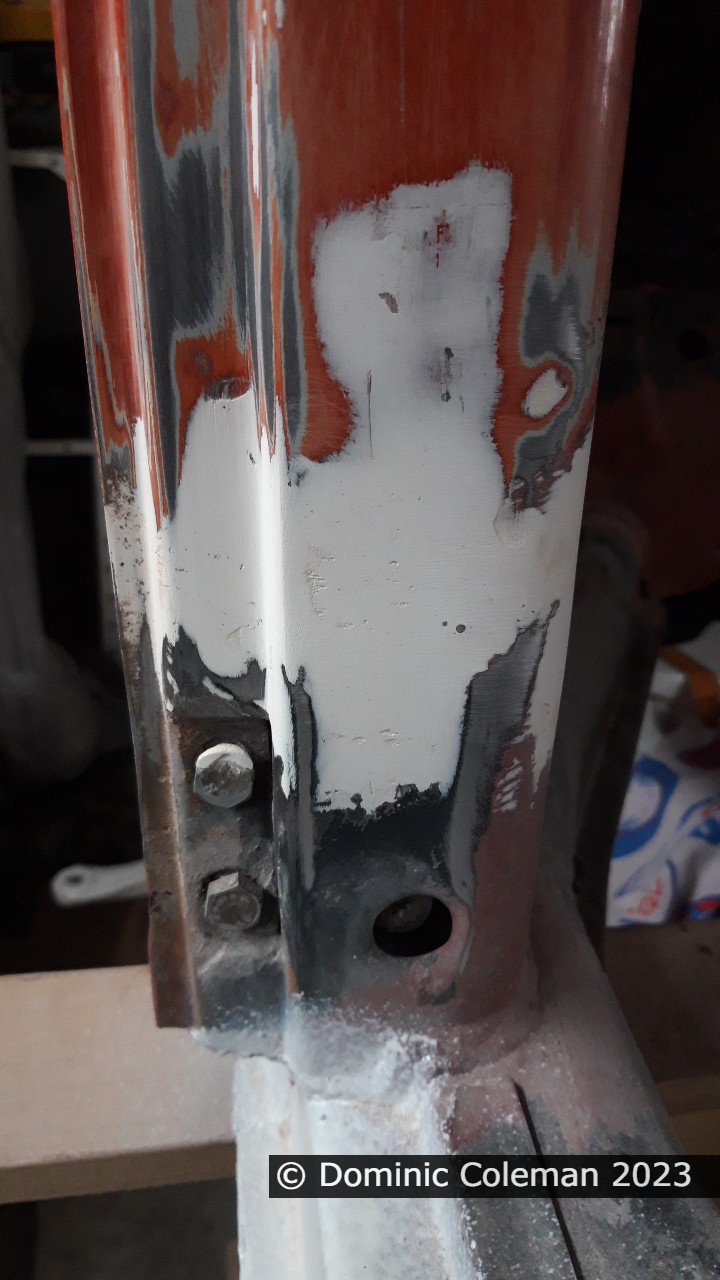
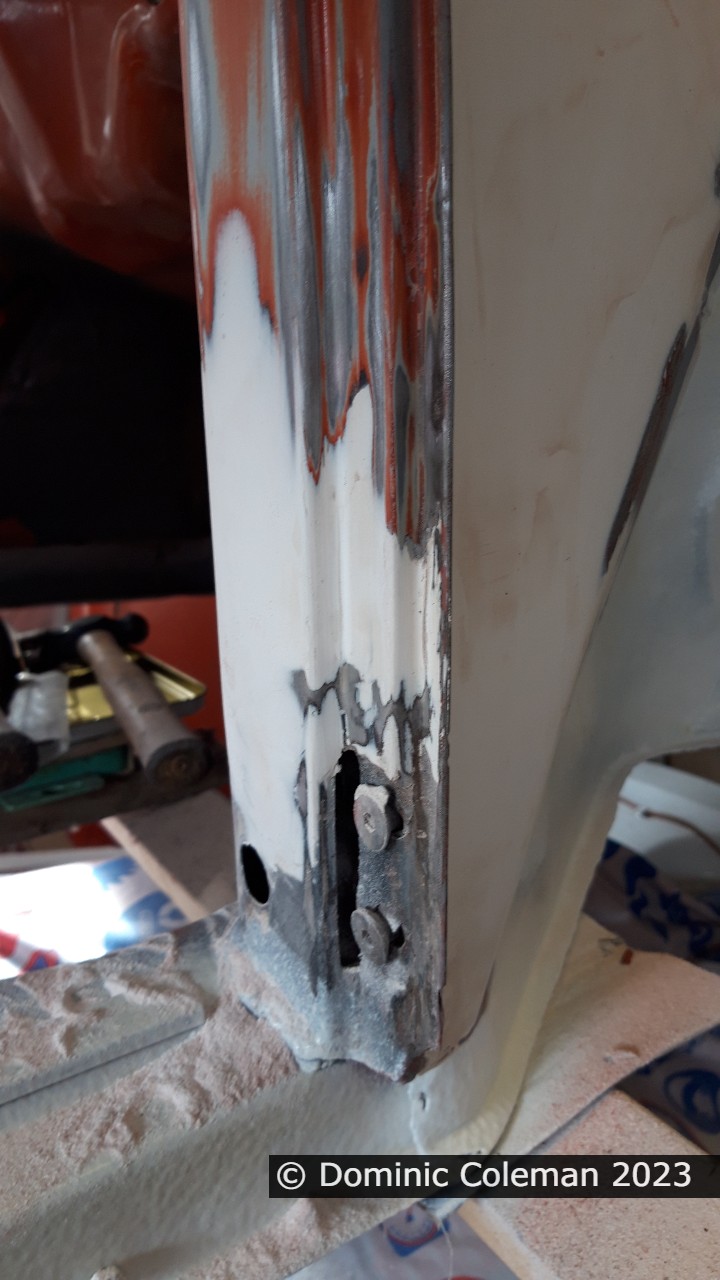
Paul came by again the following Saturday to use his die grinder to rework the Napoleon hat front crossmember mounting bolt holes on the right side. As brutal as it sounded, Paul kept the grinding to a minimum within the bolt hole area. It looked a bit rough, but it would be covered by the large washers and bolts anyway.

I then had to reinsert the rubber floor pan seal, which was tricky. I had to lever the body up as much as I could—no more than about 3–4 mm—and carefully poke the seal back into place. Once I was satisfied the rubber was seated properly and the bolts would go back in without issue, I sprayed primer on the exposed metal before reassembly.

At last, the body was fully secured to the floor pan with all the bolts in place.
Categories
floor pan

Framehead Cover Plate

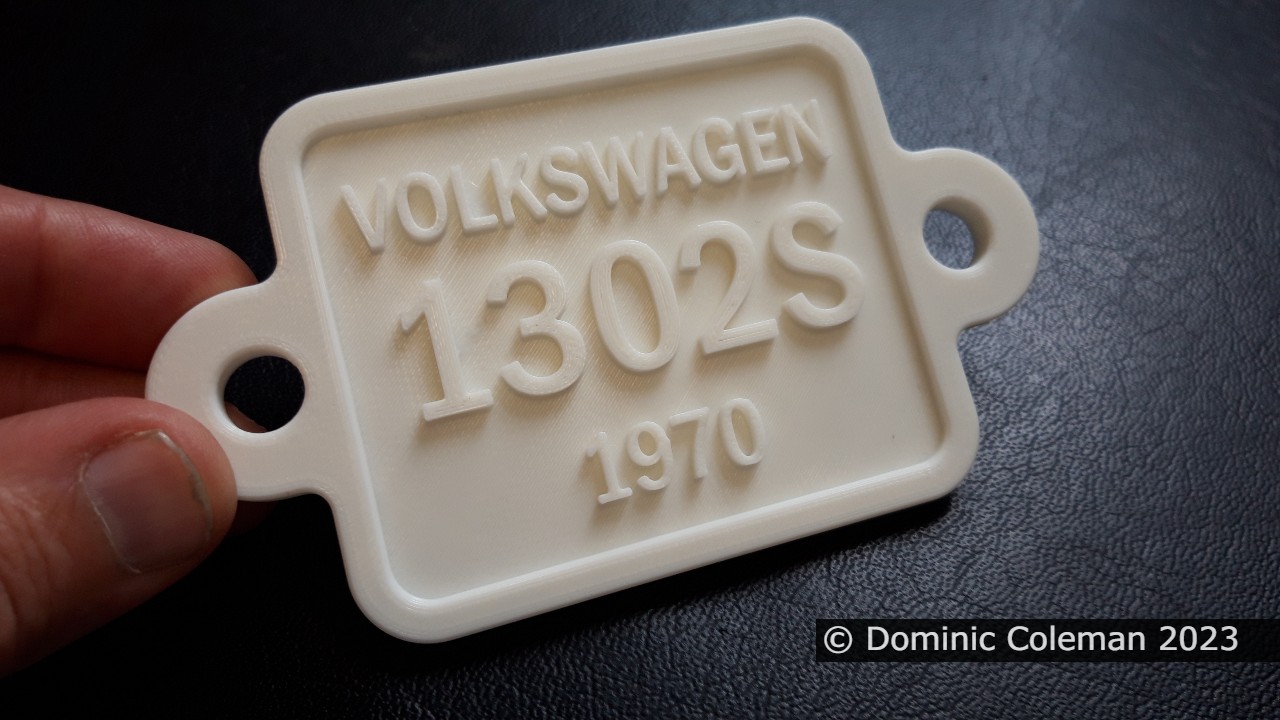
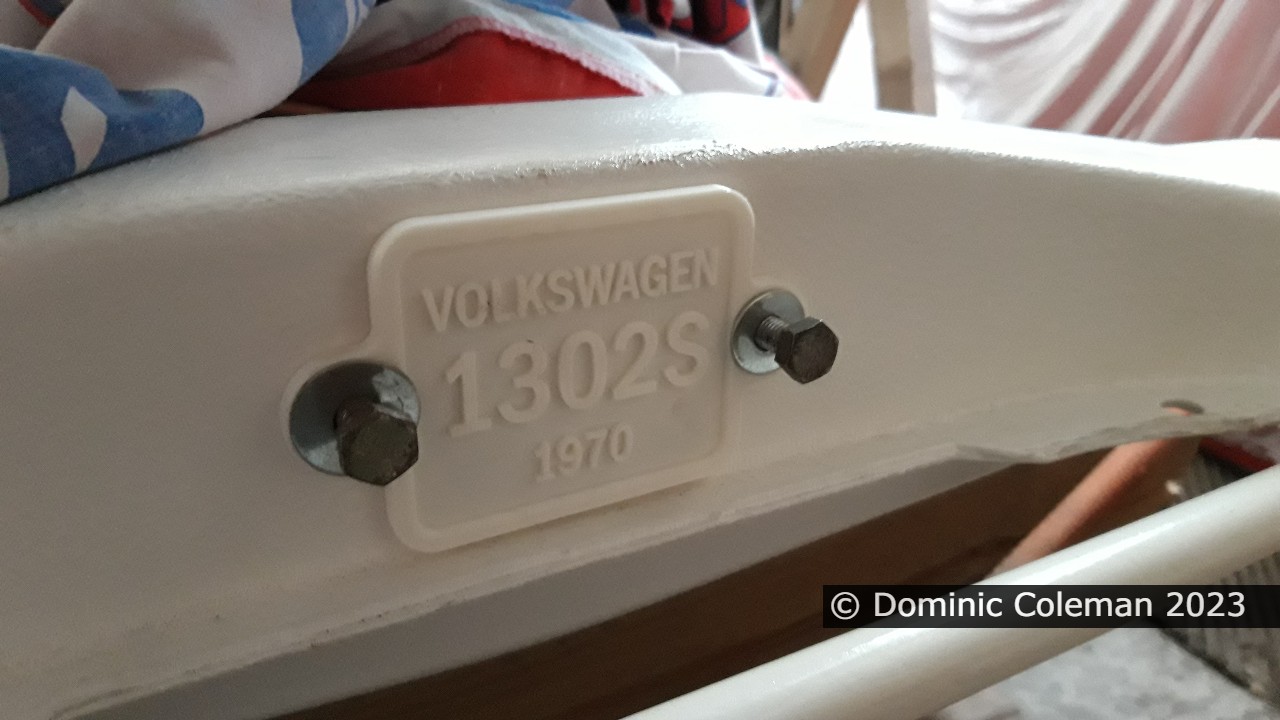
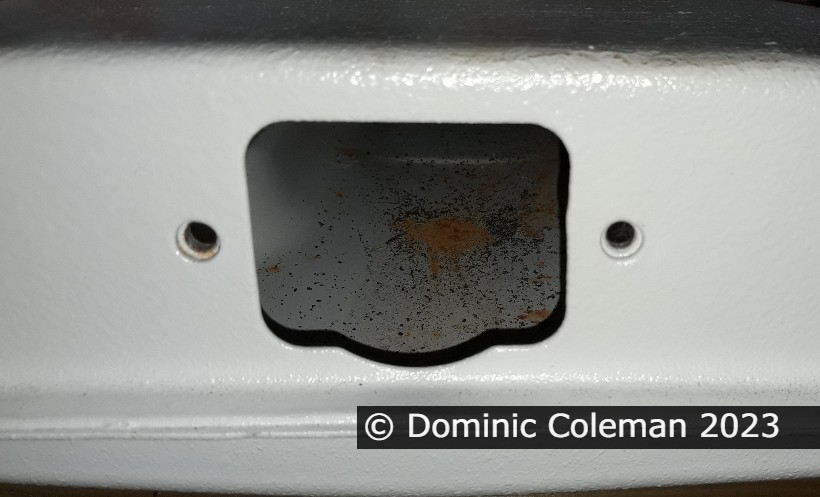
Just a short update: The frame head had a hole that would need covering. With the availability of 3D printing at my place of work I created a drawing in Adobe Illustrator and passed it to our ‘man’ who then did the necessary work to output to the 3D printer. The end result was a custom framehead blanking plate.
Categories
bodywork floor pan suspension

Body work and prep

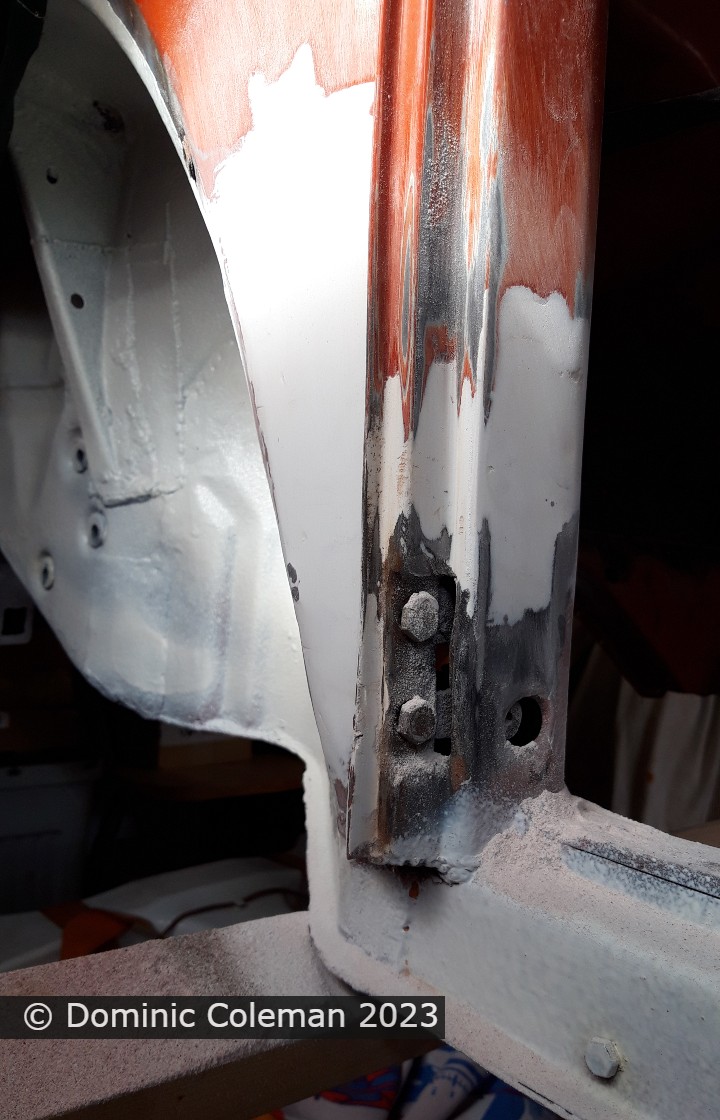
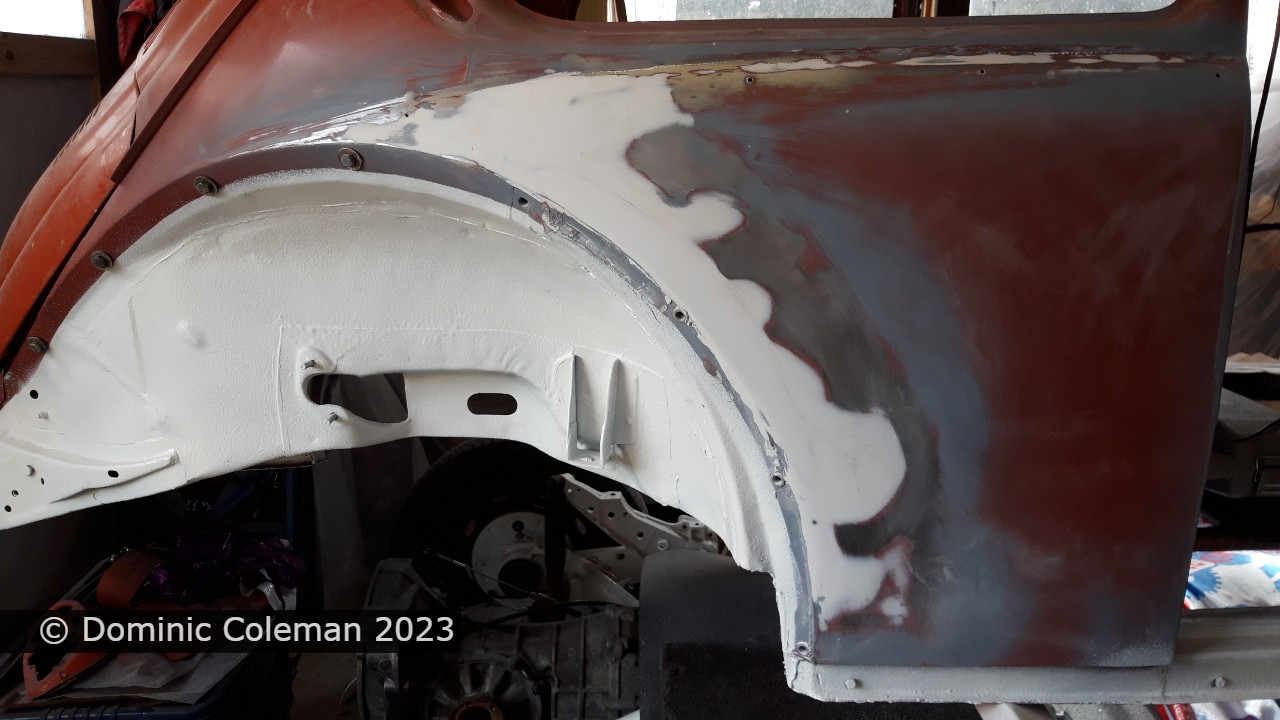
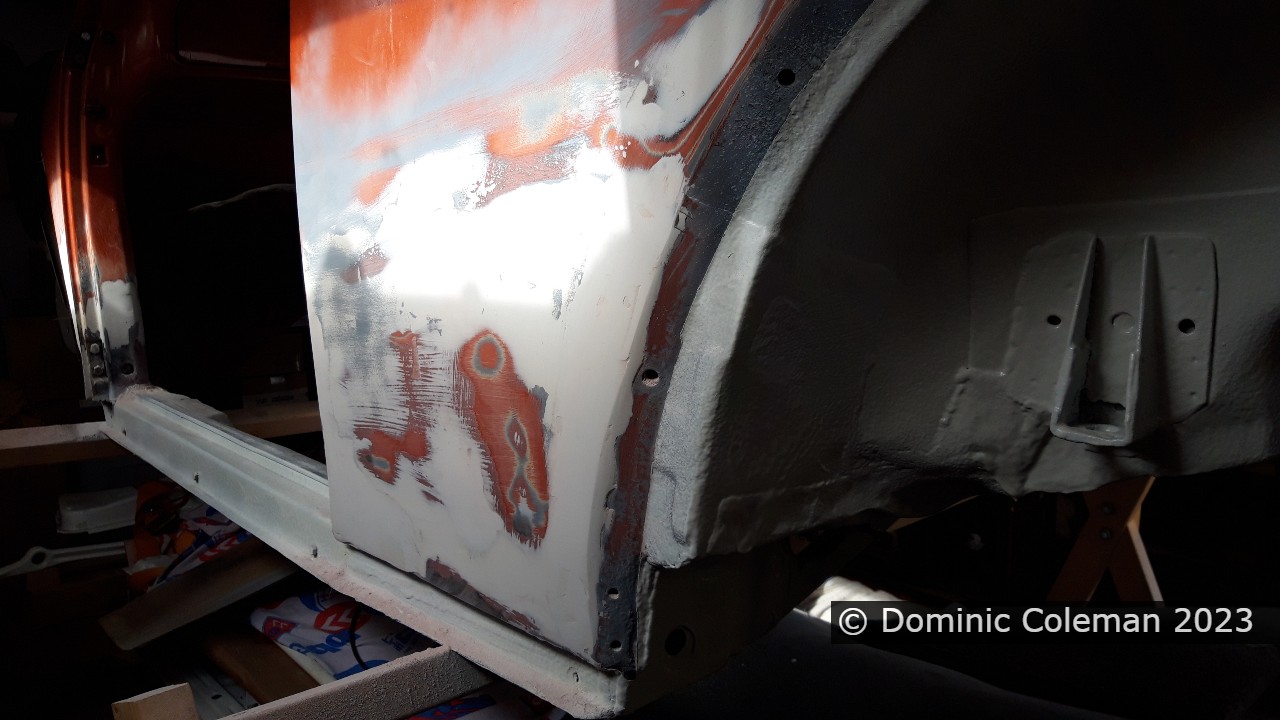
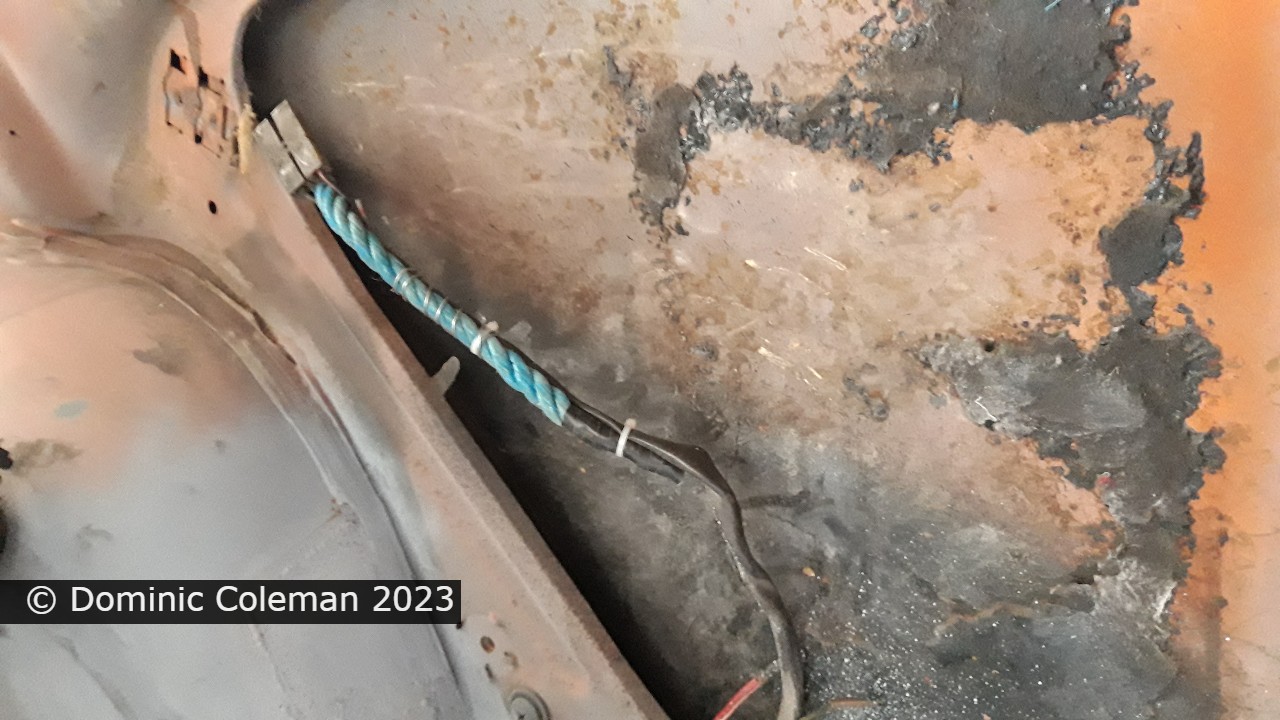
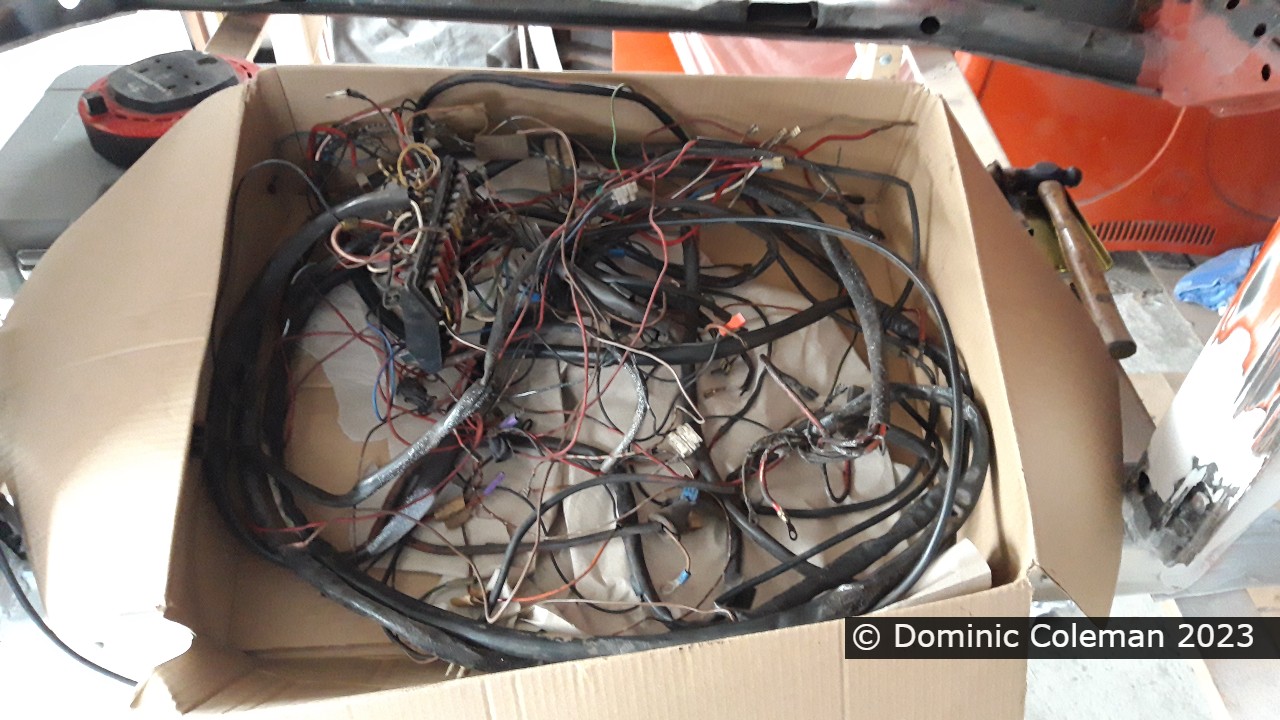
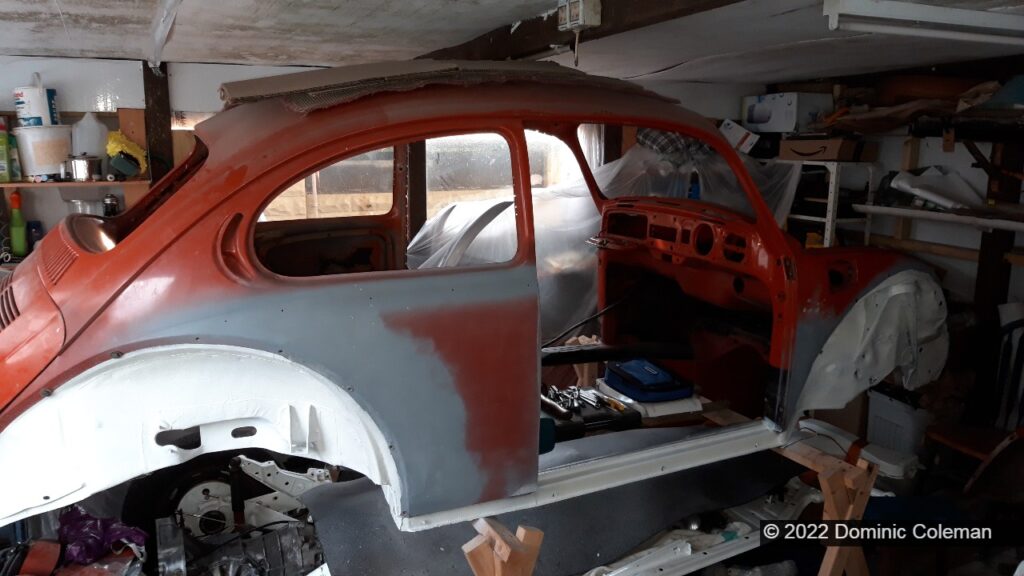
March 2023 saw me make more progress on the Beetle’s body work by the way of a 3rd or 4th round of filling, sanding and cleaning up with more filler on the original 1997 repairs. I also got to flat off the spot welds around the front cowl at bonnet opening and front valance and I completely removed the wiring loom, replaced with rope guides for the future re-install of a new loom.
The floor pan had been rolled out on to the driveway so it could be cleaned up and where there was the space to attach the anti roll bar with new poly bushes. I had to enlarge the roll bar clamps bolt holes a while ago as I think my original clamps disappeared on the strip down (June 2021) while at Pauls. Fitting the new polyurethane bushes, washer and nut combinations was not as easy as I thought it was going to be. Not enough of the roll bar thread protruded past the poly bushes for the retaining washer and castle nut to get a purchase. So, I had to hit the bushes with a soft mallet to get them pushed in enough to enable me to fit a thinner washer and nut to press the bush in further. I then had to swiftly remove the nut and washer, then quickly put on the large retaining washer and nut to tighten up before the bush expanded again.

I made a short video walk around, however, the audio and commentary isn’t very good, but you should get the idea.

There were a couple of more items to come out of the beetle shell one of which was the wiring loom and I used some rope to attach to an end in the engine bay. This was so I could pull through the rope that would then stay in place for the later re-install of a new wiring loom. The other was the glove box door and I also took off the engine lid hinge mounts to allow easier access to clean up the engine bay firewall.

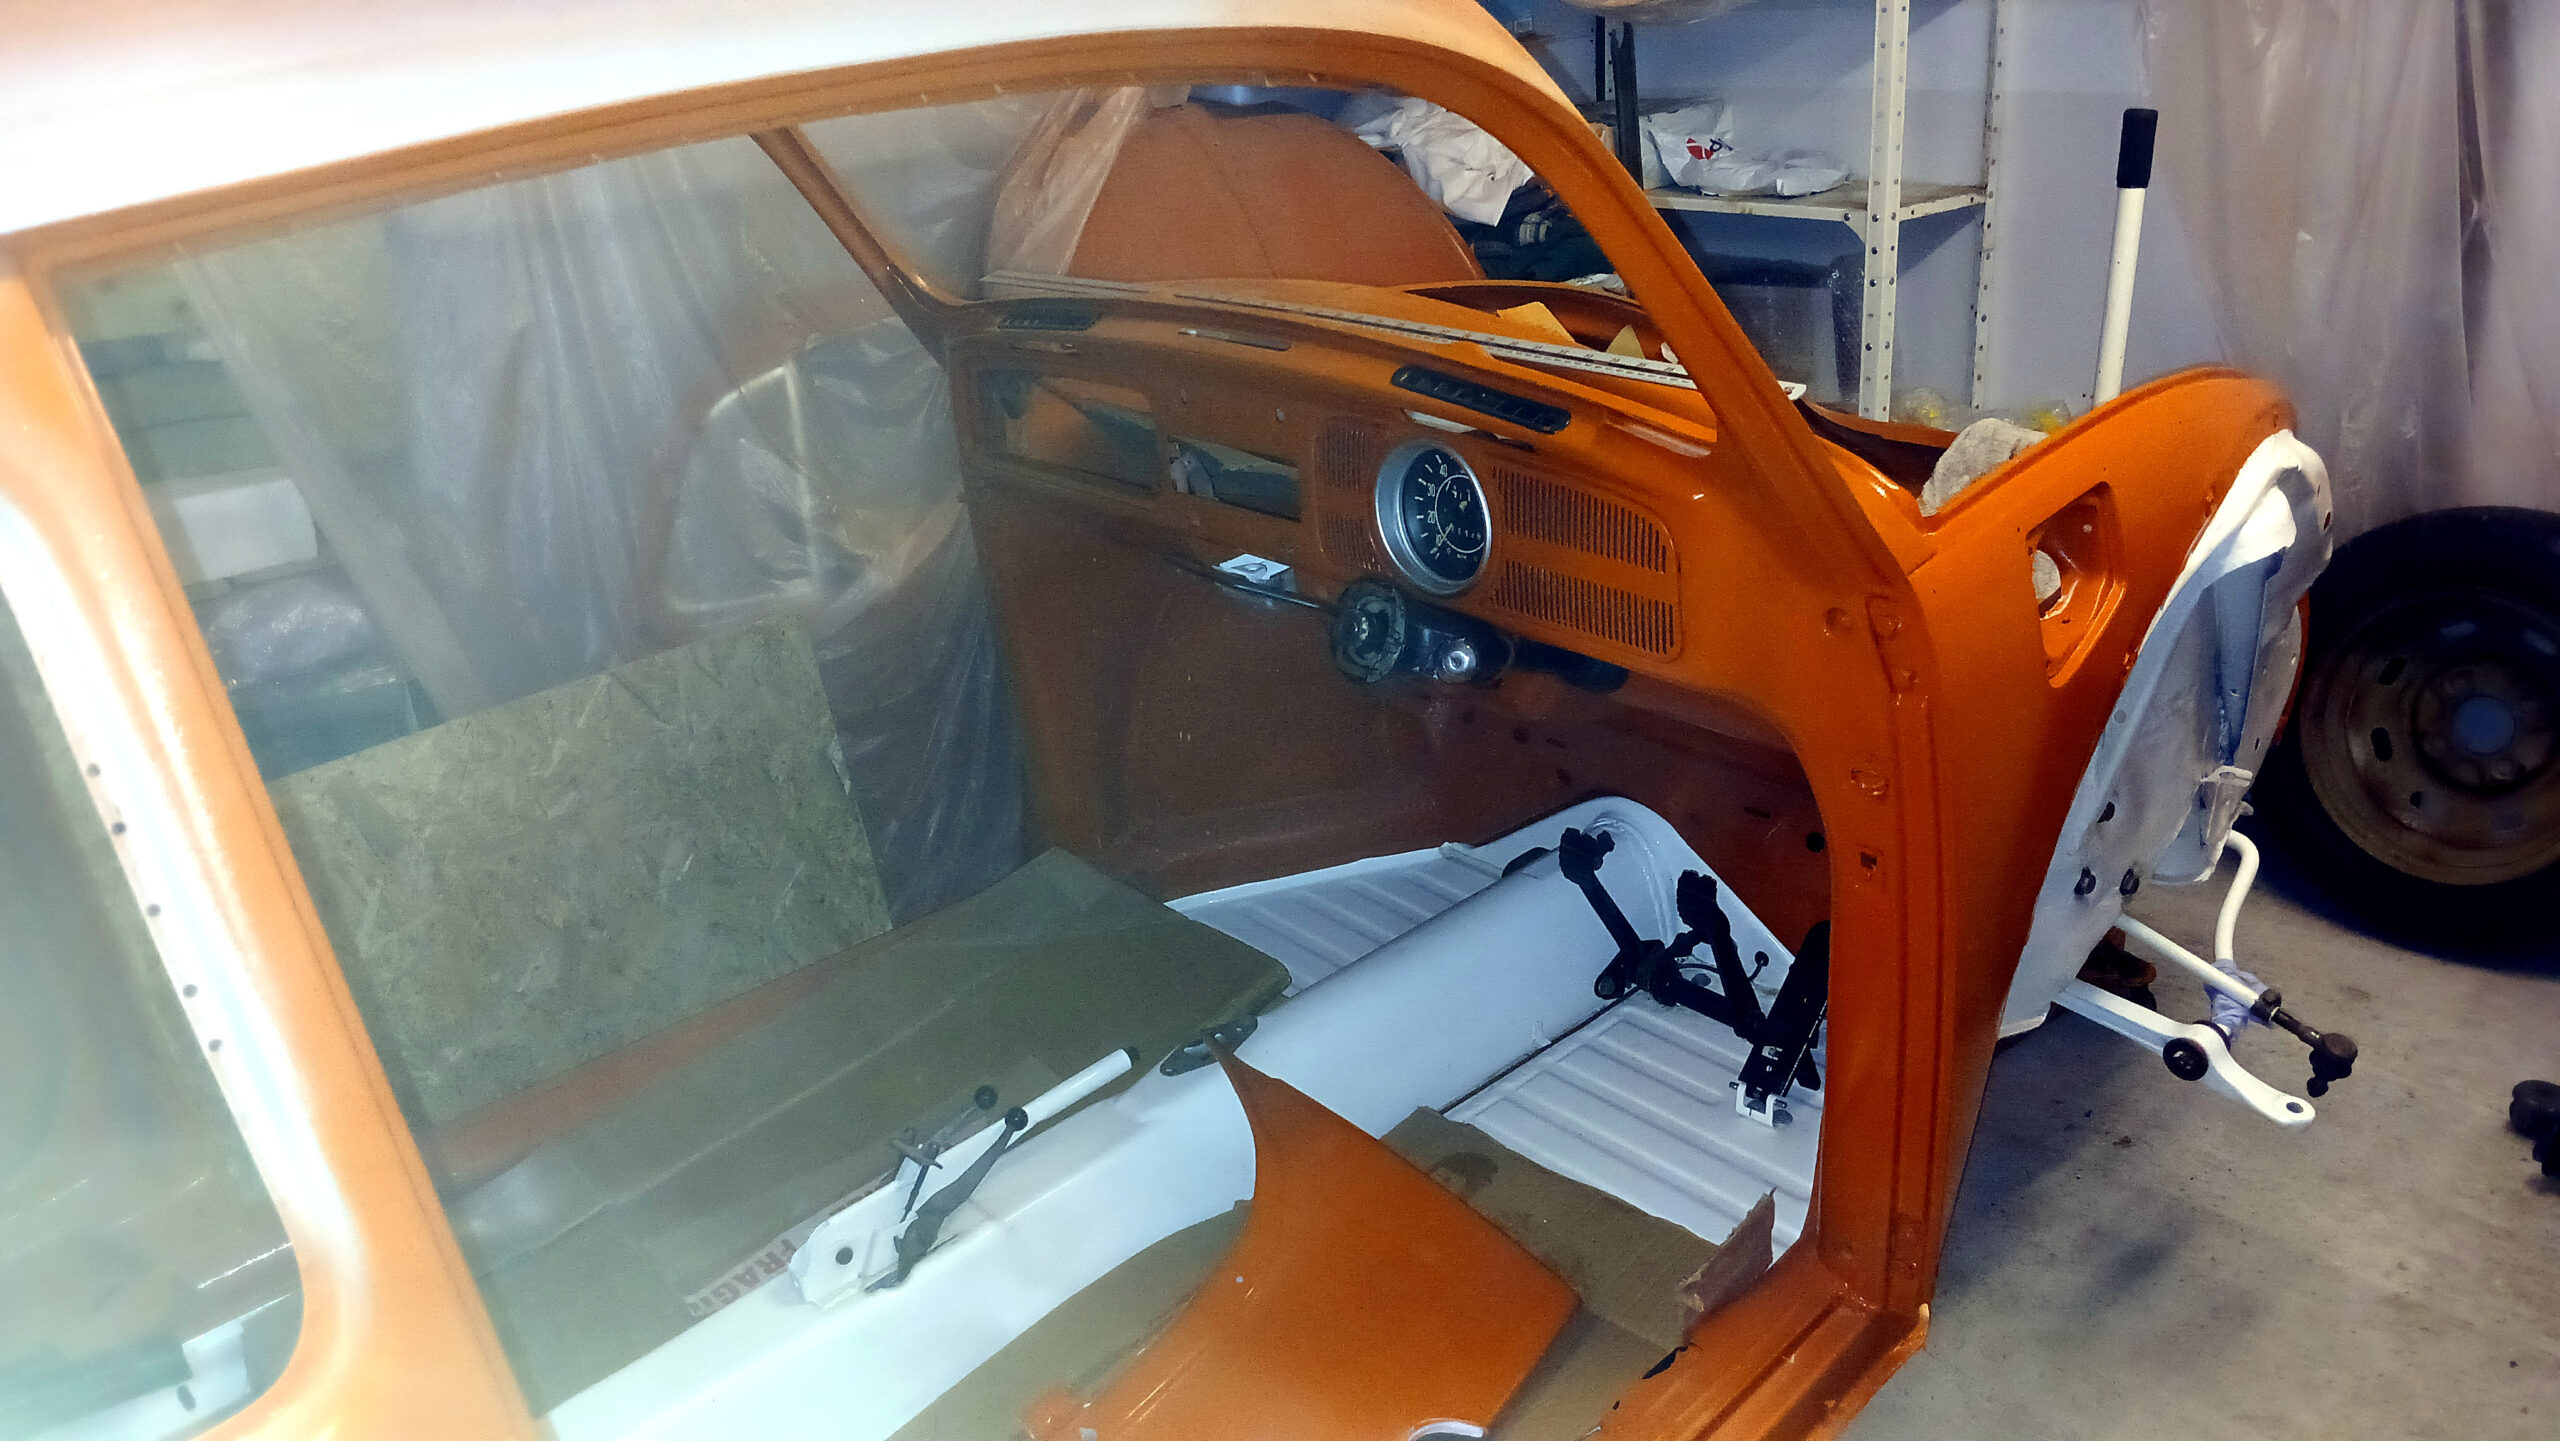
With 320 grit paper on an orbital sander I sanded the sides of the car shell up to the rain gutter to flatten off the existing paint and remove other minor blemishes. The dashboard was treated the same to flatten off the gloss paint, smooth out minor blemishes and act as a matt surface for, hopefully, better primer adhesion. I also treated the the engine bay firewall the same way and along with a small block with 320 grit sand paper which also cleaned off some the ingrained grease and dirt. I left the ‘tar board’ hooks in place in case I wanted to put one of those back in at a later date.

The next big step is to get some high build primer on the inside and outside of the body. This should highlight the areas requiring more work for filling and rubbing down. It’s a big step and I will be taking my time preparing the workshop to allow me more space to move around the body and masking off areas that won’t need the primer.

Note: no ChatGPT here, all my own words.

Categories
bodywork chit chat floor pan

Minor jobs

Dec 2022 – Jan 2023: Stripping out the dash, the wiring and finally removing a stubborn steering column were the last of the jobs to reduce the body shell down to a… shell. The wiring loom was left in place as I hadn’t found any suitable cord or cables to re-route and pull it through to maintain a method for replacing with a new loom, in the future.

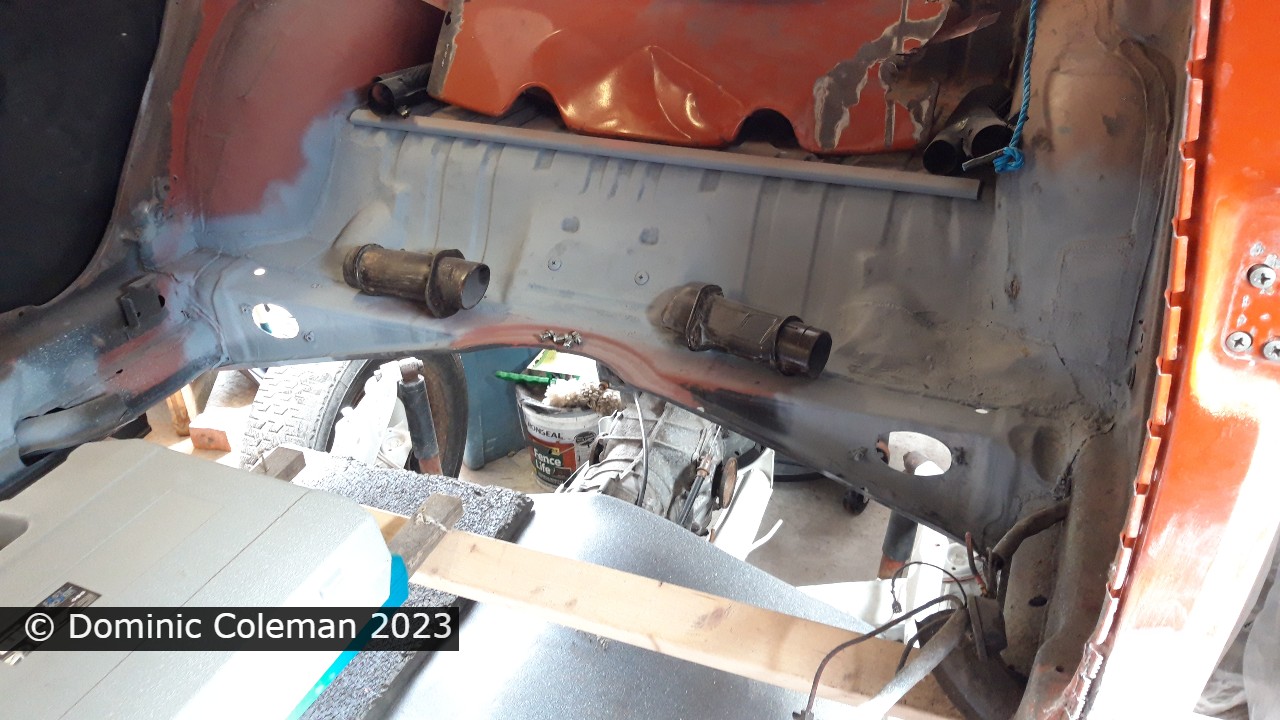
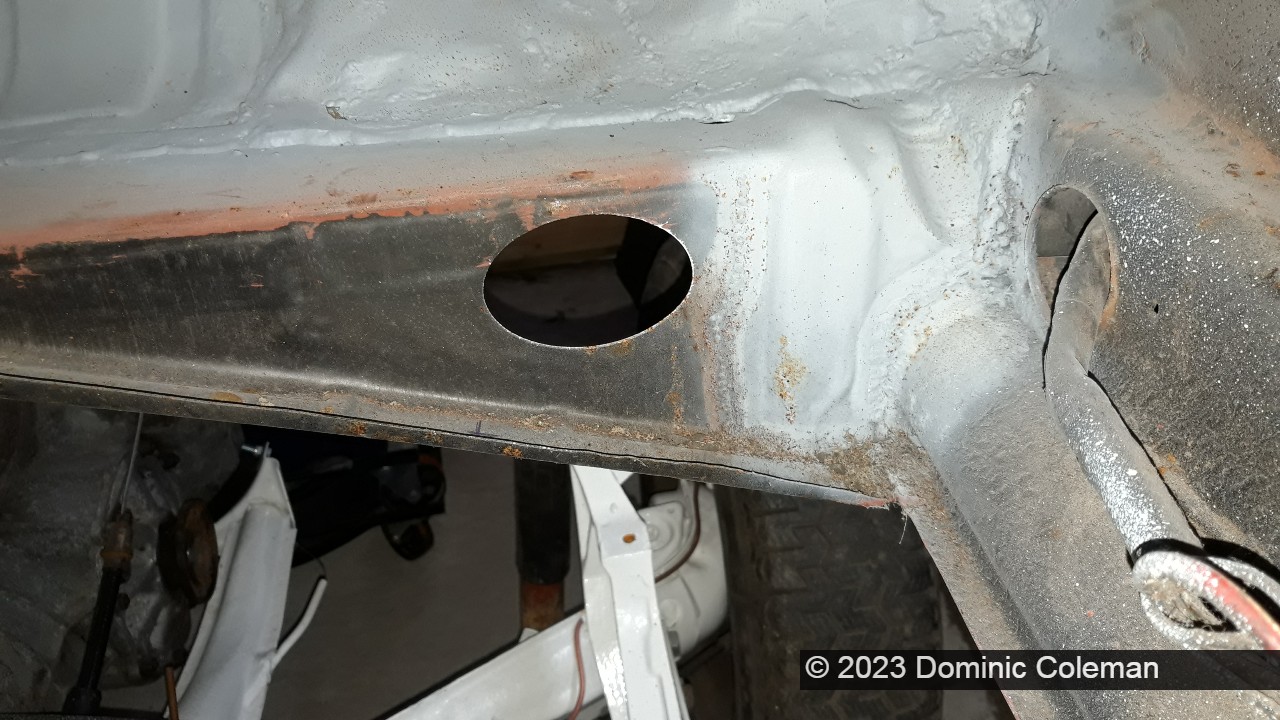
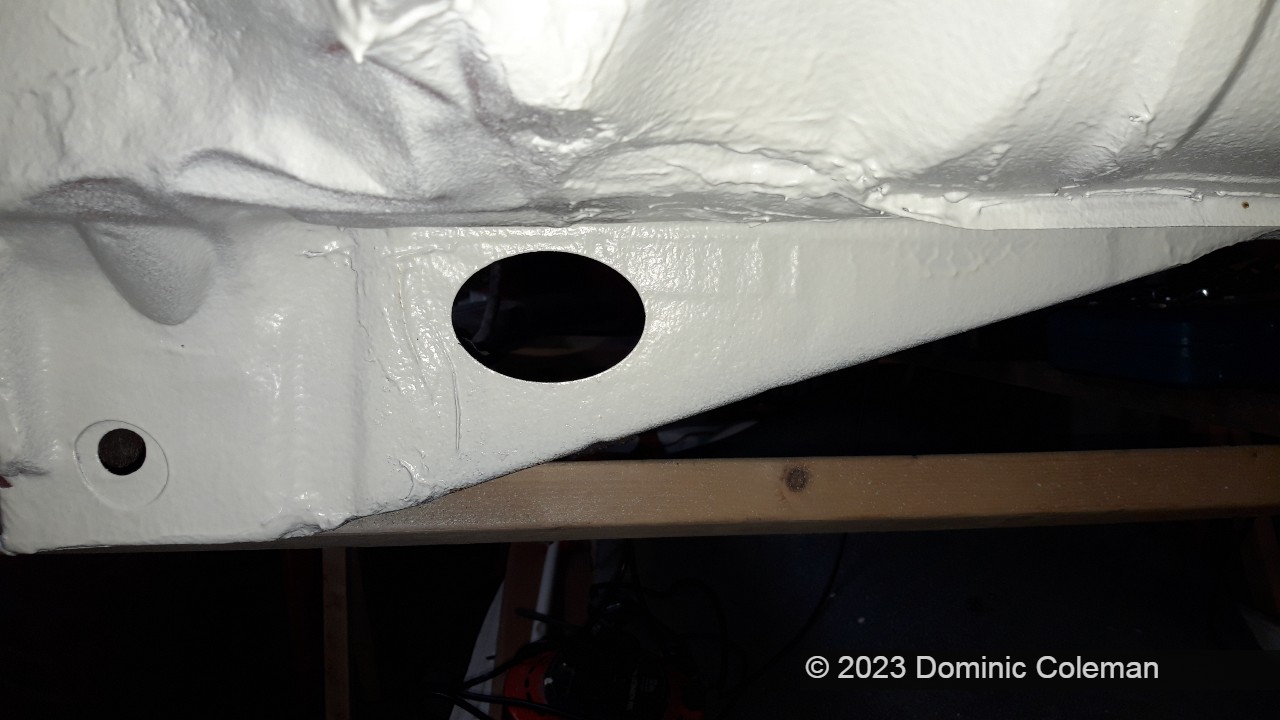
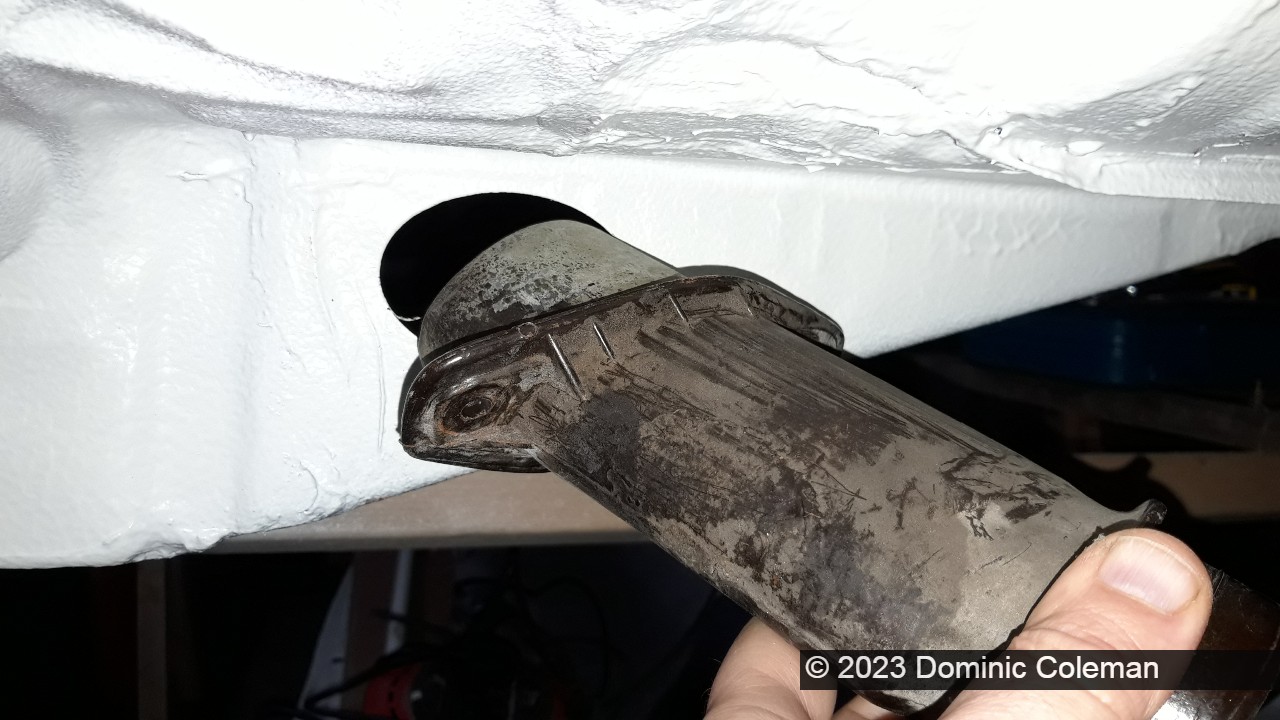
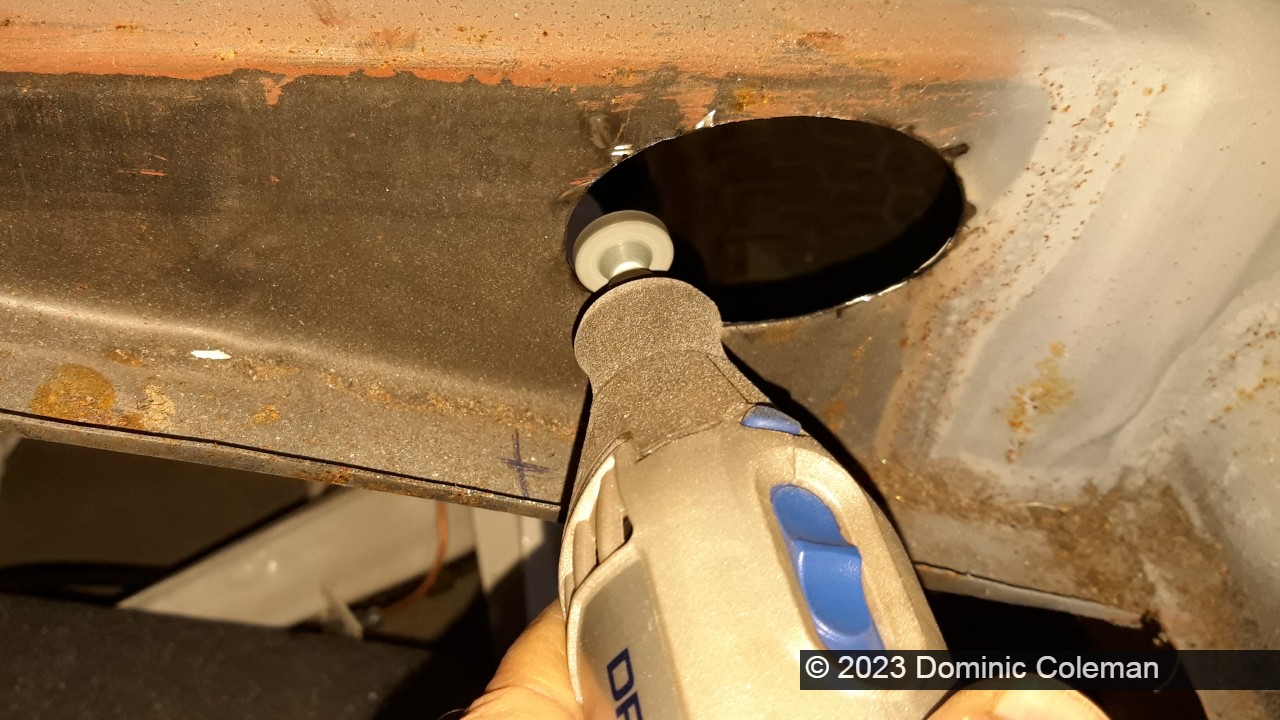
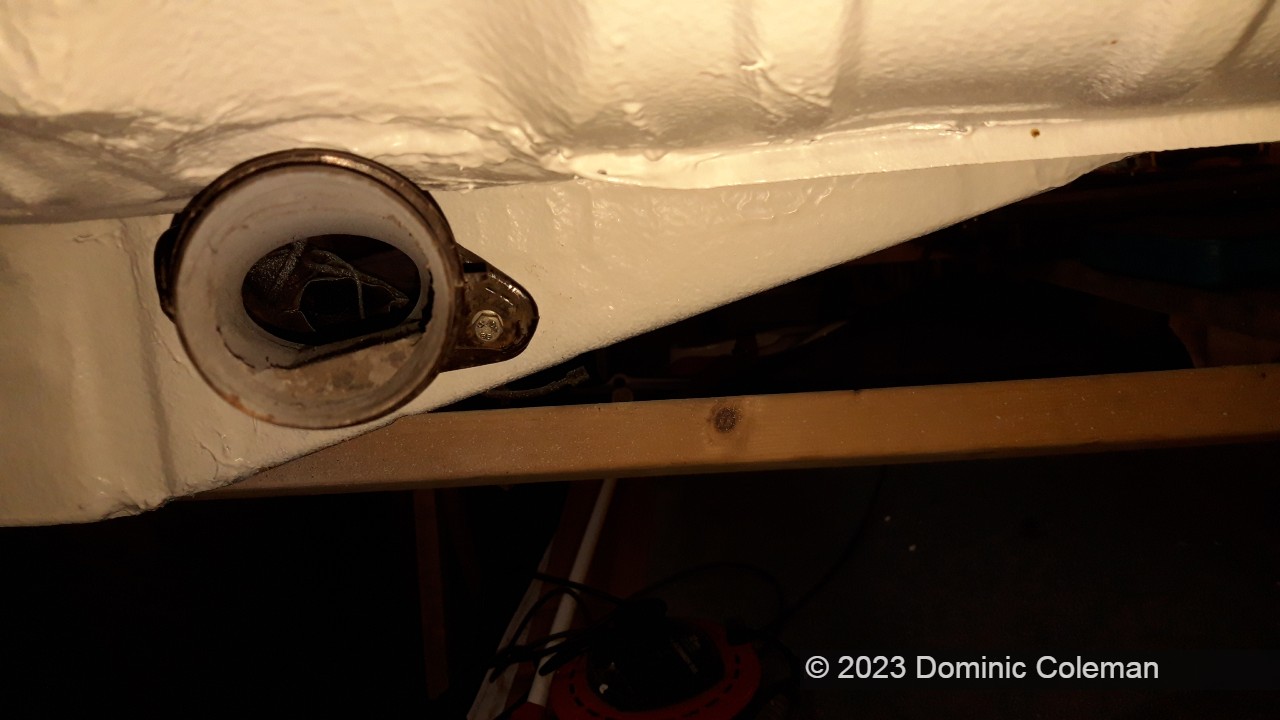
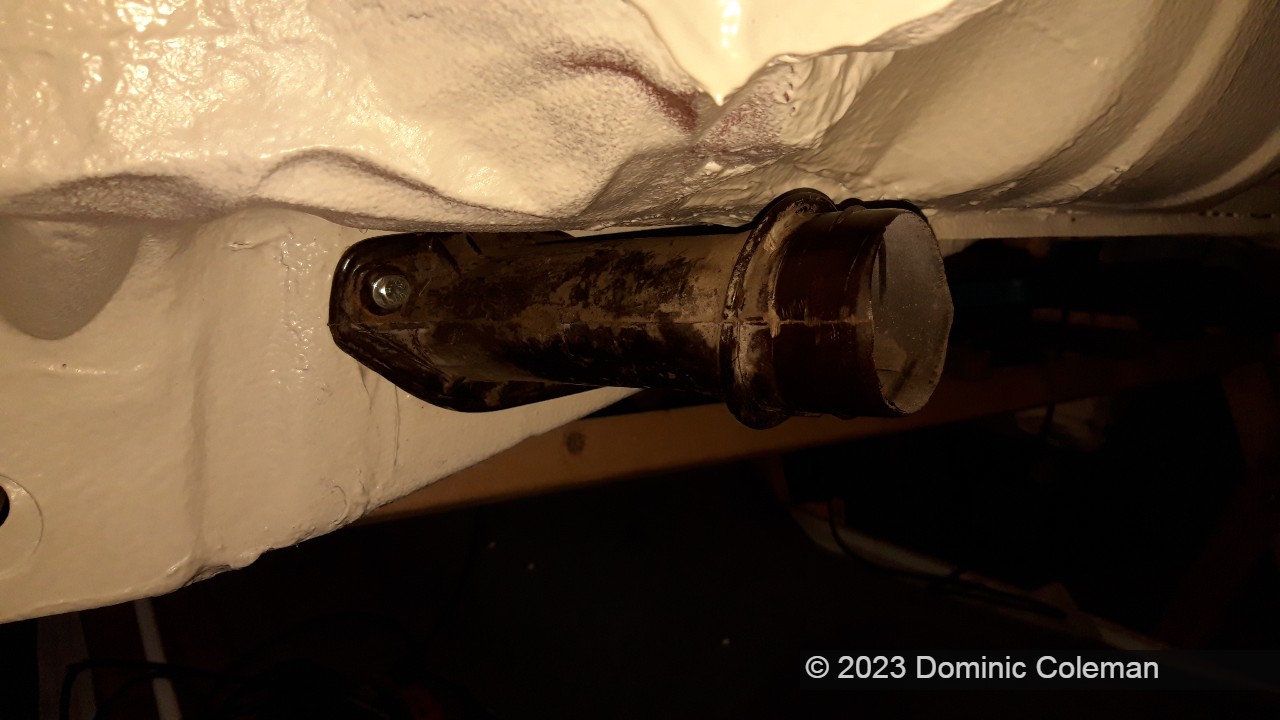
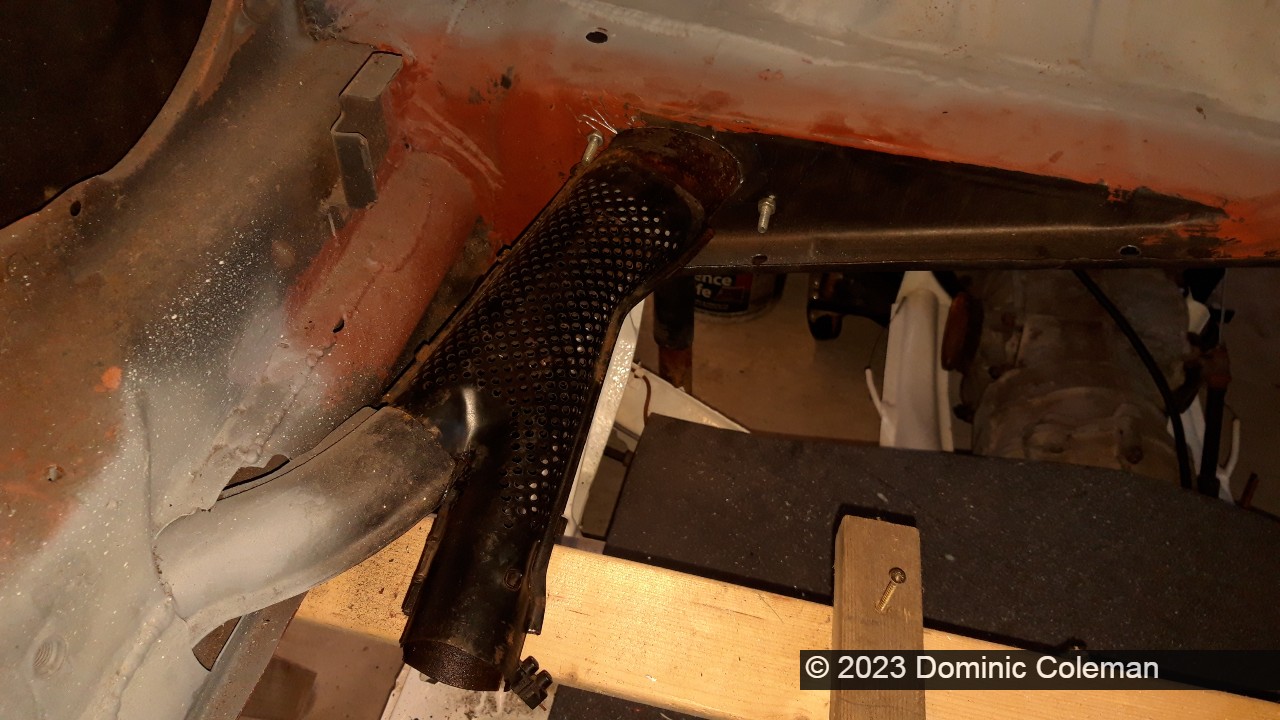
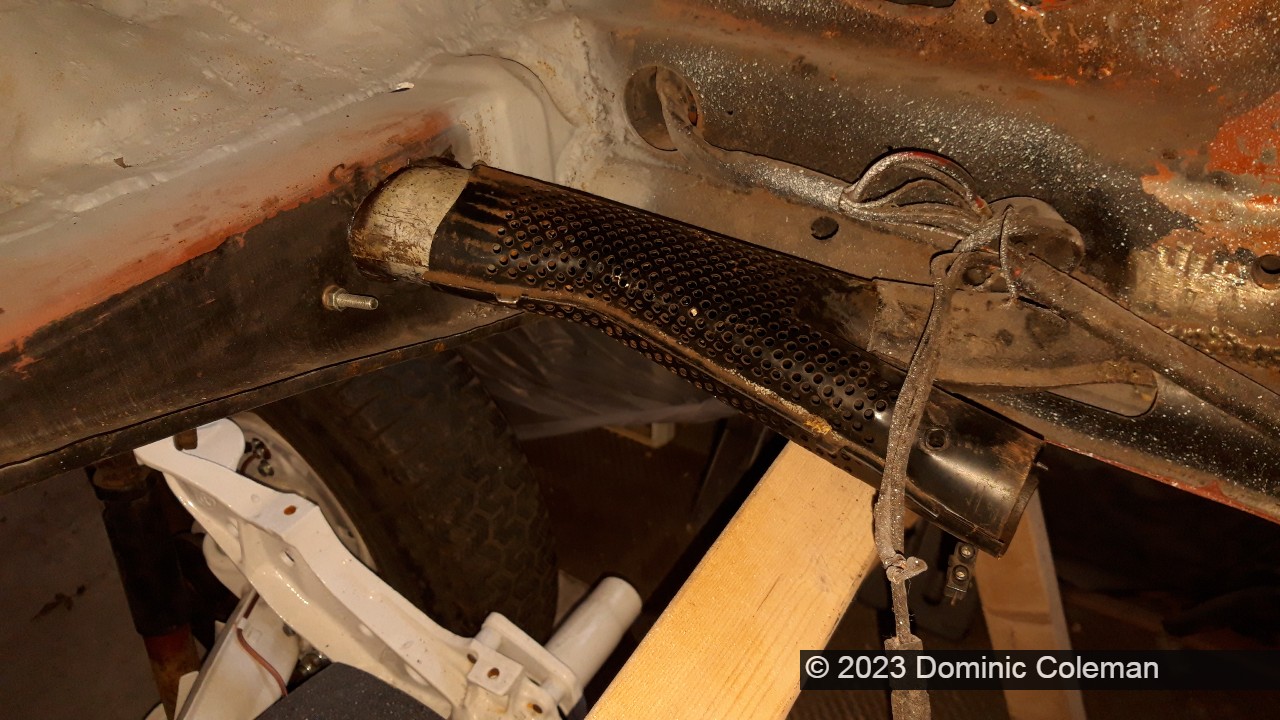
One job that I was keen to get done was to ensure the left and right handed Bakelite heater tubes that mount through the rear cross member were in position with the holes drilled for mounting. It turned out the oval holes were not big enough for the Bakelite heater tubes and I had to grind out the ovals. Luckily I had a Dremel (4000) with a couple of grinding attachments, one of which broke 3/4 of the way through the job on one of the apertures. It took over an hour of careful grinding on each side for the tubes to fit flush and enable me to mark up and drill the holes for the mounting bolts. The heater branch pipes were mocked up and fitted well which began to make things were moving in the right direction.

The bolts will need to be welded to the cross member, as per on the original panels which would make installation of the heater pipes much easier when the body is back on the floor pan. By mid January 2023, It got very cold (sub zero) and enthusiasm waned for the remainder of the month.

Categories
floor pan

Floor Pan is Home

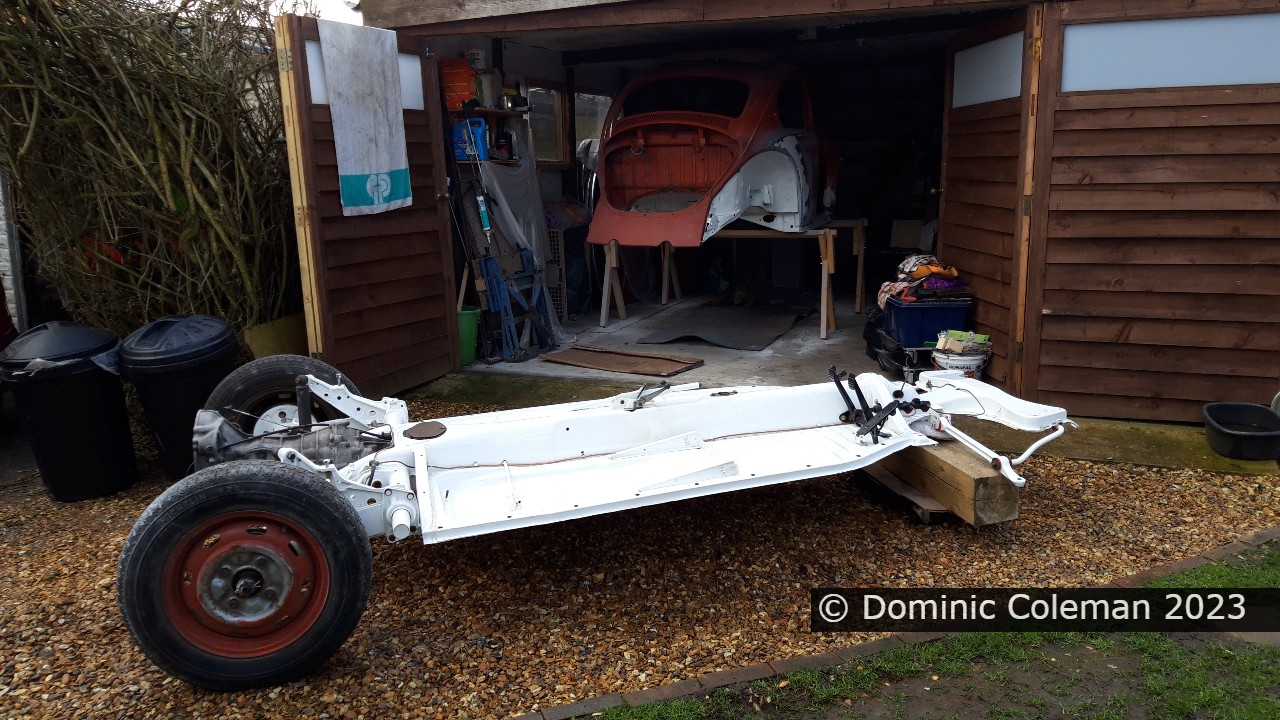
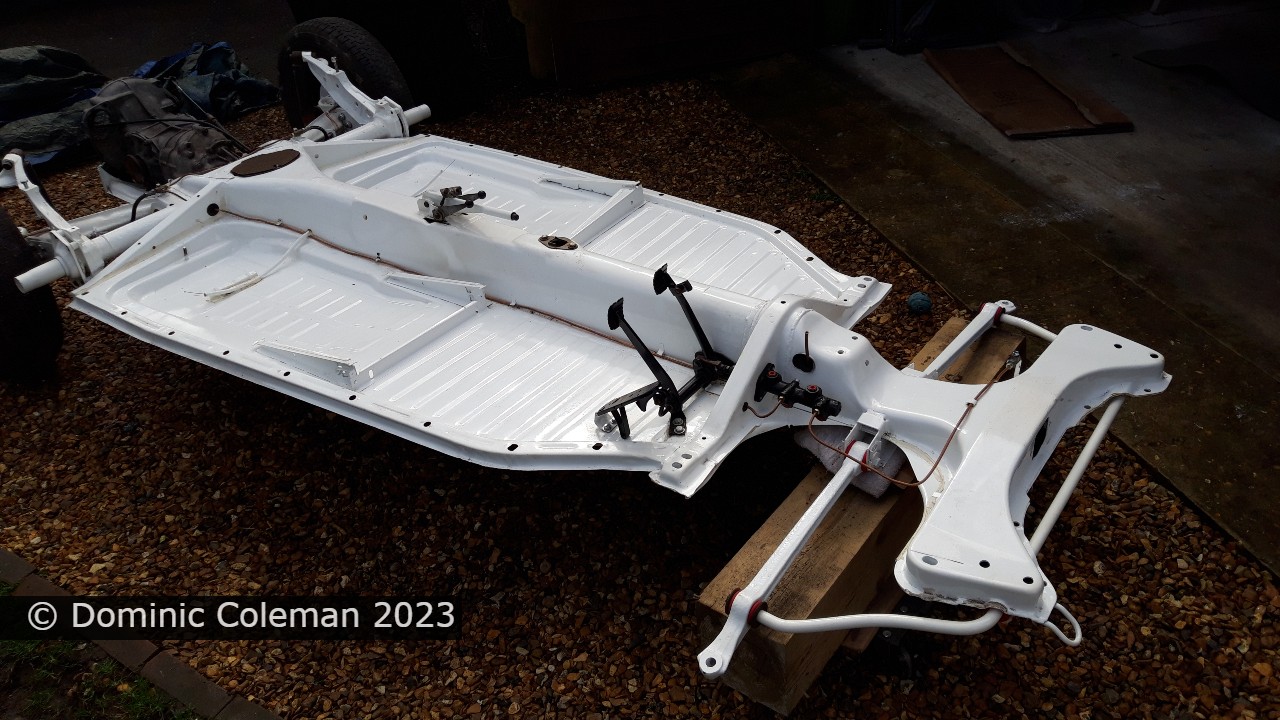
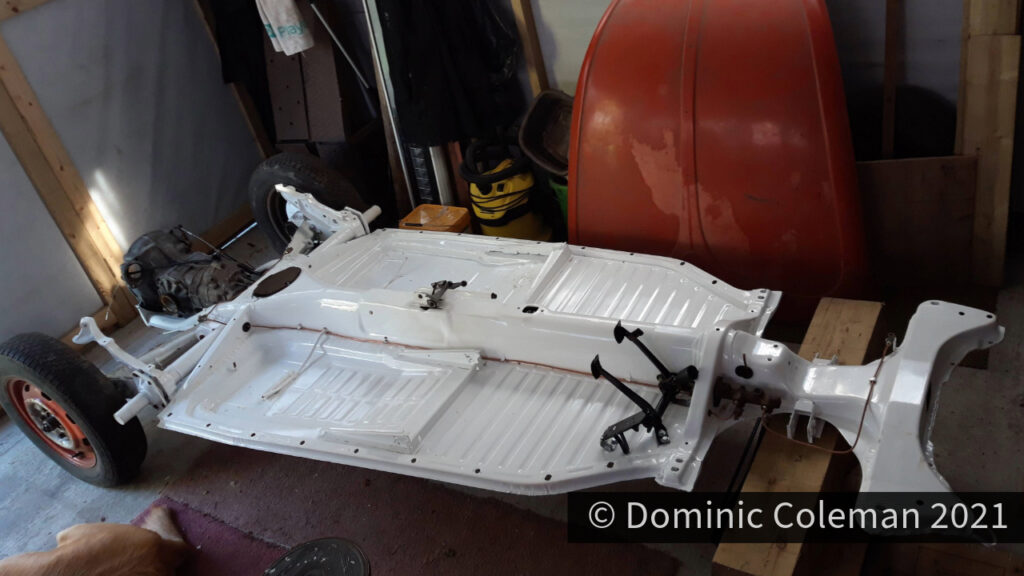
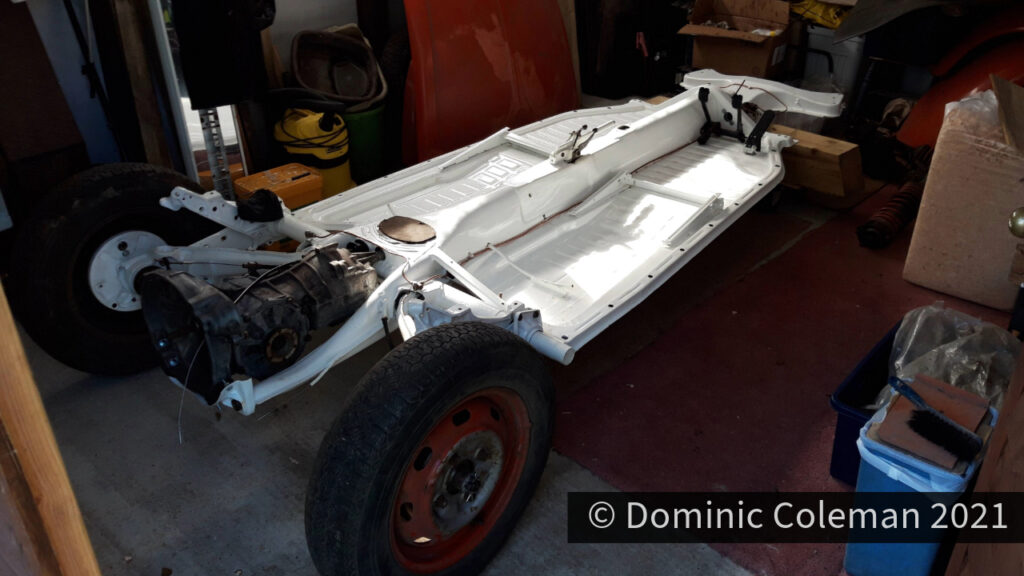
October 2021, and Paul delivered the the floor pan back home. Leading up to this point, I had stripped down the front struts with other steering components in readiness for sending away to be powder coated in the same bright white. I had tinkered with painting the gear lever gloss white but it wasn’t quite the right white when compared with the powder coating bright white and I also touched up the scuffed IRS arms with white Hammerite.

The next part of the plan was to get the brake master cylinder sent away for refurbishment, buy a couple of new flexi brake lines for the rear end with a little more pipe work added and the brake system would be mostly finished except for the front end connections to the front struts. However, with the ongoing body work during November, the budget was draining away and these items would have to go on hold.

Next post, the body.

Categories
floor pan

The Floor Pan

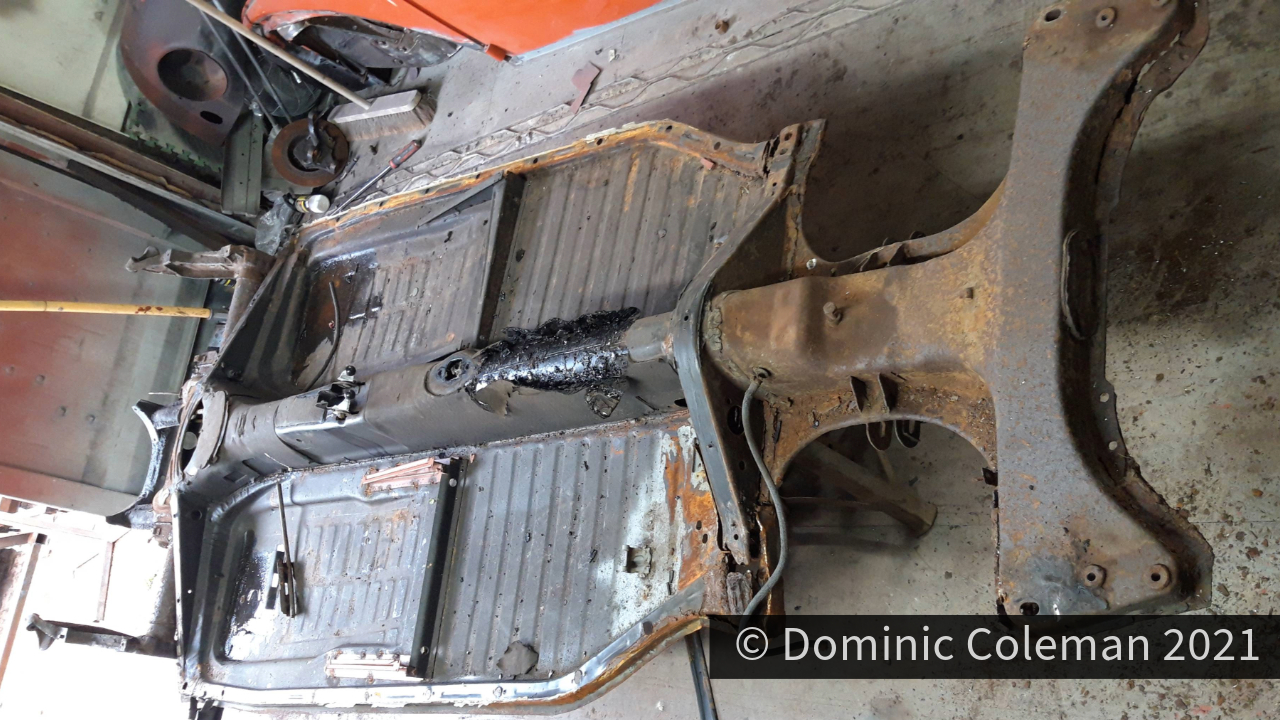
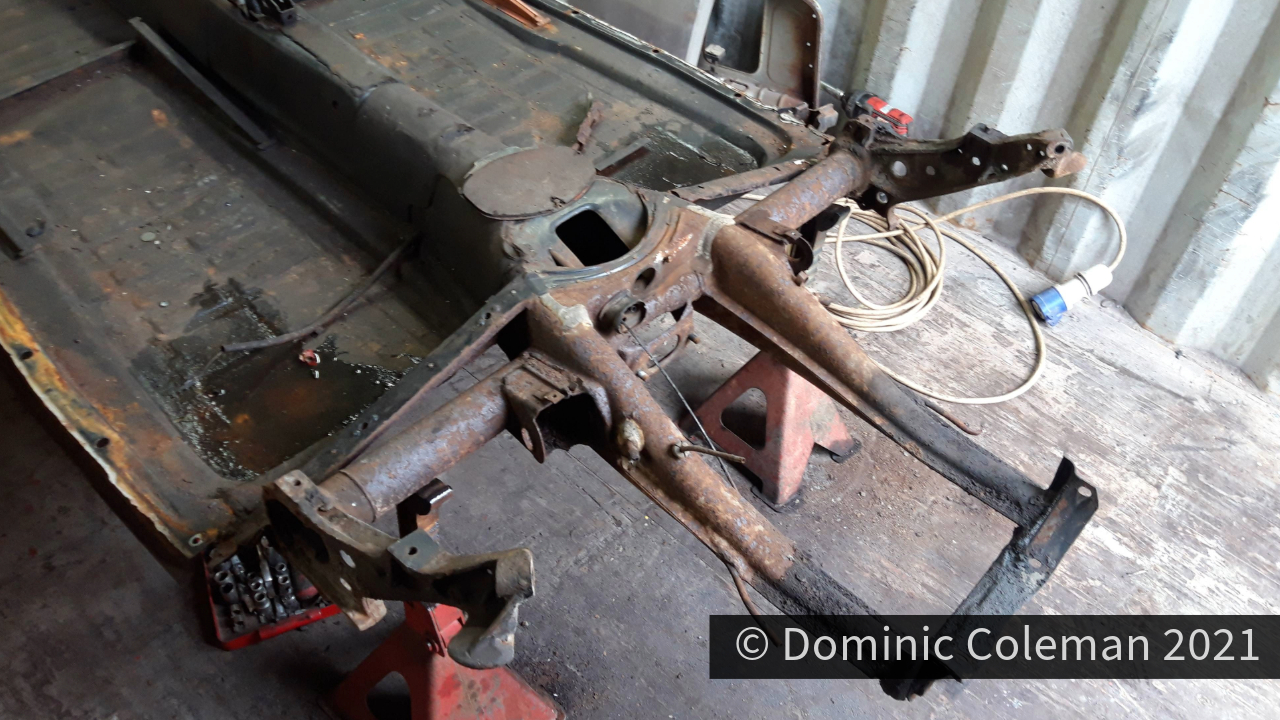
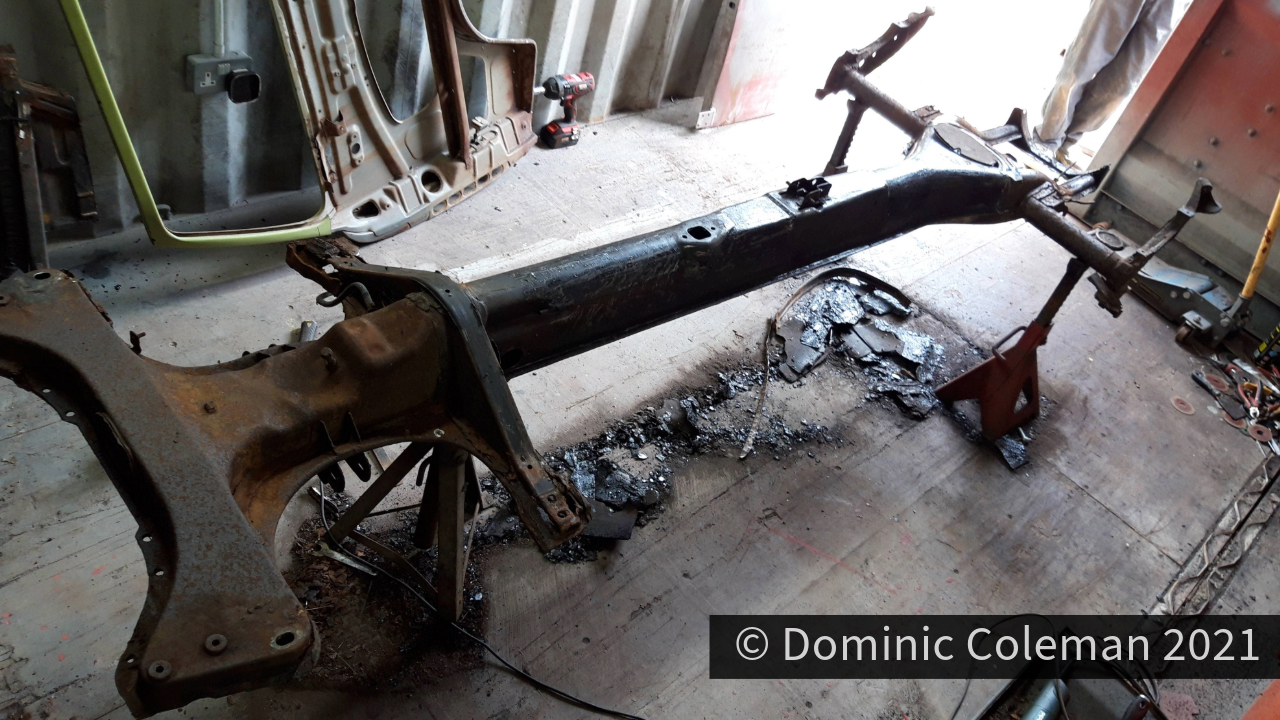
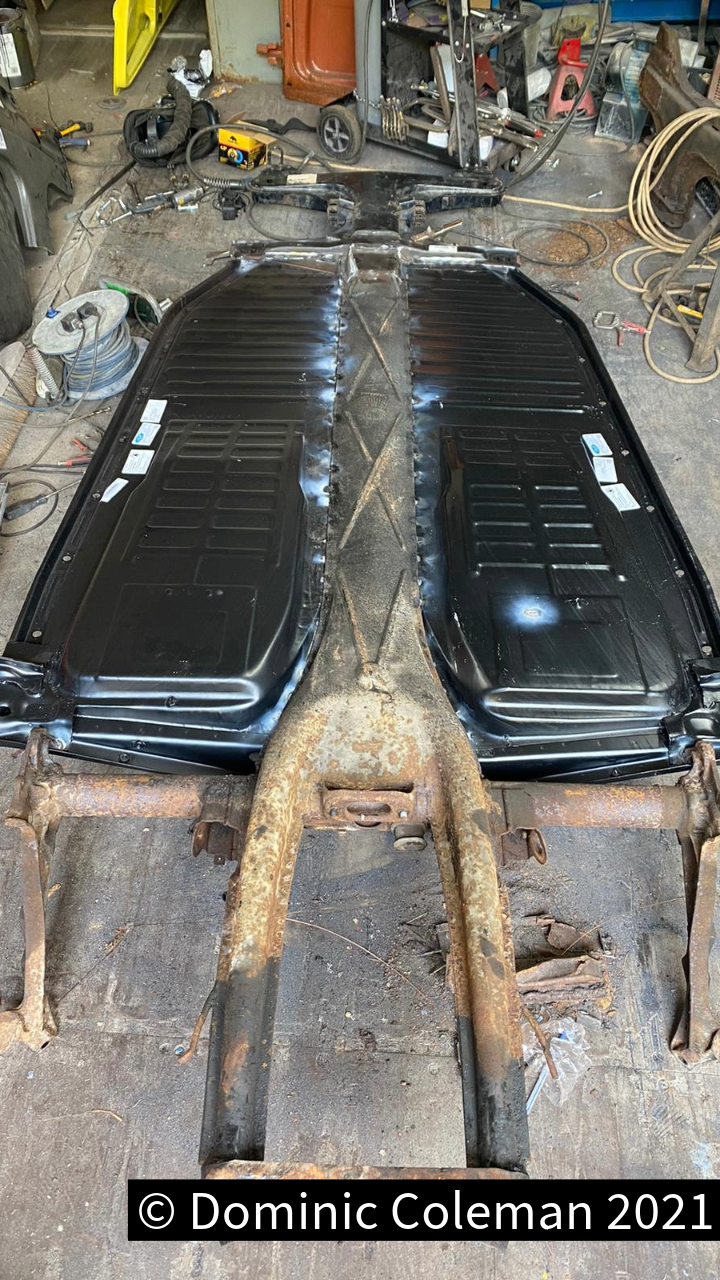
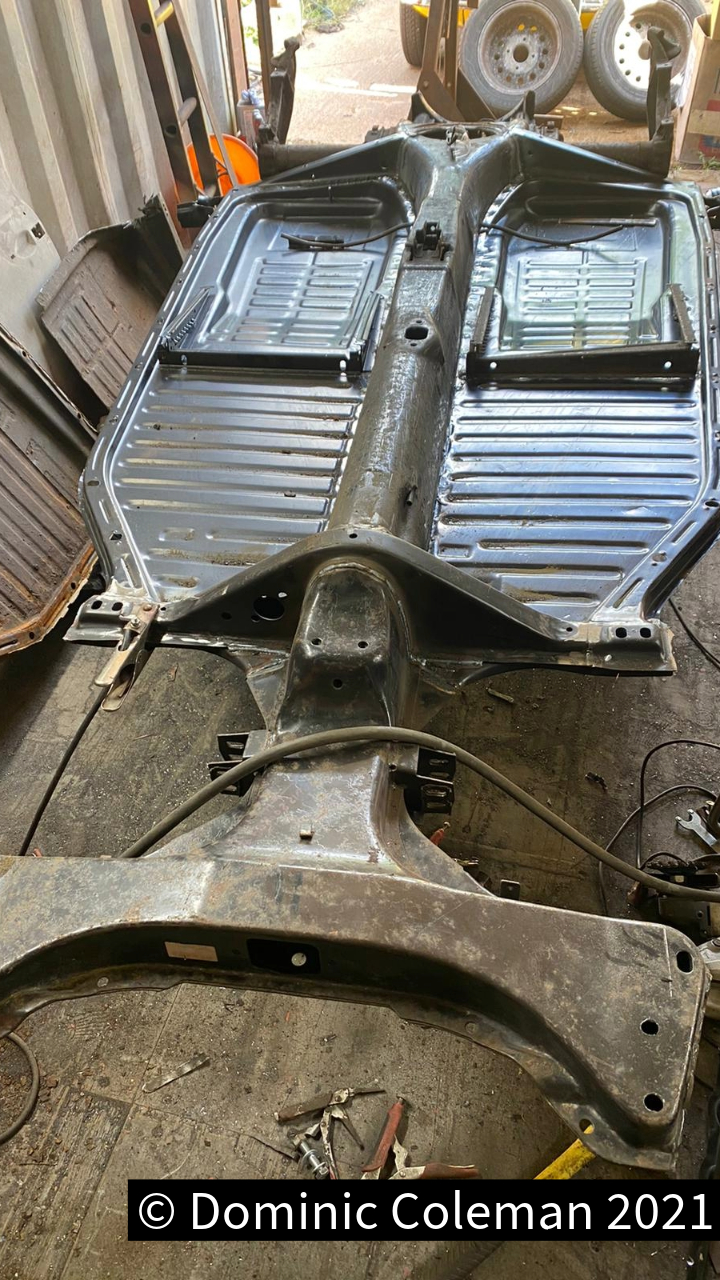
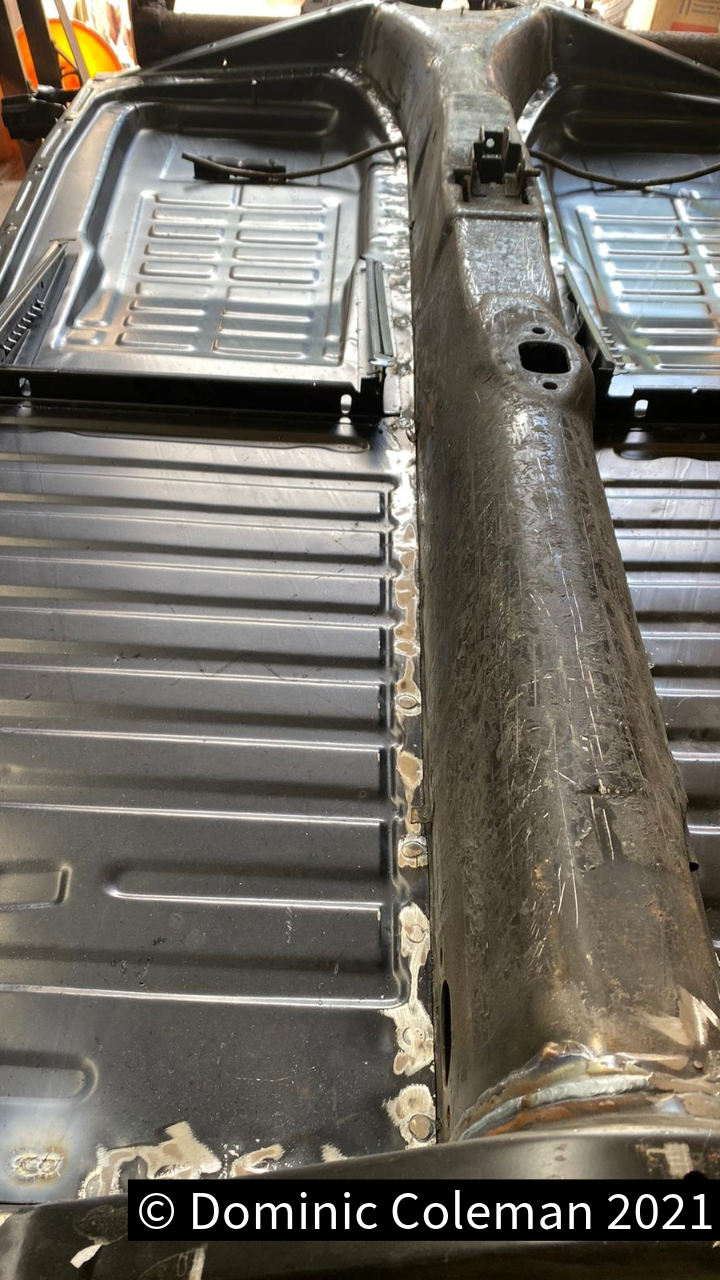
July 2021: A few weeks after separating the body from the floor I went over to help Paul strip the floor pan down to its bare chassis spine. To start, we had to remove the previously replaced floors by cutting as close to the main central tunnel as we could, but ensuring not to cut into the tunnel structure its self as this was where the floors would be spot (or plug) welded to. Using a trusty cold chisel, Paul then hammered out all the spot welds on the left side (passenger side RHD), as this was still the original factory floor because in 1997 we only had a ‘half’ floor fitted. On the right side the floor that was fitted in 1997 had been seam welded along its length to the chassis central spine. Initial thoughts were that this was going to be a problem but upon closer inspection the seam weld had been done on top of the remains of the old original floor. Thankfully, this allowed Paul to use his chisel and knock out the factory spot welds on the original floor and thus taking the newer welded floor left overs with it.

The central tunnel was covered in a tar based sound deadening board, so chipping and cleaning off this material was my job and something I could actually do. It didn’t take too long and by early afternoon the chassis was stripped bare. All that was needed was for the frame head to be replaced, but Paul would have to make up a jig to ensure the new frame head and the underside part of the Napoleon’s Hat, a section to be grafted in, would all align.

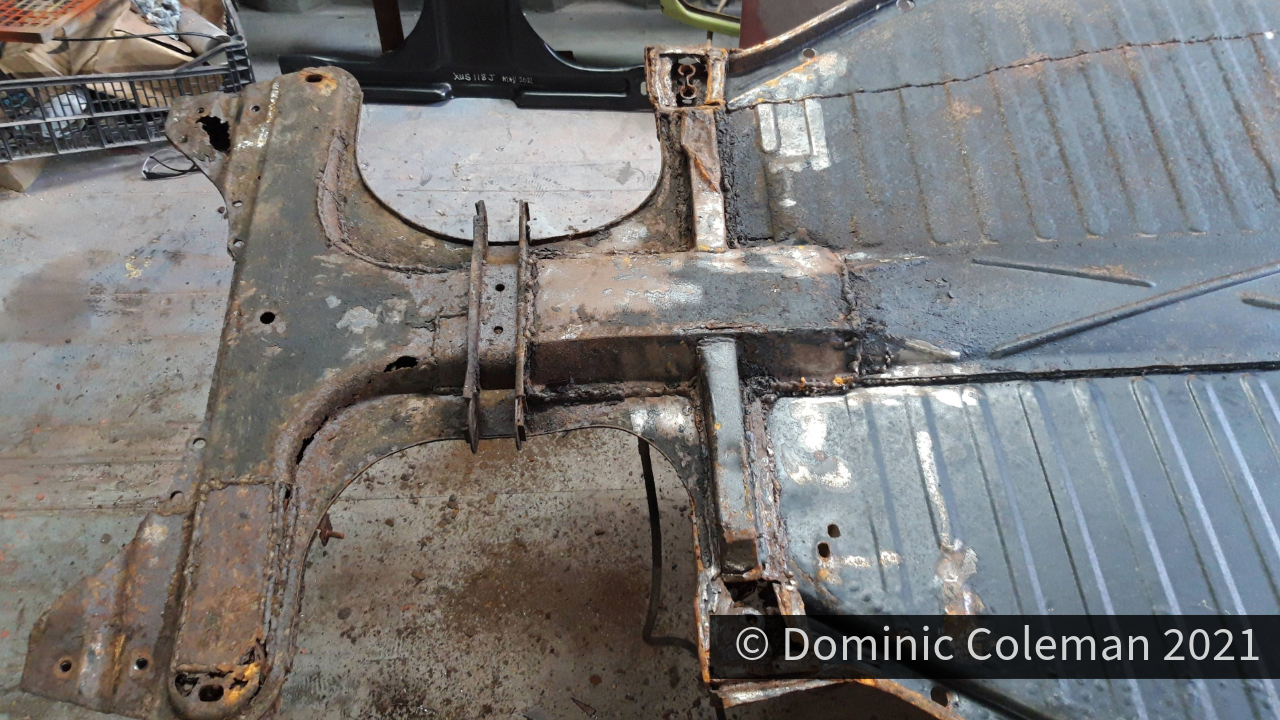
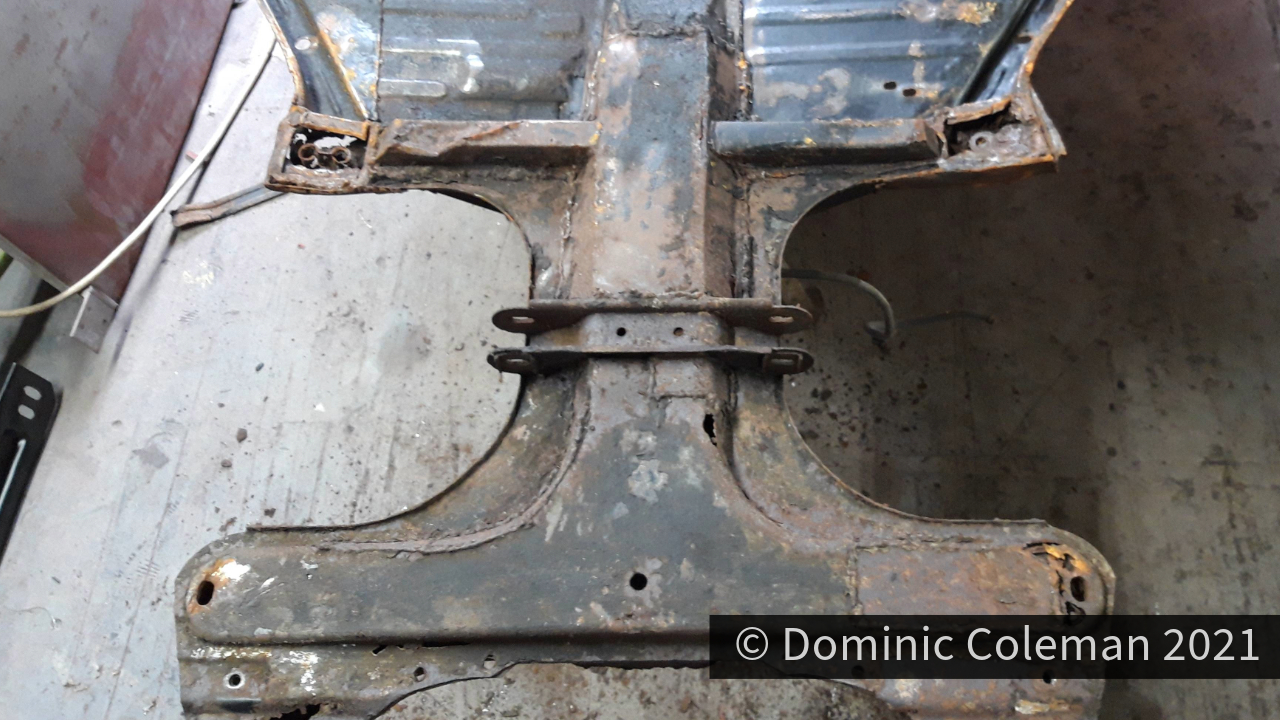
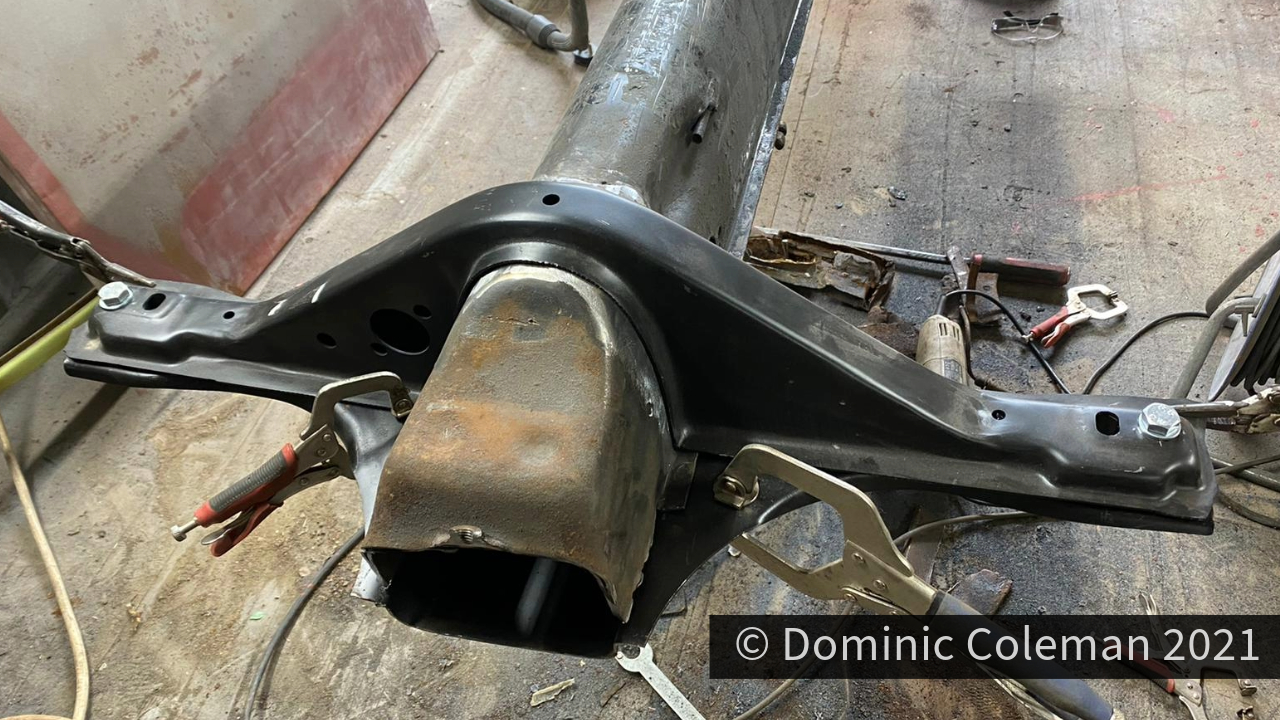
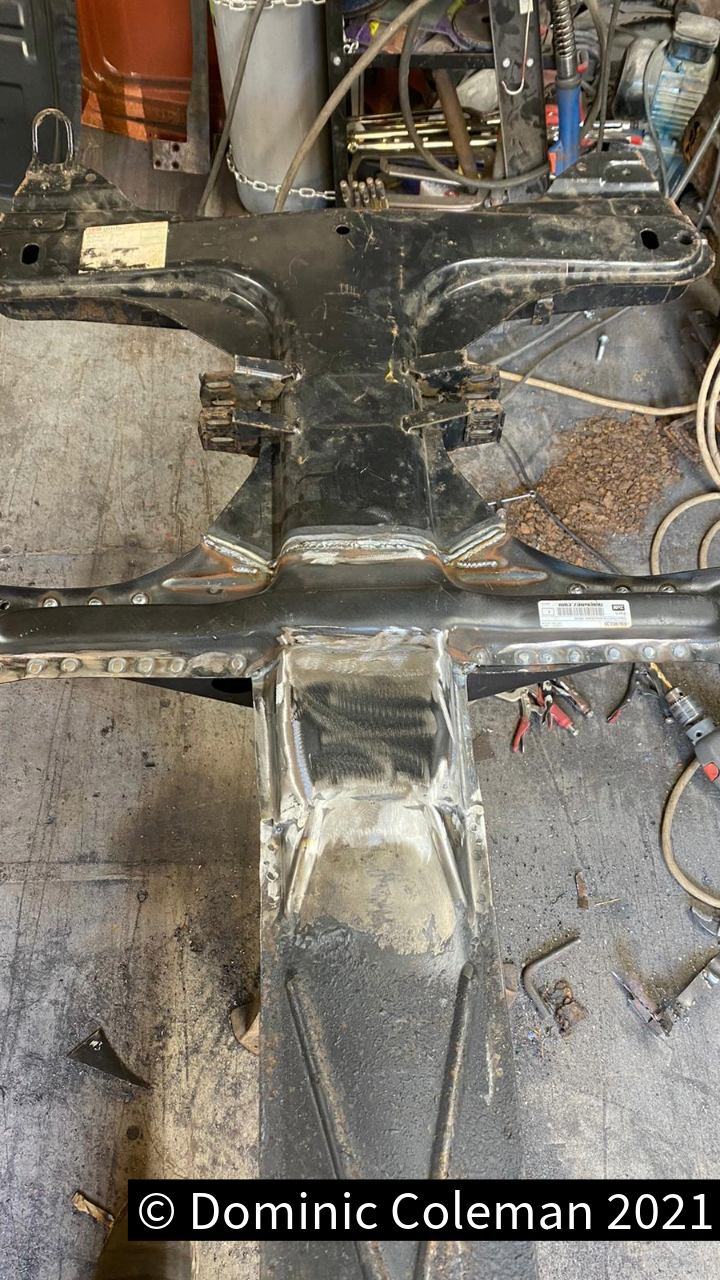
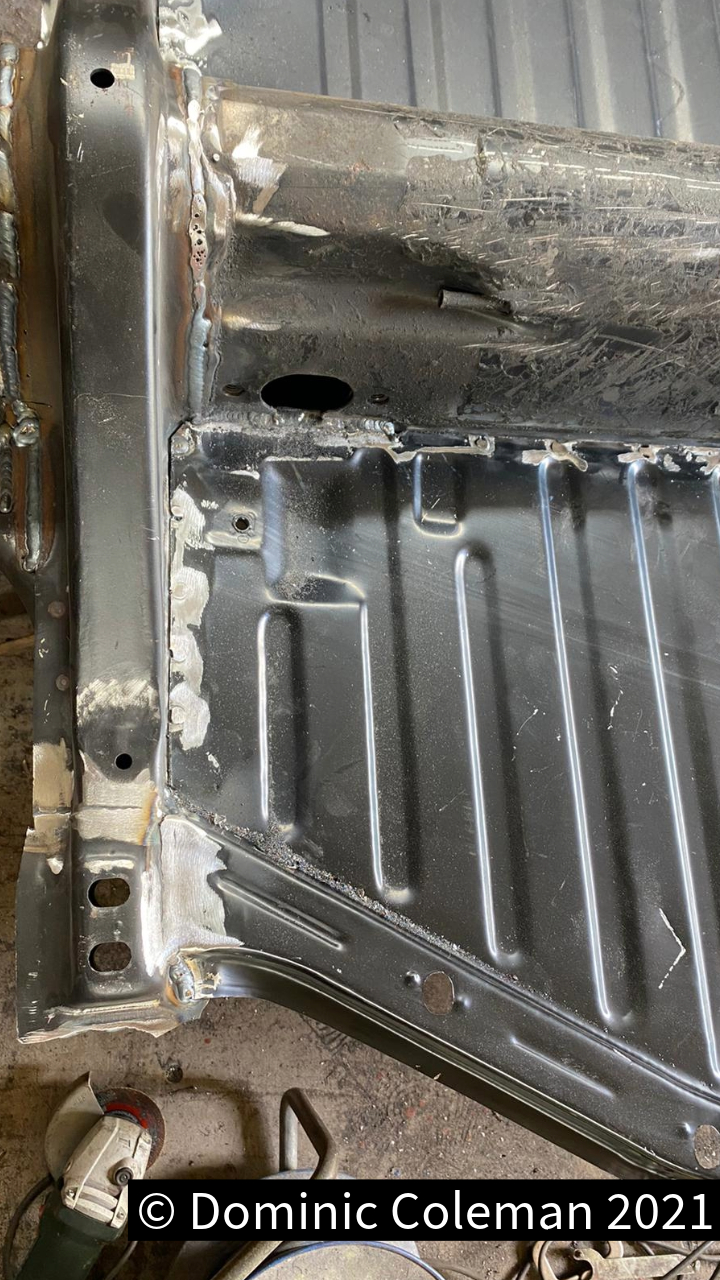
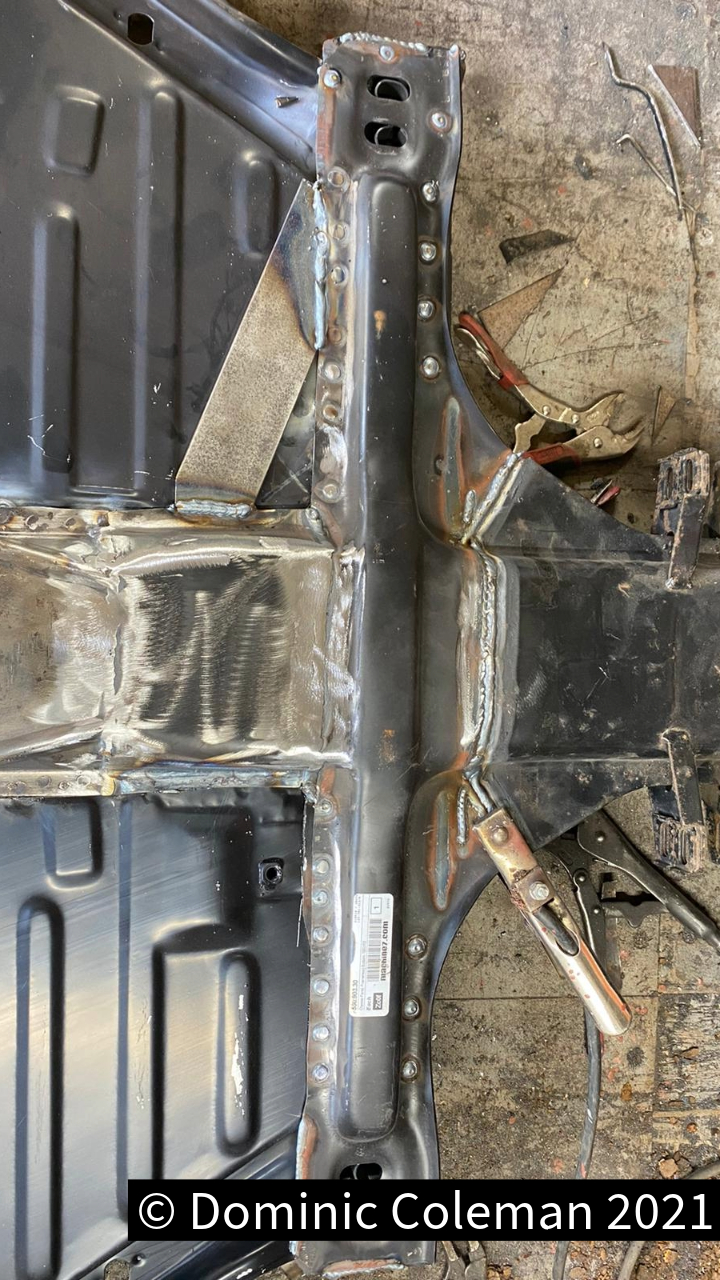
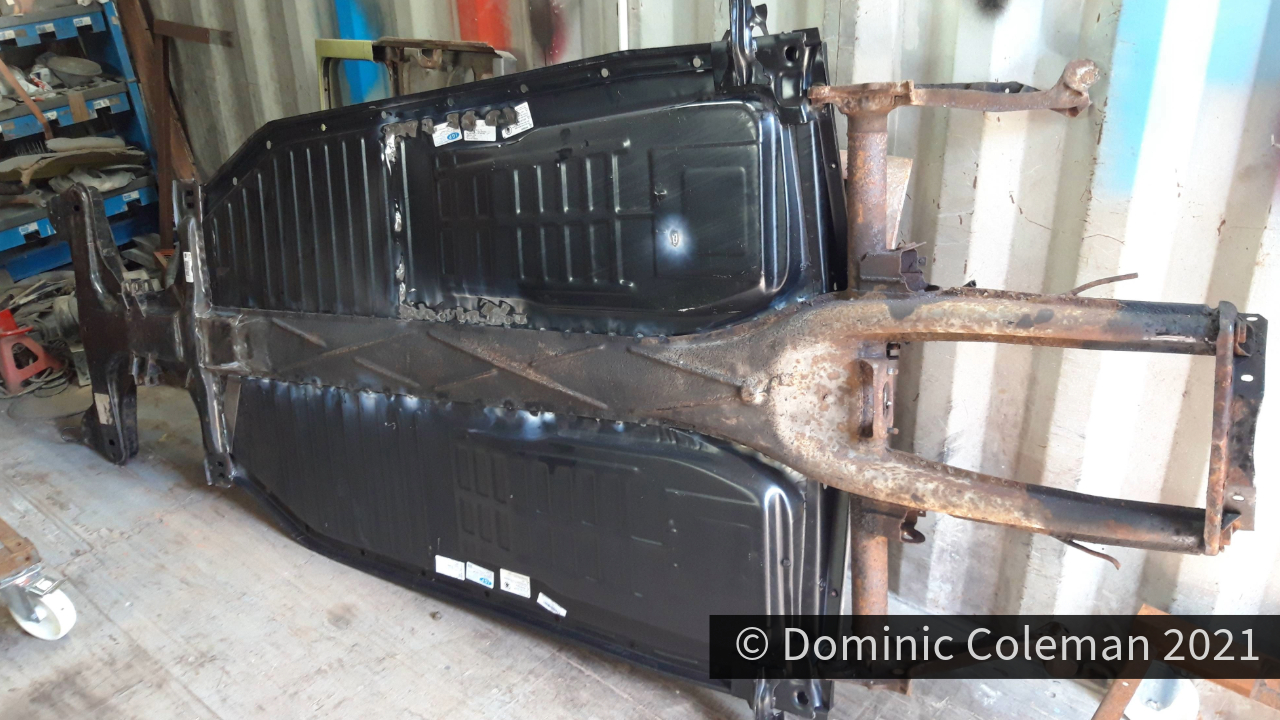
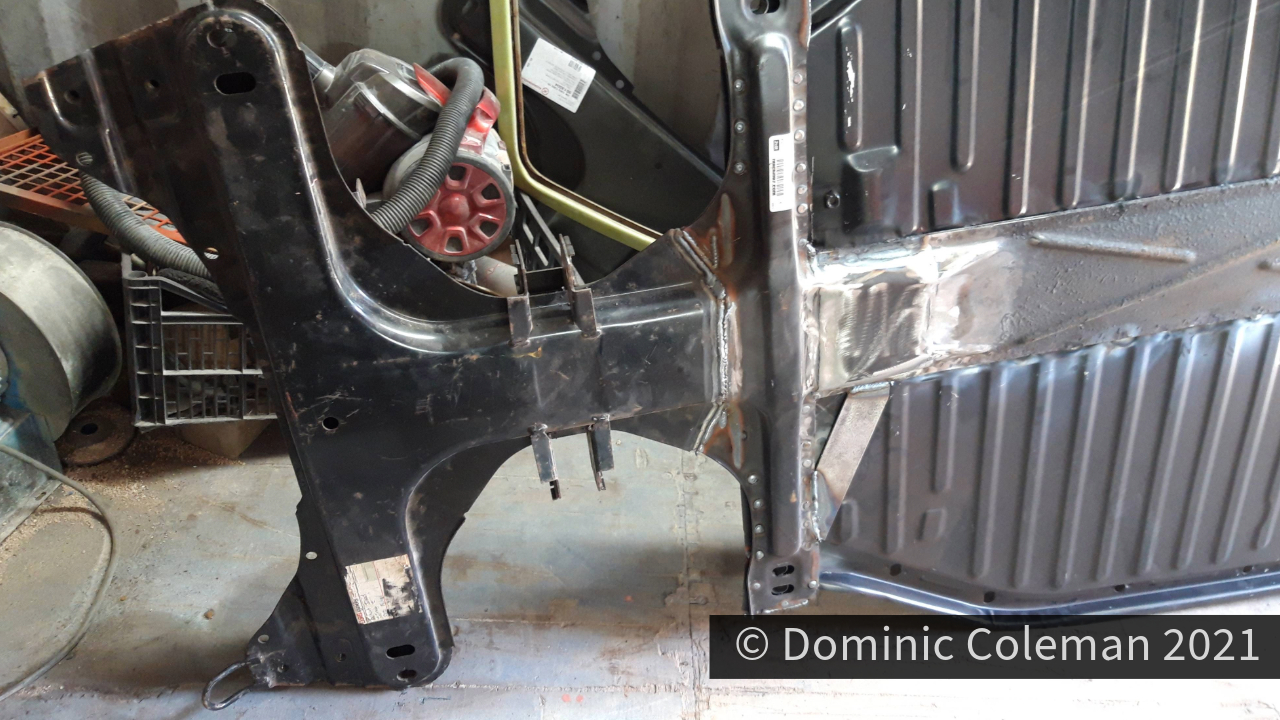
A few days later I got a message with pictures from Paul to say he spent a whole day on the chassis and got the new frame head on, new floors fitted, and also the Napoleon’s Hat section of the floor grafted in. He had a spare 1302 shell in his yard that he used to offer the floor up to ensure everything aligned as it should.

The following week I went over again to Pauls to see the results of his welding and look over the thorough job he had done. Later, we set to stripping down the IRS arms, spring plates, rear brakes, front TCAs and other small parts in readiness to be sent away for media blasting and powder coating.