Categories
engine painting

Engine Strip Down

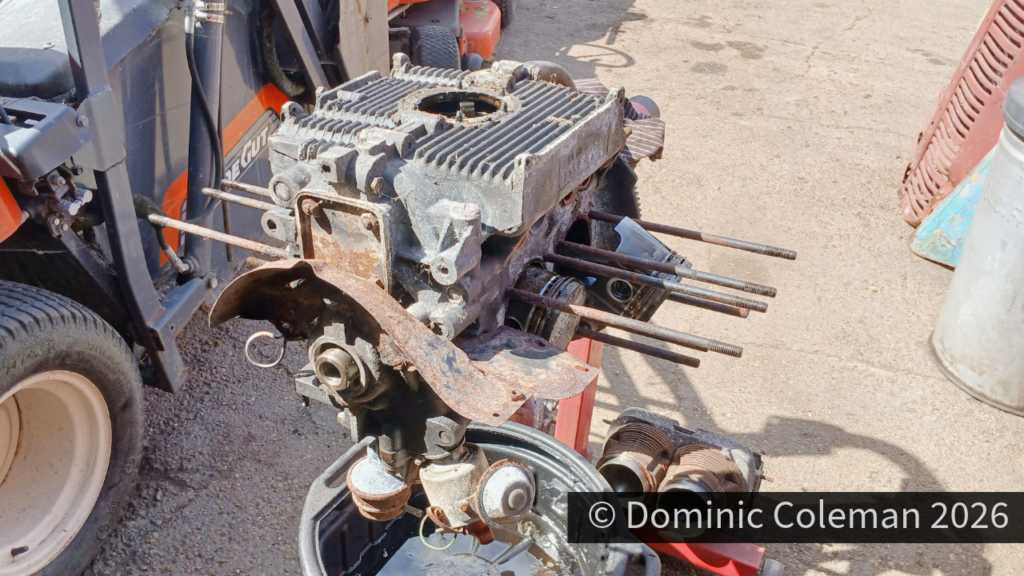
August 2026: I spent part of a Saturday with Paul (South Coast Customs & Classics) stripping down the Beetle’s engine block. I had removed as much as I dared, including the carburettor, fuel intakes, engine tins, fan shroud, dynamo, heat exchangers and exhaust system. I couldn’t separate the fan assembly from the dynamo as I didn’t have a 36mm socket, so I had to rely on Paul for that.

With the engine in the boot of my Passat, Paul’s engine stand was at the perfect height to attach to the engine without any major lifting. You could almost have wondered if VW had thought of this all along when they designed the rear hatch boot access!
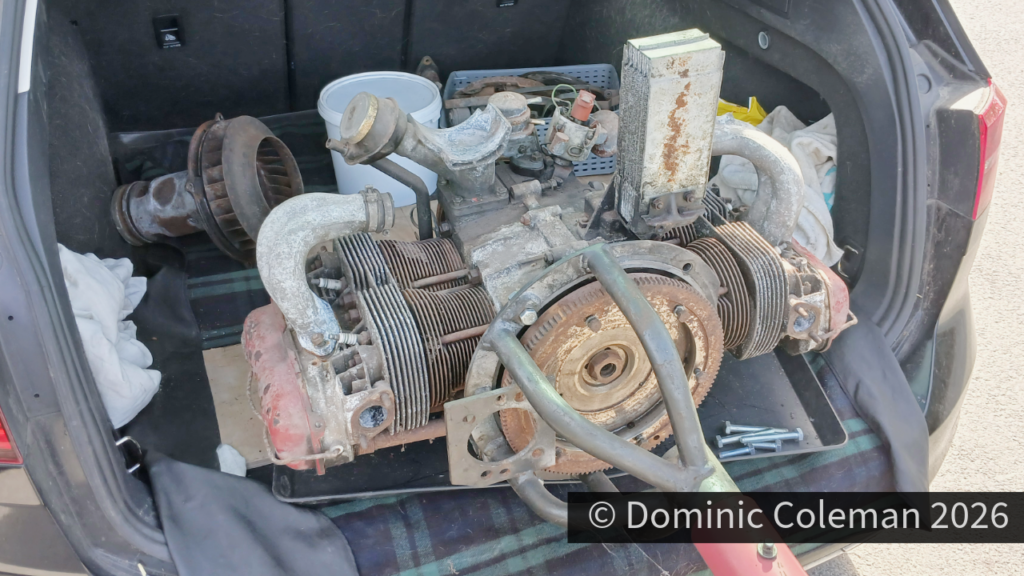
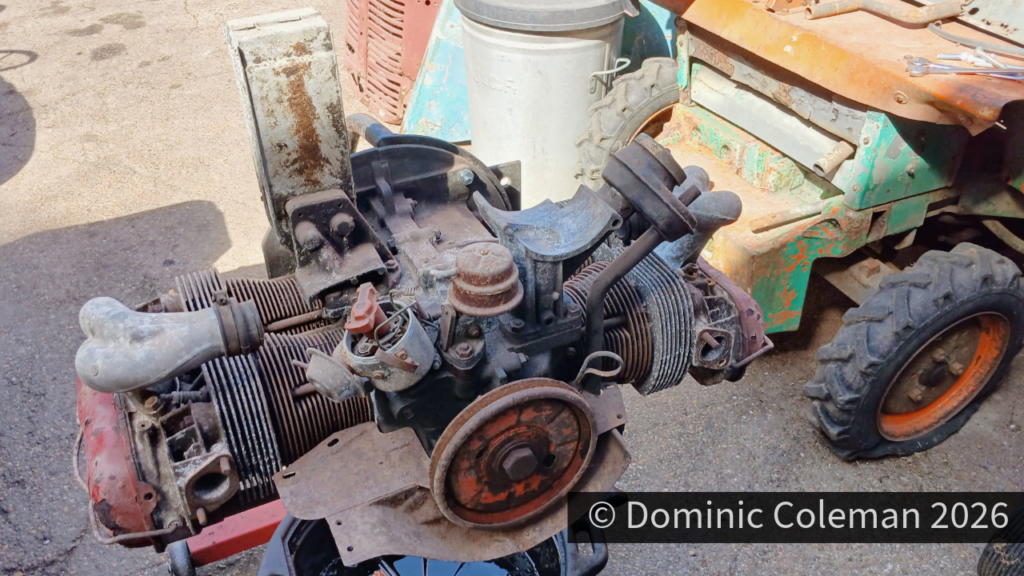
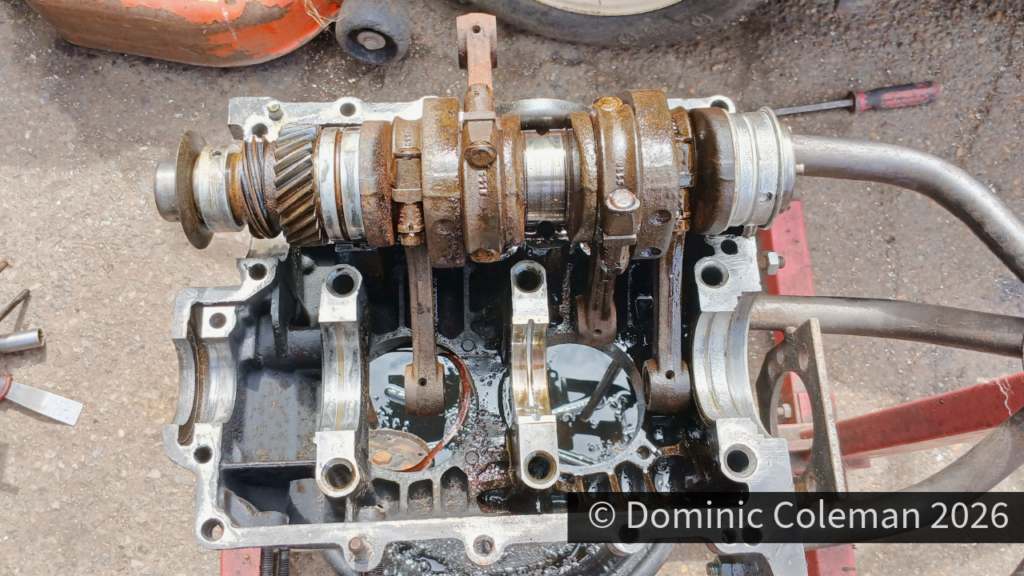
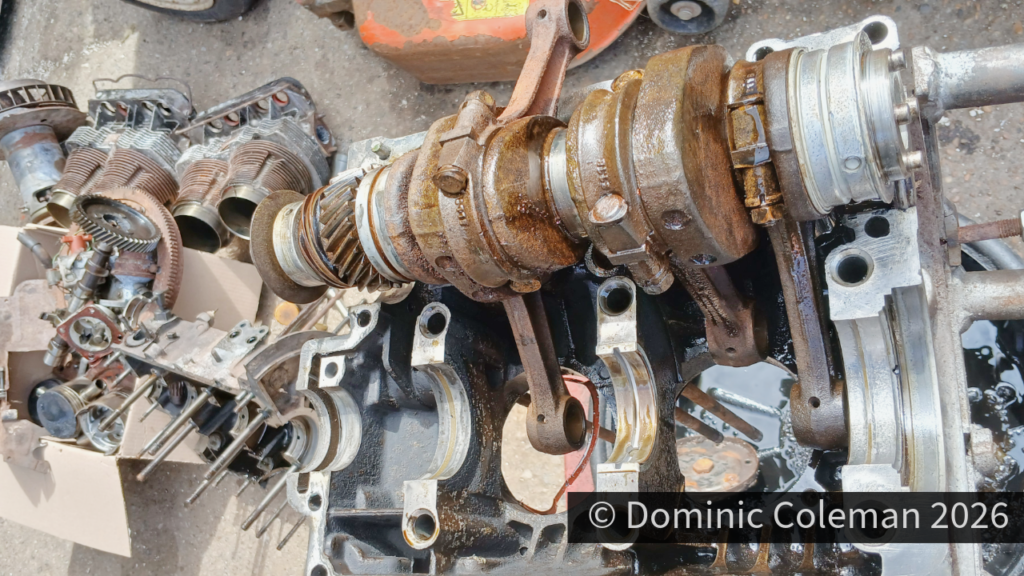
Initial inspection revealed the crankshaft end-float was about 2mm (normal is anything less than 0.5mm), and this became particularly evident after splitting the case, with noticeable movement around the main bearing. The saving grace was that there was enough metal left to allow the block to be re-machined for new main bearings.

The crankshaft seemed to be in good condition, with no hot spots or heat tarnishing, and the con rods were OK, with minimal movement at the gudgeon pin end. The piston and barrel bores were clean, with no scoring, and appeared reusable, as did the pistons if fitted with new rings.

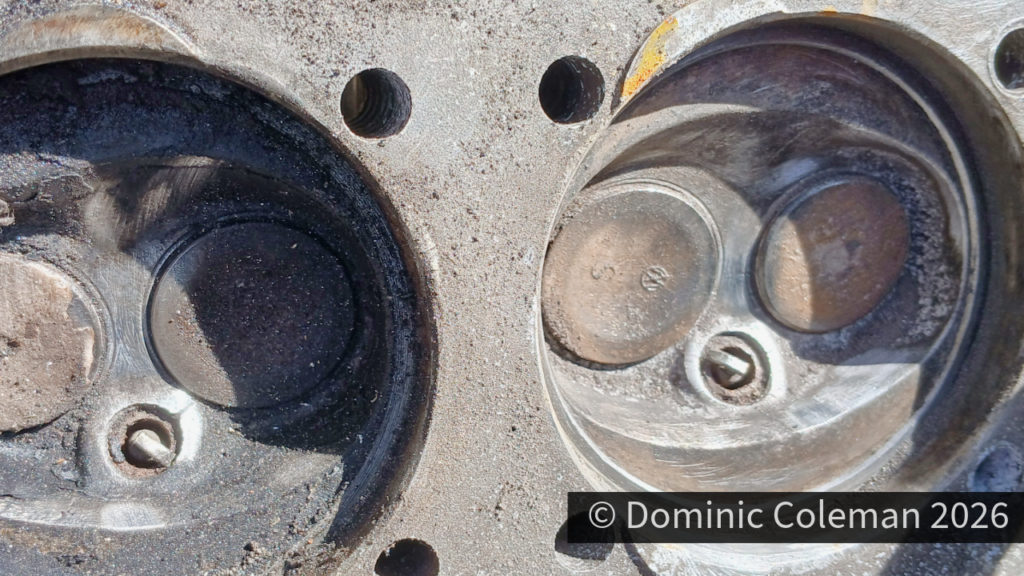
The camshaft, and especially the lifters, showed signs of wear. What I hadn’t expected to find was that both cylinder heads had cracks between the valves. I was advised not to reuse them, although, according to the Forums, there are two camps when it comes to the argument over reusing cracked cylinder heads.

So, a rethink was on the cards for the engine build, along with some new costs to consider. Prior to all this work, I had used Chat-GPT to spec up an engine rebuild and associated costs, but now I had to factor in the additional expense of new cylinder heads.

I opted for the Heritage deal from the VW specialist supplier, which included two new cylinder heads along with new 1641 barrels and pistons, seals and all the gaskets required for the bottom-end rebuild. I also went for new con rods, as they came with the piston (gudgeon pin) bushes already fitted.

A 110 Engle cam kit was ordered too, as it came with all the gaskets and lifters required for a complete job. Paul would send the disassembled block away for machining, which would include matching new bearings as part of the process to resolve the huge amount of end-float.

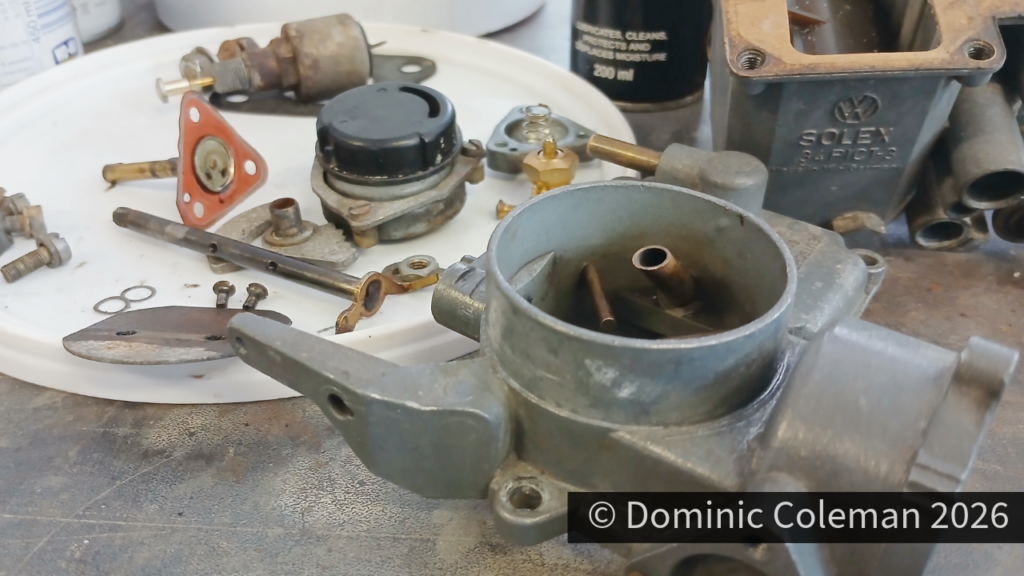
The parts not being sent away for machining were put into a box so I could take them home and clean them up ready for when we put the engine back together. Everything got a good degreasing scrub with Gunk and was then rinsed with petrol to remove years of old grime.
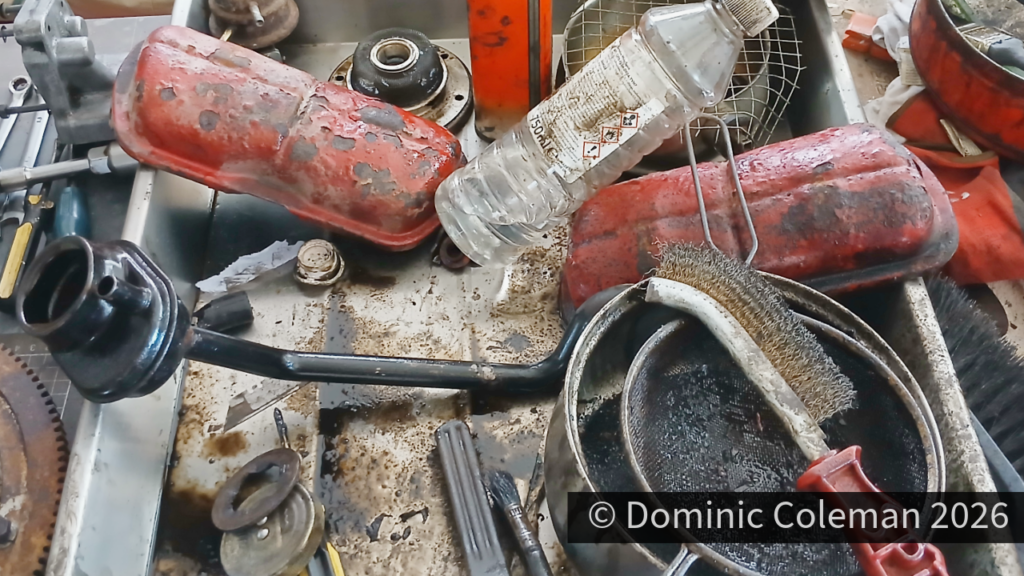
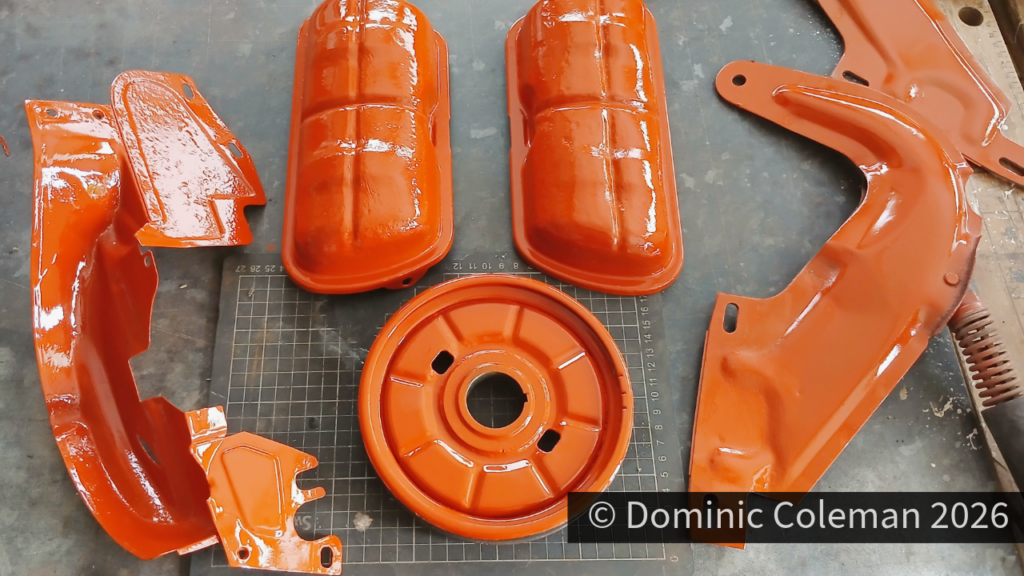
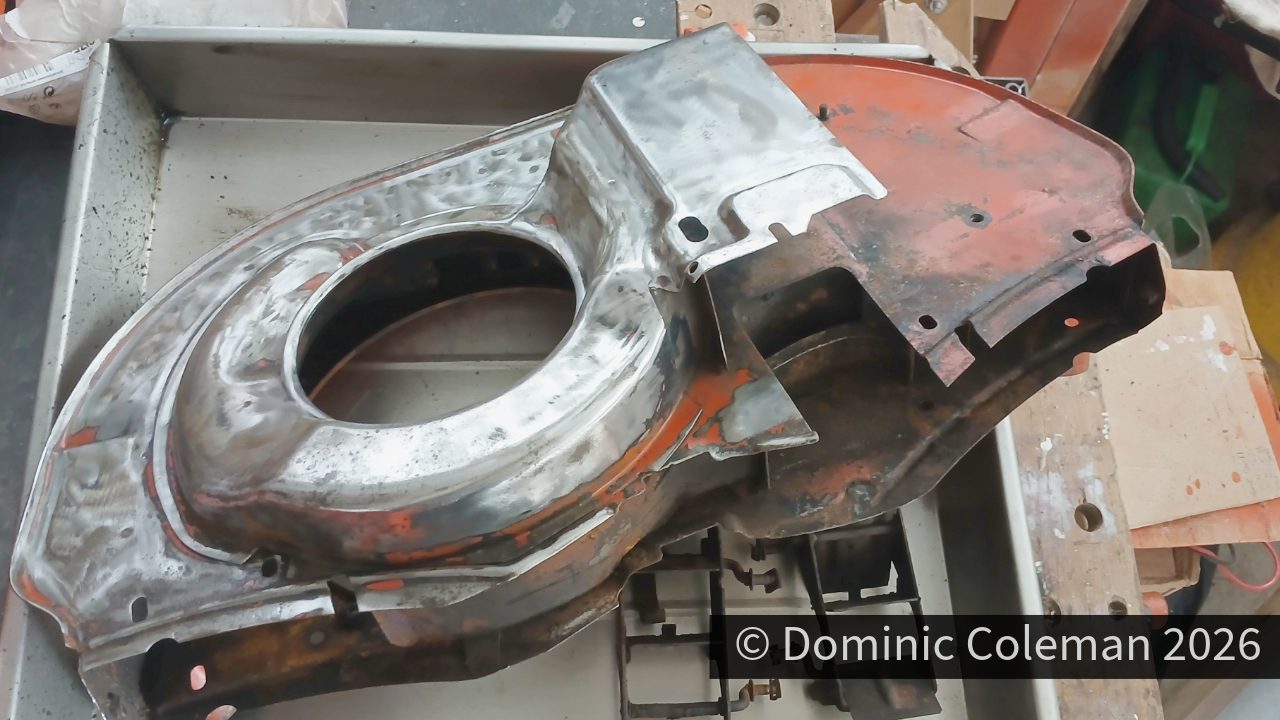
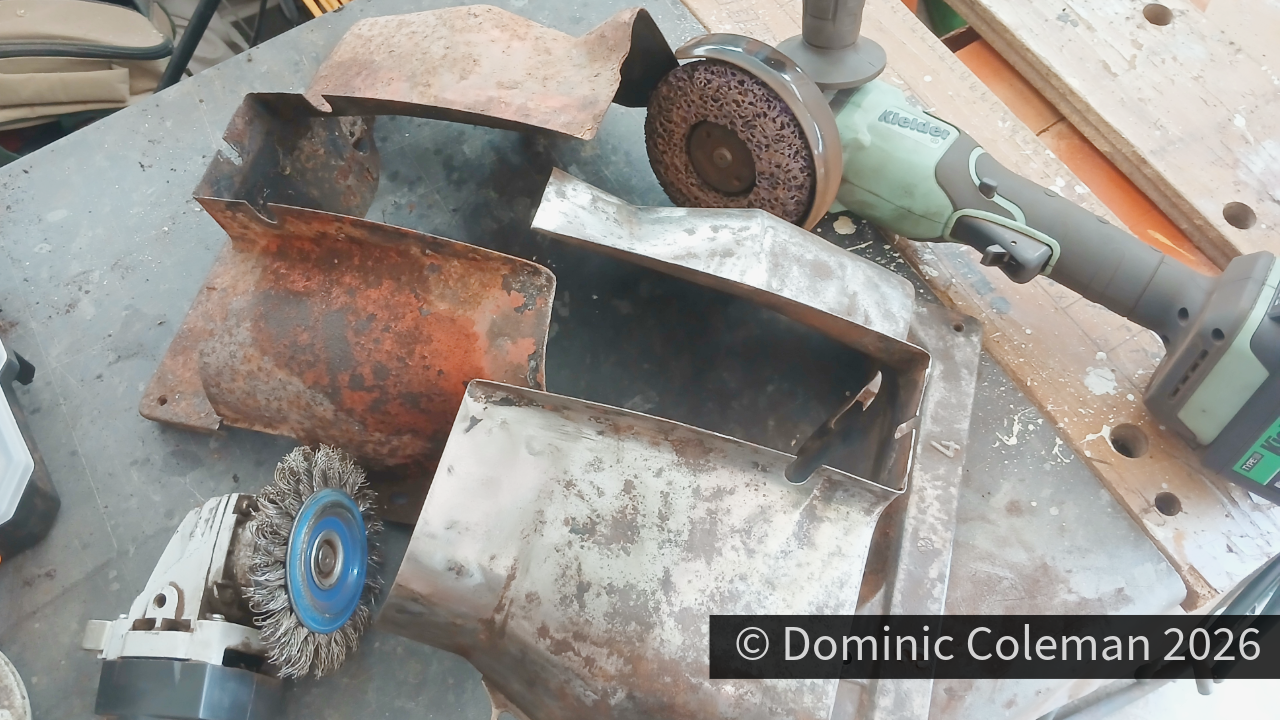
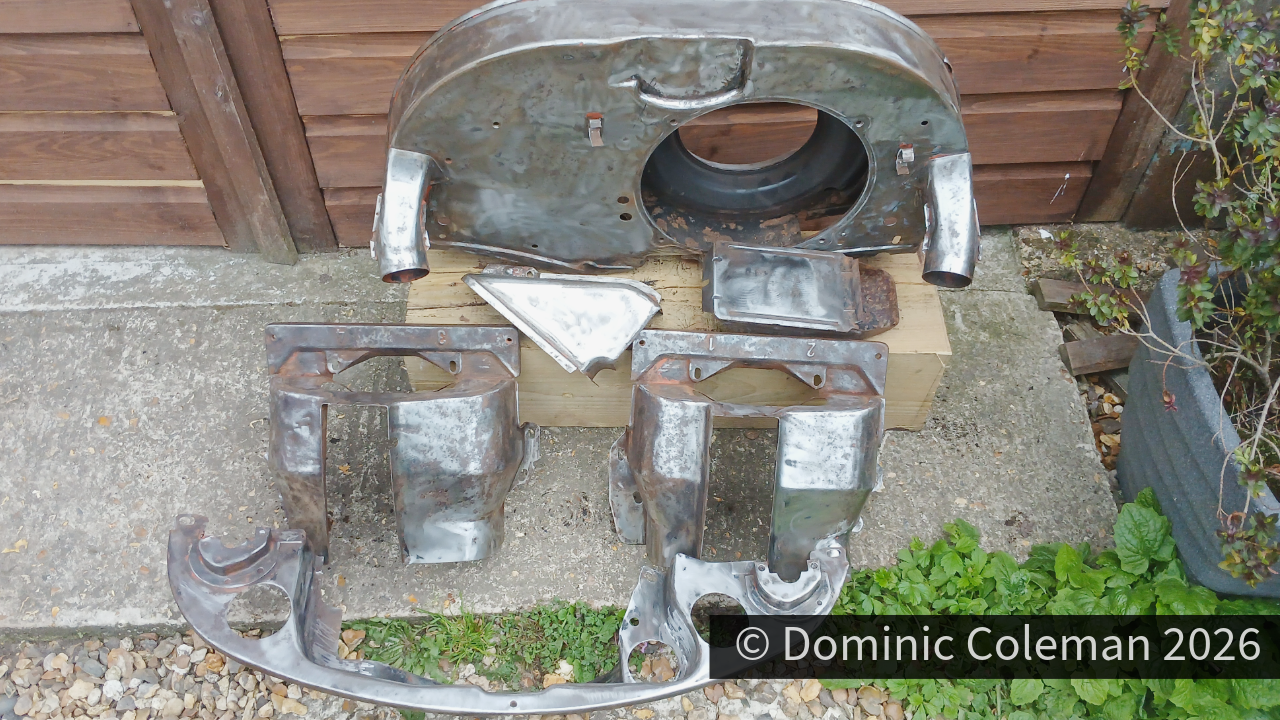
The crankshaft pulley wheel, rocker covers, lower pulley tinware, dynamo fan-shroud mounting plates and many small parts were further cleaned to remove old paint, corrosion and other ingrained dirt using various angle-grinder attachments. The flywheel and clutch pressure plate were also given the light abrasive angle-grinder treatment and came up well, so hopefully they will be usable.
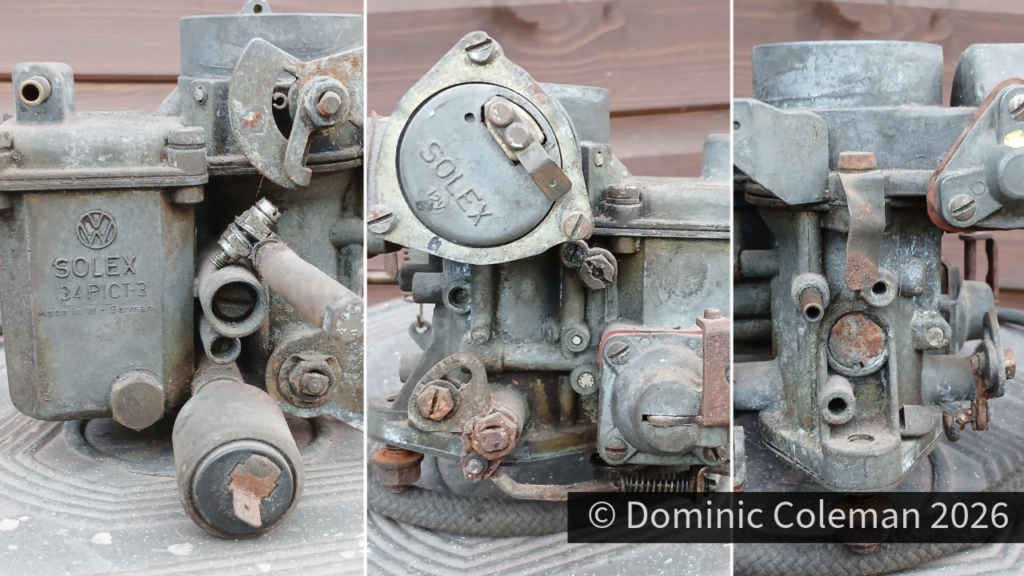
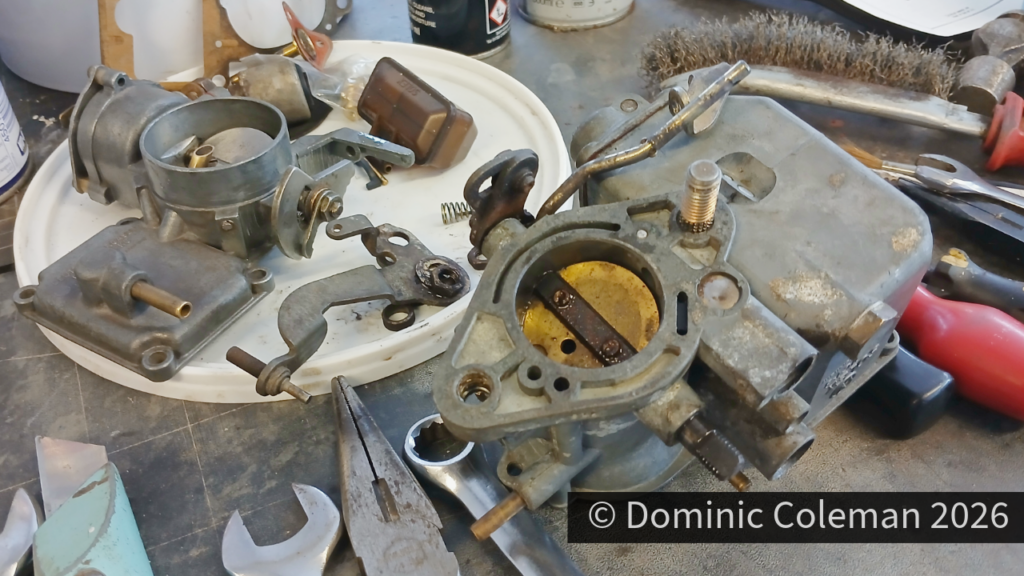
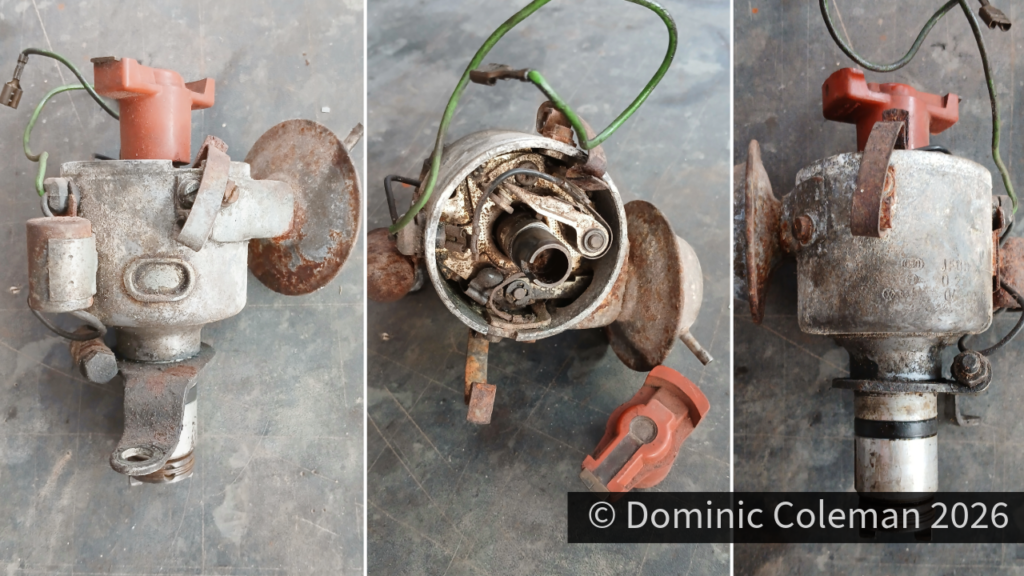
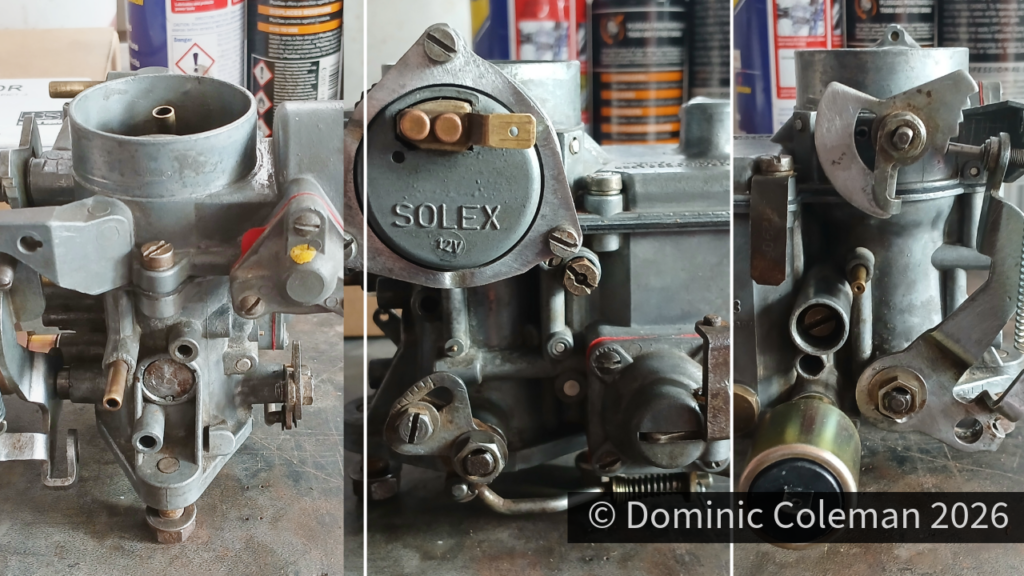
On my Chat-GPT engine build sheet, I had factored in Pertronix electronic ignition and twin Weber 34 ICTs. However, keeping my options open, I decided to clean, lubricate and rejuvenate the distributor with new parts, and give the Solex 34 PICT-3 carburettor a thorough clean and rebuild. This means I have the option of keeping things stock for now.

All the parts were at least clean, looking nice and ready to go back onto the engine.
Categories
bodywork brakes paint

Summer Jobs 2026

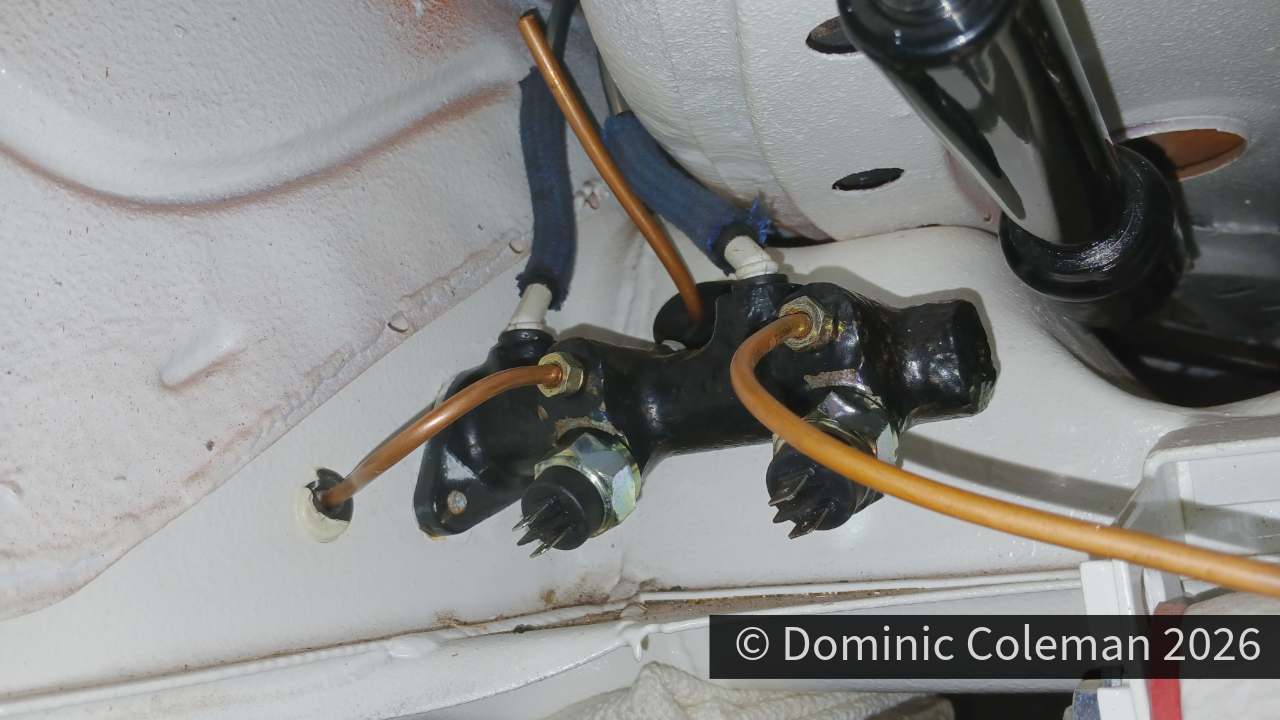
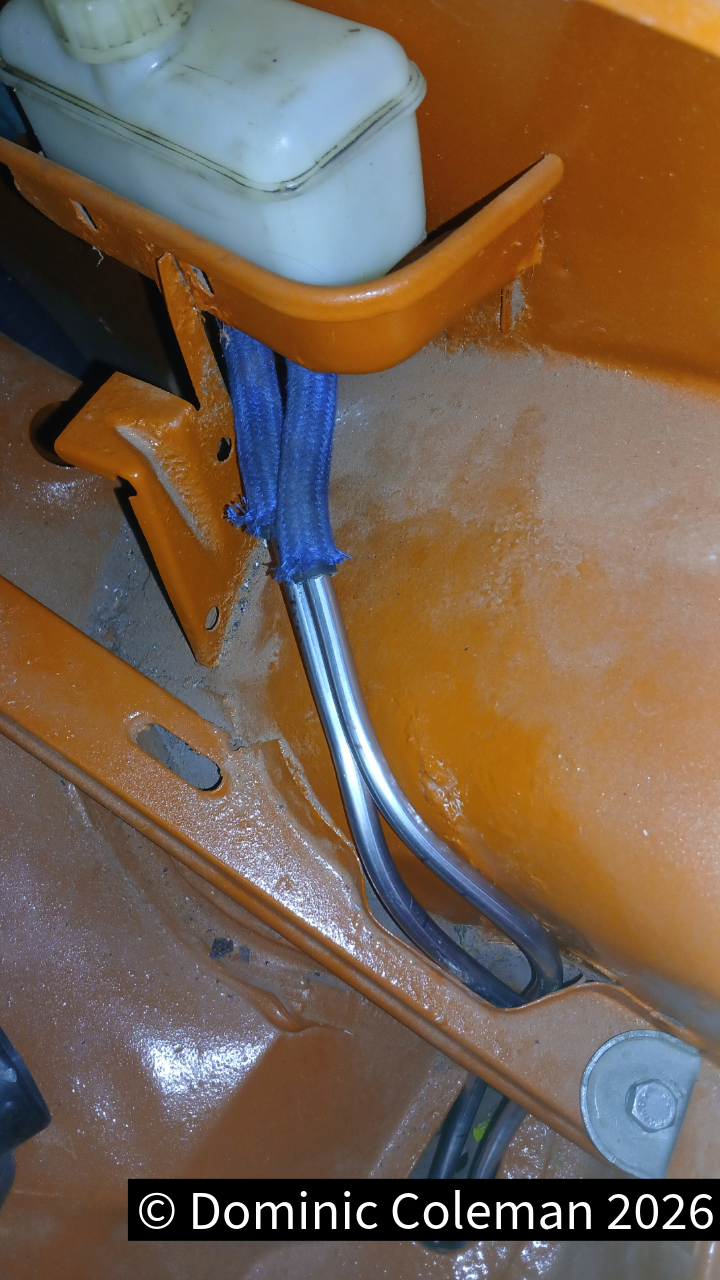
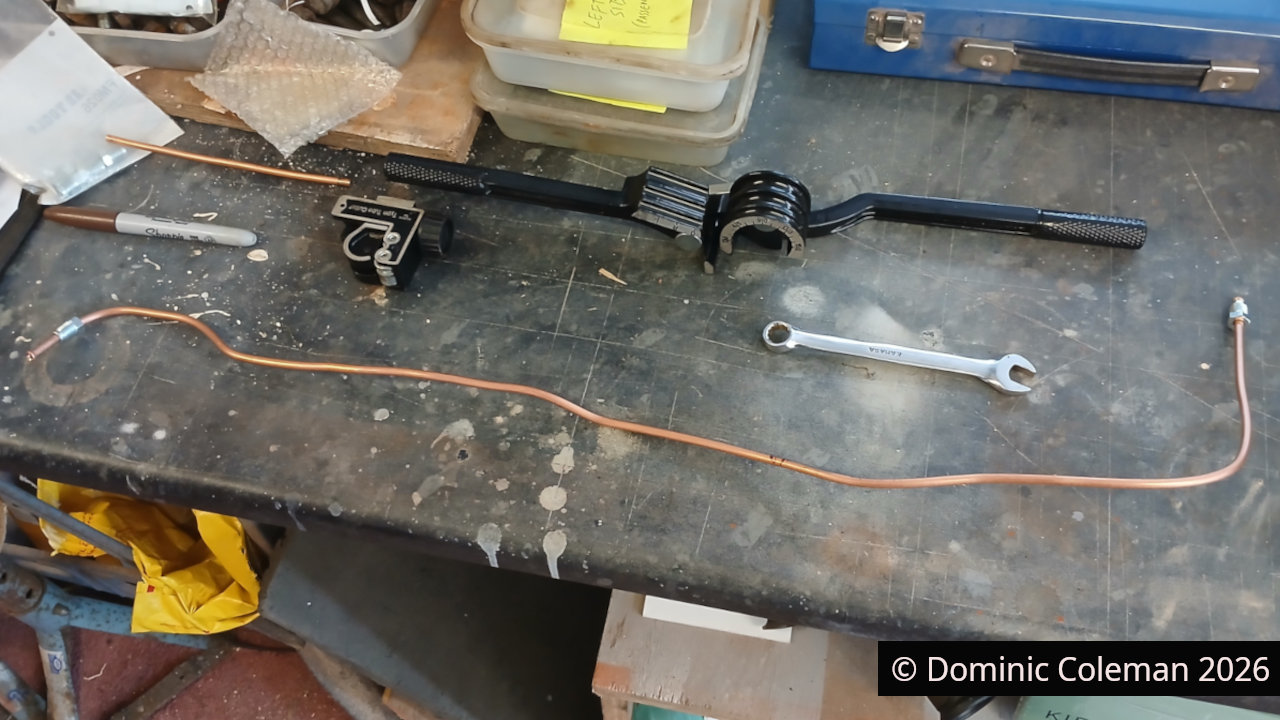
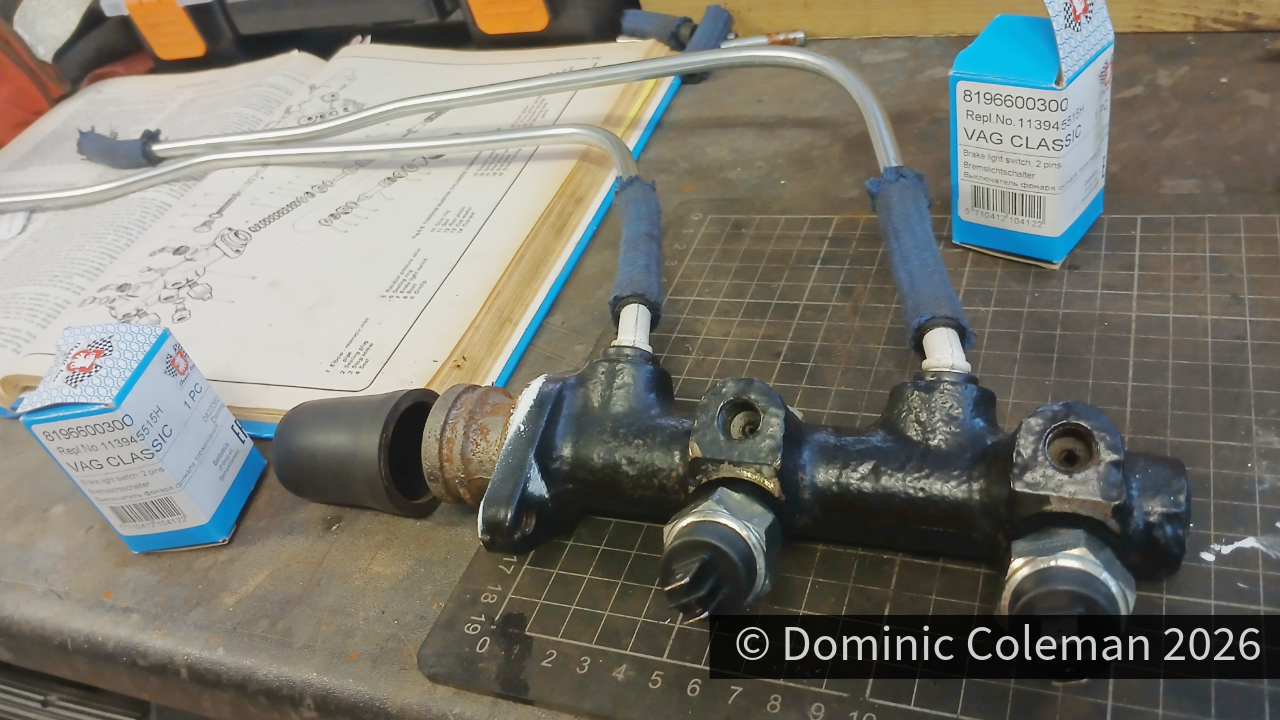
I had been busy on and off with various jobs on the Beetle. The first priority was to finish plumbing in the brake system now that the body was back on. I’ll say it now: fitting the pipework from the brake fluid reservoir to the master cylinder was, so far, probably the most frustrating and awkward job I have had to do on this little car.
From getting the bends in the pipes in the right places, fitting the correct amount of braided rubber hose, to eventually removing the master cylinder so I could push-seat the pipes properly, it was all a bit of a faff. In the end, I assembled around two-thirds of the system on the bench, including the master cylinder, and then made the final connections between the fluid reservoir and the remaining third of the pipework under the car at the bulkhead.

With all the pipework connected, and with some trepidation, I put in the brake fluid. Then some more, and then some more… until I noticed a leak at a joint on the frame head, which I duly tightened up.

I then noticed two large puddles of brake fluid at the rear.

When I first installed the brake lines back in September 2021, I hadn’t tightened them up. So, typically, now that the body was back on, the leaks were in awkward places above the torsion tube, at the ‘T’ joints in the pipes, as well as from both rear bleed nipples. After tussling with the awkward access to the brake-line fittings, I eventually got everything tightened up and the system stopped leaking. The rear brakes, however, still needed adjusting.

Hot weather arrived during May and the next job was to remove the engine tins ready for refurbishment. The only one I couldn’t remove was the panel behind the main crank pulley, as I didn’t have a 36mm socket.

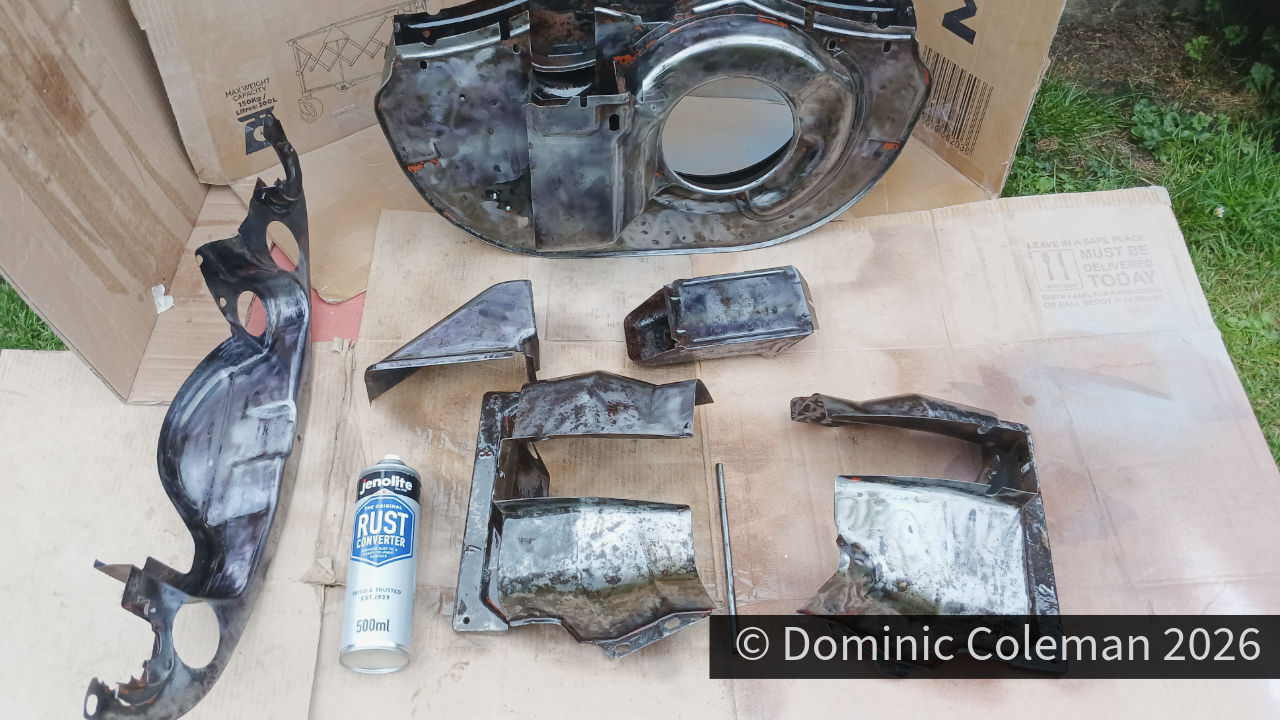
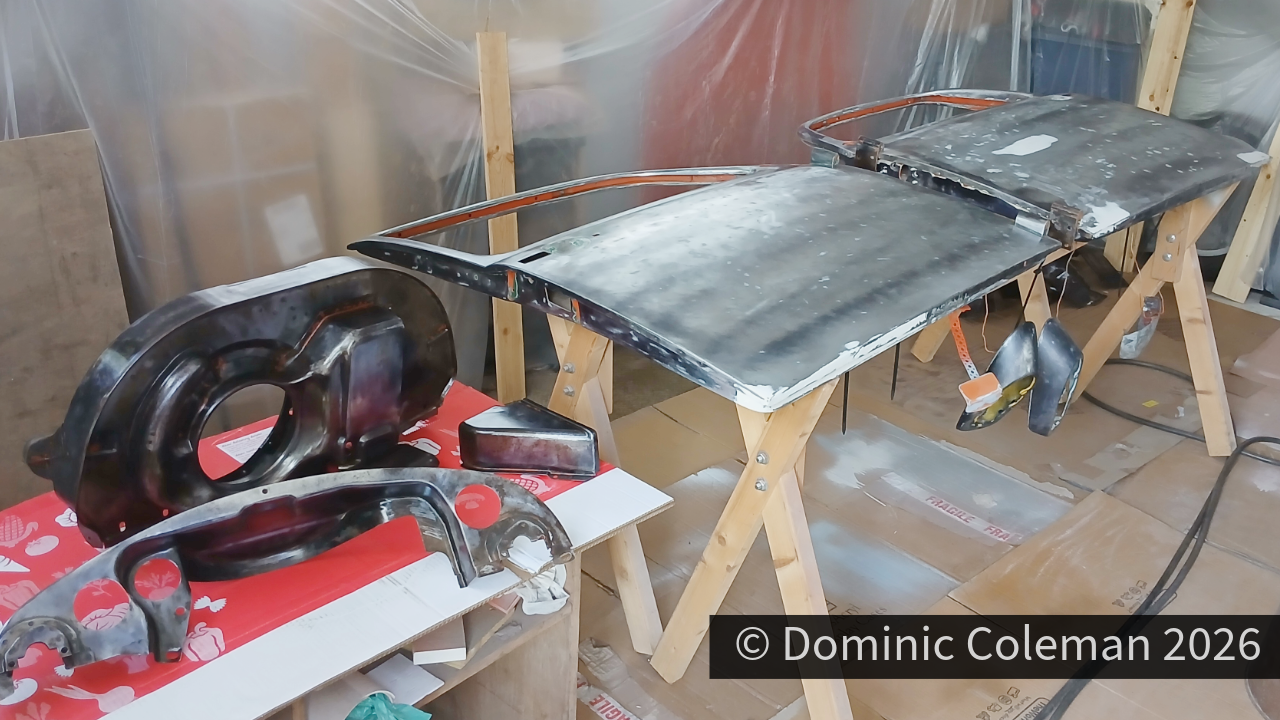
Cleaning the engine tins and ‘doghouse’ fan shroud was a filthy job, covering both myself and much of the workshop in dust. Thankfully, I was wearing a face mask, so I didn’t get too much of it up my nose!

With the tins back to bare metal, I treated them with Jenolite, a rust-converter treatment in an aerosol.

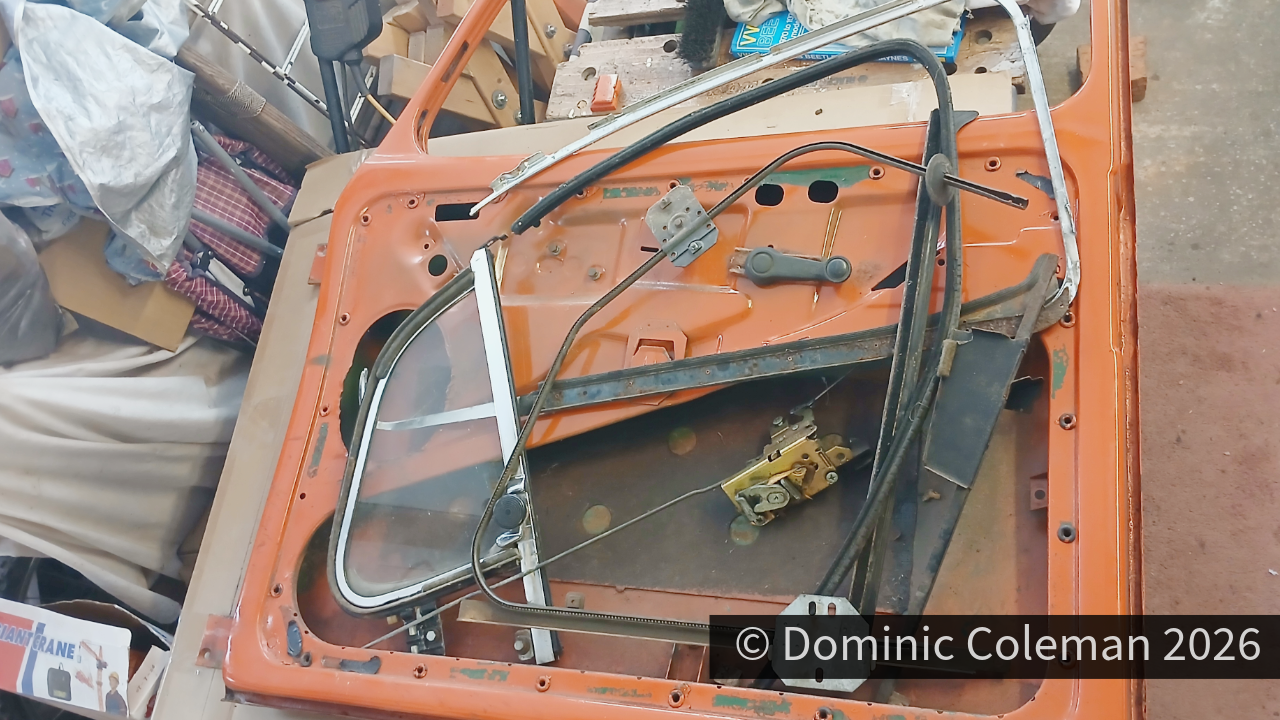
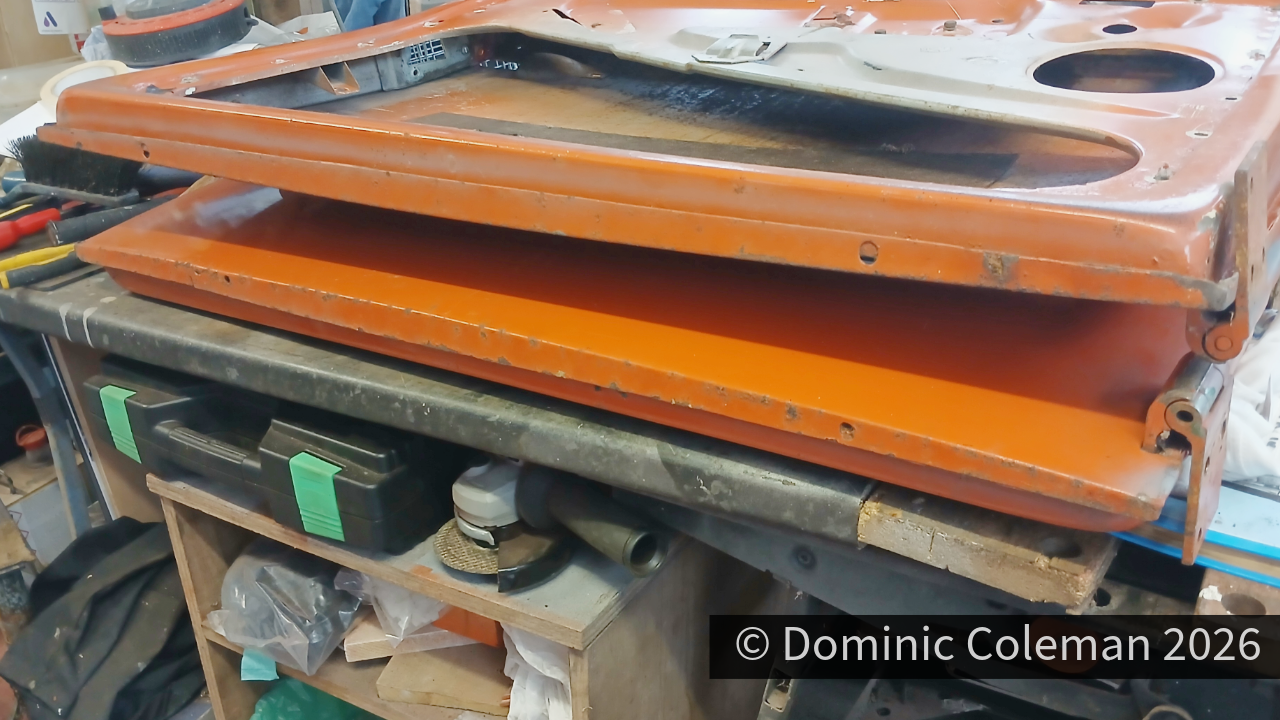
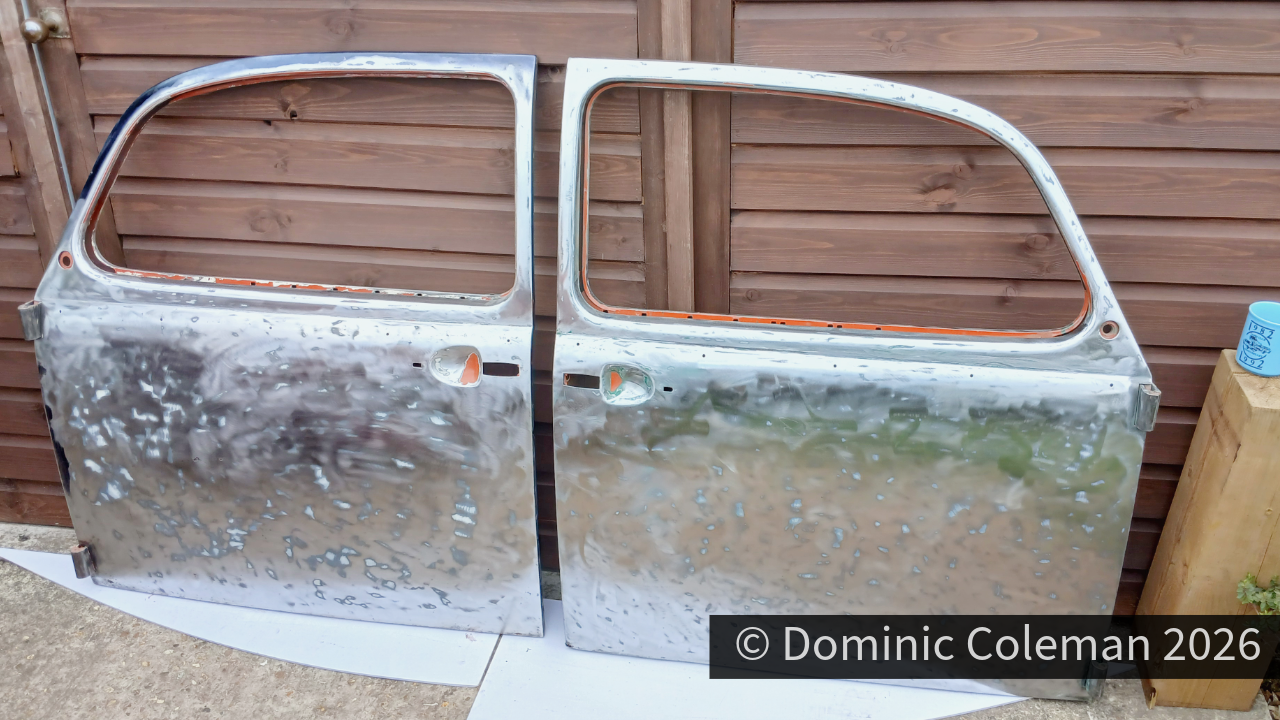
With the hot weather continuing, I decided to turn my attention to the doors, as both needed a bit of attention due to rust appearing along their lower edges. Dismantling them was made much easier after watching a YouTube video by “Slades VW Beetle“. The process was quite straightforward, and with a bit of care it was easy enough to follow the steps in the video.

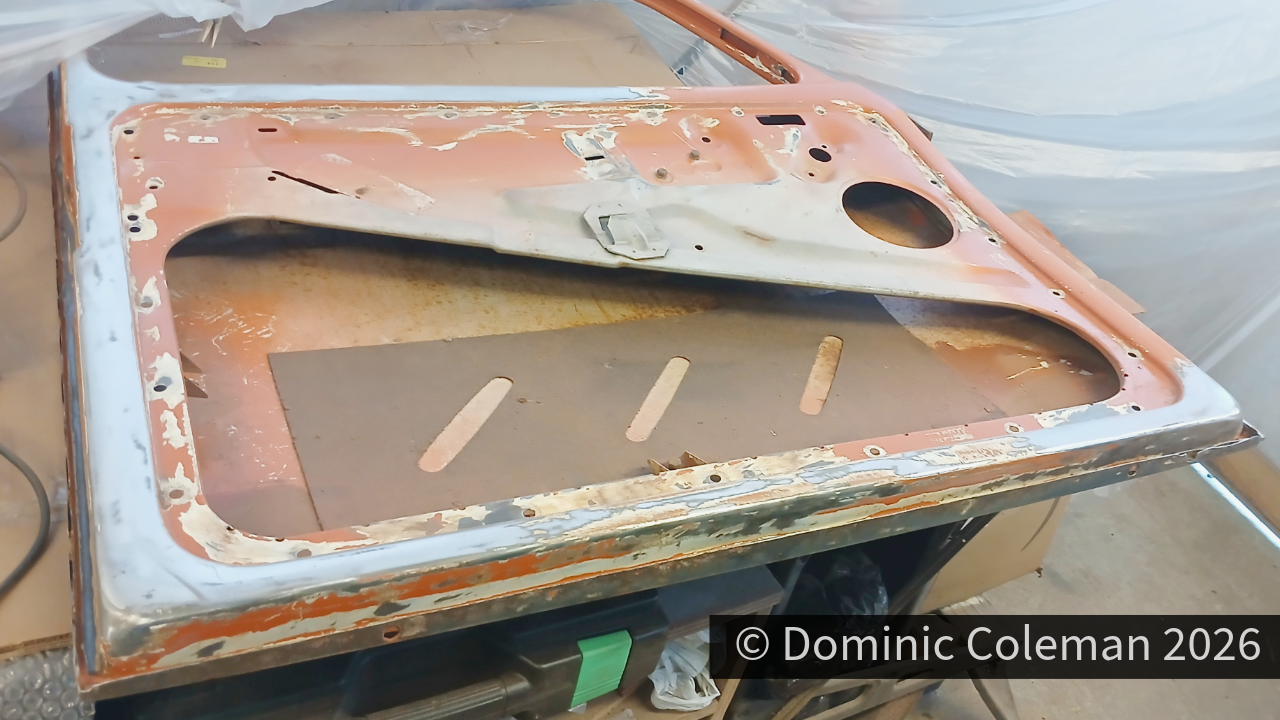
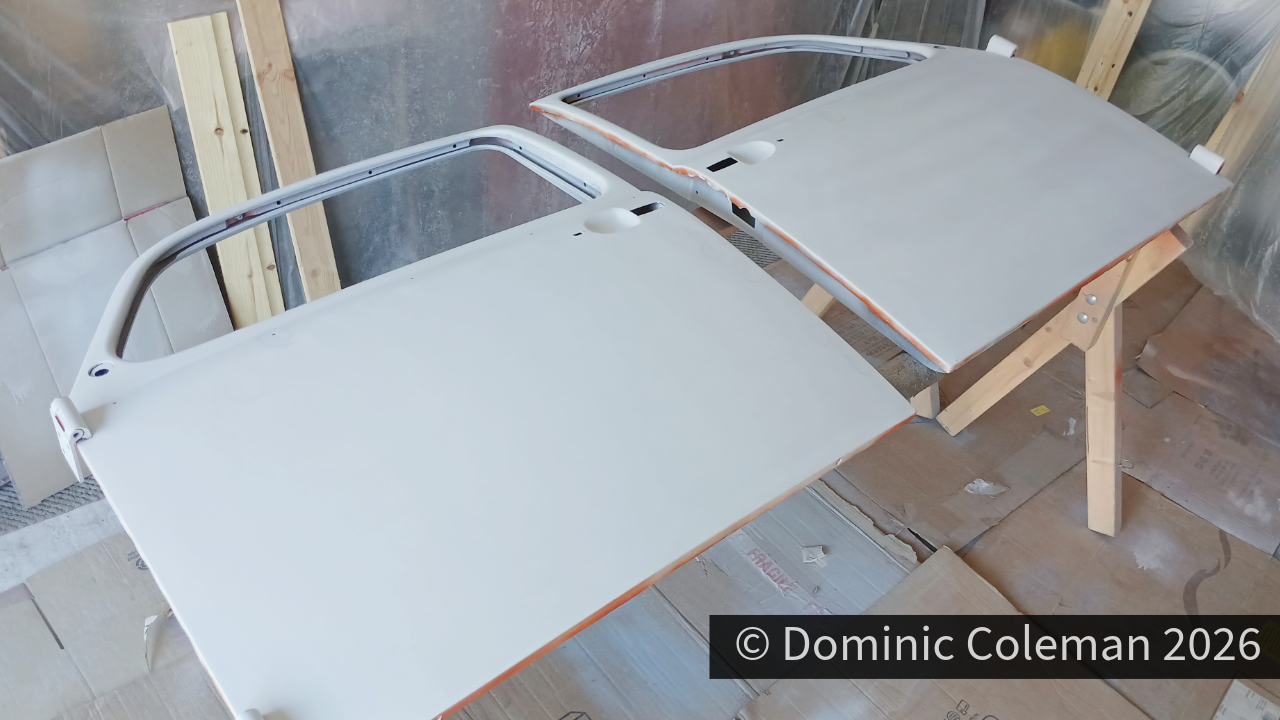
Stripping the doors back to bare metal was another hot and dirty job, once again plastering the workshop, and everything in it, with a layer of dust. I treated the exposed bare metal with Jenolite, including those awkward-to-reach areas.

There were a few previous rust repairs that I removed, which exposed a few more holes, but thankfully not too many. In fact, the doors were actually in pretty good order. They are clearly replacement doors from a previous restoration, judging by the evidence of their previous colour on the inside panels.

I went to see Paul (and Ash) during this period and, while the main purpose of the visit was to arrange a timeframe for the engine strip-down, I also took the opportunity to get some ideas on repairing the doors.

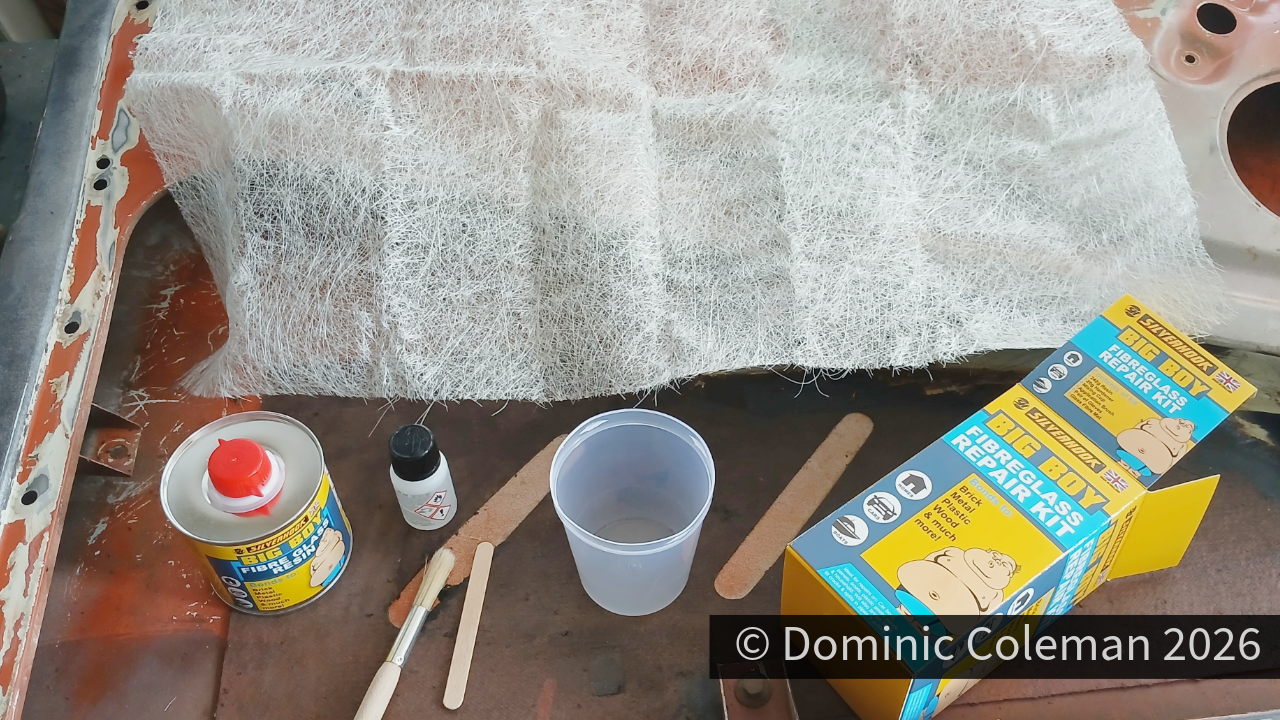
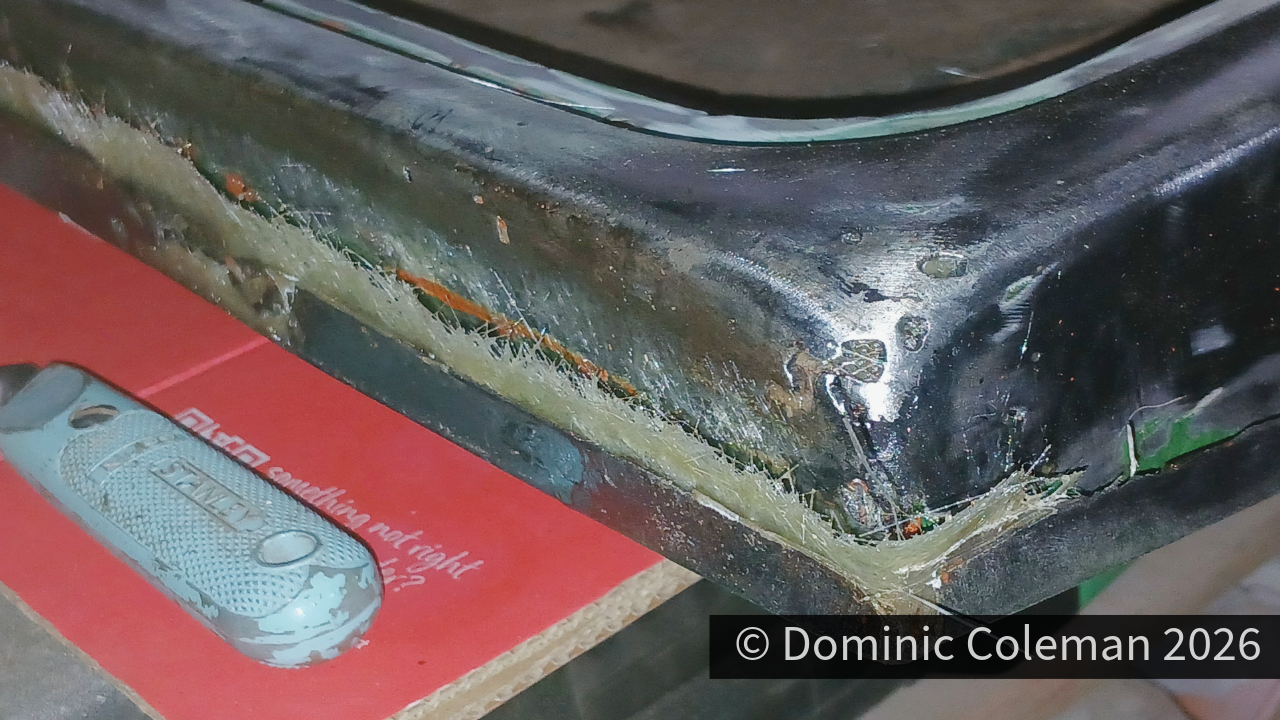
Welding would have been an option, but not by me! Instead, glass-fibre matting with filler, or glass-fibre filler, would probably suffice. I decided to give the glass-fibre matting a try and bought a small kit from Toolstation. I also heeded the advice Ash had given me about being liberal with the solvent during application.

The results weren’t too bad. It cured quite well and provided a stable surface onto which I could apply some filler to finish things off.

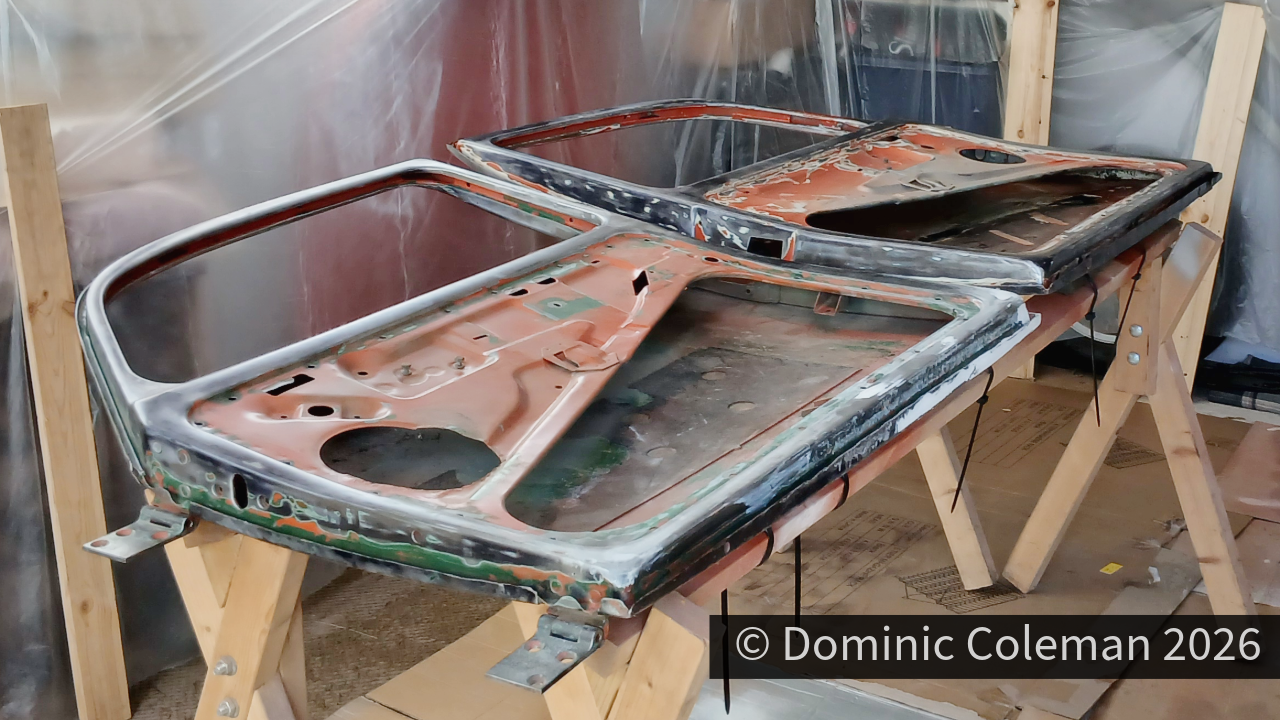
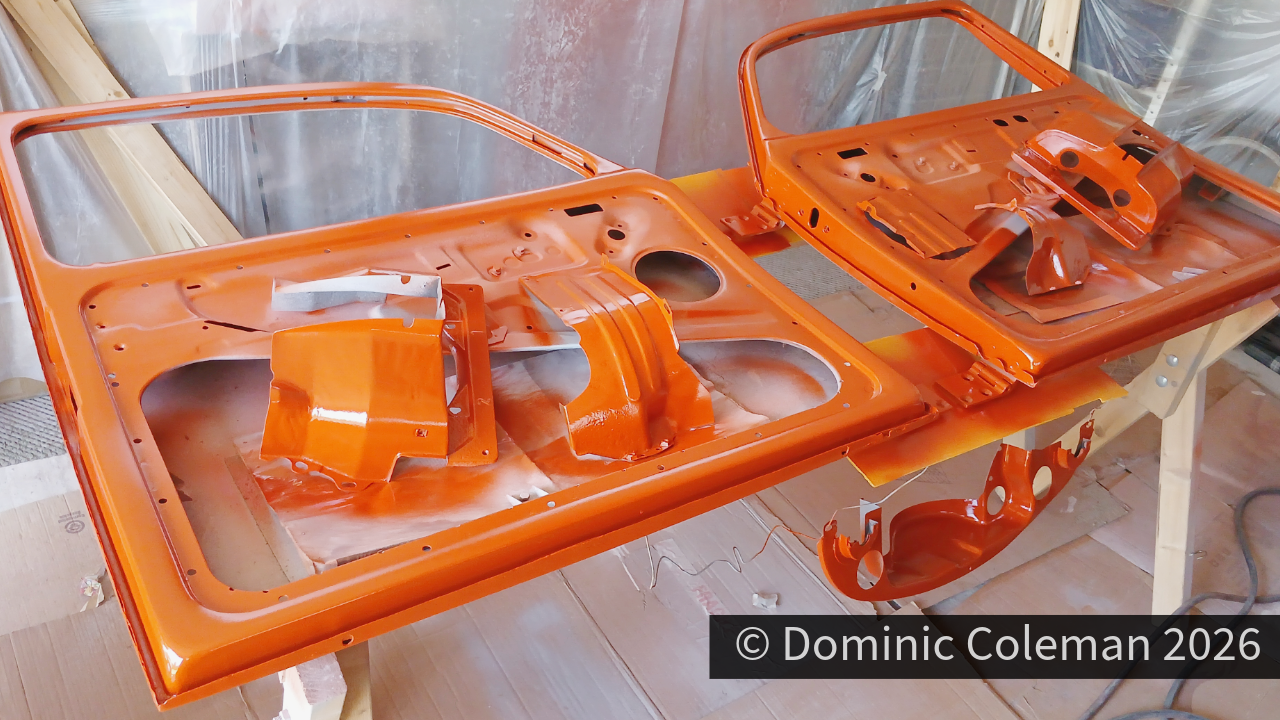
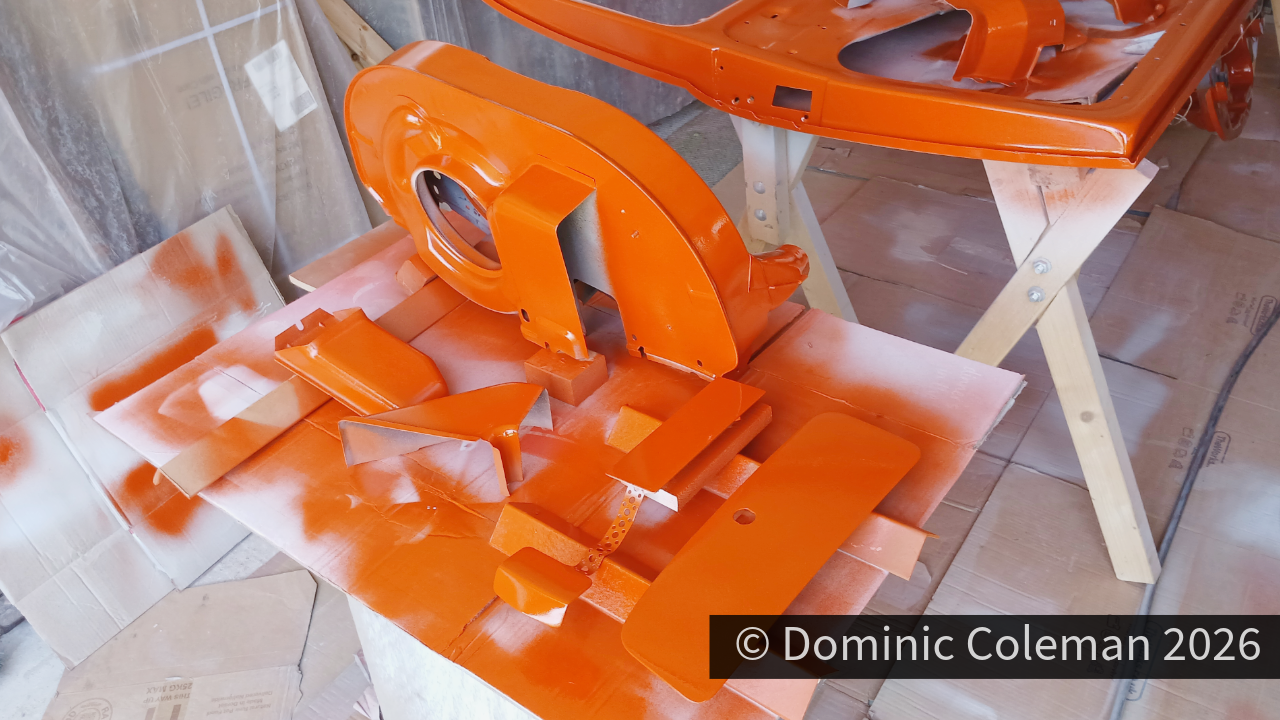
With many of the items cleaned up and ready for painting, the next step was to paint the engine tins, some minor loose components and the doors. However, I only painted the inside panels and door-shut areas of the doors. I plan to paint the outer door panels at the same time as the rest of the body.

Due to the heat, I had some issues with the primer being too thick or coming out too dry. Adding a little more thinners improved the spray pattern. Mindful of this, when it came to applying the colour I added more thinners to the mix to improve the atomisation of the paint.

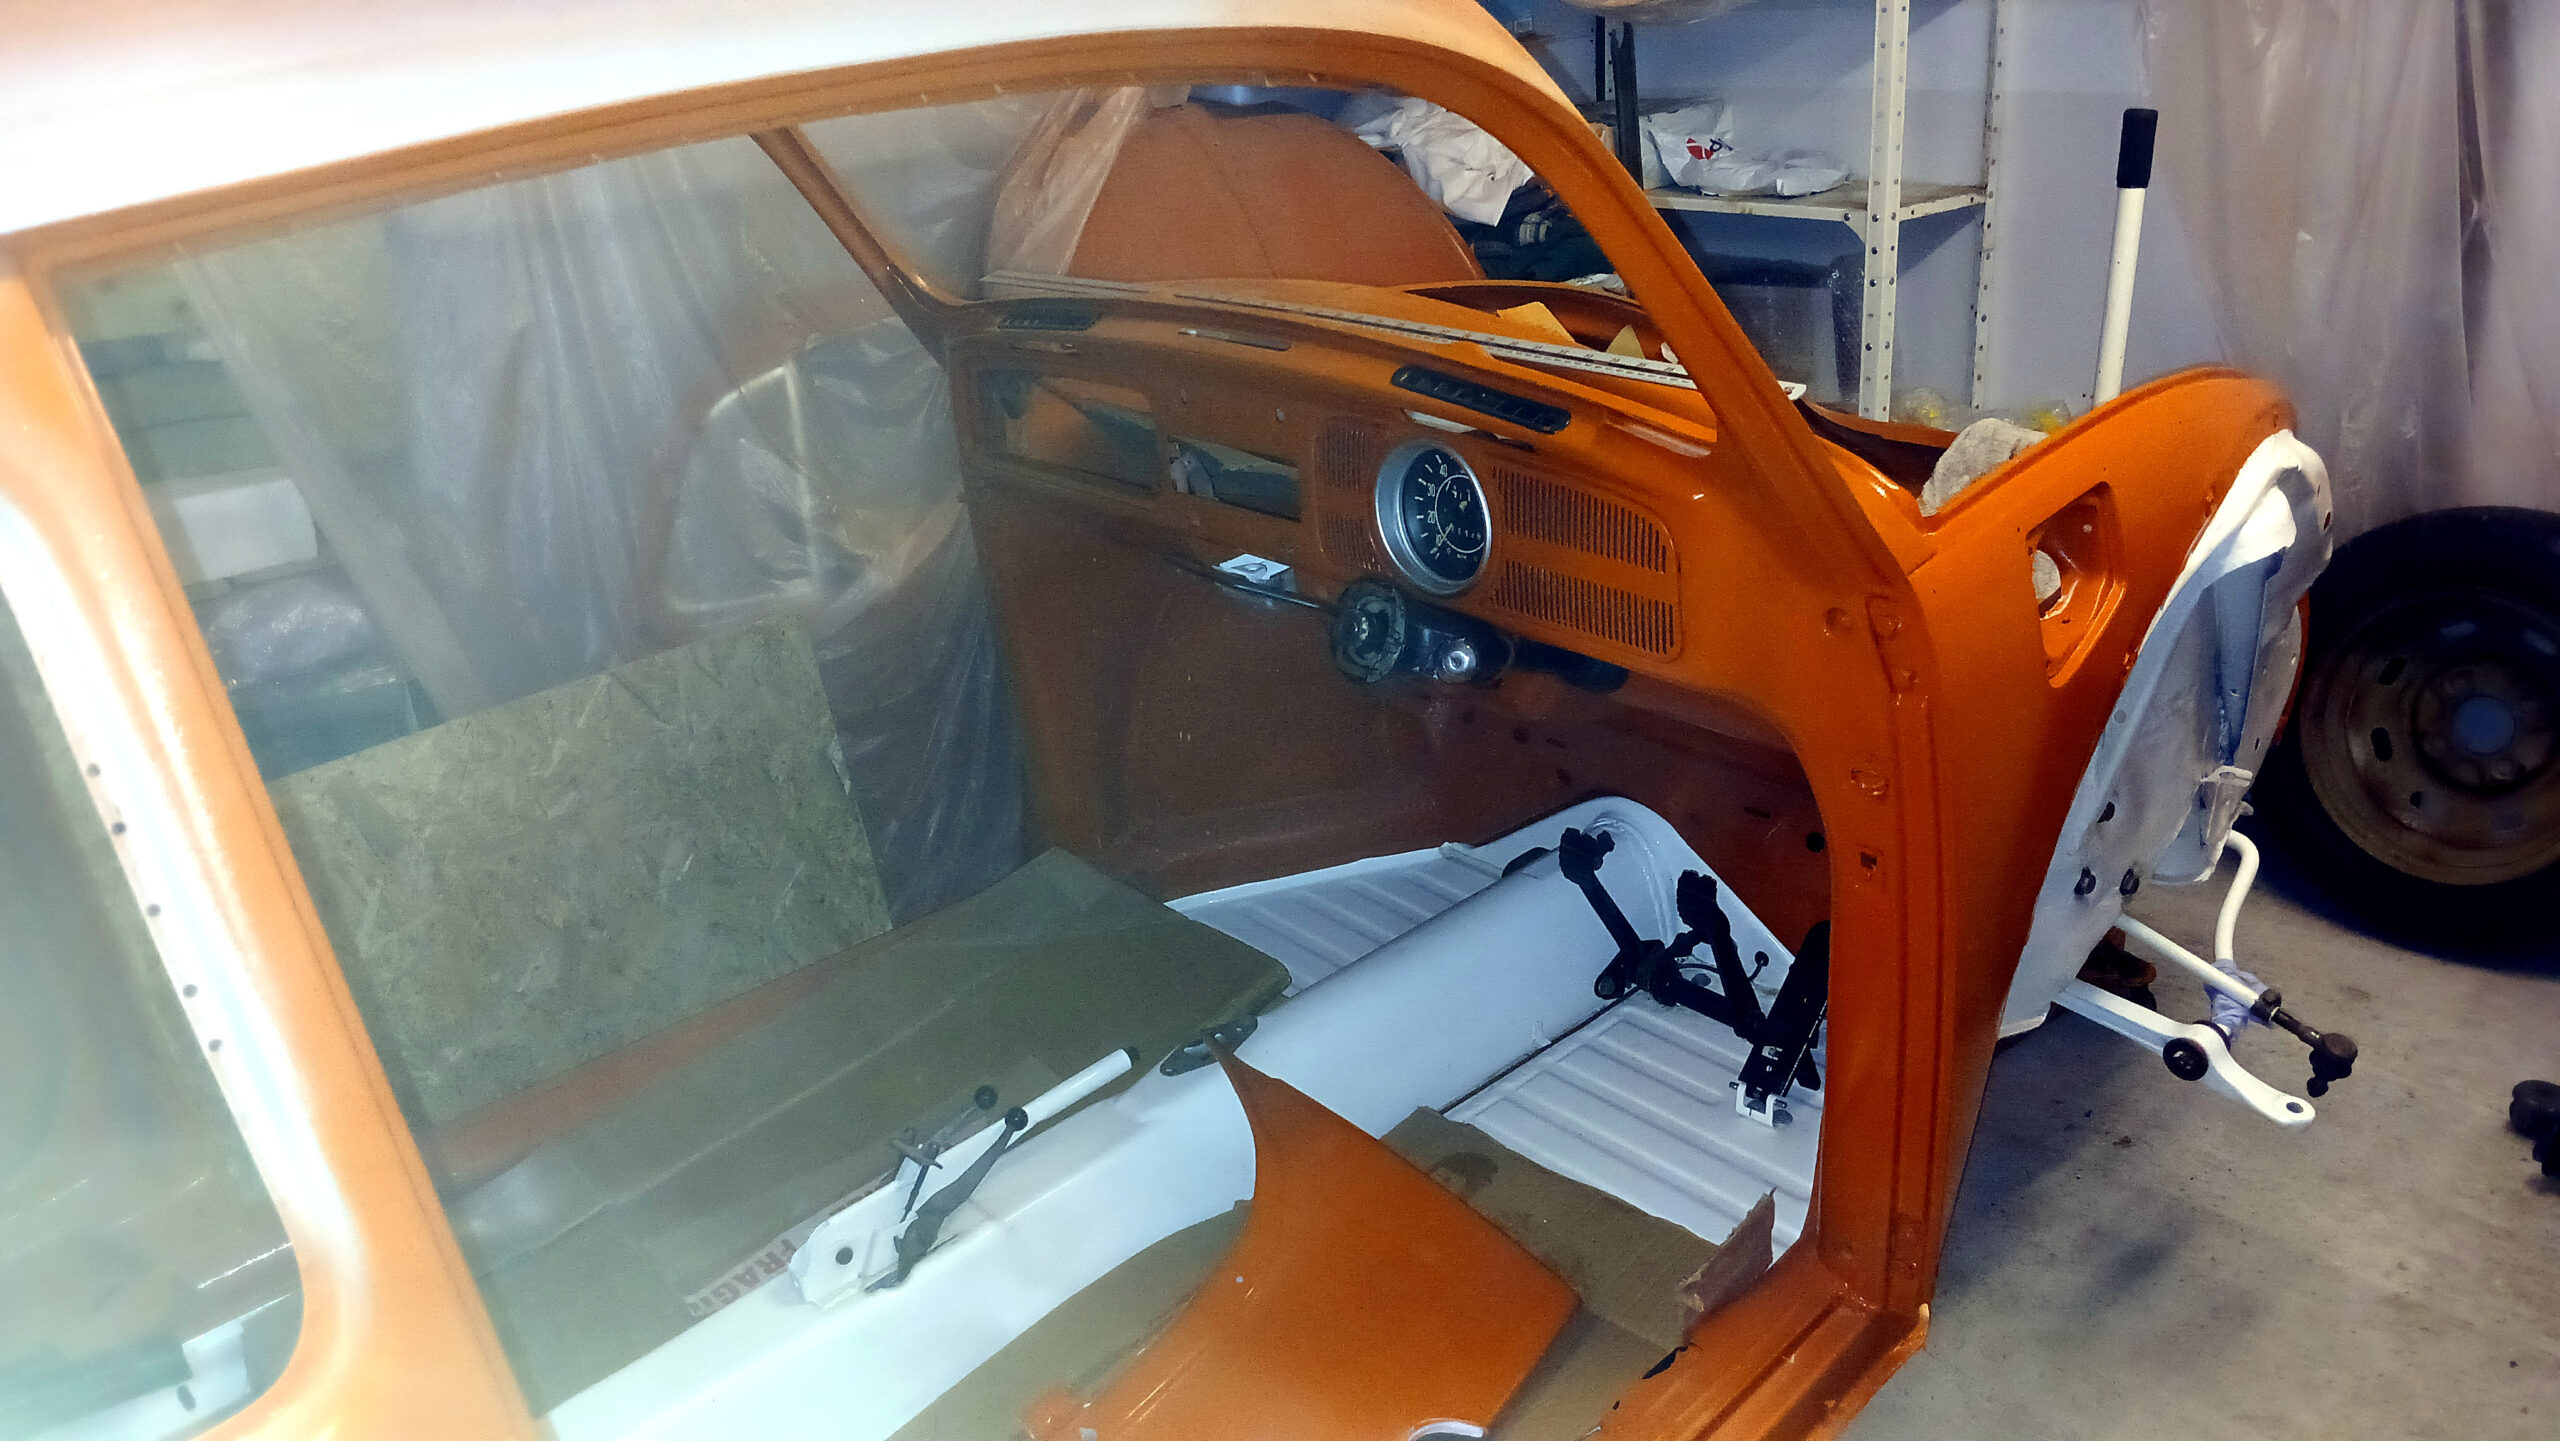
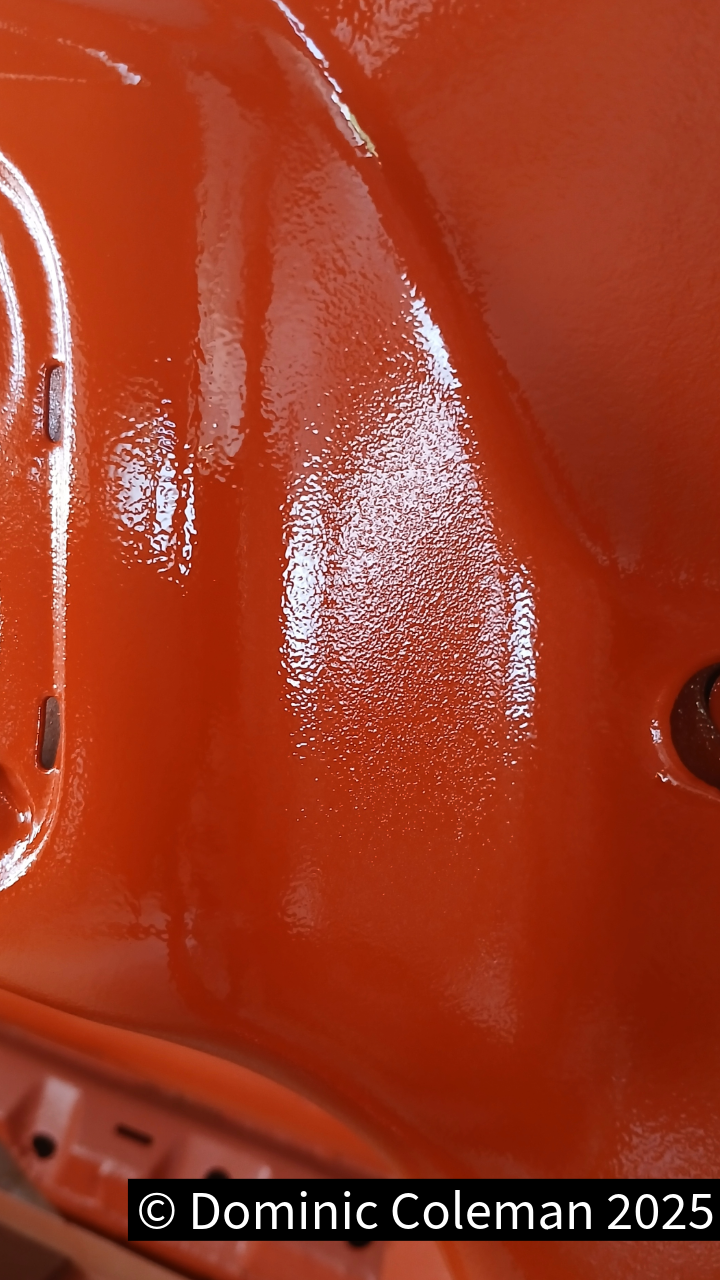
The final result was OK — good enough for the engine tins and door shuts. I did have to flat back the glovebox door and polish it up, but it eventually looked OK, even though it was a slightly different shade of Clementine L20D orange to the previous batch.

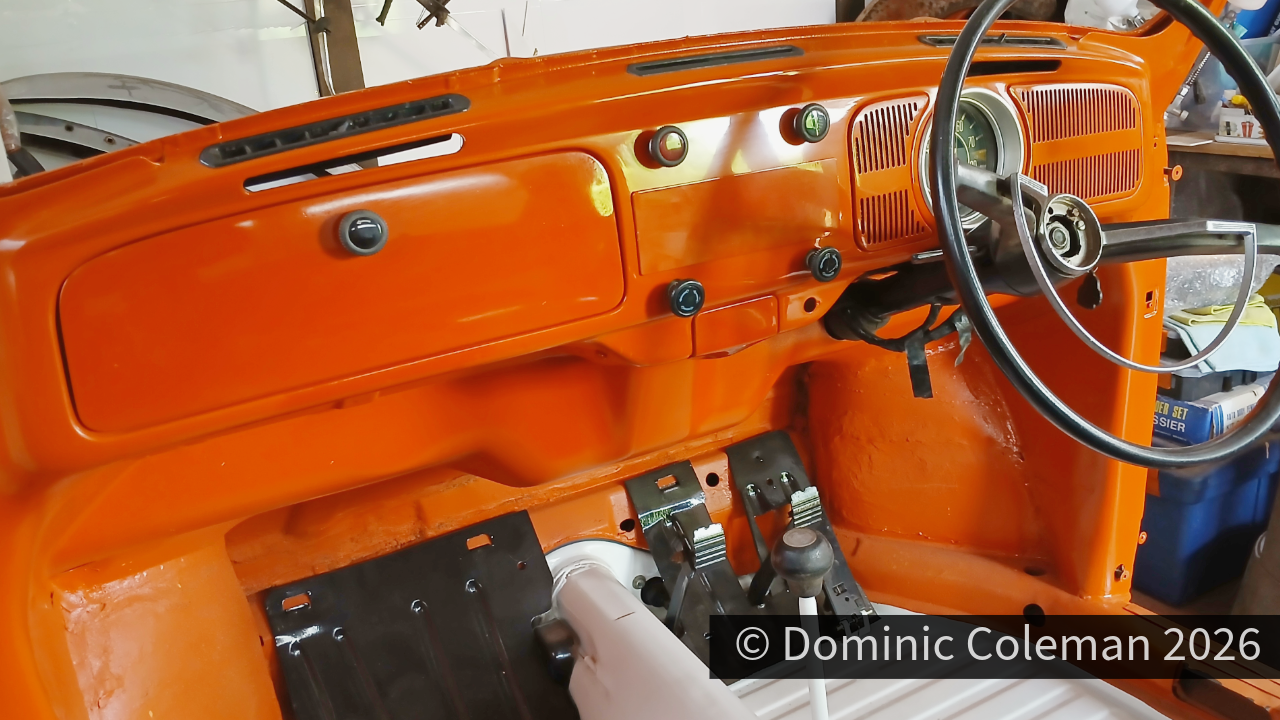
Dash board mainly complete

Categories
bodywork paint painting steering suspension

Front Brakes and Suspension Refit

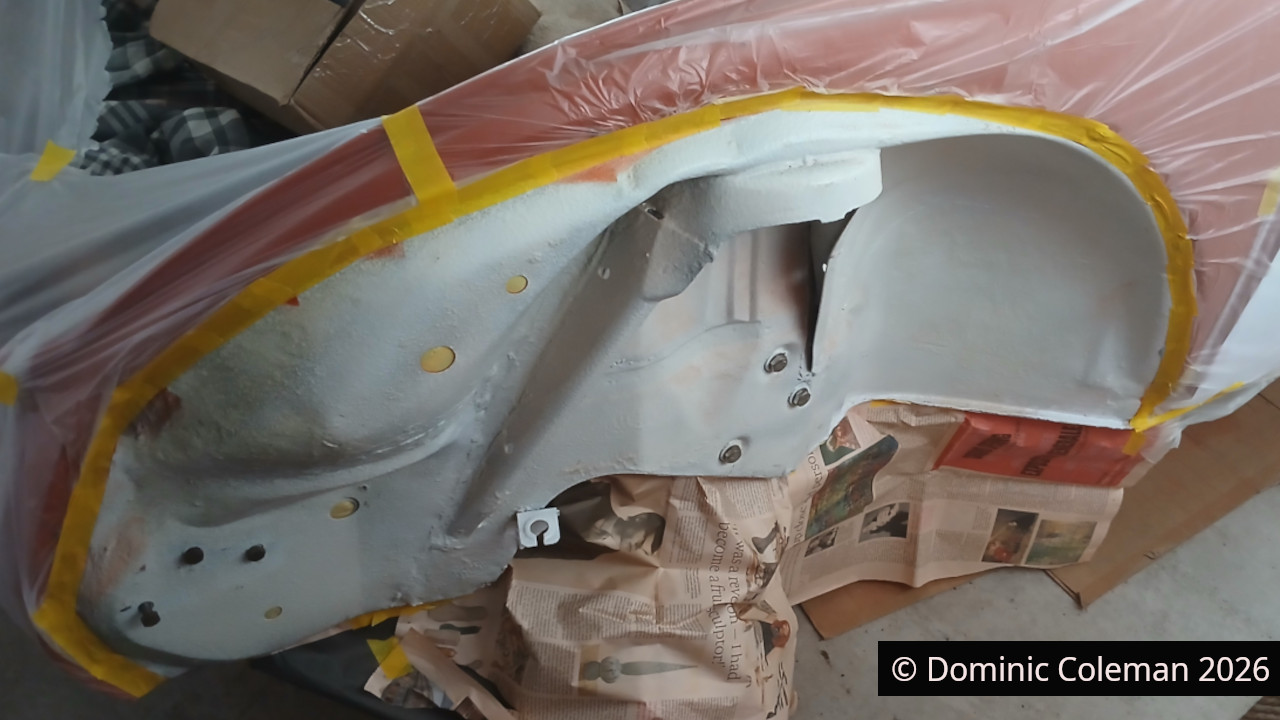
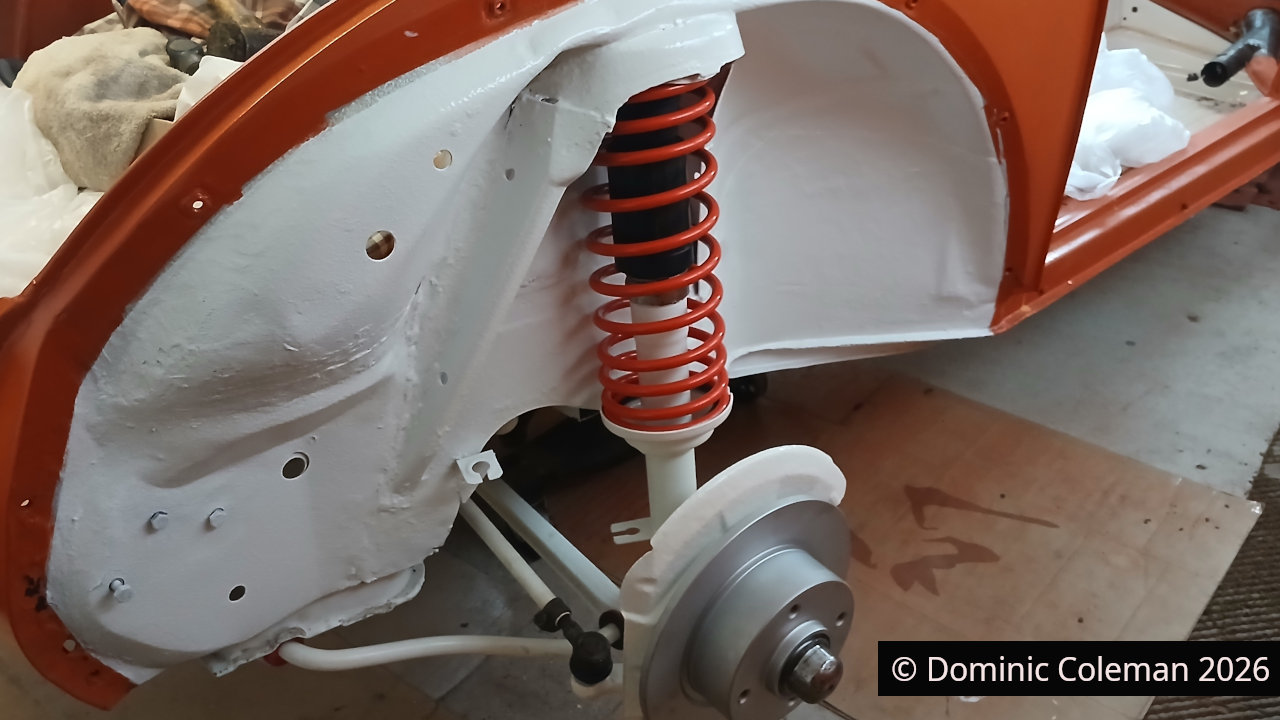
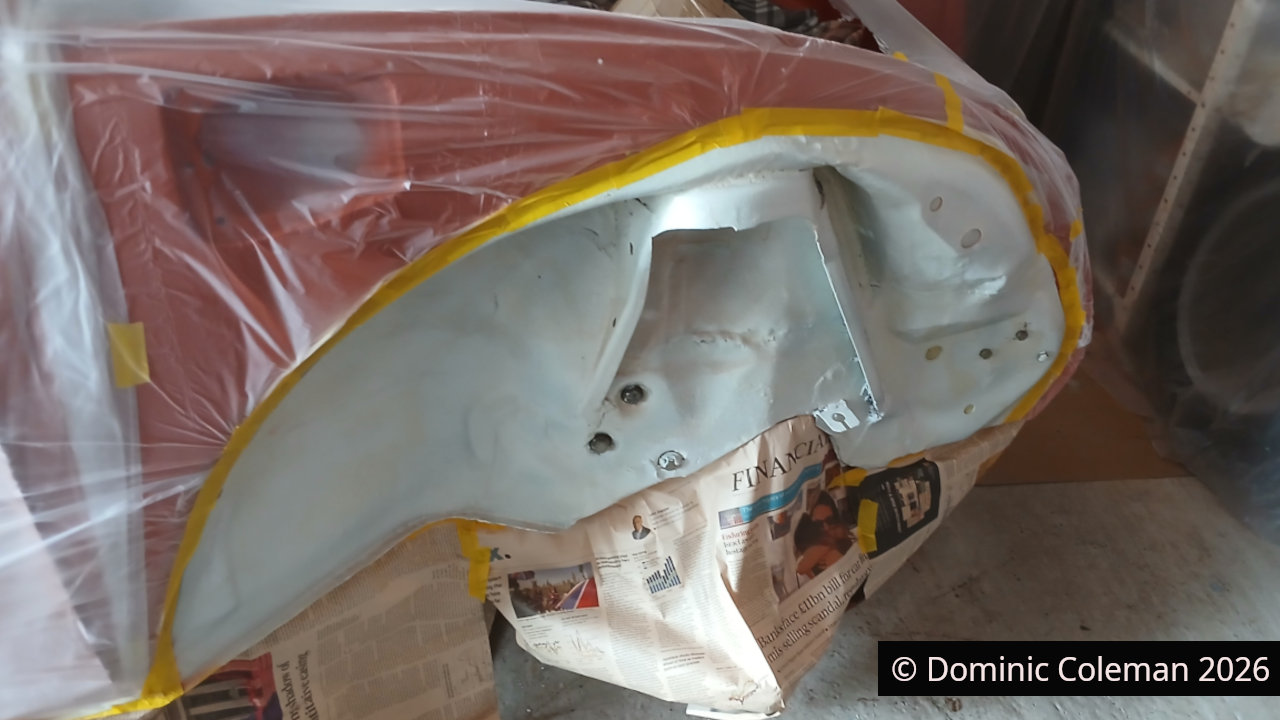
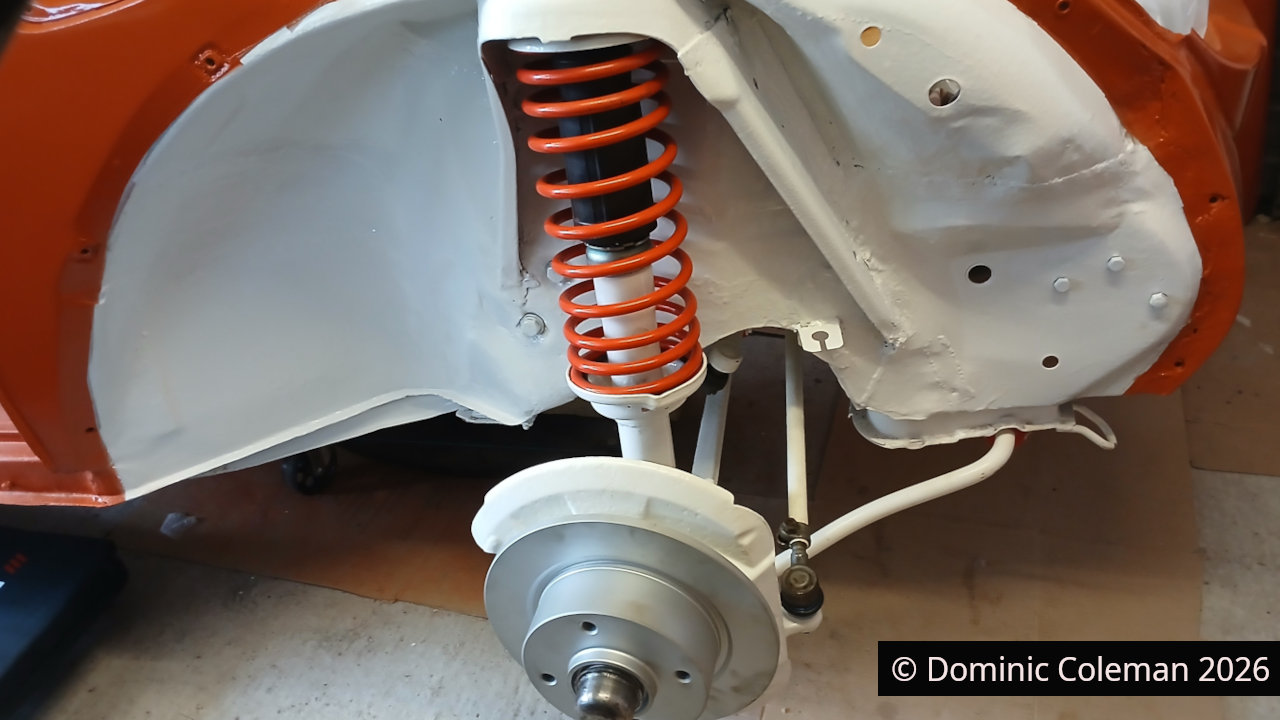
March 2026: With the body and floor pan finally reunited, I was keen to press on and get the brake lines finished and the front suspension components fitted. Before that though, I wanted to freshen up the front wheel arches so they matched the rears. I still had plenty of the white paint left over from doing the engine bay and rear arches last summer. As always, it took longer to set everything up and clean up afterwards than it did to actually get a decent coat on.

Installing the steering set-up fought me all the way. Initially, there wasn’t enough of the steering shaft protruding to fit the steering wheel, and when I unhitched the column from the universal coupling, there still wasn’t enough length to connect to the steering box. In the end, with the steering wheel fitted and a bit of persuasion from a soft mallet, I eased the column further into its housing until the splined shaft finally met the universal joint on the steering box.

With that small victory, I moved on to fitting the steering tie rods and damper while I still had plenty of room to work.

Fitting the rebuilt front struts was relatively straightforward, although I did have to undo the anti-roll bar mountings to get the lower ball joint seated properly into the track control arms. Once in place, I connected the track rod ends to the steering arms on the struts.

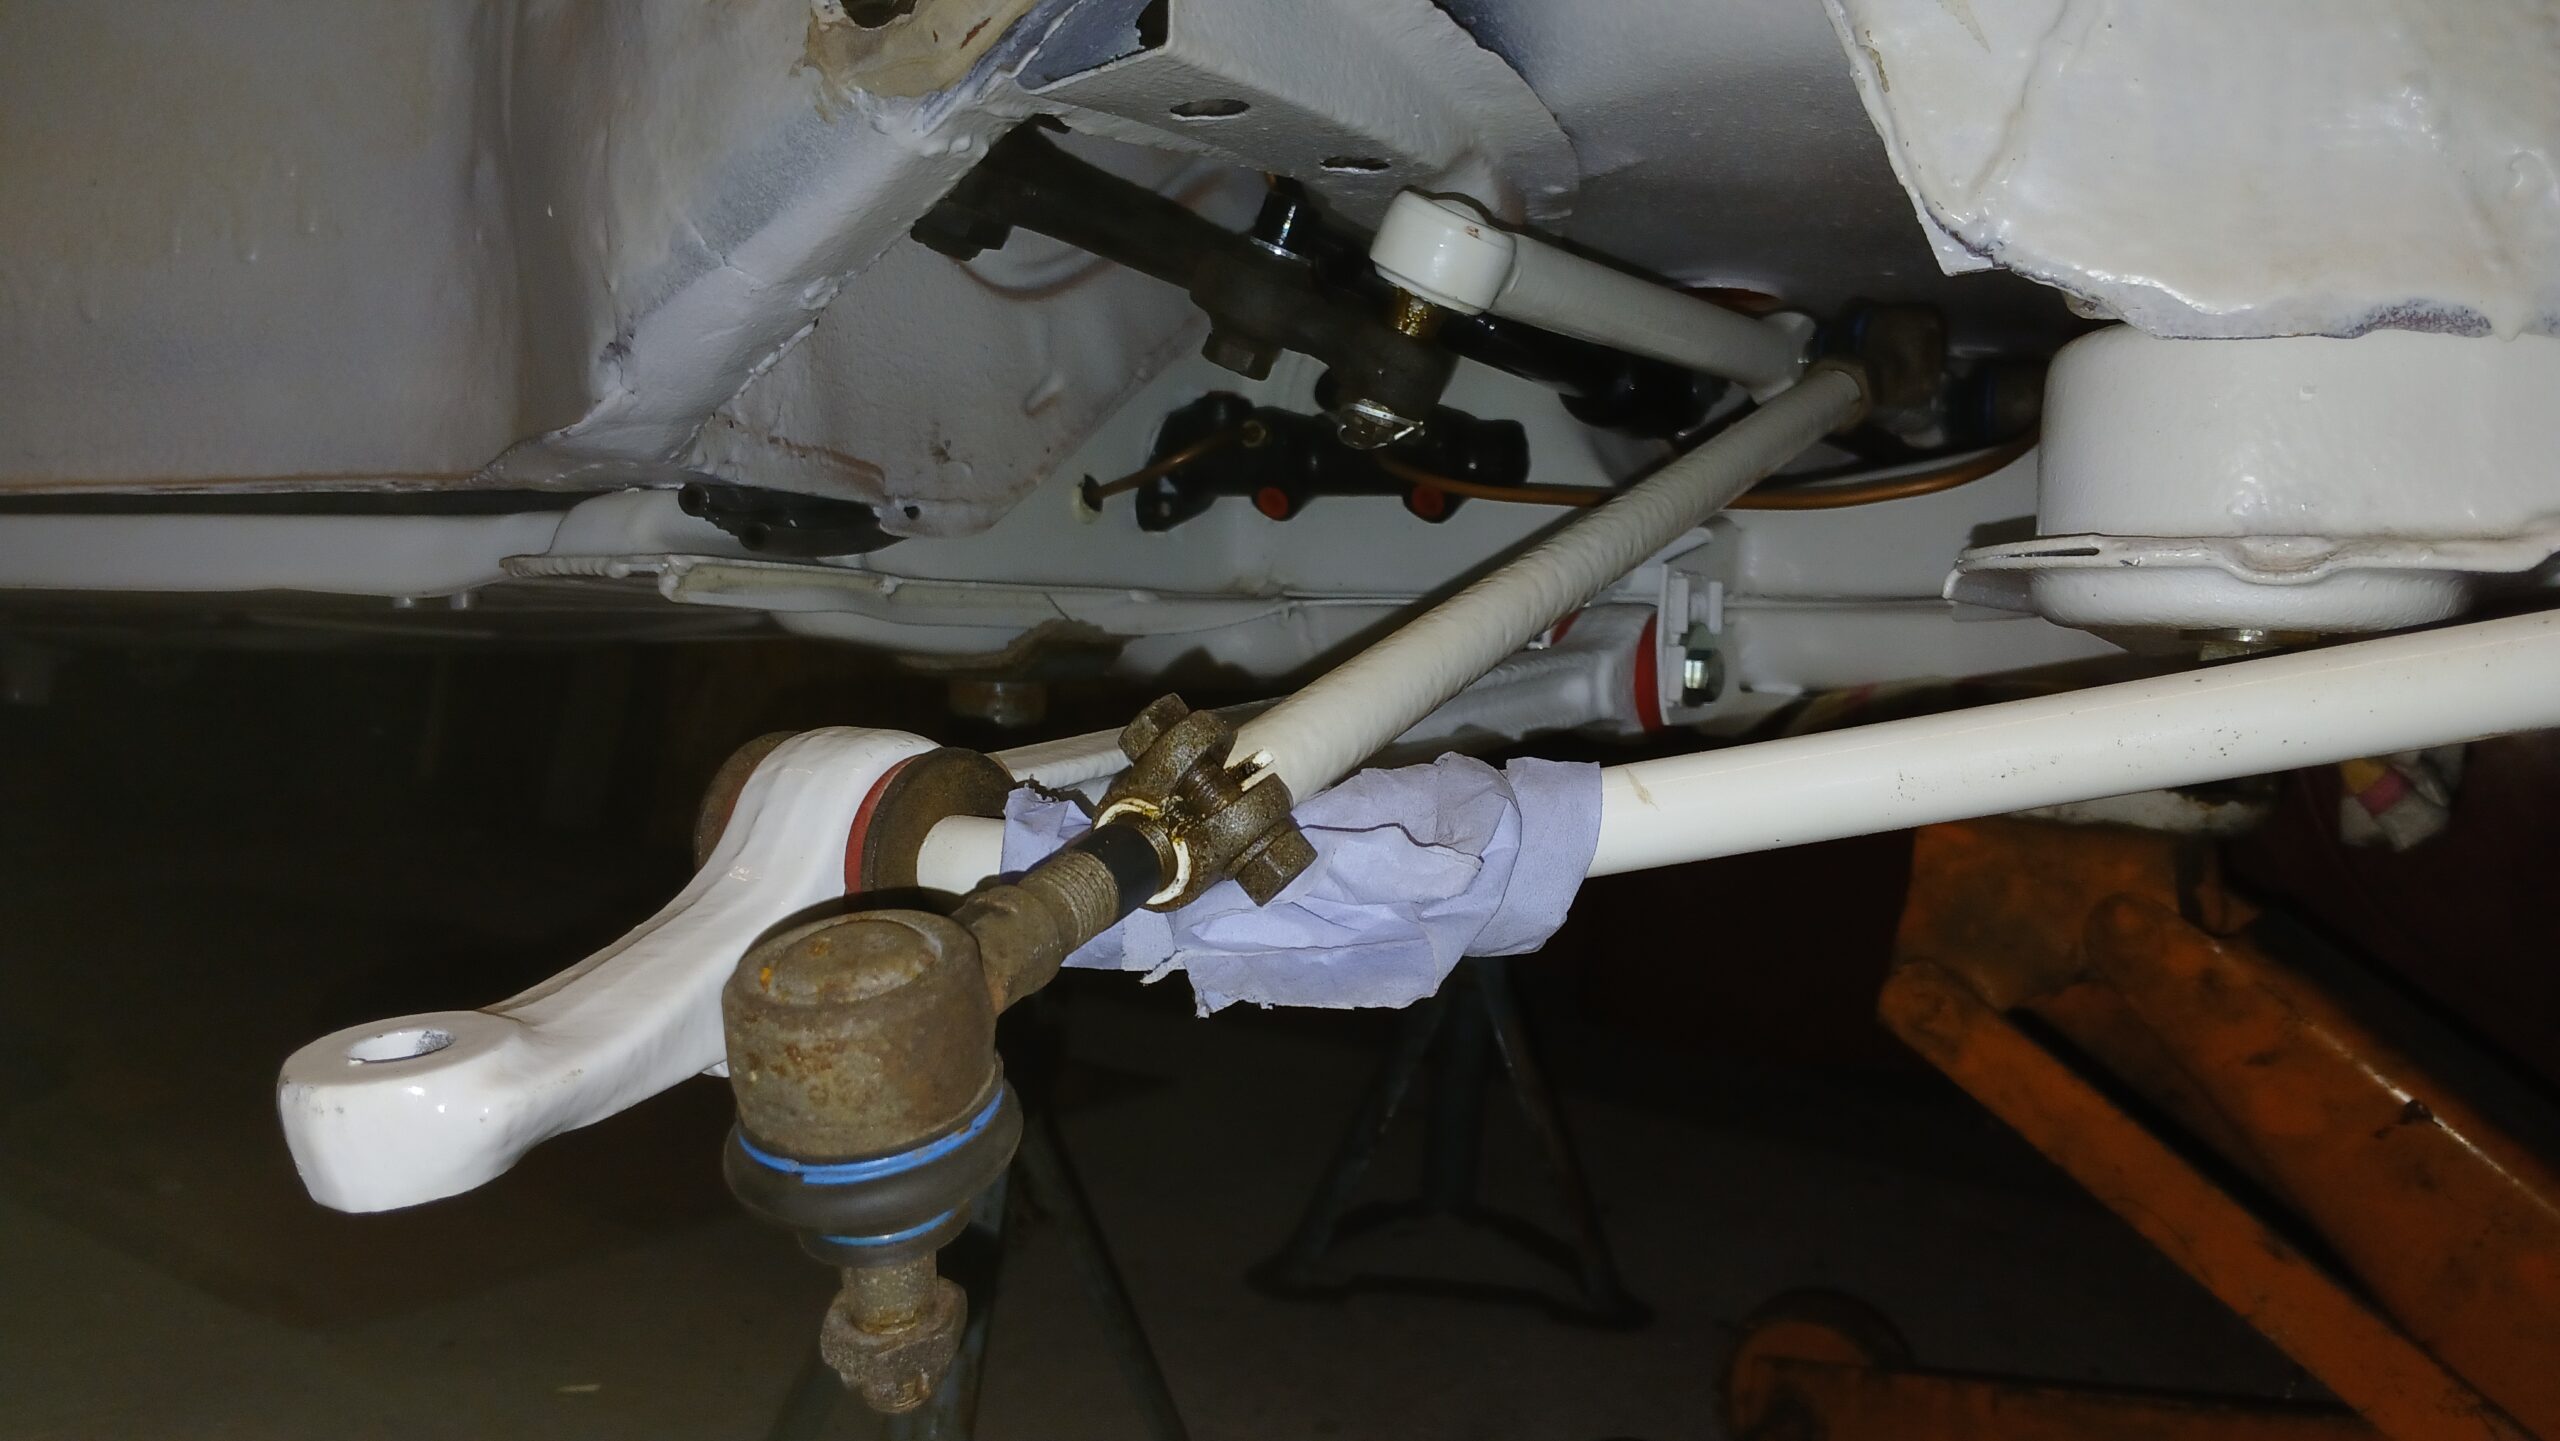
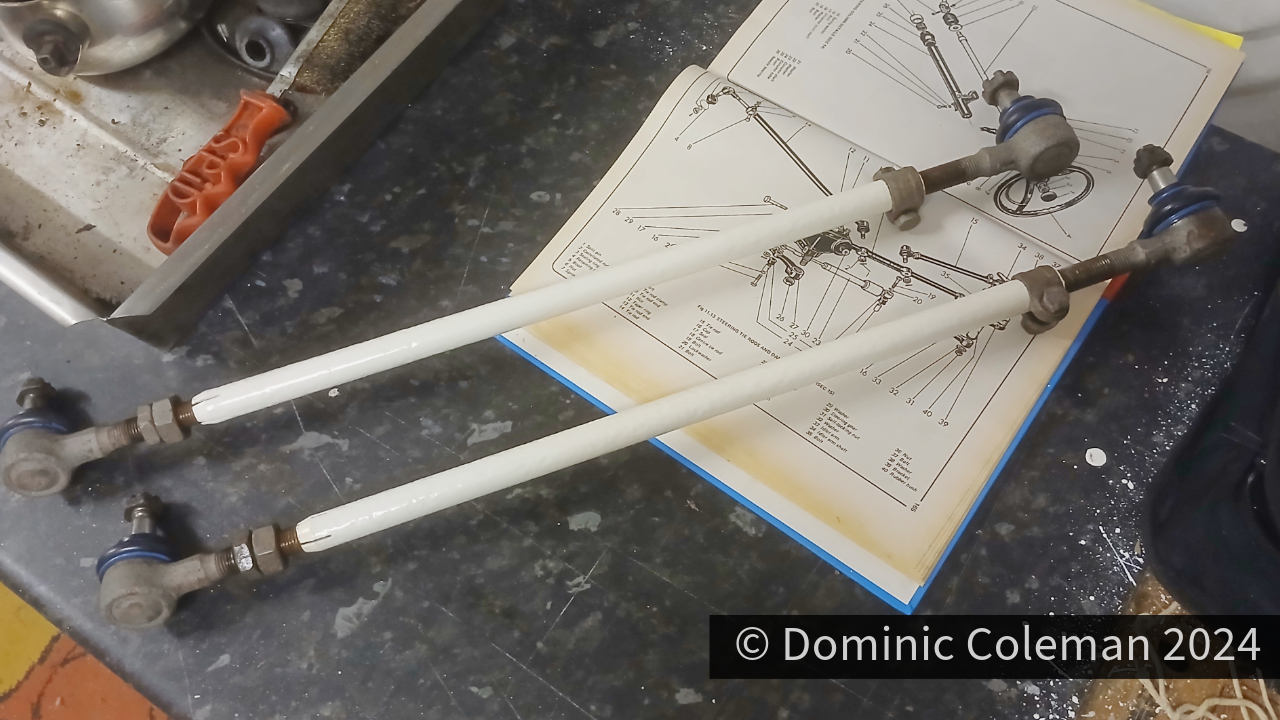
Then came the first “ah” moment — with the wheels on, they were clearly pointing outwards. Not ideal. It turned out the track rod ends hadn’t been wound far enough into the rods, thanks to threads contaminated with sand and grit from the earlier media blasting and powder coating.

1302S Front right side steering components
Front right side steering components, note the tie rod end not wound in very much

So, out it all came again. This time, carefully manoeuvring everything around the now-fitted struts. With the track rods clamped firmly in the vice on the workbench, I worked the ends in and out, cleaning the threads millimetre by millimetre. It took a while, but eventually I had enough adjustment to make a future alignment possible.

Back under the car on the mechanic’s creeper, I went through the now-familiar routine of refitting everything. Thankfully, it wasn’t too arduous this time. Once reconnected, I stepped back — and the wheels were finally pointing forwards.

1302S with front suspension and steering fitted

With that sorted, I turned back to the brakes. I finished fitting the copper lines along the frame head and up to the flexi pipe connections, making the most of the access underneath the car while I still could. Fitting the flexi pipes to the front struts was straightforward, and shaping the copper lines neatly around the lower struts to those freshly rebuilt calipers was a particularly satisfying job.

frame head brake line

I also dug out the brake fluid reservoir and its associated pipework from storage, only to find the pipes were in poor condition — and one was missing altogether. New ones will need to be made up from 8mm piping.

With the wheels back on, it marked a bit of a milestone — the first time since June 2021 that the car was back on all fours.

Categories
bodywork floor pan seals

Body to Floor Pan

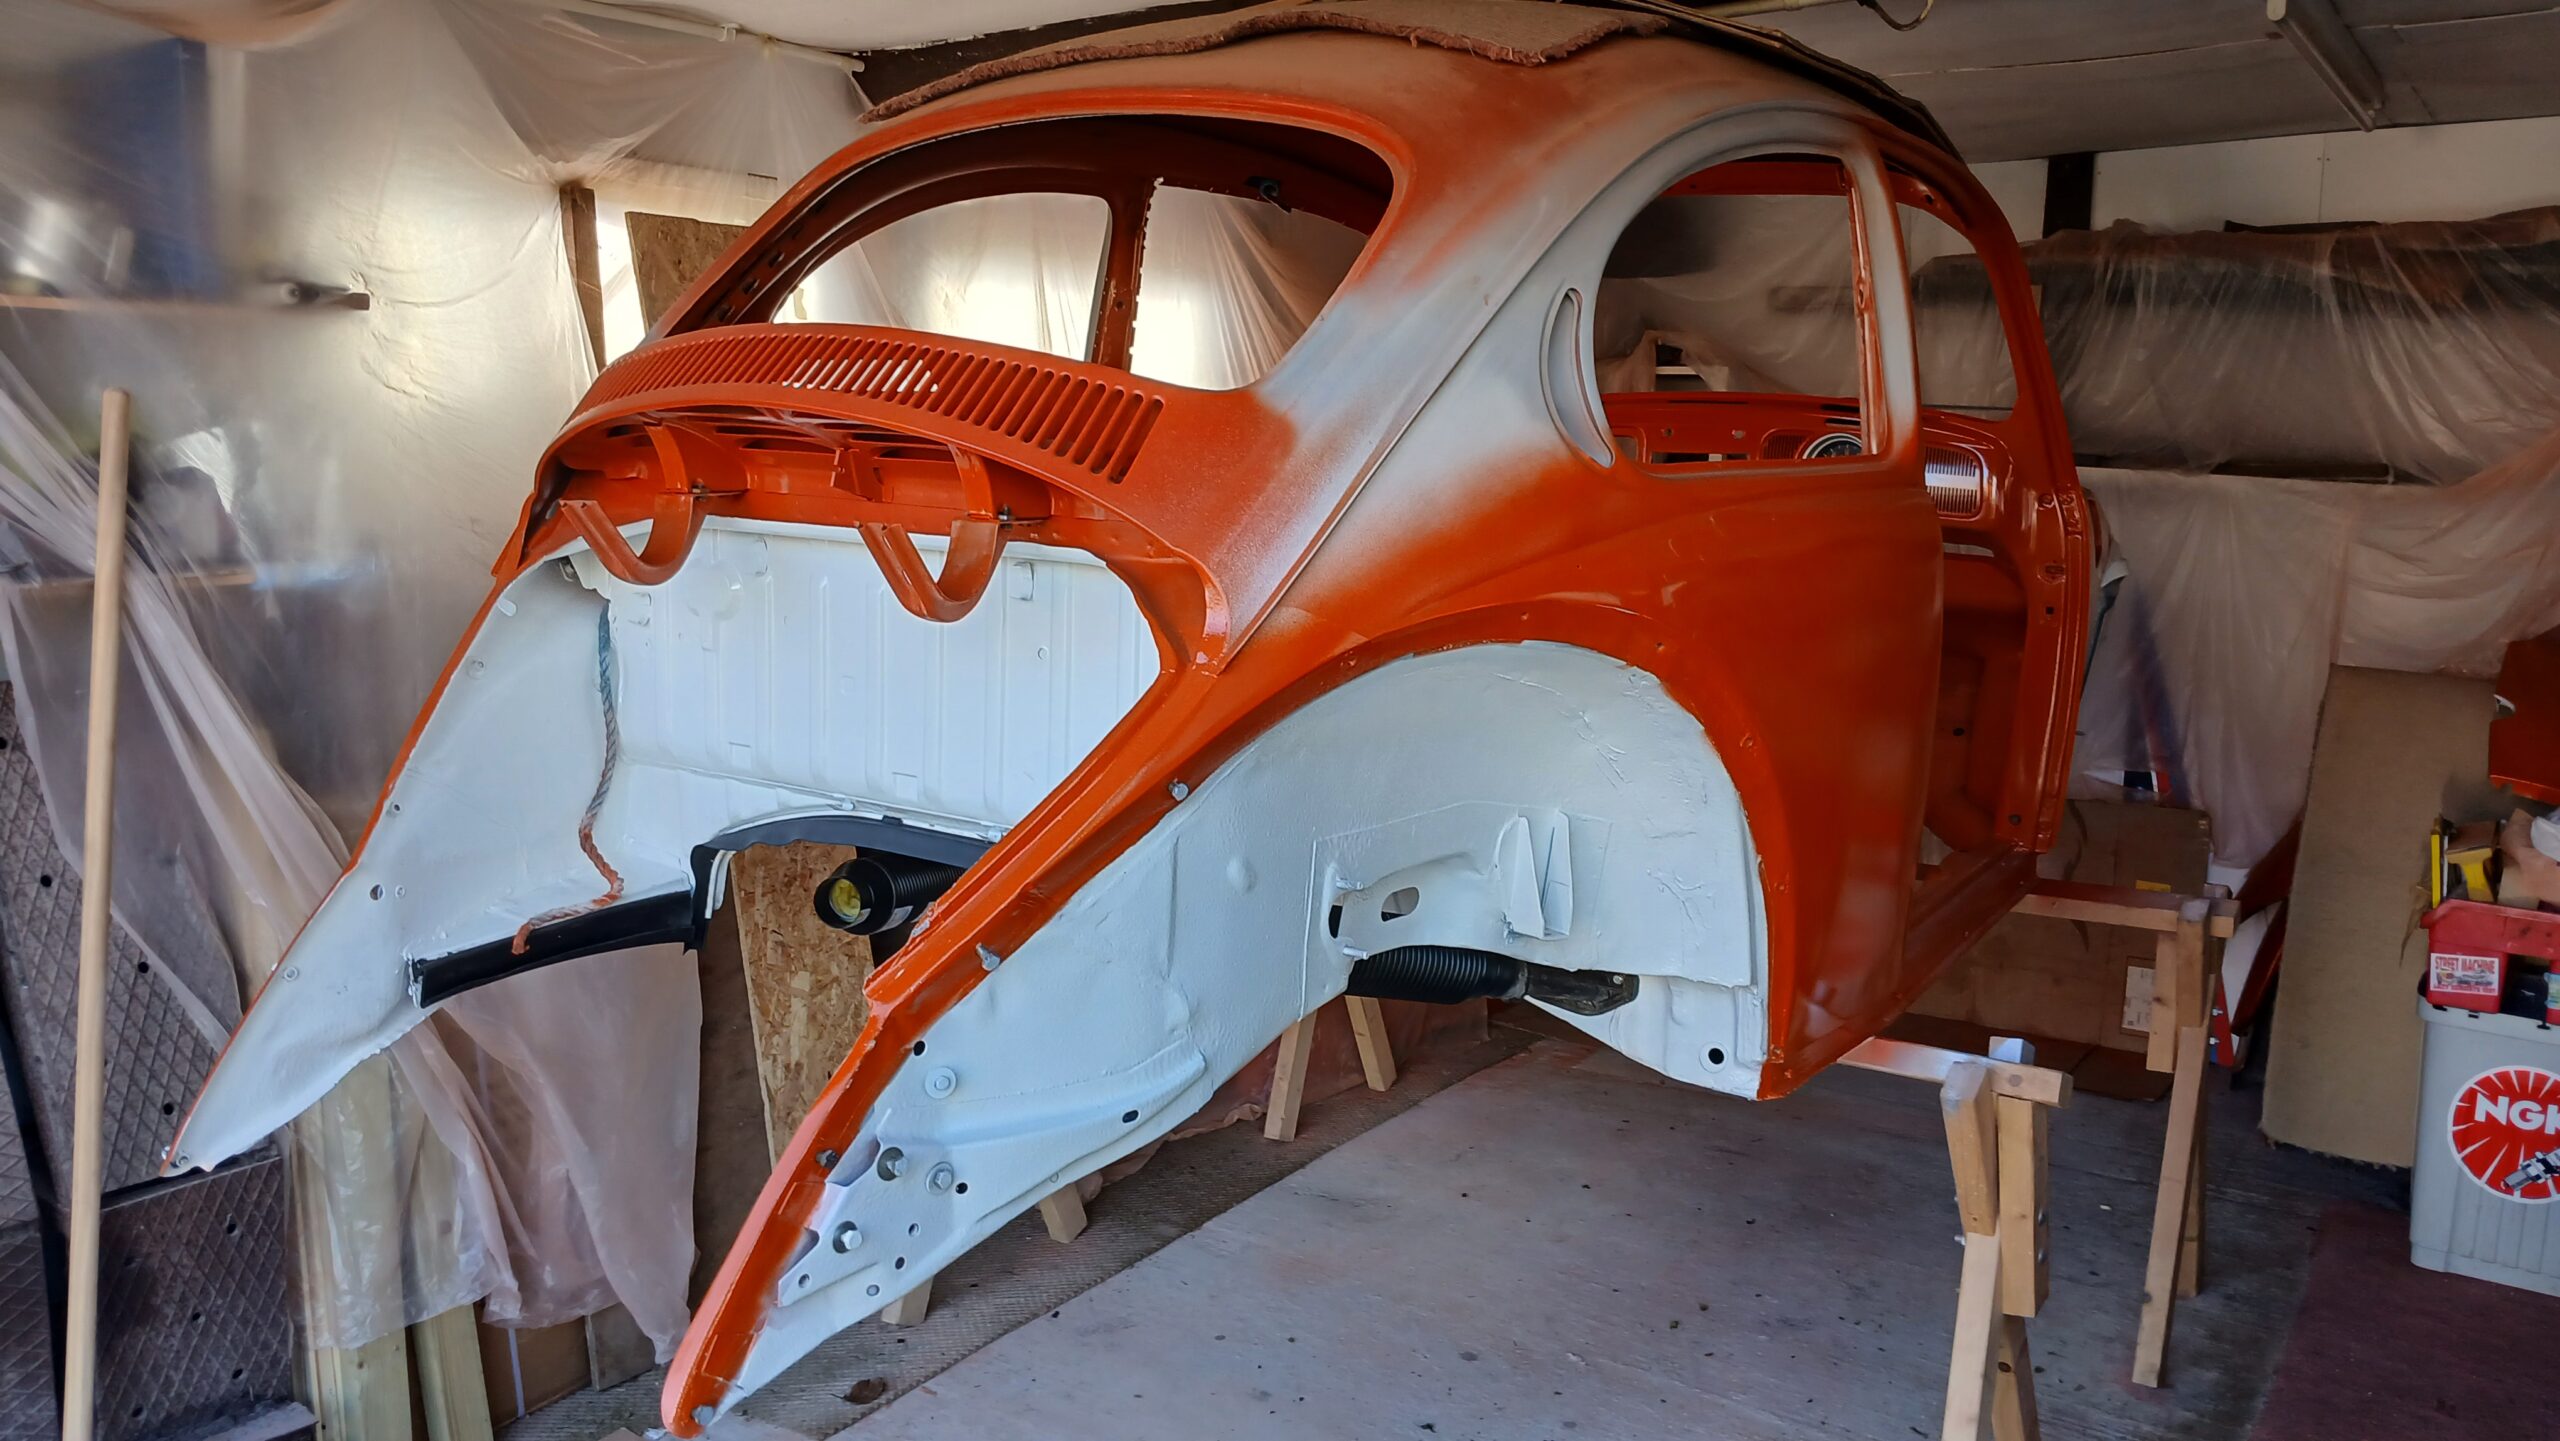
February 2026: The day finally arrived for the body to be put back onto the floor pan. Paul and his assistant, Ash, came over on Saturday afternoon, and I had prepped the work area as much as I could think of beforehand.

VW Beetle 1302S body on tressels
The body on tressels prior to fitting onto the floor pan.

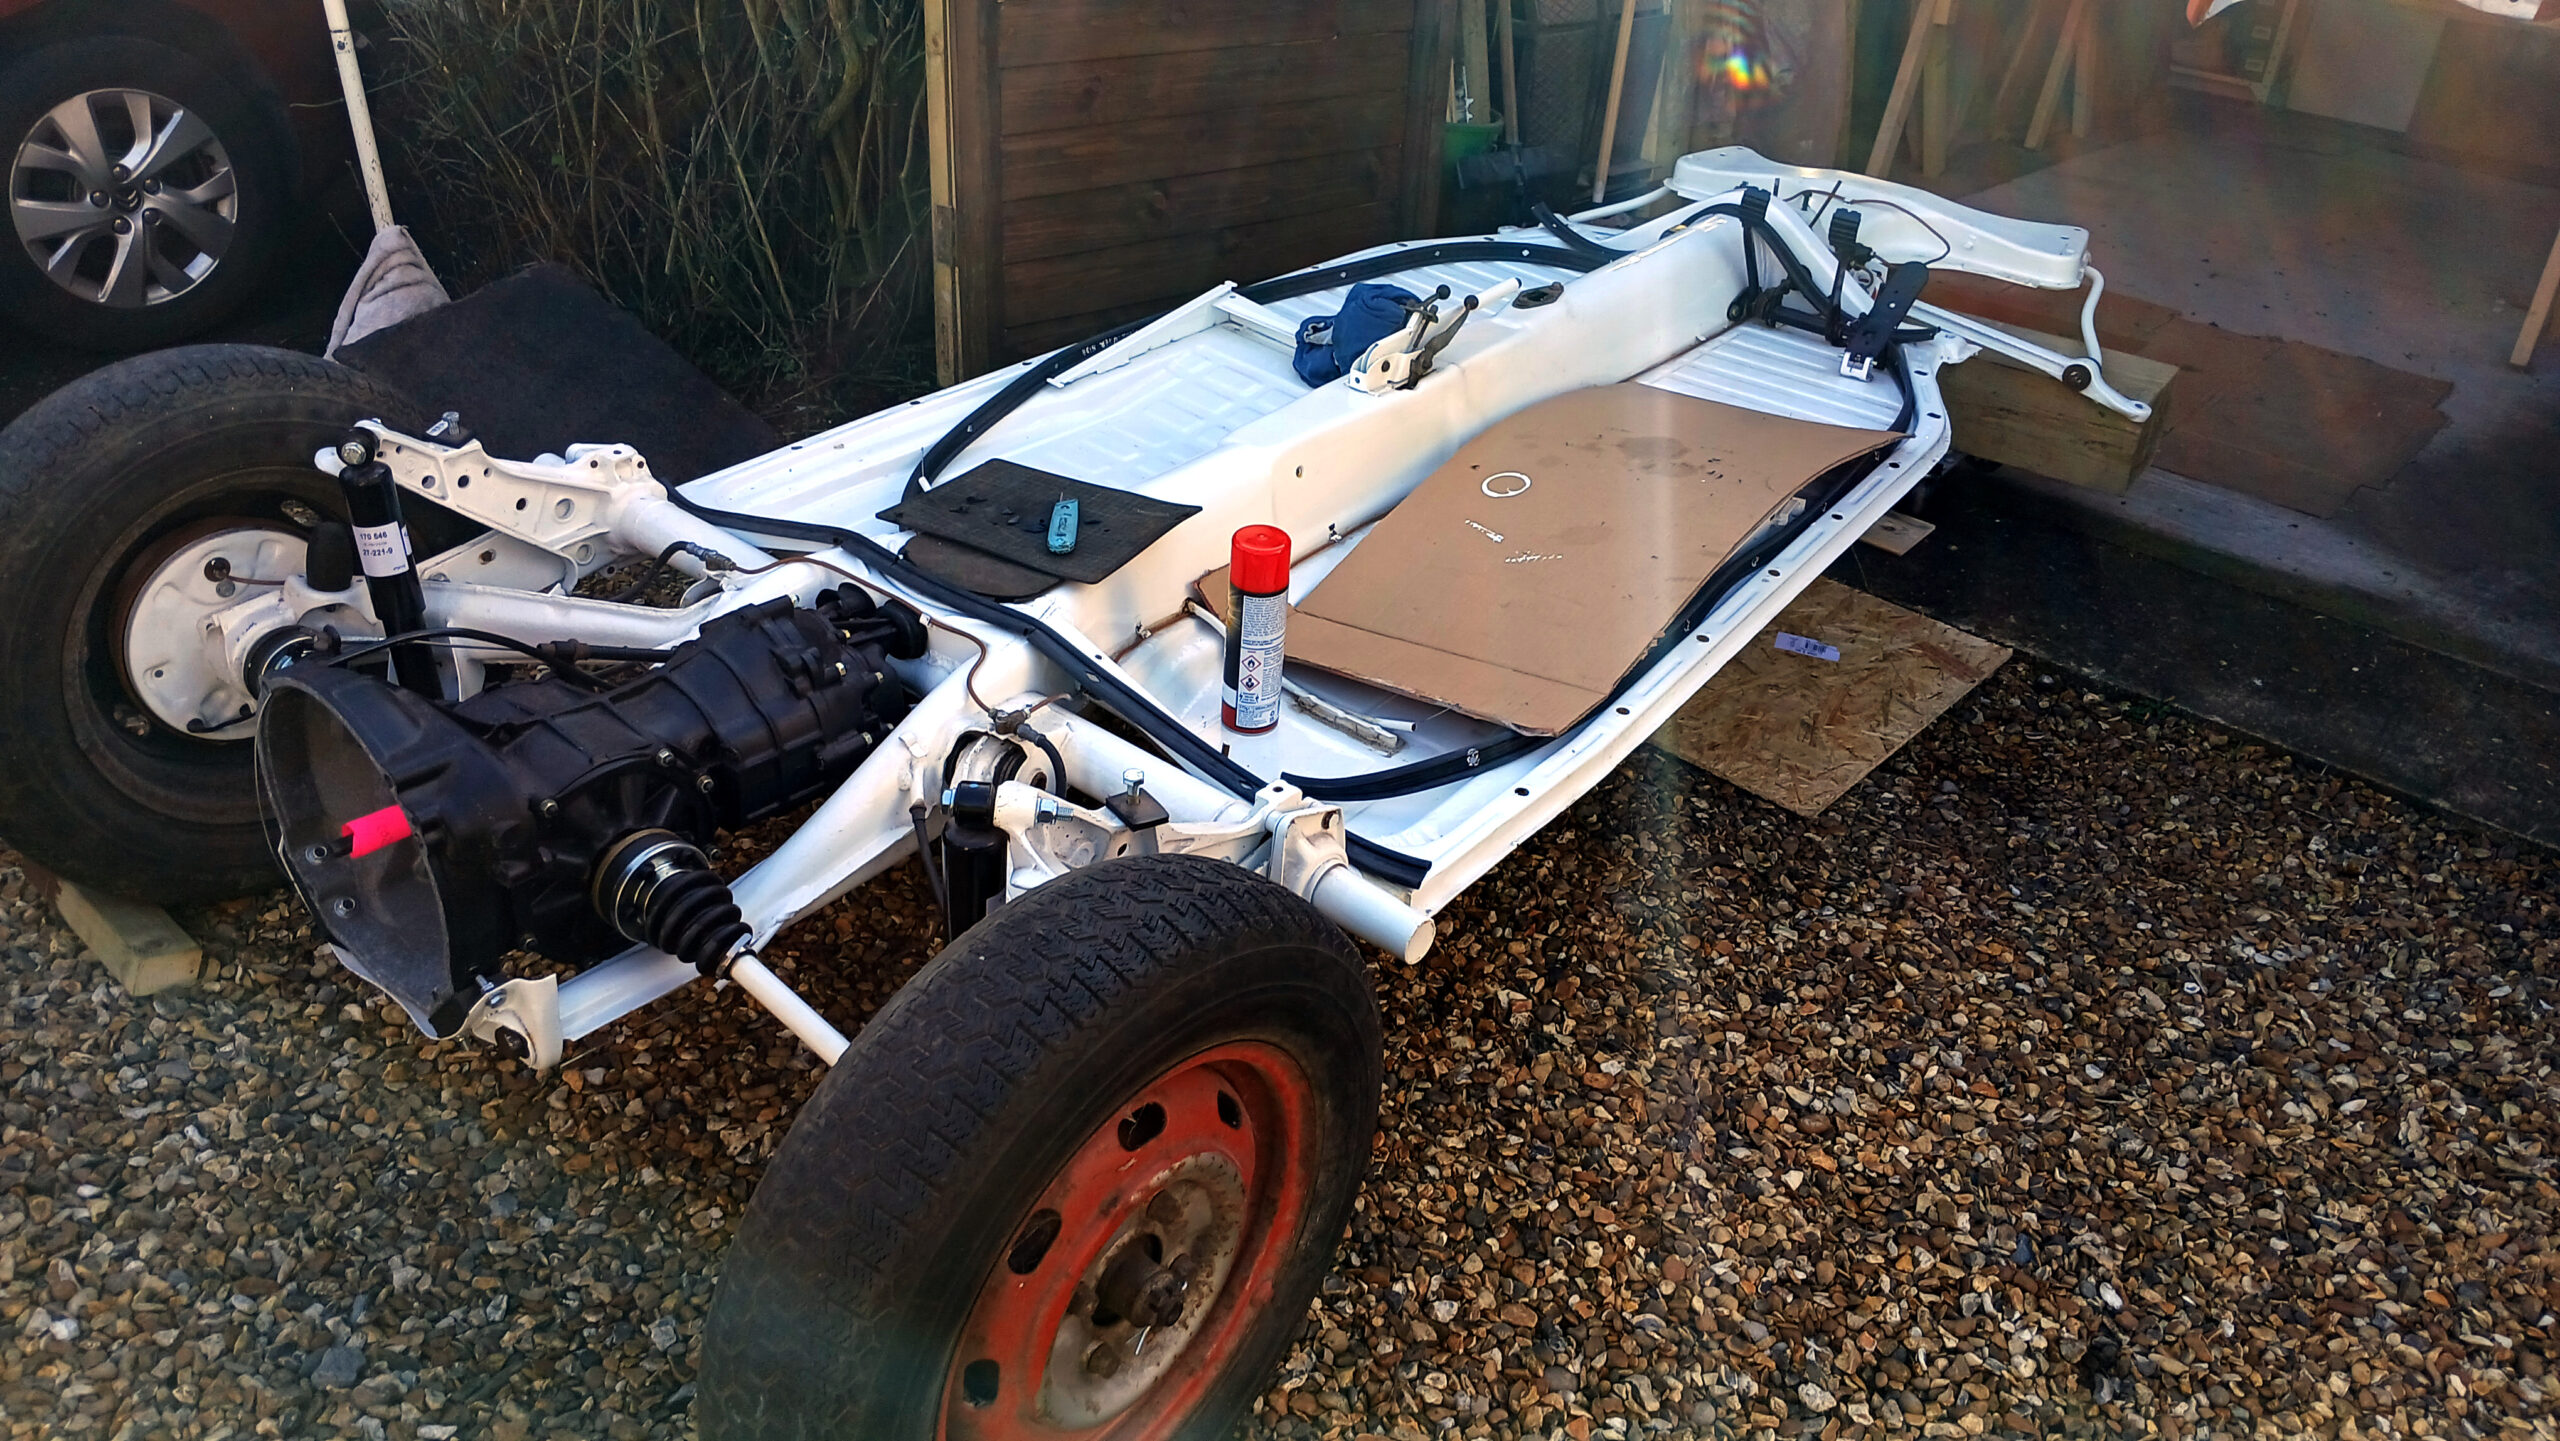
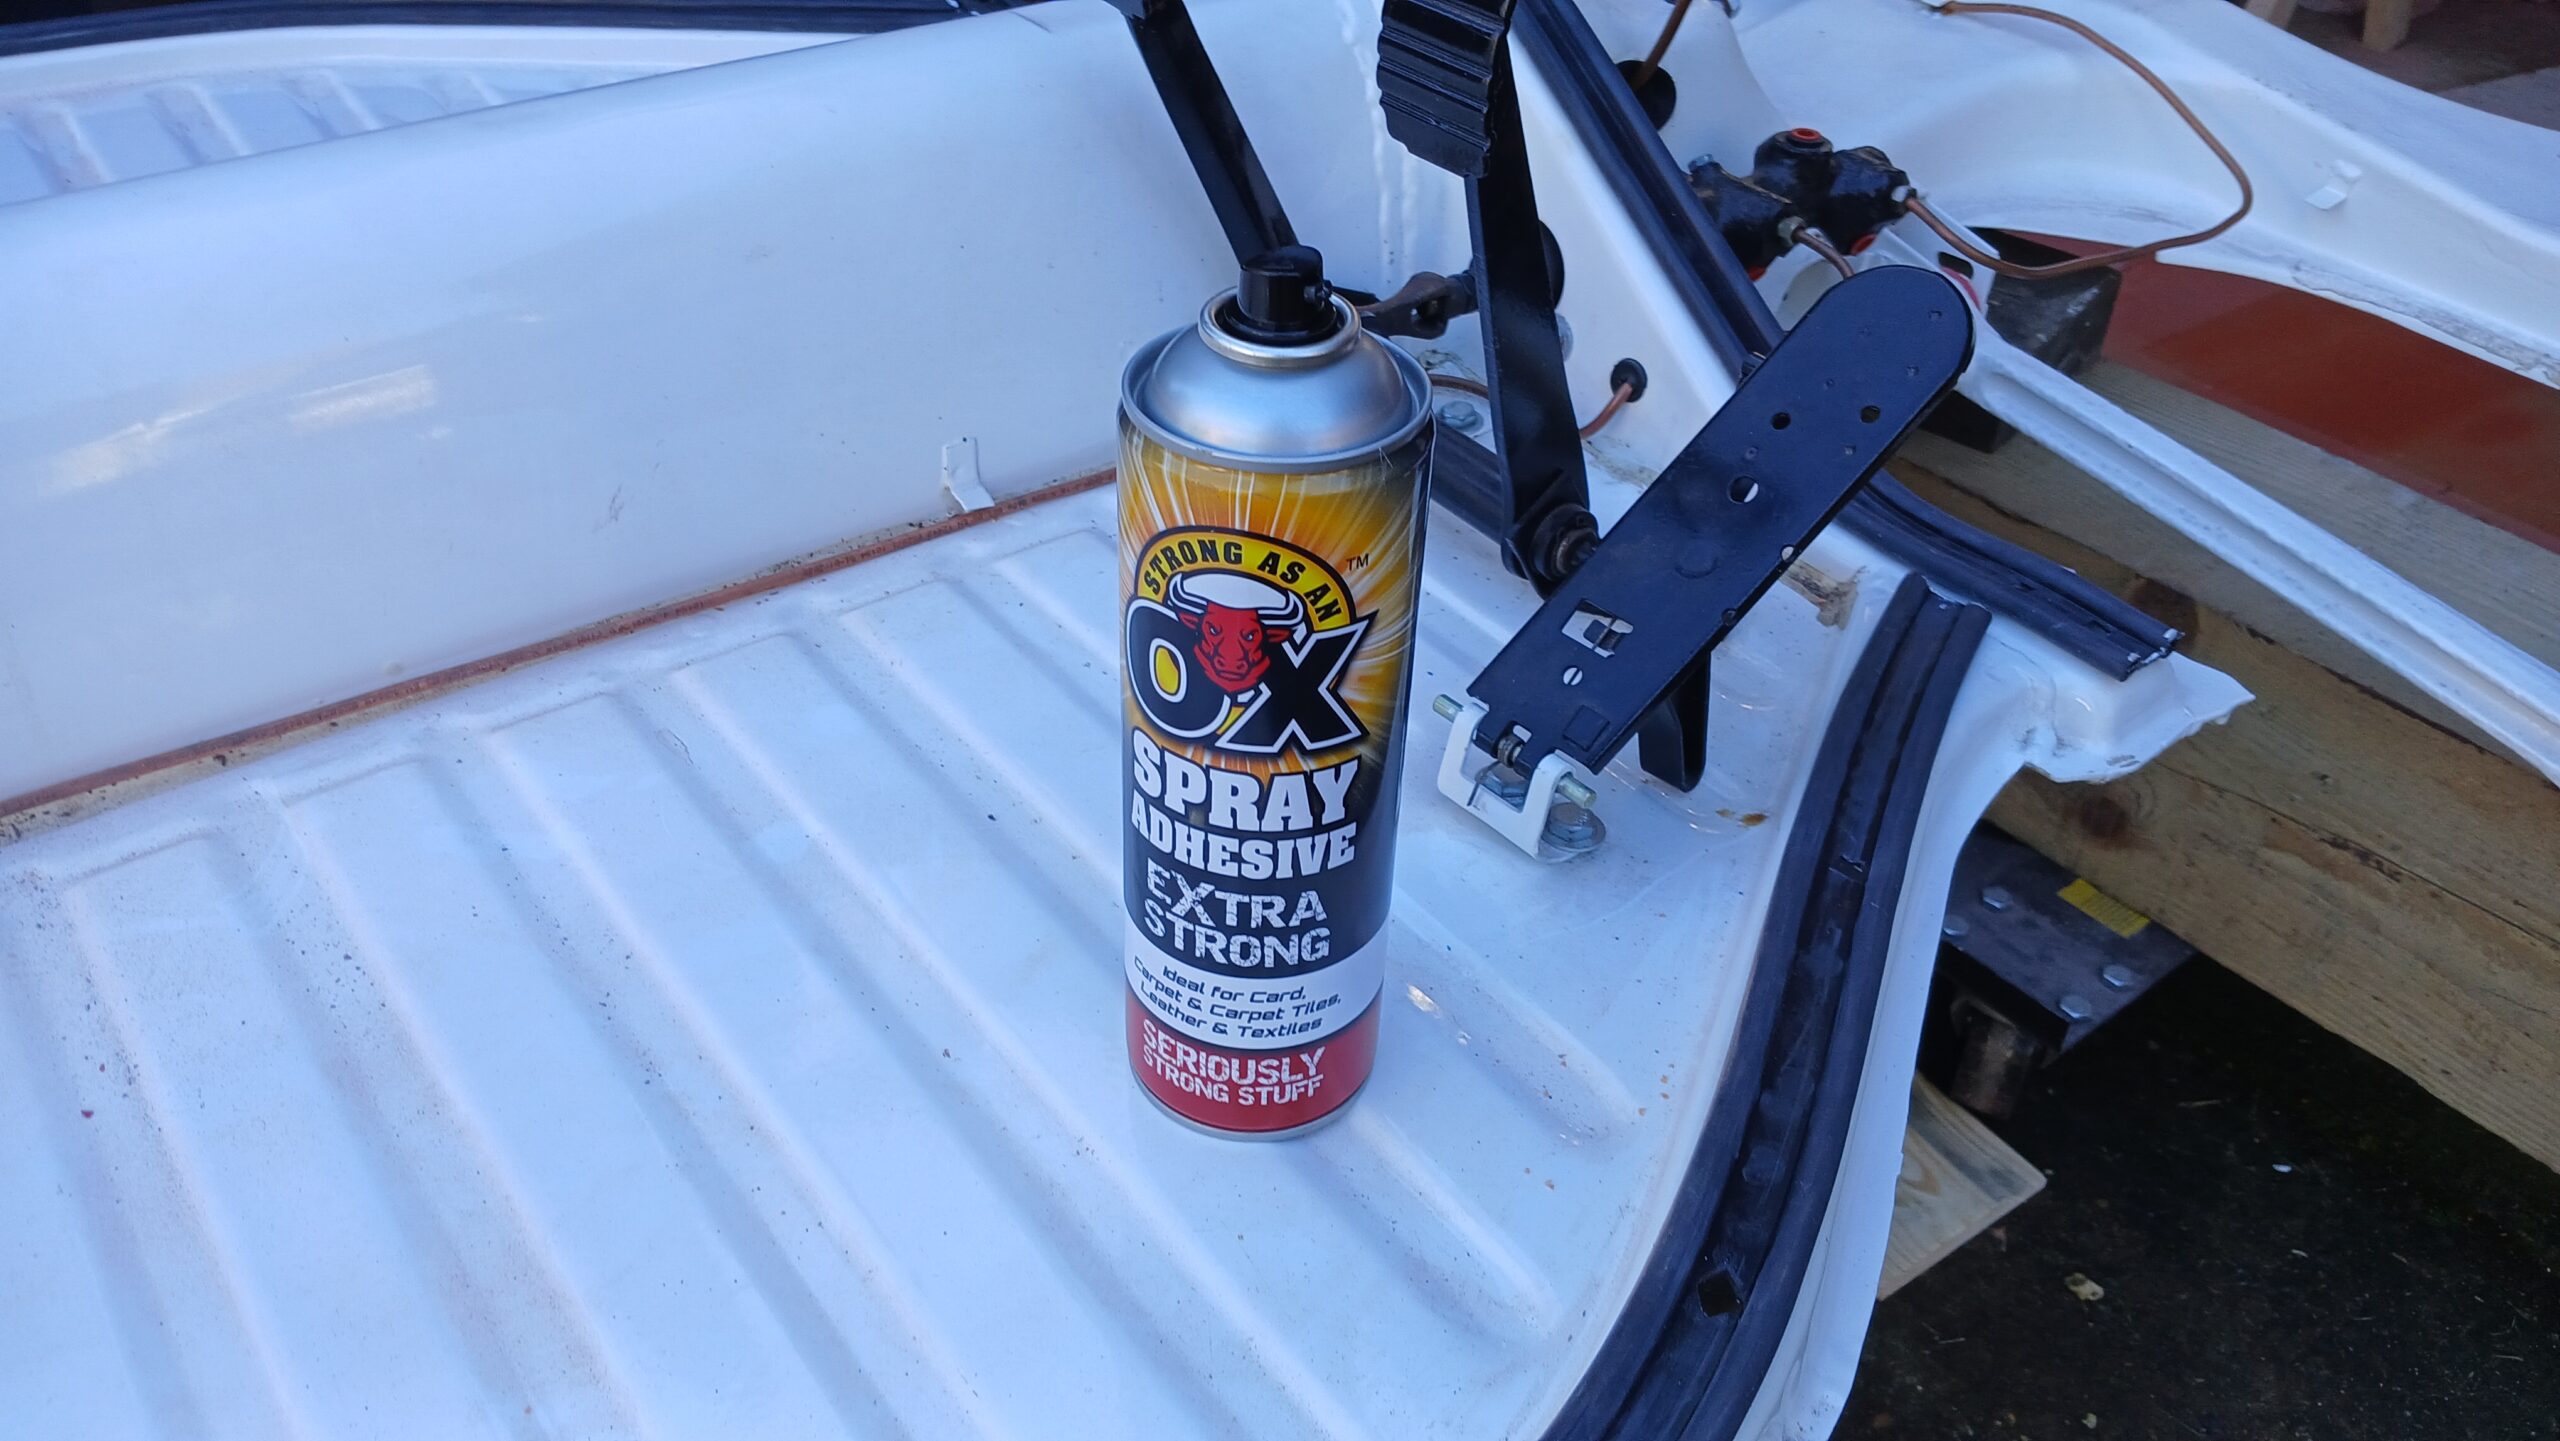
Paul got straight to it, quickly cutting some notches in the rear crossmember rubber seal. We then used a strong carpet spray adhesive to stick the rubber seals to the floor pan.

The floor pan was wheeled back into place under the body, which had been supported on trestles for the last four years. While Paul and Ash lifted the body, I removed the trestles and they lowered it onto the floor pan in virtually one manoeuvre. After a couple of adjustments, all the heater channel bolts went in.

The rear crossmember body holes needed to be enlarged slightly for the bolts and washers to be installed properly. With some persuasion, the front crossmember bolts on the left side (RHD passenger side) went in. Paul then identified a problem on the right-hand side of the front crossmember, where the floor pan bolt holes (x2) were about 5mm off-centre. He said he would need to come back with his die grinder to enlarge the holes to access the captive nuts properly.

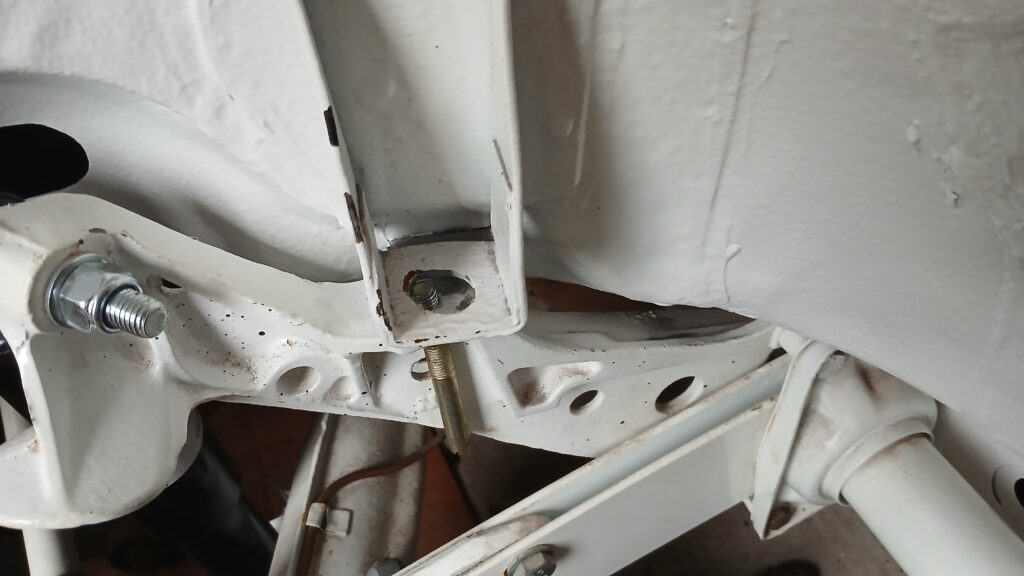
On Sunday, I managed to fit the front frame head bolts to secure the body on both the left and right sides. With a bit of leverage and some brute force, I fitted the left rear mounting bolt. The right side took more time, requiring the Dremel and a grinding tip to enlarge the mounting bracket hole.

Paul came by again the following Saturday to use his die grinder to rework the Napoleon hat front crossmember mounting bolt holes on the right side. As brutal as it sounded, Paul kept the grinding to a minimum within the bolt hole area. It looked a bit rough, but it would be covered by the large washers and bolts anyway.

I then had to reinsert the rubber floor pan seal, which was tricky. I had to lever the body up as much as I could—no more than about 3–4 mm—and carefully poke the seal back into place. Once I was satisfied the rubber was seated properly and the bolts would go back in without issue, I sprayed primer on the exposed metal before reassembly.

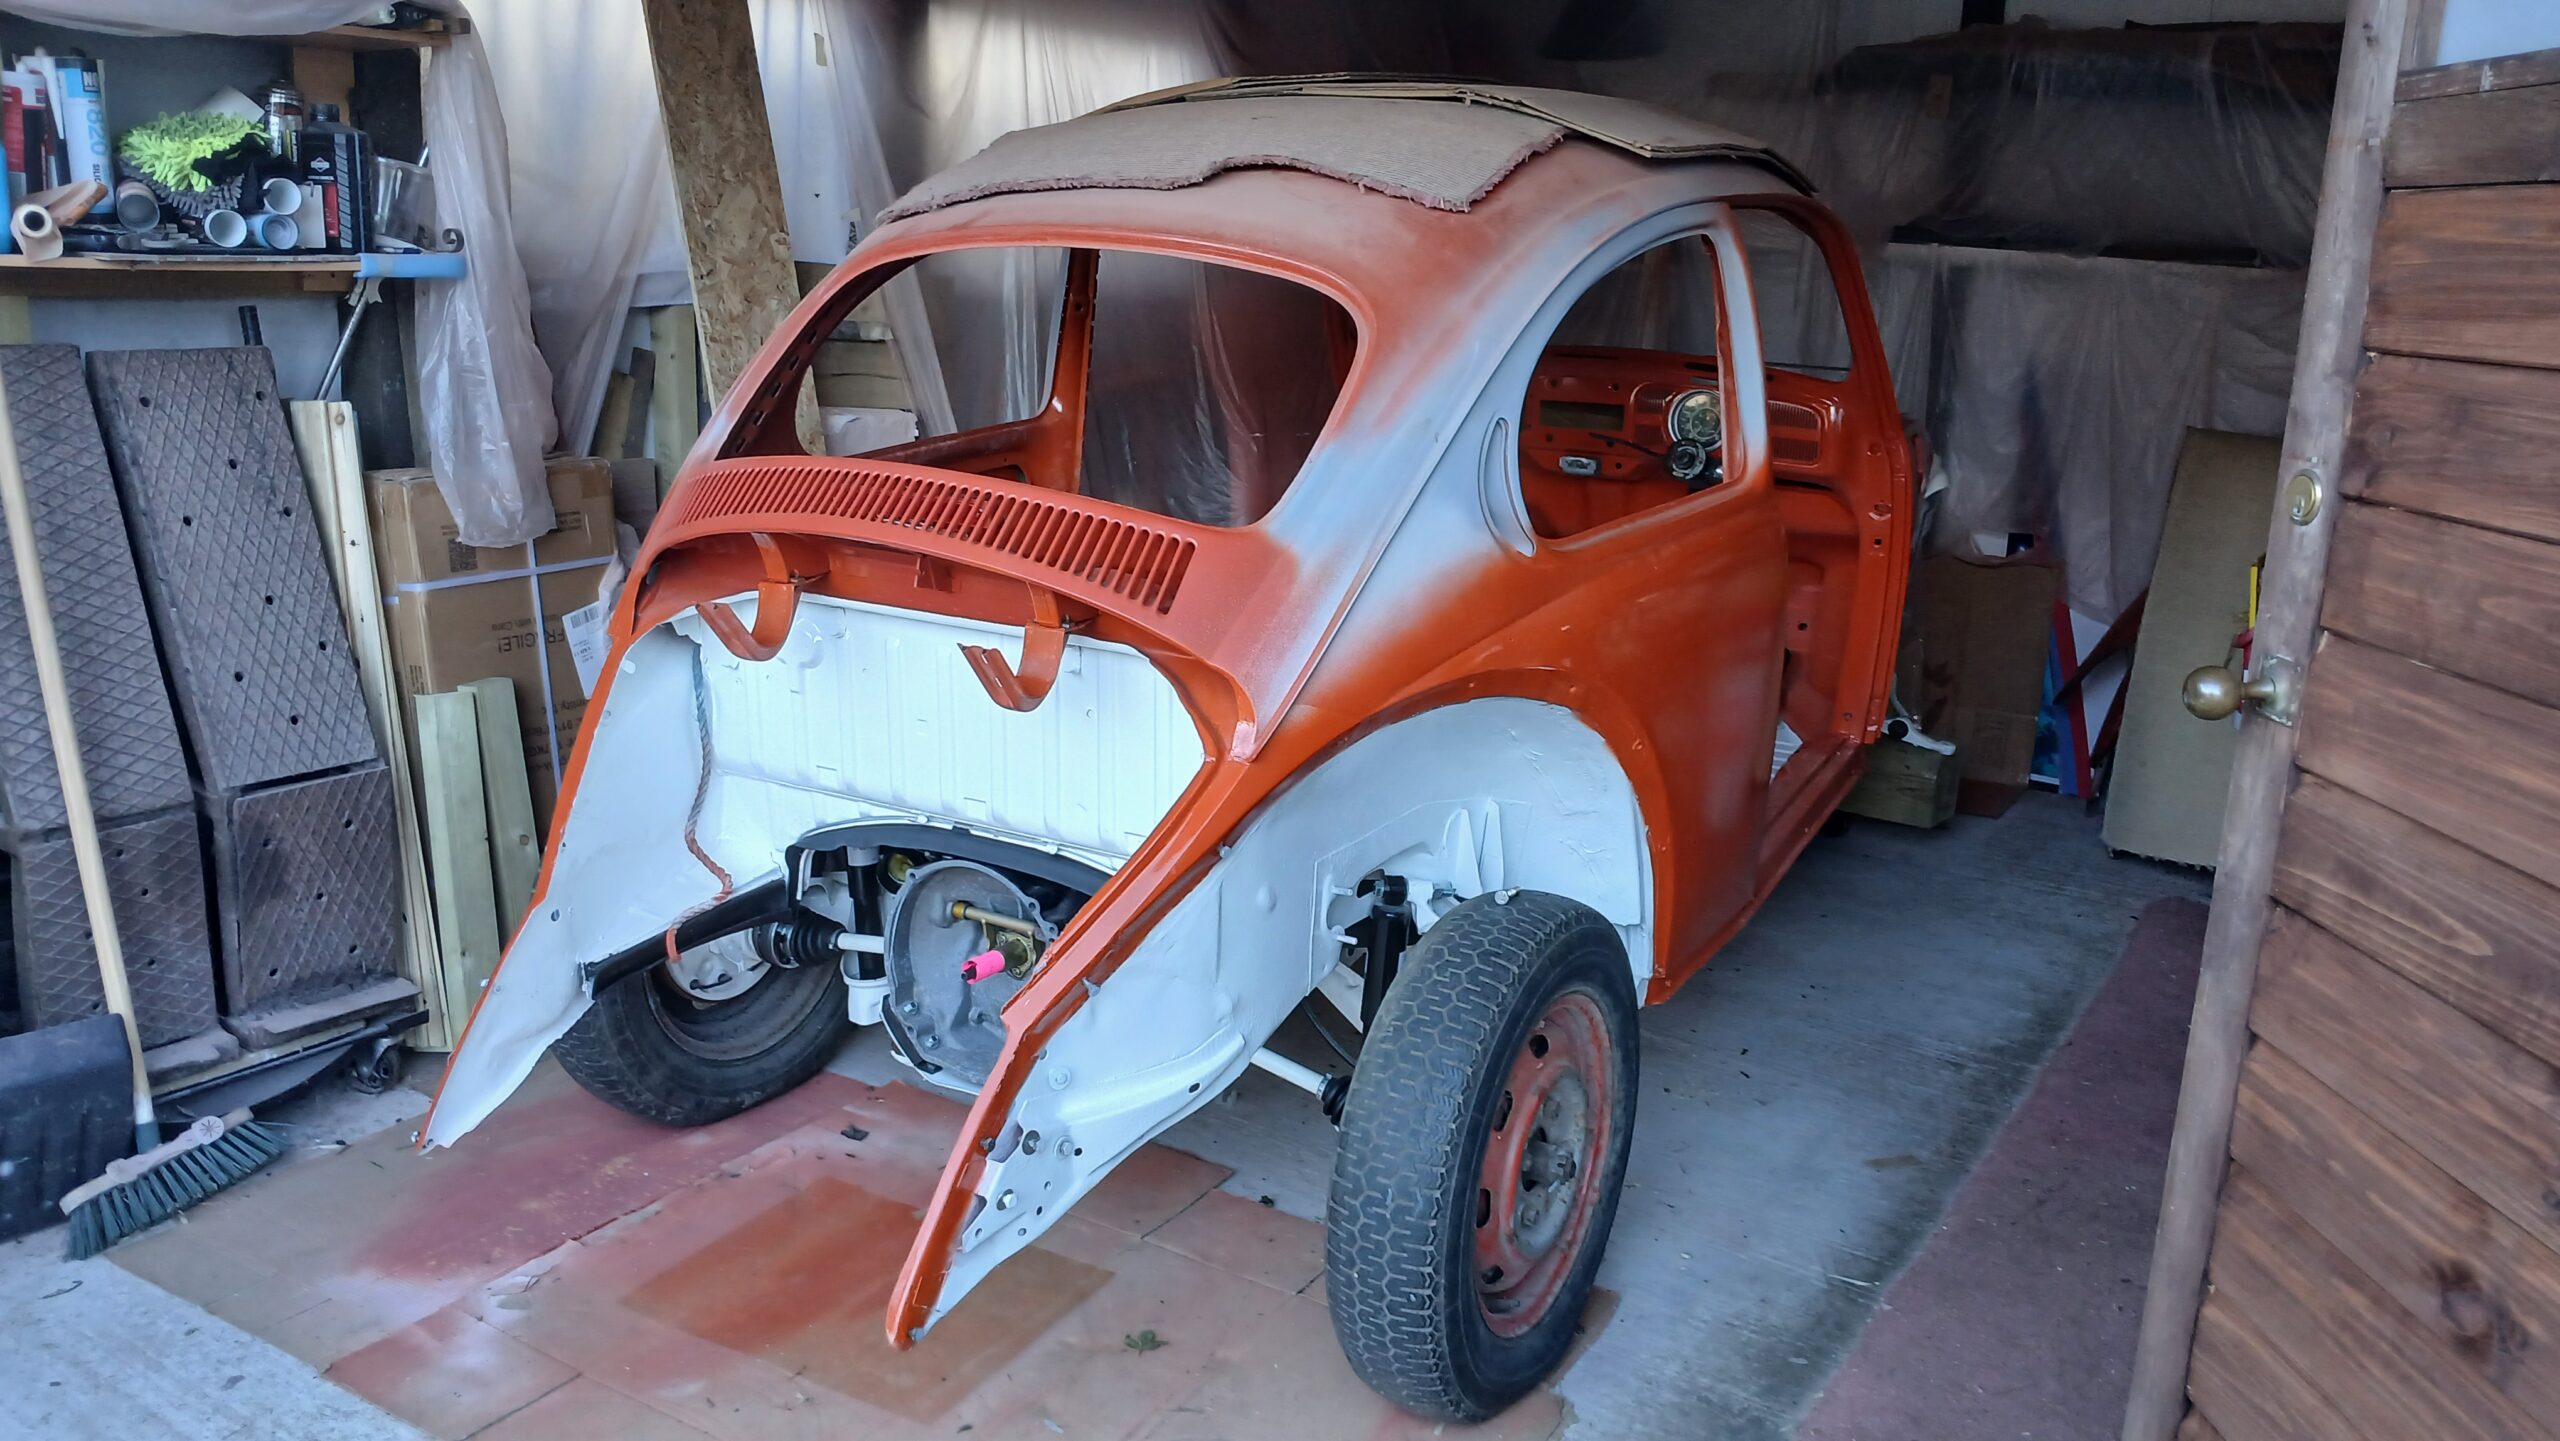
At last, the body was fully secured to the floor pan with all the bolts in place.

Categories
bodywork paint painting seals

Engine Bay Paint and Rubber

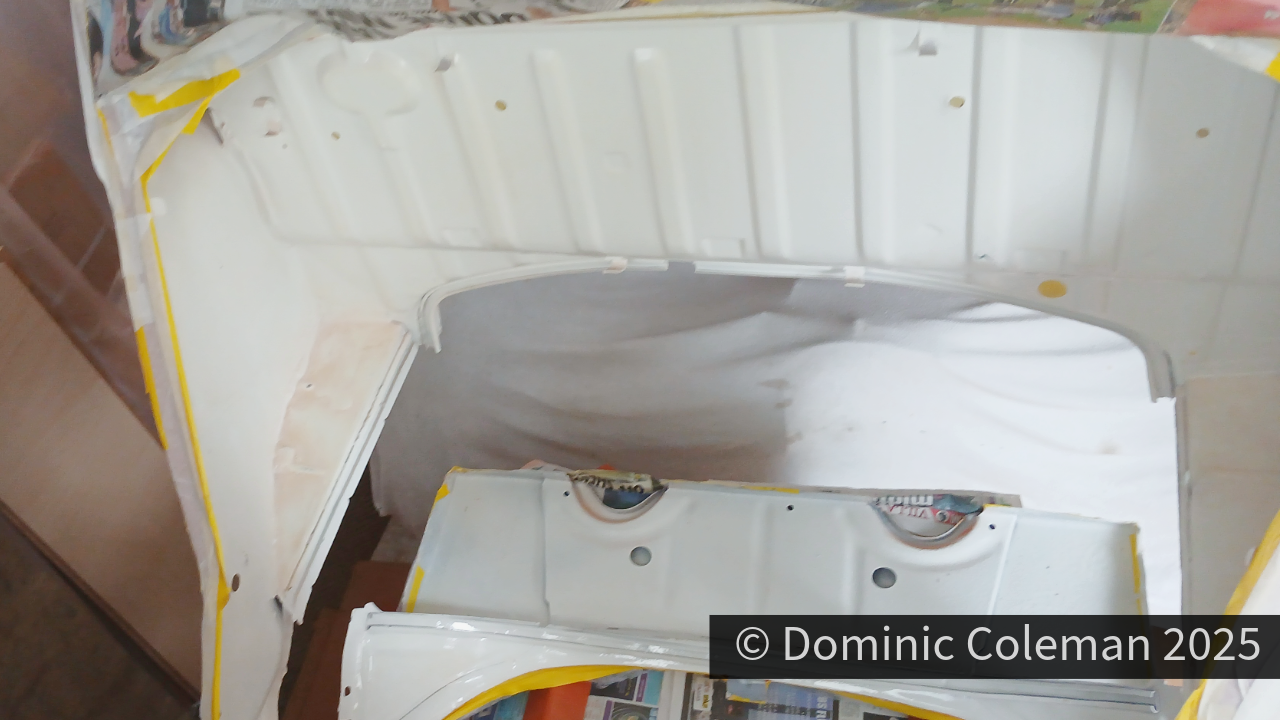
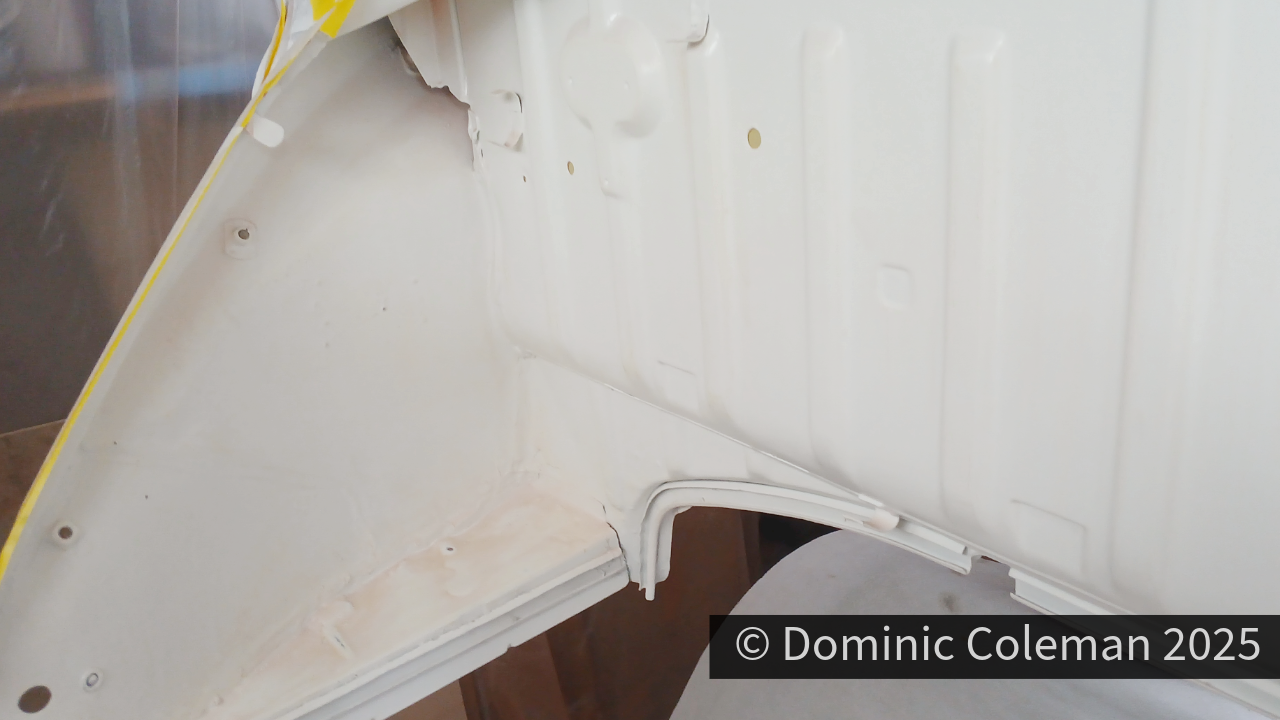
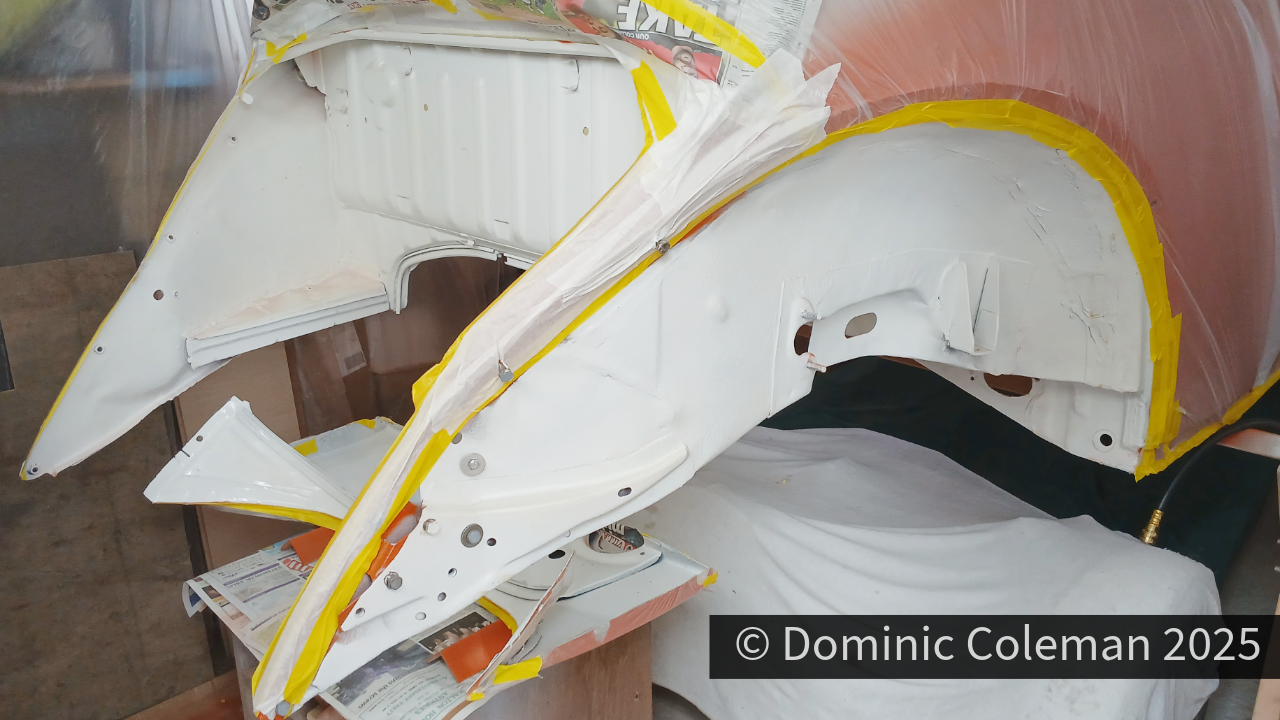
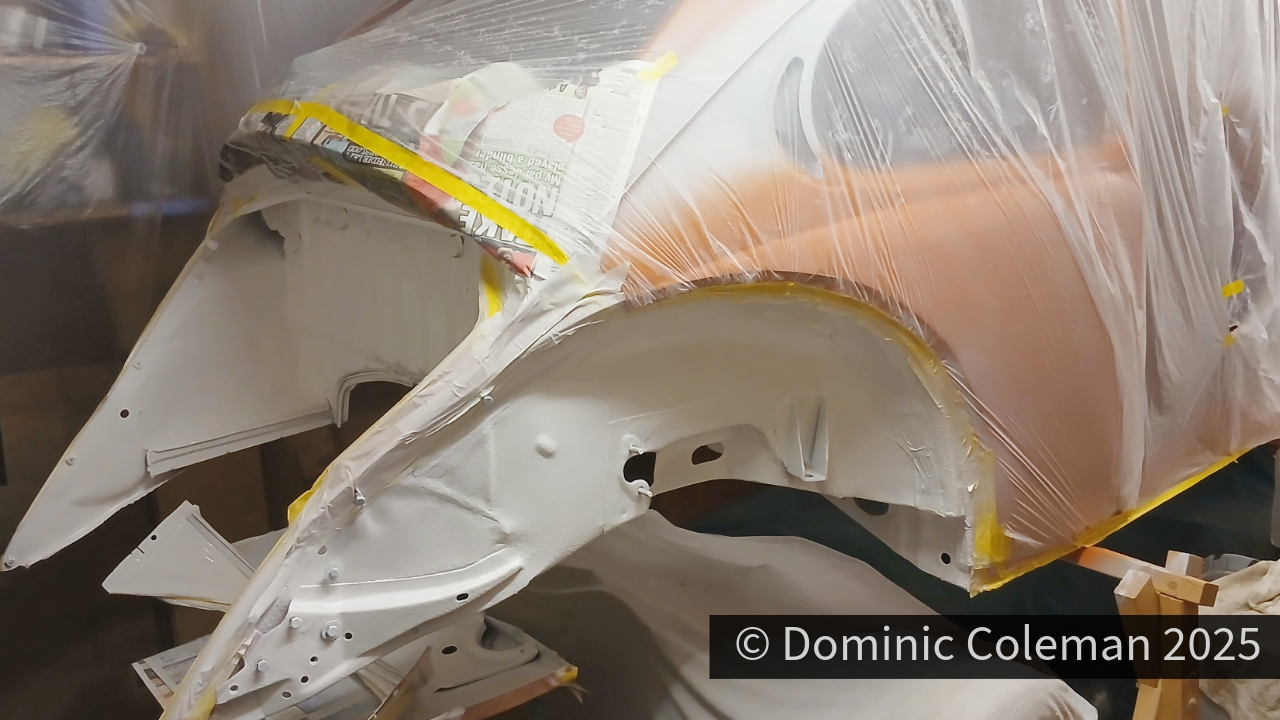
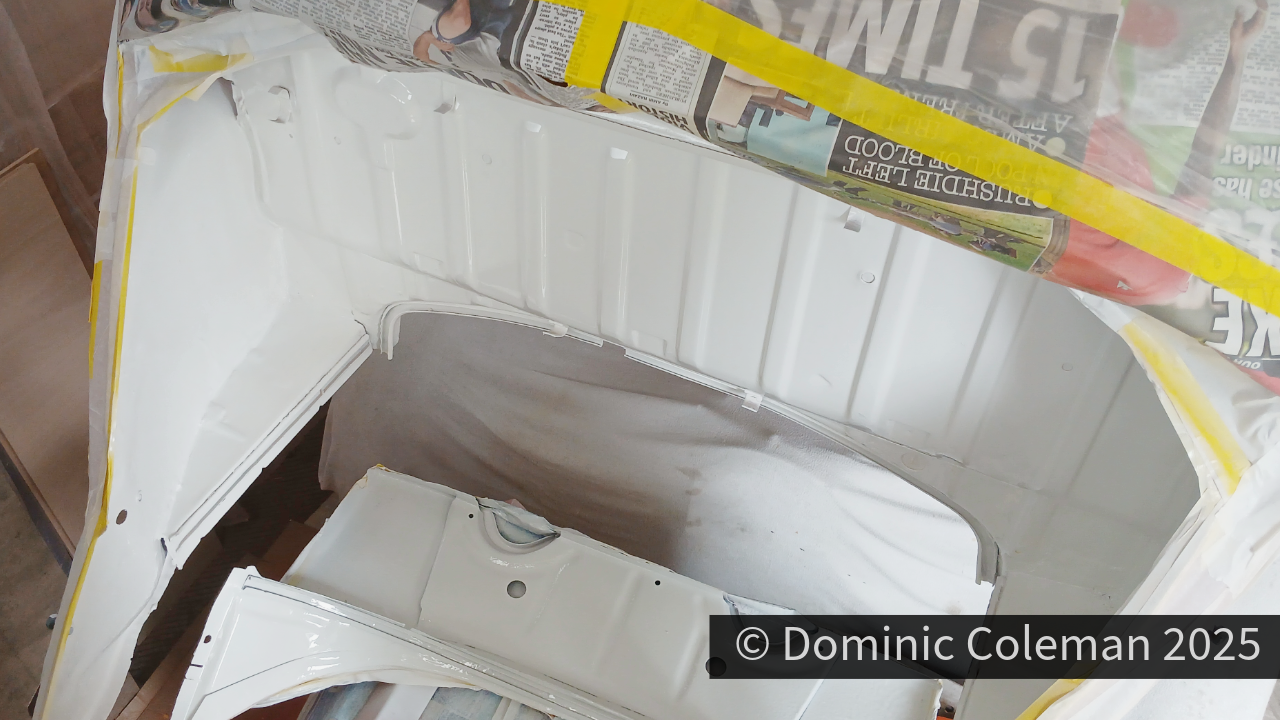
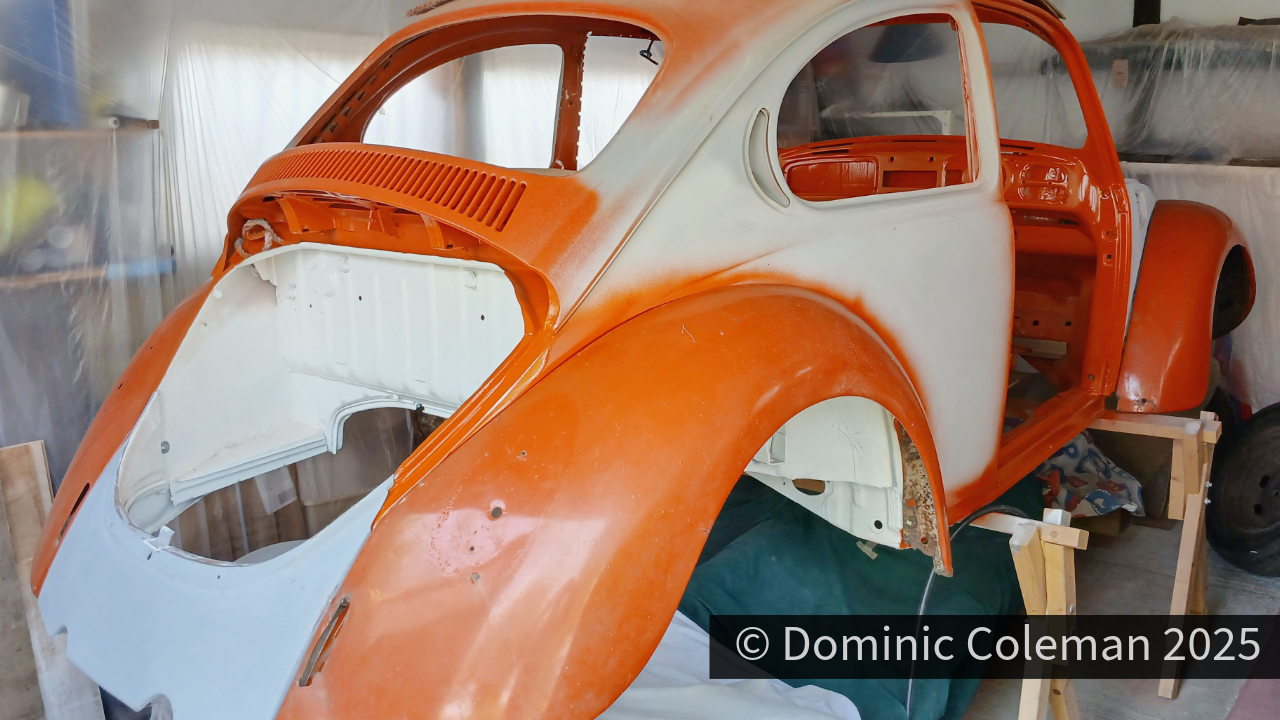
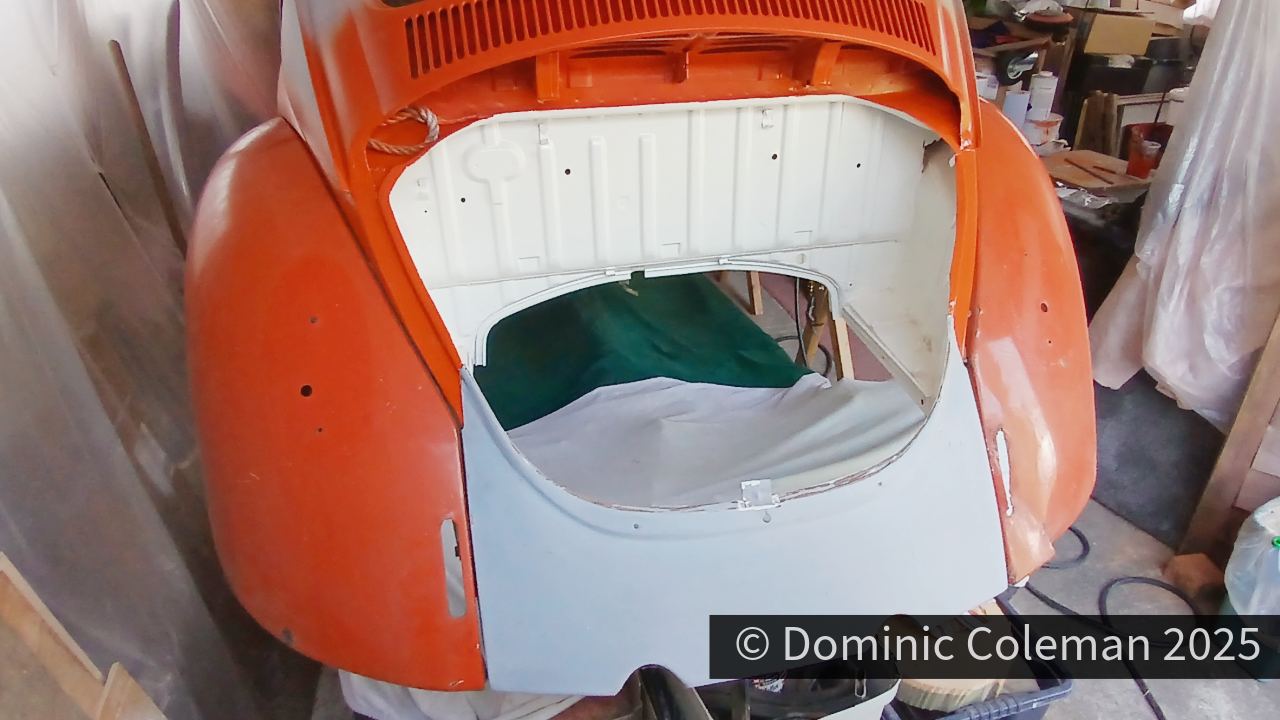
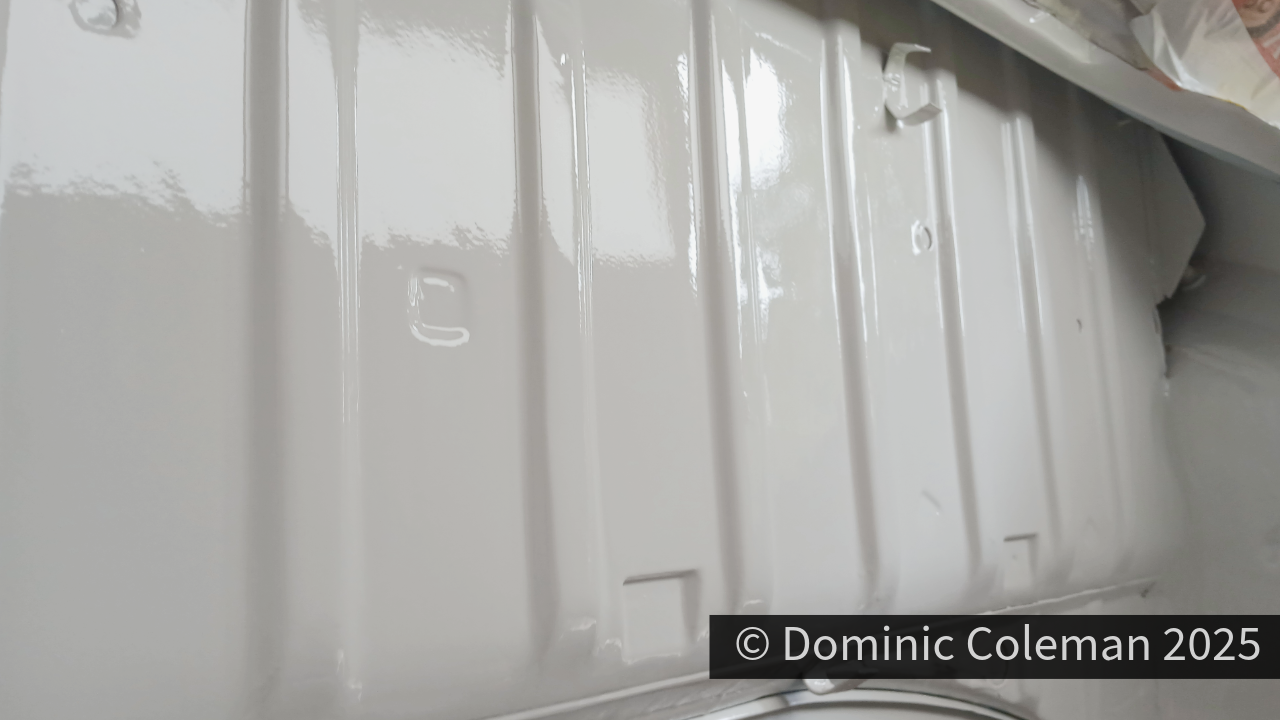
At the end of summer the weather was still warm and dry, so I took the opportunity to respray the engine bay in bright white, as before, however this time with successful results. With some fiddling I worked out how to get my spray gun to a correct working pressure and I took extra care of getting my paint mixture right. I took my time spraying three thin, wet coats with 4-5 minute pauses between each coat allowing for it to flash off. I took the opportunity to spray the rear wheel arches to clean them up as well and the result was a fresh glossy finish and finally to my satisfaction.

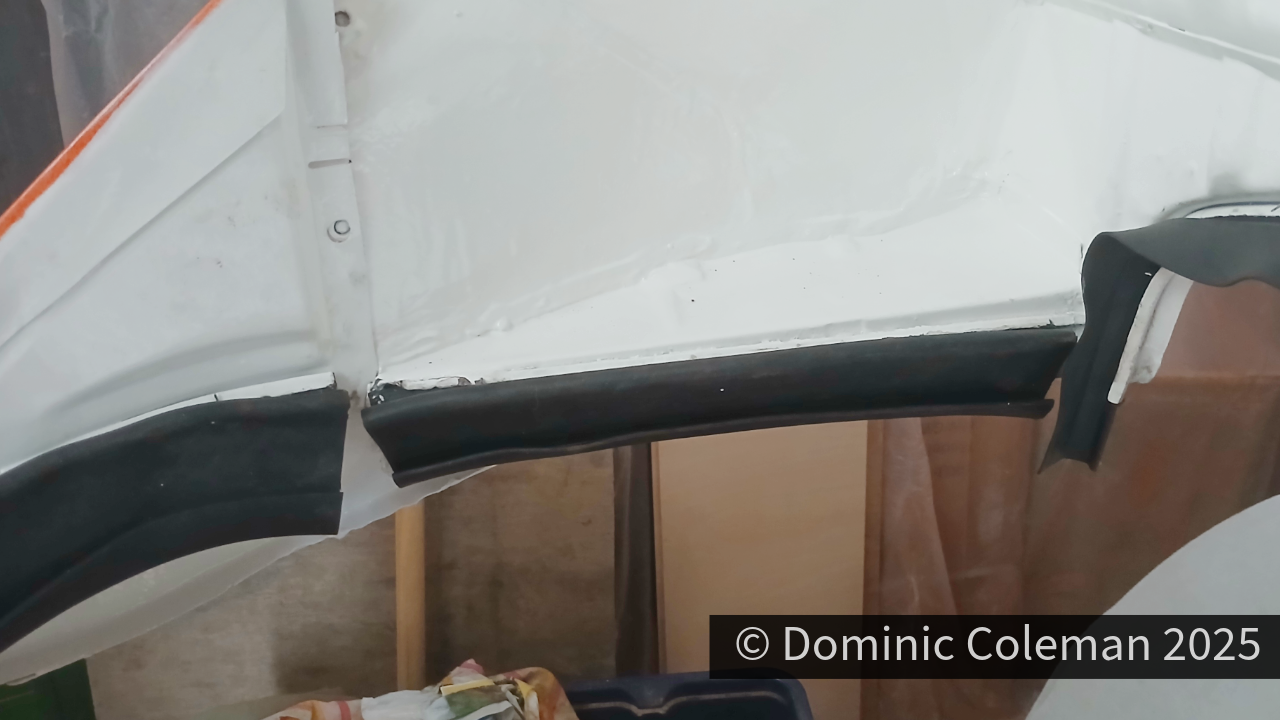
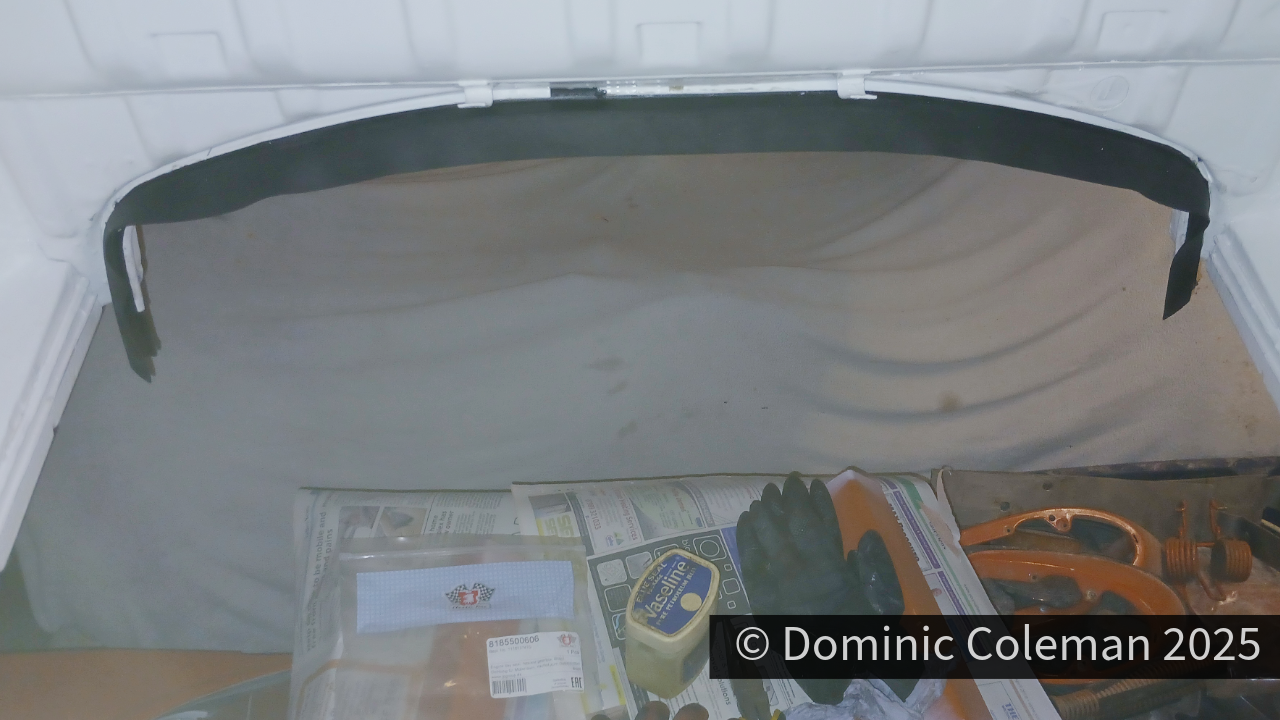
Another milestone achieved was fitting the engine bay seals that I got from Just Kampers. Fitting of the firewall seal was relatively straight forward, not too much prying or effort required and was done in a bout 20 minutes. The other engine bay rubber was more tricky, though made easier because of the removable rear valance and I could do it in three stages. Rubber gloves, the type used for mechanical work with a pair of large pliers were needed for a good firm grip and vaseline to ease and slide the rubber into the channel. It took about 45 mins to complete.

Categories
bodywork paint painting

Painting – the fifth time

On the Wedenesday I went to visit Paul at South Coast Customs & Classics, however, it turned out I could do him a favour. As I was driving to Charlton Marshal, just outside Blandford, I saw Paul in a bus-stop layby with a very smart blue Beetle with the engine lid open. Luckily there was a bus-stop layby opposite, so I pulled over to see what was going on. The blue Beetle had an ignition failure while on the way to the MOT station and was only 100 metres short of getting there but the garage didn’t want to MOT the car if it couldn’t be driven in. As it happened, I had a tow rope in the boot of my Corsair and offered to get Paul and the Beetle back to his workshop. Once back to the workshop and the Beetle pushed in to the work bay, I got to meet Ash his new work colleague, for the past couple of years.

Categories
bodywork paint painting

Painting the 4th time

I couldn’t help but to mock up with the wings and the removable rear valance, it almost looked like it was nearly there… finished! It did confirm my thoughts that I would need better condition rear wings, but the fronts were OK.

The last paint attempt wasn’t too bad – in most parts I could live with it, but as I was preparing to do the bonnet shuts, front scuttle, front quarter panels and lower parts of the front valence I felt it worth while re-doing the dashboard again as well as digging out the rear valence to paint that too. It turned out to be decision I would regret. Again, various factors at play here from a bad spray gun set up to paint being too ‘dry’ or having too much faith in the fast hardner. Whatever, the paint came out in a spatter (again) and the finish was as expected textured, lumpy orange peel.

I must be glutton for punishment and mockery, its terrible.
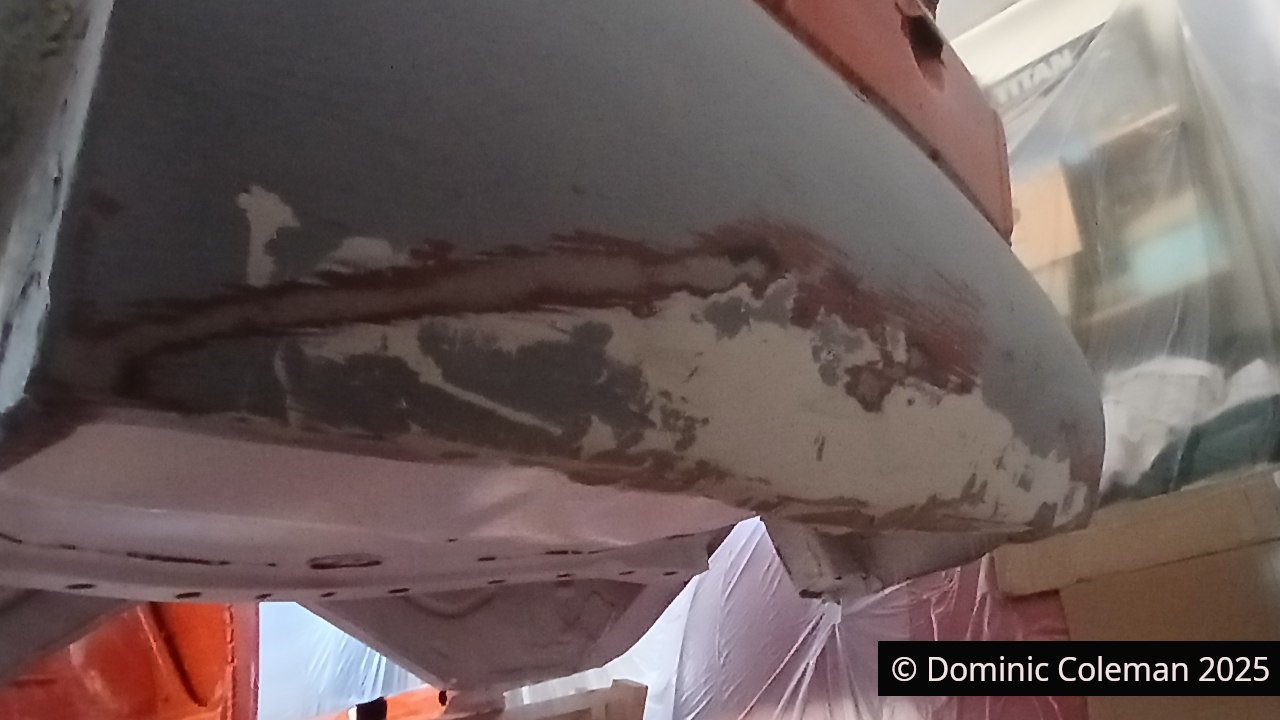
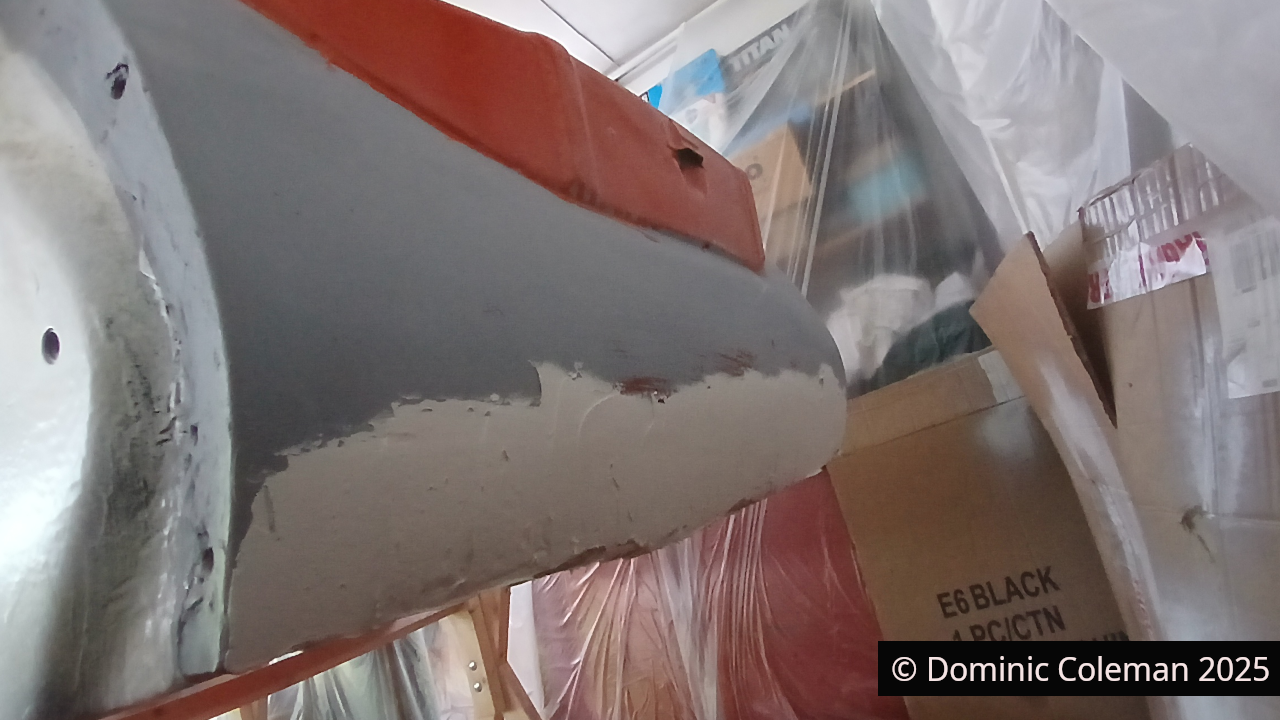
This is a portion of the rear valence, takes a brave person to admit to doing this.

So it seems I have a pattern of work, paint on a Sunday, only to rub it all back on the Monday. Well, not the rear valance, thats my sample to show people how bad I am at car spray painting and also gather some advice from folk who know how to paint cars. My next step is to get some advice, salvage the existing paint or buy some fresh paint with standard hardner.

Categories
bodywork paint painting

Body Work and Paint

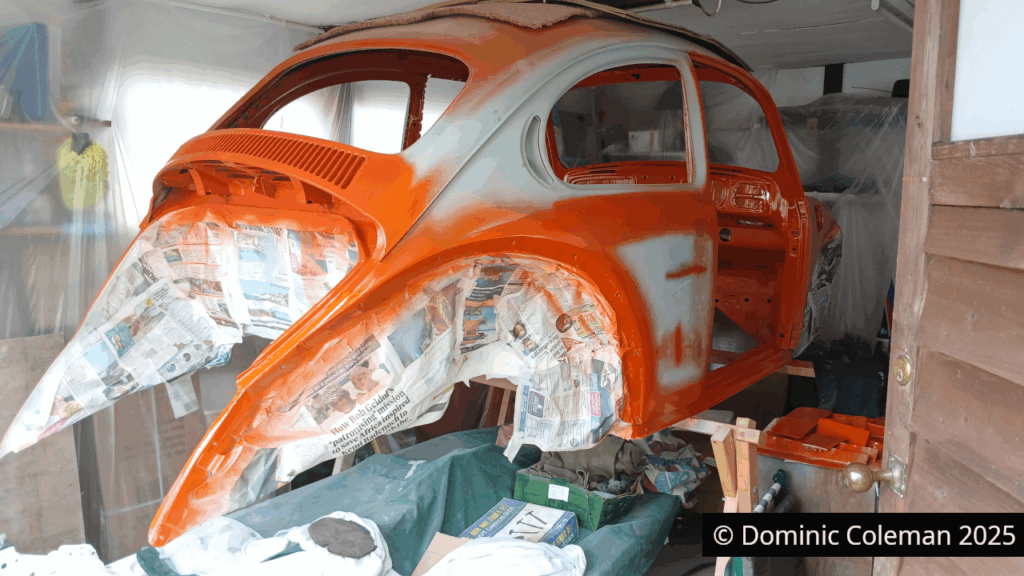
Painting back in May (2025) with colour was another failure.
As I mentioned in my last blog, it was actually worse than my first attempt. A severely clogged spray gun, full of old paint, combined with blocked vents on the paint cup, only added to the list of faults with my cheap 1.5-nozzle gun. The replacement 1.4 Fast Mover FMT 3006/1.4 hadn’t fared much better either, thanks to a poor clean after the earlier primer disaster.

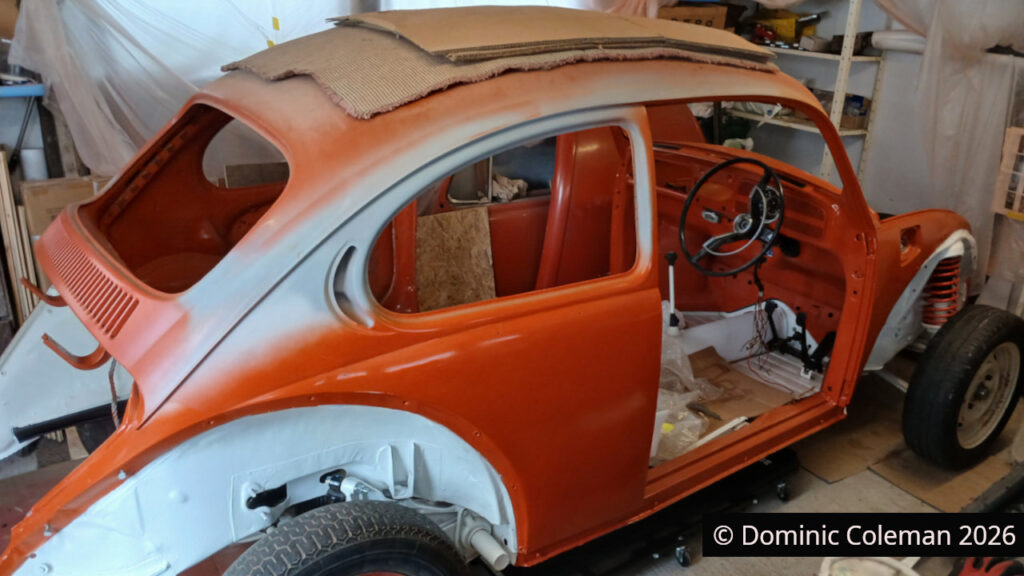
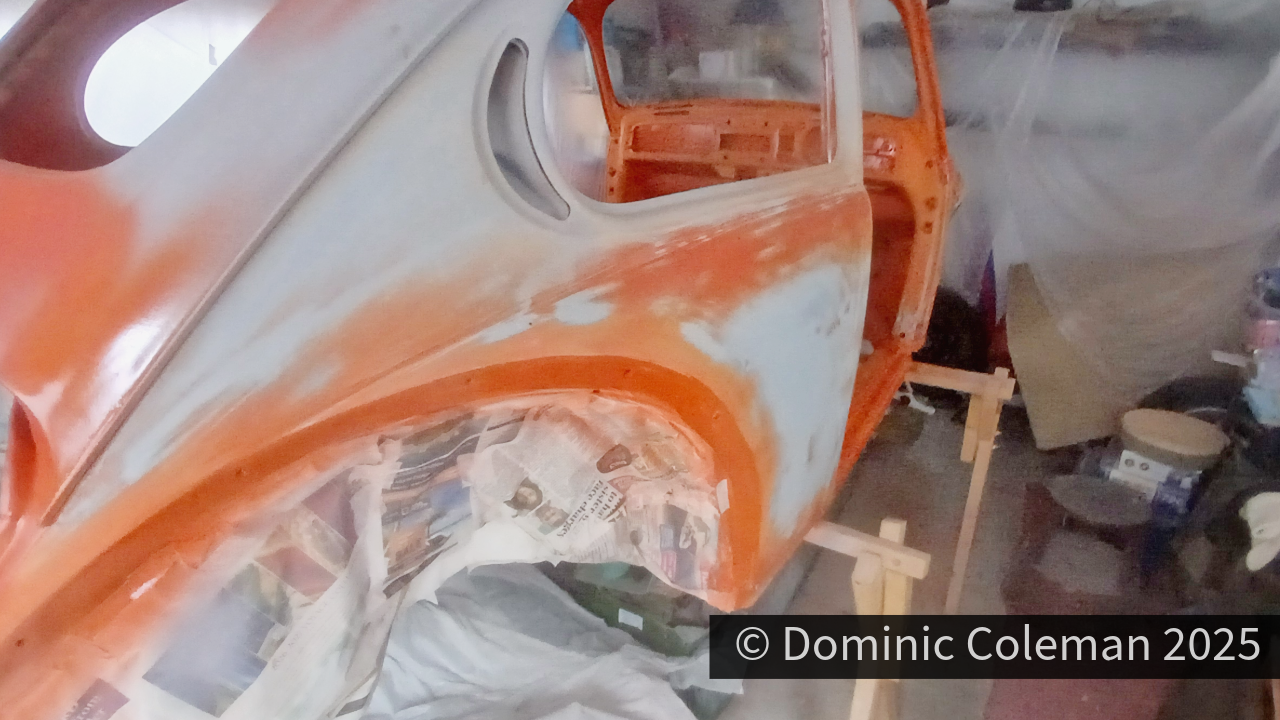
VW 1302S Beetle body in pre-paint prep stage
Categories
bodywork gearbox mechanics

Front Valence & Gearbox returns

The front valence had taken something of a beating way back in June 2021 when the body was removed from the floorpan. Now seemed the right time to try and fix it.

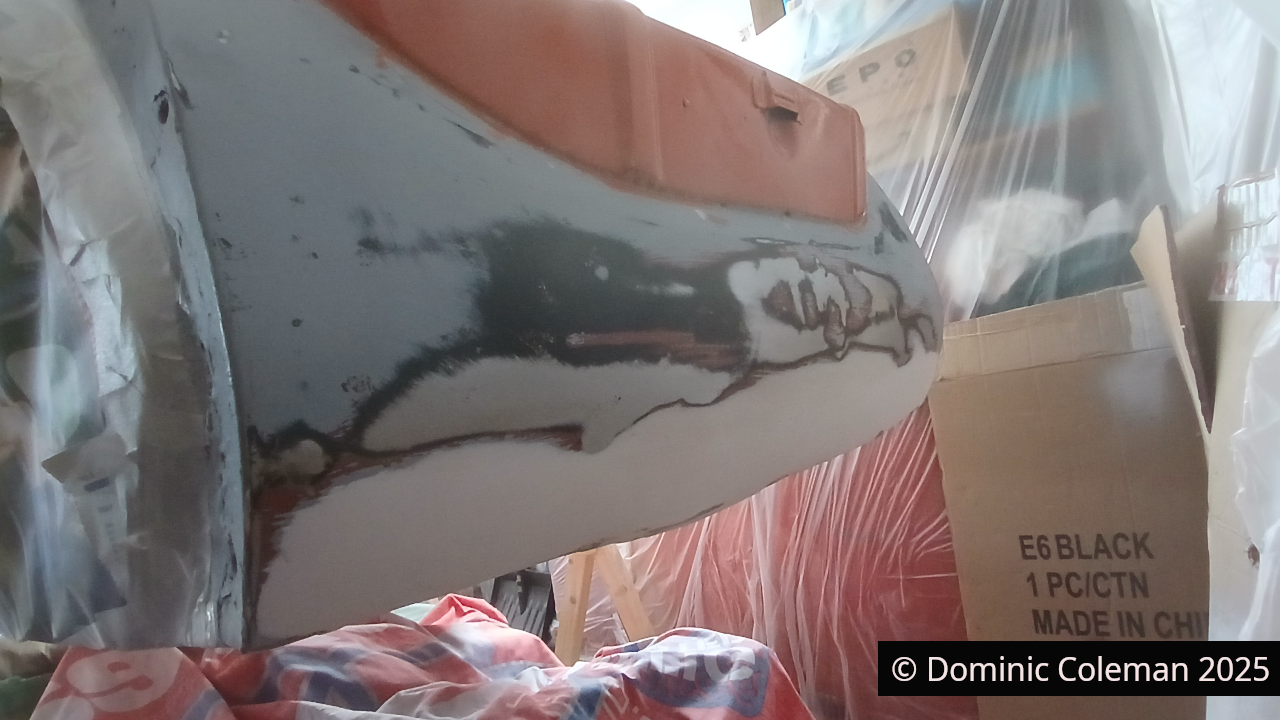
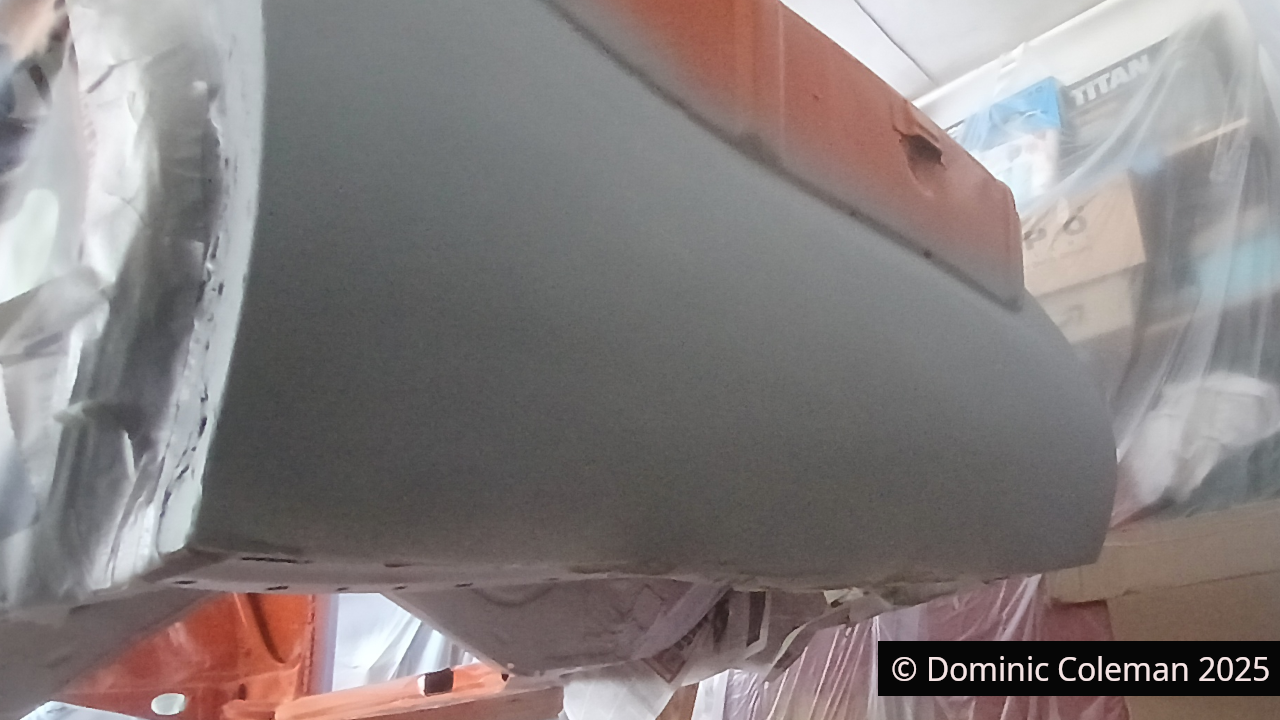
First a hammer and dolly was used to sort out the ripples, high spots and dents. A plop of filler, sanded, some primer, smoothed and then a bit more filler, sanded and re-primered. I later applied some colour, which showed up some defects in my filler application but as I will do the paint again, it will serve as a ‘guide’ coat for now.

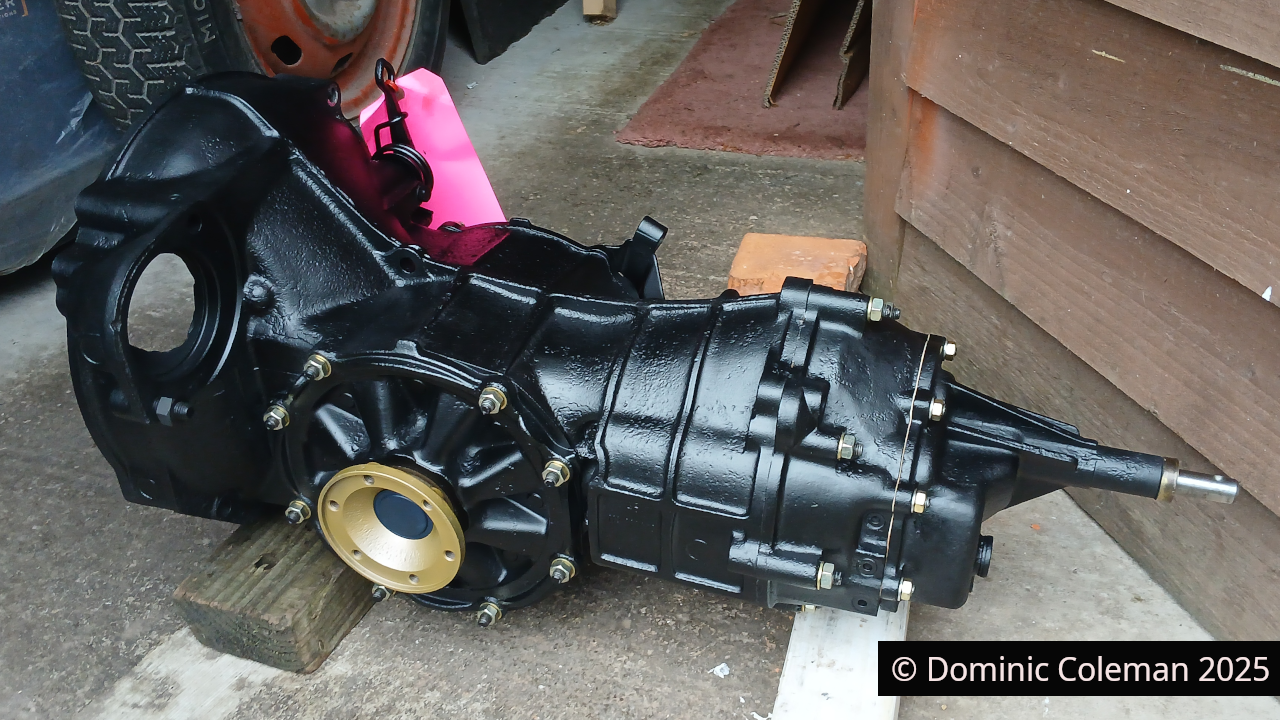
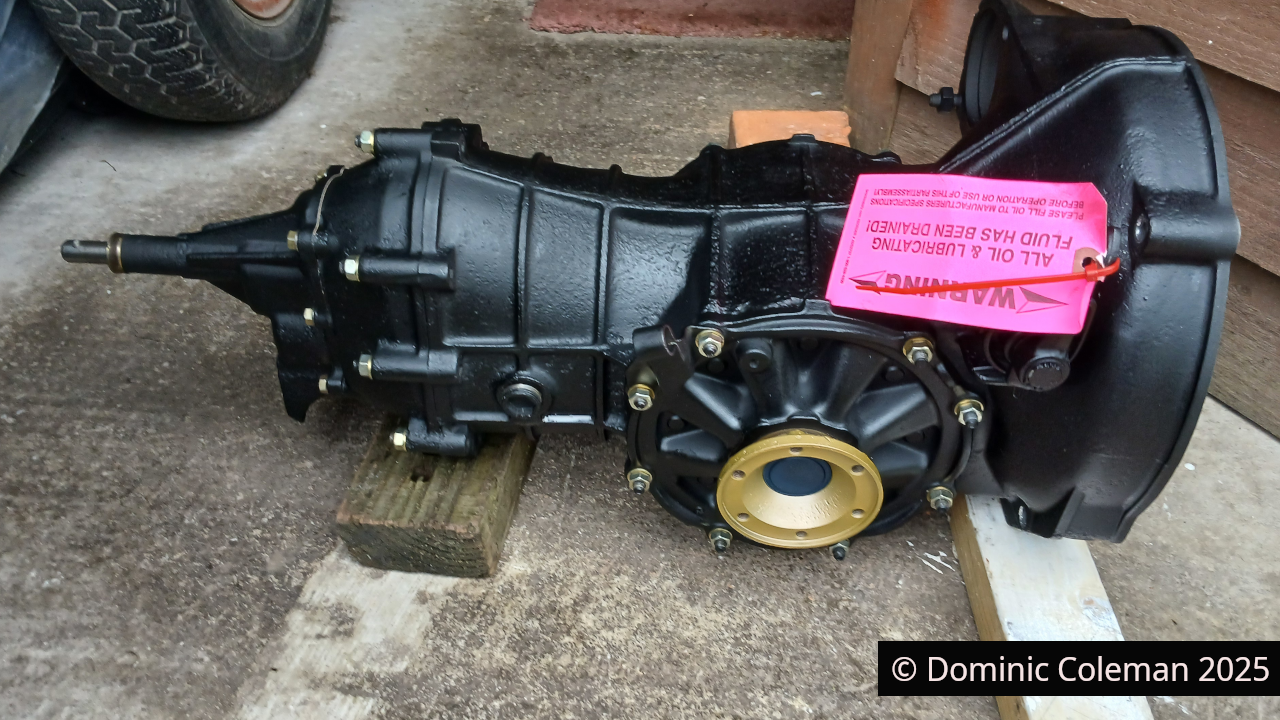
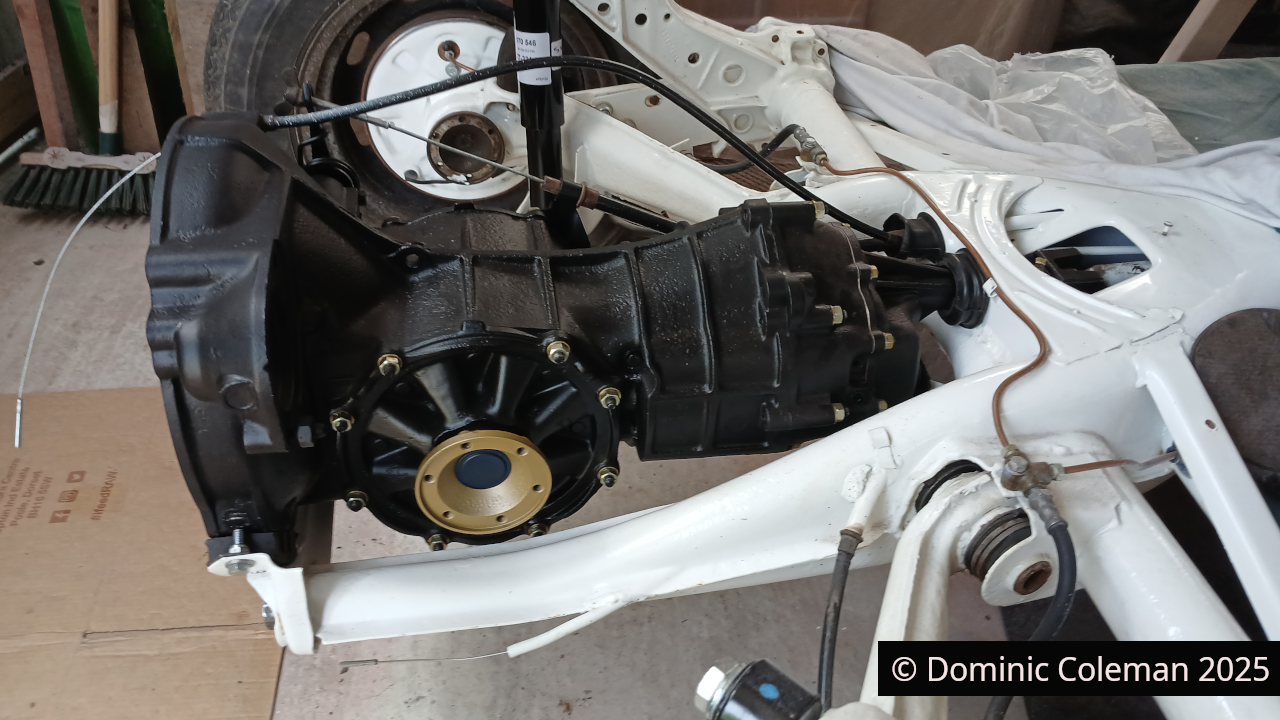
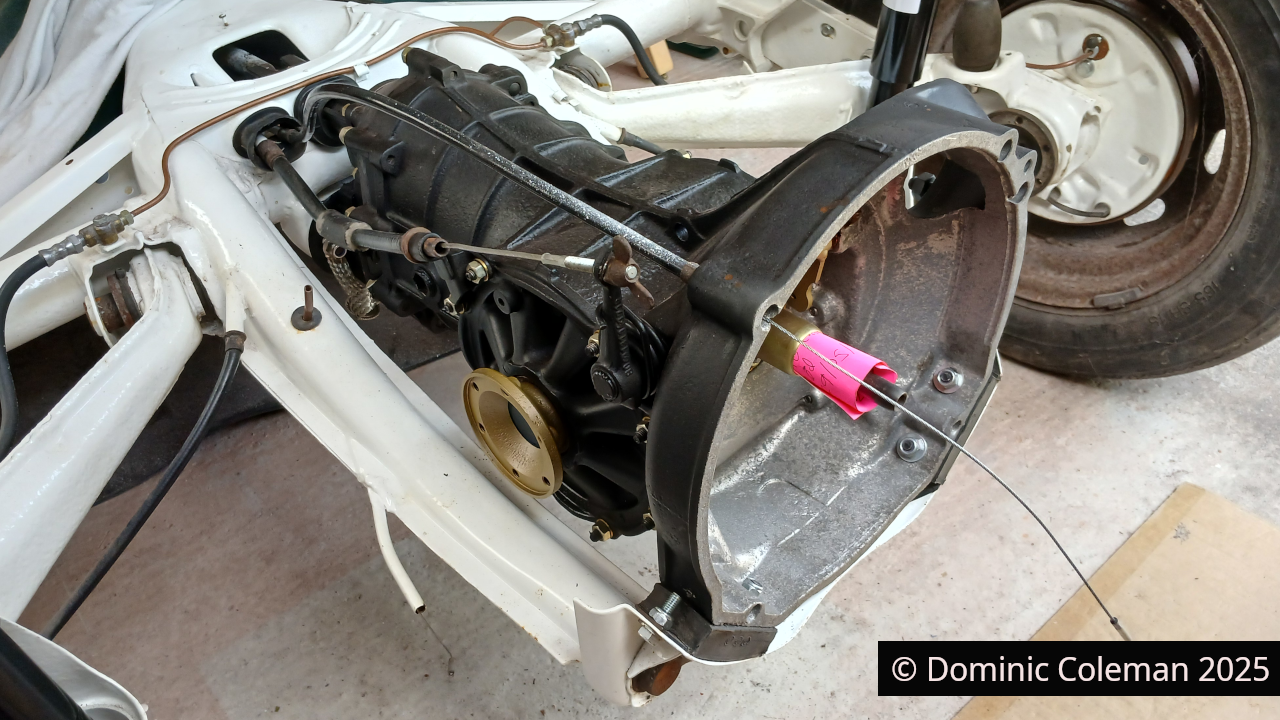
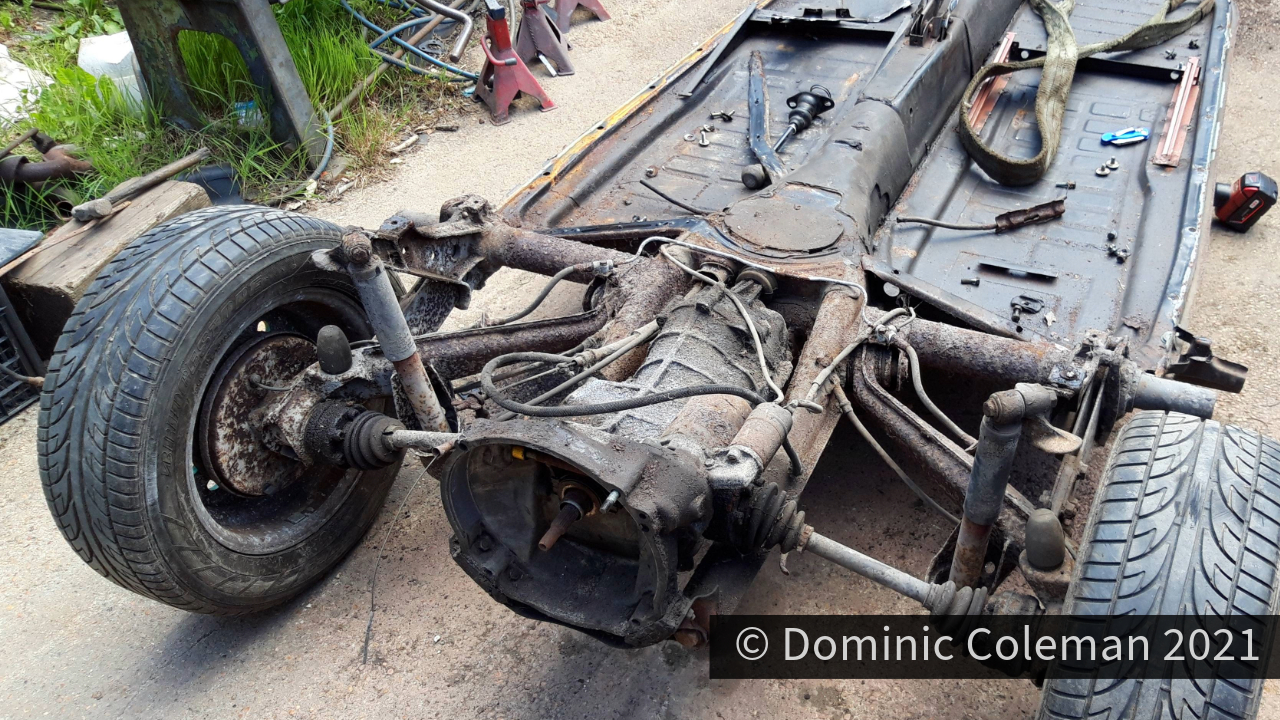
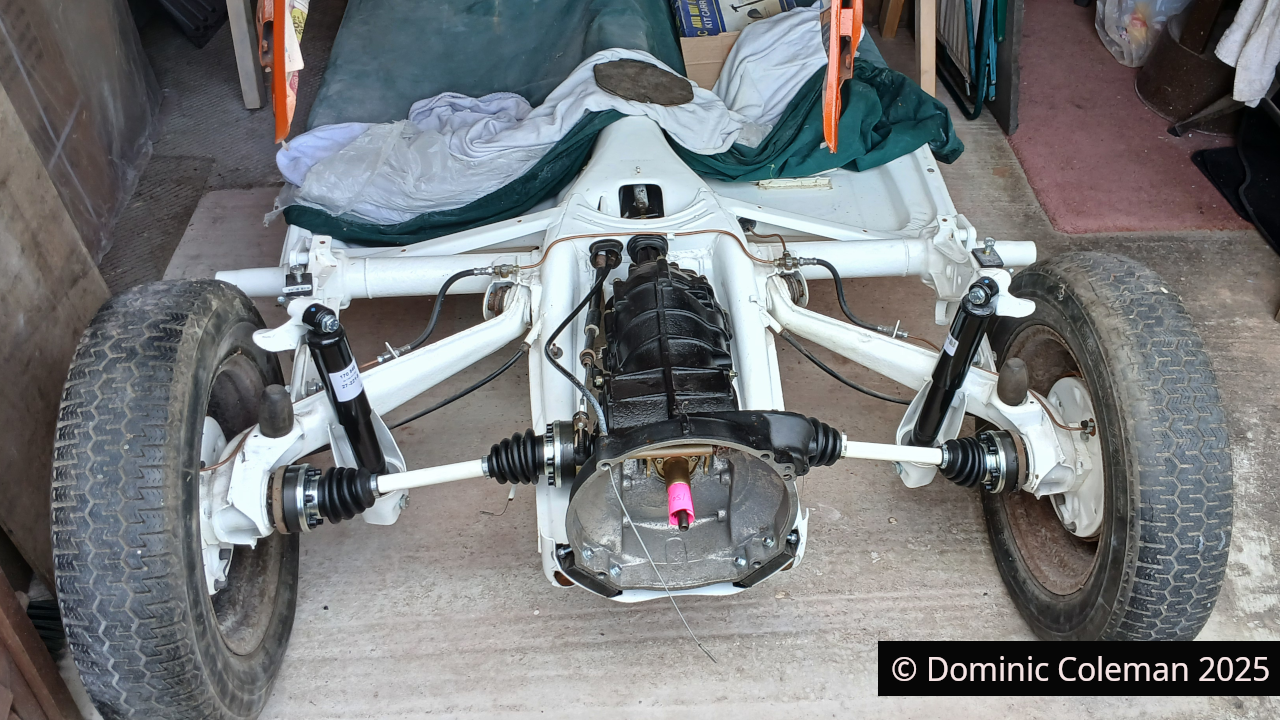
The gearbox came back from John Walklett Transmissions at the end of May. Fitting wasn’t as straightforward as I thought it would be and aligning the rubber gearbox mounts with the gearbox cradle was a struggle but I got there in the end. All associated components were re-attached and another major step forward made.

Lets have a look how it was 4 years ago, compared to now…

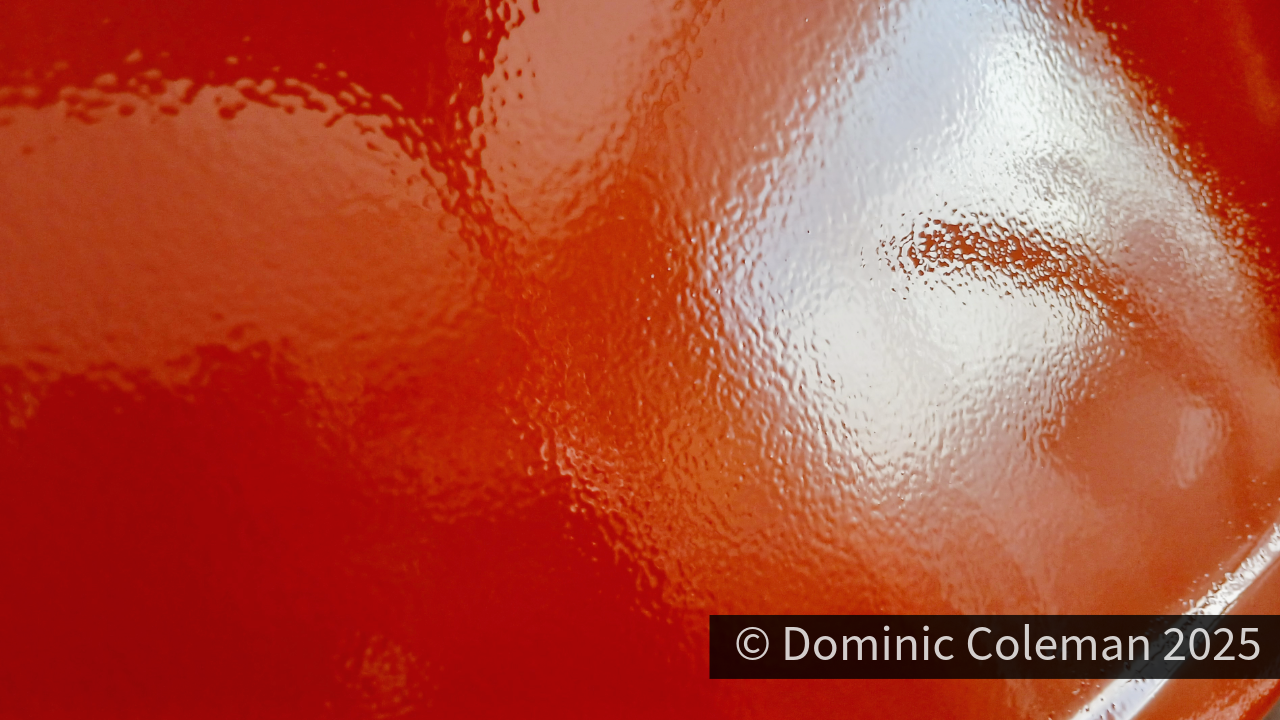
And here is where I got to with the 2nd attempt at applying colour. In fact the finish was worse than my first go, but with out the paint runs and sags. It came out the spray gun as a spatter, probably due to not enough air pressure to atomise the paint more and so the finish was very ‘textured’ much like orange peel. I used rattle can aerosol for around the engine lid mountings and rear air grill under the rear window. The finish came out as a satin finish, much like the white I did inthe engine bay.

Categories
bodywork brakes steering suspension

End of 2024 Update

It’s been a while but once the daily driver cars were sorted, I could recover from the financial strain they put me under and my focus could get on with fixing the Ford Corsair. I resolved the messed up paint job in the Beetle engine bay by using bright white aerosol primer & paint, however, the white wasn’t as glossy as the 2K paint due to being cellulose or acrylic but it will do for now. By November with the Corsair nearly ready for its MOT my attention went back on to the Beetle.

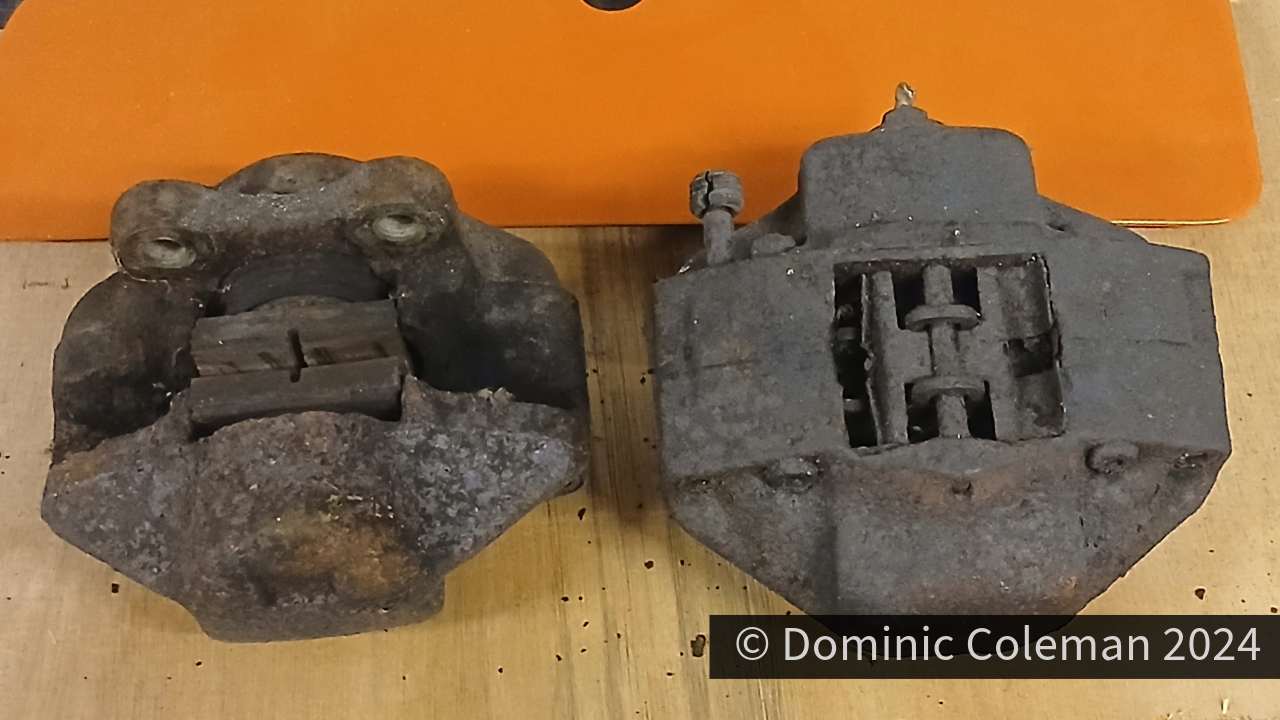
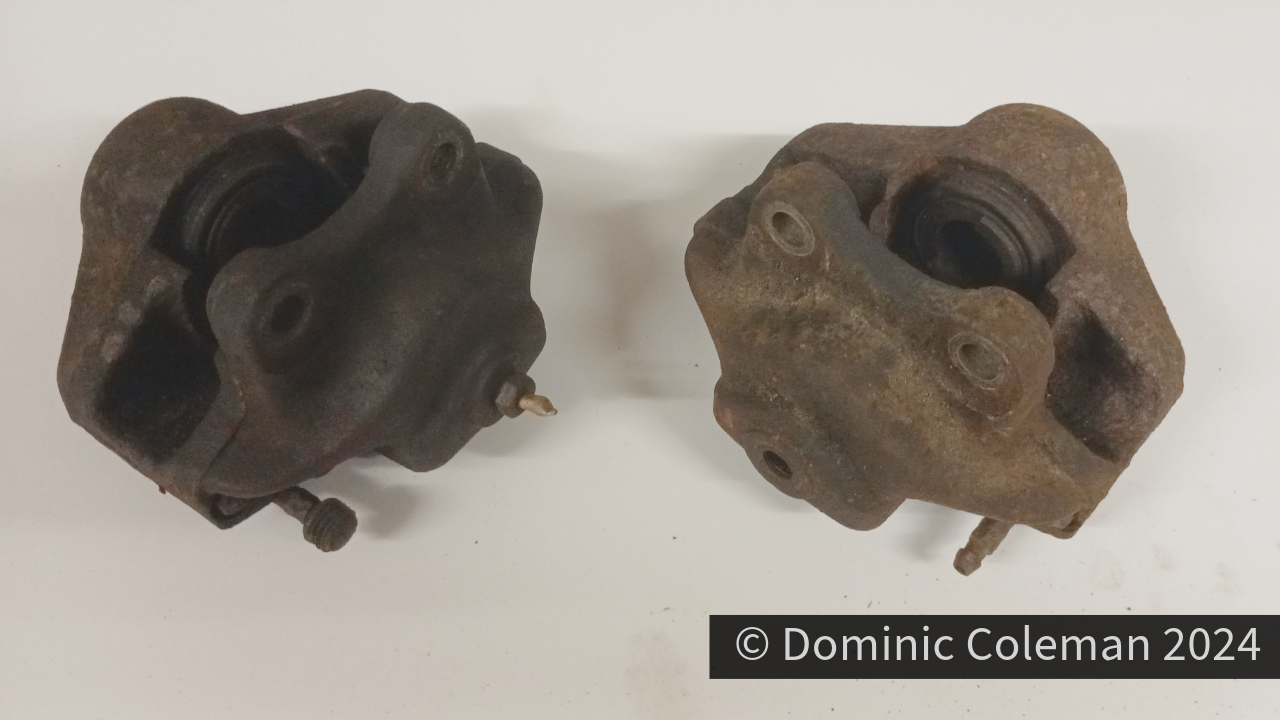
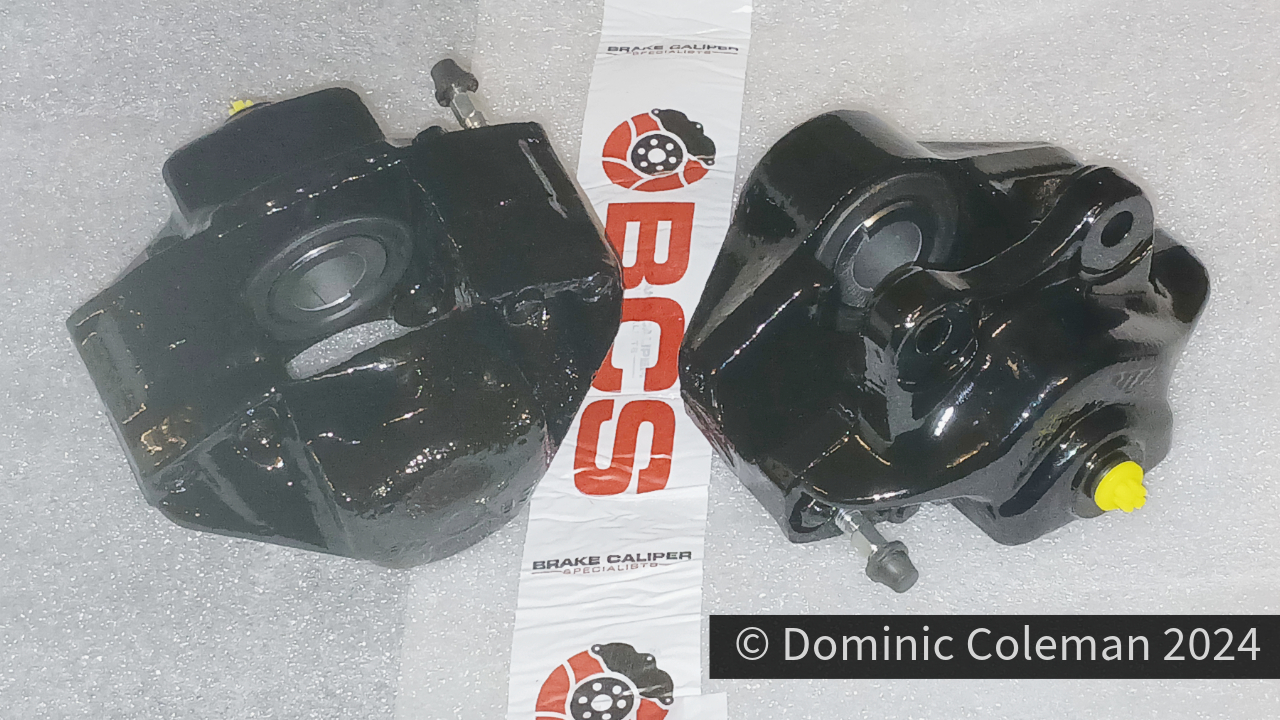
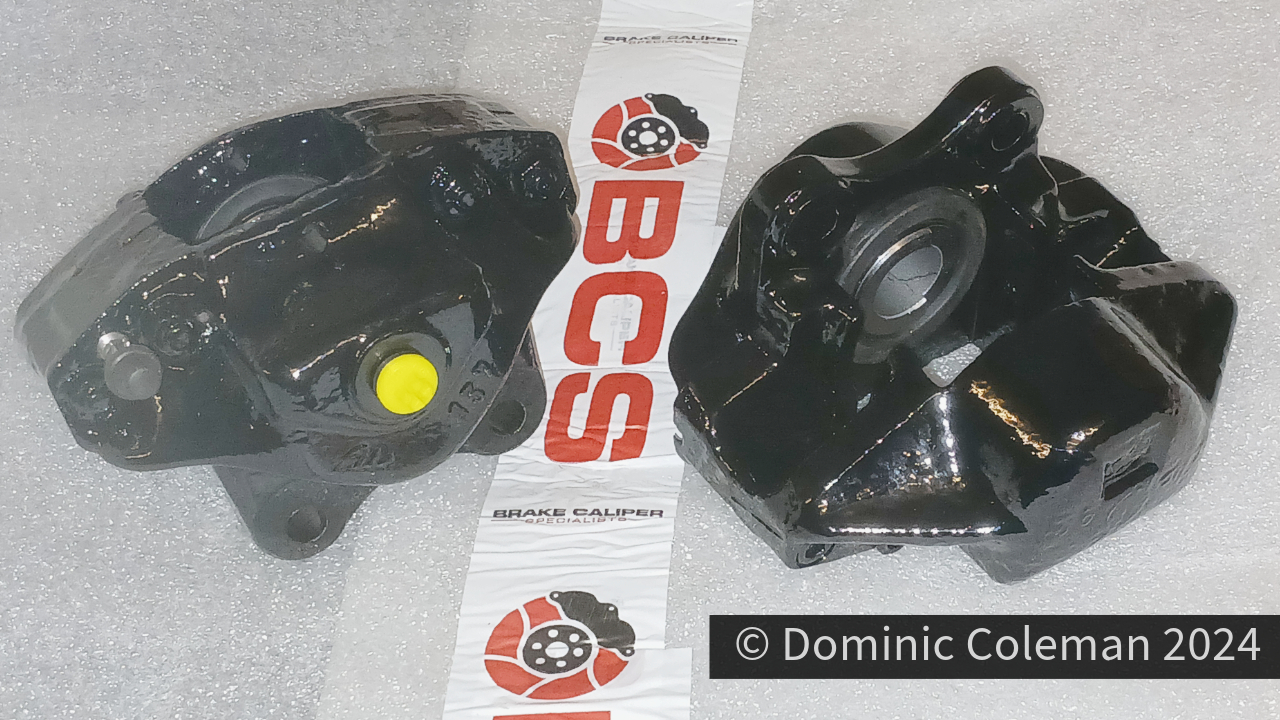
It began with a promo from BCS (Brake Calliper Specialists Ltd) in Nottingham with 25% off all brake calliper refurbishments. I had used them before 5 years ago for the Corsair and they come with a lifetime guarantee so I requested for a quote for refurbishment and painting in the Beetle L20D orange. What they came back with was rather expensive, so I had the quote adjusted for a standard black finish which saved me about £125.00! The total cost was £325.00 including the 25% discount which I thought was still quite expensive but assumed ‘business costs’ had gone up quite a lot since 2019.


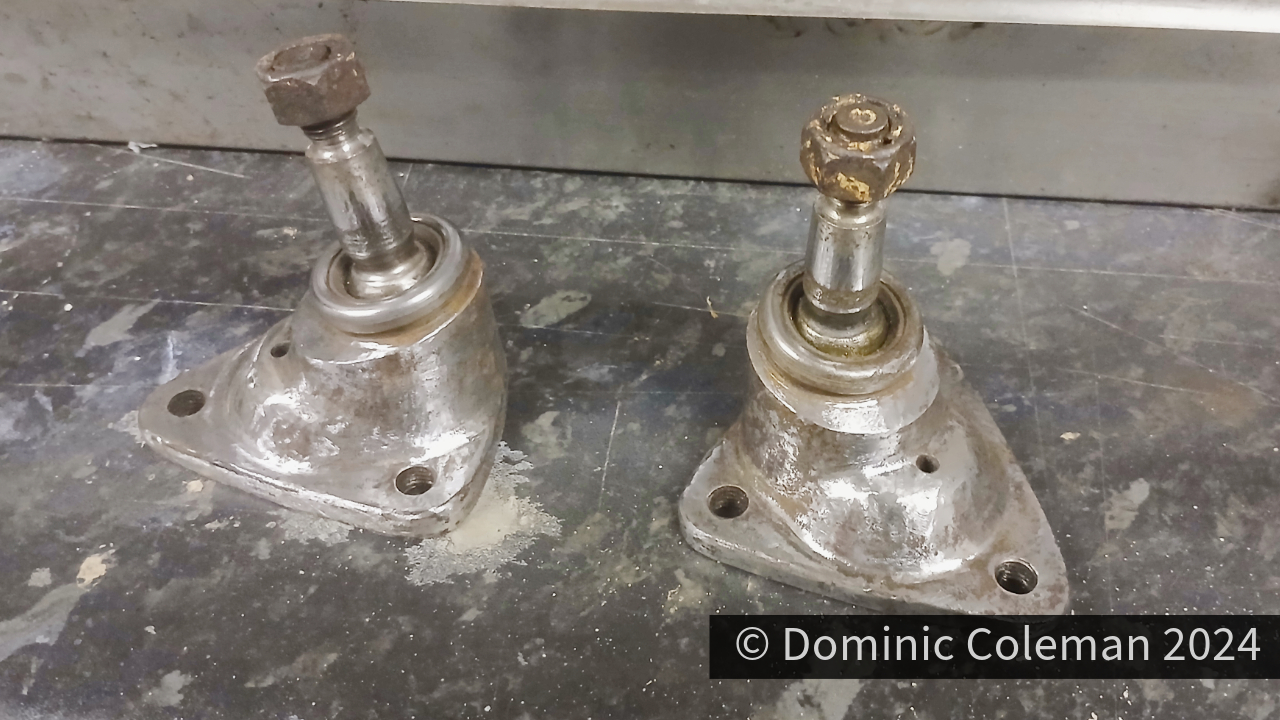
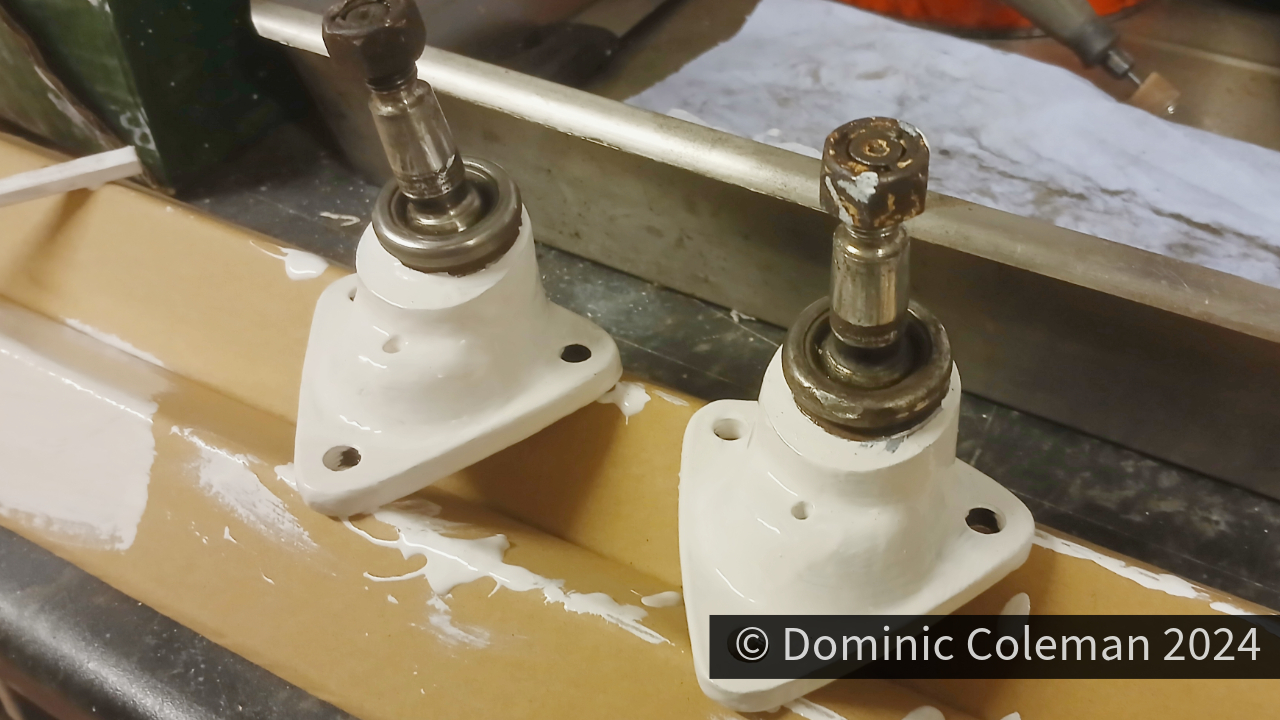
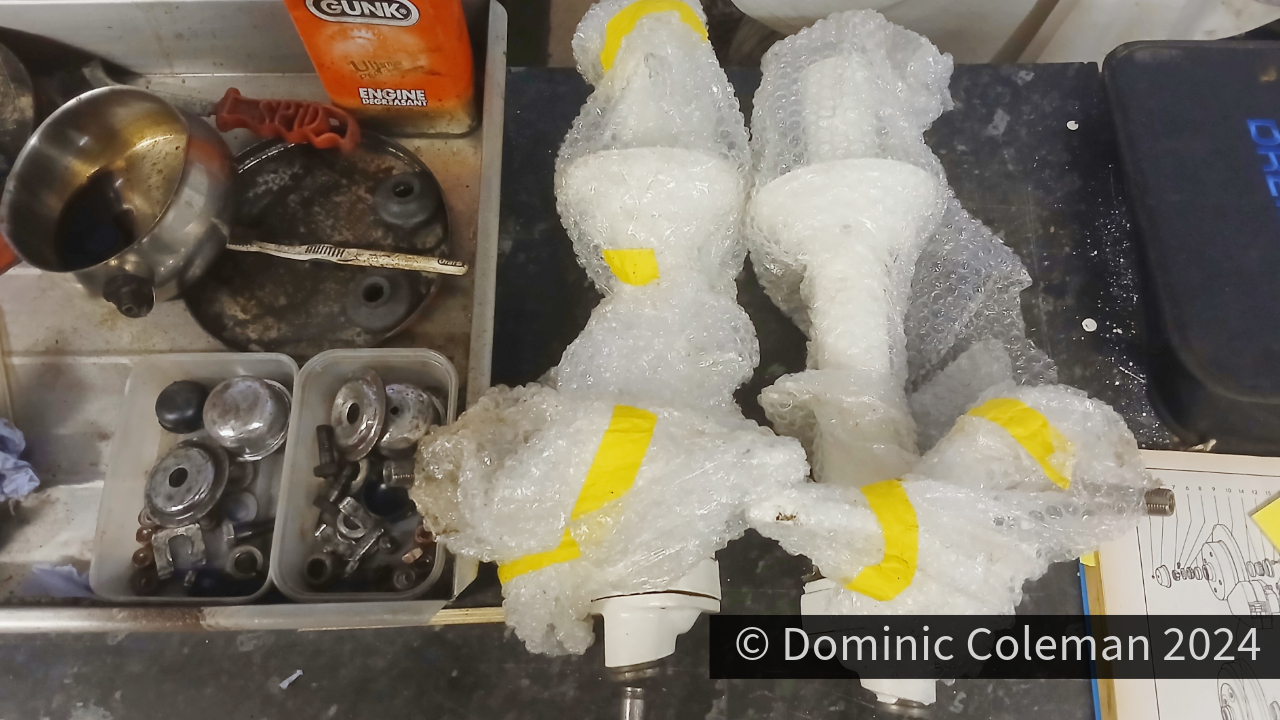
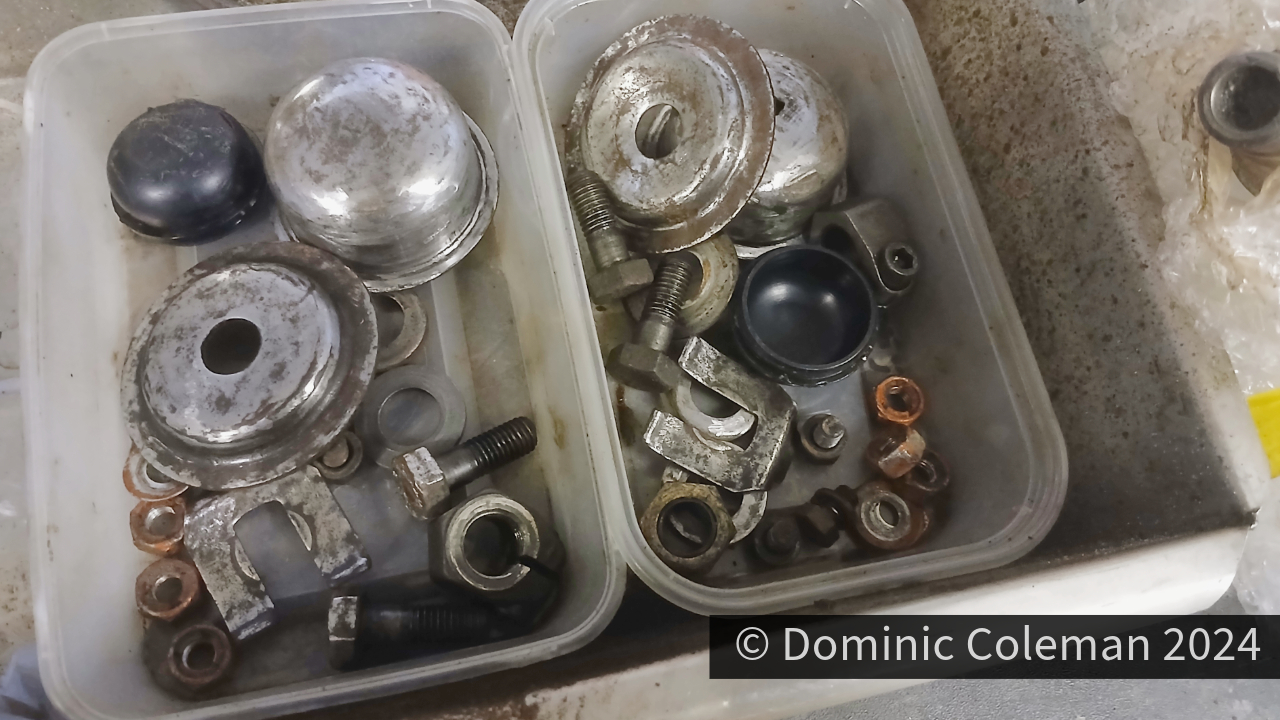
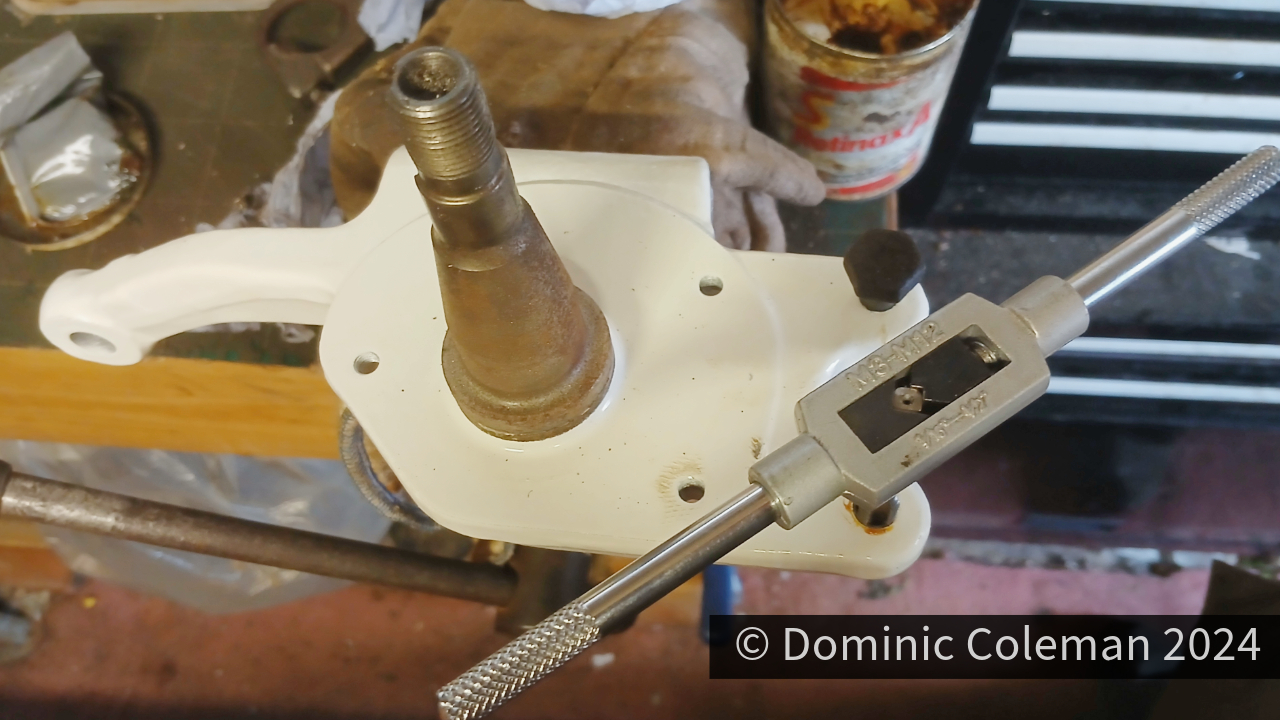
For few days over the Christmas holiday I set about reassembling the front struts and noting extra parts required along the way like lower ball joint dust boots, brake lock tabs and strut rubber bump stops. I started with the lower ball joint and removed the split rubber boot and cleaned out the old dirty grease. I also used my Dremel with a low grit sand paper to get the ingrained dirt off the body and get it back to bare metal to then paint it with smooth white gloss Hammerite. The threads were re-tapped to clean them up and then the struts, stub axle & lower ball joint were loosely assembled together. All the minor components like bolts, dust caps and washers were all degreased and cleaned with the Dremel. On the stub axle, the threads for the brake calliper and back plate were all re-tapped after getting a bit contaminated from the powder coating process. They will be assembled properly once the new parts arrive.


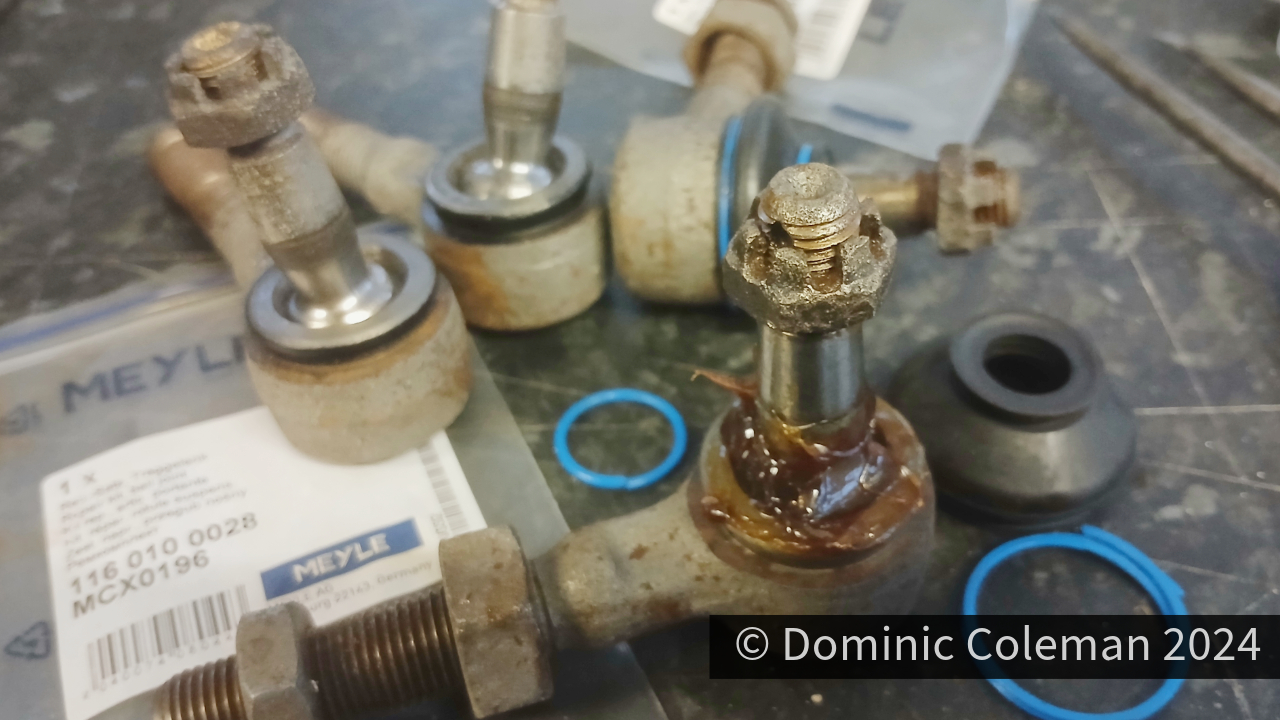
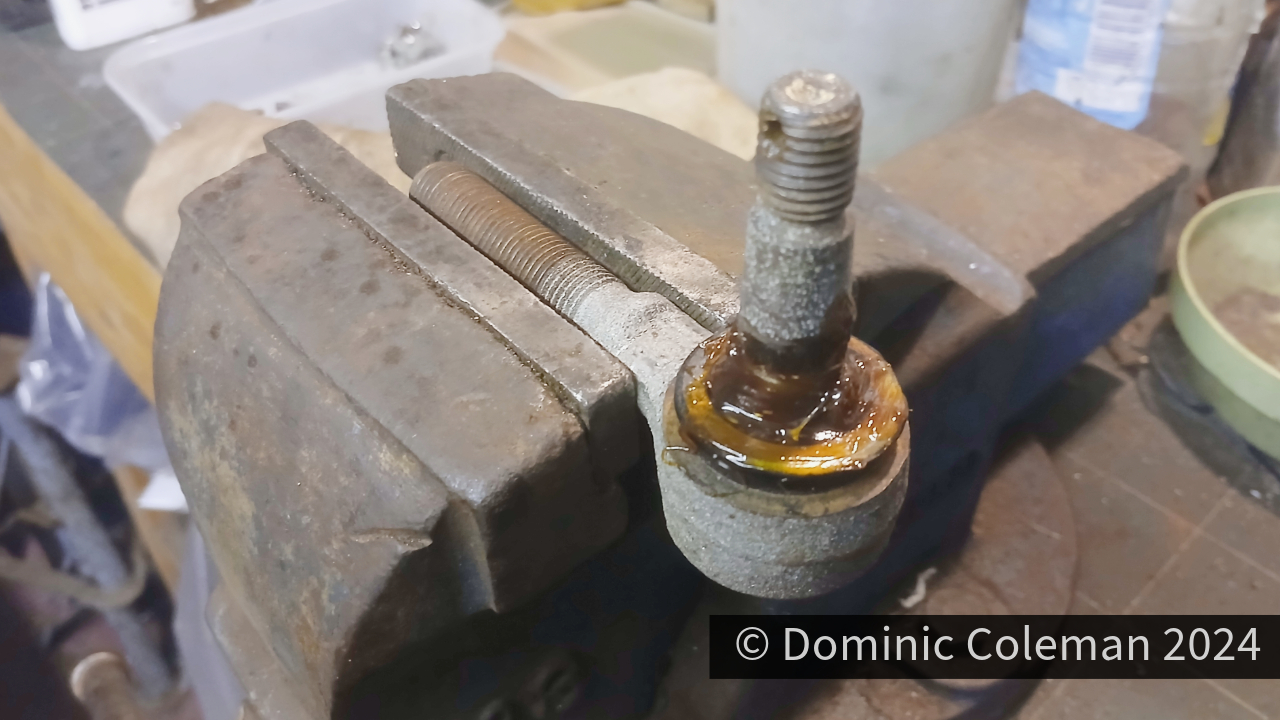
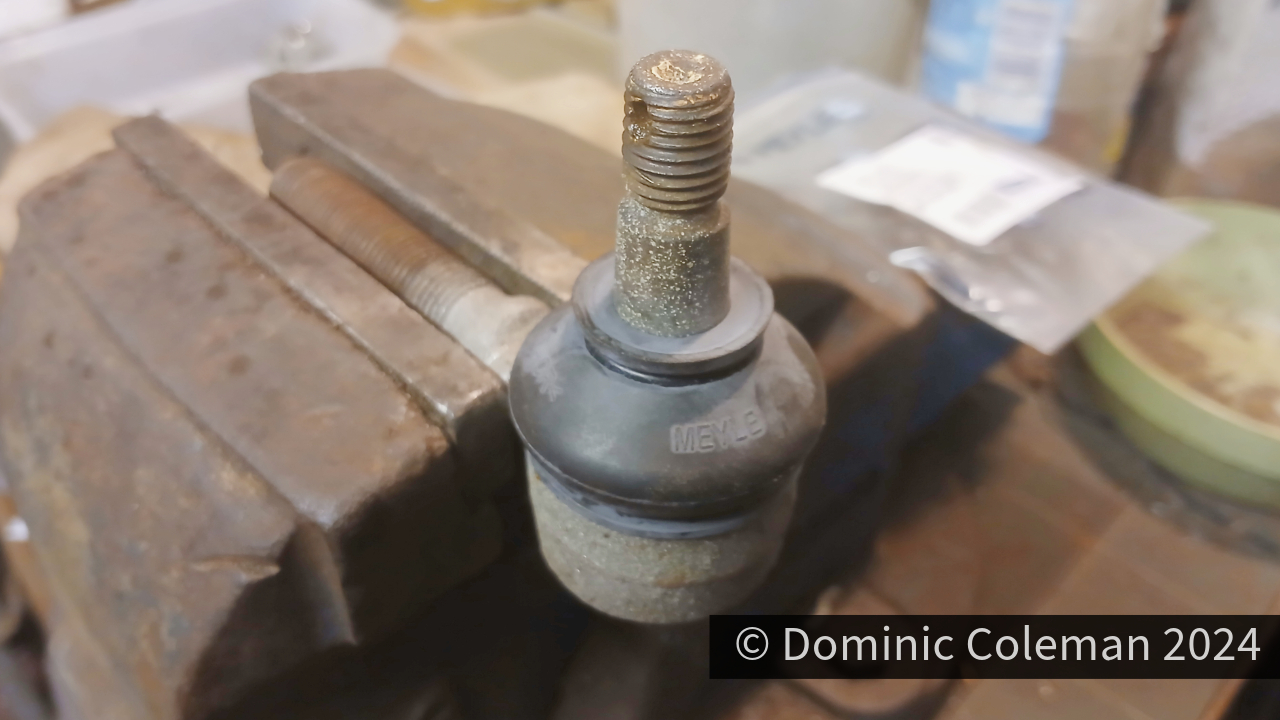
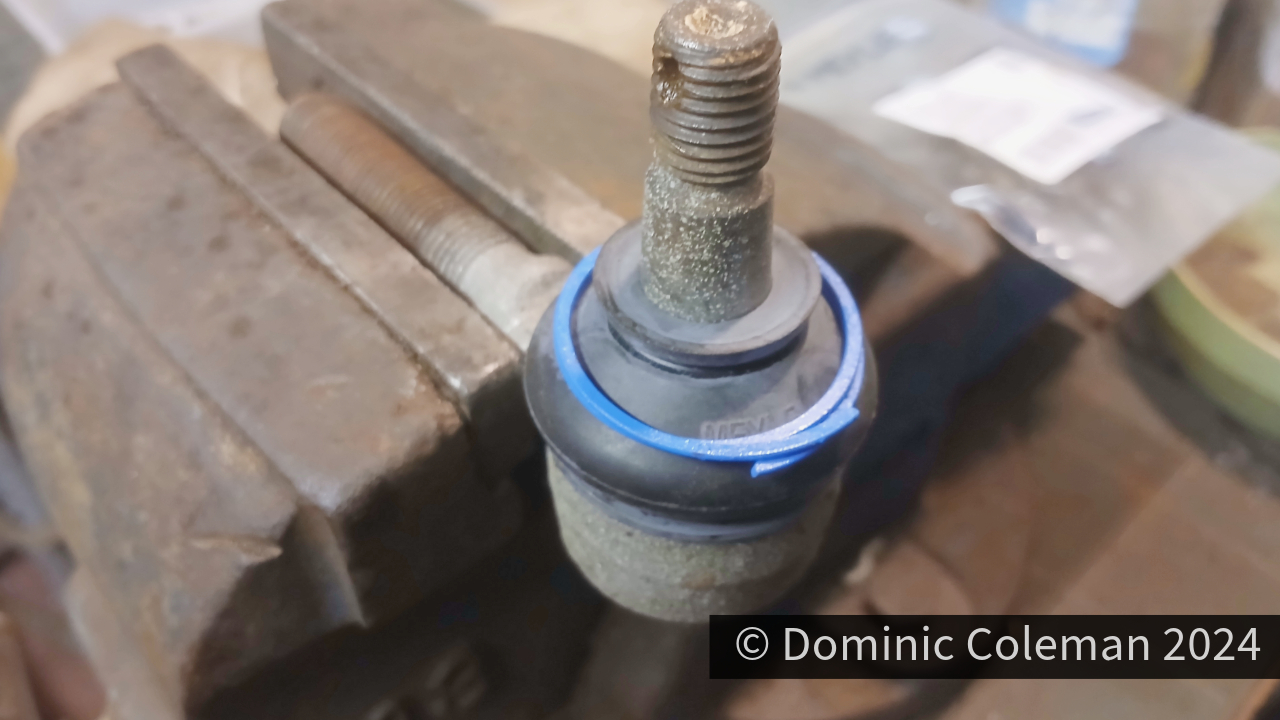
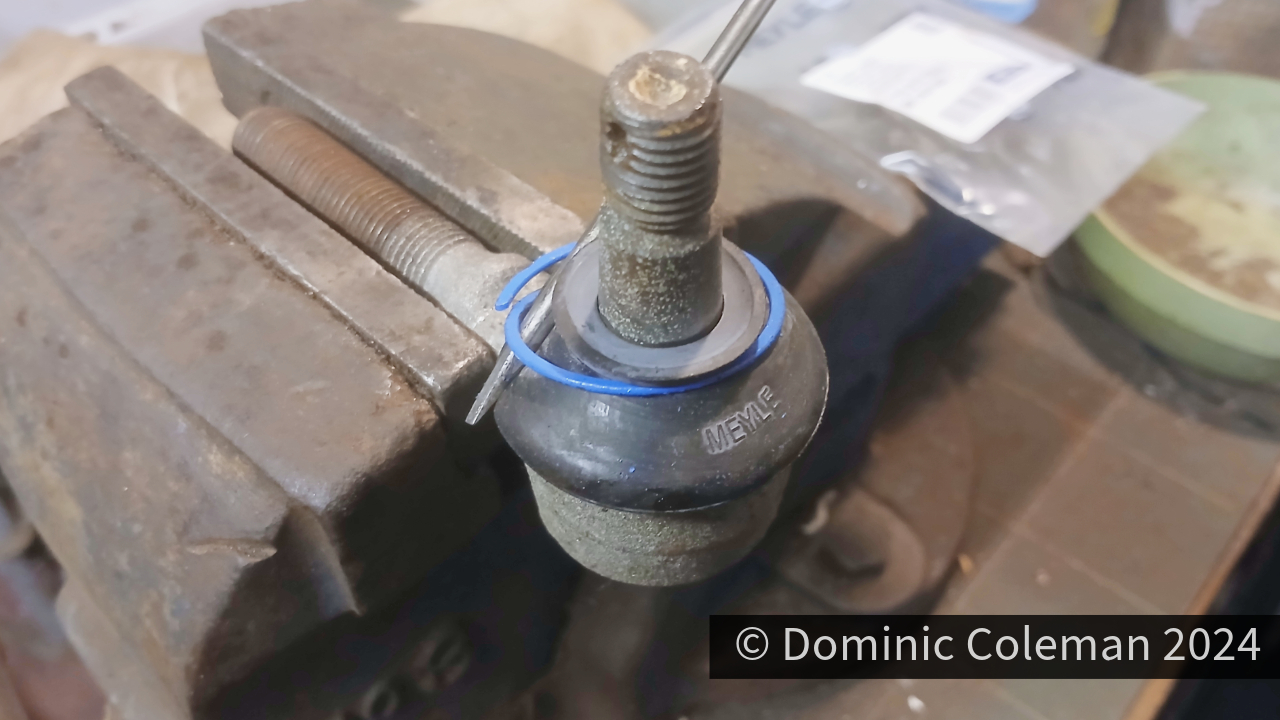
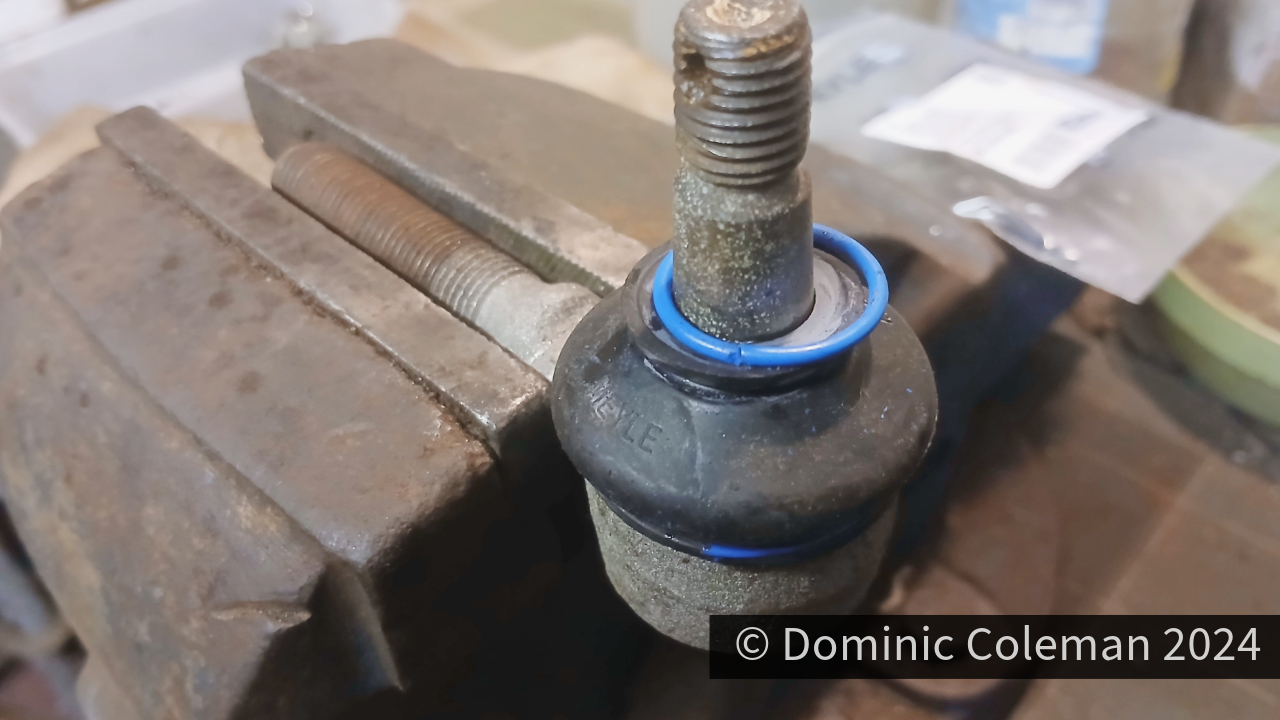
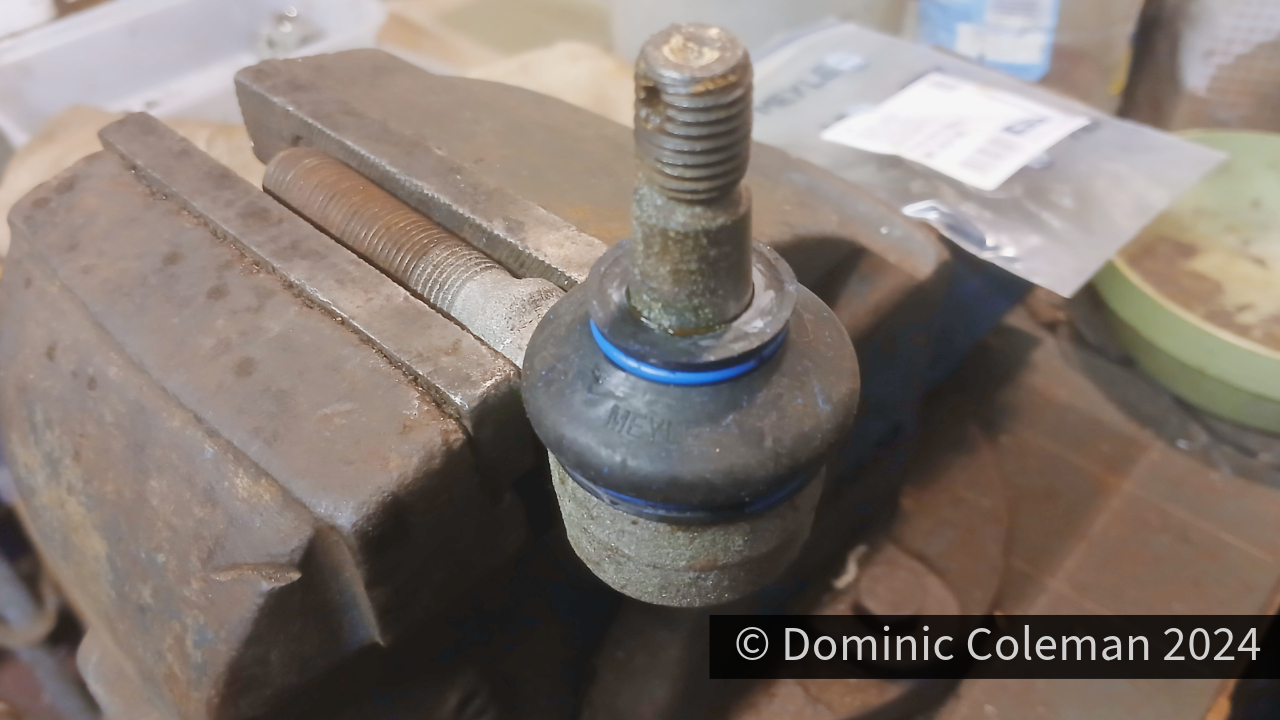
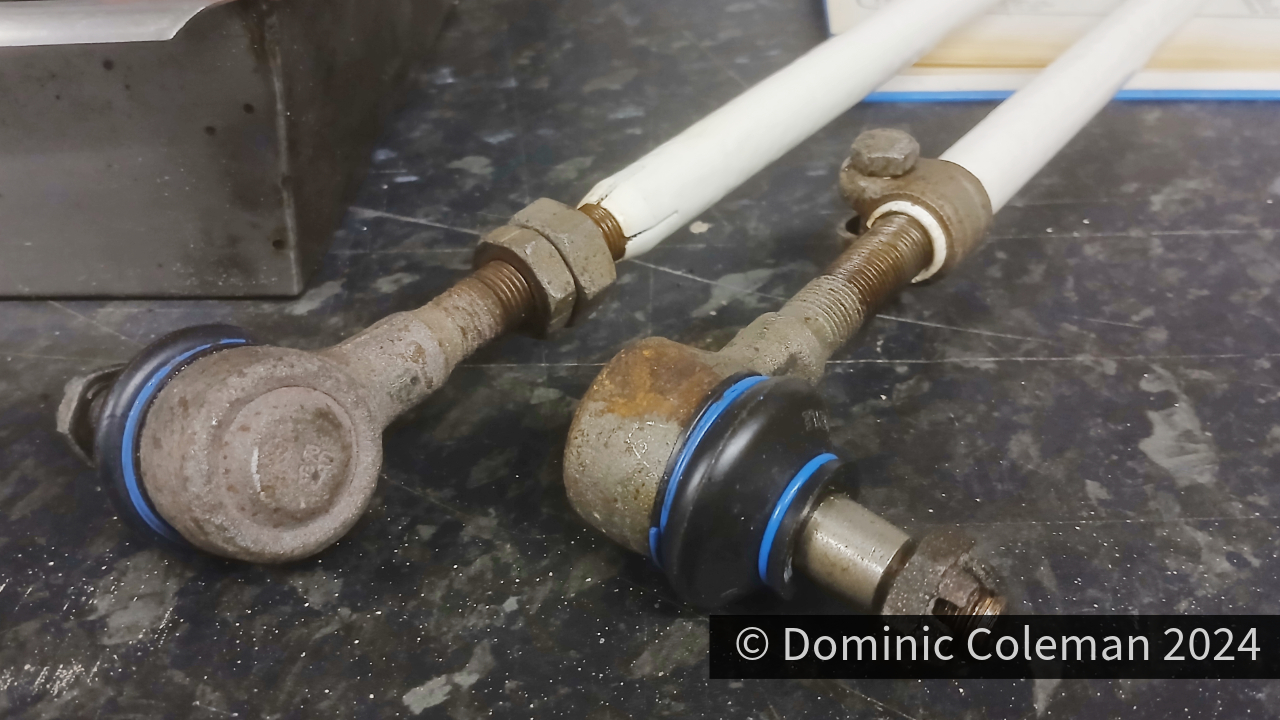
The steering arm ball joints were cleaned up re-greased and new rubber dust boots fitted. Fitting the new dust boots was tricky to begin with but once they were secured in a vice it meant I could use both hands and small tipped flat bladed screw drivers to prise the (blue) metal spring clips to hold the new rubber boots in place. The joints were then assembled on to their tie-rod bars, but they too were a bit contaminated from the powder coating and would require a bit more work to screw in freely.