Categories
bodywork paint painting steering suspension

Front Brakes and Suspension Refit

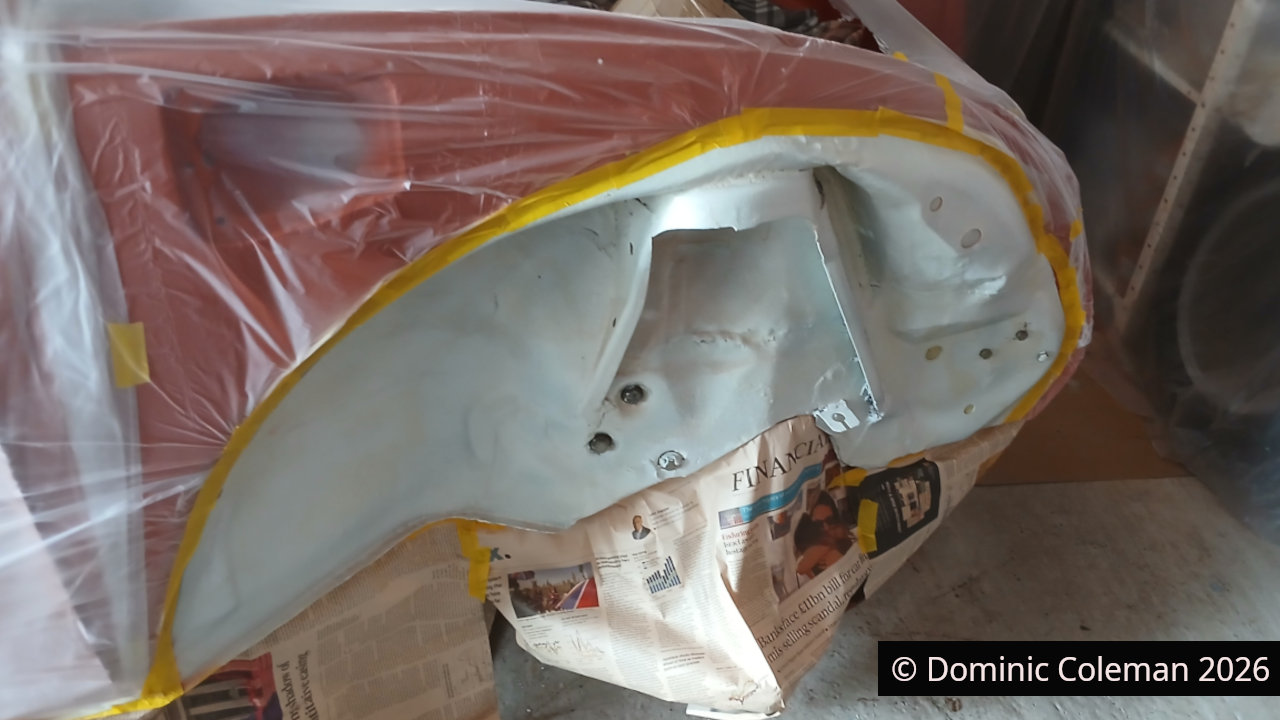
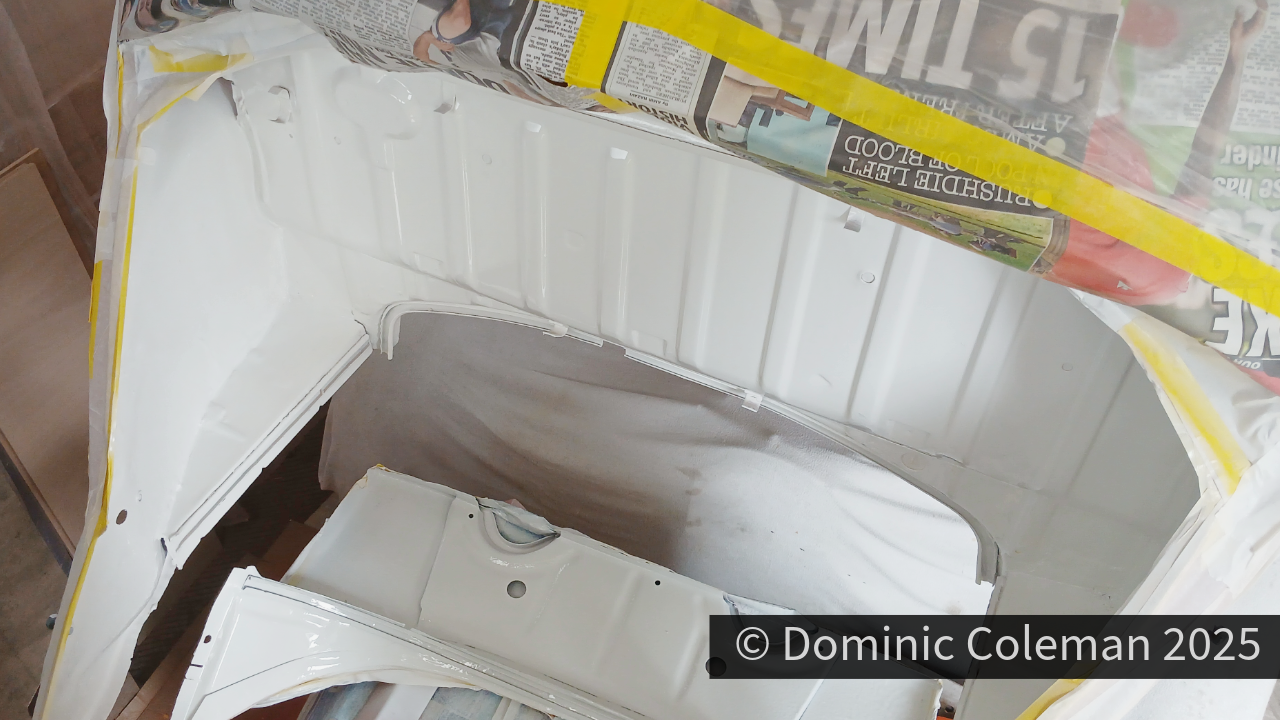
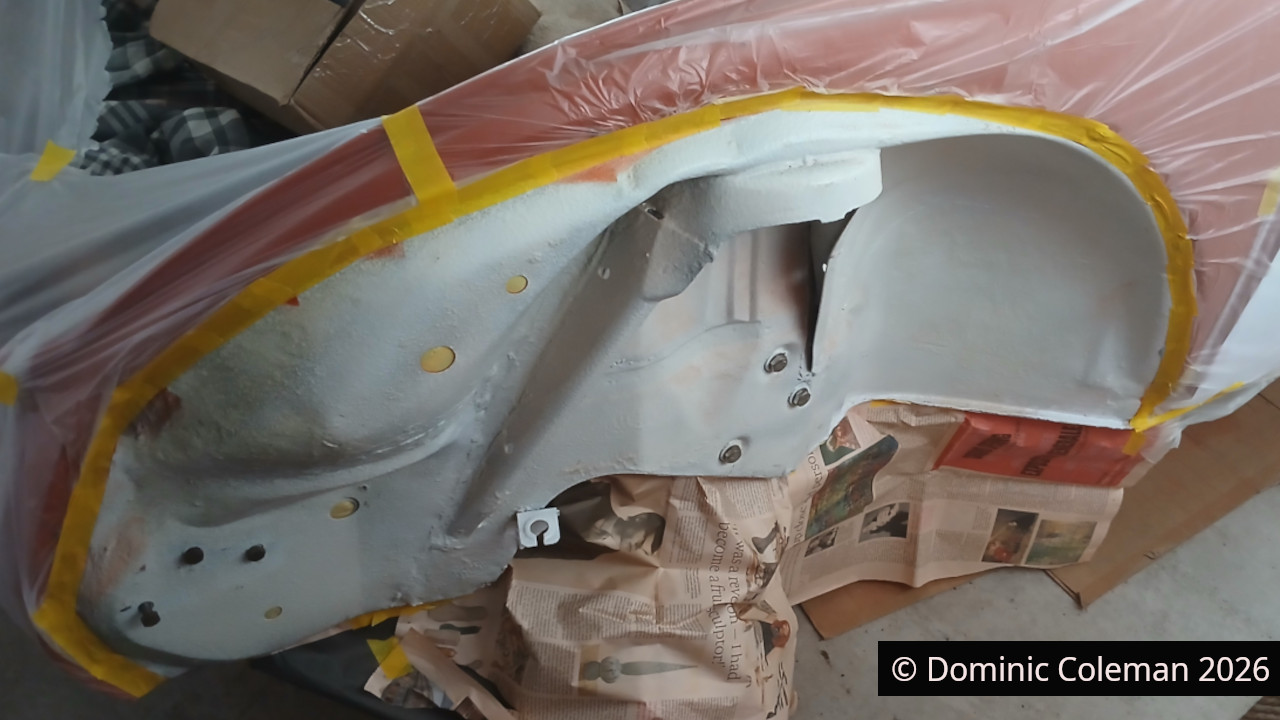
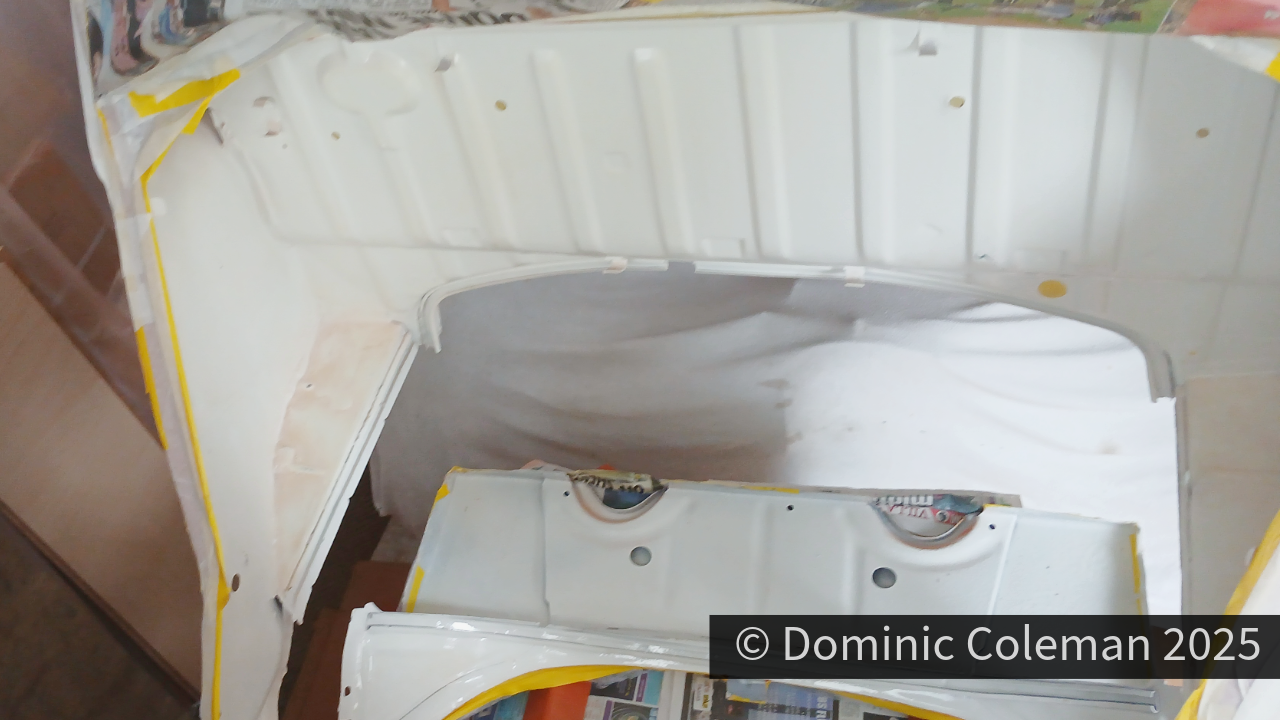
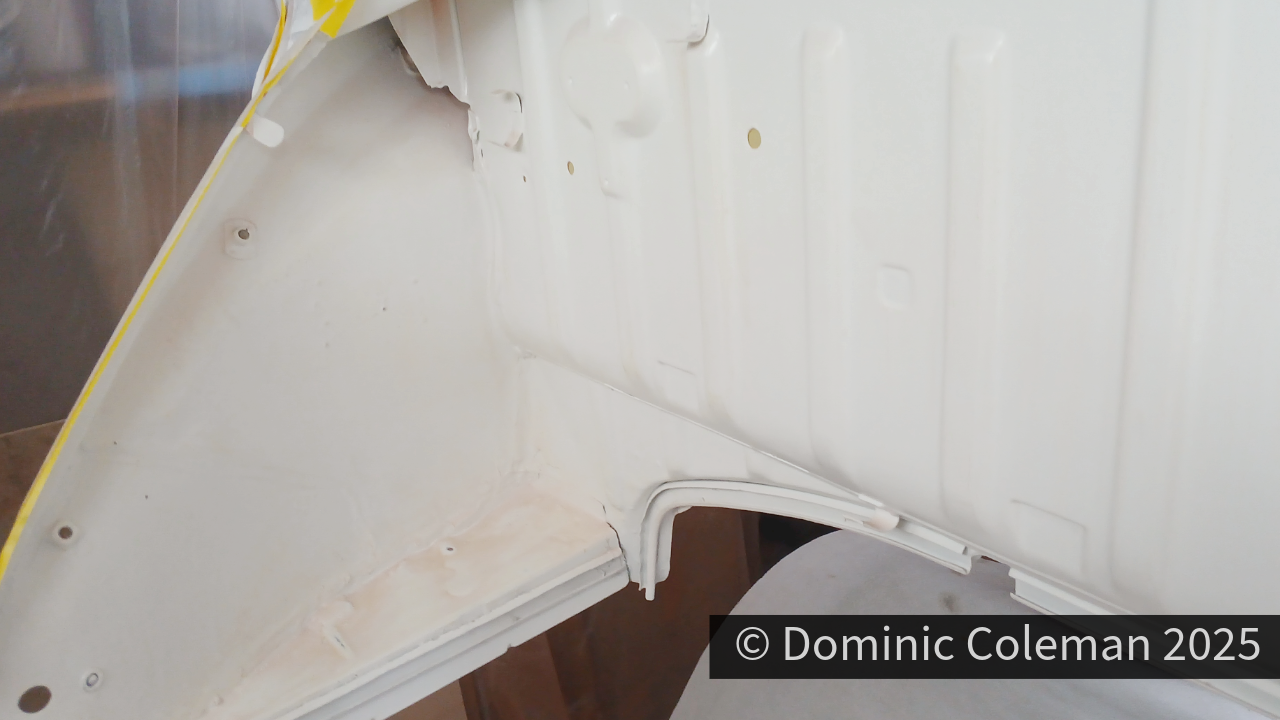
March 2026: With the body and floor pan finally reunited, I was keen to press on and get the brake lines finished and the front suspension components fitted. Before that though, I wanted to freshen up the front wheel arches so they matched the rears. I still had plenty of the white paint left over from doing the engine bay and rear arches last summer. As always, it took longer to set everything up and clean up afterwards than it did to actually get a decent coat on.
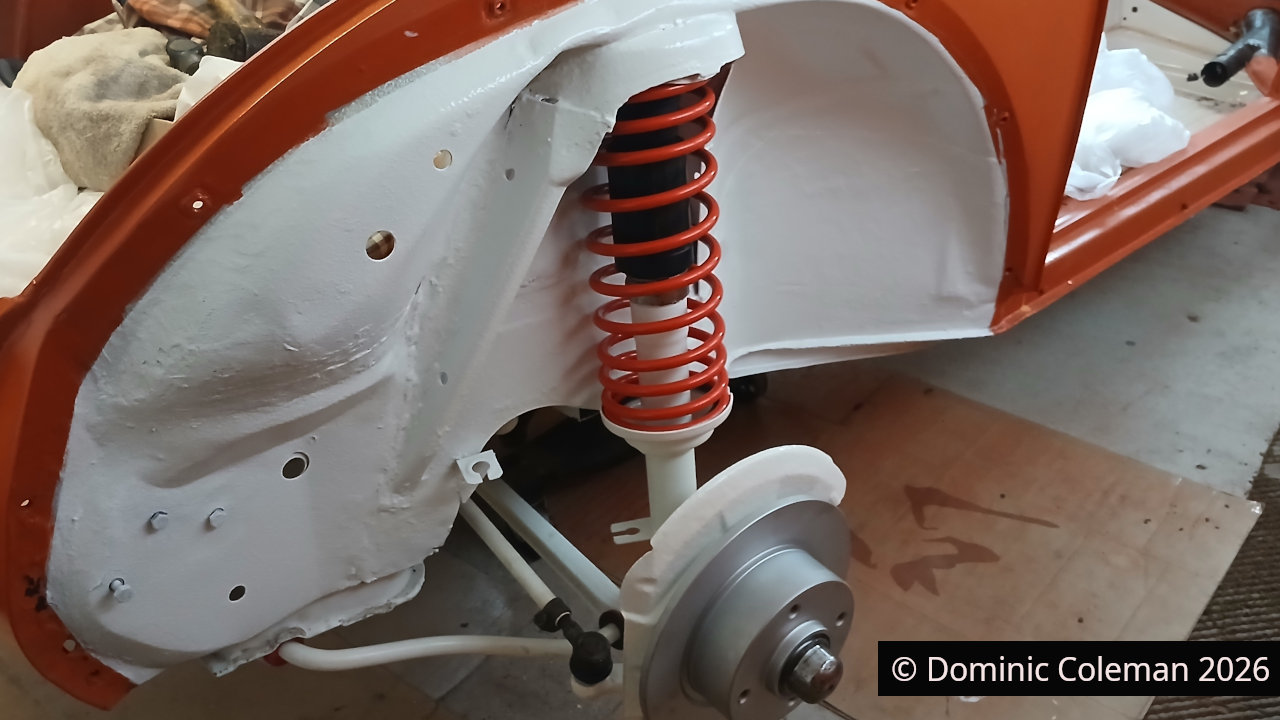
Installing the steering set-up fought me all the way. Initially, there wasn’t enough of the steering shaft protruding to fit the steering wheel, and when I unhitched the column from the universal coupling, there still wasn’t enough length to connect to the steering box. In the end, with the steering wheel fitted and a bit of persuasion from a soft mallet, I eased the column further into its housing until the splined shaft finally met the universal joint on the steering box.

With that small victory, I moved on to fitting the steering tie rods and damper while I still had plenty of room to work.

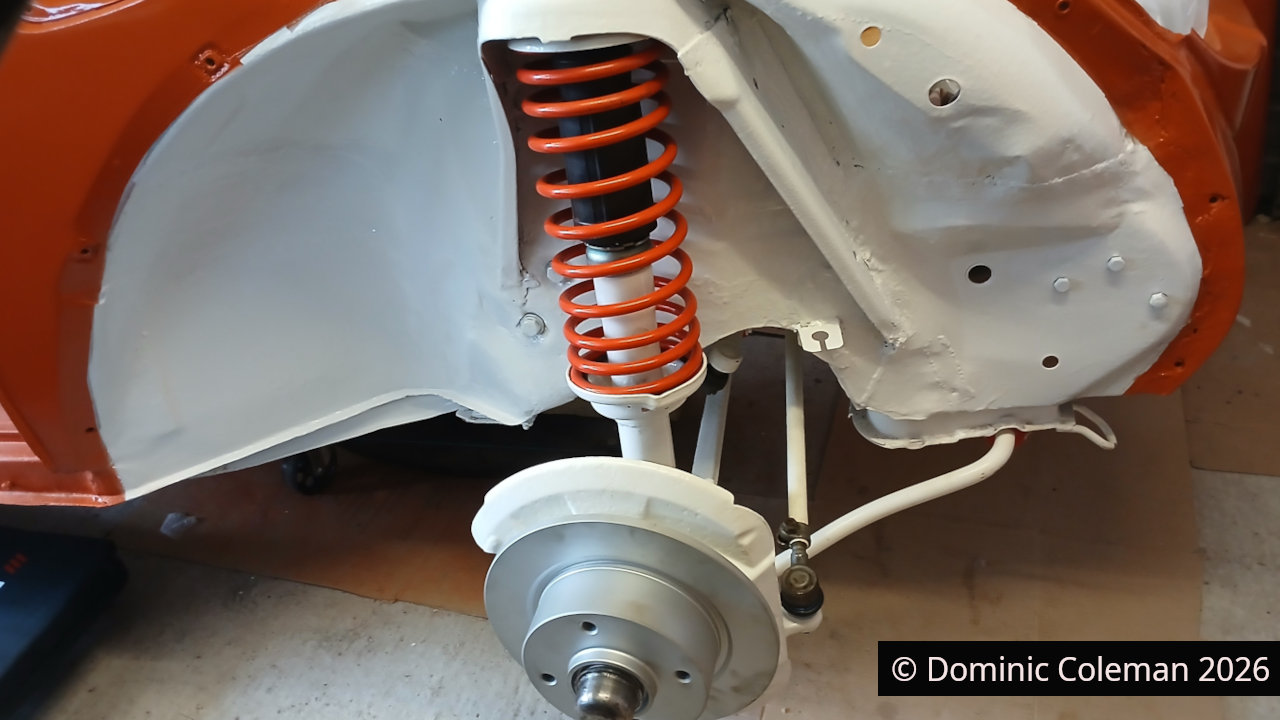
Fitting the rebuilt front struts was relatively straightforward, although I did have to undo the anti-roll bar mountings to get the lower ball joint seated properly into the track control arms. Once in place, I connected the track rod ends to the steering arms on the struts.

Then came the first “ah” moment — with the wheels on, they were clearly pointing outwards. Not ideal. It turned out the track rod ends hadn’t been wound far enough into the rods, thanks to threads contaminated with sand and grit from the earlier media blasting and powder coating.
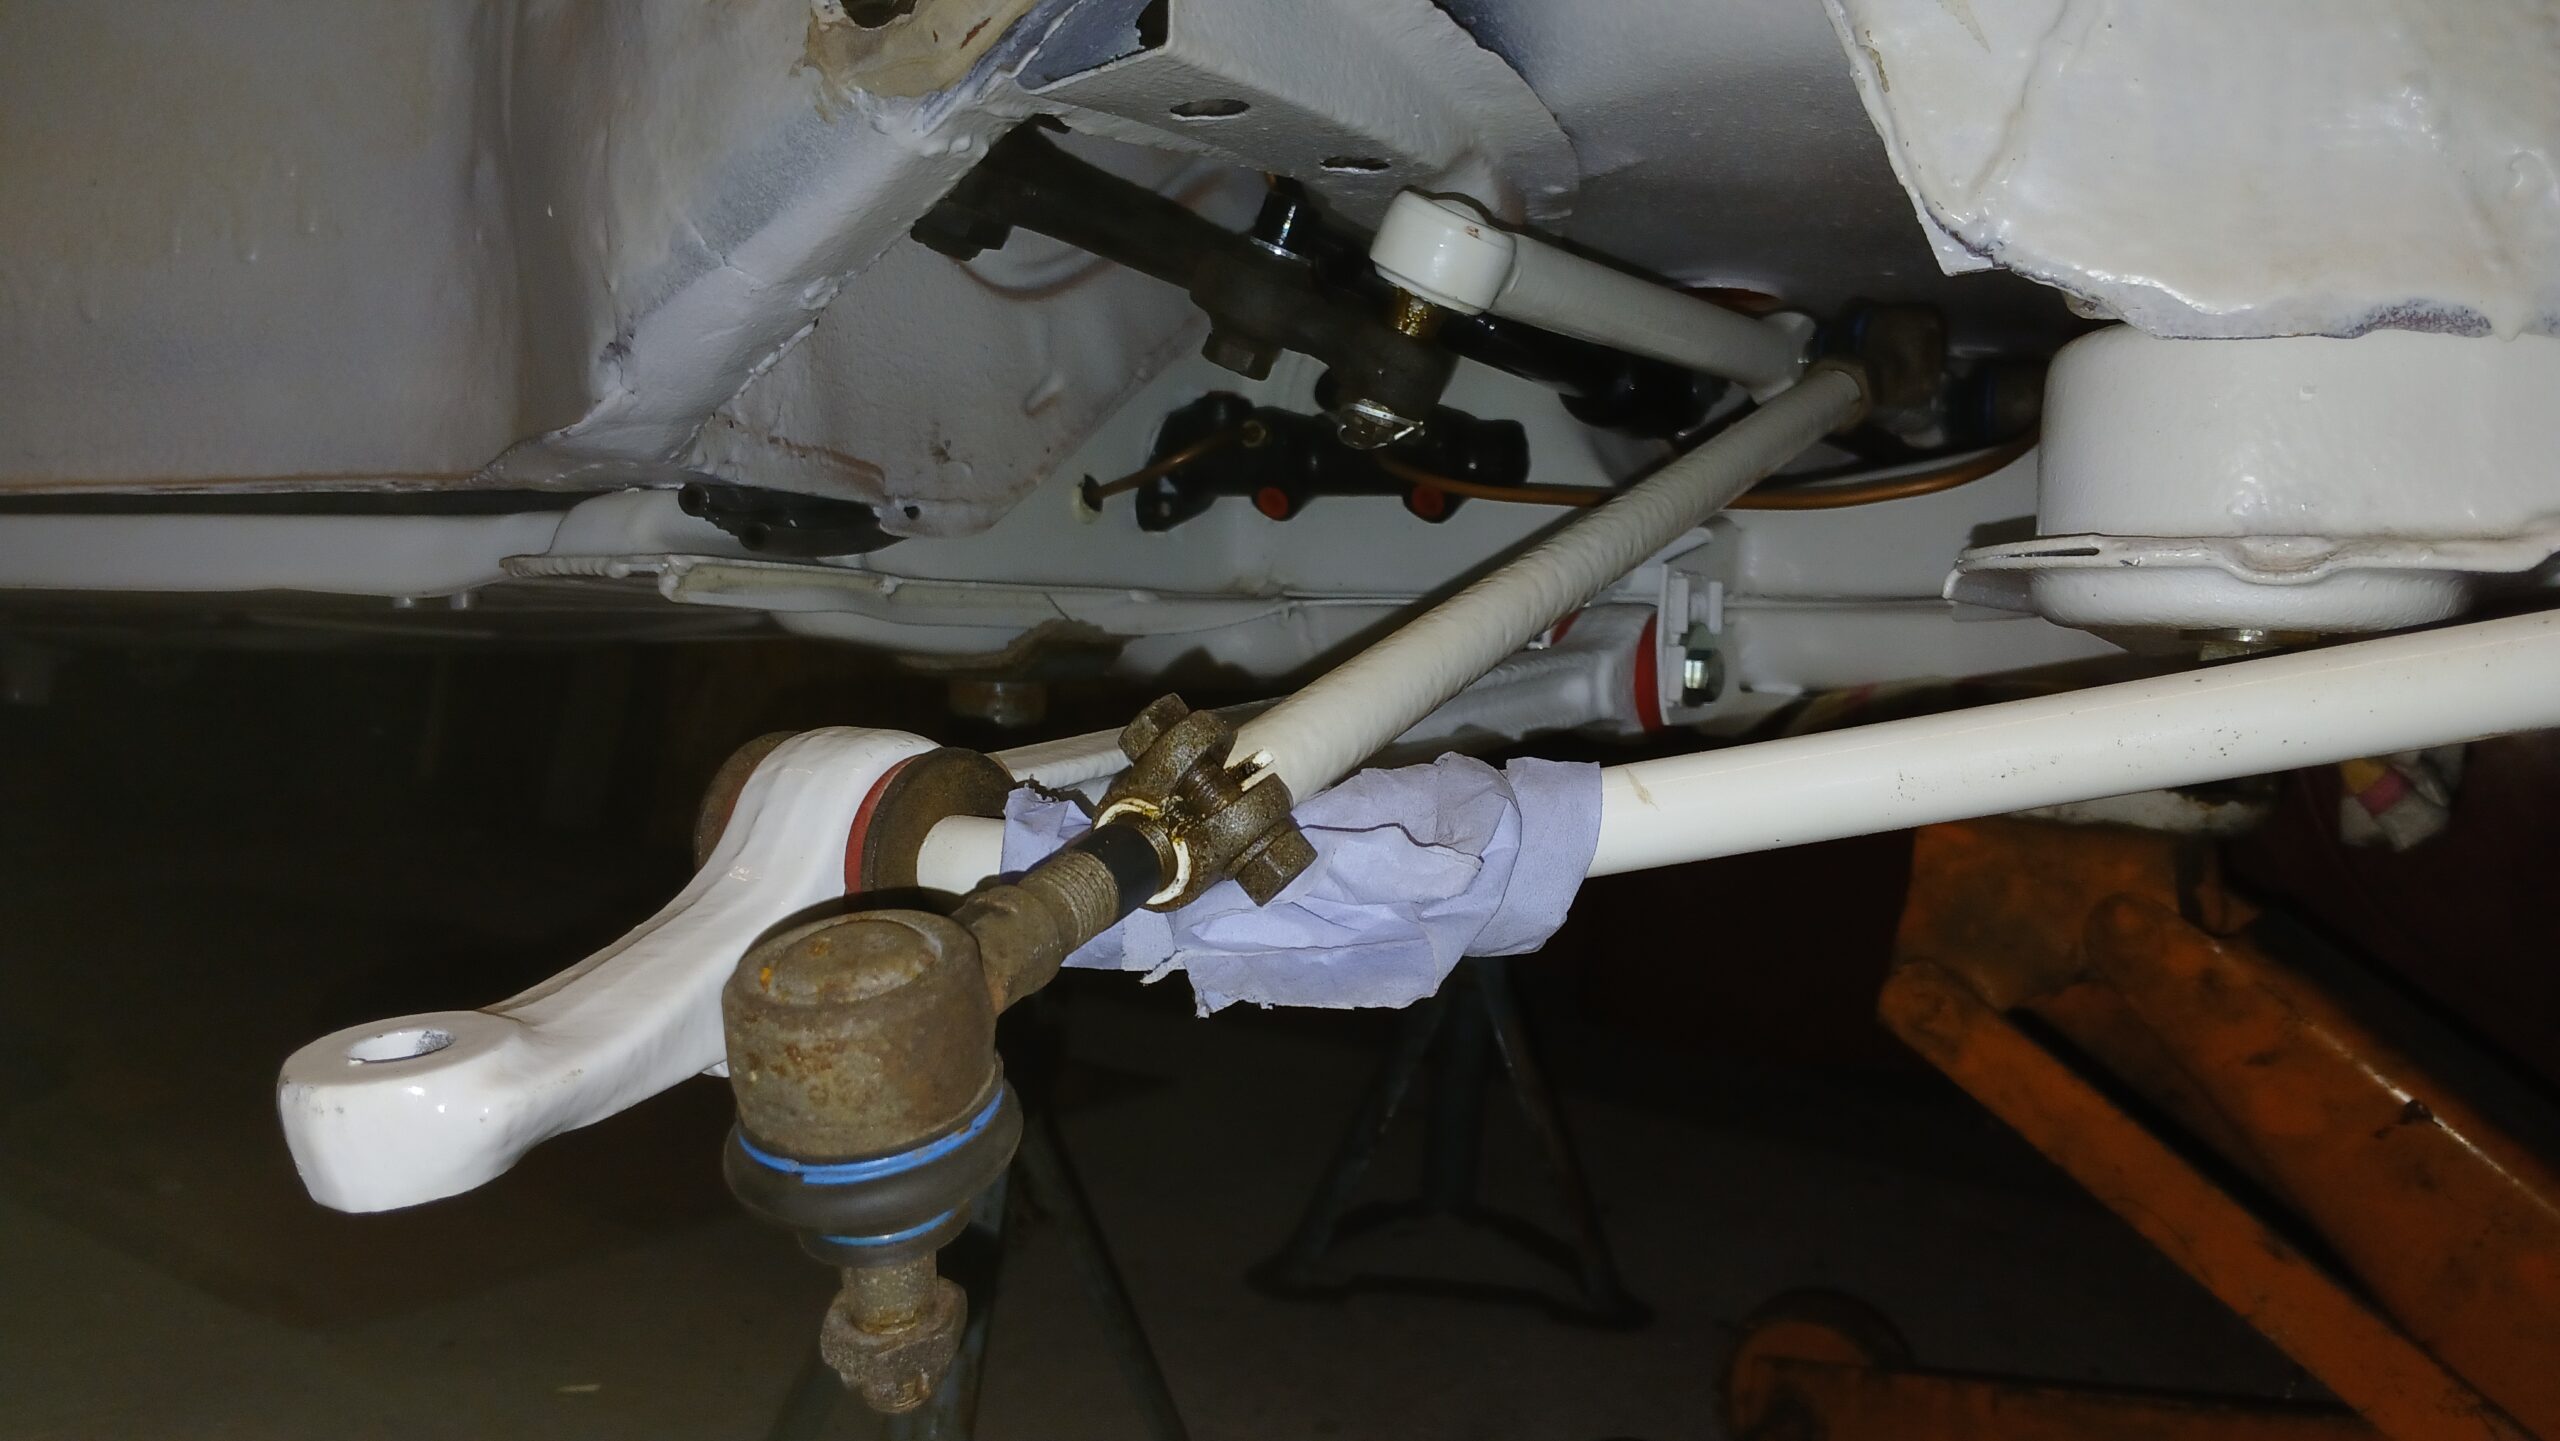
1302S Front right side steering components
Front right side steering components, note the tie rod end not wound in very much

So, out it all came again. This time, carefully manoeuvring everything around the now-fitted struts. With the track rods clamped firmly in the vice on the workbench, I worked the ends in and out, cleaning the threads millimetre by millimetre. It took a while, but eventually I had enough adjustment to make a future alignment possible.

Back under the car on the mechanic’s creeper, I went through the now-familiar routine of refitting everything. Thankfully, it wasn’t too arduous this time. Once reconnected, I stepped back — and the wheels were finally pointing forwards.
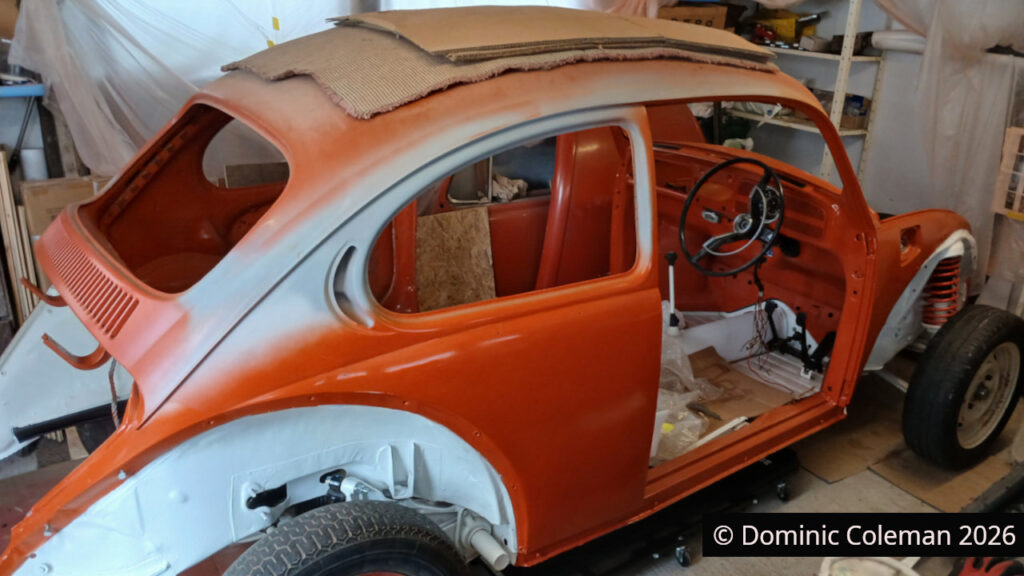
1302S with front suspension and steering fitted

With that sorted, I turned back to the brakes. I finished fitting the copper lines along the frame head and up to the flexi pipe connections, making the most of the access underneath the car while I still could. Fitting the flexi pipes to the front struts was straightforward, and shaping the copper lines neatly around the lower struts to those freshly rebuilt calipers was a particularly satisfying job.
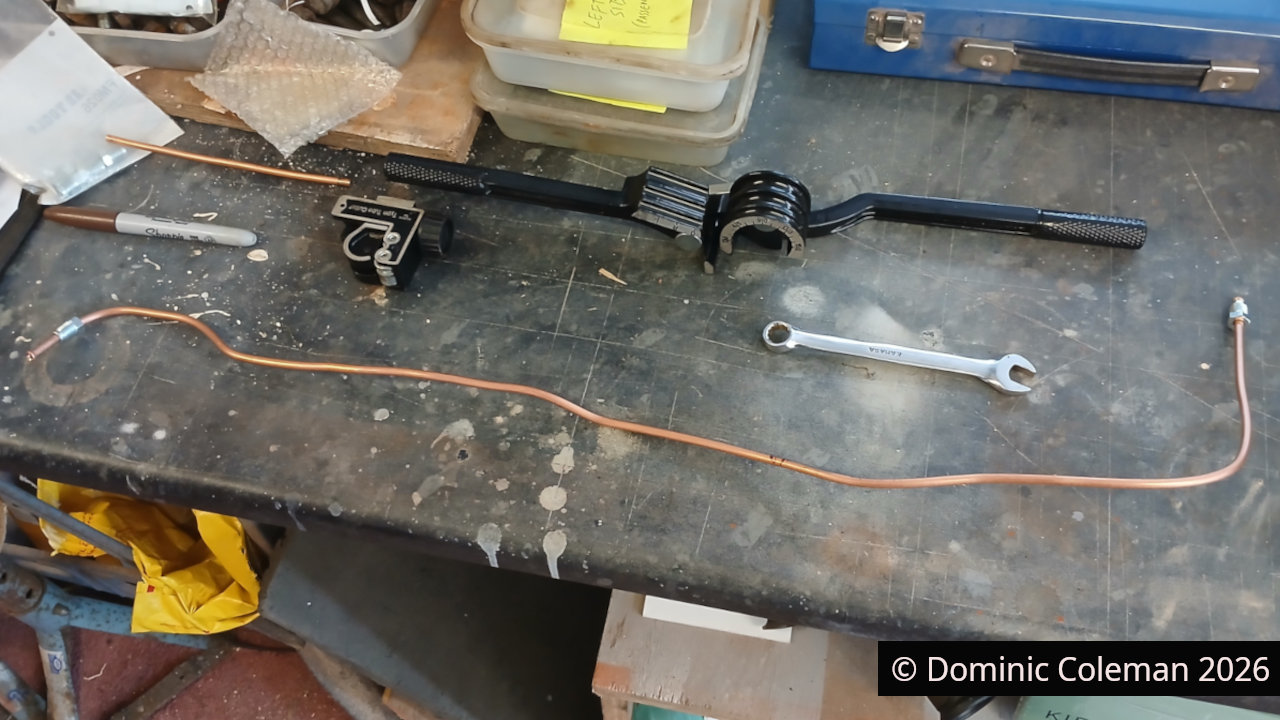
frame head brake line

I also dug out the brake fluid reservoir and its associated pipework from storage, only to find the pipes were in poor condition — and one was missing altogether. New ones will need to be made up from 8mm piping.

With the wheels back on, it marked a bit of a milestone — the first time since June 2021 that the car was back on all fours.
Categories
bodywork paint painting seals

Engine Bay Paint and Rubber

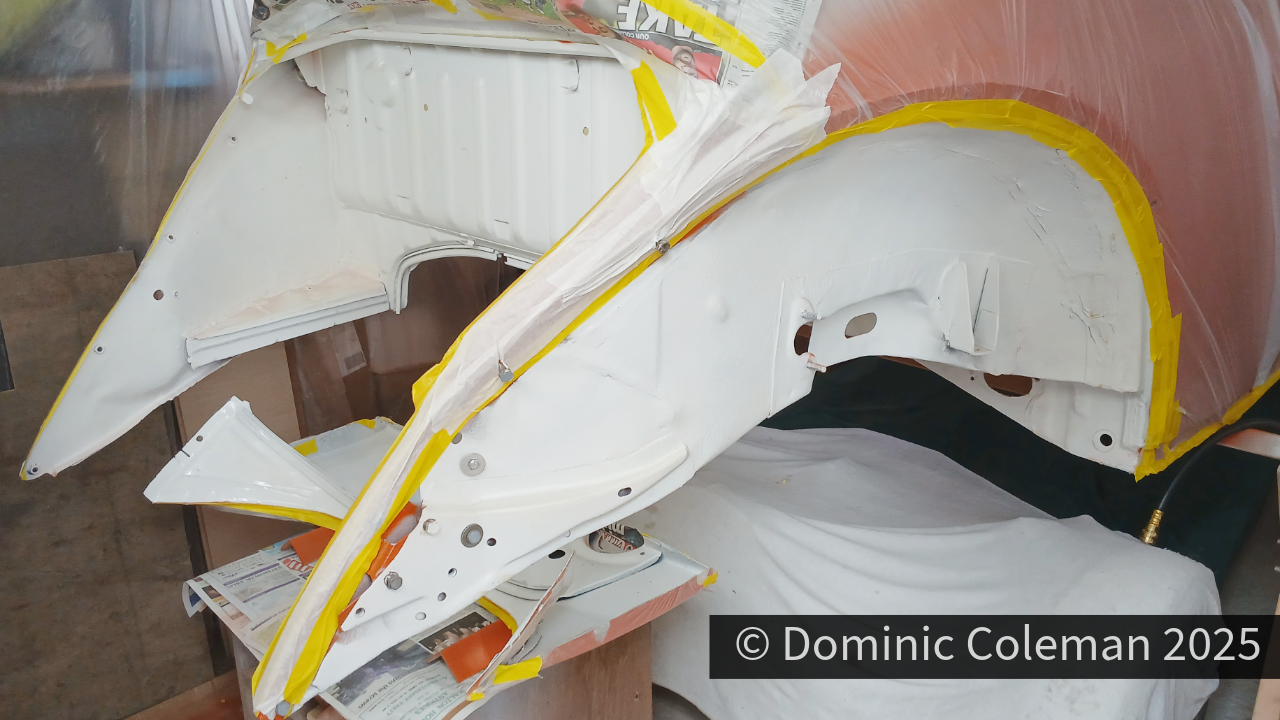
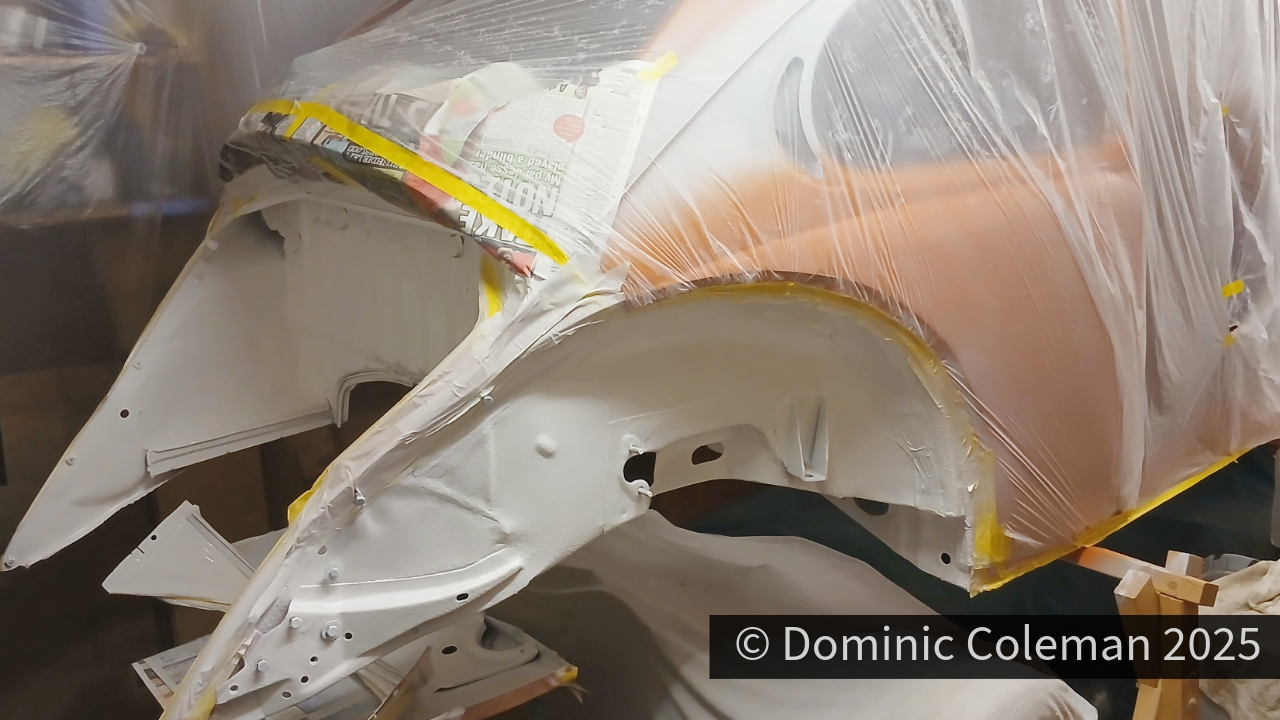
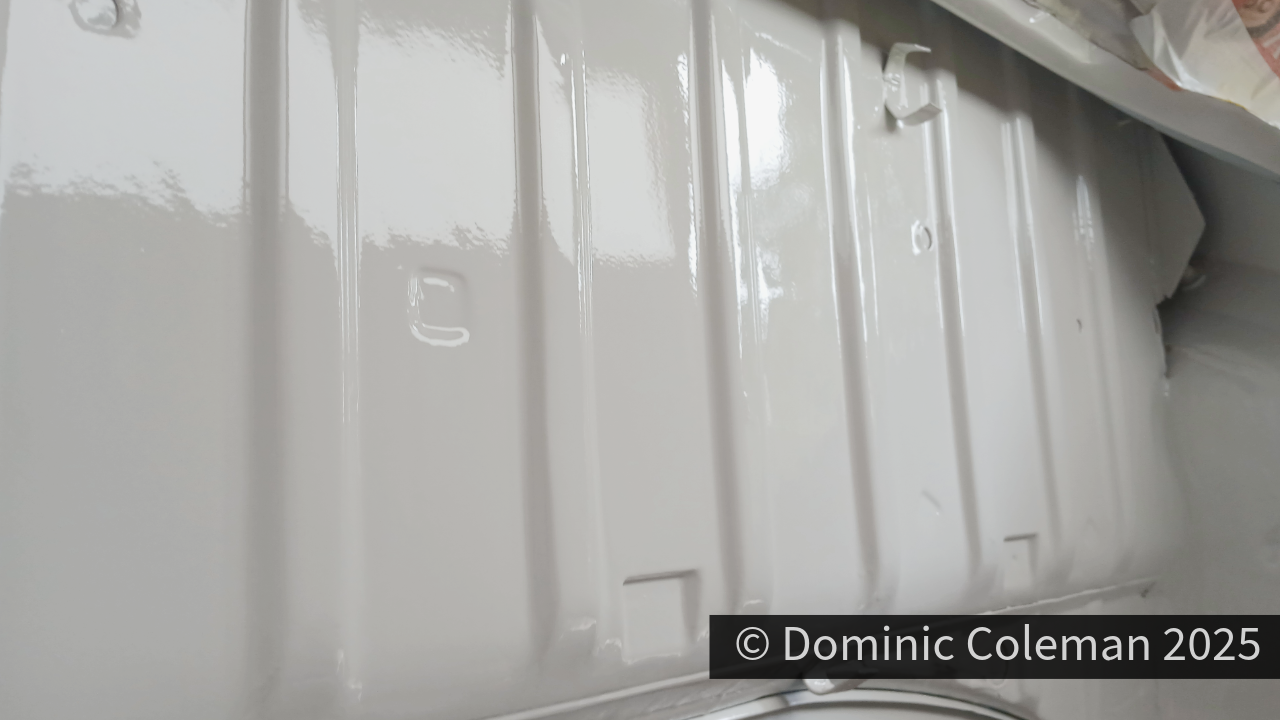
At the end of summer the weather was still warm and dry, so I took the opportunity to respray the engine bay in bright white, as before, however this time with successful results. With some fiddling I worked out how to get my spray gun to a correct working pressure and I took extra care of getting my paint mixture right. I took my time spraying three thin, wet coats with 4-5 minute pauses between each coat allowing for it to flash off. I took the opportunity to spray the rear wheel arches to clean them up as well and the result was a fresh glossy finish and finally to my satisfaction.

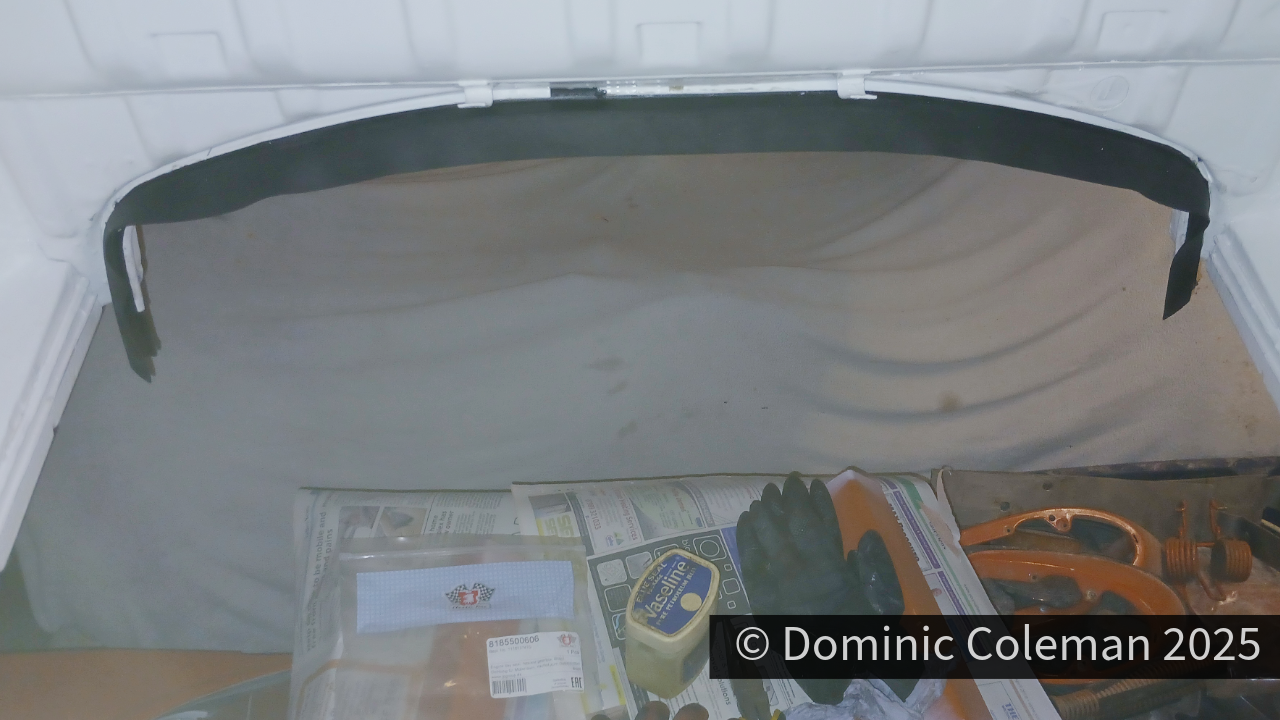
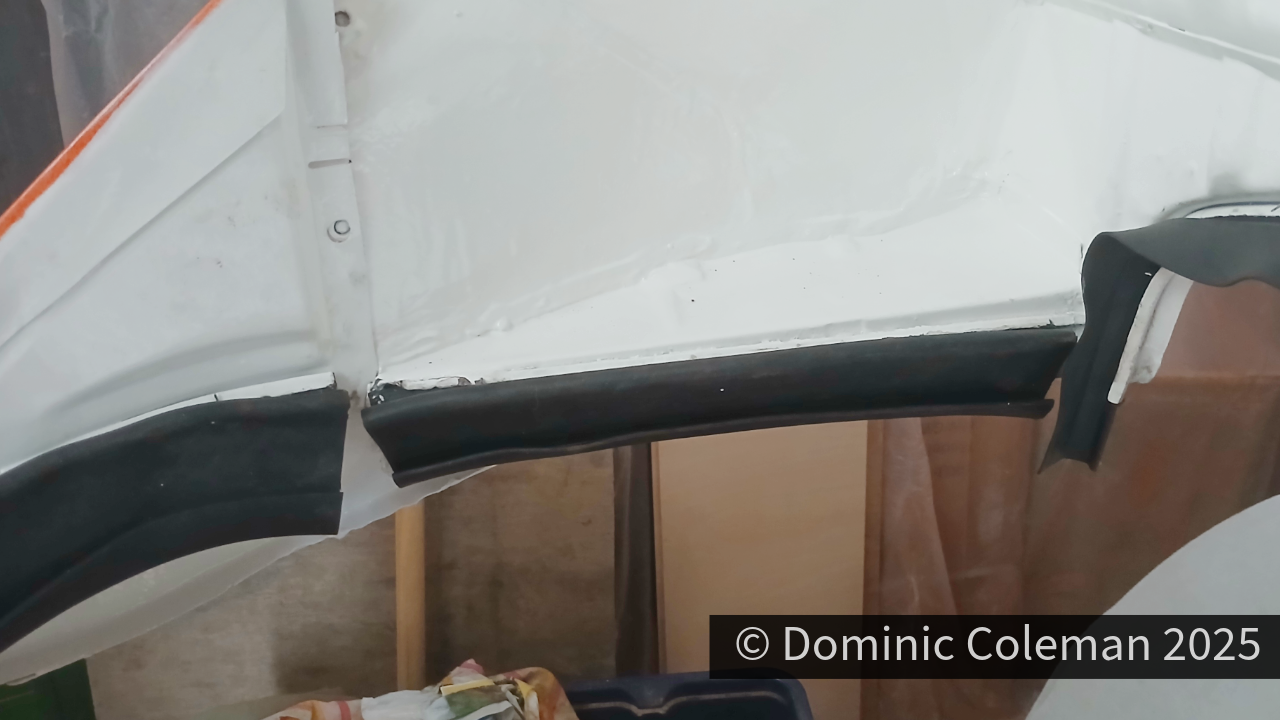
Another milestone achieved was fitting the engine bay seals that I got from Just Kampers. Fitting of the firewall seal was relatively straight forward, not too much prying or effort required and was done in a bout 20 minutes. The other engine bay rubber was more tricky, though made easier because of the removable rear valance and I could do it in three stages. Rubber gloves, the type used for mechanical work with a pair of large pliers were needed for a good firm grip and vaseline to ease and slide the rubber into the channel. It took about 45 mins to complete.

Categories
bodywork paint painting

Painting – the fifth time

On the Wedenesday I went to visit Paul at South Coast Customs & Classics, however, it turned out I could do him a favour. As I was driving to Charlton Marshal, just outside Blandford, I saw Paul in a bus-stop layby with a very smart blue Beetle with the engine lid open. Luckily there was a bus-stop layby opposite, so I pulled over to see what was going on. The blue Beetle had an ignition failure while on the way to the MOT station and was only 100 metres short of getting there but the garage didn’t want to MOT the car if it couldn’t be driven in. As it happened, I had a tow rope in the boot of my Corsair and offered to get Paul and the Beetle back to his workshop. Once back to the workshop and the Beetle pushed in to the work bay, I got to meet Ash his new work colleague, for the past couple of years.

Categories
paint painting

Painting 2K

After watching a few YouTube videos, I gave spray painting a shot in the engine bay around the end of July 2023. I chose bright white (RAL 9010) and used the hardener/activator that came with the primer. I was careful not to use too much, as I thought the primer and hardener were best kept to work together in their specific proportions.

My first try didn’t go so well. I put on too much paint at once and used too high of an air pressure. This resulted in paint running, dripping, and forming pools in the engine bay. I was able to fix it by sanding down the runs, getting rid of the drips, and smoothing out the pooled paint. This got things ready for my second attempt. I also had to apply some primer again on the areas where I had sanded down to bare metal.