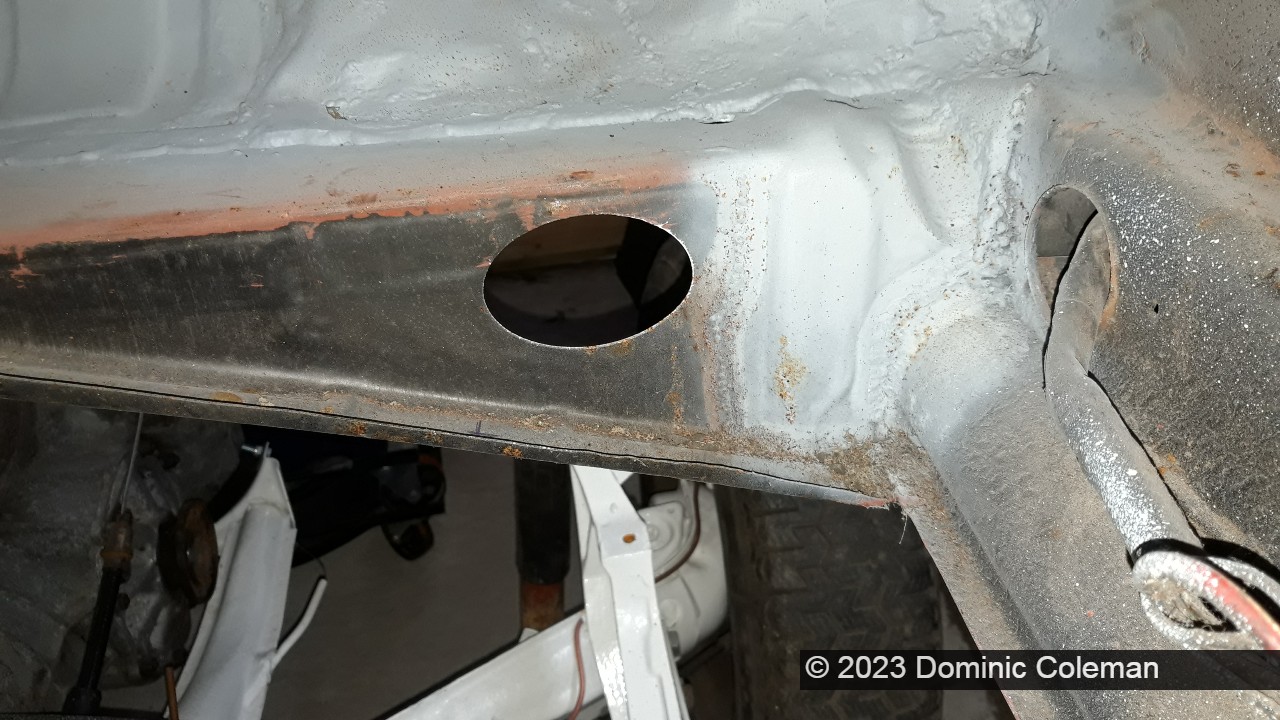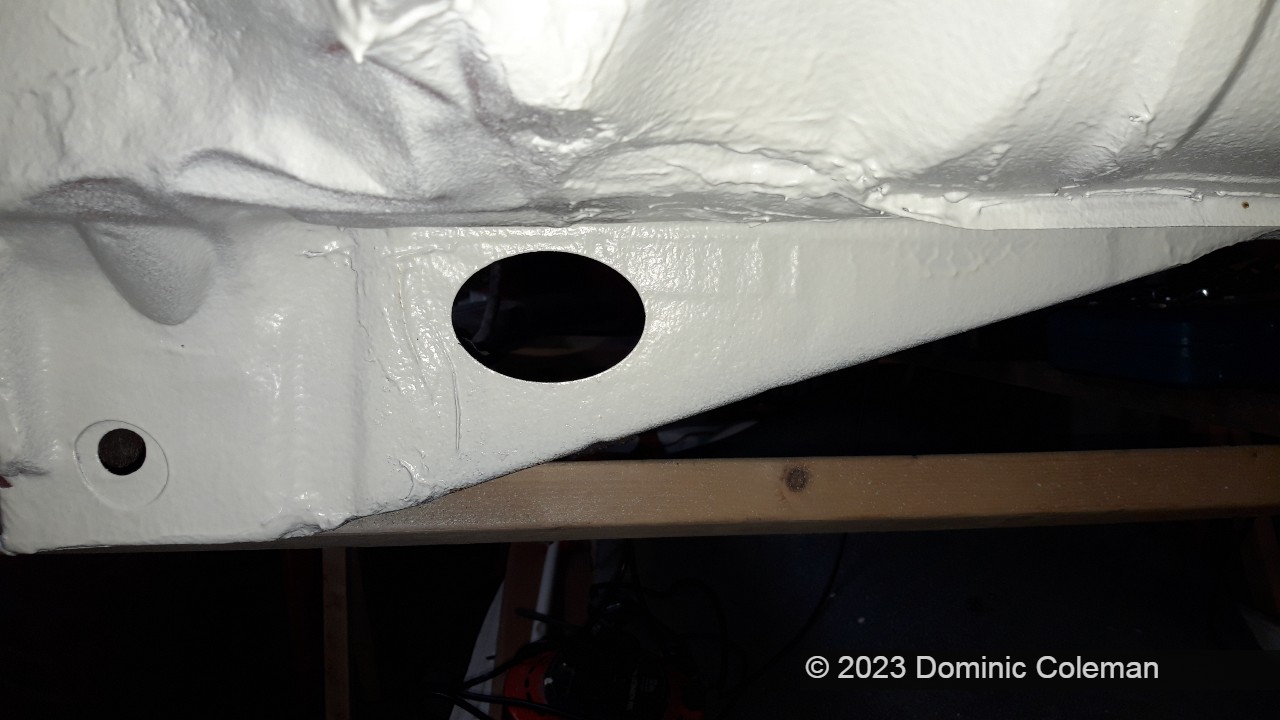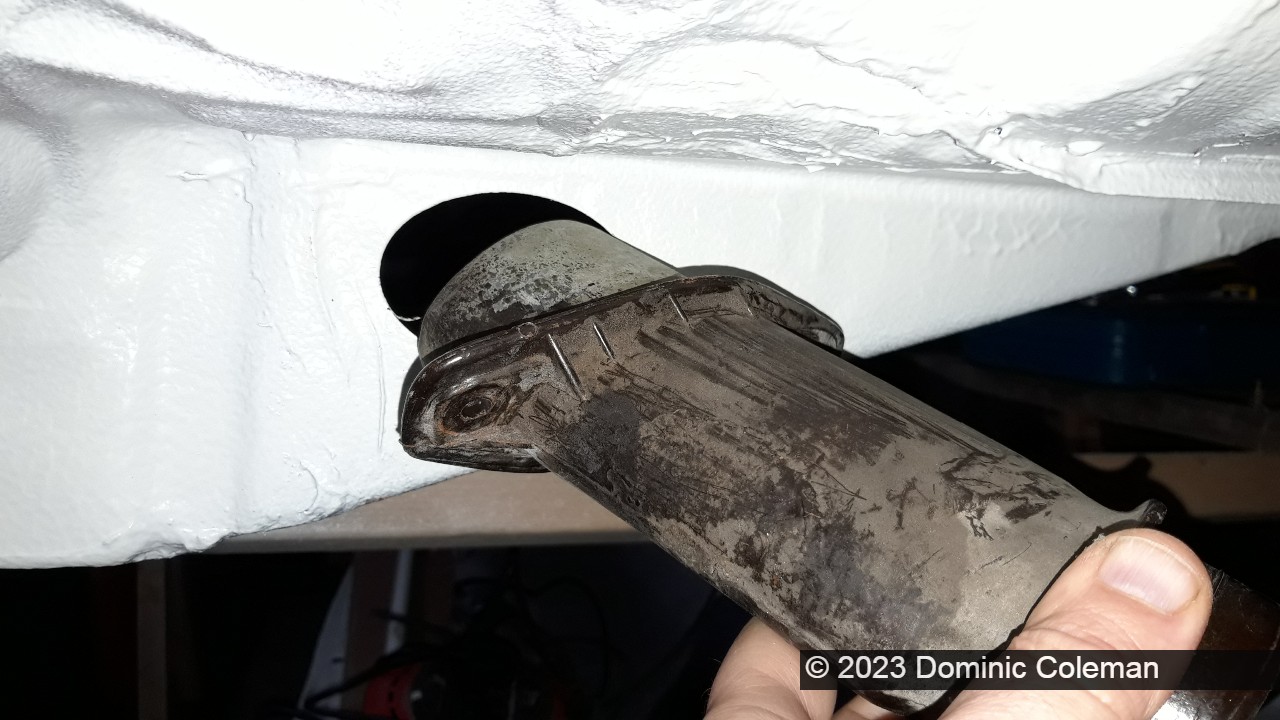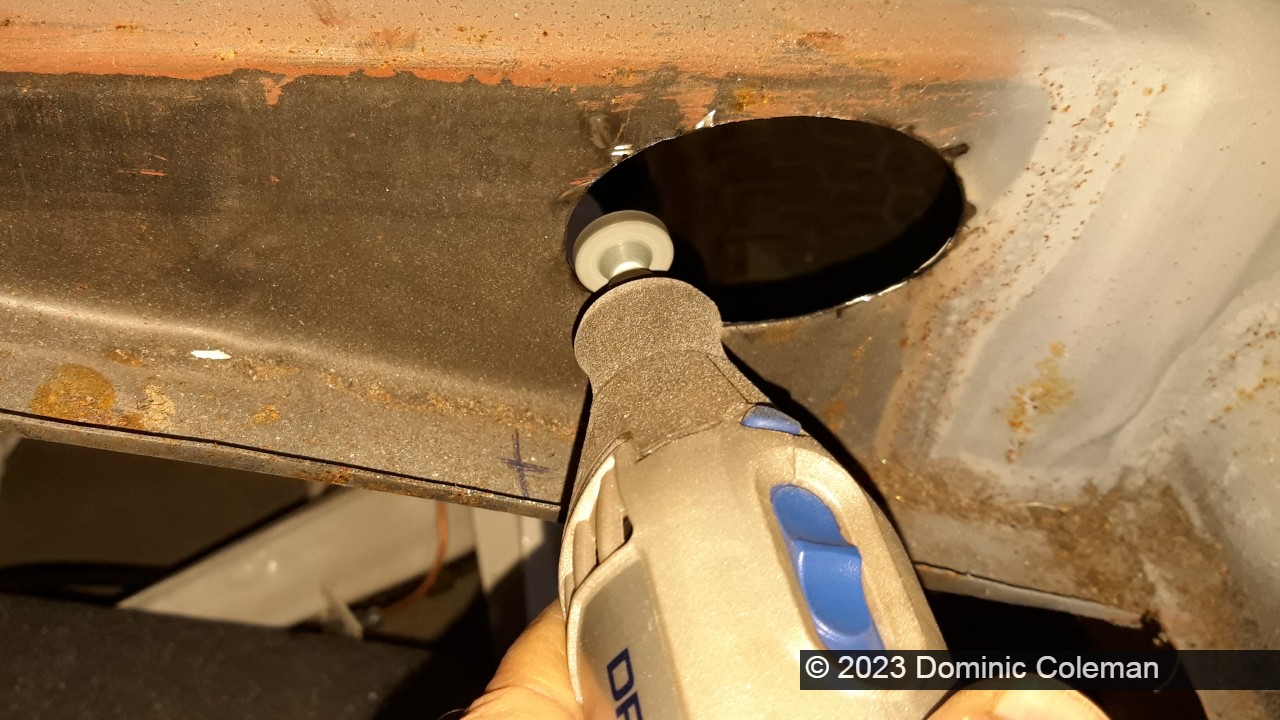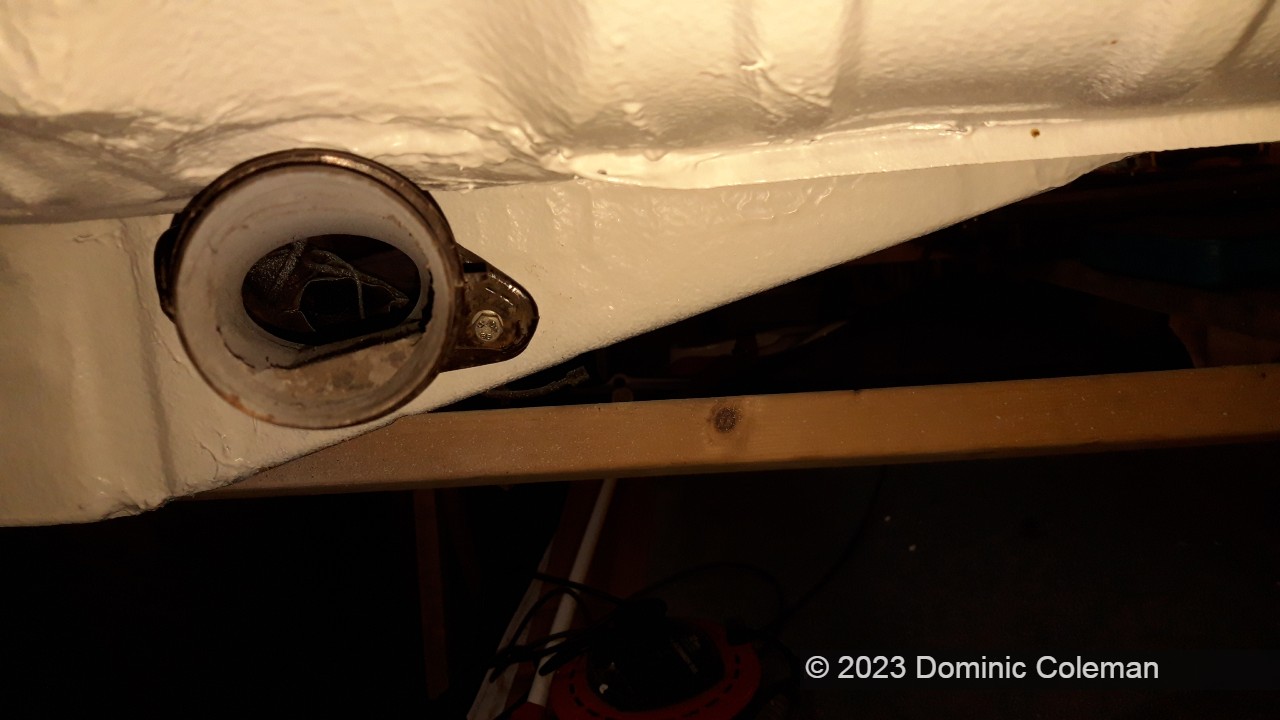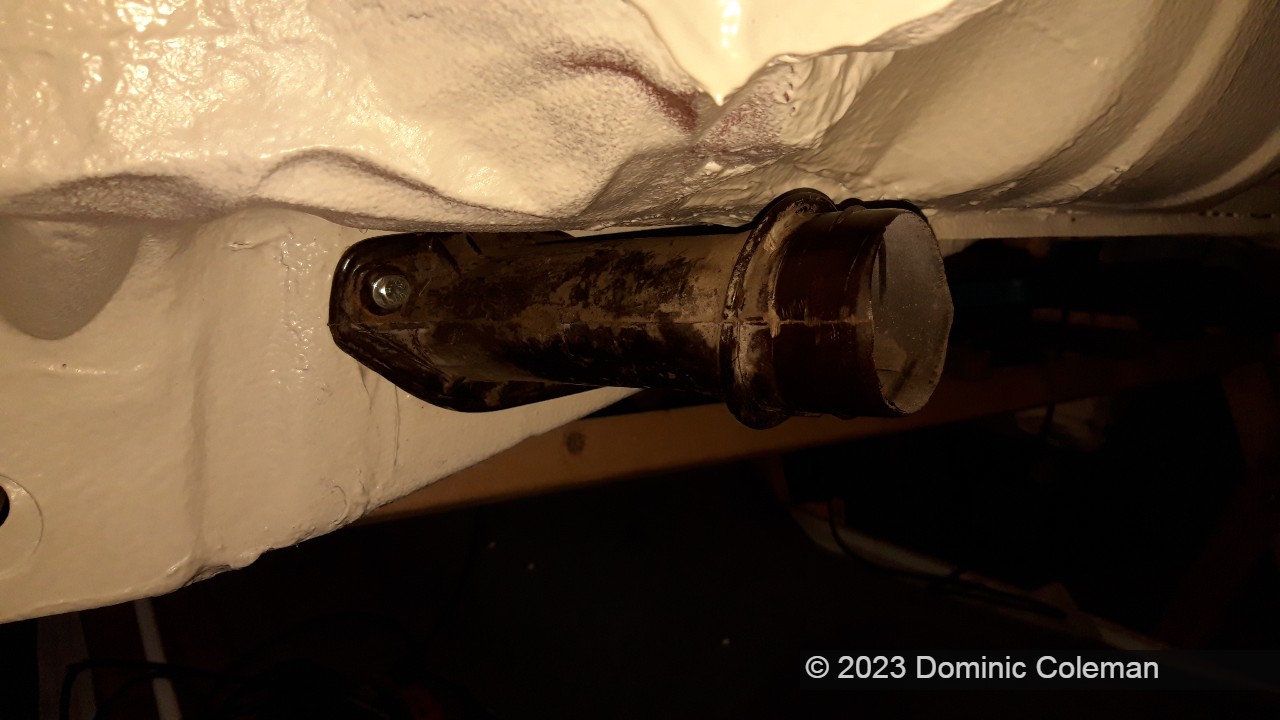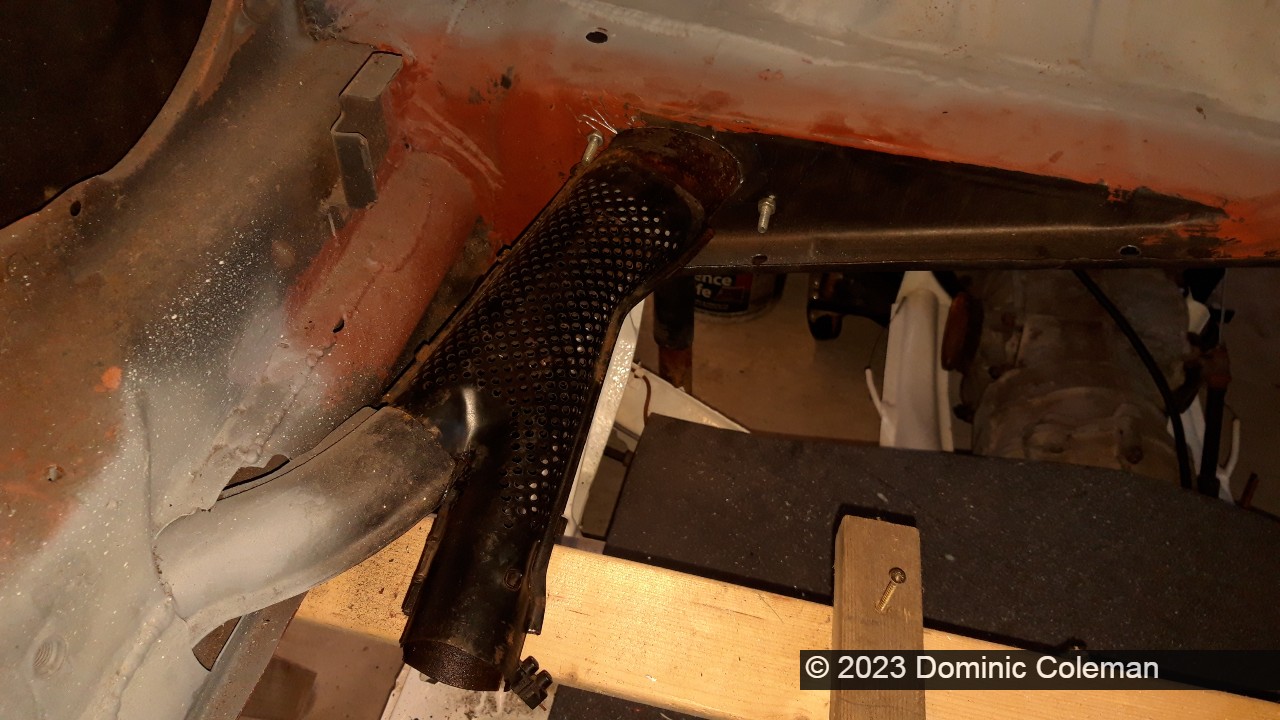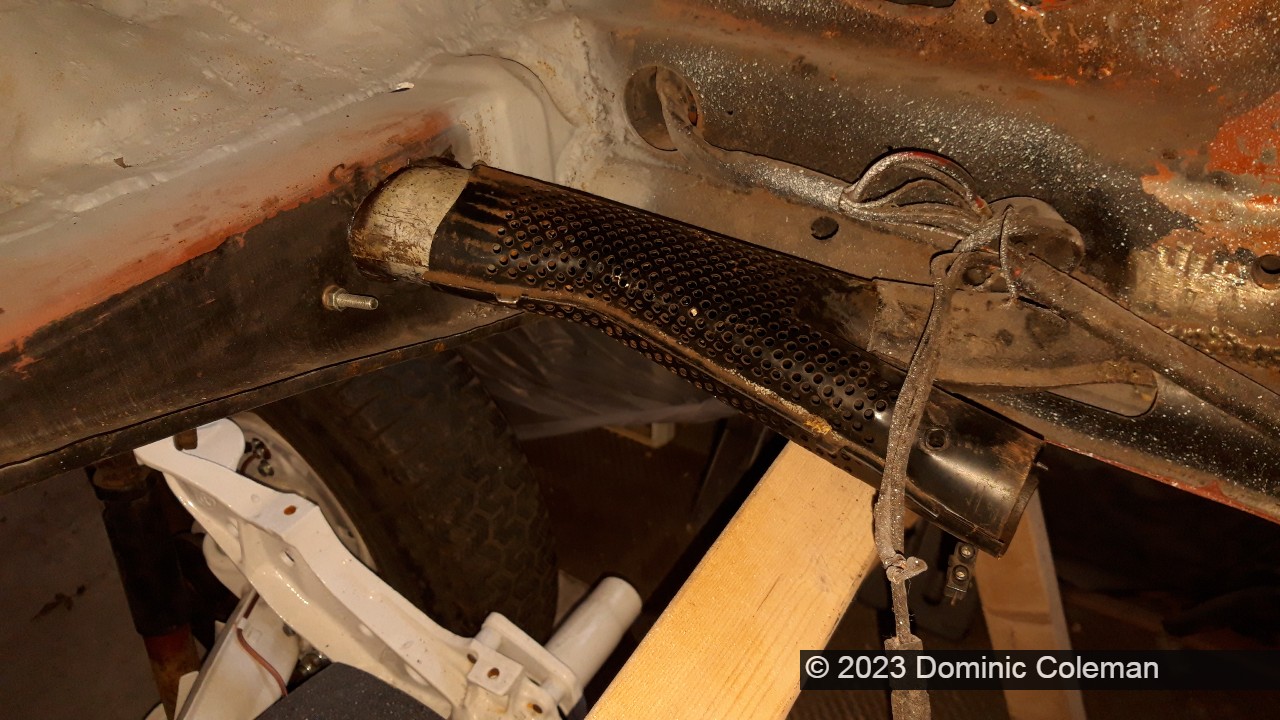
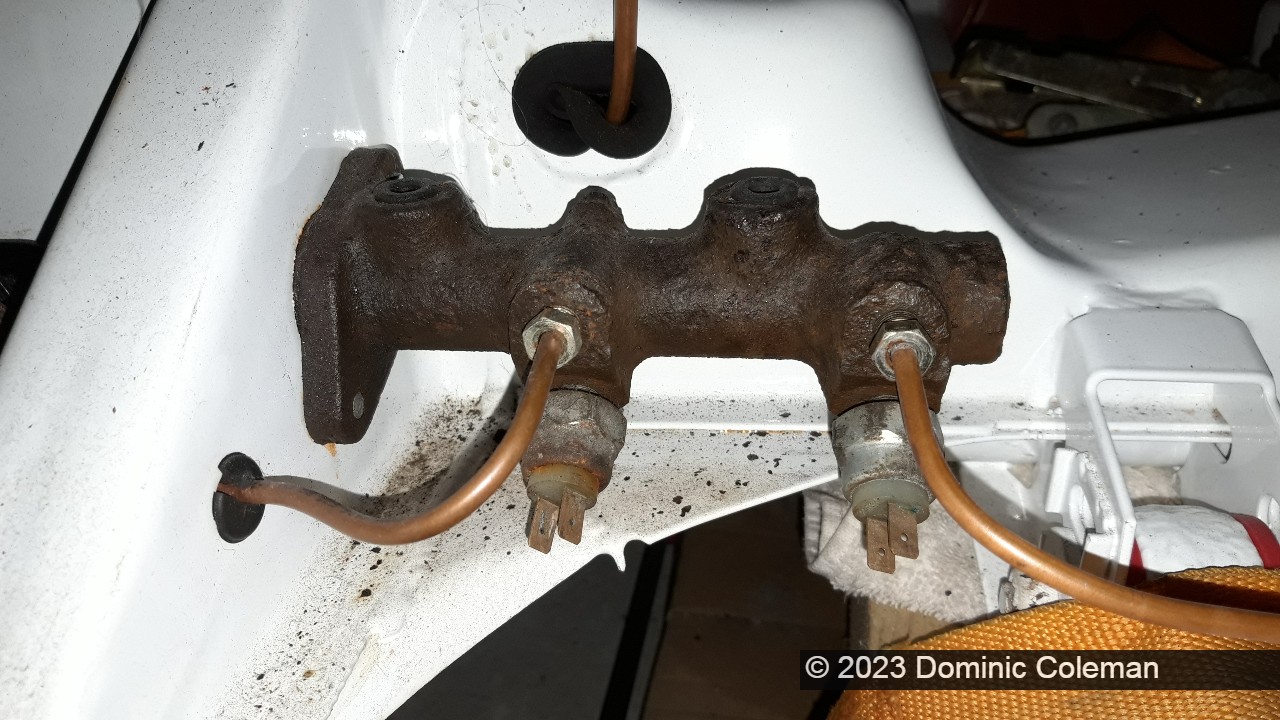
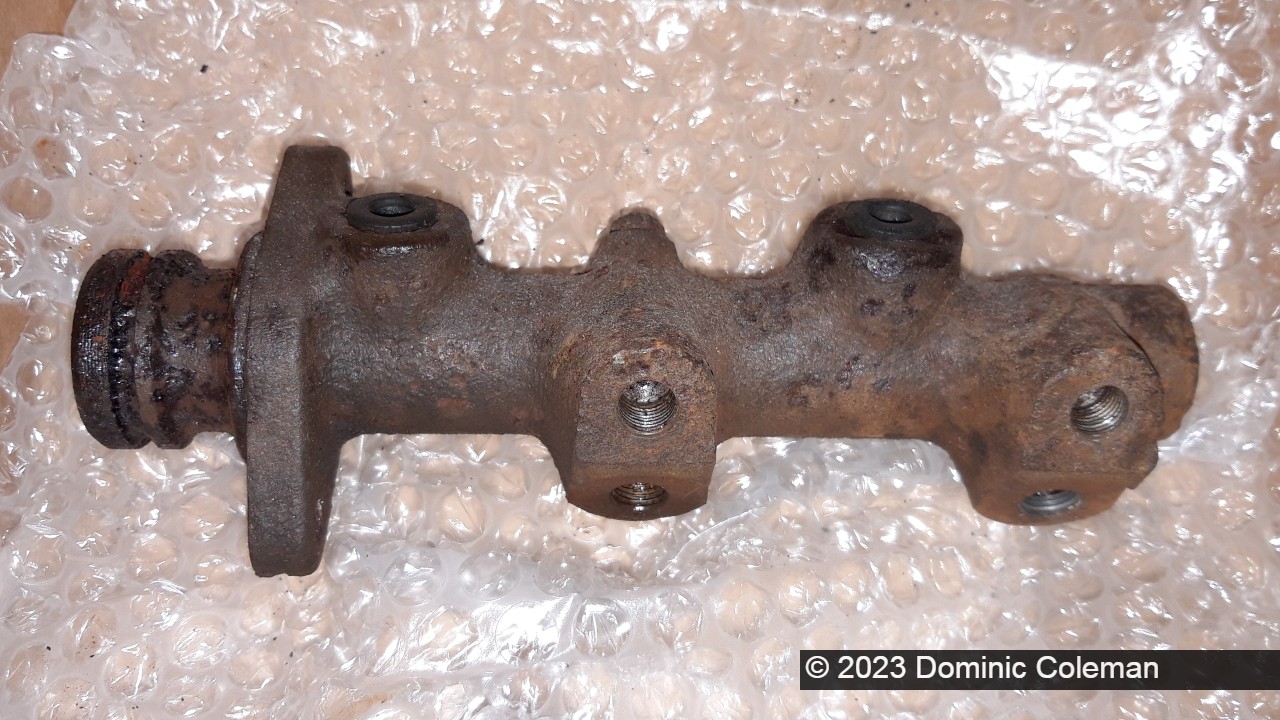
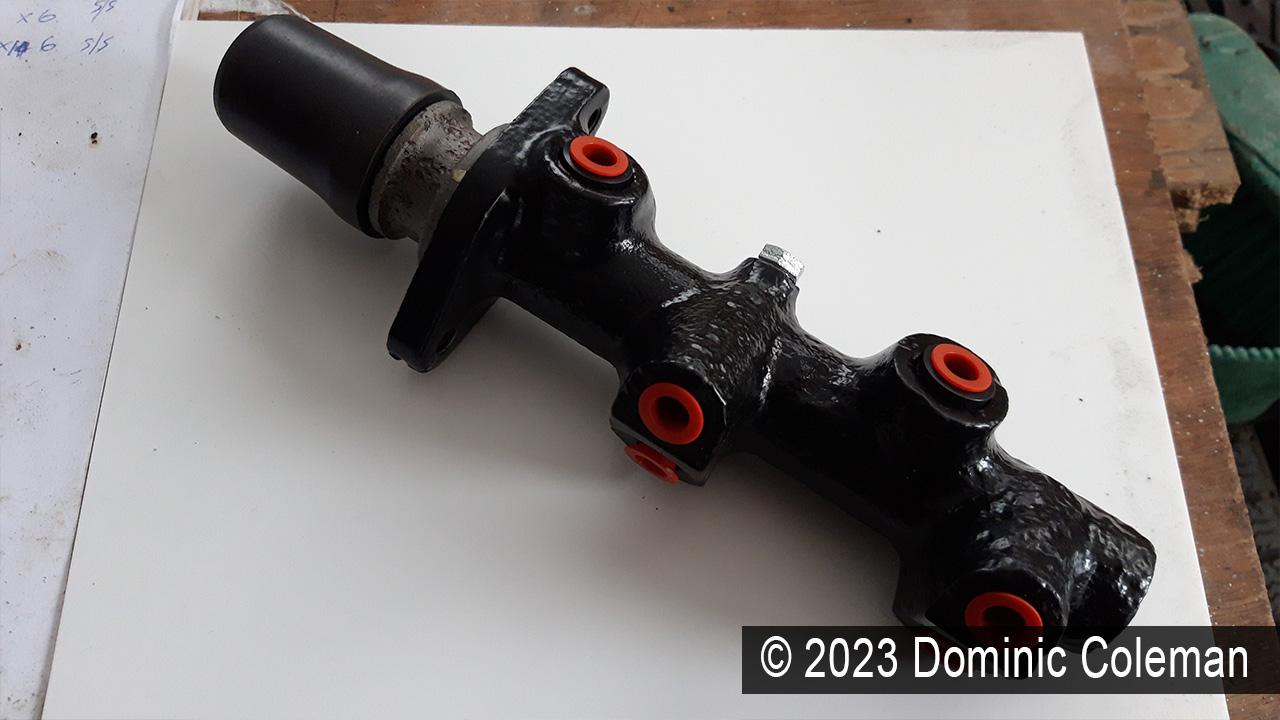
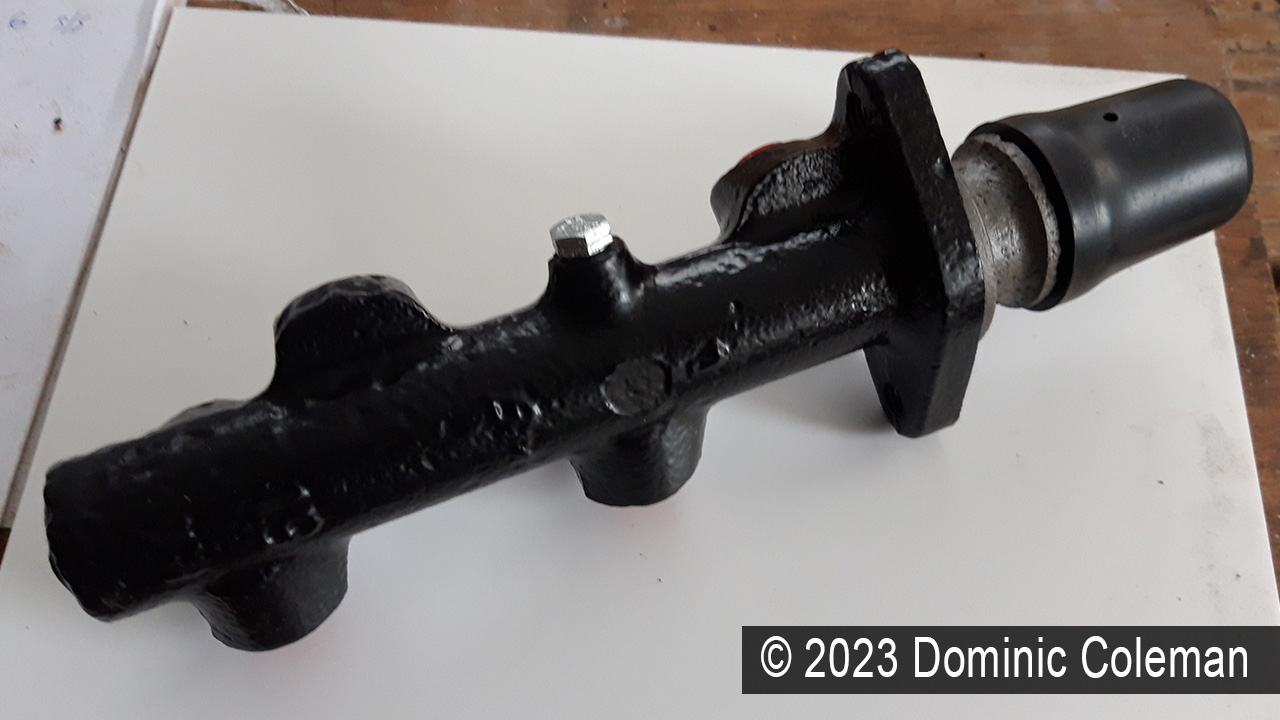
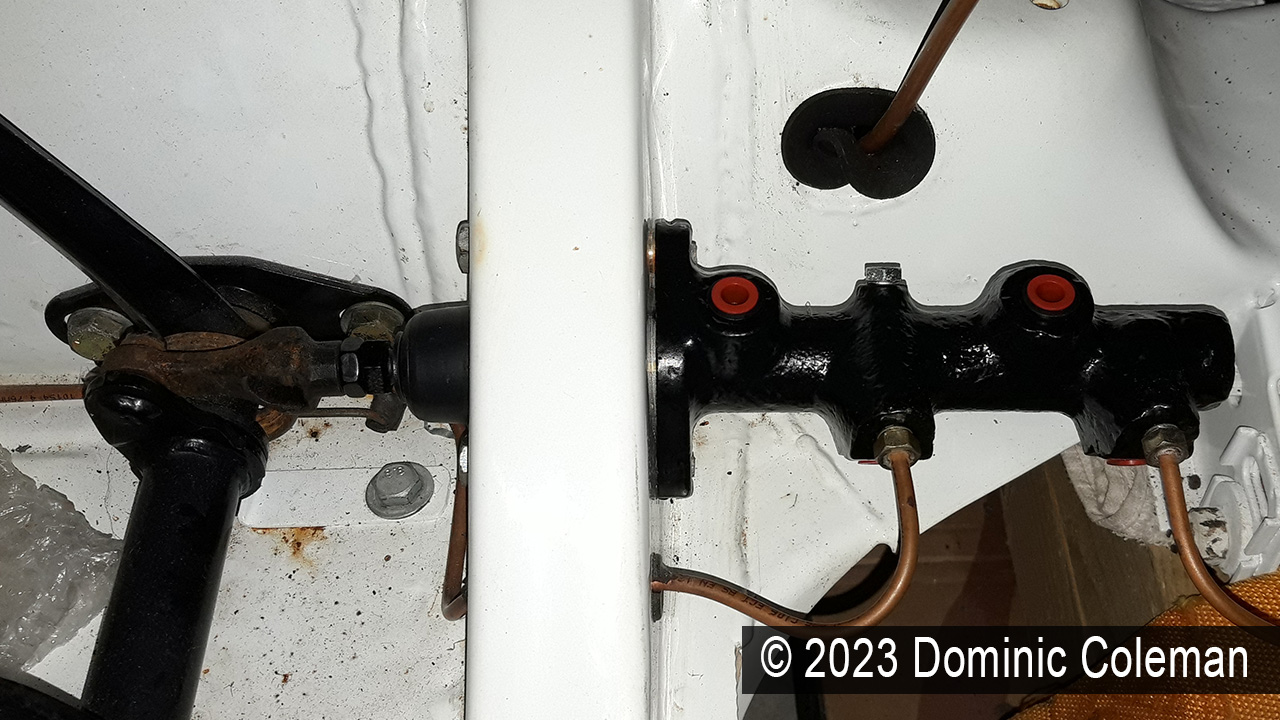
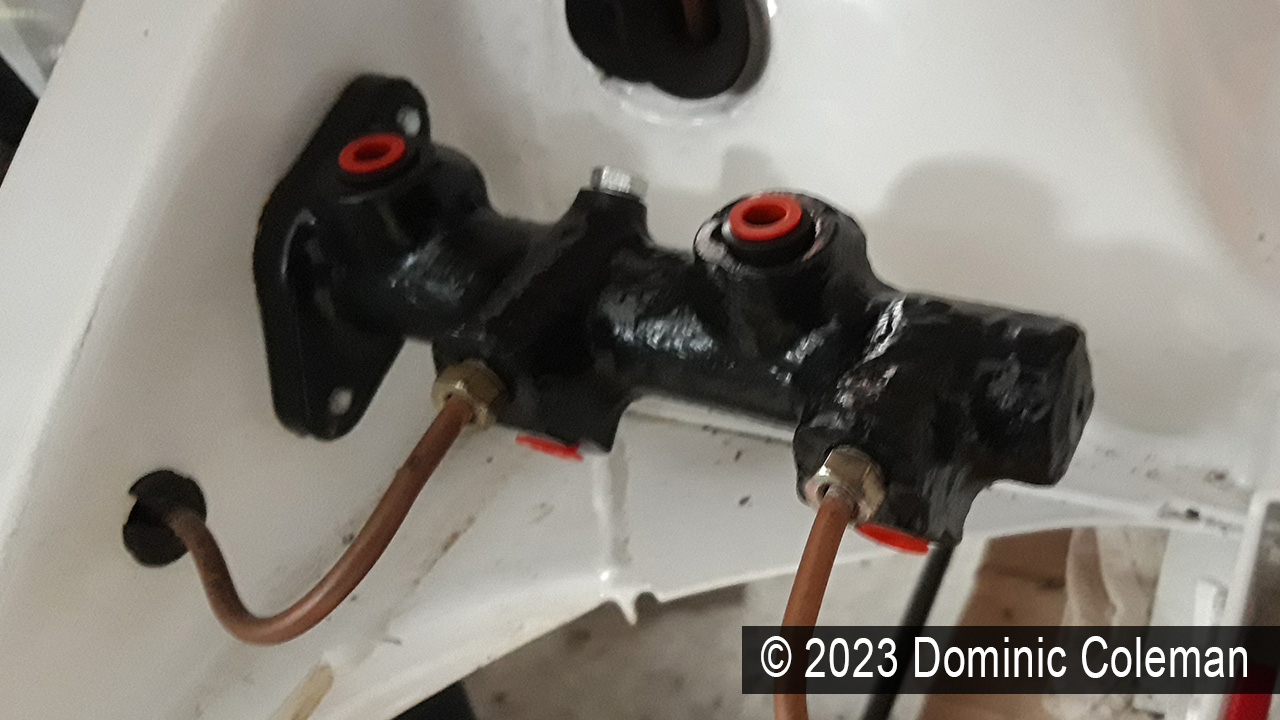
After a year of waiting, I finally got around to sending my brake master cylinder for refurbishment in January/February 2023. As the pictures show, it was in a sorry state after sitting unused for over 27 years, causing it to dry out and deteriorate.
Initially, I considered buying a brand-new RHD master cylinder, but the cost of £200+ made it a less appealing option. Instead, I decided to opt for refurbishing my original one with a stainless steel inner sleeve, new seals, and black powder coating. The entire process was carried out by Past Parts, a reputable company based in Bury St Edmunds, UK, and took about two weeks to complete.
In the end, the cost of the refurbishment was less than £150, including all postage fees, allowing me to save a significant amount of money. This saving will be put towards purchasing new German brake circuit warning switches, which I hope to acquire soon.
Overall, I am pleased with the outcome of the refurbishment, and I’m glad that I opted for this option rather than buying a new part. It’s a great feeling to see my old brake master cylinder come back to life after so many years.
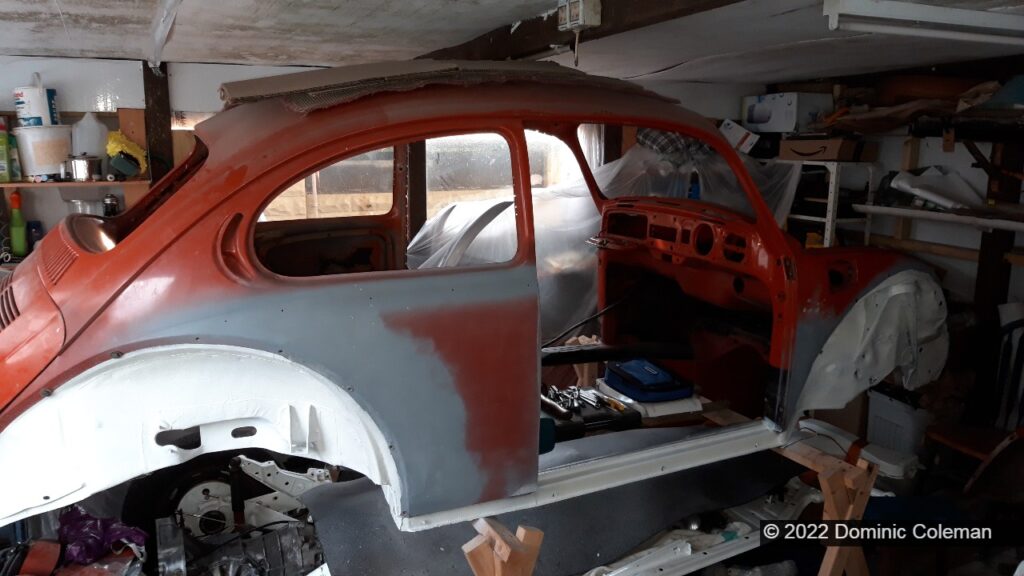
While I was in the workshop on a relatively mild day, I took the opportunity to do some body filler work. I started by sanding down the front right side quarter filler using 80 grit paper, before adding some more filler to the lower door ‘A’ posts to smooth out the lip from repair work done in 1997.
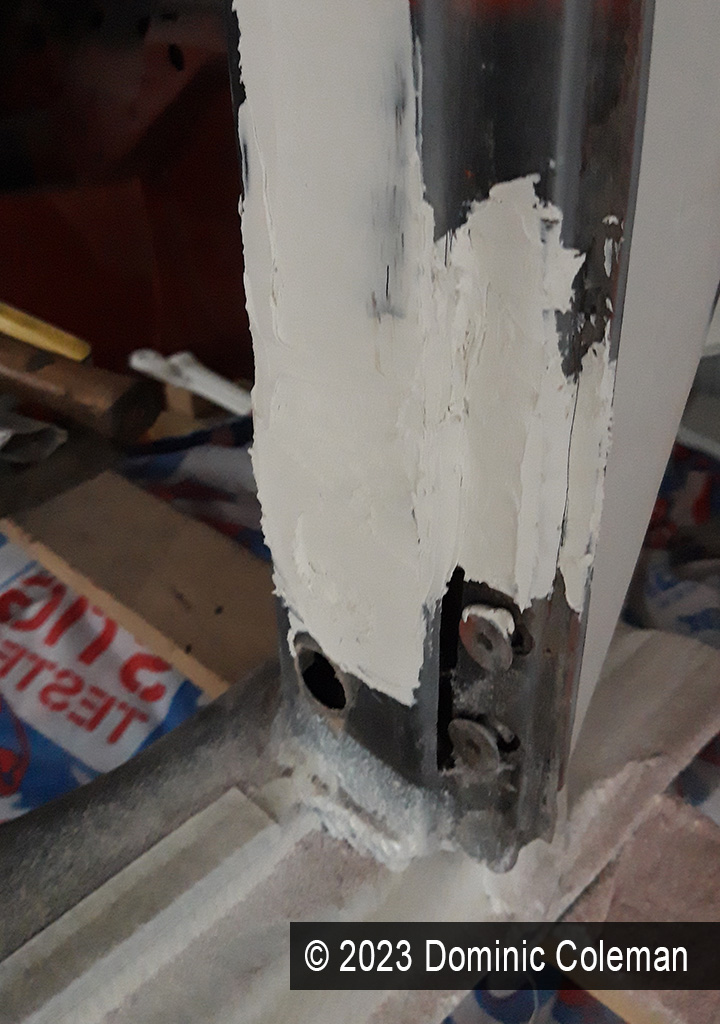
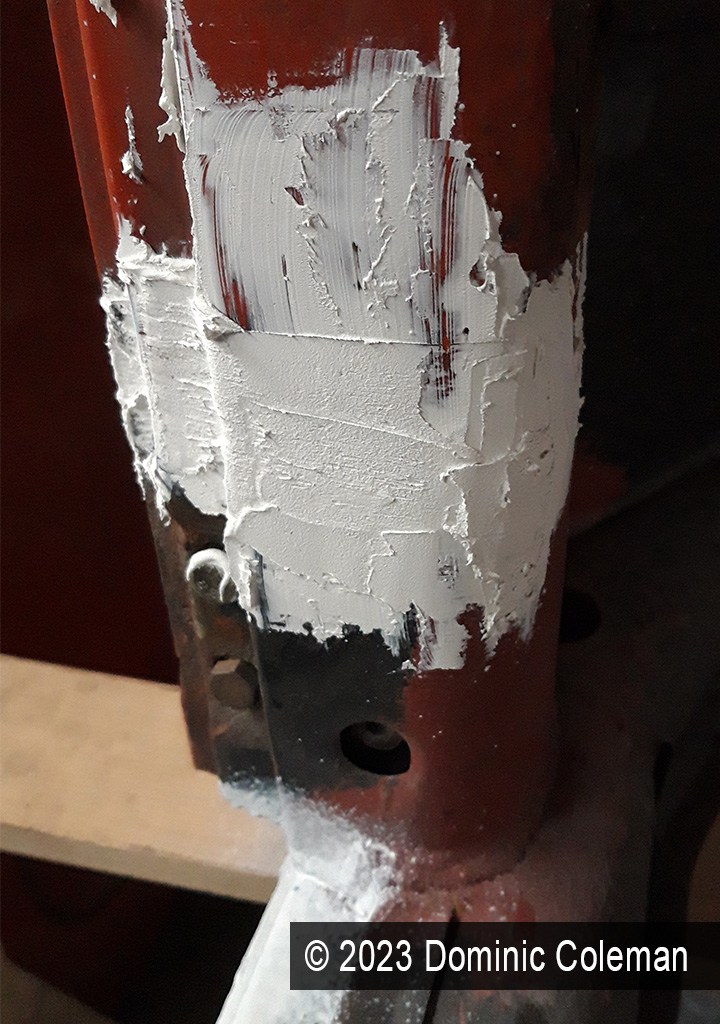
Last year, I spent some time researching how to work with automotive body filler and came across Bad Chad’s YouTube channel. His long but detailed video on filling and sanding techniques was particularly helpful, and I used his guidance to achieve decent results on the rear quarter panels. I also had some insightful conversations with John, a friend who restores classic cars and has worked on my Ford Corsair, as well as with Paul from South Coast Customs over the Christmas period. John offered to give me a hands-on tutorial on filling, sanding, and prepping for primer and paint in the spring, depending on his workload.
Recently, I discovered another YouTube channel by a British customizer named Paul Bacon. I was impressed by his straightforward, no-nonsense approach to bodywork and appreciated his creative style. His work, including the epic Automatron custom car, inspired me to continue learning and improving my skills. You can check out one of his videos below.
Note: This blog was written with the help of ChatGPT. The original blog post can be seen here.