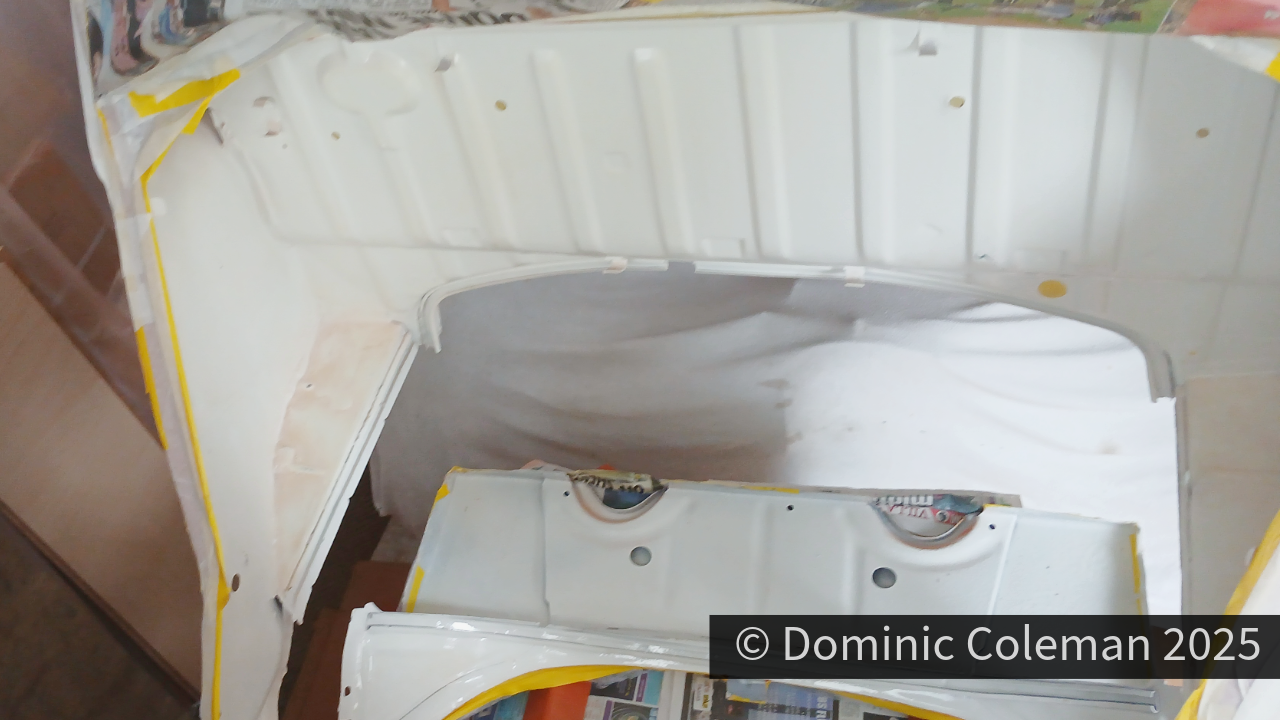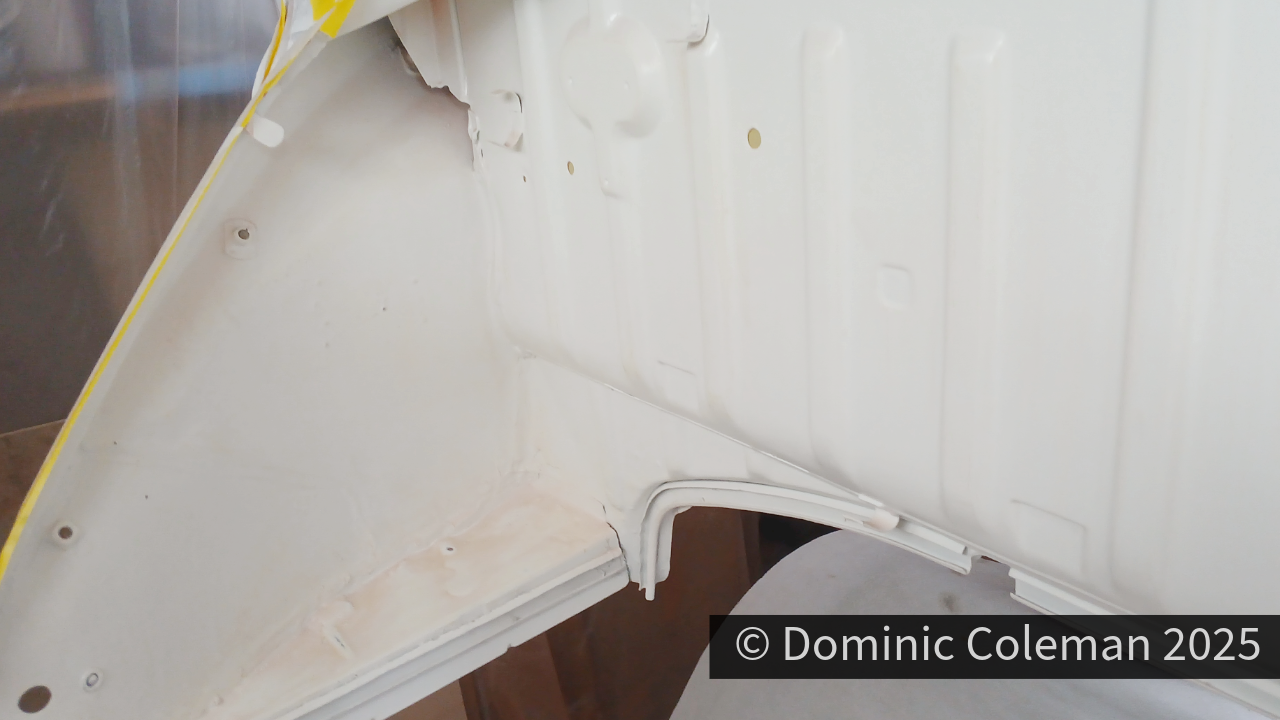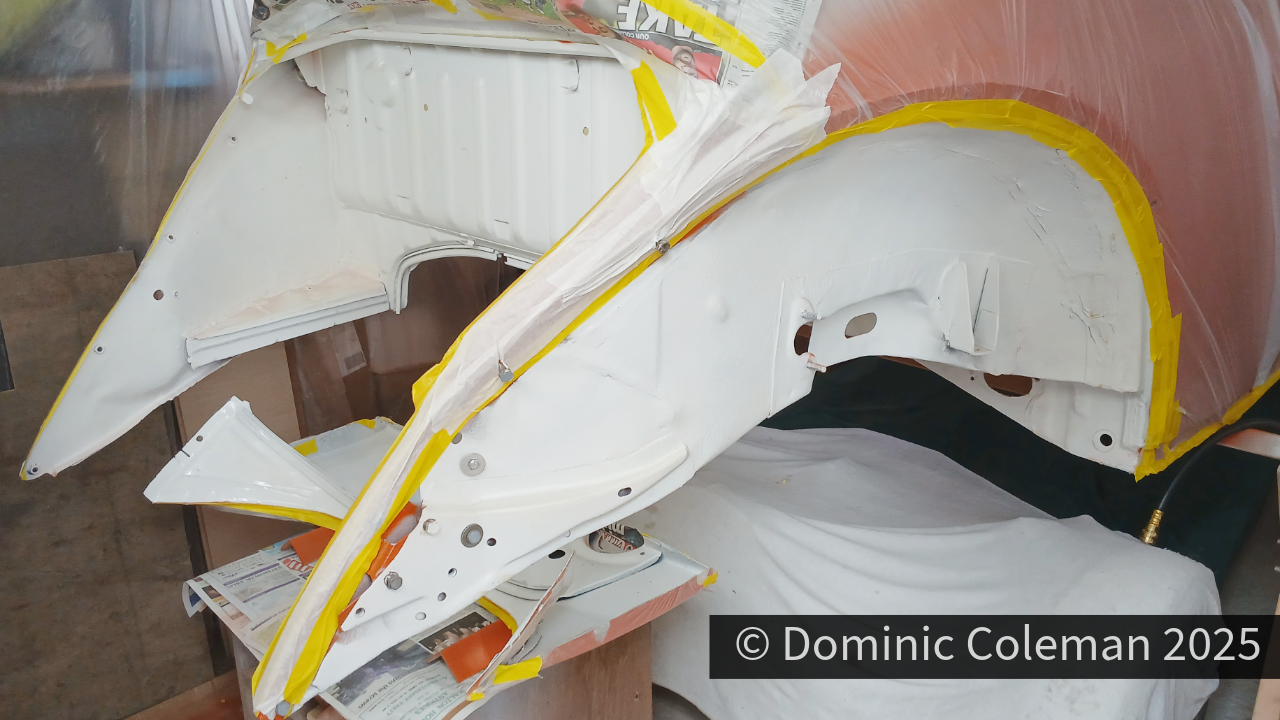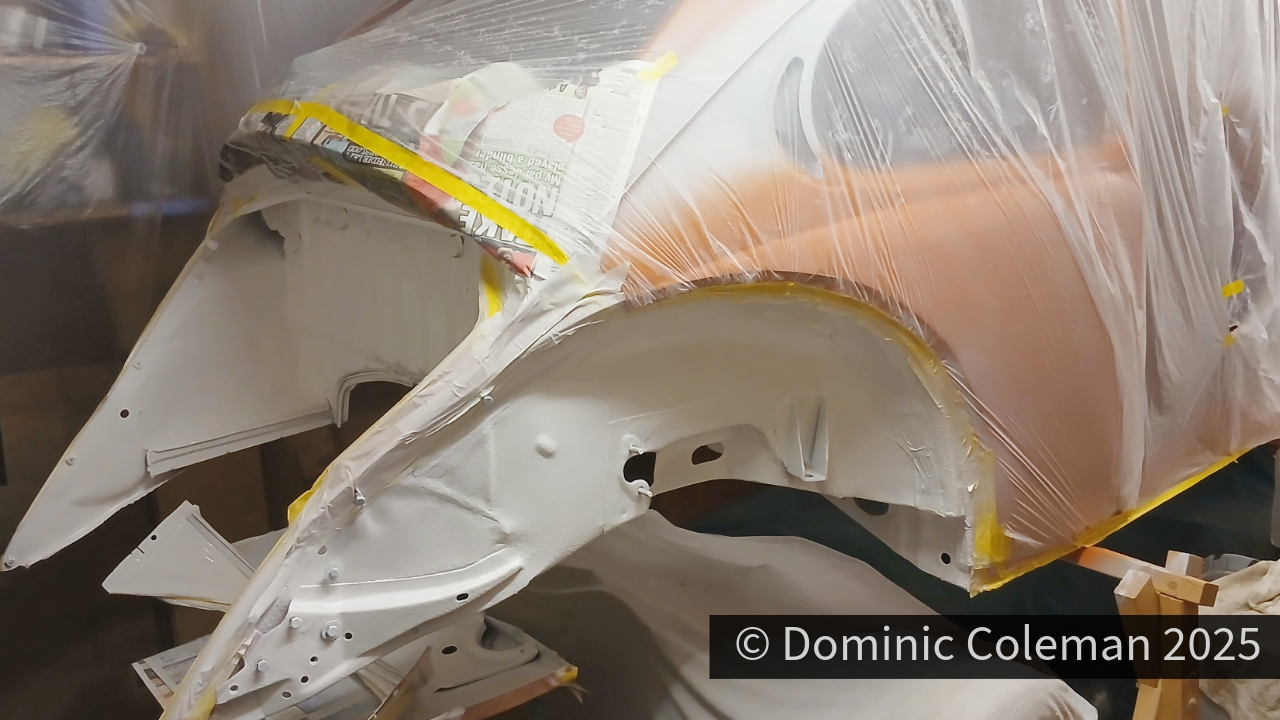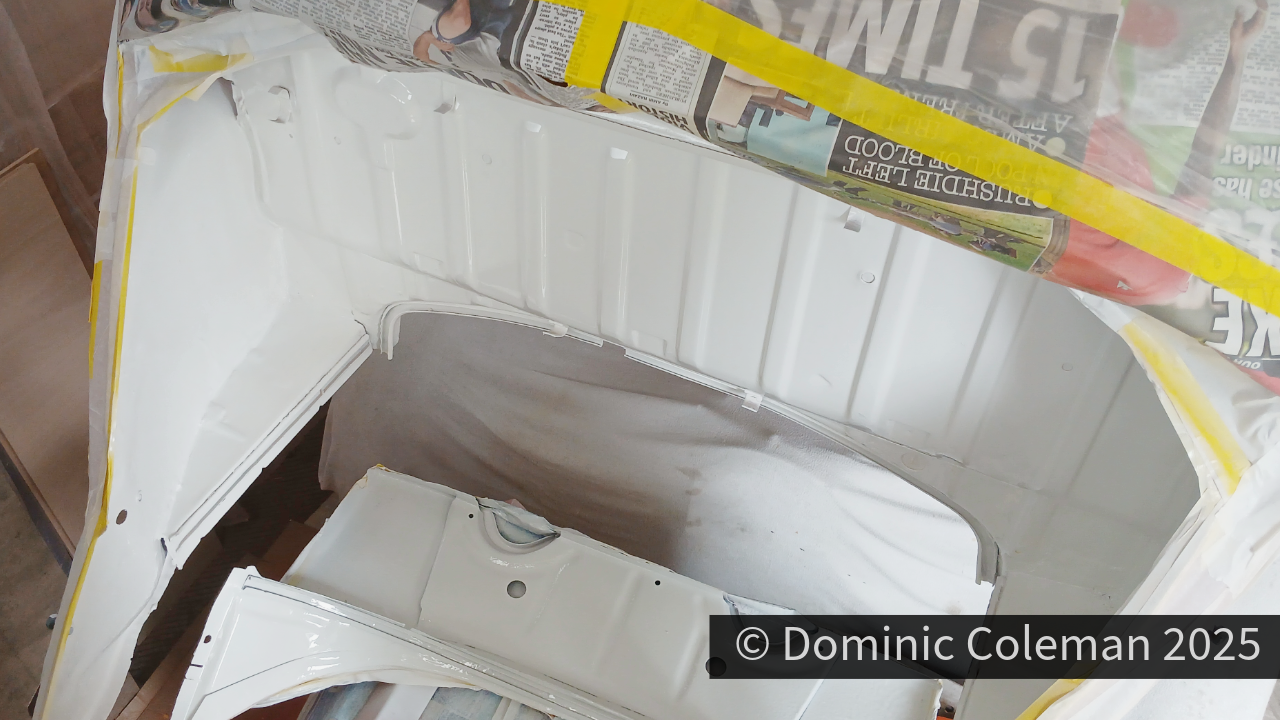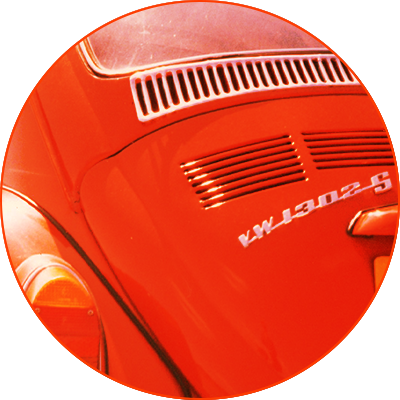
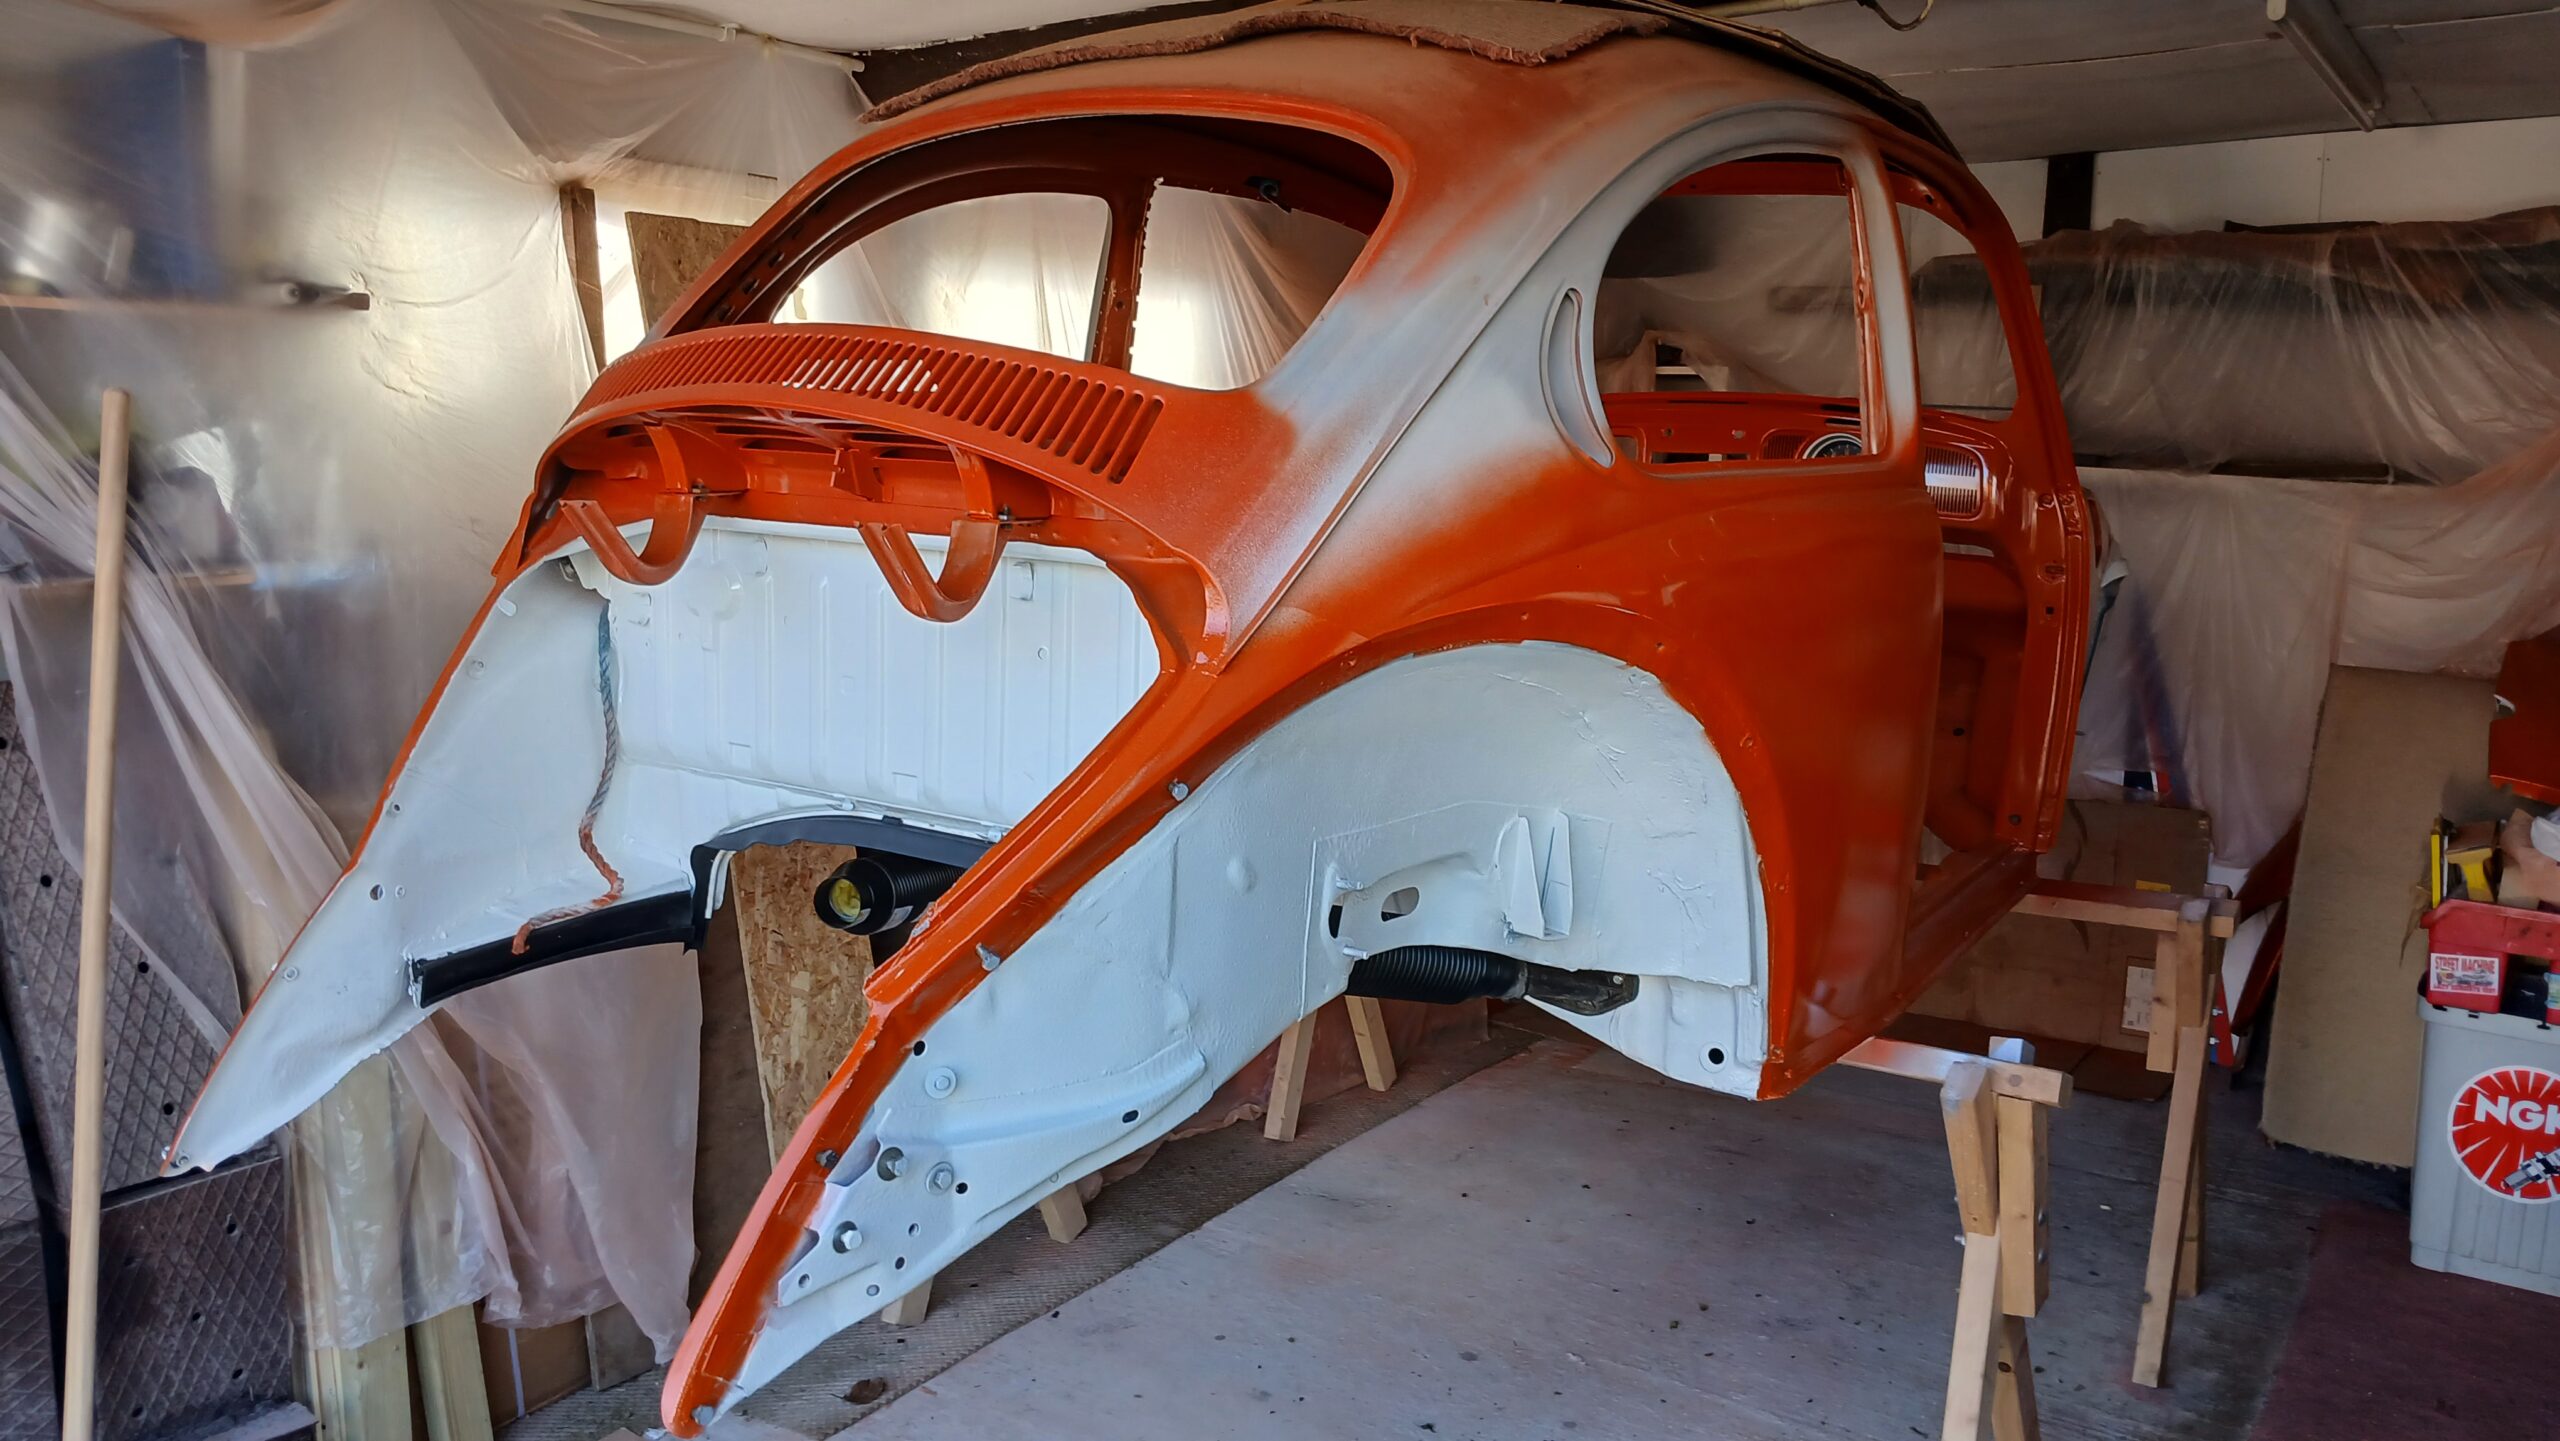
February 2026: The day finally arrived for the body to be put back onto the floor pan. Paul and his assistant, Ash, came over on Saturday afternoon, and I had prepped the work area as much as I could think of beforehand.
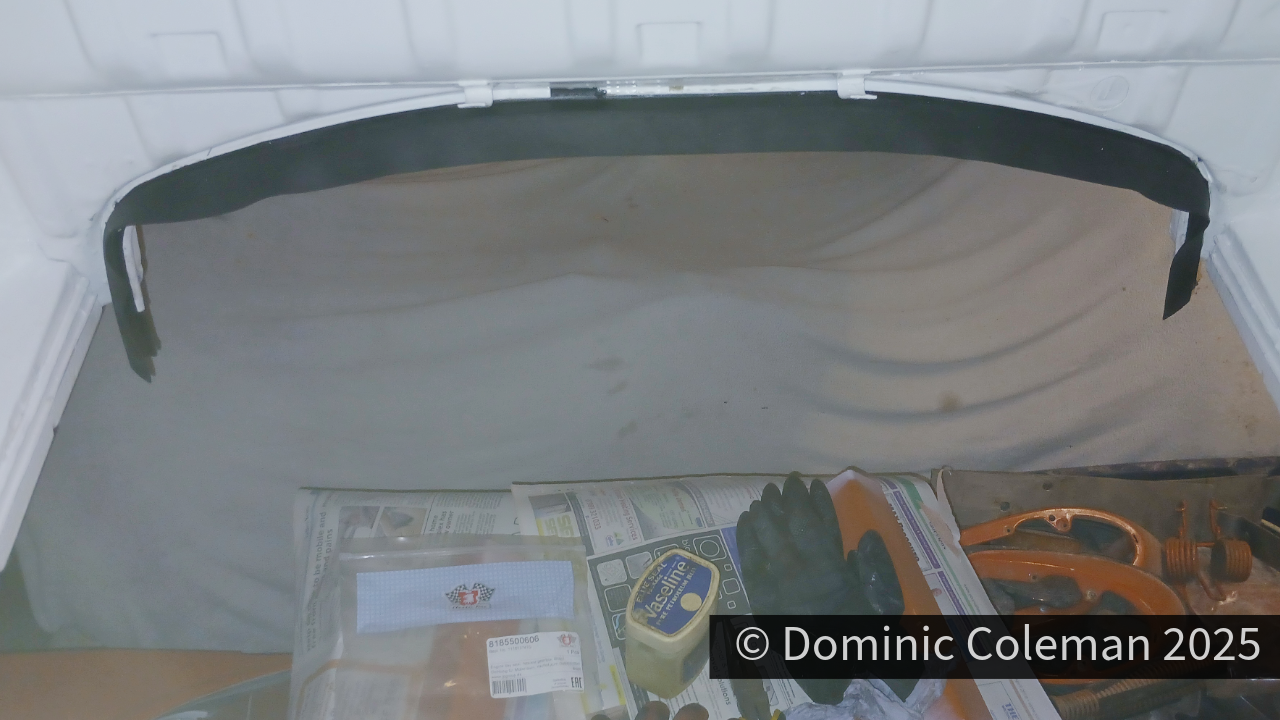
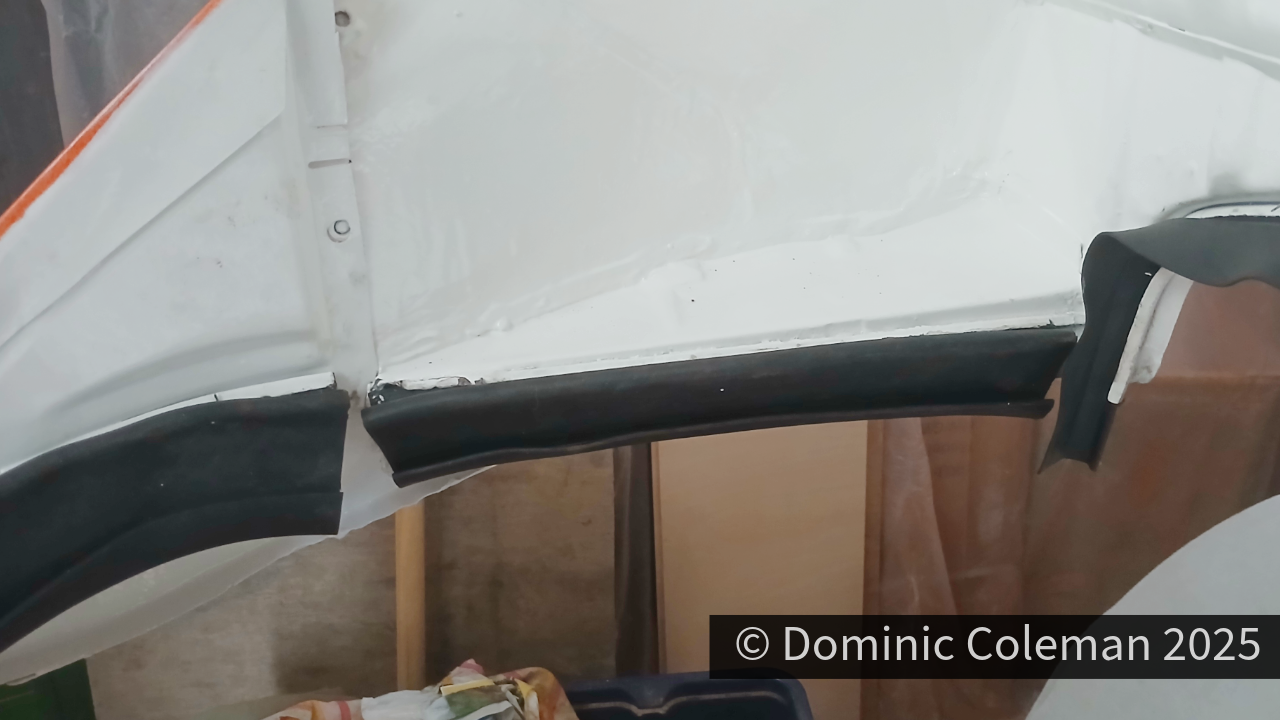
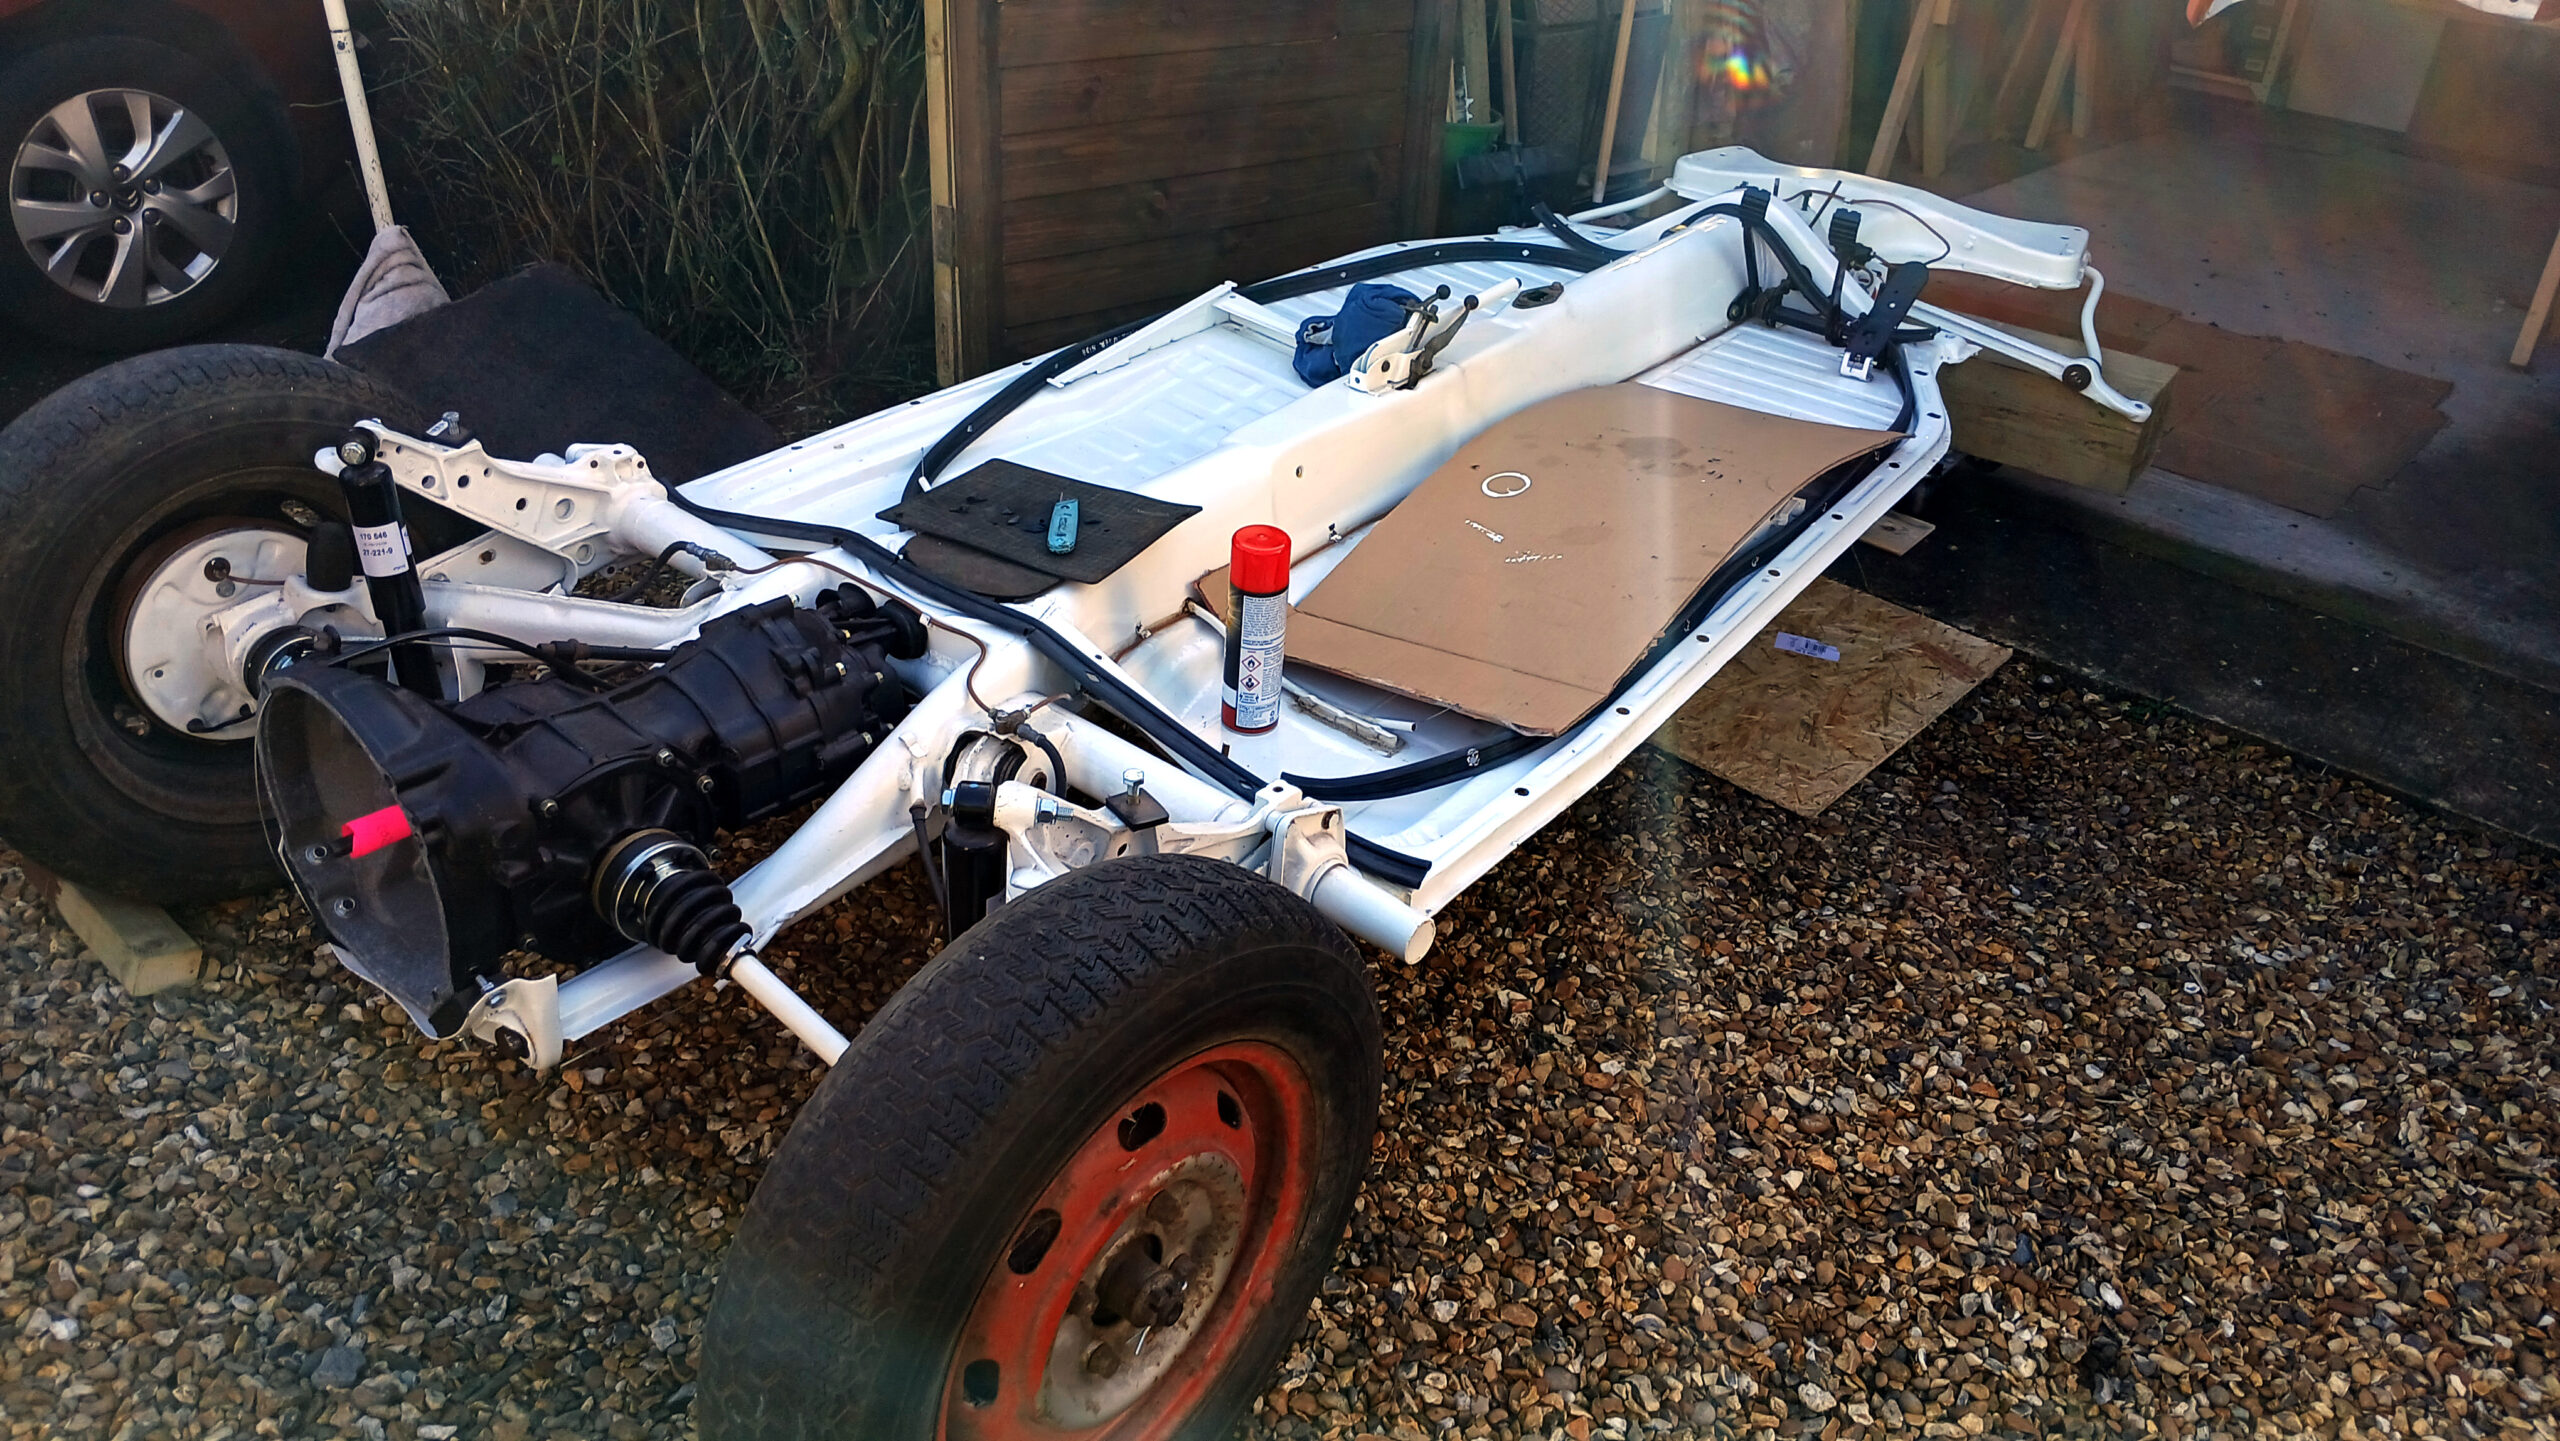
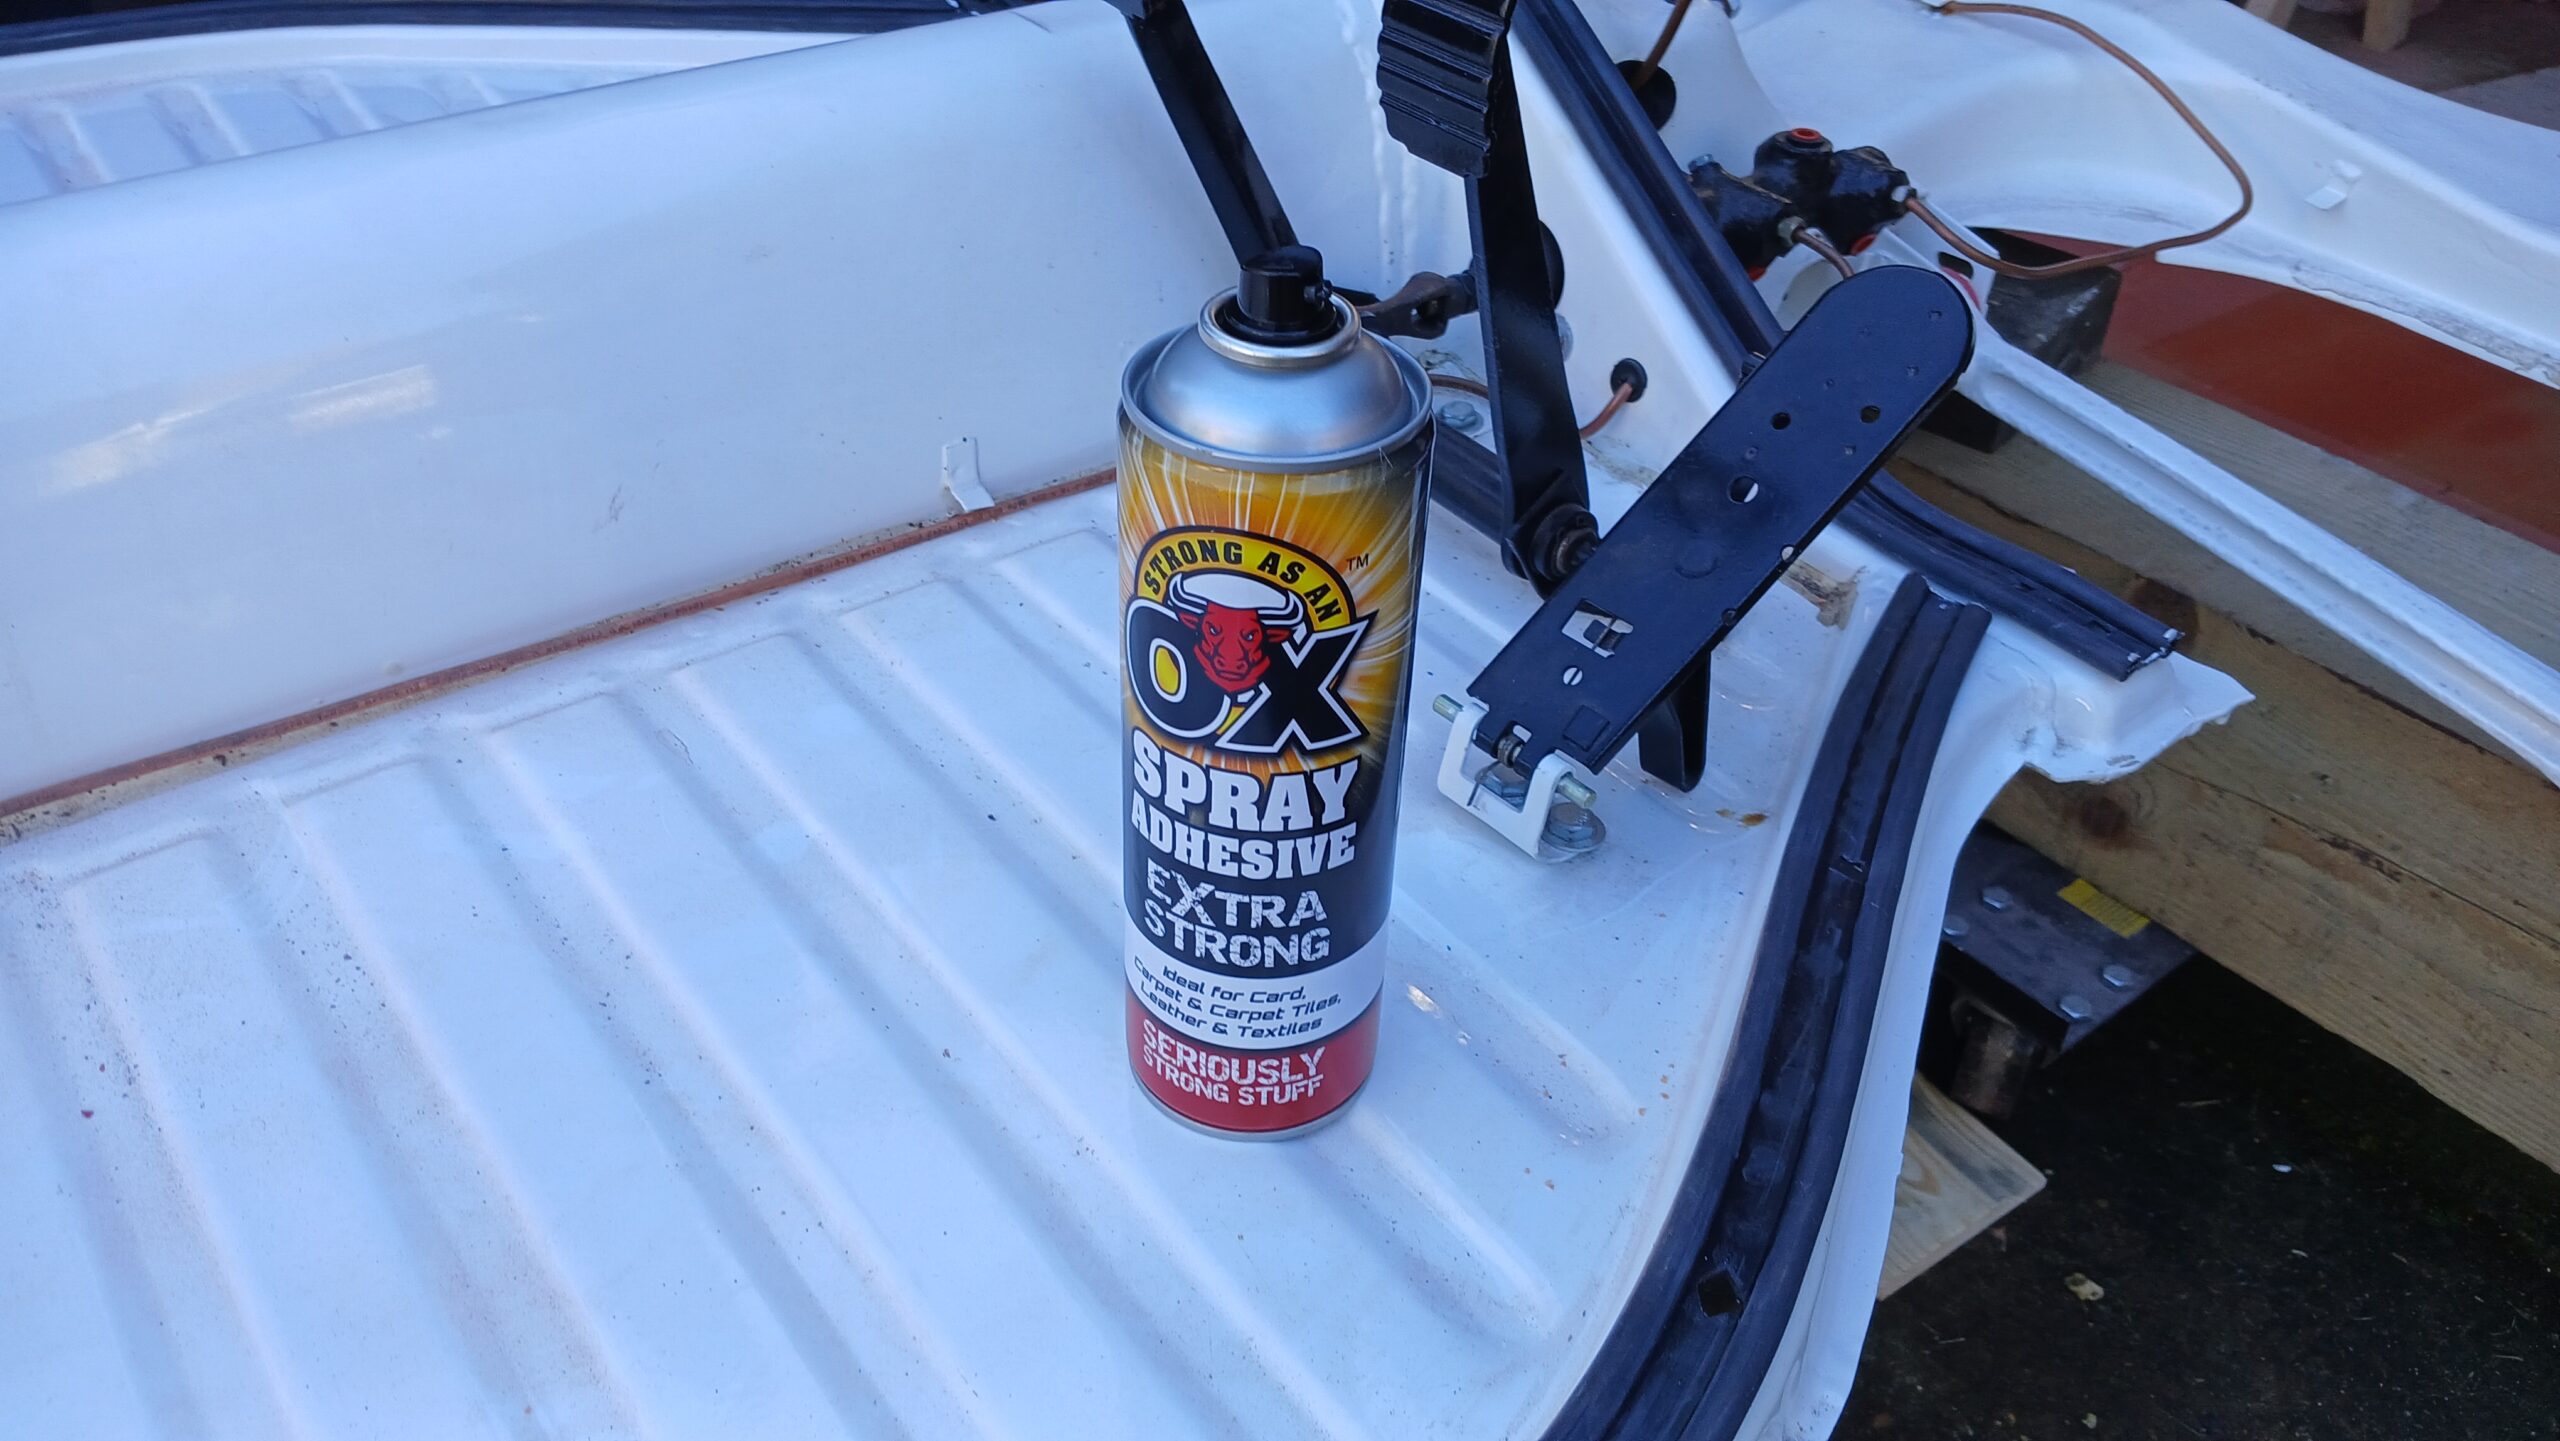
Paul got straight to it, quickly cutting some notches in the rear crossmember rubber seal. We then used a strong carpet spray adhesive to stick the rubber seals to the floor pan.
The floor pan was wheeled back into place under the body, which had been supported on trestles for the last four years. While Paul and Ash lifted the body, I removed the trestles and they lowered it onto the floor pan in virtually one manoeuvre. After a couple of adjustments, all the heater channel bolts went in.
The rear crossmember body holes needed to be enlarged slightly for the bolts and washers to be installed properly. With some persuasion, the front crossmember bolts on the left side (RHD passenger side) went in. Paul then identified a problem on the right-hand side of the front crossmember, where the floor pan bolt holes (x2) were about 5mm off-centre. He said he would need to come back with his die grinder to enlarge the holes to access the captive nuts properly.
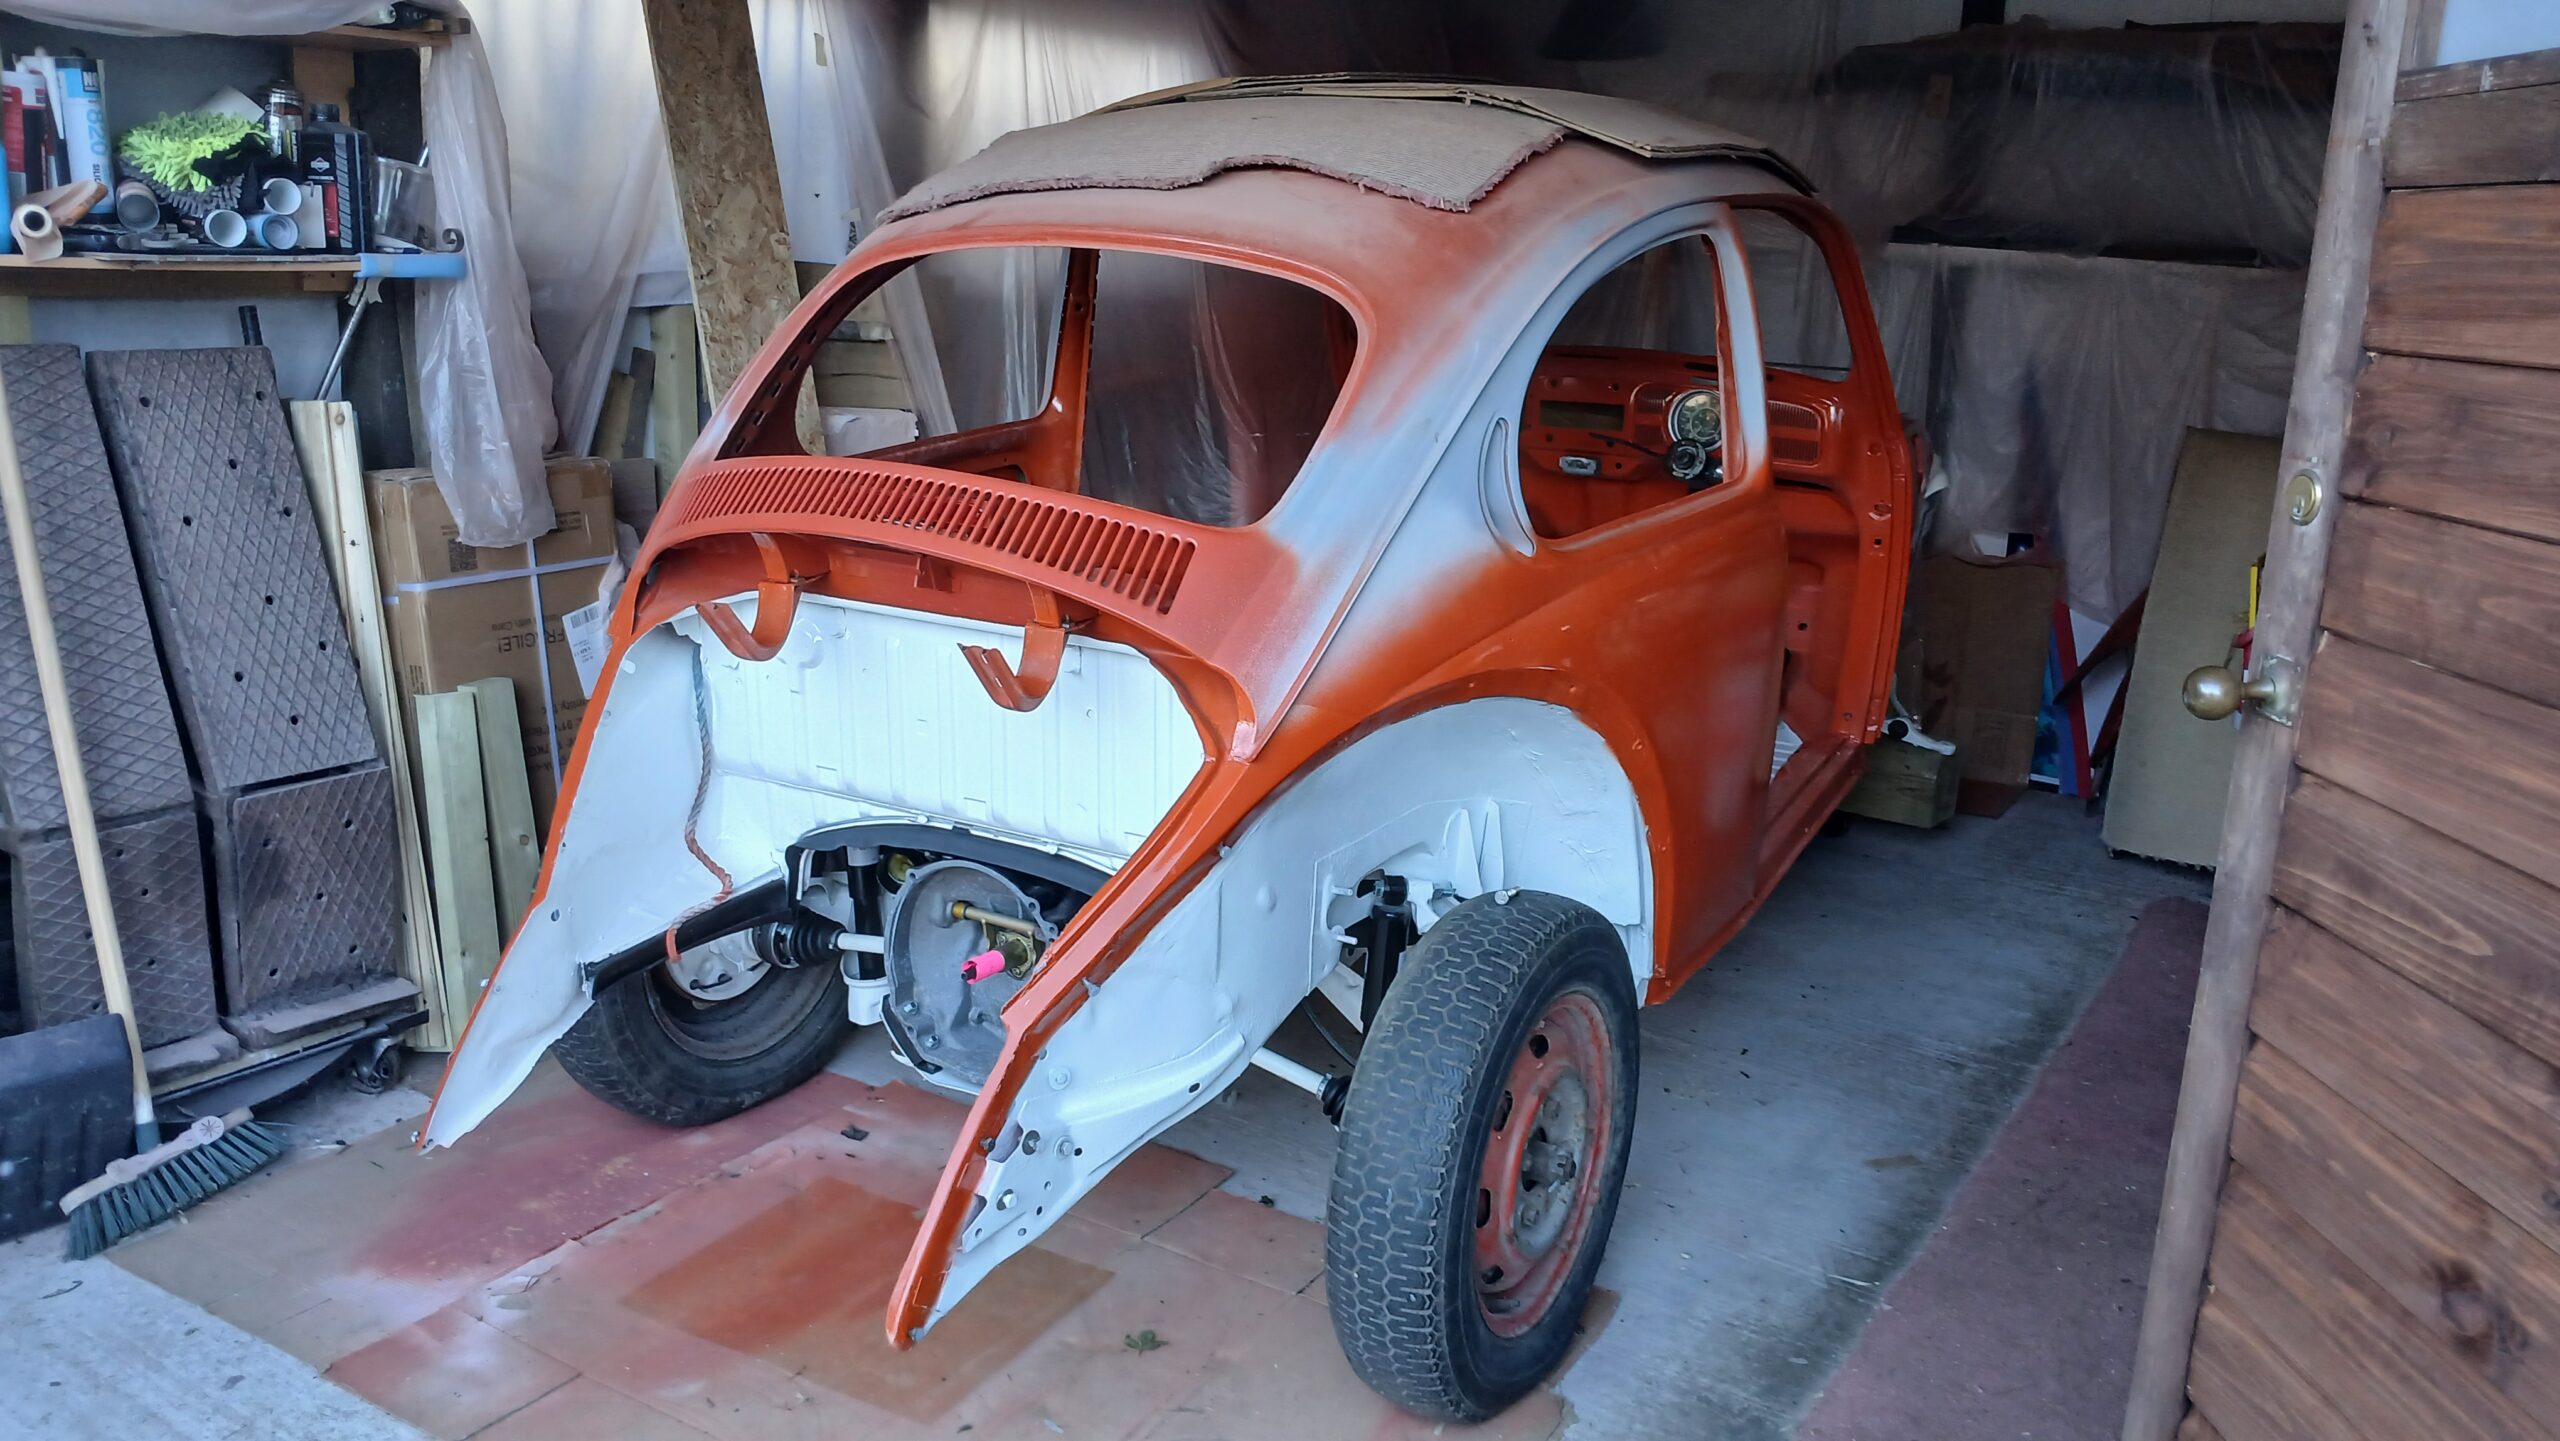
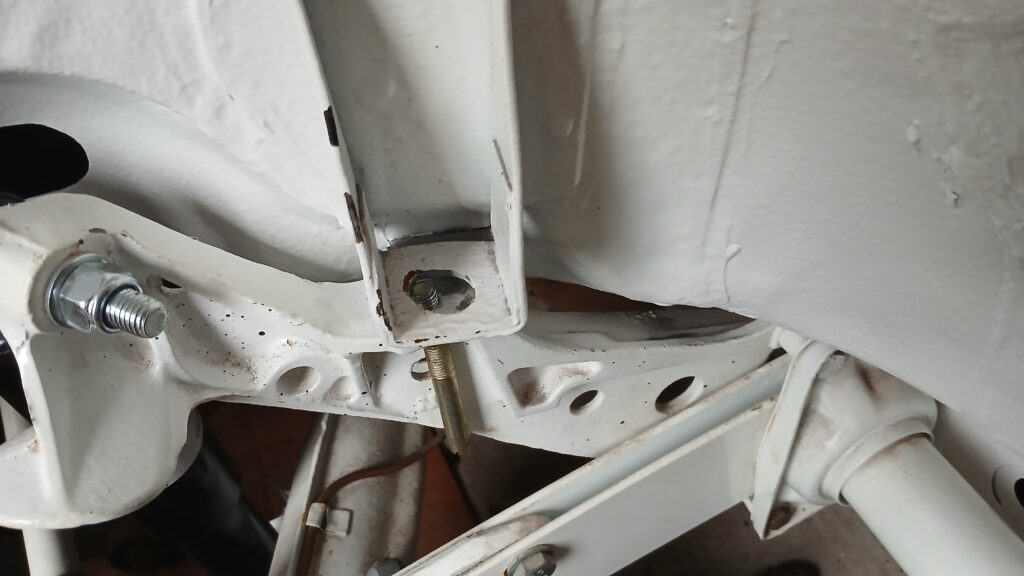
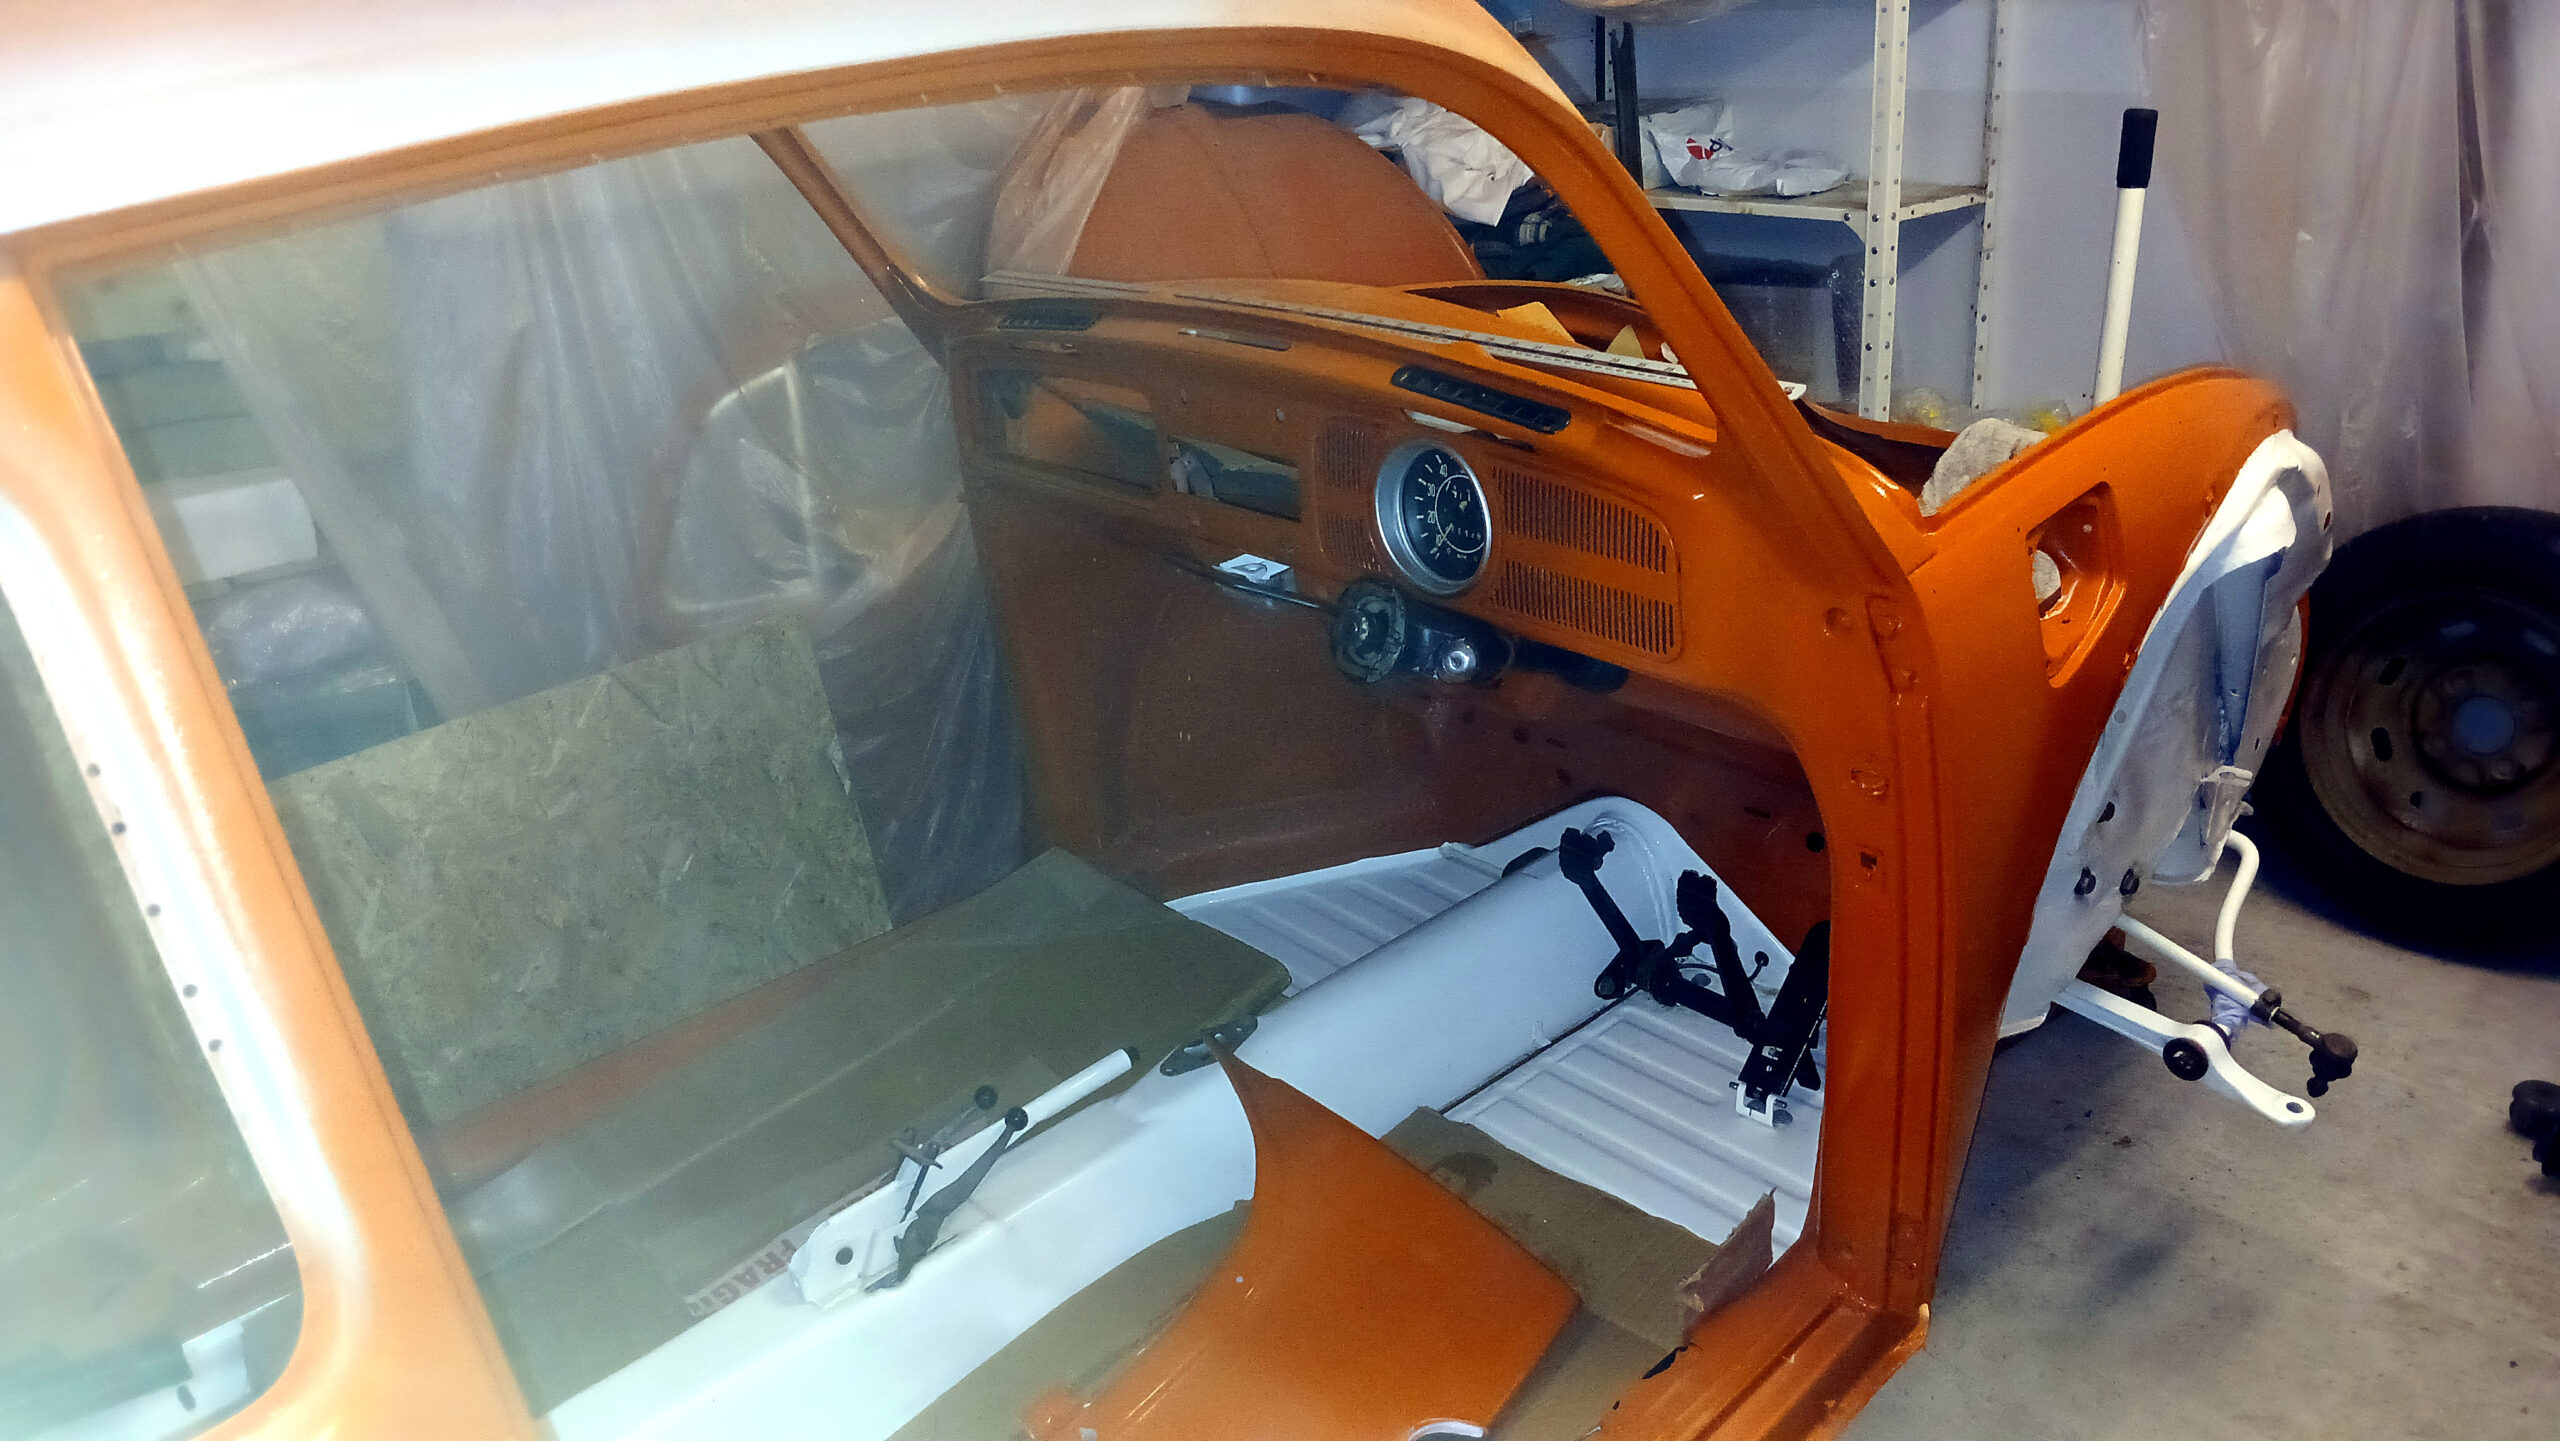
On Sunday, I managed to fit the front frame head bolts to secure the body on both the left and right sides. With a bit of leverage and some brute force, I fitted the left rear mounting bolt. The right side took more time, requiring the Dremel and a grinding tip to enlarge the mounting bracket hole.
Paul came by again the following Saturday to use his die grinder to rework the Napoleon hat front crossmember mounting bolt holes on the right side. As brutal as it sounded, Paul kept the grinding to a minimum within the bolt hole area. It looked a bit rough, but it would be covered by the large washers and bolts anyway.
I then had to reinsert the rubber floor pan seal, which was tricky. I had to lever the body up as much as I could—no more than about 3–4 mm—and carefully poke the seal back into place. Once I was satisfied the rubber was seated properly and the bolts would go back in without issue, I sprayed primer on the exposed metal before reassembly.
At last, the body was fully secured to the floor pan with all the bolts in place.