Categories
bodywork brakes

Fettling

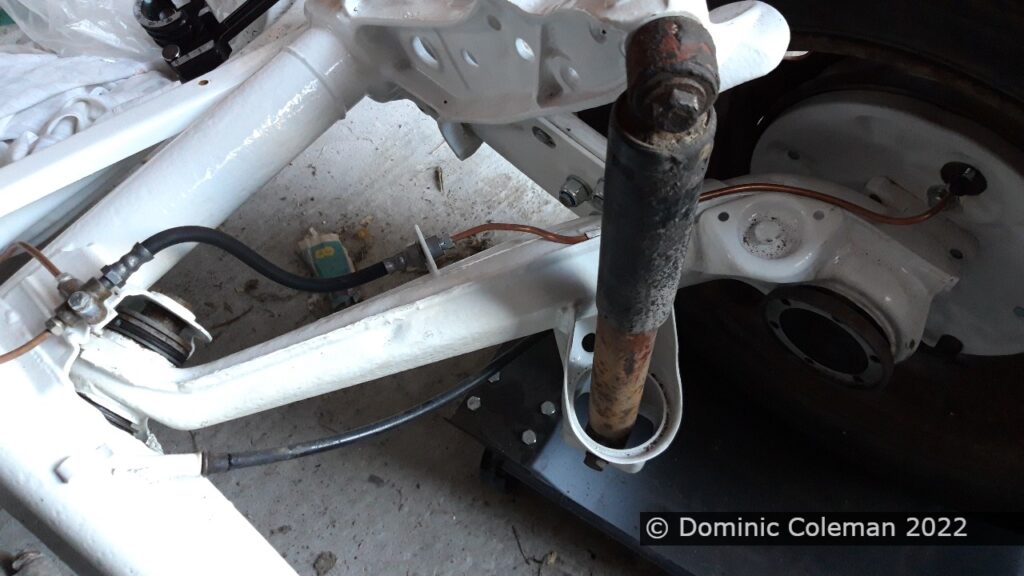
During October 2022, one of the other little jobs that had hung over me for the most part of 12 months was to finish off the brake lines for the rear. During the summer, I had found on eBay nearly new, flexible brake pipes for the front and rear and finally ordered from Amazon some male/female 10 mm brake pipe unions. I already had some 6 mm copper brake pipe left over from when I had done my Ford Corsair brake lines a few years ago. The pipes were made up and flexible hoses were fitted but only loosely tightened as they didn’t have any fluid in them. The master cylinder was still at this point needing to be sent away for refurbishment.
Having dabbled with filler and satisfied myself that there was a fair bit of work to be done I turned my attention to other parts of the car. If I was going to go the whole hog of a full body repaint then I needed to strip the body shell of more items. First was the headliner, which I kept for future refitting reference. Next was removal of door latches, interior light, dashboard instruments and switches. Removal of the dash instruments wasn’t too difficult, but putting it back together maybe something of a nightmare. I also removed the wiper mechanism along with the wirng loom, which was a birds nest of a mess as the plan is to renew it.

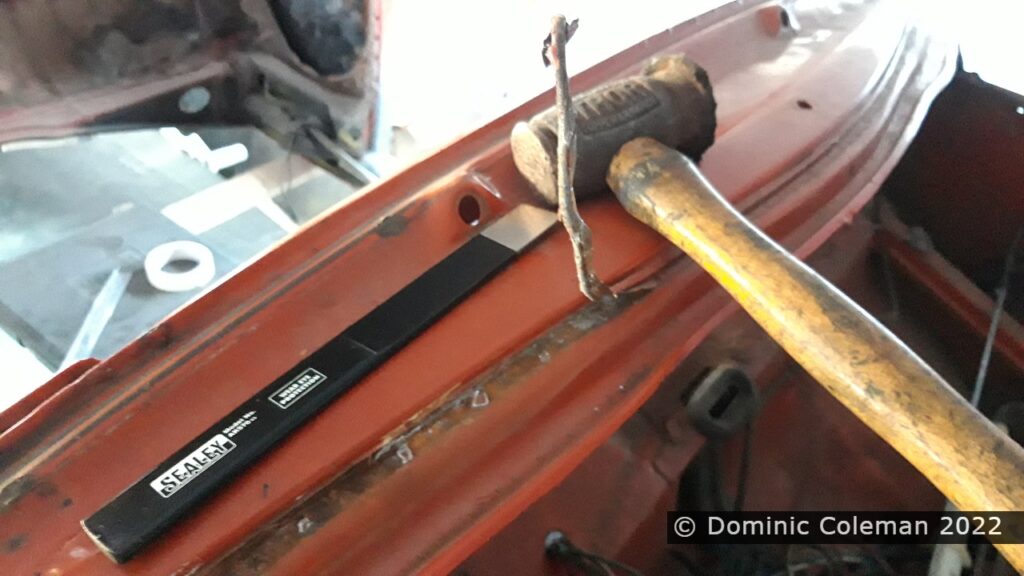
With the dash stripped out I could look at the body work side of things in more detail. One job that again had been hanging around in my head was the removal of the seal retaining strip that would have held the bonnet rubber. Paul had suggested that I go the Mexican Beetle method of the rubber that attaches to the bonnet and engine lid for a cleaner finish. So with a new spot weld chisel I set to breaking off the spot welds and had the retaining strips removed in a relatively short space of time. The remnants of the spot welds just needed to be ground flat and smoothed. I doubt the car (if/when finished) will see much of the rain when used, especially if the new seals (when fitted) aren’t very good.
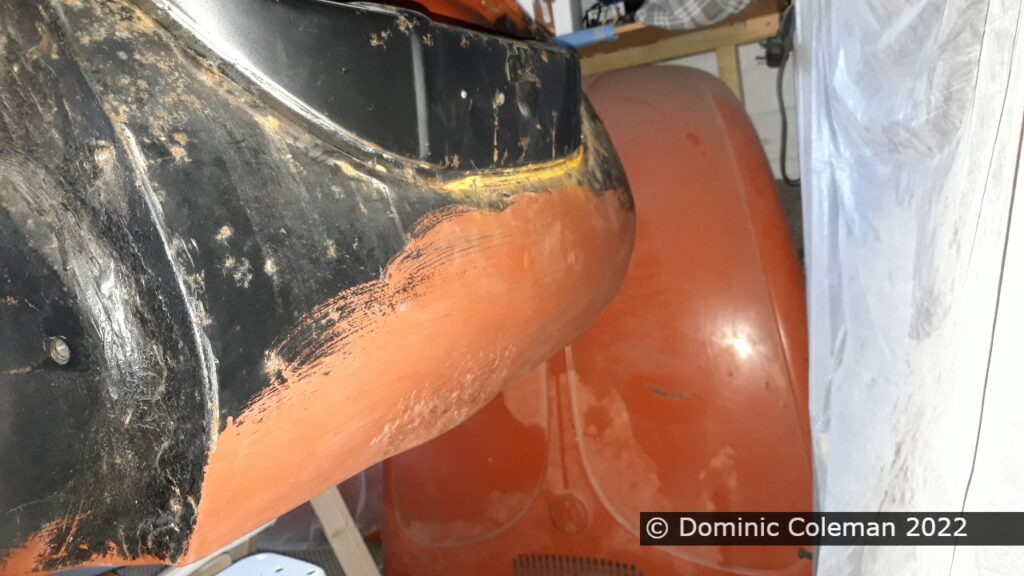
The front valence had taken a bit of a battering when the body was being removed from the floor pan way back in June 2021. Paul had knocked out the worst of the dents and deformation before returning the body to me but I had a go with my planishing hammer and dolly to re-shape it some more. The result was an improvement and the first time that I had done such panel beating. The surface will be finished with filler.
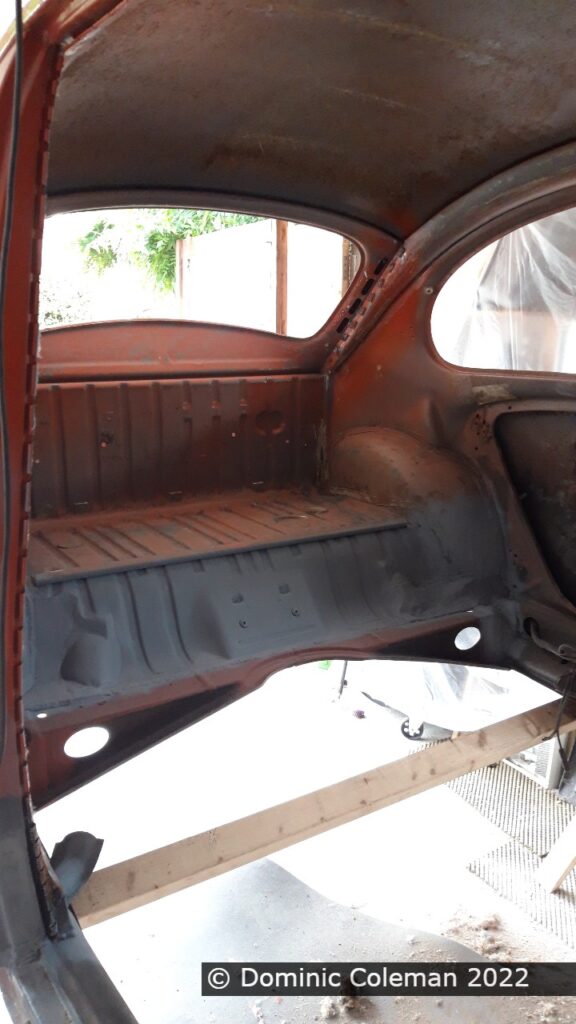
One of the last jobs, prior to doing the Bedliner job (next post), was the very dusty task of cleaning up the rear luggage area from the remains of old insulation and sound deadening materials. I used a cupped wire brush and a knotted wire wheel on my angle grinder. It meant it was a clean area ready as a practice area for trying out primer and painting colour, later on. On the rear lower cross member with the large oval holes, these would accommodate the heater pipes from the engine. Captive nuts would need to be welded around these vent holes before any attempt at primer spraying would be done. I acquired from Paul a couple of vent pipes that had gone missing as replacements and to act as templates to sort his out.
Categories
bodywork

… some time later

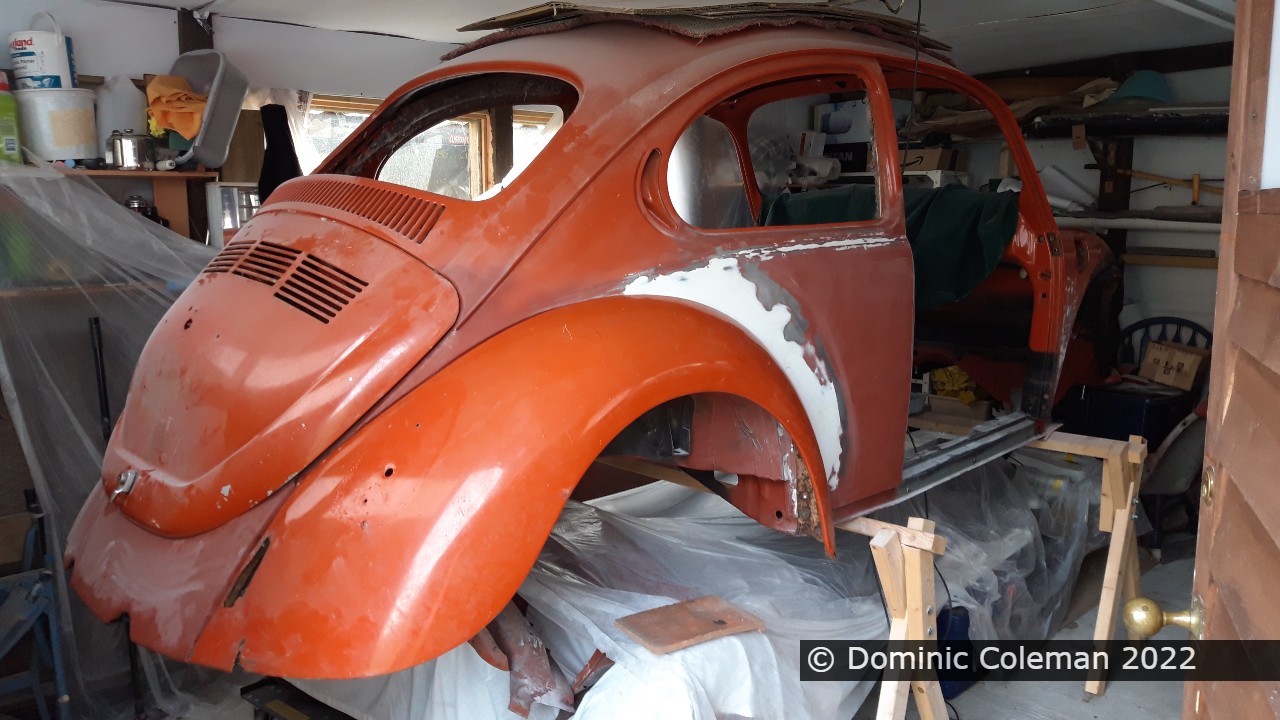
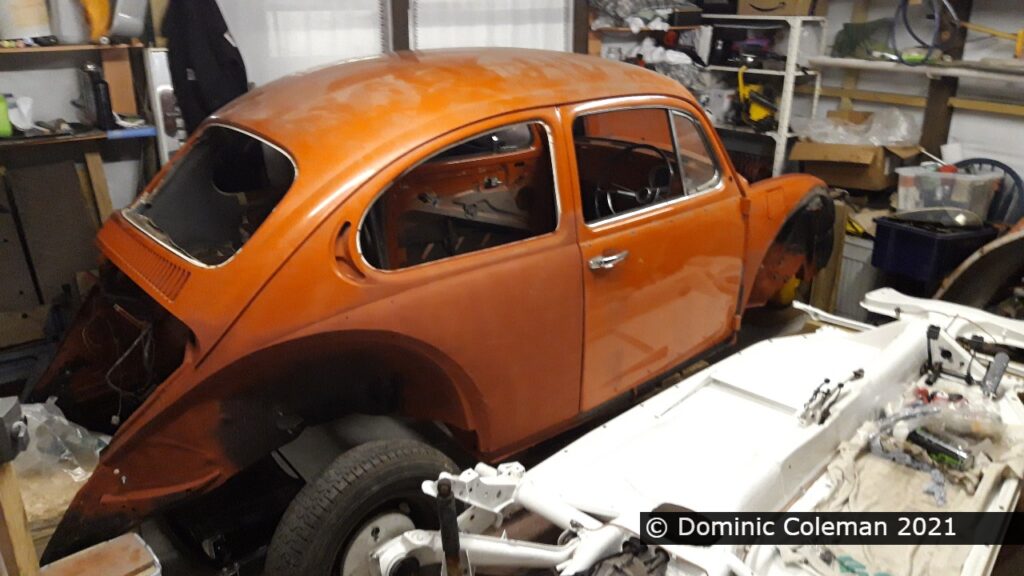
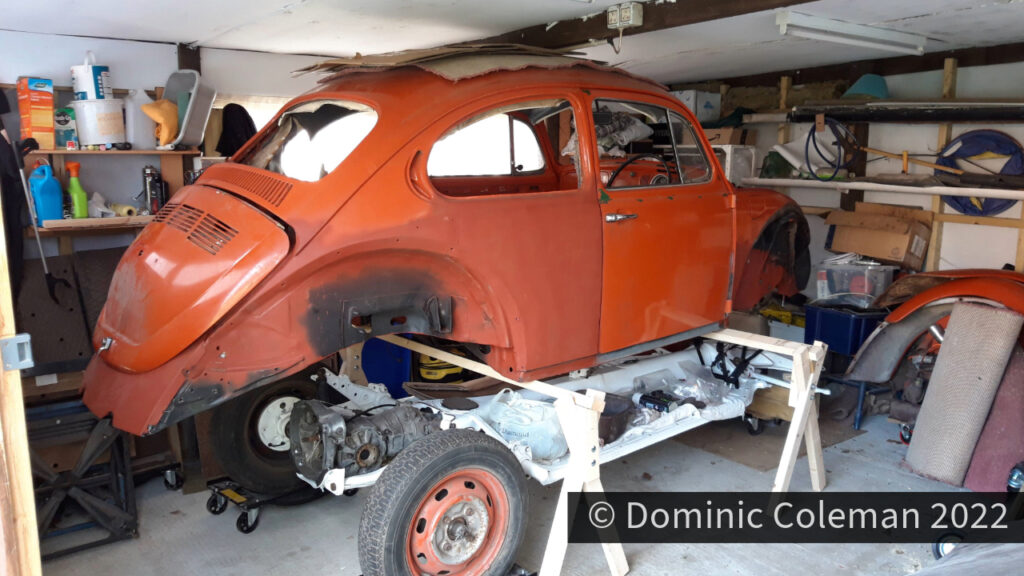
Talk about taking my time. My main excuse for the long break was that from March to August 2022 we had goose eggs being incubated and then the single success of a hatched gosling was growing up in the workshop that housed the beetle. The gosling (Ashley) took up a fair amount of space so working on the beetle just couldn’t happen. At least, with some assistance, I had got the body shell up on to the trestles which I had made at the end of November 2021, therefore I could roll and store the floor pan underneath.

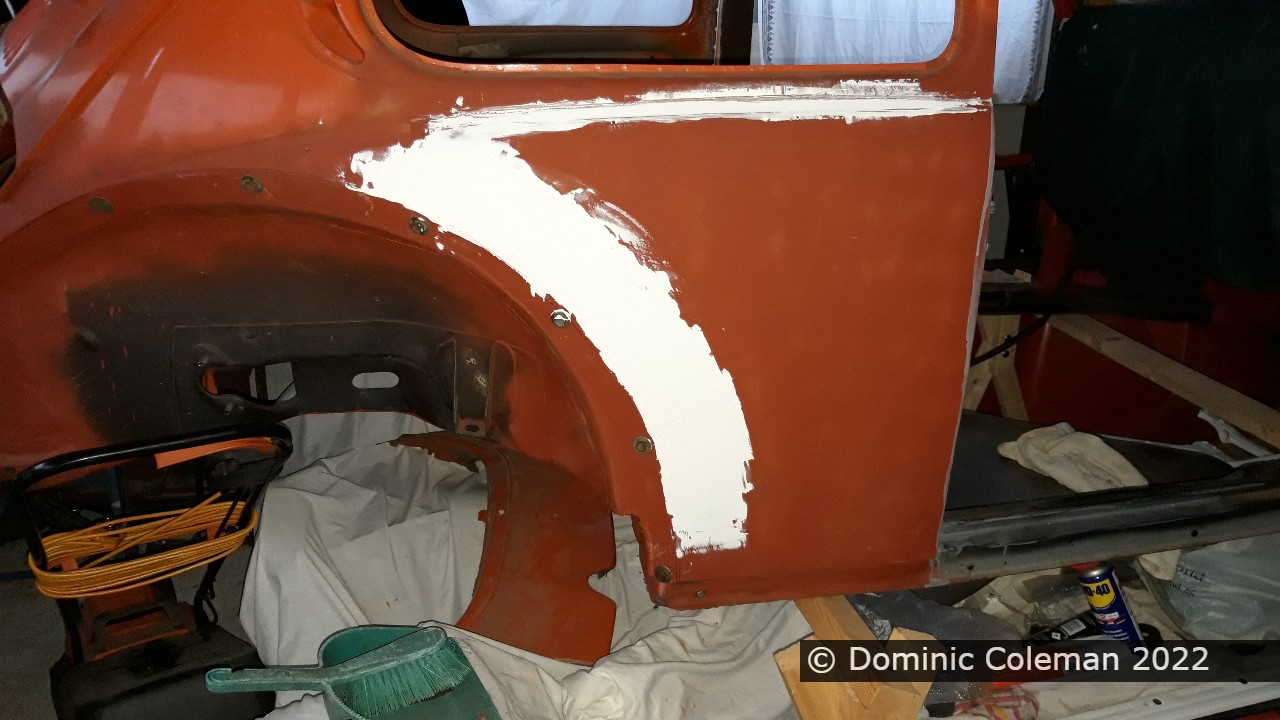
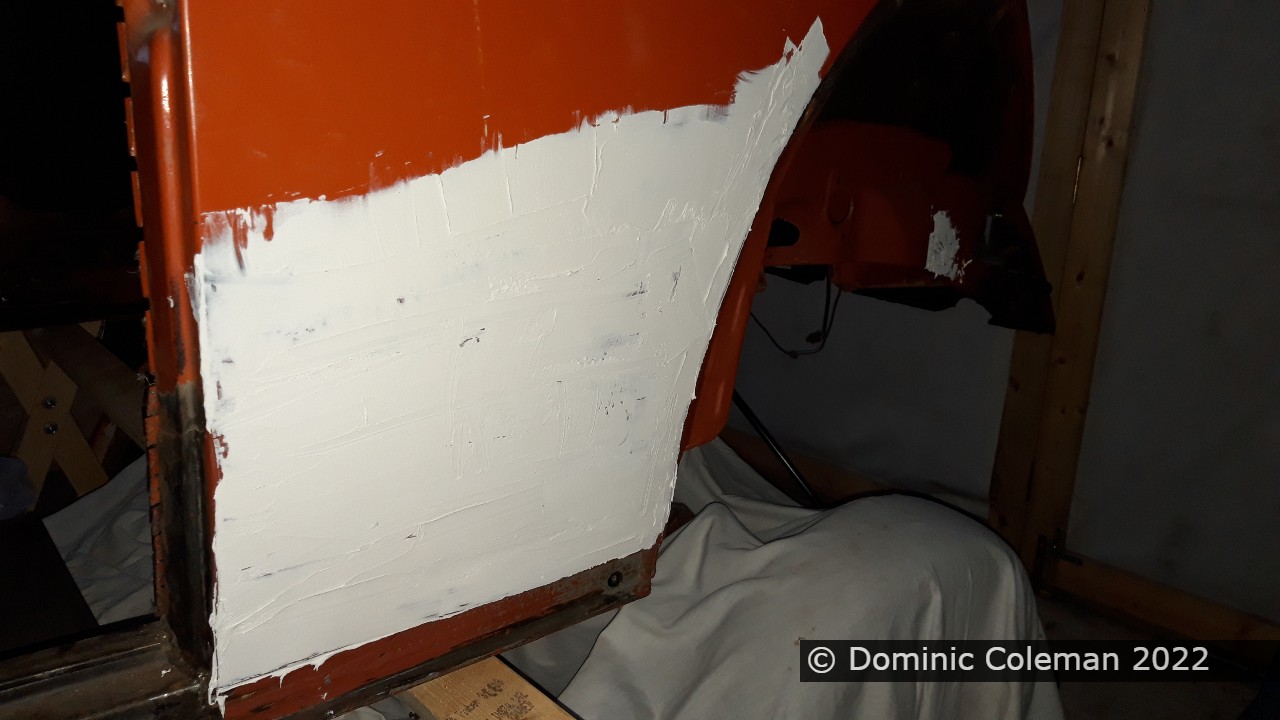
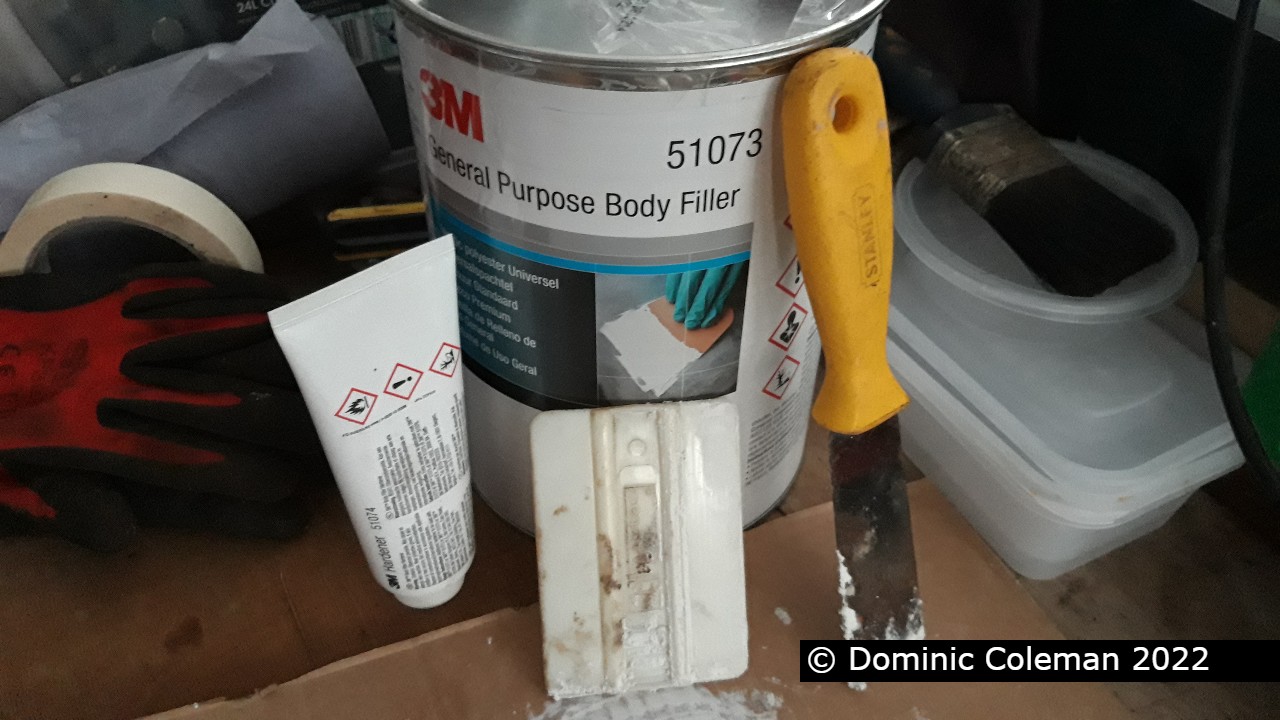
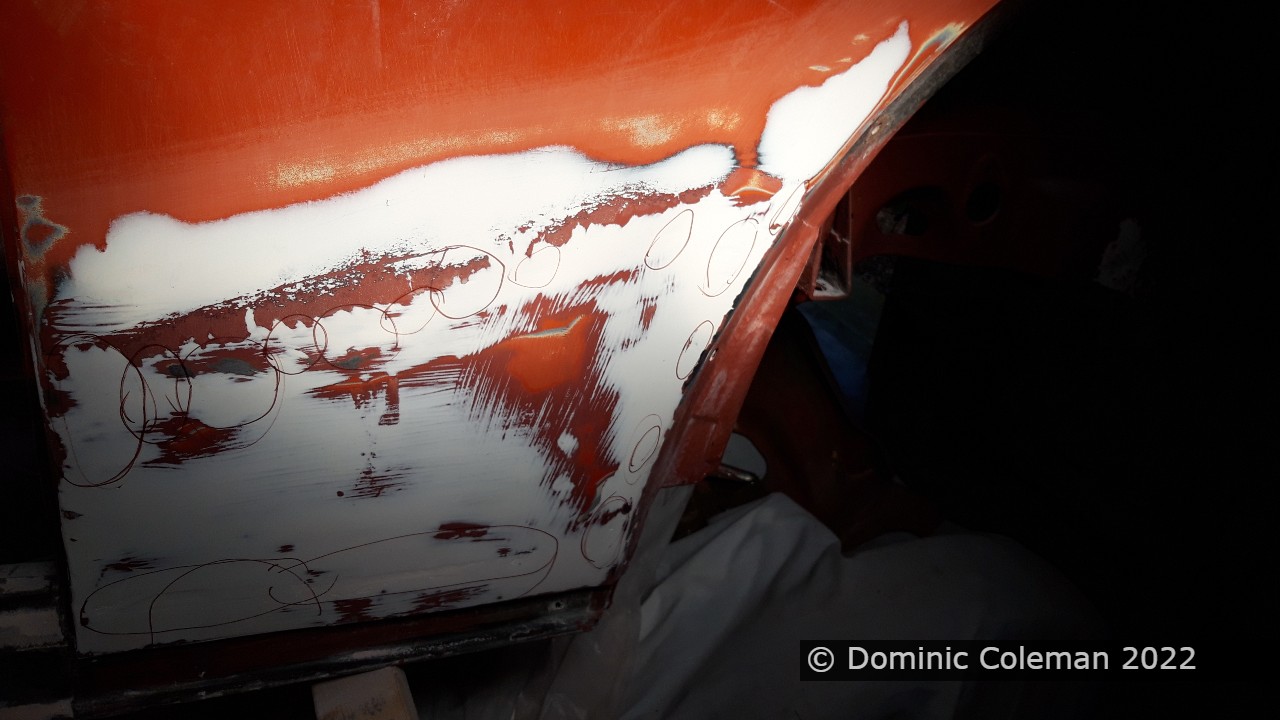
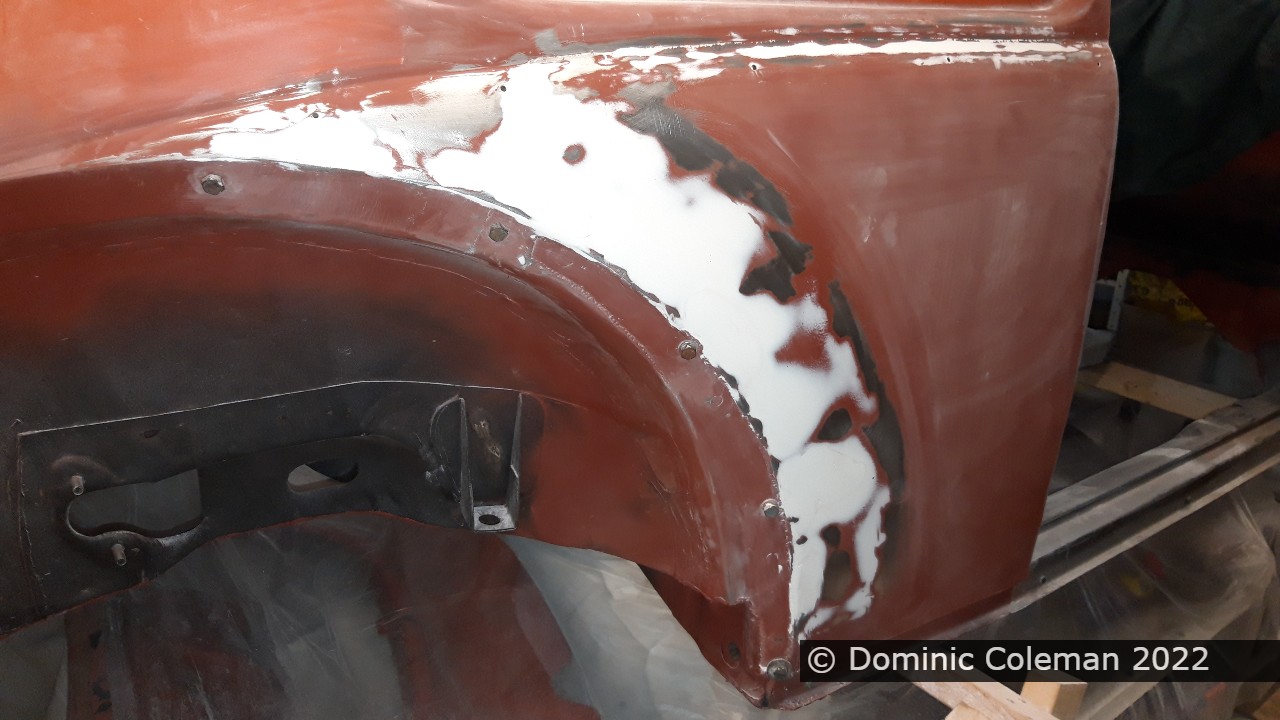
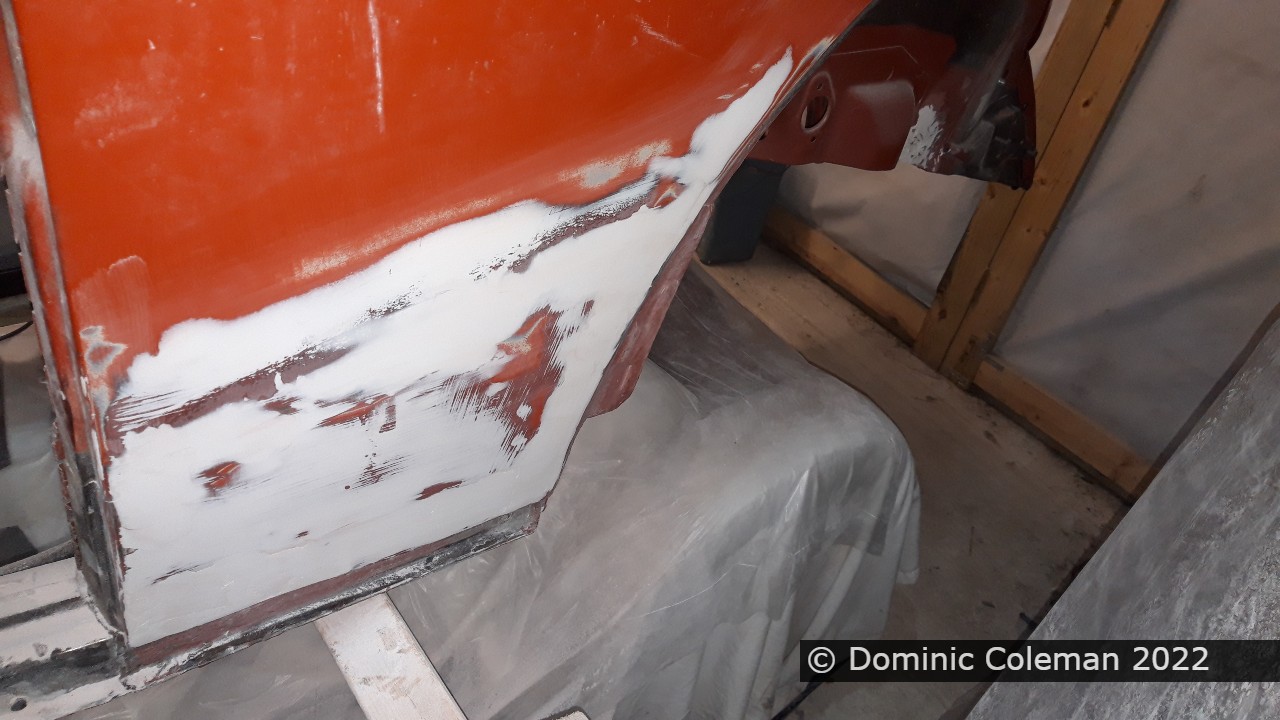
Way back in March 2022, I bought a 3 litre tin of 3M filler with hardener, 5 litres (with hardener) of high build primer, 5 litres of thinners and 3 Cobra Bedliner systems (anti stone chip) to use with a Schultz spray gun. Roll on September 2022 and I had the space to work on the body shell and my first job was to try out the filler on the rear quarters.

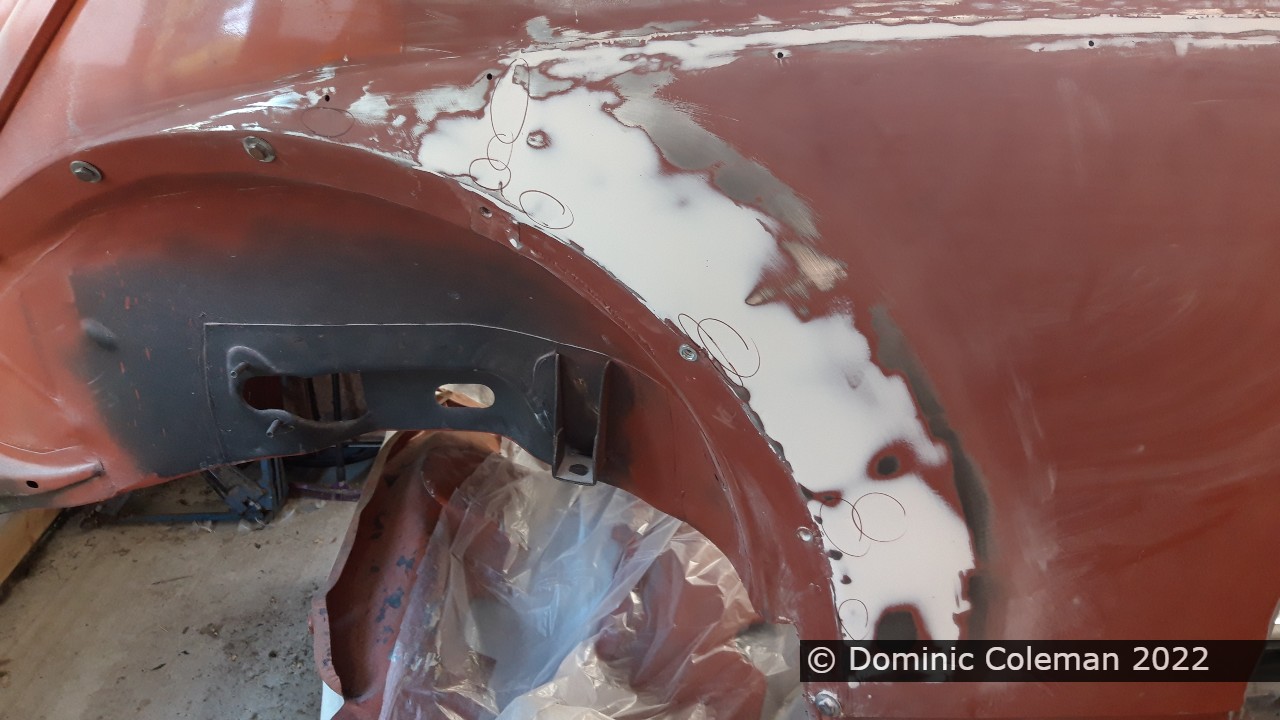
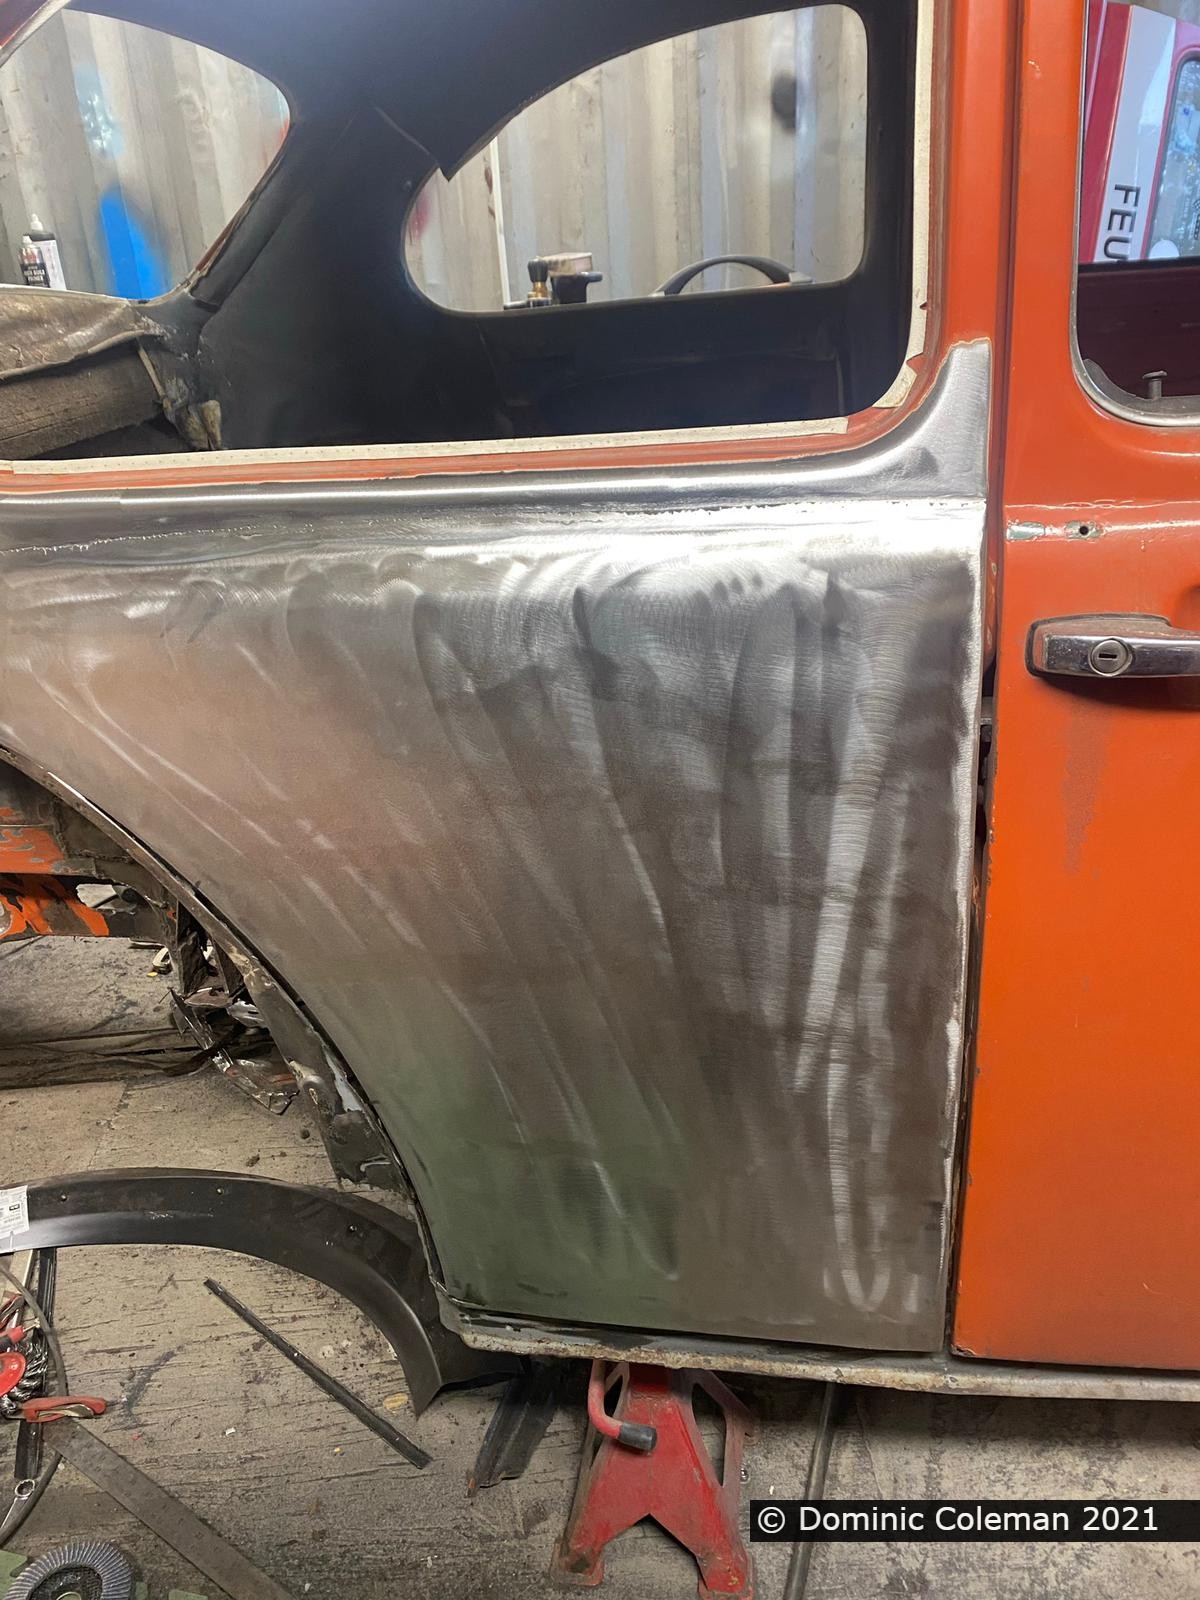
The body filling was done over several days with the first layer being rubbed back initially with an orbital sander and 80 grit paper to expose the low points. A second layer was applied and rubbed back by hand to reveal the low spots again and thus a third layer was applied and though an improvement there were still low spots after a combination of orbital and hand sanding. Having seen something on YouTube, I bought some better filler spreaders as the plastic applicator (vinyl applicator) I had been using was too stiff and not giving any flex to follow the body shape.

After the third filling and rubbing down attempt I decided to stop and seek some assurance by speaking to Paul before I went any further. I had by then got a reasonable idea for filling and trying the techniques of rubbing down with different grades of paper – I just needed to take my time therefore turned my attention to stripping the car down to just a shell.

Categories
bodywork welding

The Body Shell

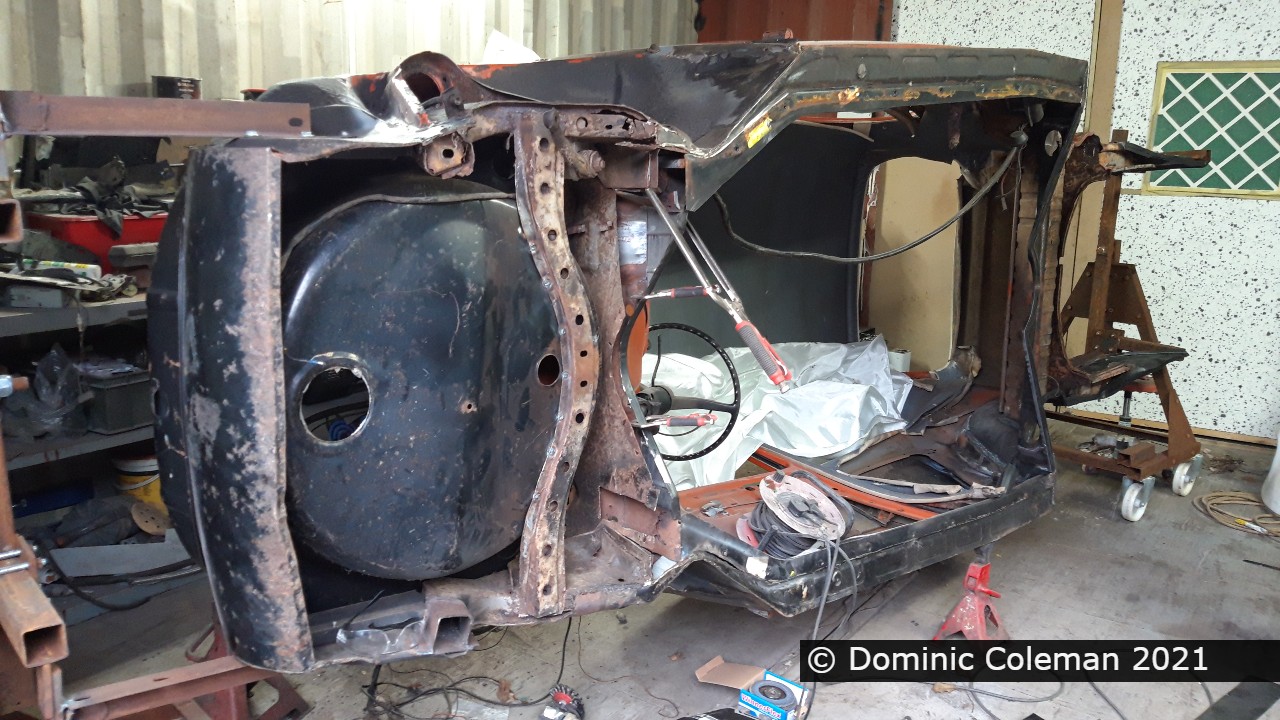
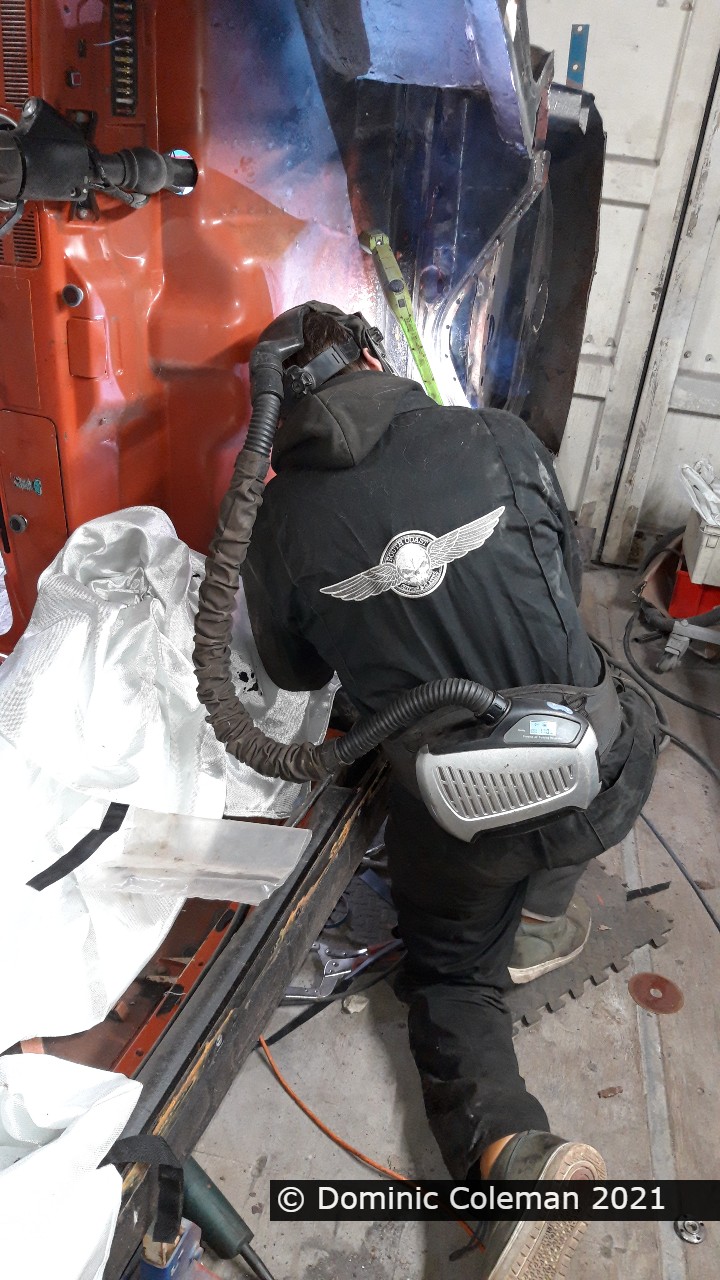
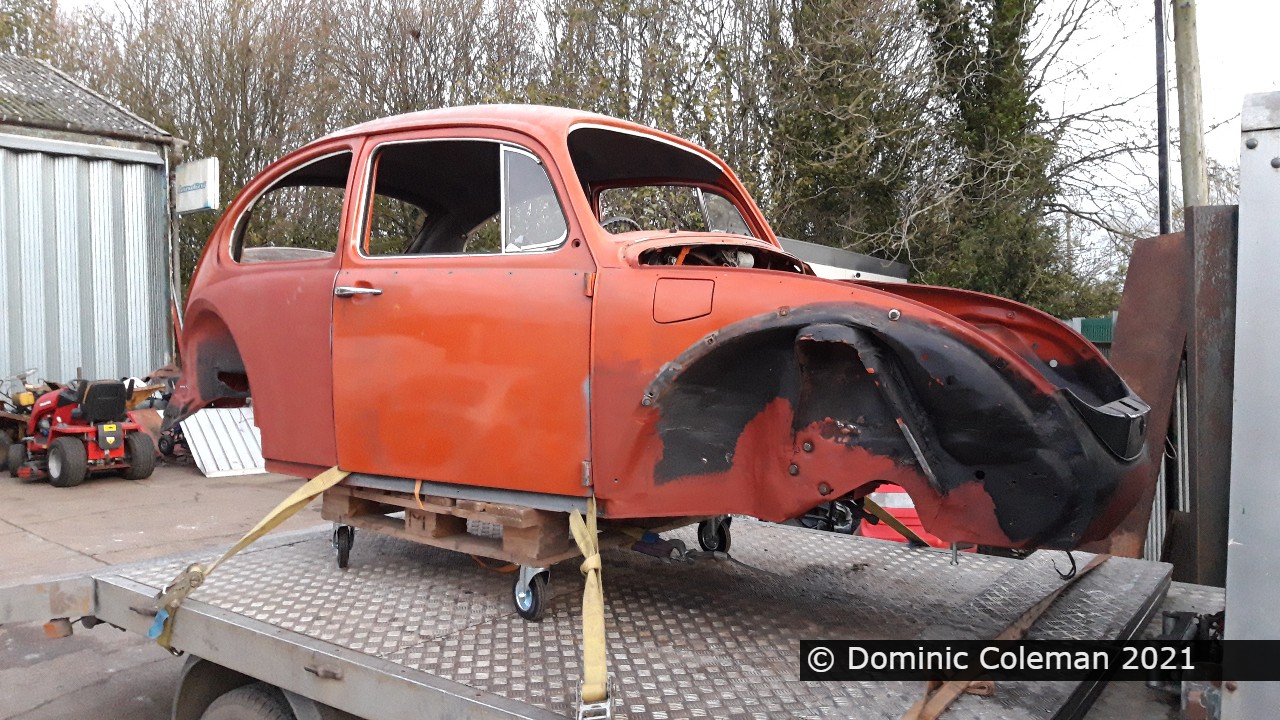
November 2021: With the semi-rolling floor pan returned home, Paul had the body shell to work on. By the time I went back to his workshop to help out, a couple of weeks later, he had already replaced the rear bumper bracket mount, repair sections so as to get it up on to a rotisserie. He had also formulated the rudimentary set up for the removable rear valence. The removable rear valence would greatly assist in the installation and any future removal of the engine.

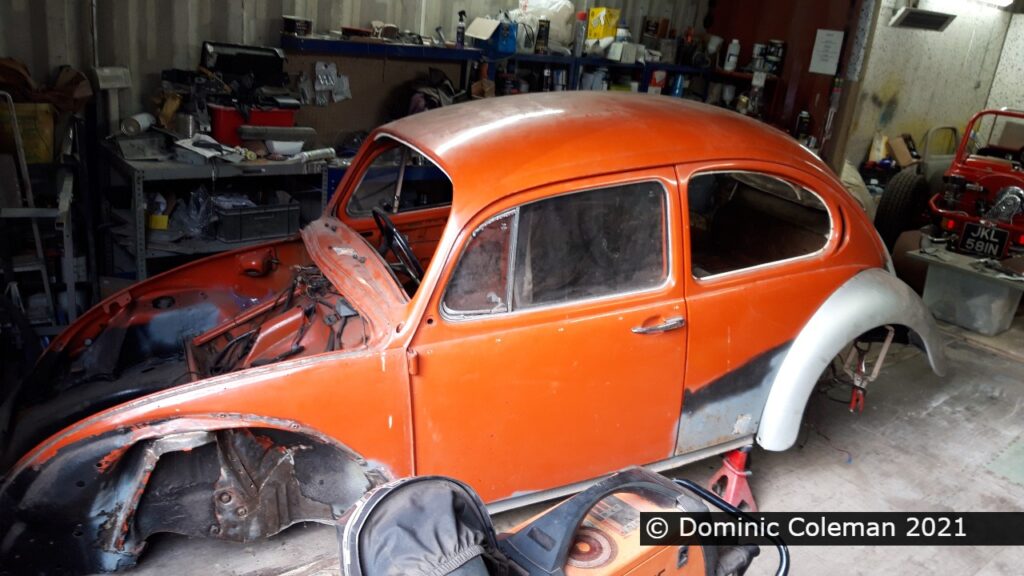
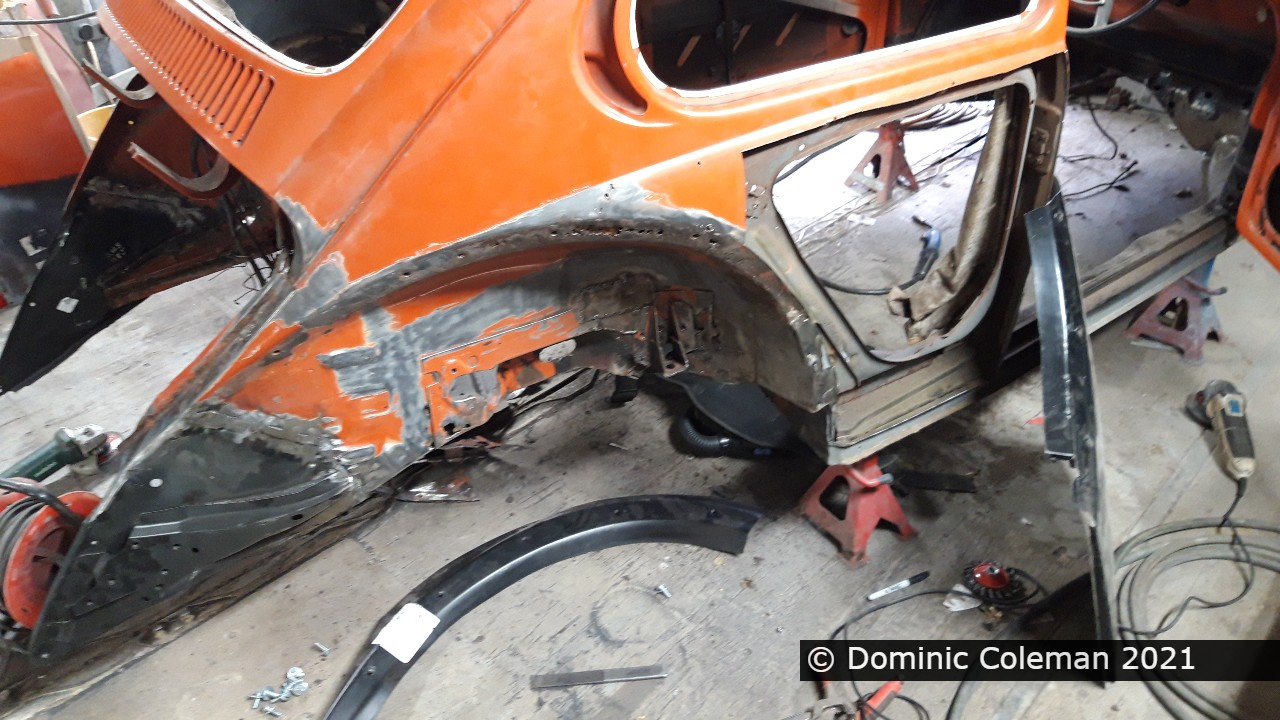
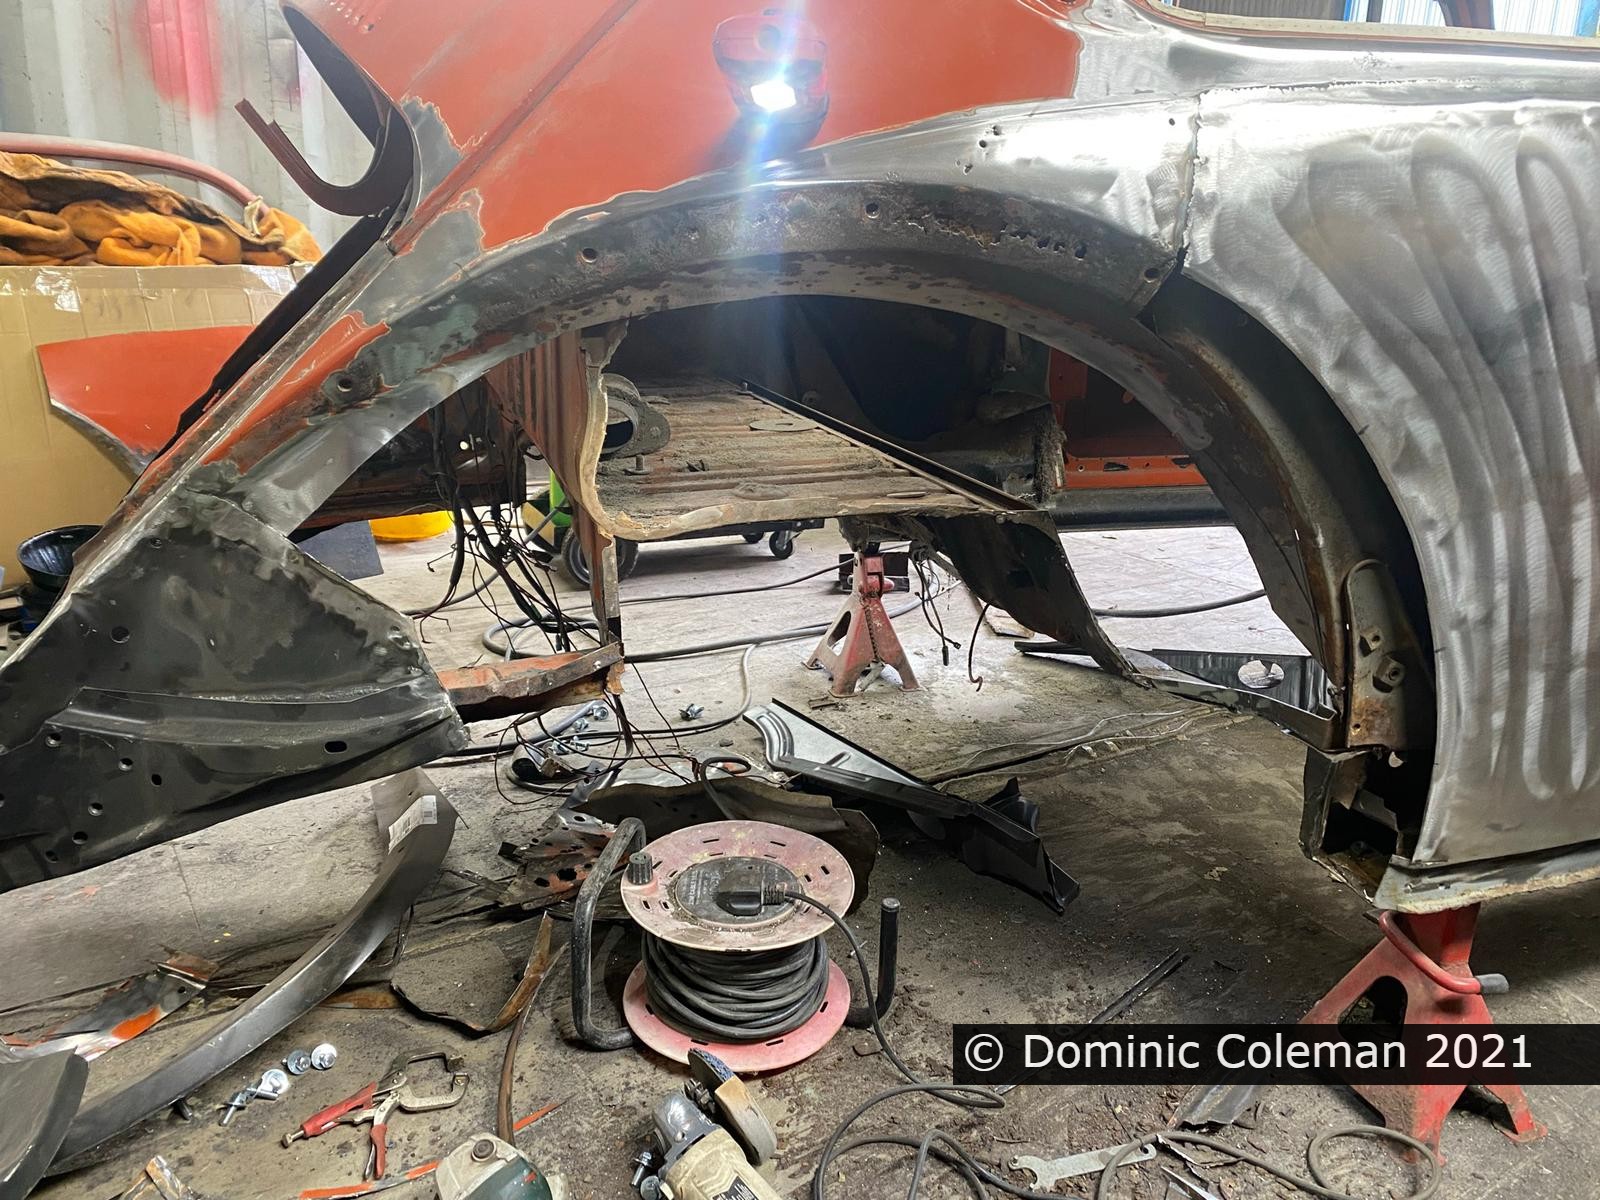
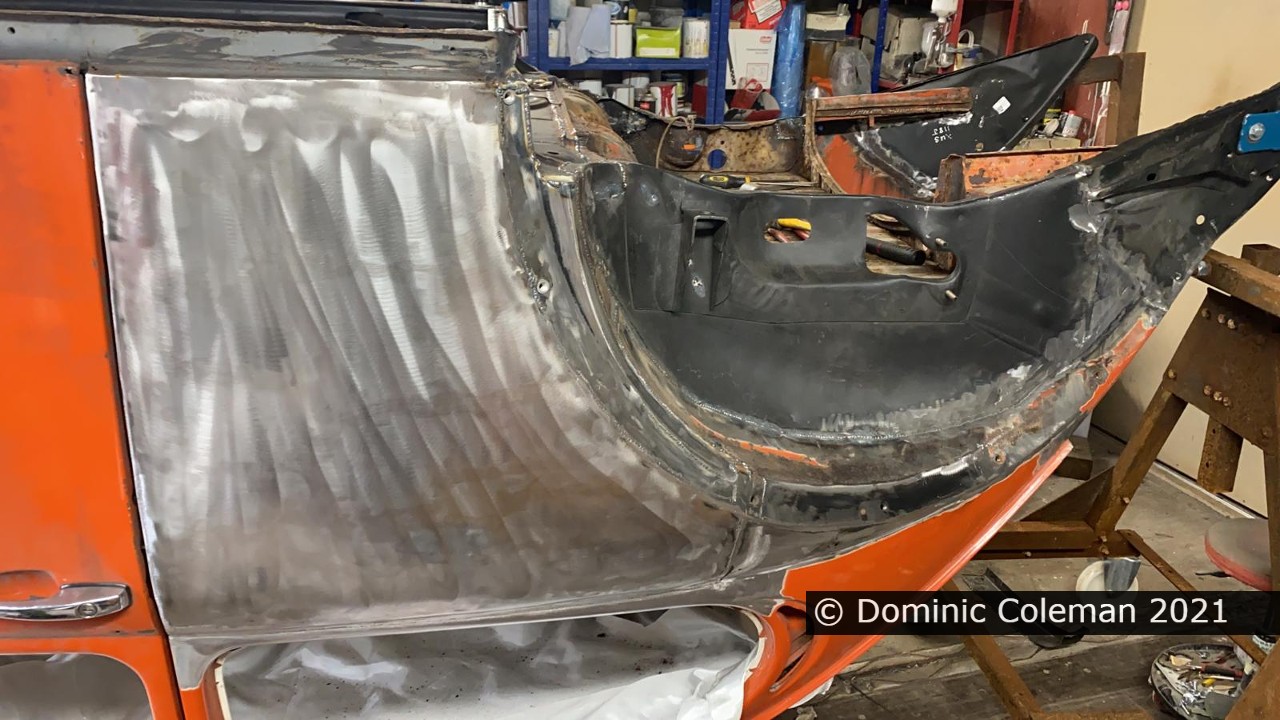
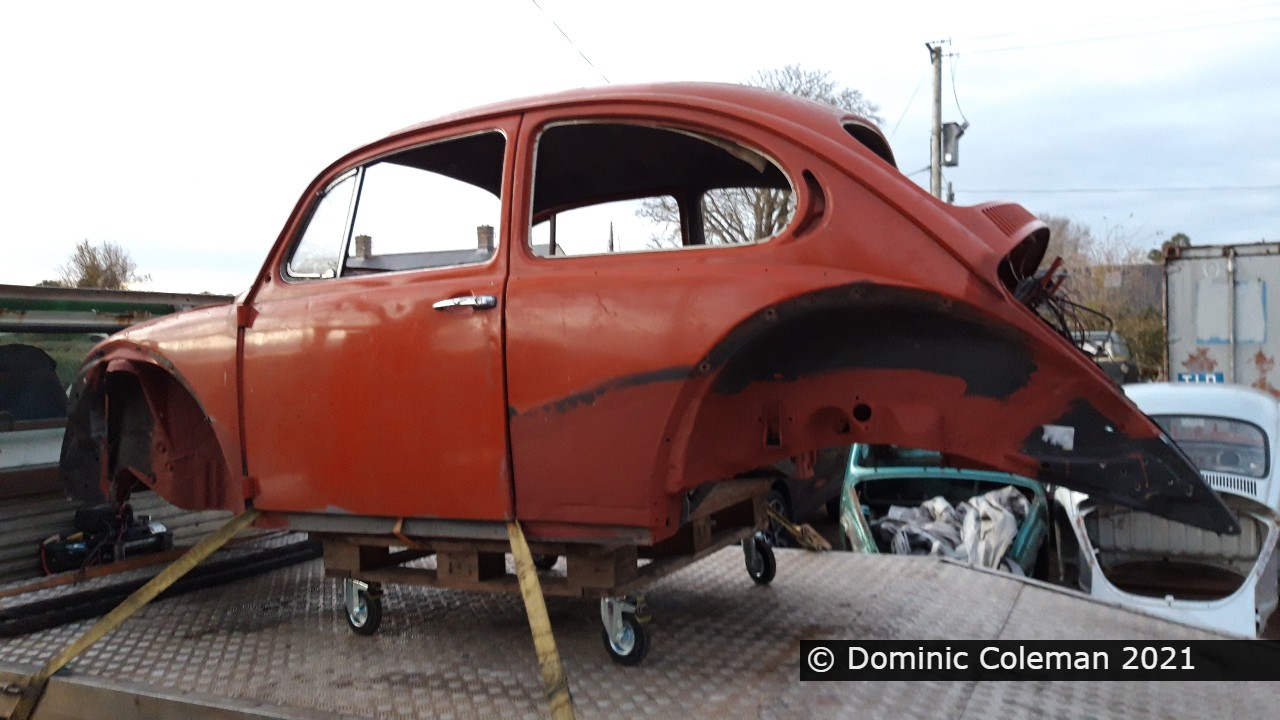
With the bumper mounts repaired, attention was to look at the quarter panel repairs previously done in 1997. It was apparent that the welding on both sides were of varying quality (possible by two different people) and the repair panels overlapped the old metal by a large amount. The right side (UK driver side) was the worst with deformation and warpage and Paul felt it was best to cut the whole rear quarter out and replace it with a new panel. The left side wasn’t too bad but Paul trimmed the excessive overlap on the 1997 repair and welded it in further down the existing original rear quarter meaning less filler would be needed to cover the repair.

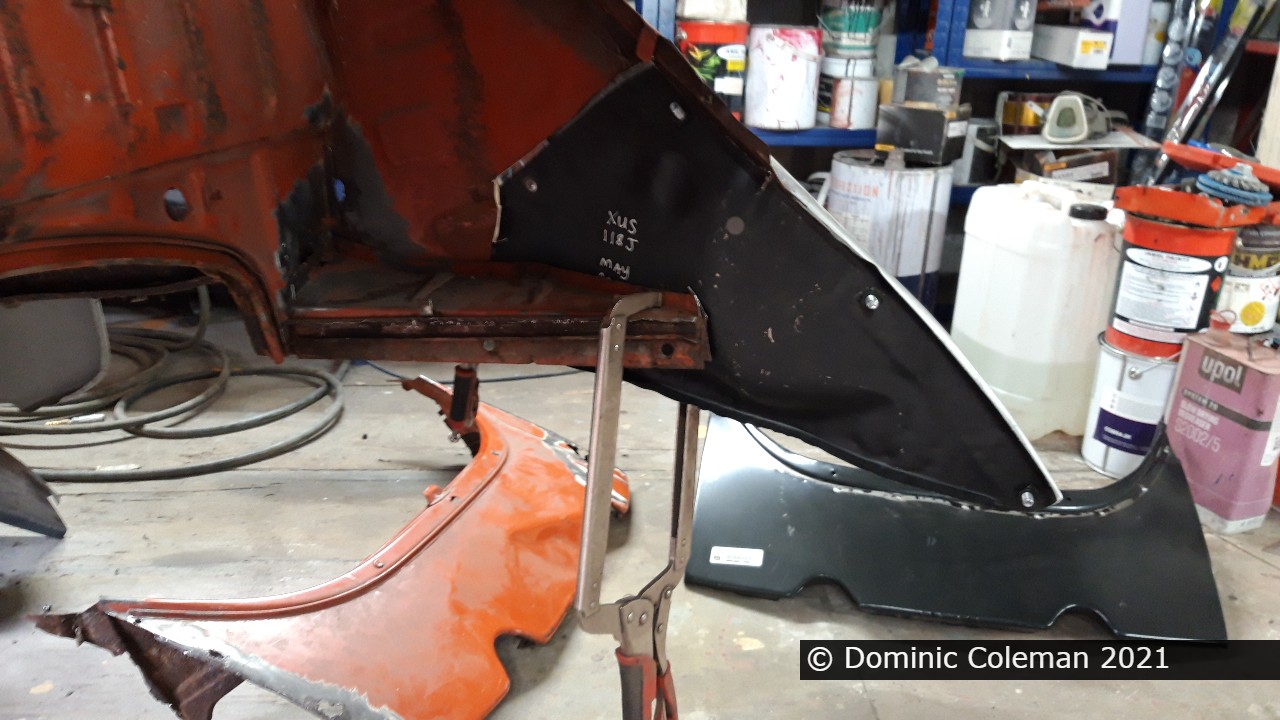
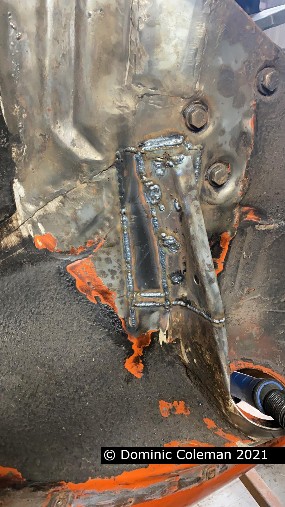
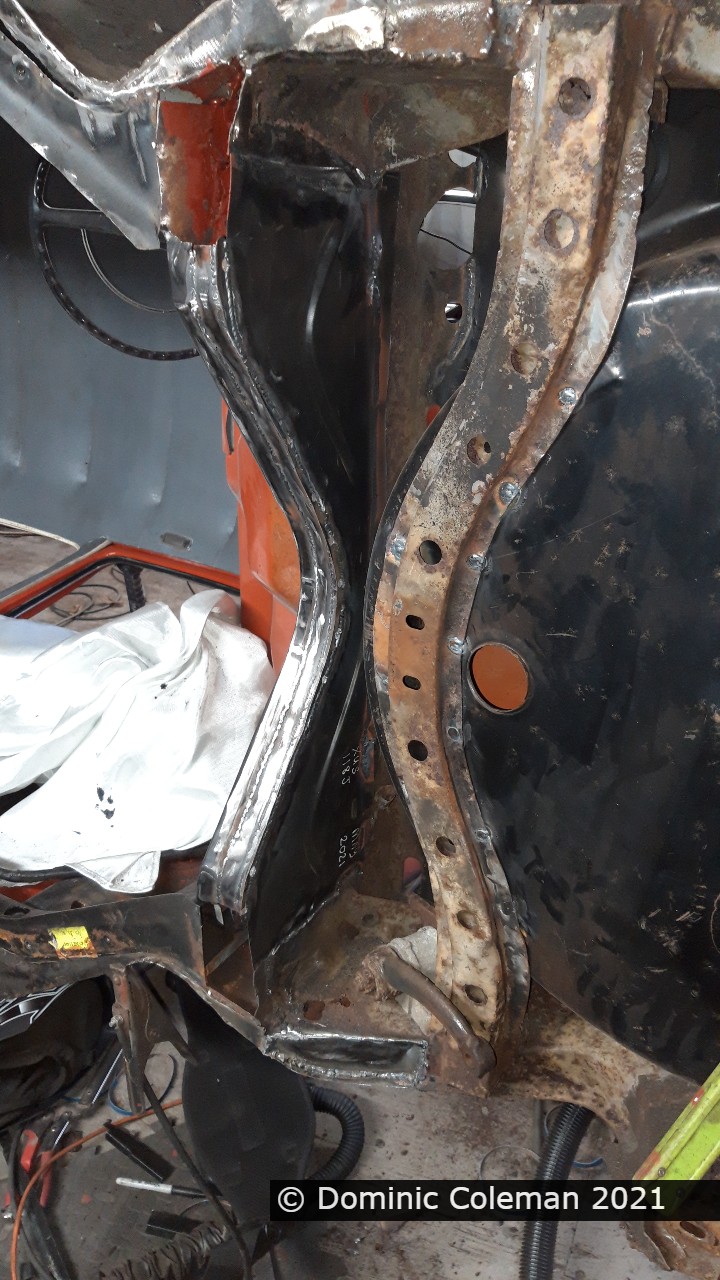
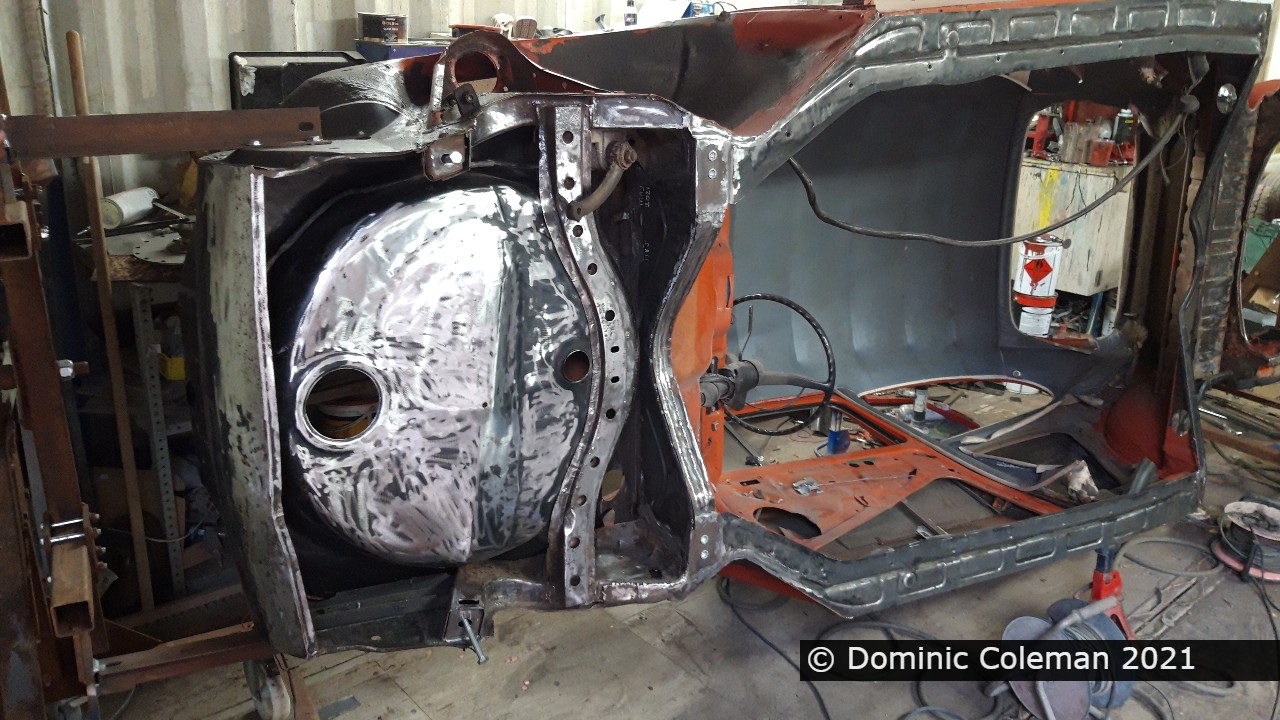
With some strength back in the body, Paul set to work on the right inner rear wheel arch repair with the body mounting bracket. A large repair section had been purchased by me earlier in the year and judging by the pictures it seemed this was a relatively straight forward job.

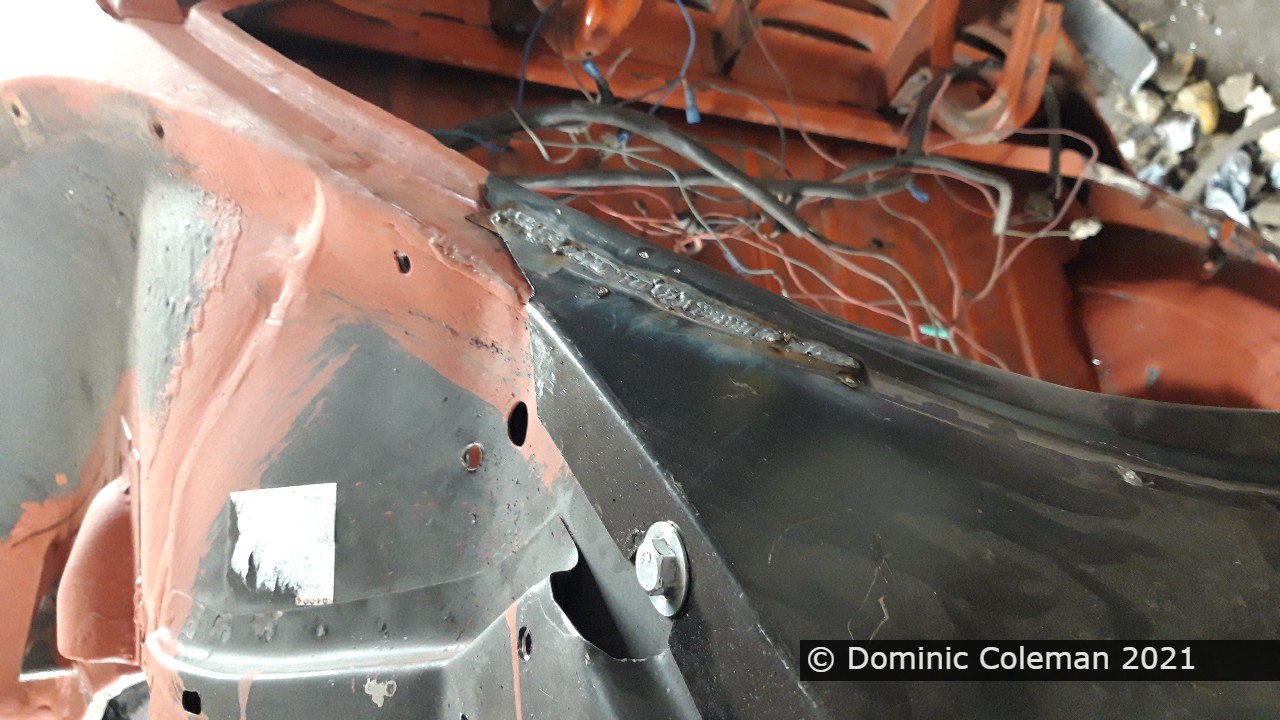
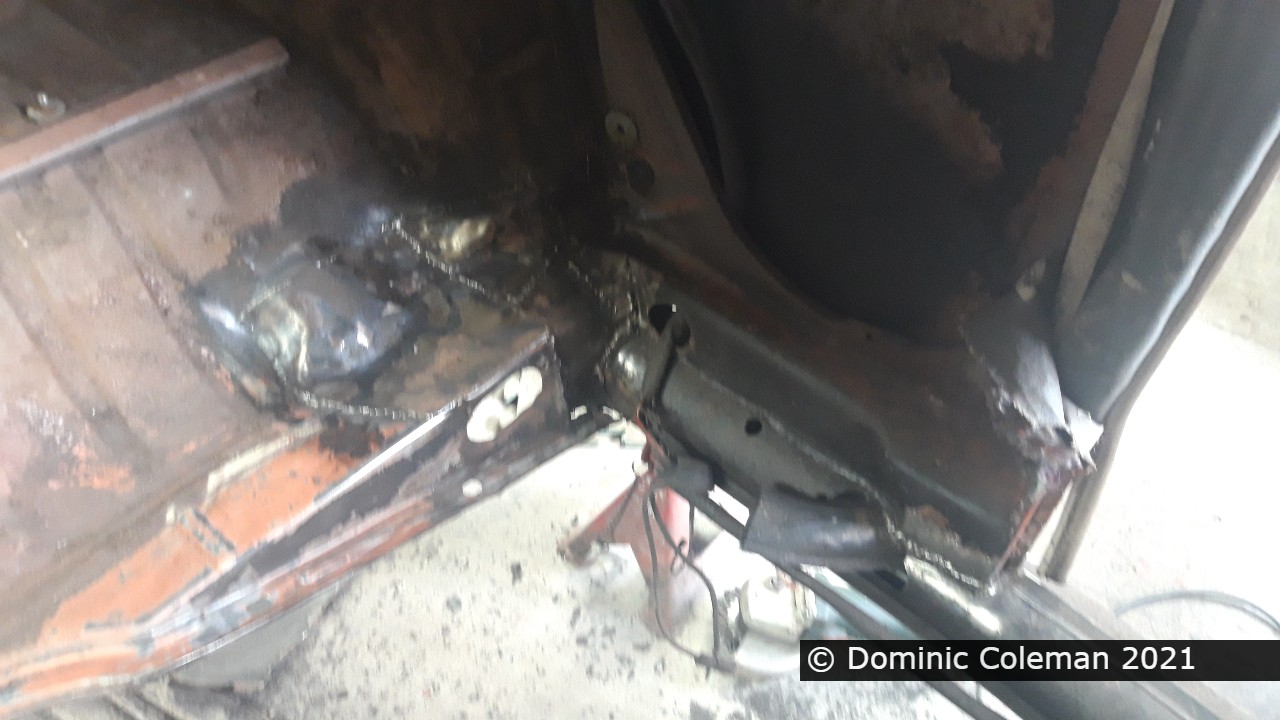
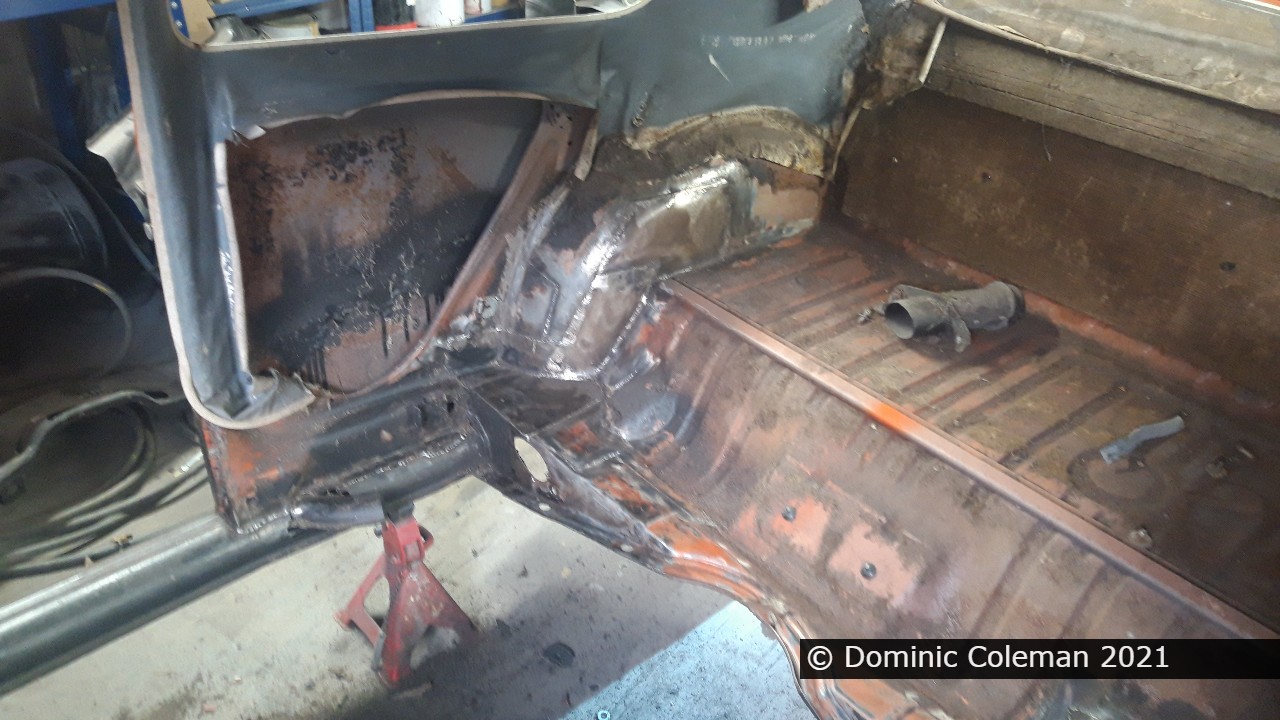
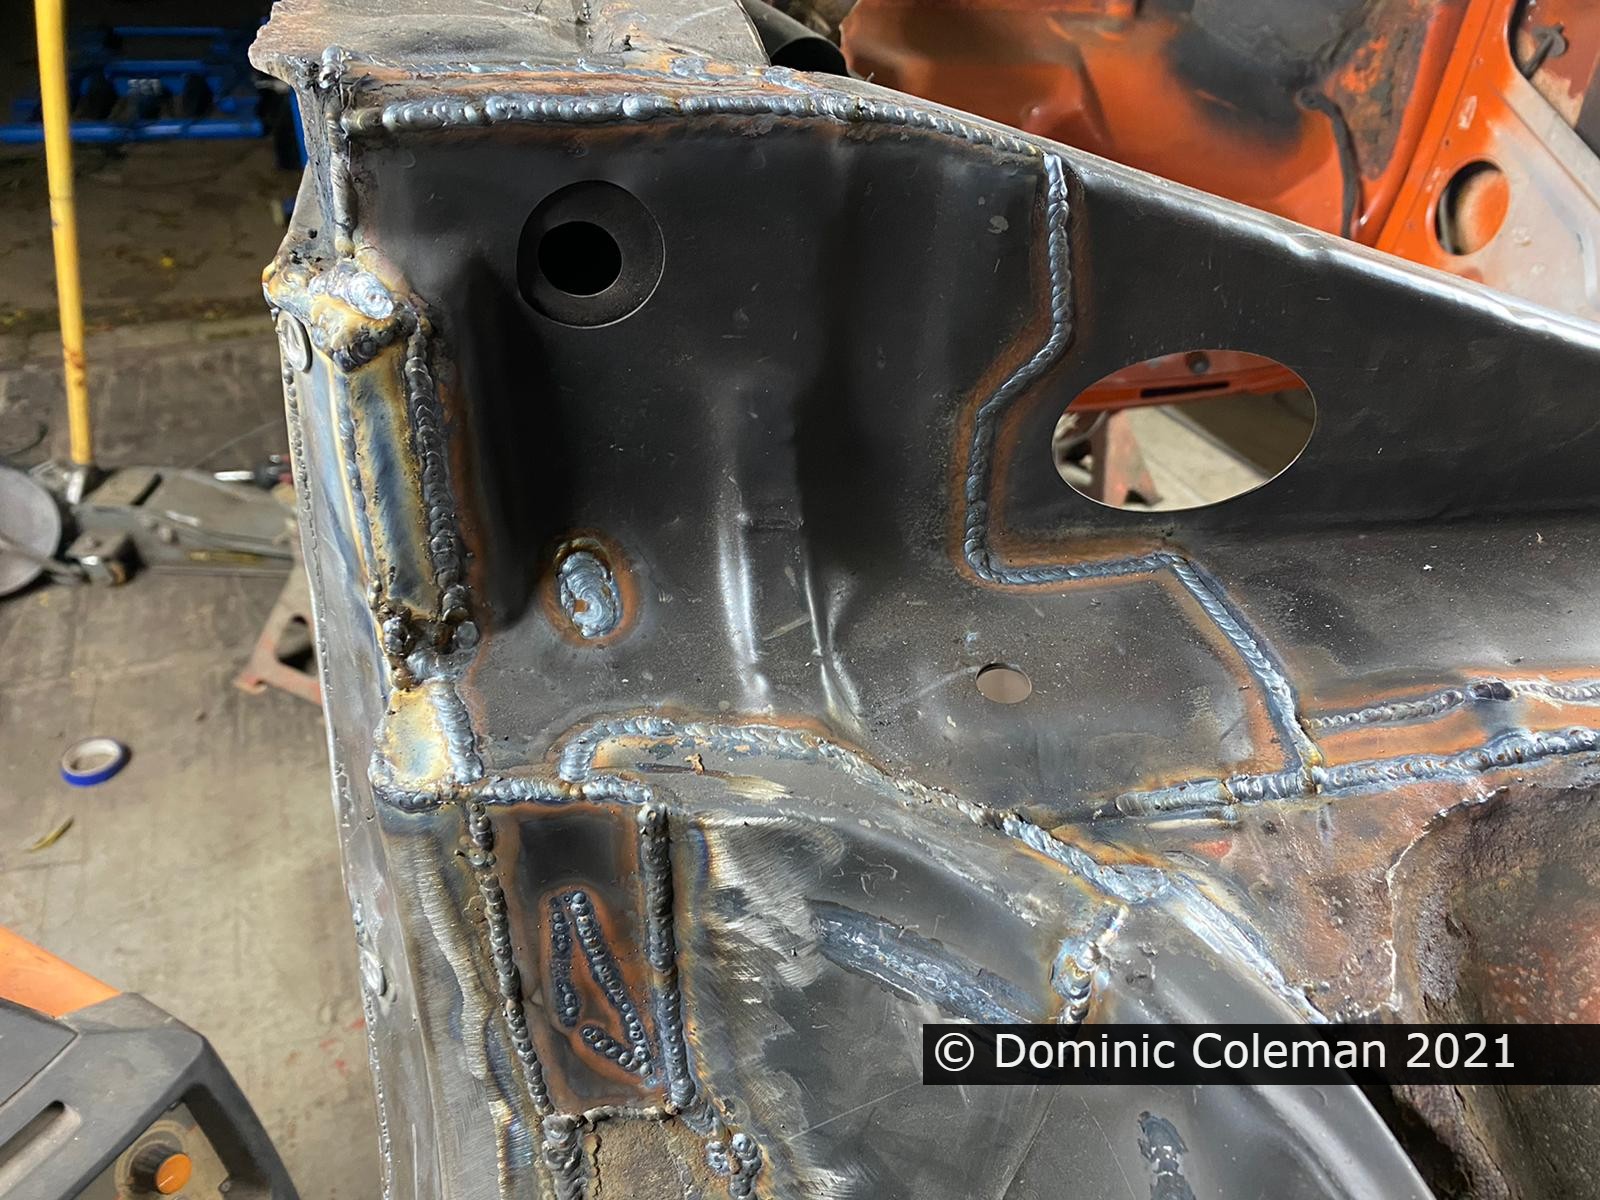
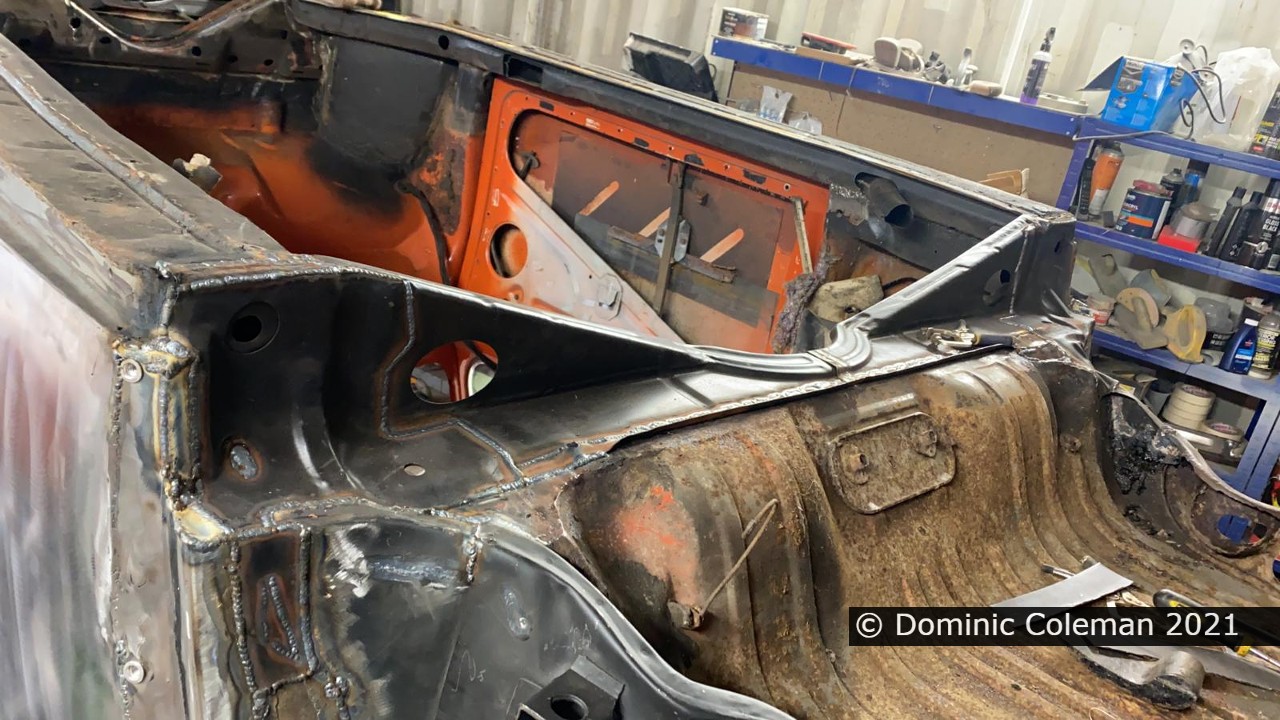
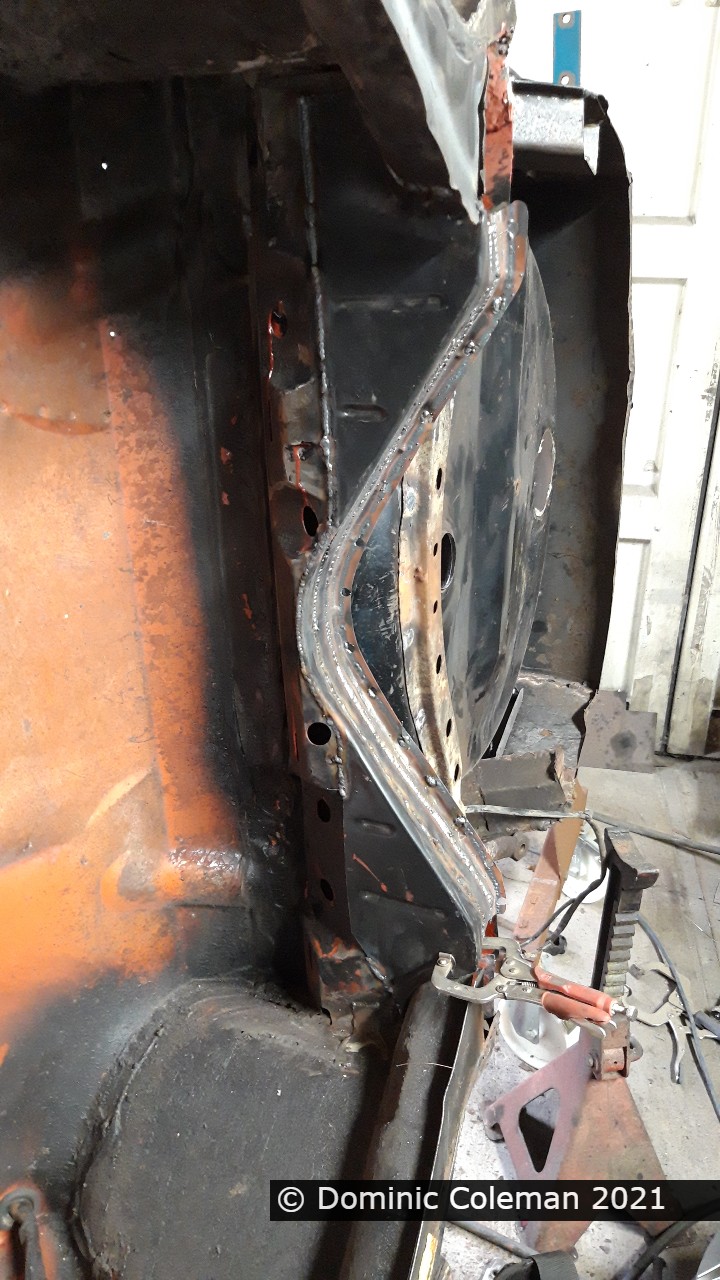
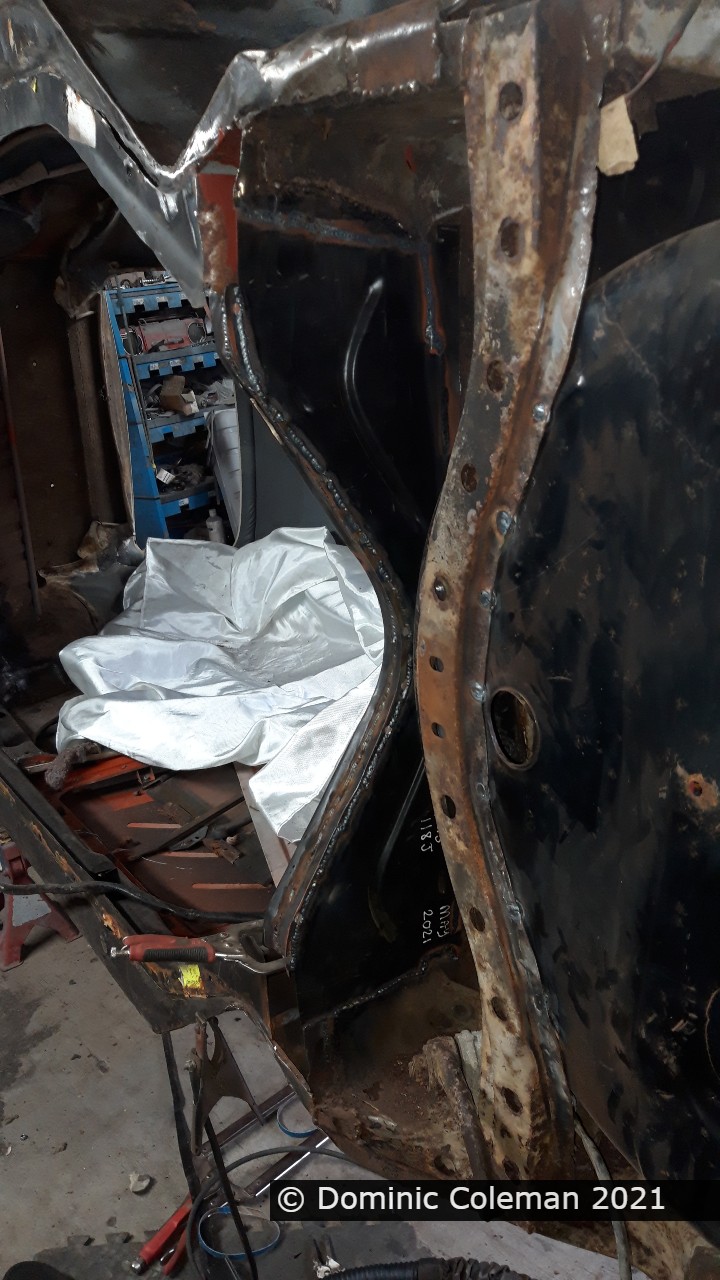
A not so simple job, was the replacement and widening of the front firewall. The (cheaper Klokkerholm) panel I had supplied meant Paul spent quite a bit of time cutting and fabricating this up to be right, along with a front left strut repair. As for me, I was grinding down the welds on the earlier jobs done by Paul as well as cleaning up the underside of the rear body and painting all the exposed metal in red oxide primer.

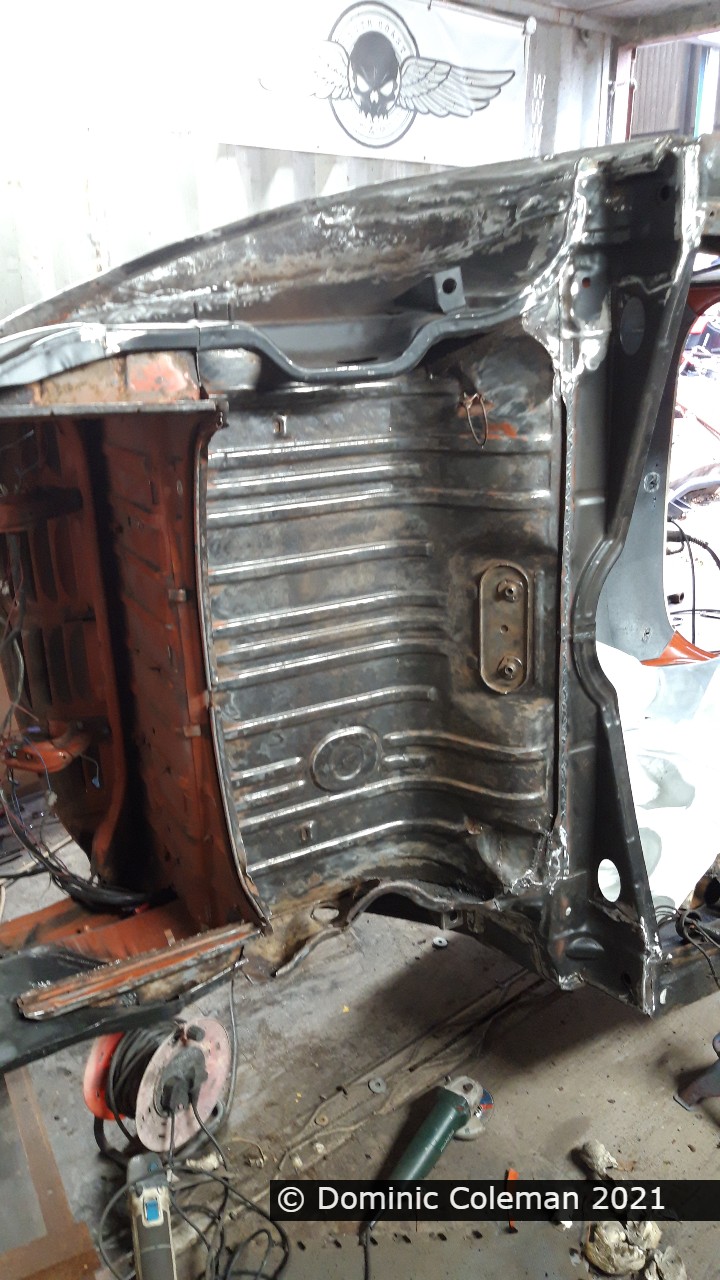
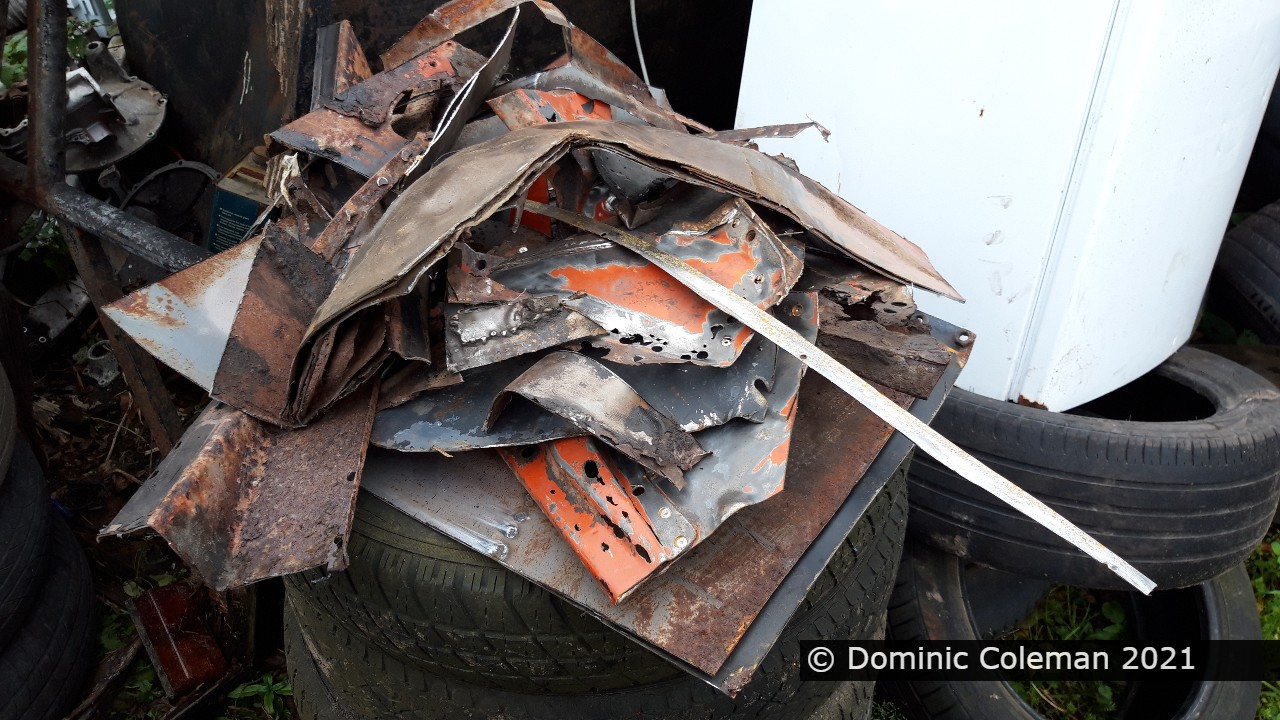
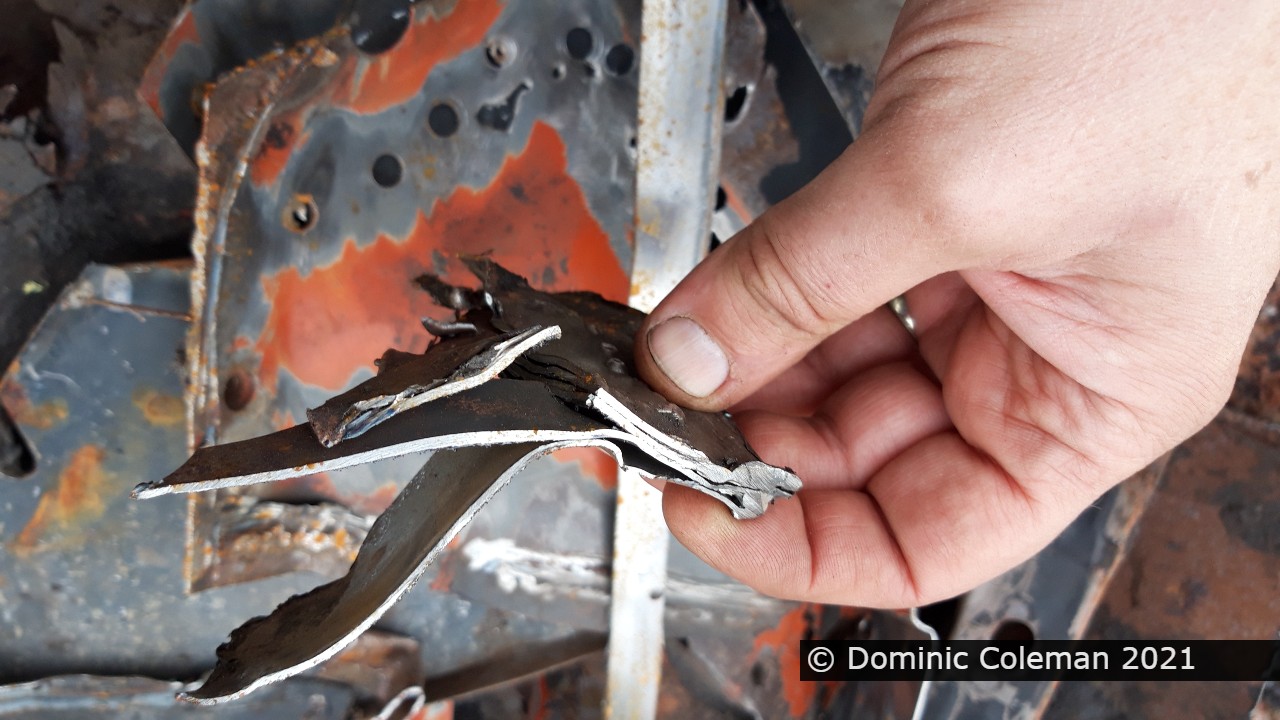
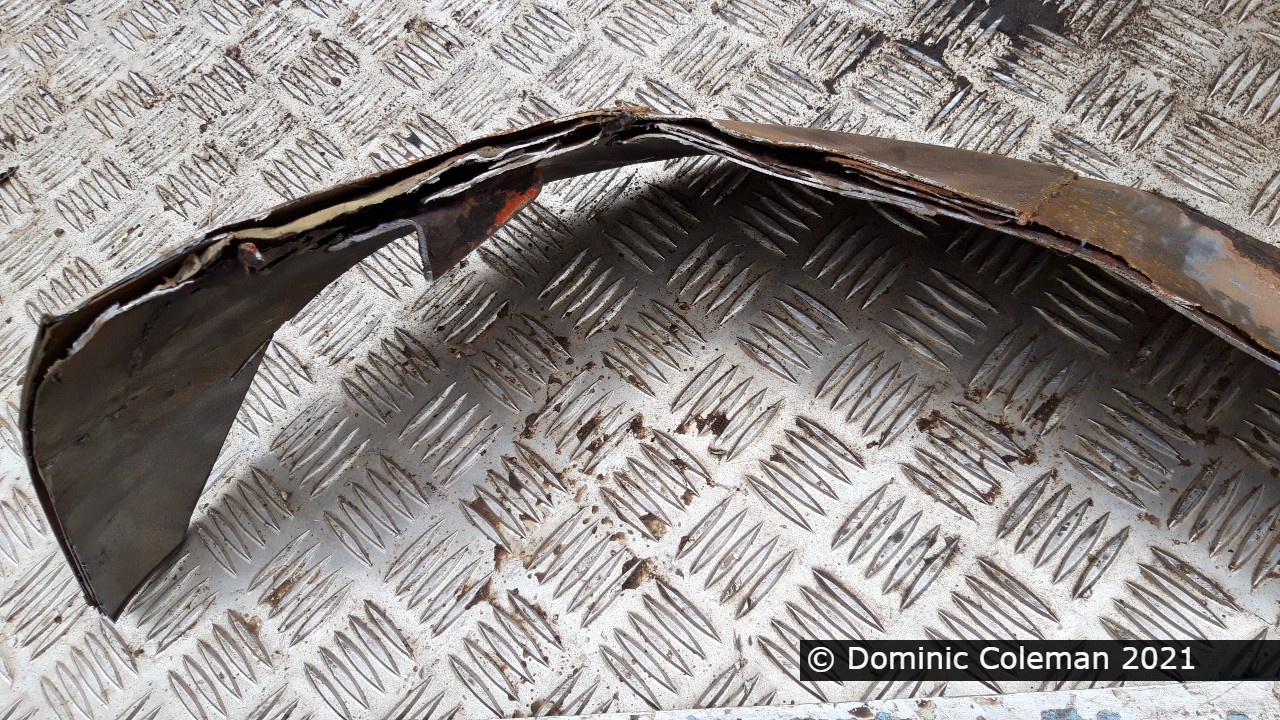
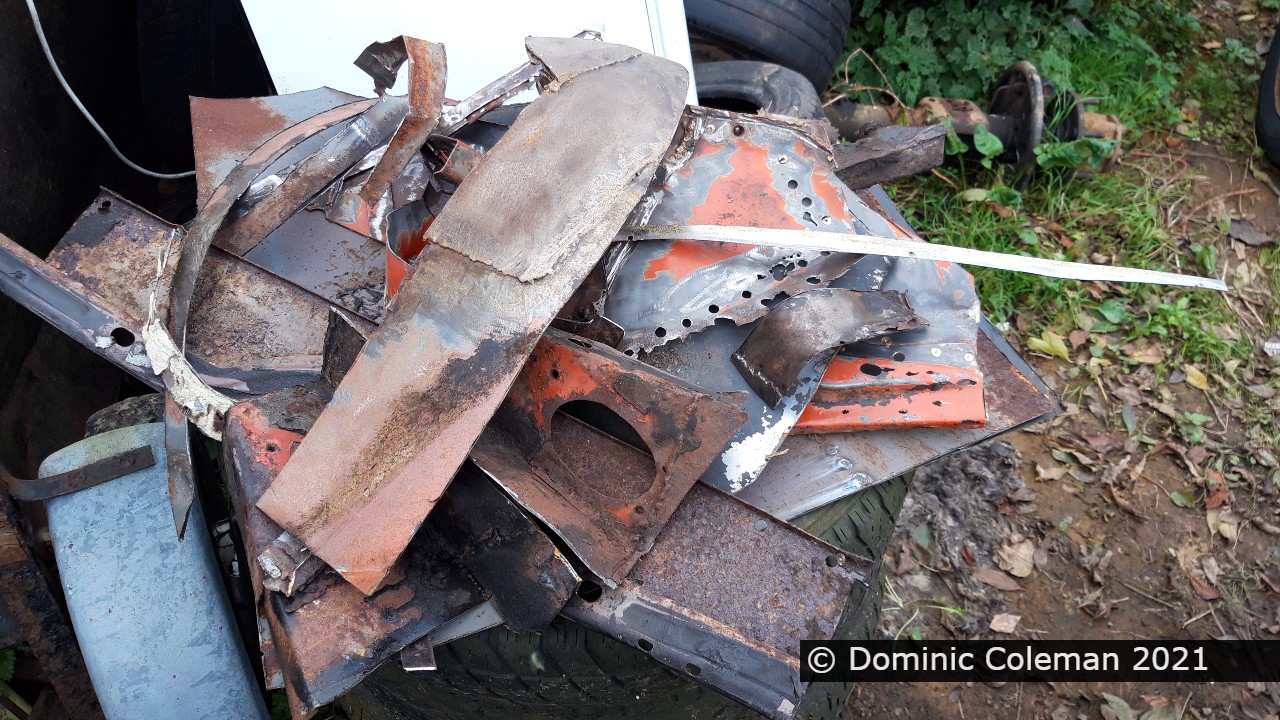
Some more images to show the work that was done. The pile of removed metal was quite substantial and there were layers upon layers of repair patches – that should save a bit of weight.

By the end of November, the 1302 body shell was returned home and put alongside it’s floor pan.