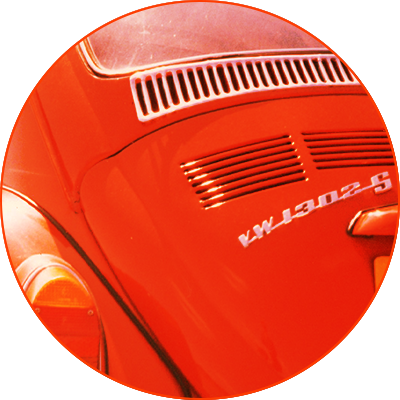
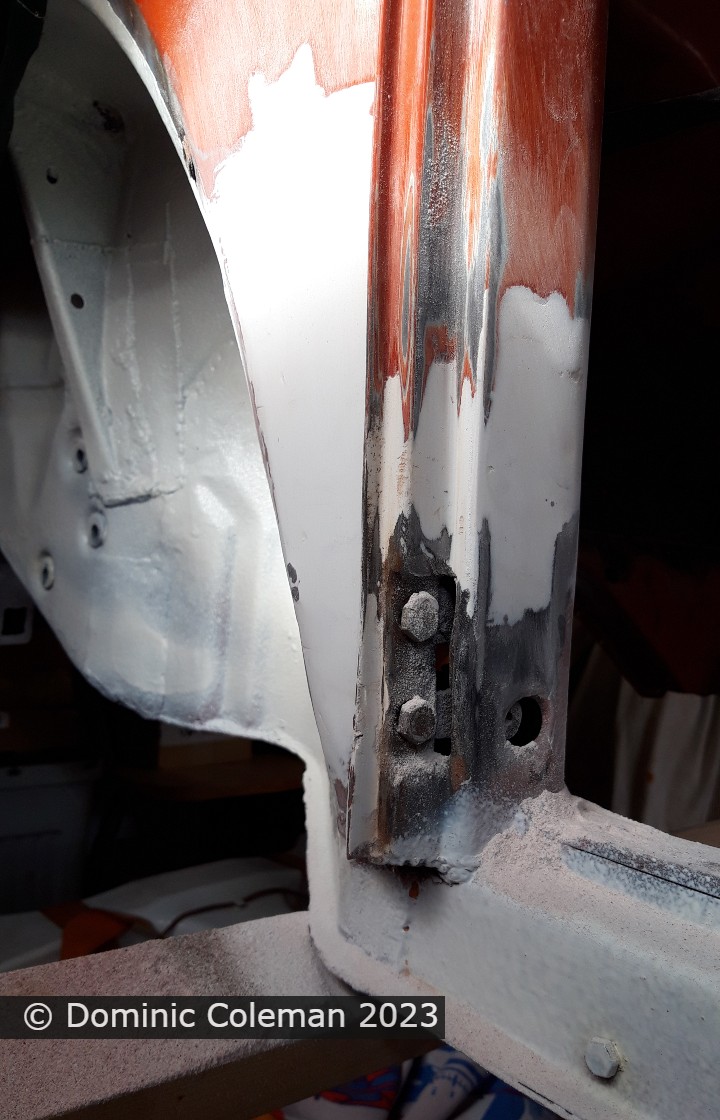
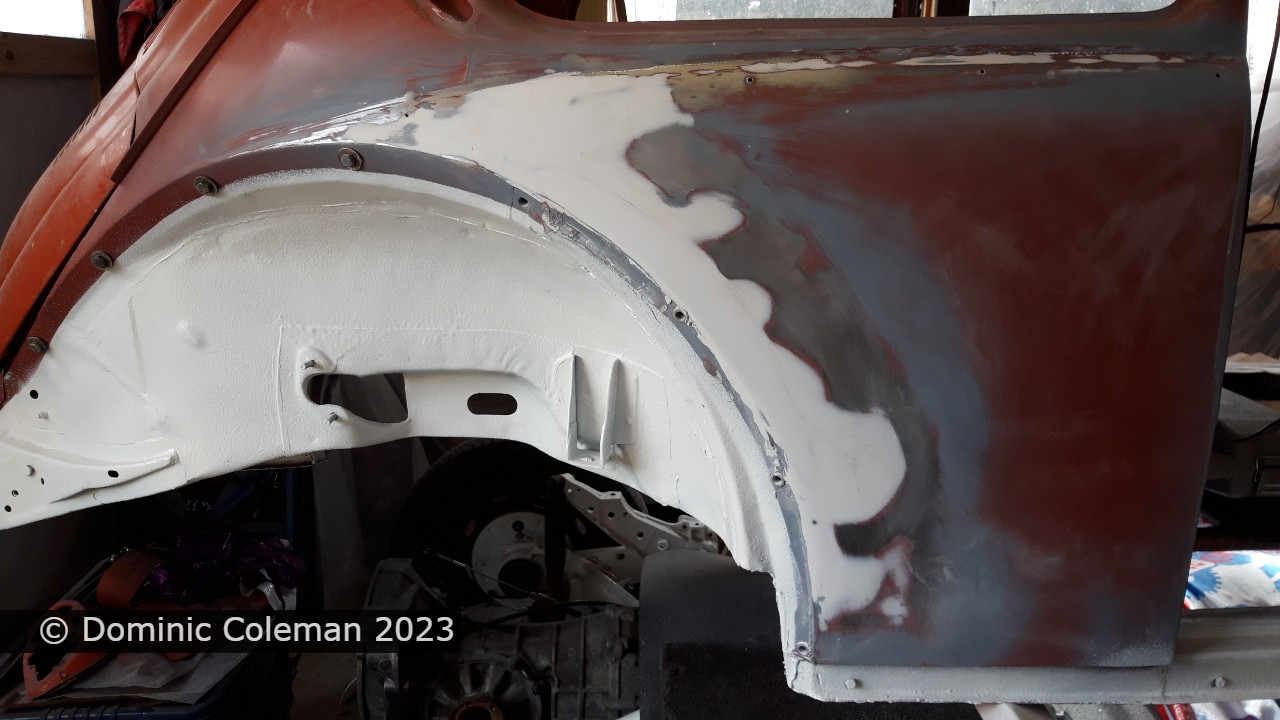
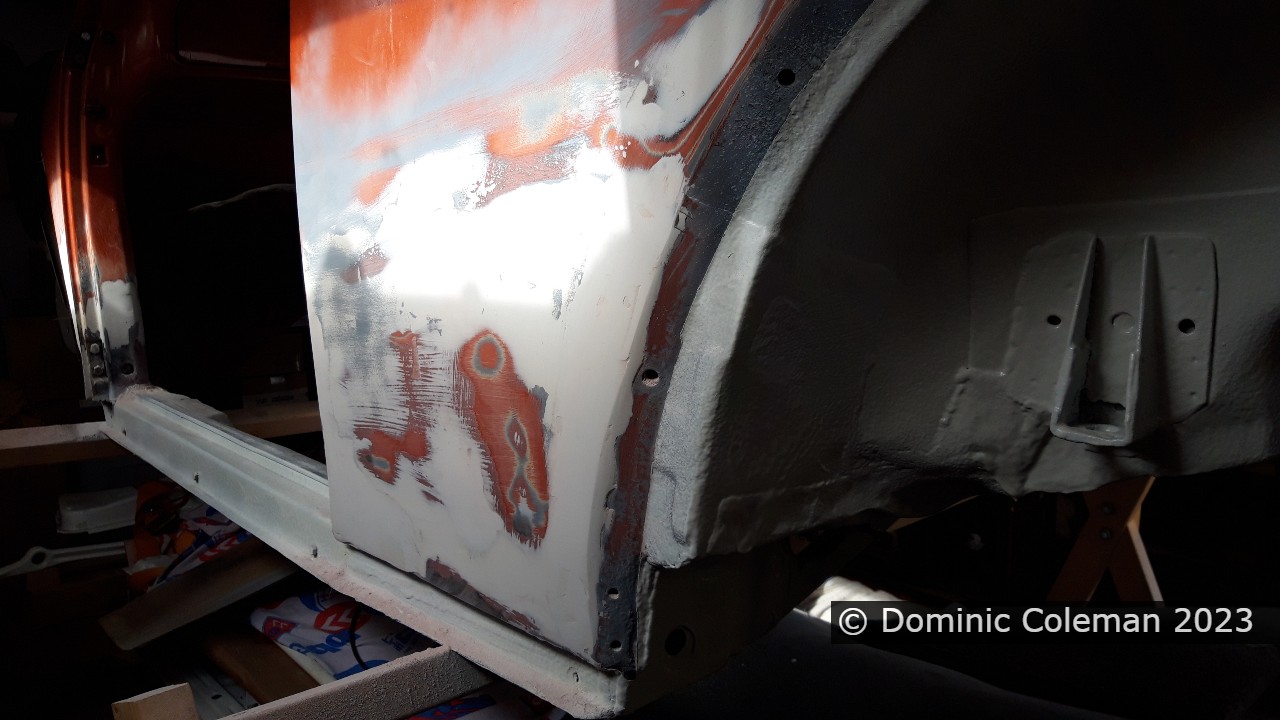
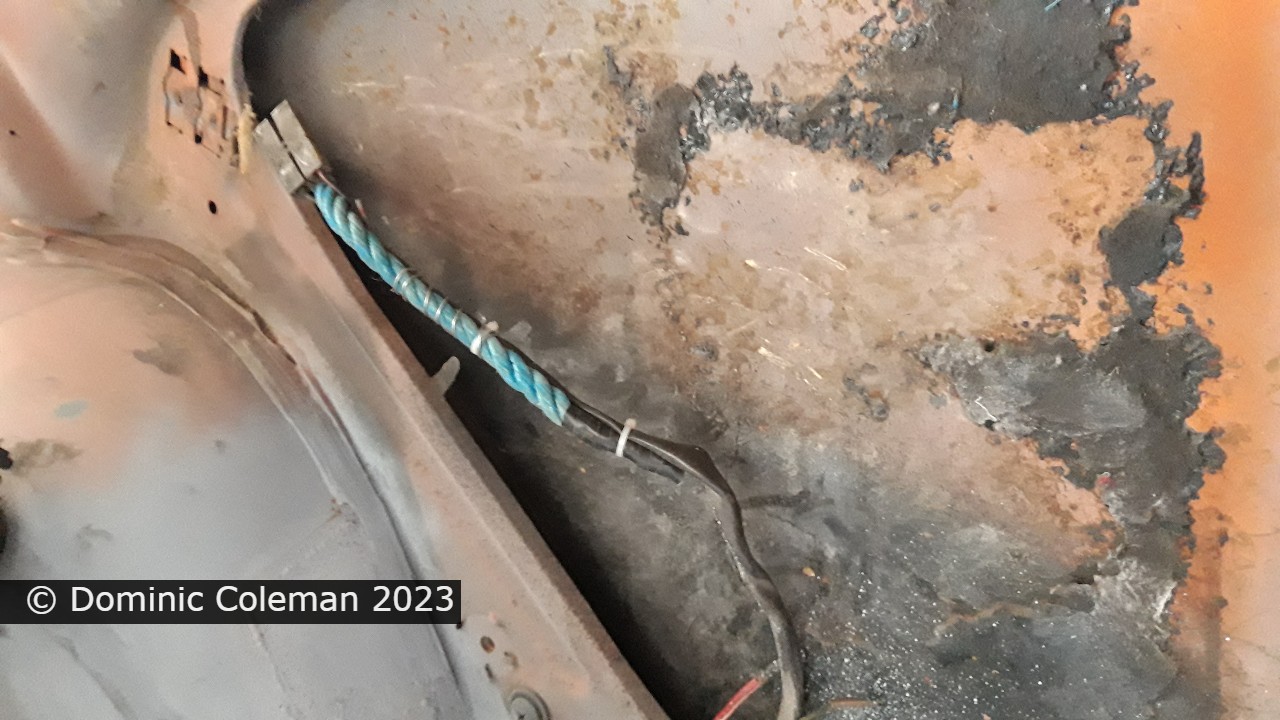
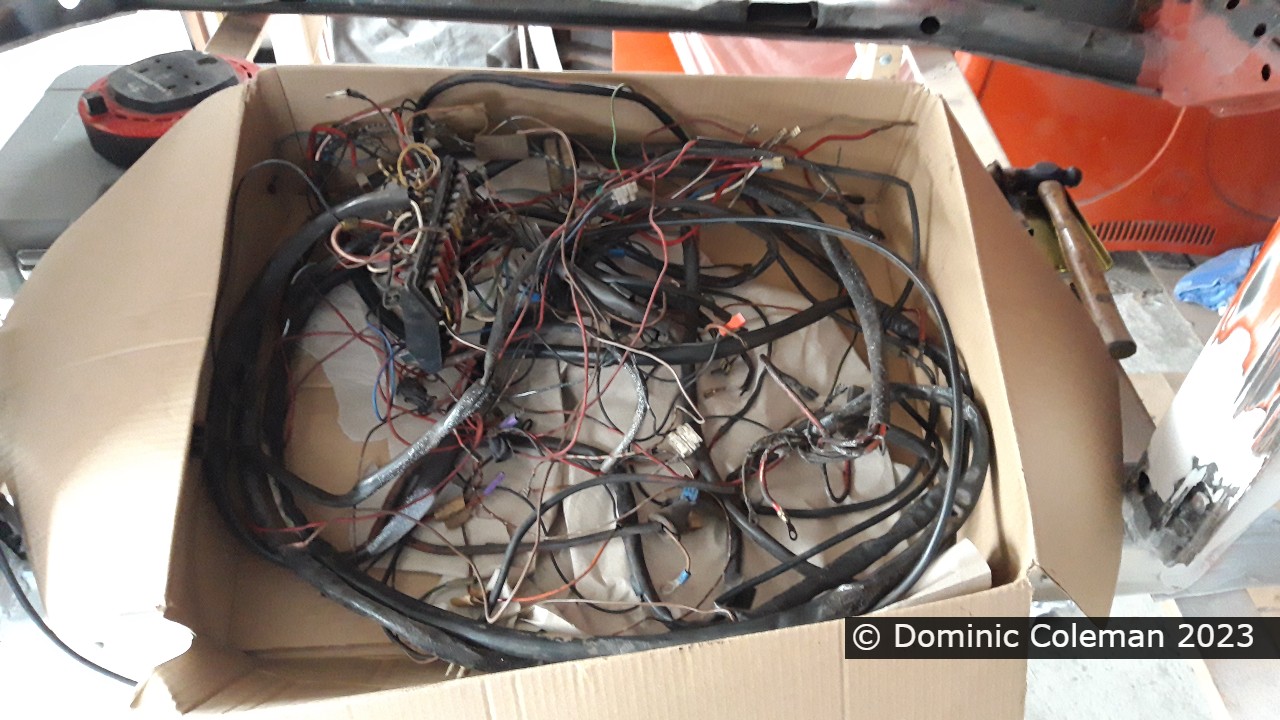
March 2023 saw me make more progress on the Beetle’s body work by the way of a 3rd or 4th round of filling, sanding and cleaning up with more filler on the original 1997 repairs. I also got to flat off the spot welds around the front cowl at bonnet opening and front valance and I completely removed the wiring loom, replaced with rope guides for the future re-install of a new loom.
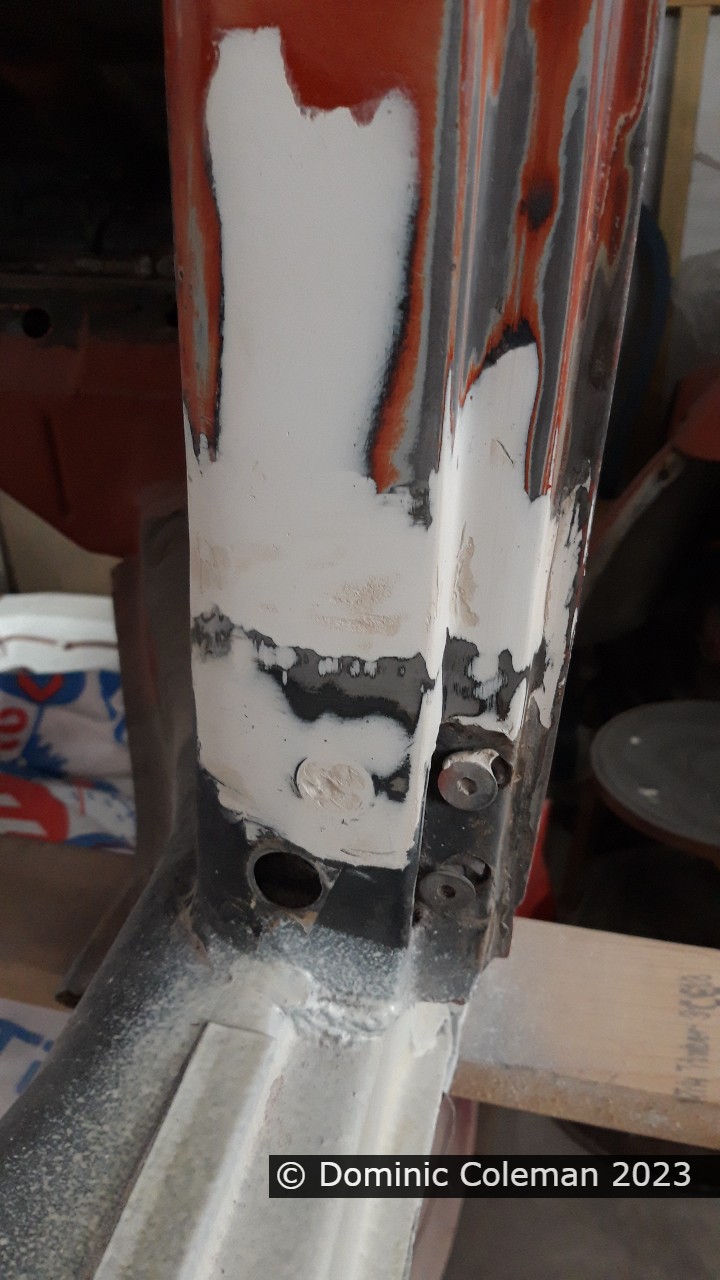
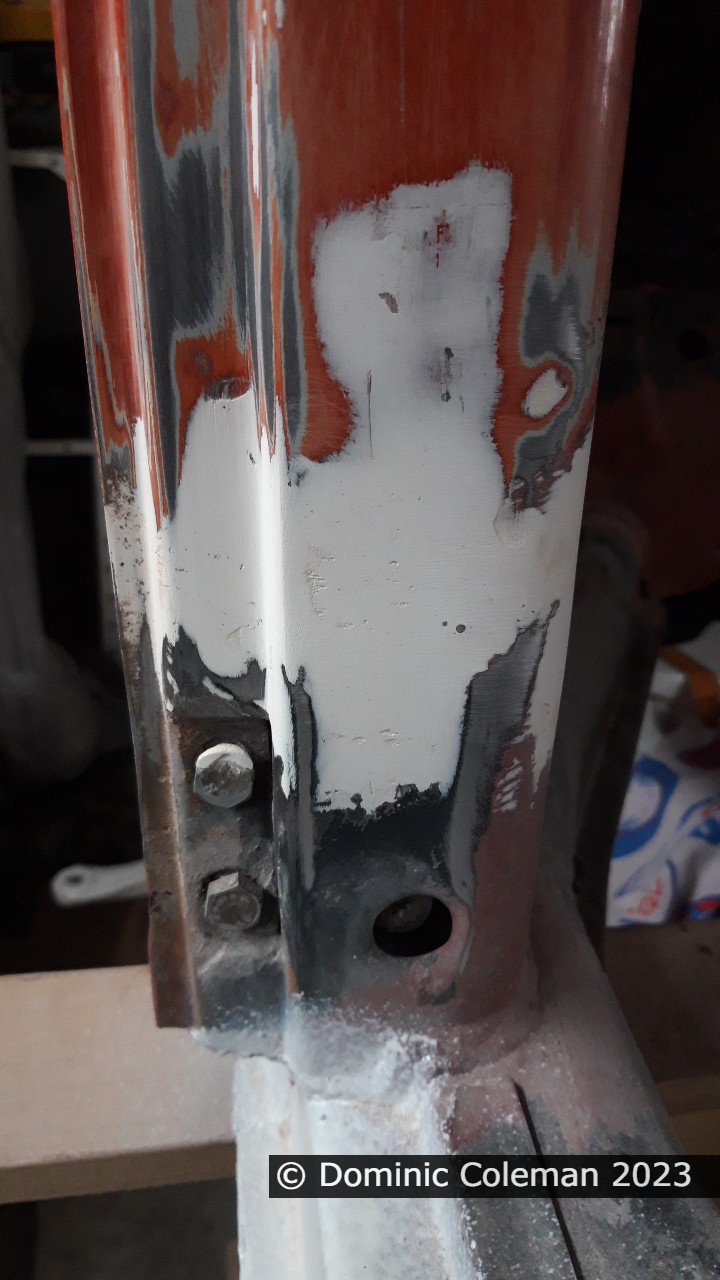
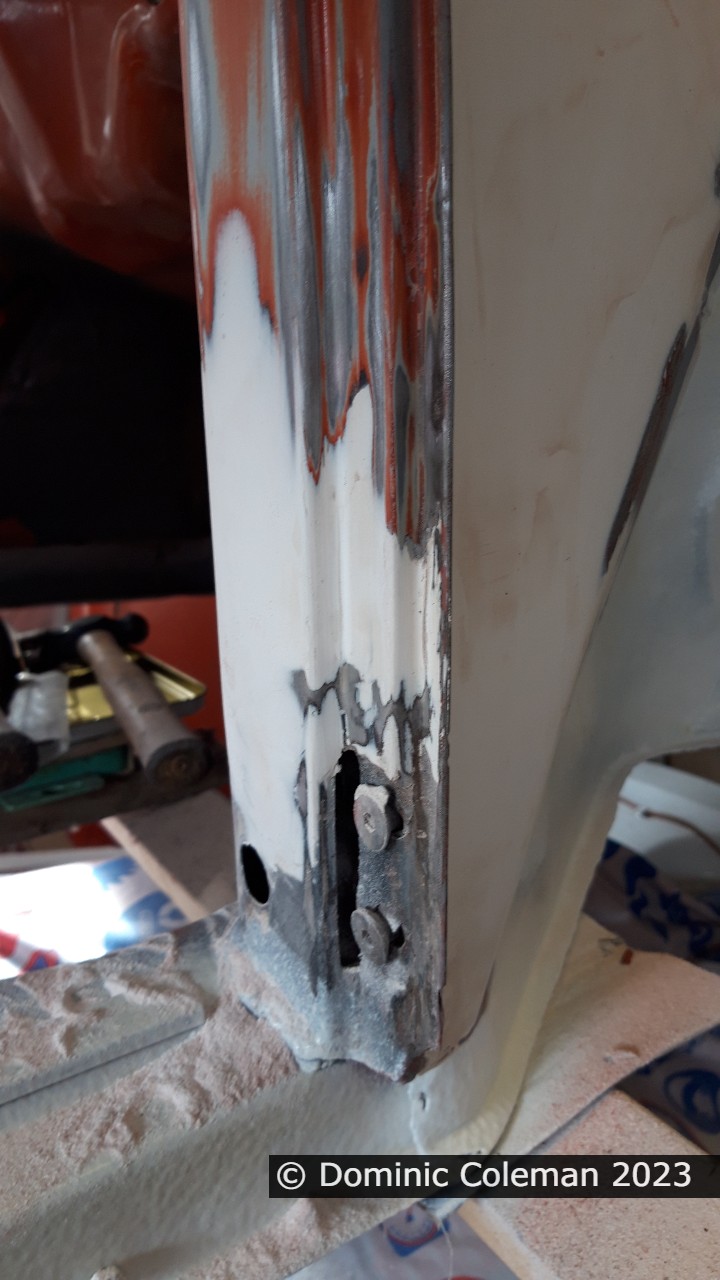
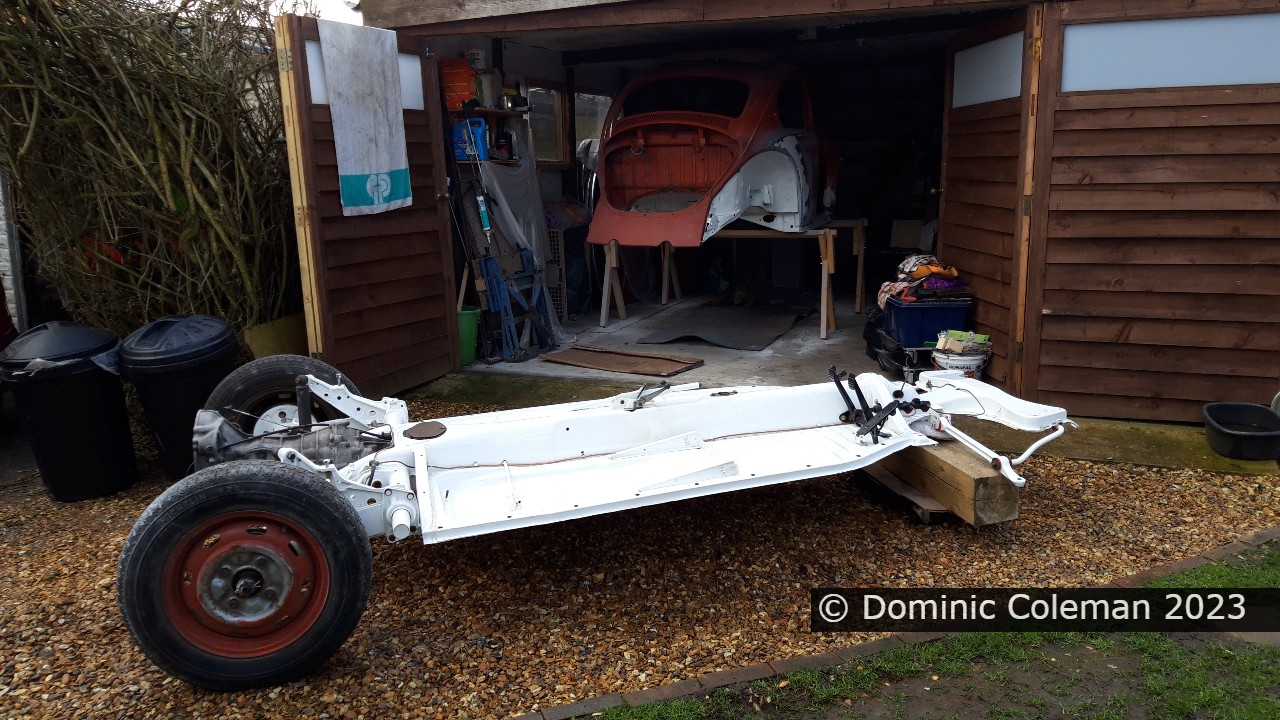
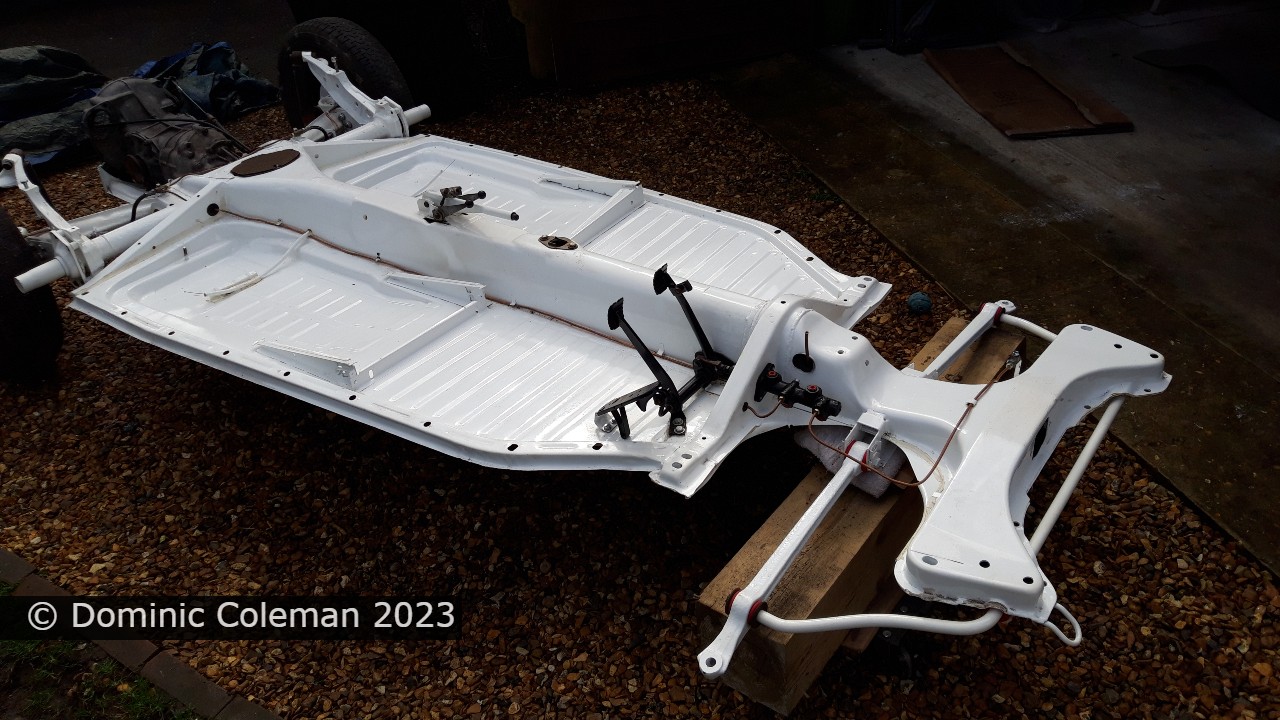
The floor pan had been rolled out on to the driveway so it could be cleaned up and where there was the space to attach the anti roll bar with new poly bushes. I had to enlarge the roll bar clamps bolt holes a while ago as I think my original clamps disappeared on the strip down (June 2021) while at Pauls. Fitting the new polyurethane bushes, washer and nut combinations was not as easy as I thought it was going to be. Not enough of the roll bar thread protruded past the poly bushes for the retaining washer and castle nut to get a purchase. So, I had to hit the bushes with a soft mallet to get them pushed in enough to enable me to fit a thinner washer and nut to press the bush in further. I then had to swiftly remove the nut and washer, then quickly put on the large retaining washer and nut to tighten up before the bush expanded again.
I made a short video walk around, however, the audio and commentary isn’t very good, but you should get the idea.
There were a couple of more items to come out of the beetle shell one of which was the wiring loom and I used some rope to attach to an end in the engine bay. This was so I could pull through the rope that would then stay in place for the later re-install of a new wiring loom. The other was the glove box door and I also took off the engine lid hinge mounts to allow easier access to clean up the engine bay firewall.
With 320 grit paper on an orbital sander I sanded the sides of the car shell up to the rain gutter to flatten off the existing paint and remove other minor blemishes. The dashboard was treated the same to flatten off the gloss paint, smooth out minor blemishes and act as a matt surface for, hopefully, better primer adhesion. I also treated the the engine bay firewall the same way and along with a small block with 320 grit sand paper which also cleaned off some the ingrained grease and dirt. I left the ‘tar board’ hooks in place in case I wanted to put one of those back in at a later date.
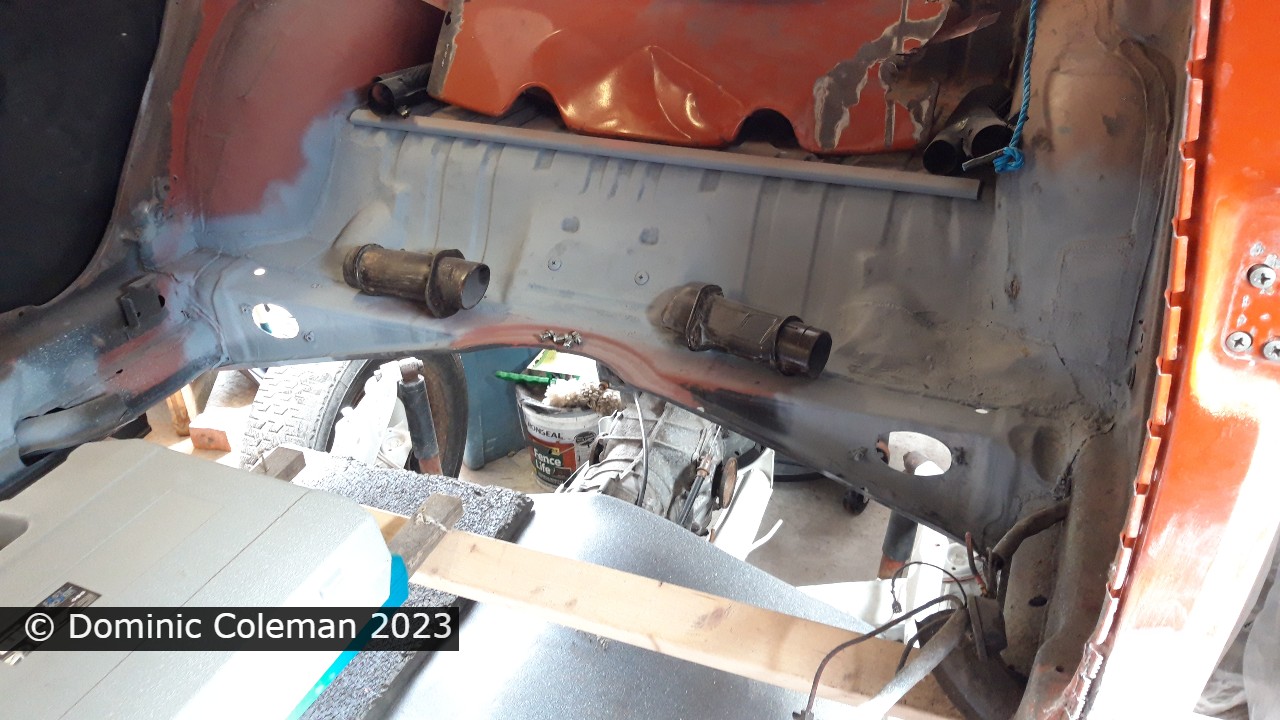
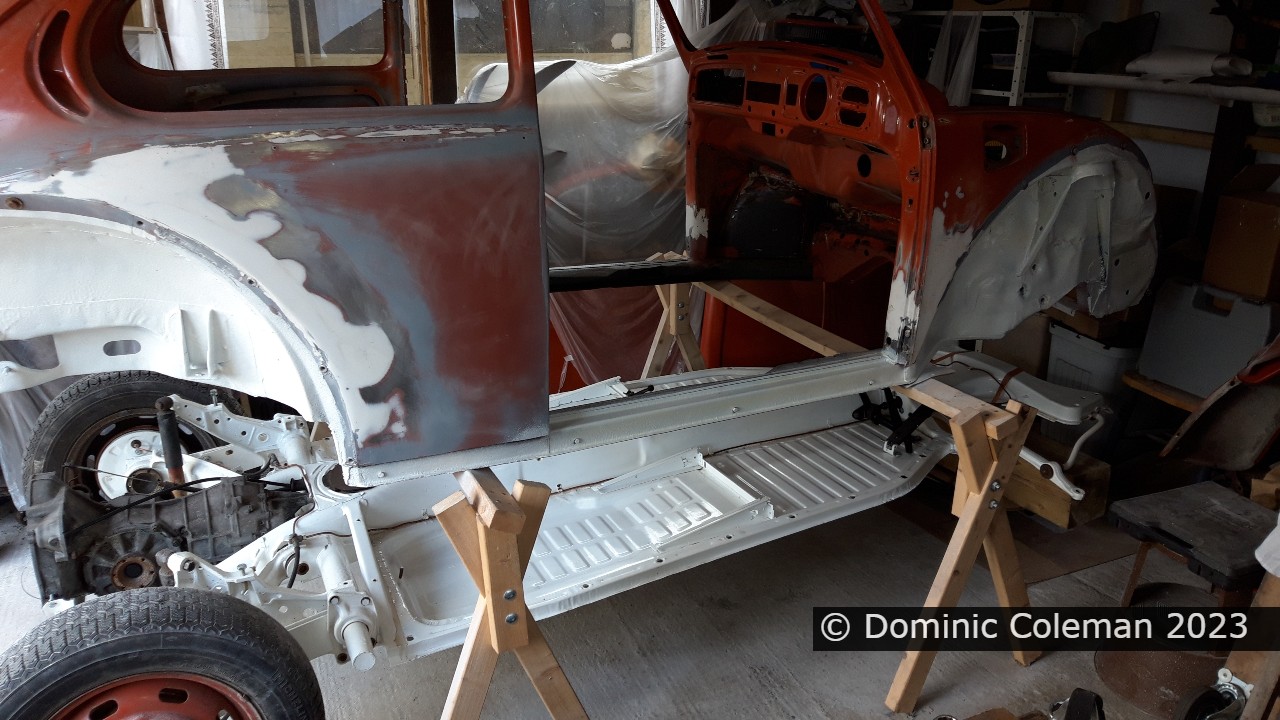
The next big step is to get some high build primer on the inside and outside of the body. This should highlight the areas requiring more work for filling and rubbing down. It’s a big step and I will be taking my time preparing the workshop to allow me more space to move around the body and masking off areas that won’t need the primer.
Note: no ChatGPT here, all my own words.