Categories
bodywork

… some time later

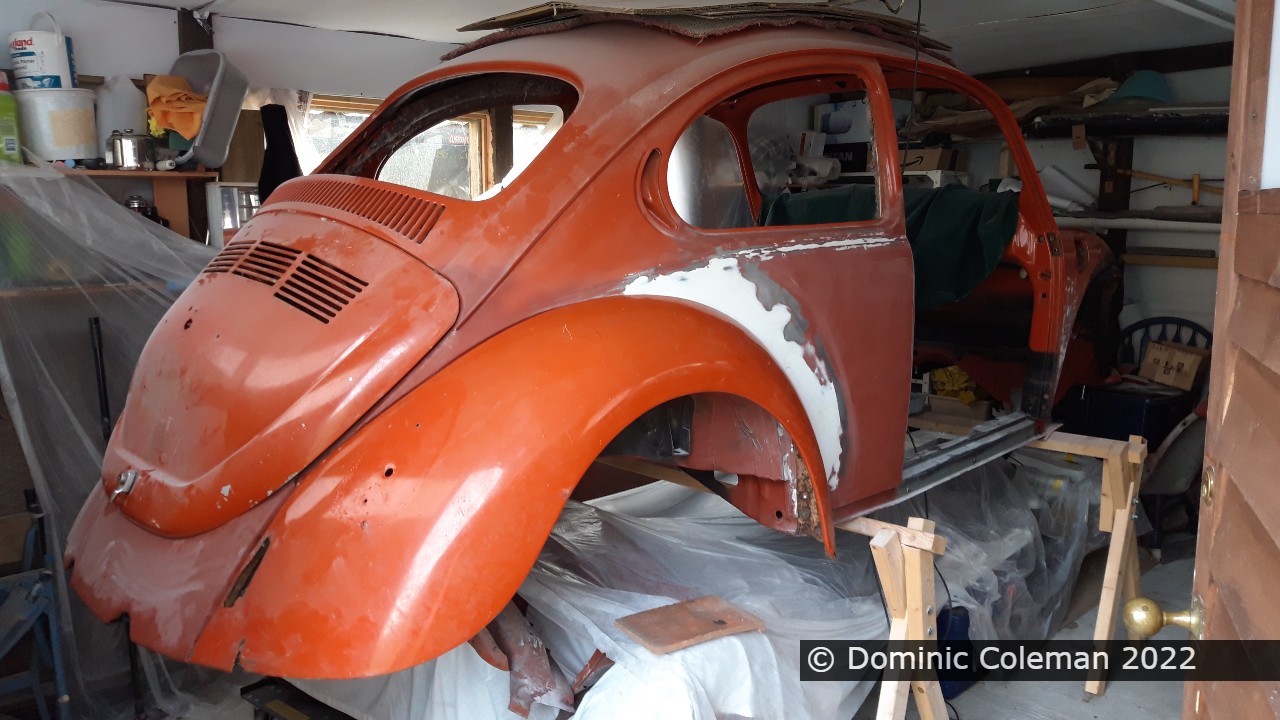
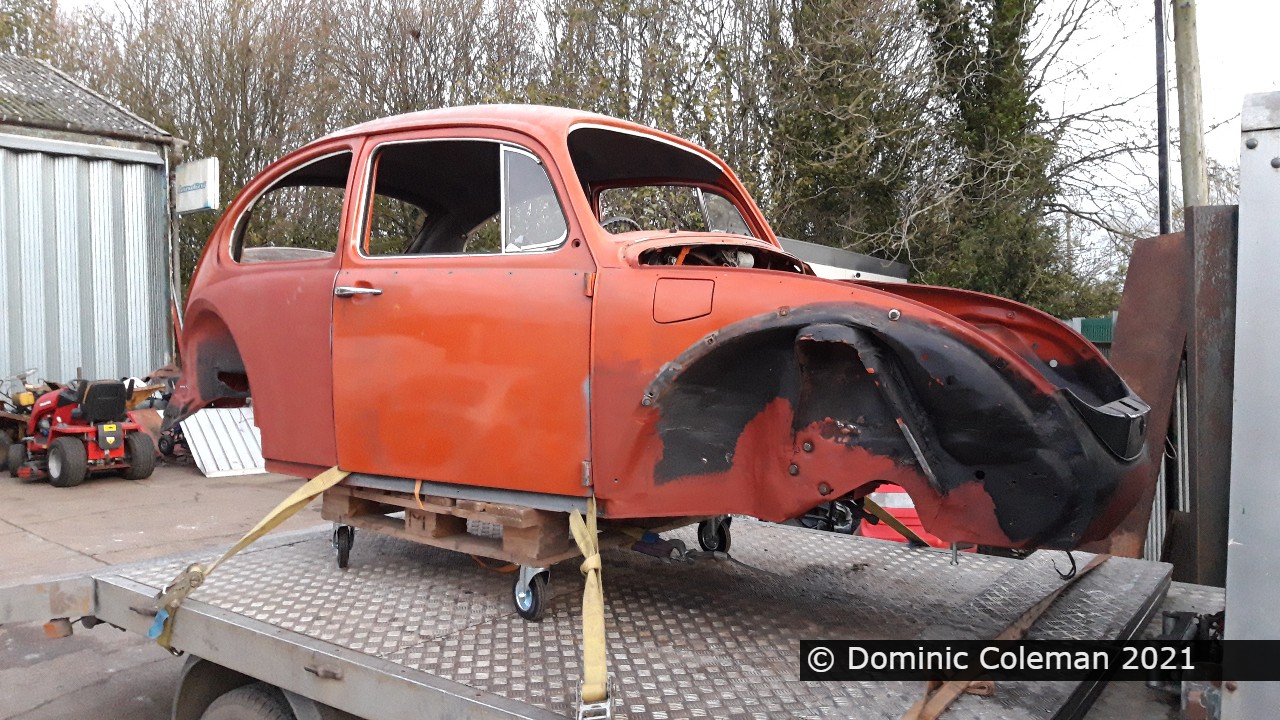
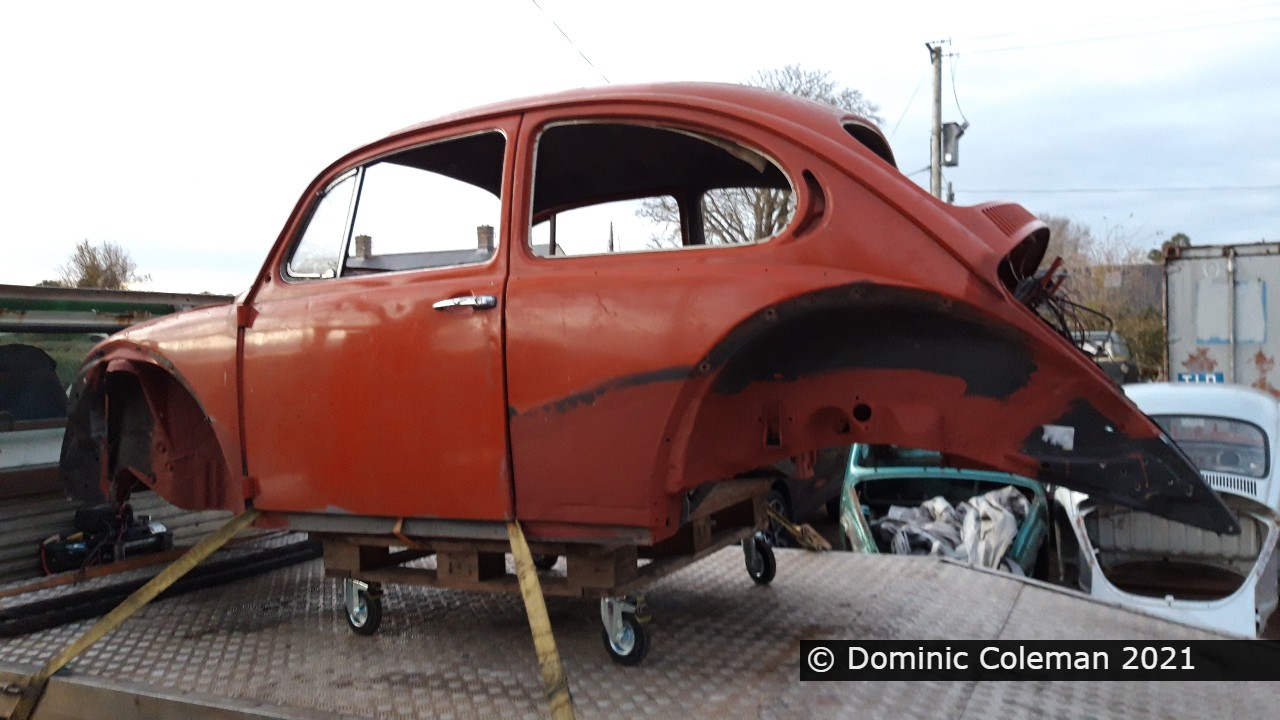
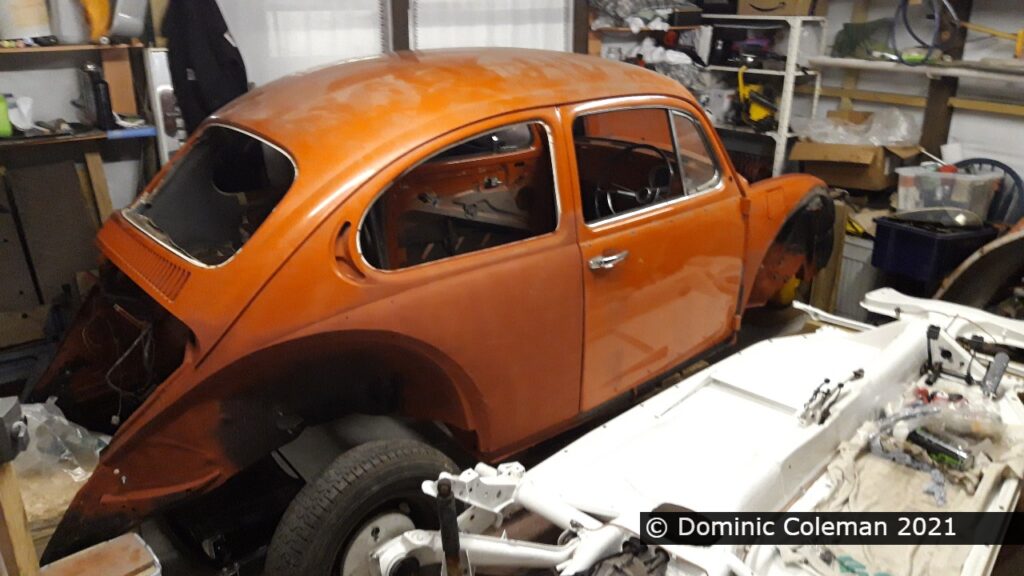
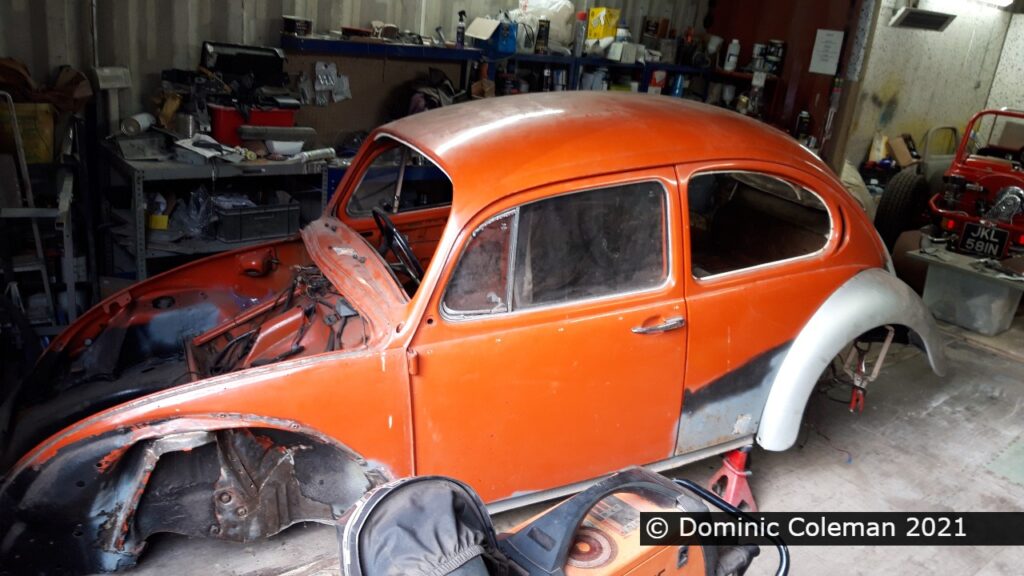
Talk about taking my time. My main excuse for the long break was that from March to August 2022 we had goose eggs being incubated and then the single success of a hatched gosling was growing up in the workshop that housed the beetle. The gosling (Ashley) took up a fair amount of space so working on the beetle just couldn’t happen. At least, with some assistance, I had got the body shell up on to the trestles which I had made at the end of November 2021, therefore I could roll and store the floor pan underneath.
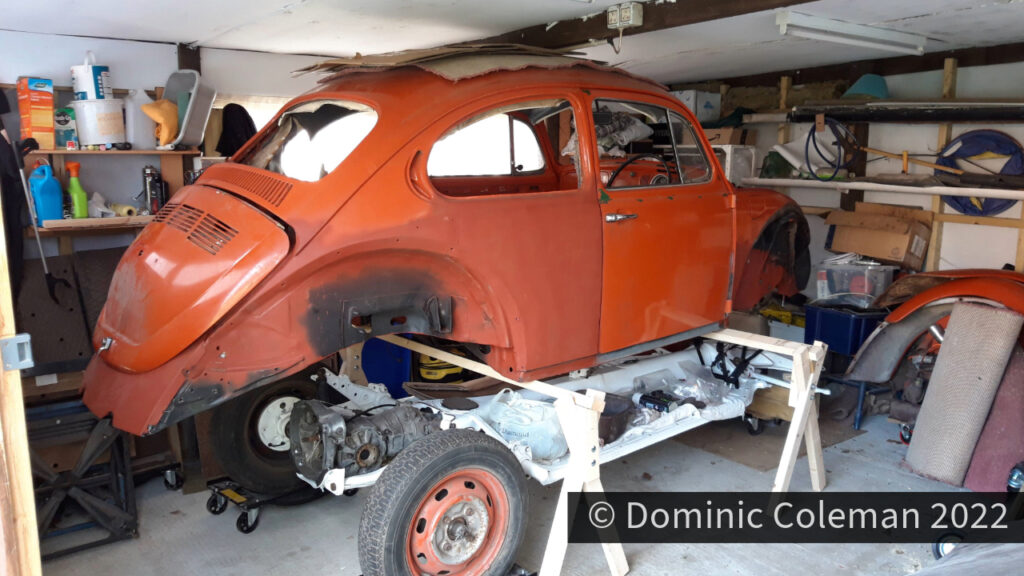
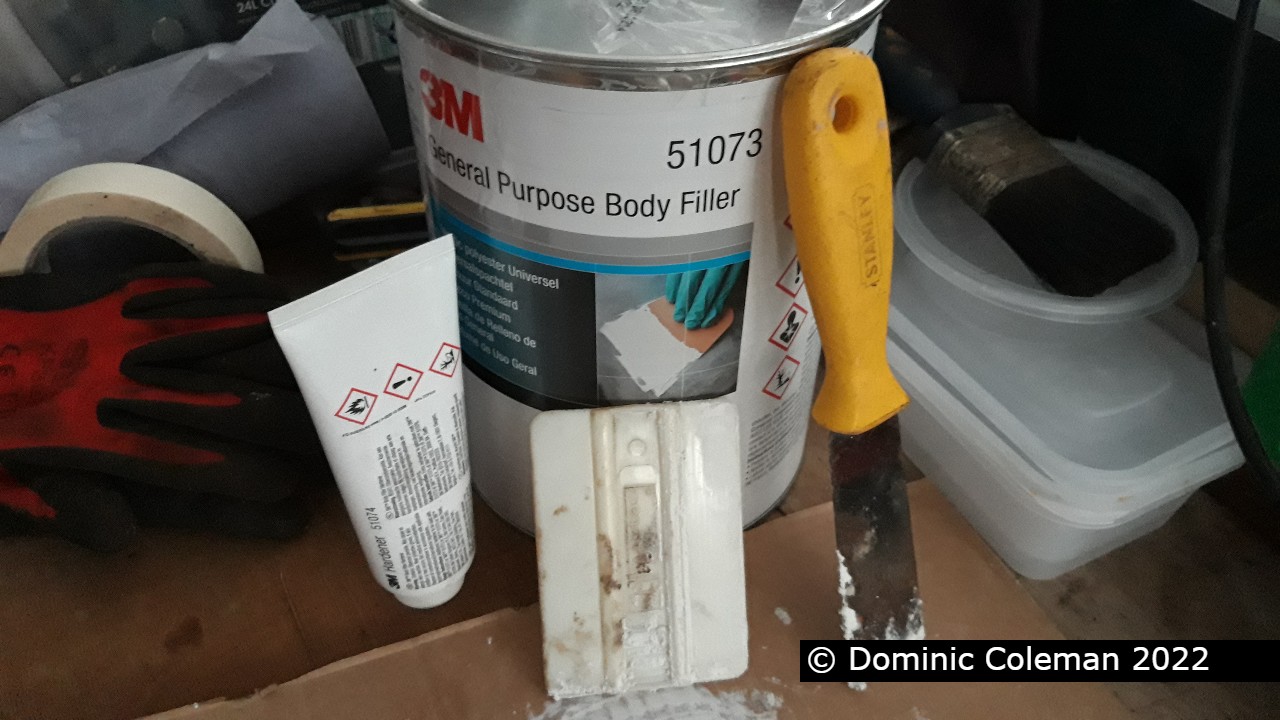
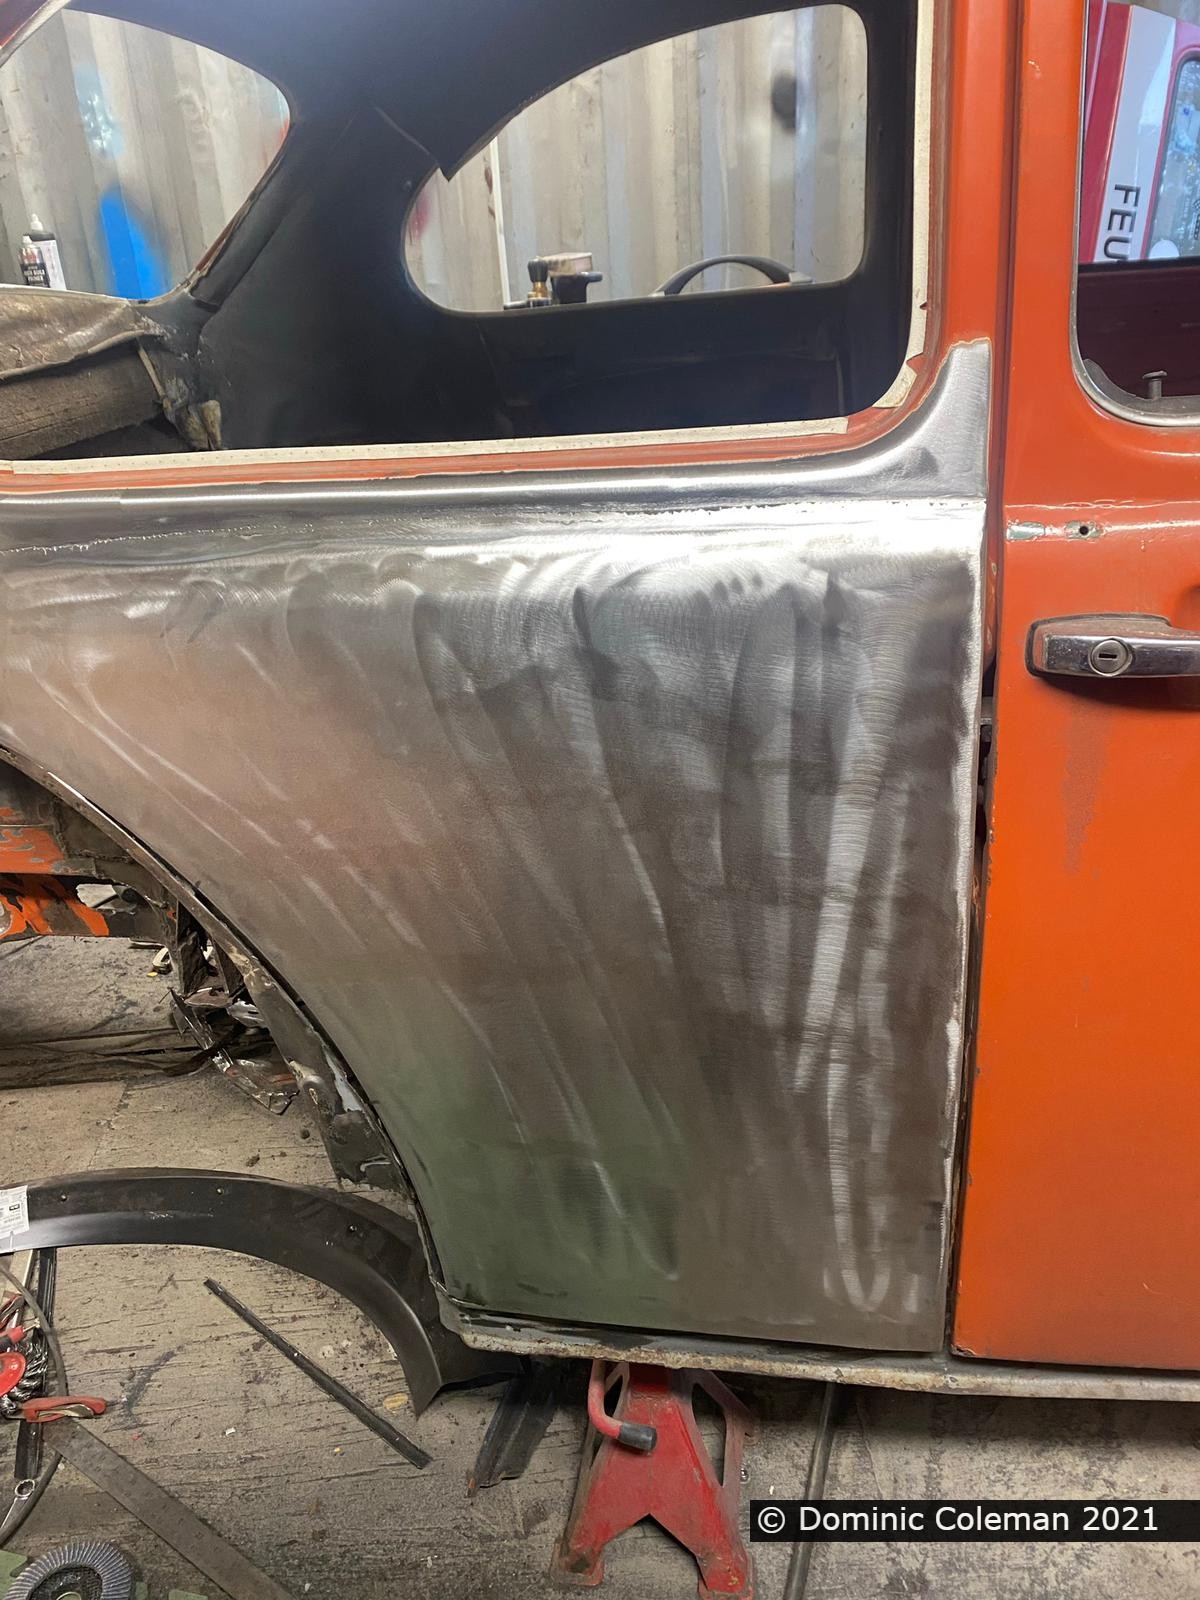
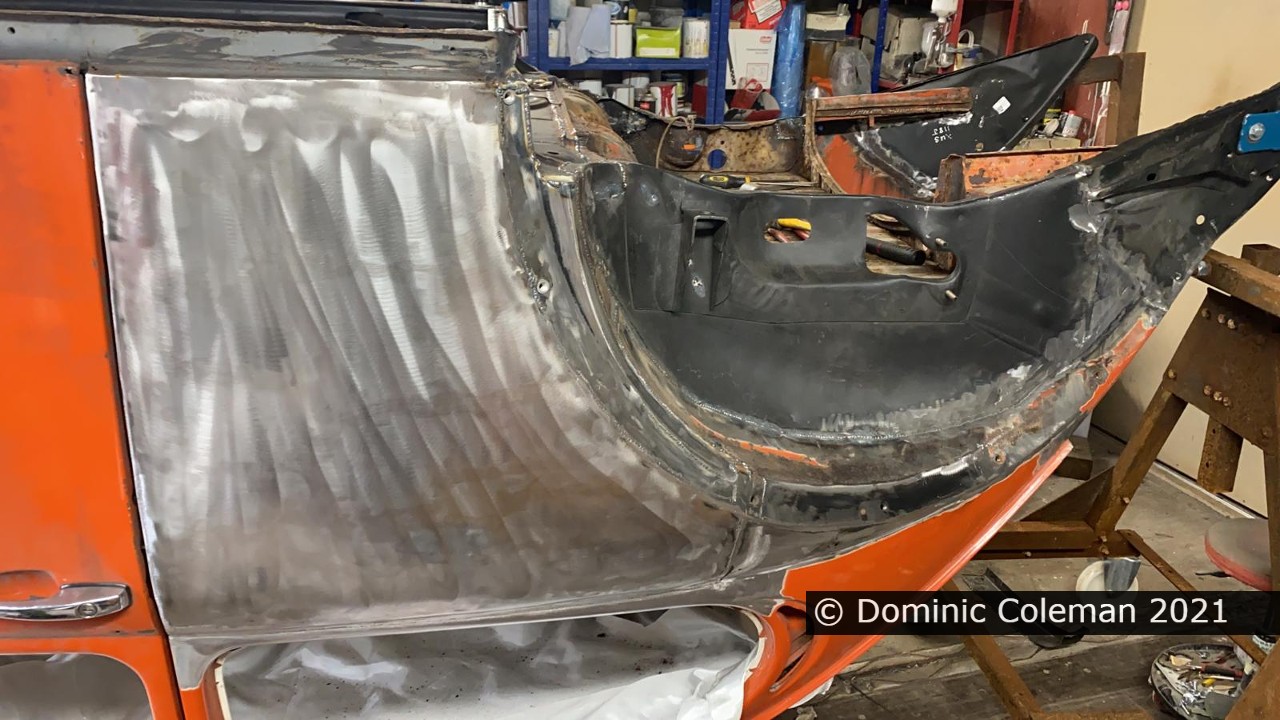
Way back in March 2022, I bought a 3 litre tin of 3M filler with hardener, 5 litres (with hardener) of high build primer, 5 litres of thinners and 3 Cobra Bedliner systems (anti stone chip) to use with a Schultz spray gun. Roll on September 2022 and I had the space to work on the body shell and my first job was to try out the filler on the rear quarters.
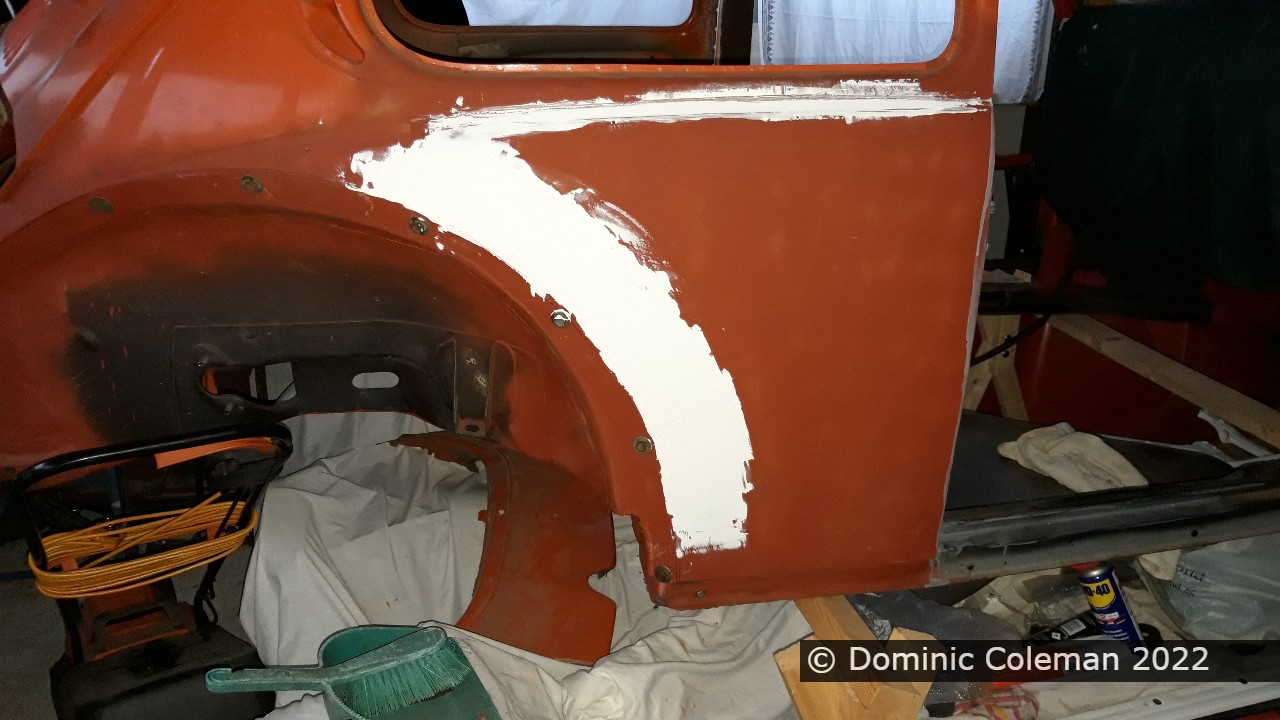
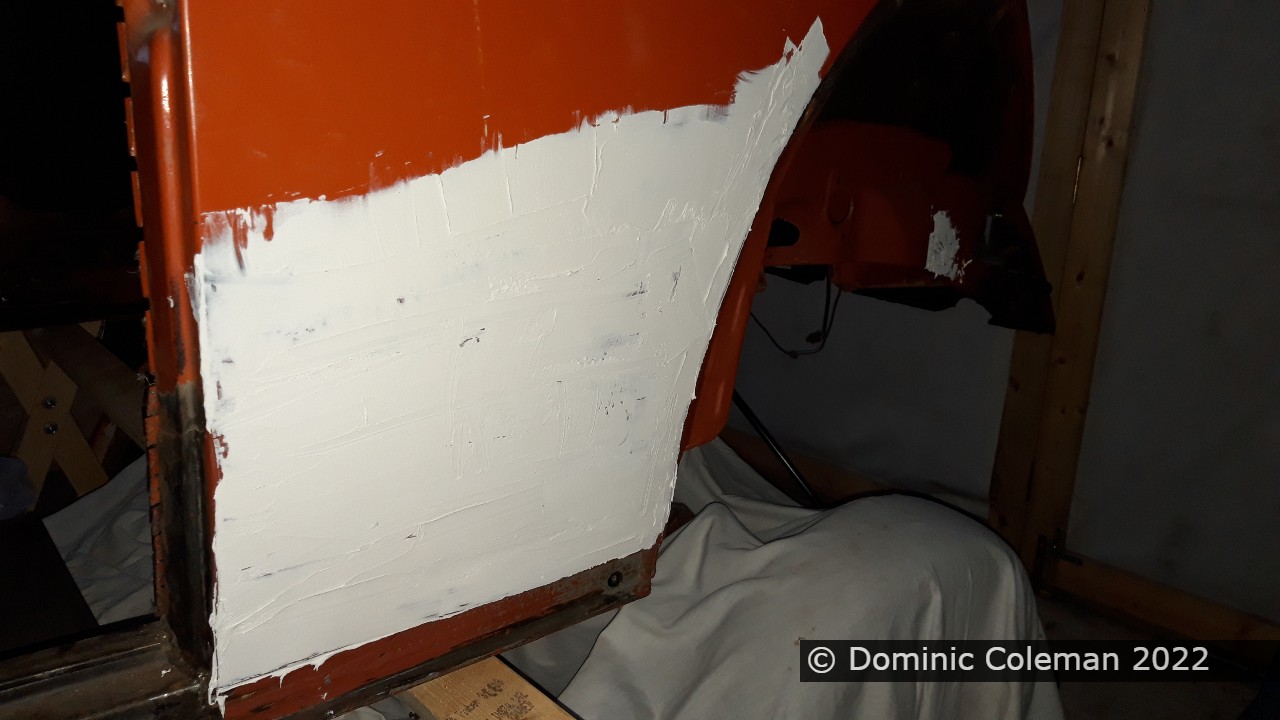
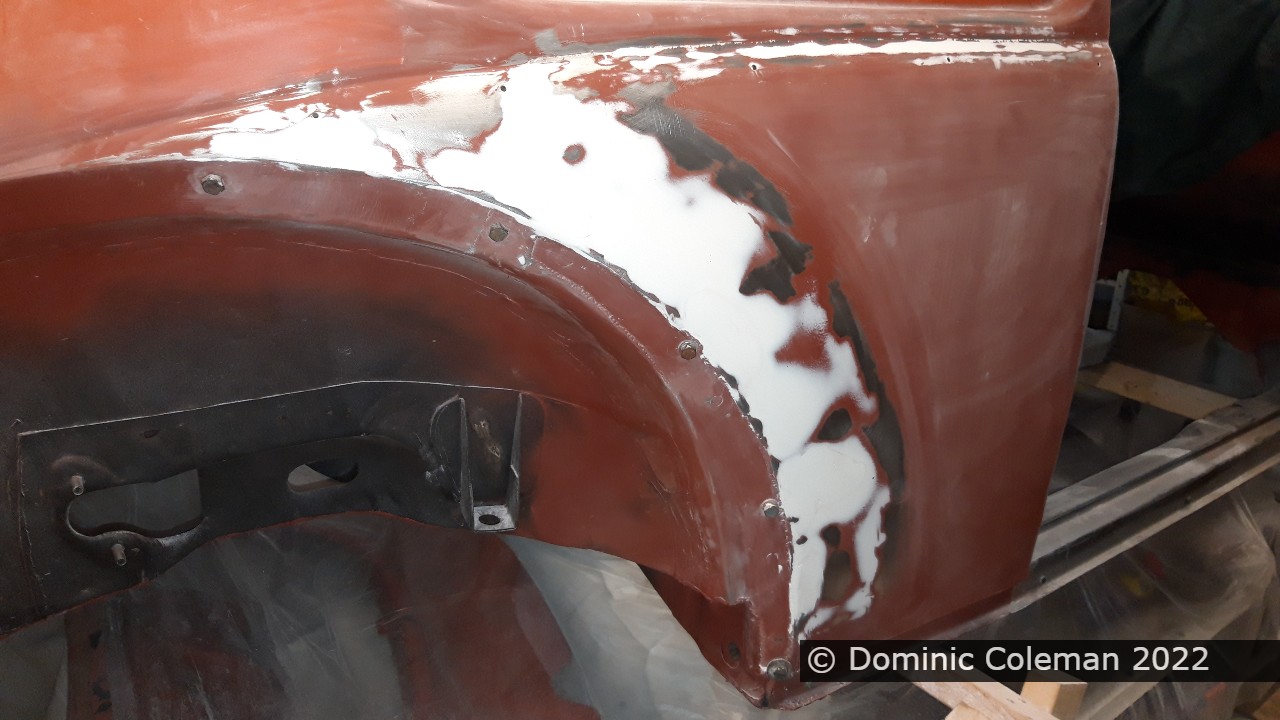
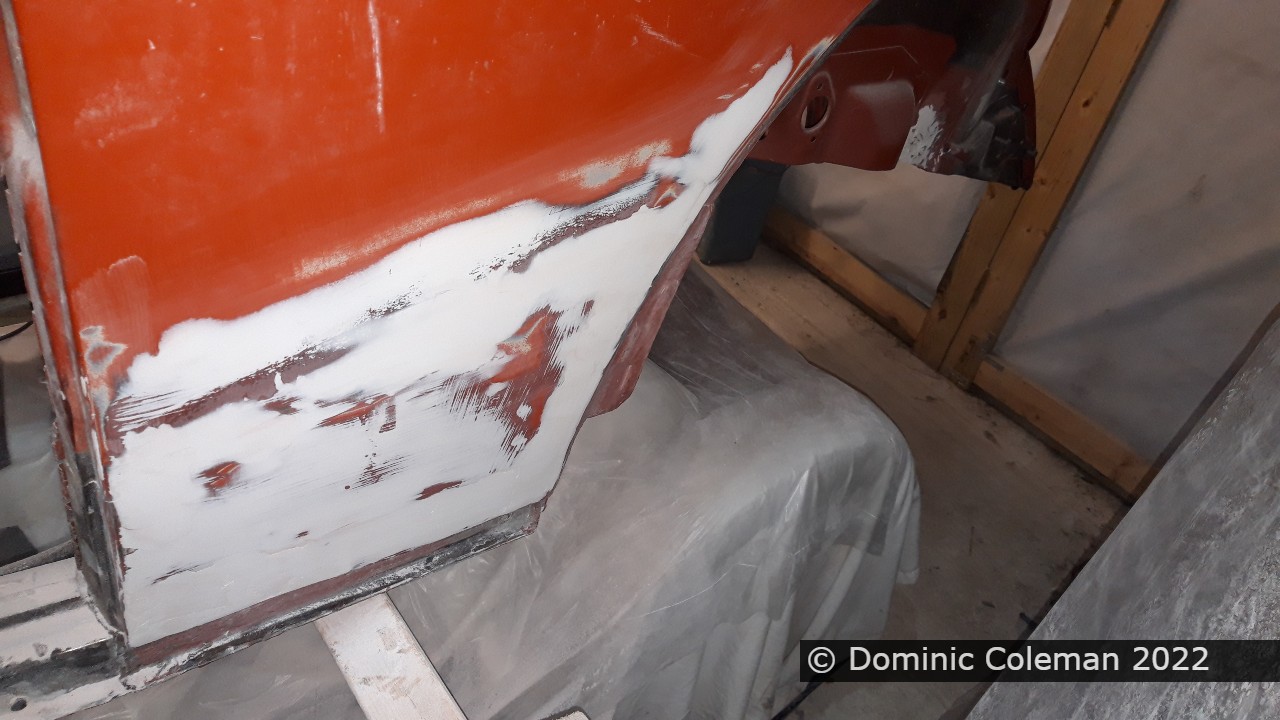
The body filling was done over several days with the first layer being rubbed back initially with an orbital sander and 80 grit paper to expose the low points. A second layer was applied and rubbed back by hand to reveal the low spots again and thus a third layer was applied and though an improvement there were still low spots after a combination of orbital and hand sanding. Having seen something on YouTube, I bought some better filler spreaders as the plastic applicator (vinyl applicator) I had been using was too stiff and not giving any flex to follow the body shape.
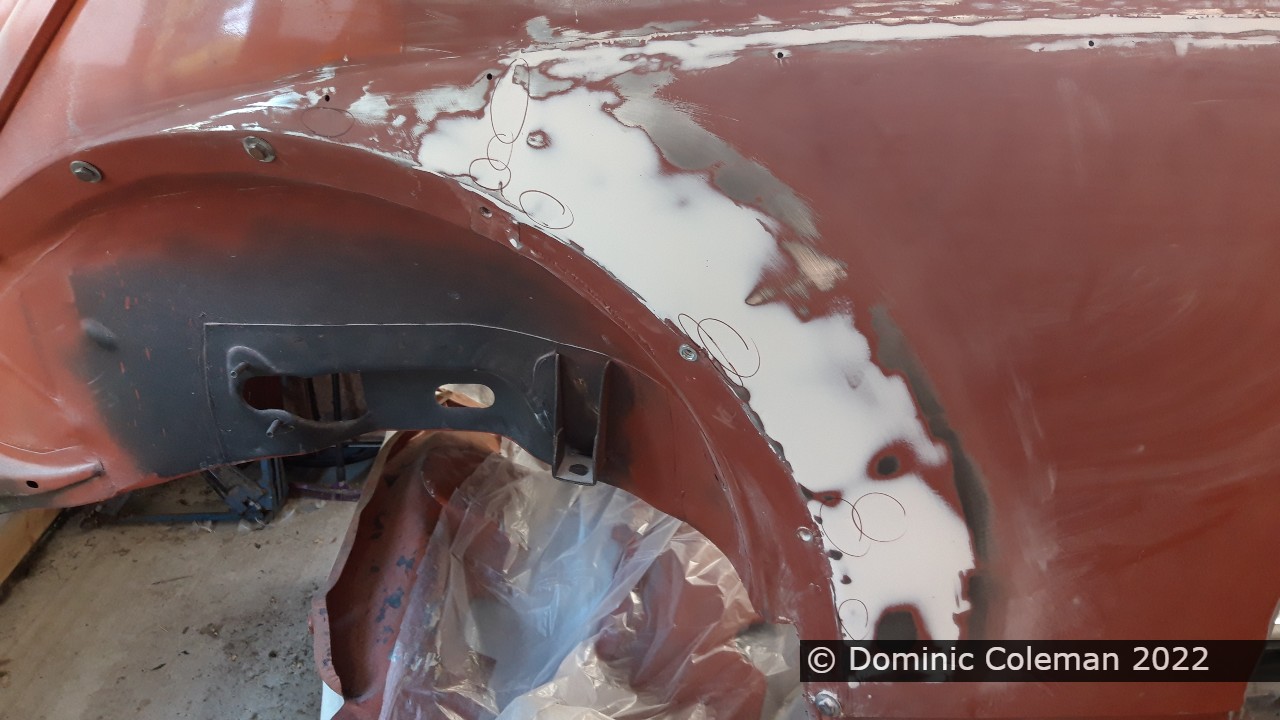
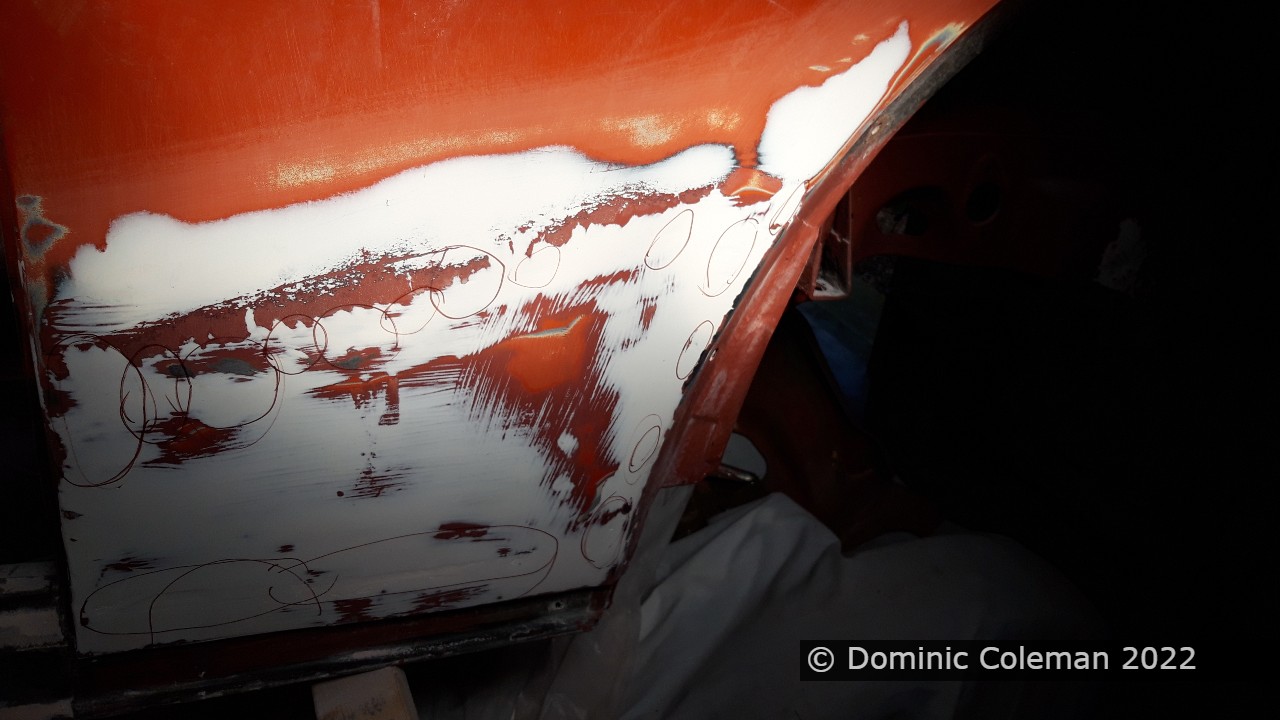
After the third filling and rubbing down attempt I decided to stop and seek some assurance by speaking to Paul before I went any further. I had by then got a reasonable idea for filling and trying the techniques of rubbing down with different grades of paper – I just needed to take my time therefore turned my attention to stripping the car down to just a shell.
Categories
bodywork welding

The Body Shell

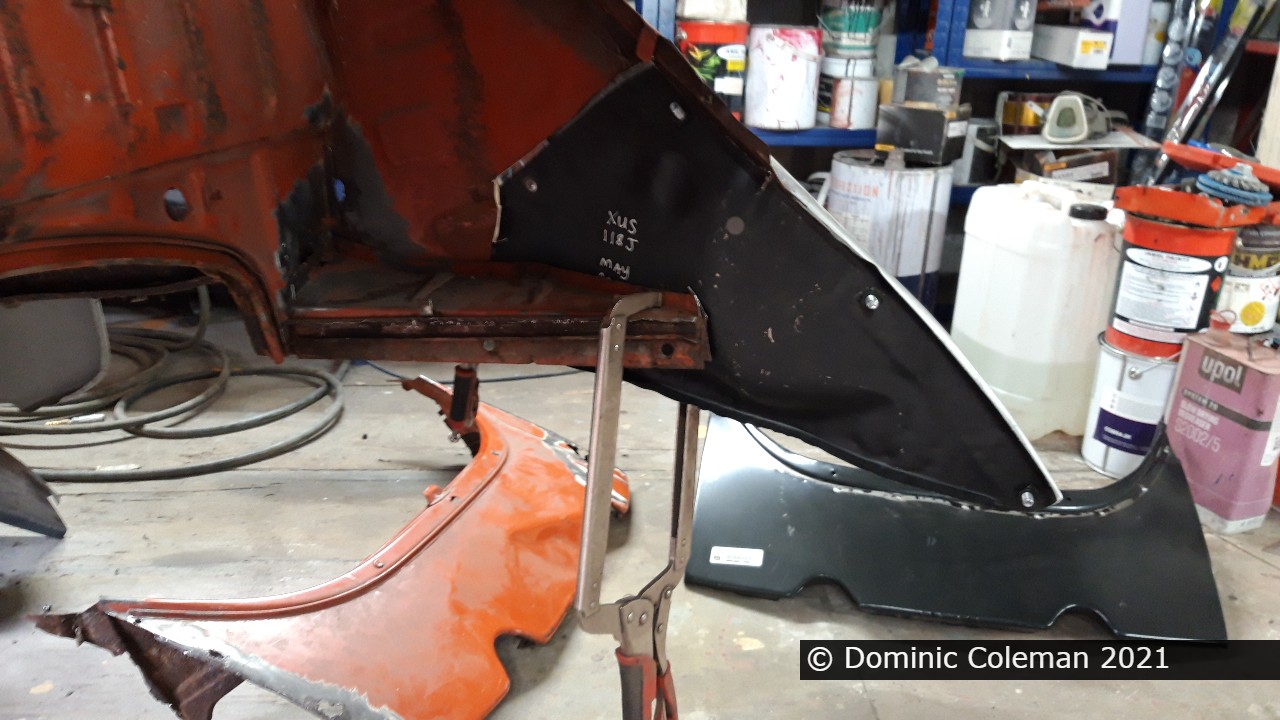
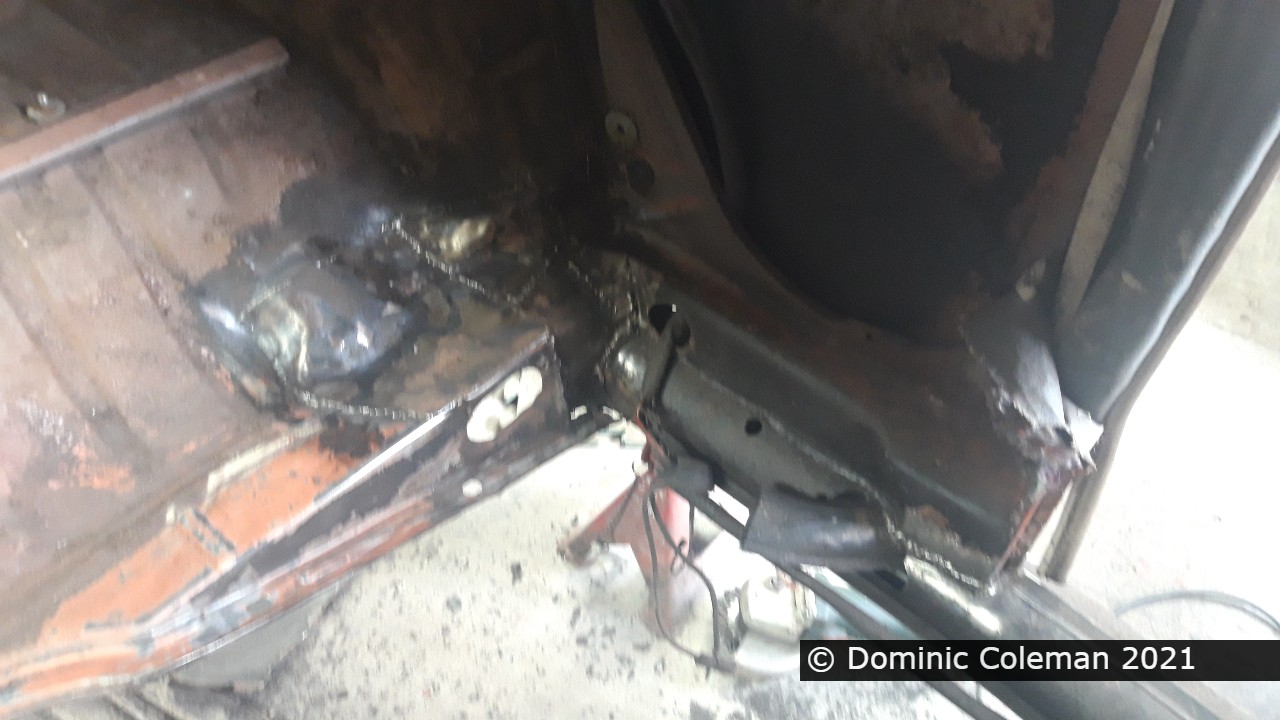
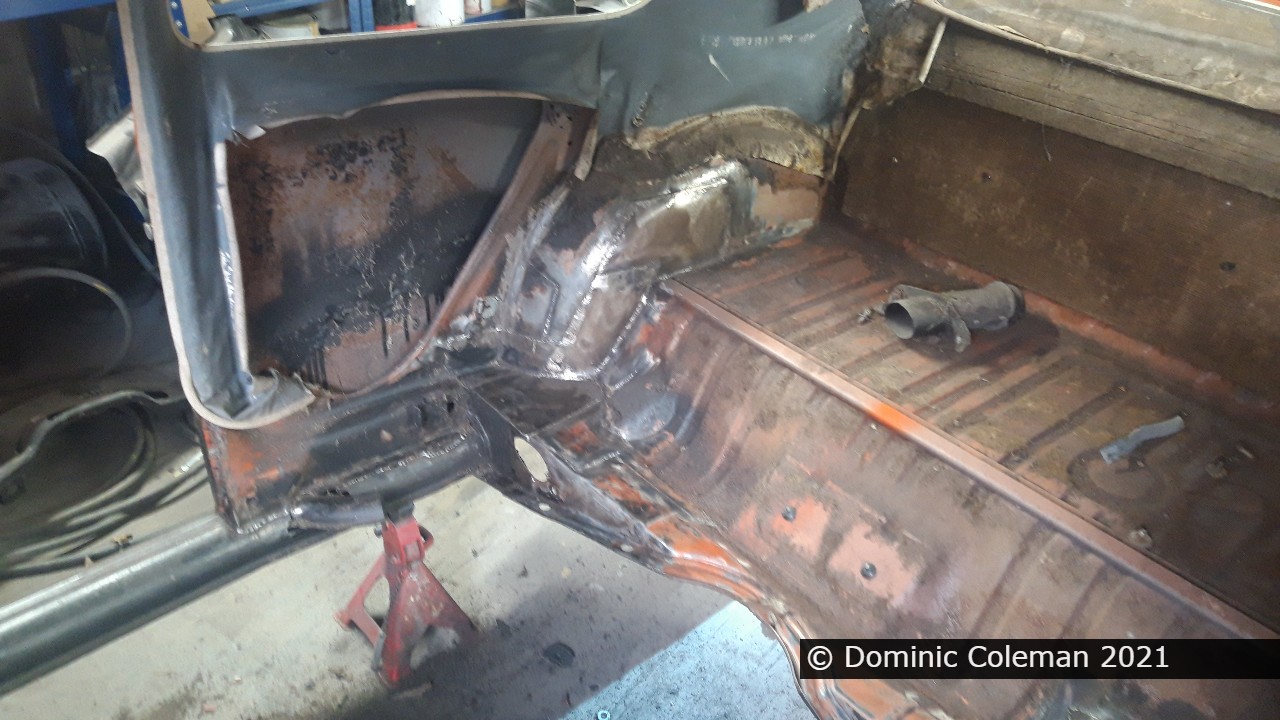
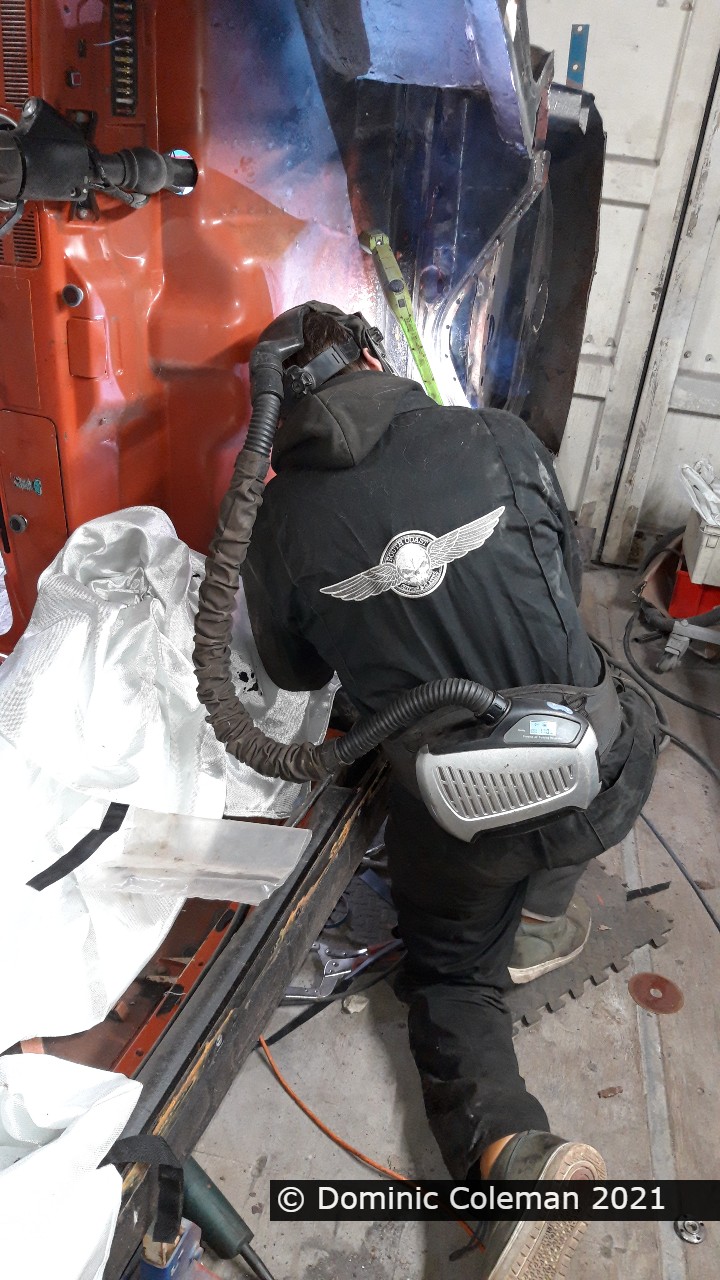
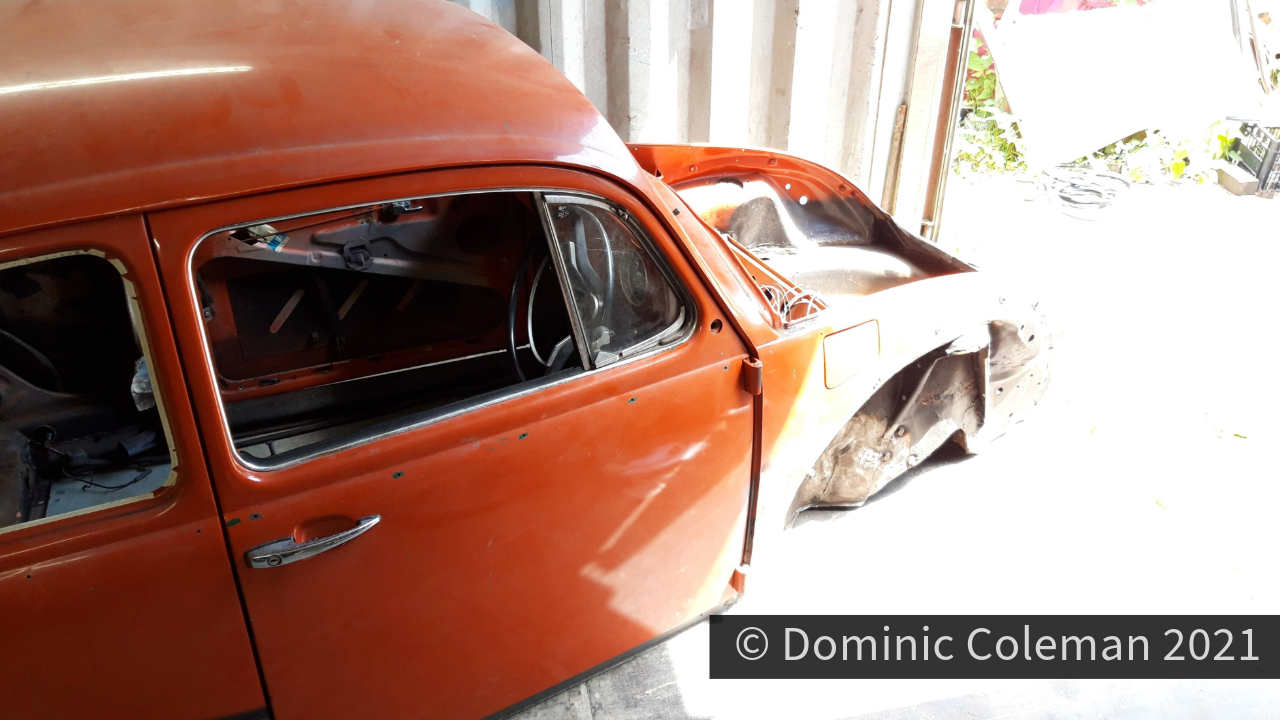
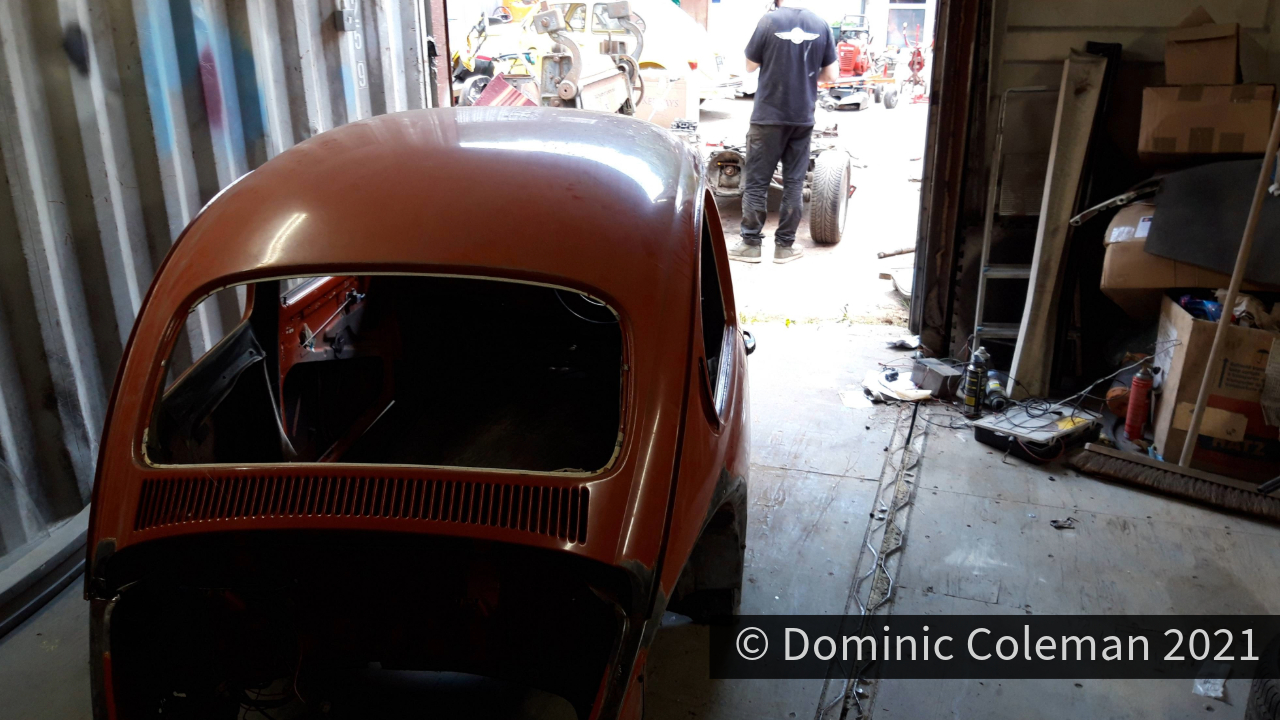
November 2021: With the semi-rolling floor pan returned home, Paul had the body shell to work on. By the time I went back to his workshop to help out, a couple of weeks later, he had already replaced the rear bumper bracket mount, repair sections so as to get it up on to a rotisserie. He had also formulated the rudimentary set up for the removable rear valence. The removable rear valence would greatly assist in the installation and any future removal of the engine.

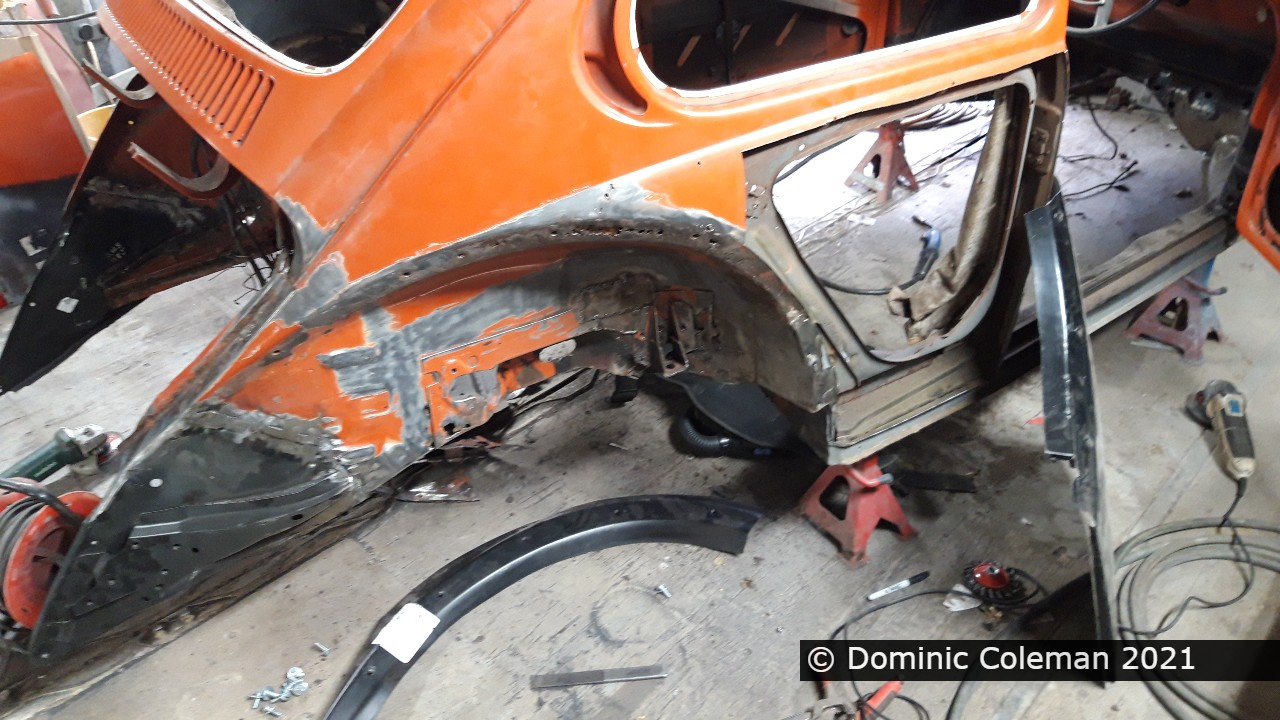
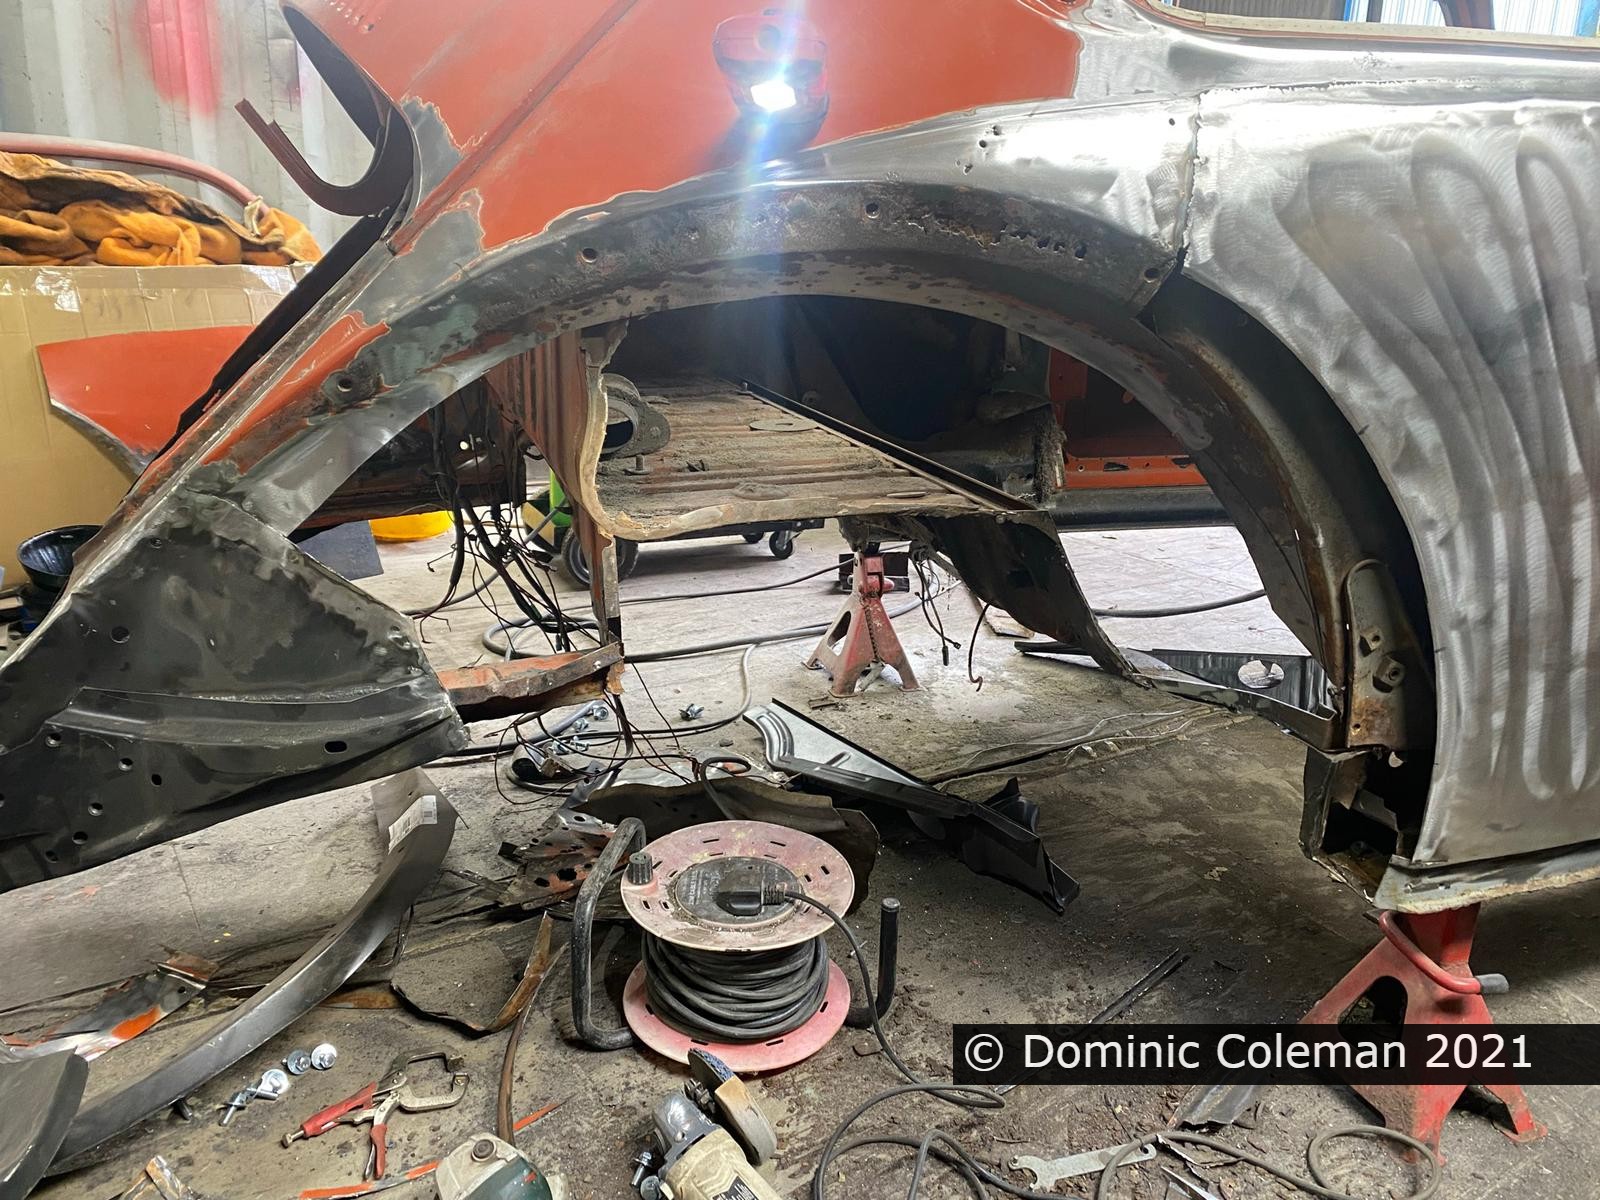
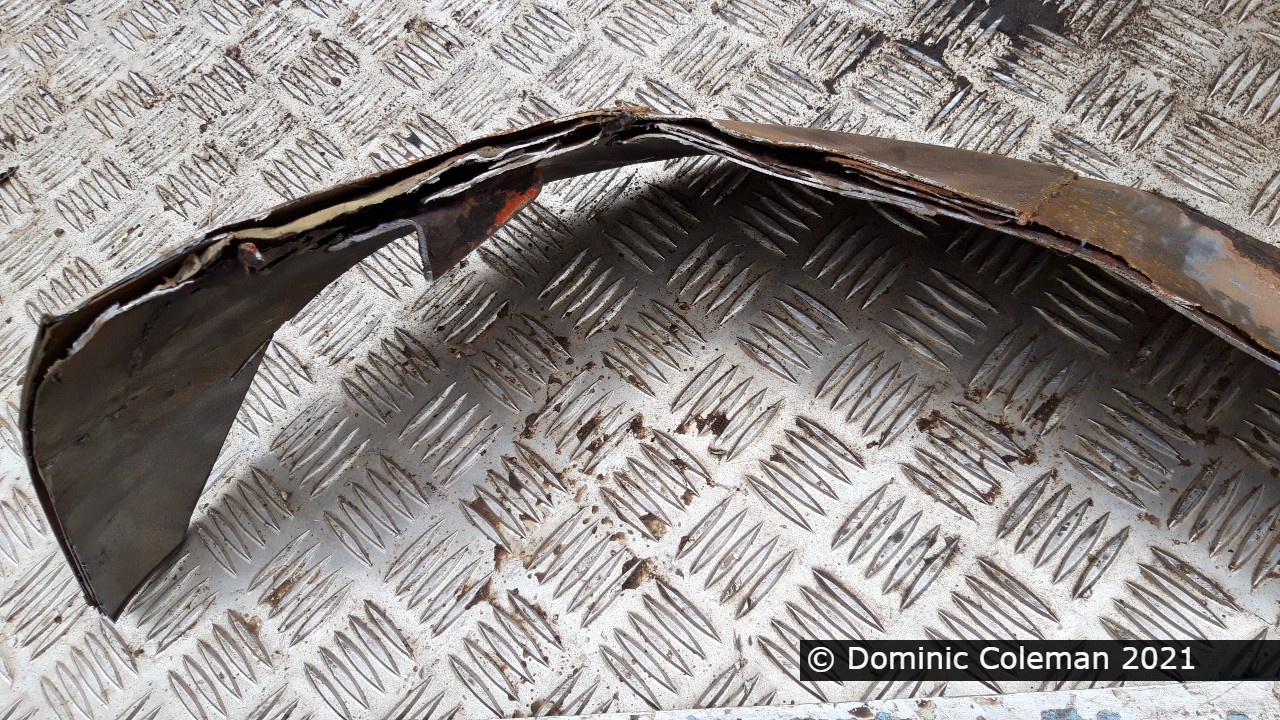
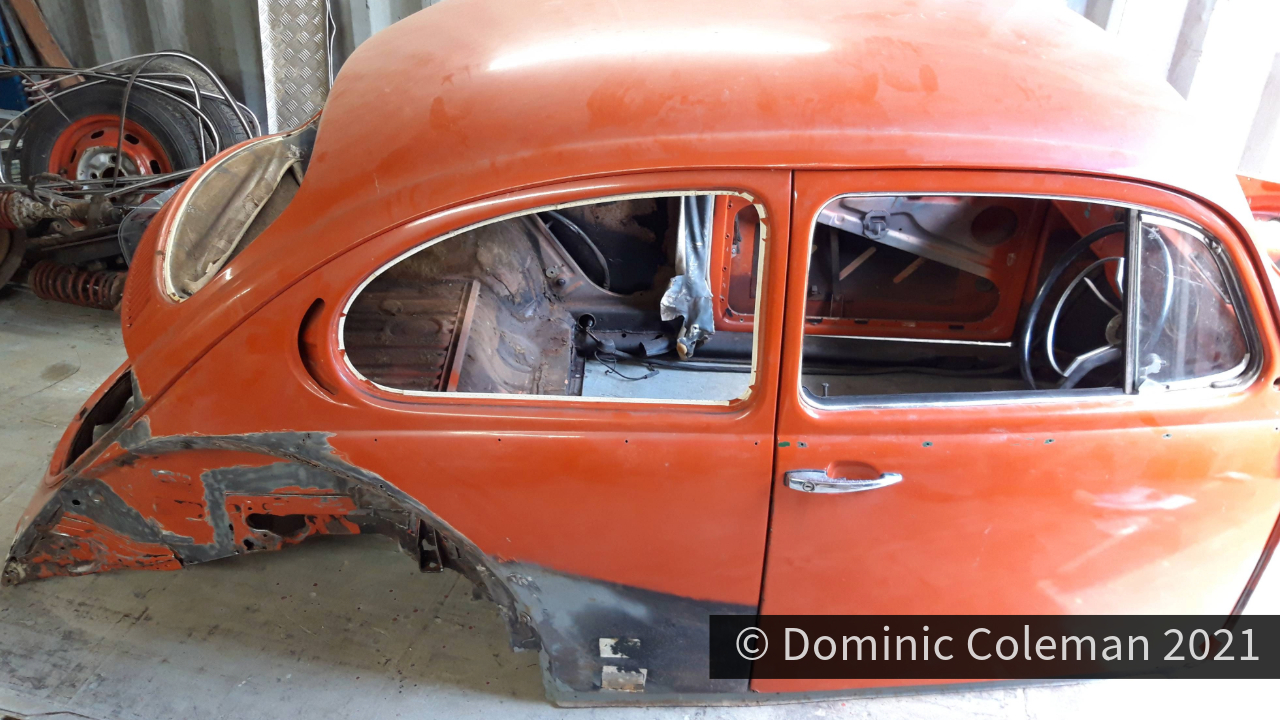
With the bumper mounts repaired, attention was to look at the quarter panel repairs previously done in 1997. It was apparent that the welding on both sides were of varying quality (possible by two different people) and the repair panels overlapped the old metal by a large amount. The right side (UK driver side) was the worst with deformation and warpage and Paul felt it was best to cut the whole rear quarter out and replace it with a new panel. The left side wasn’t too bad but Paul trimmed the excessive overlap on the 1997 repair and welded it in further down the existing original rear quarter meaning less filler would be needed to cover the repair.

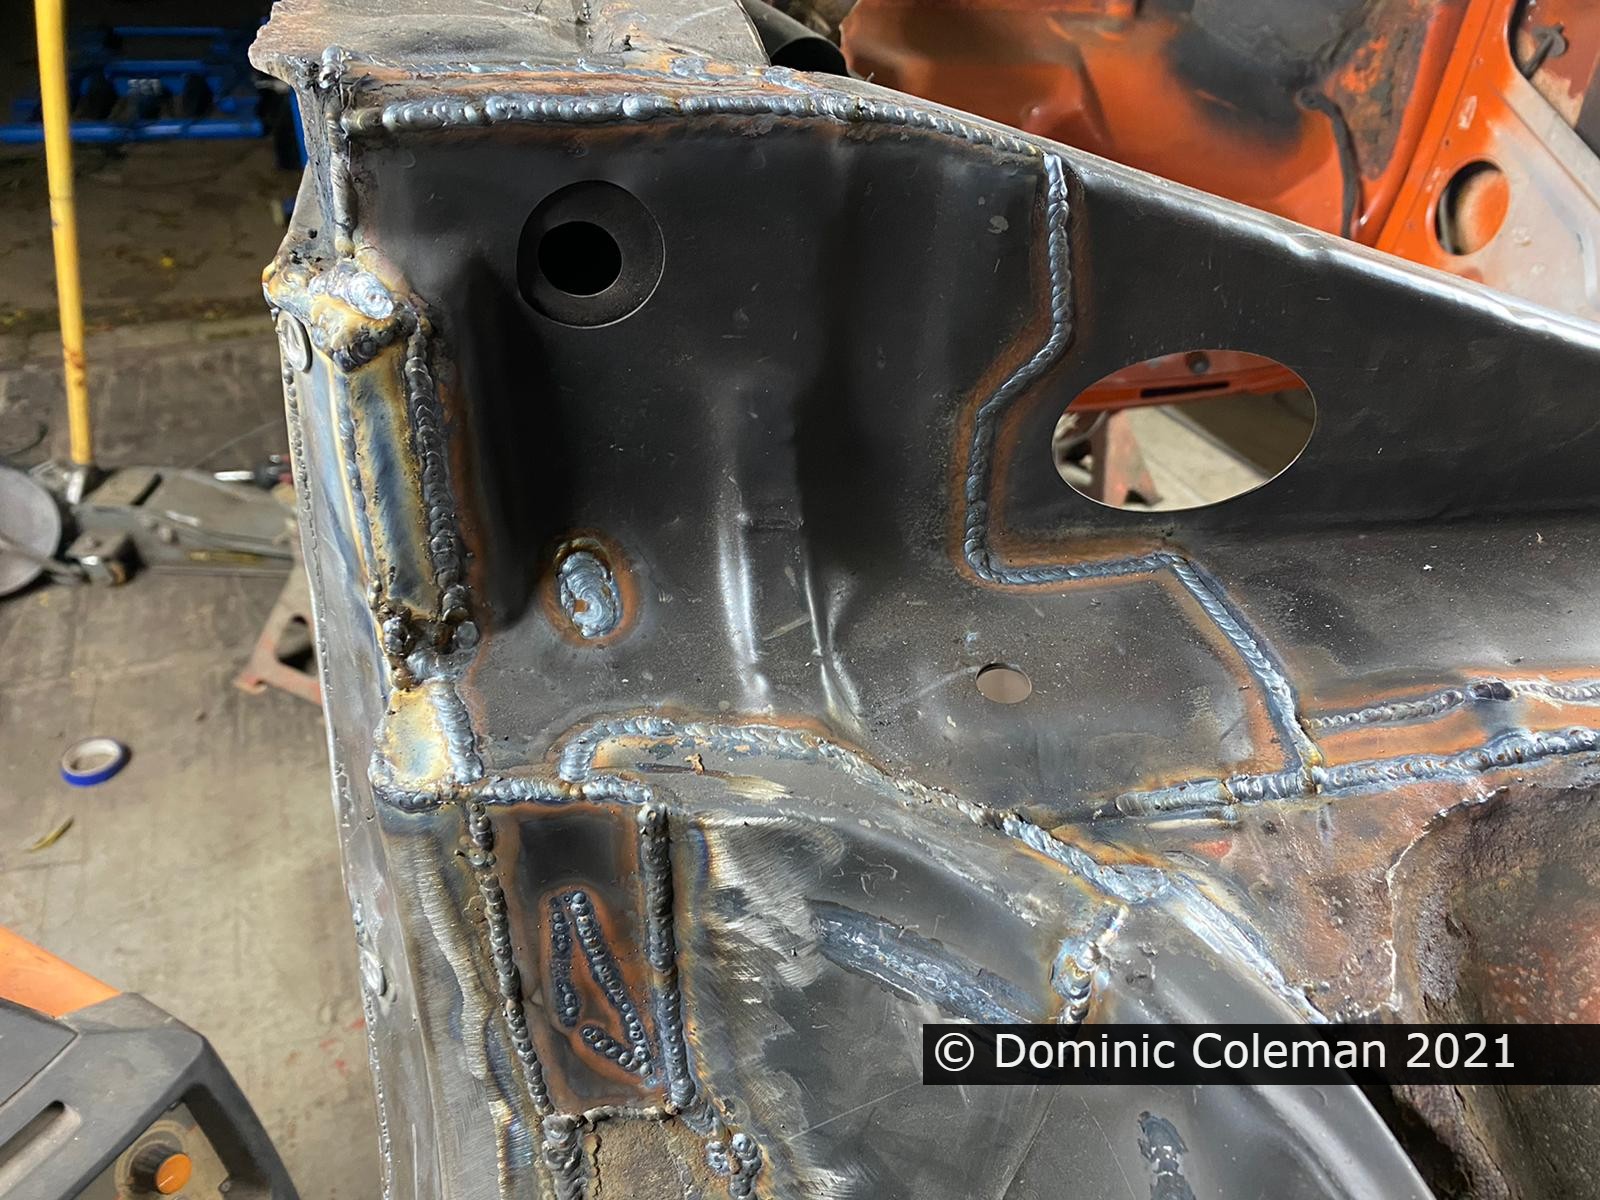
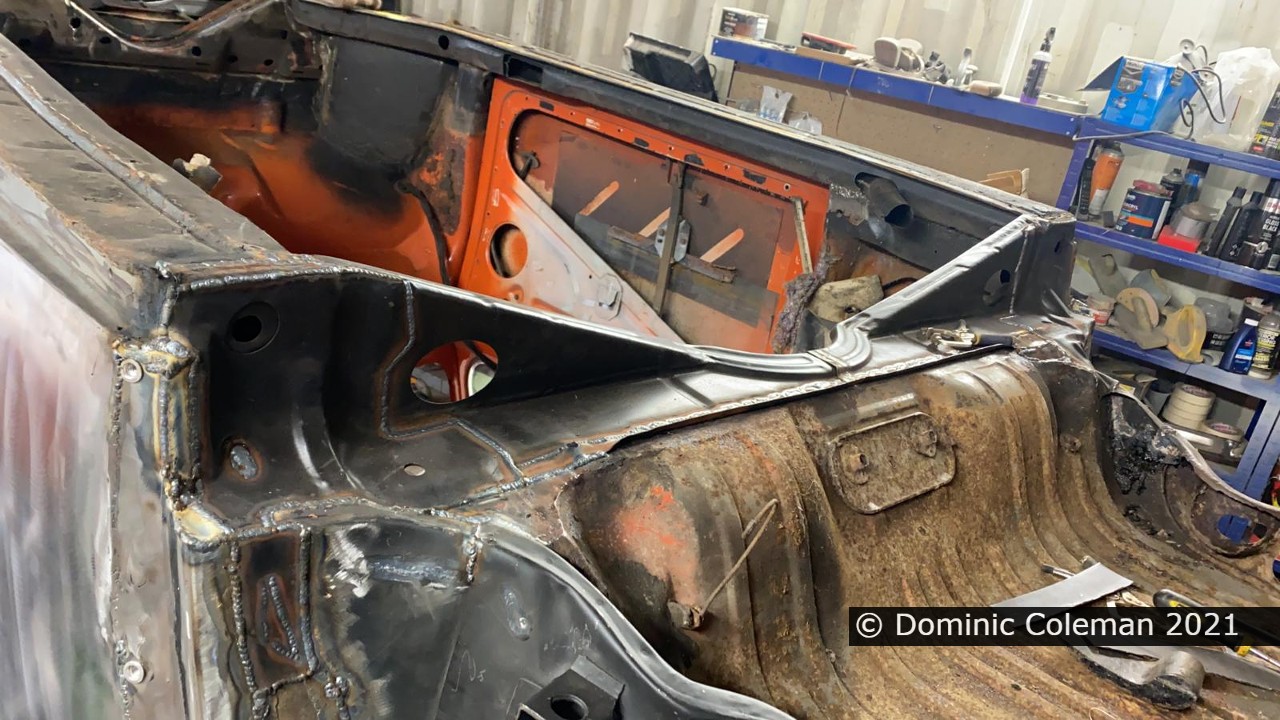
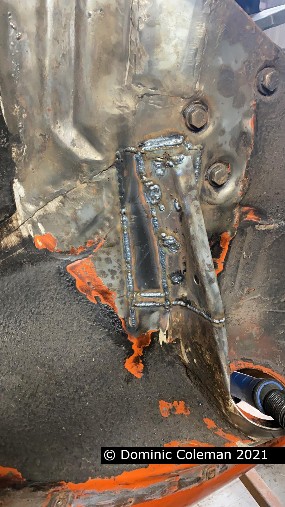
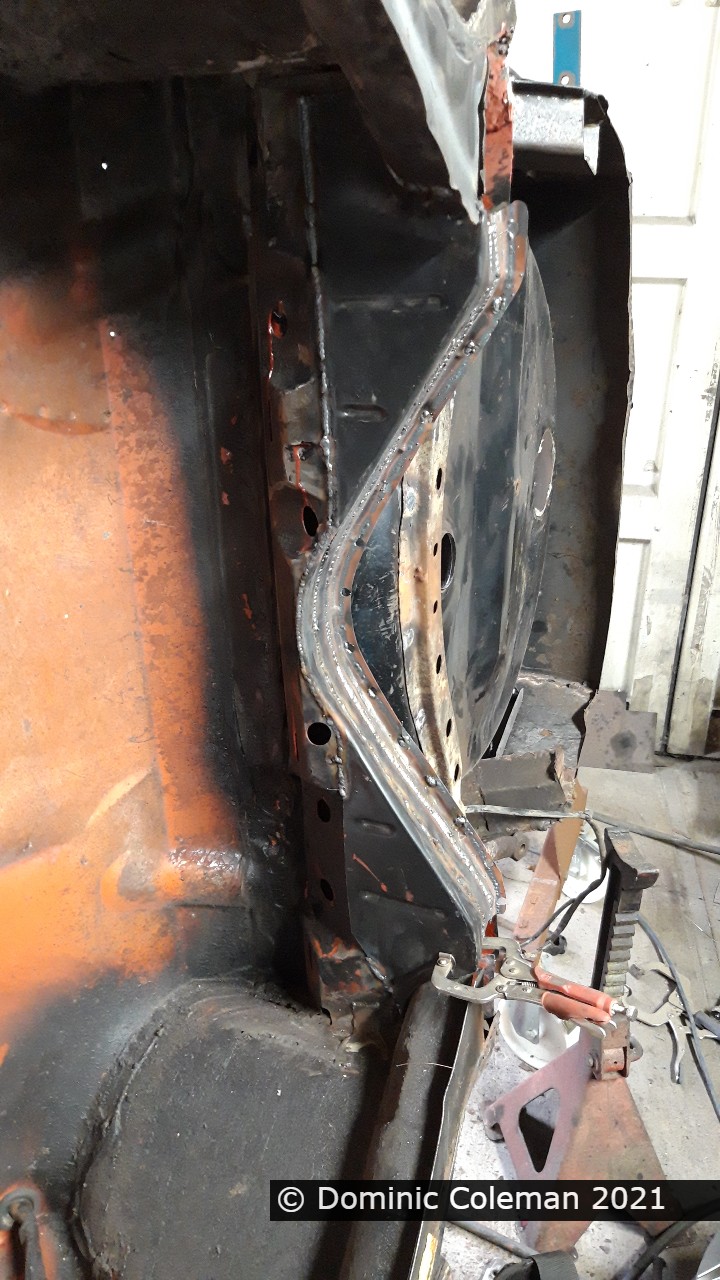
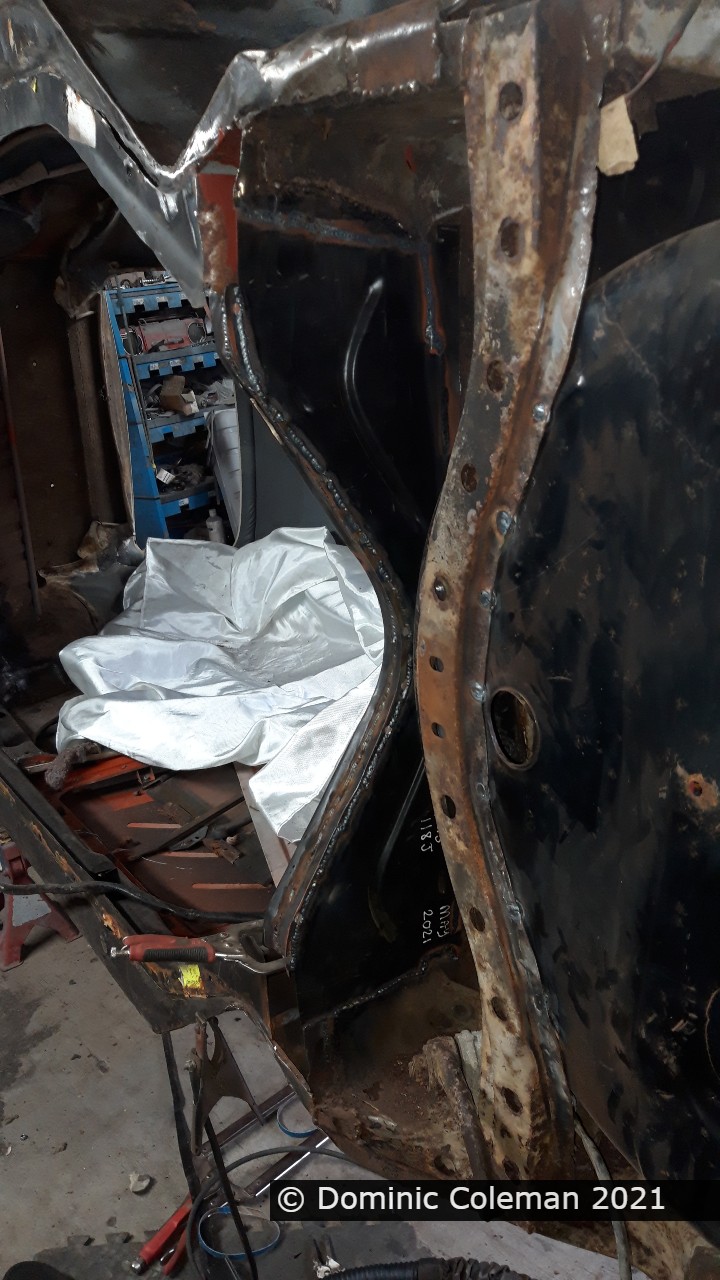
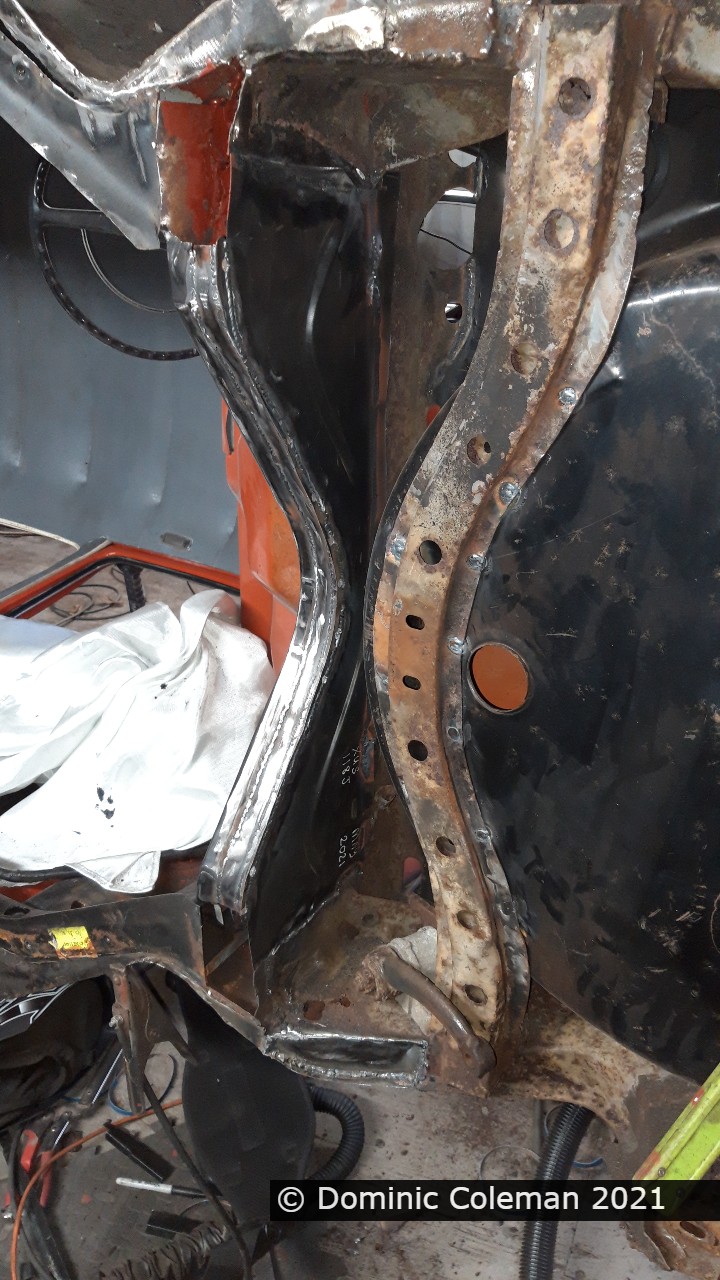
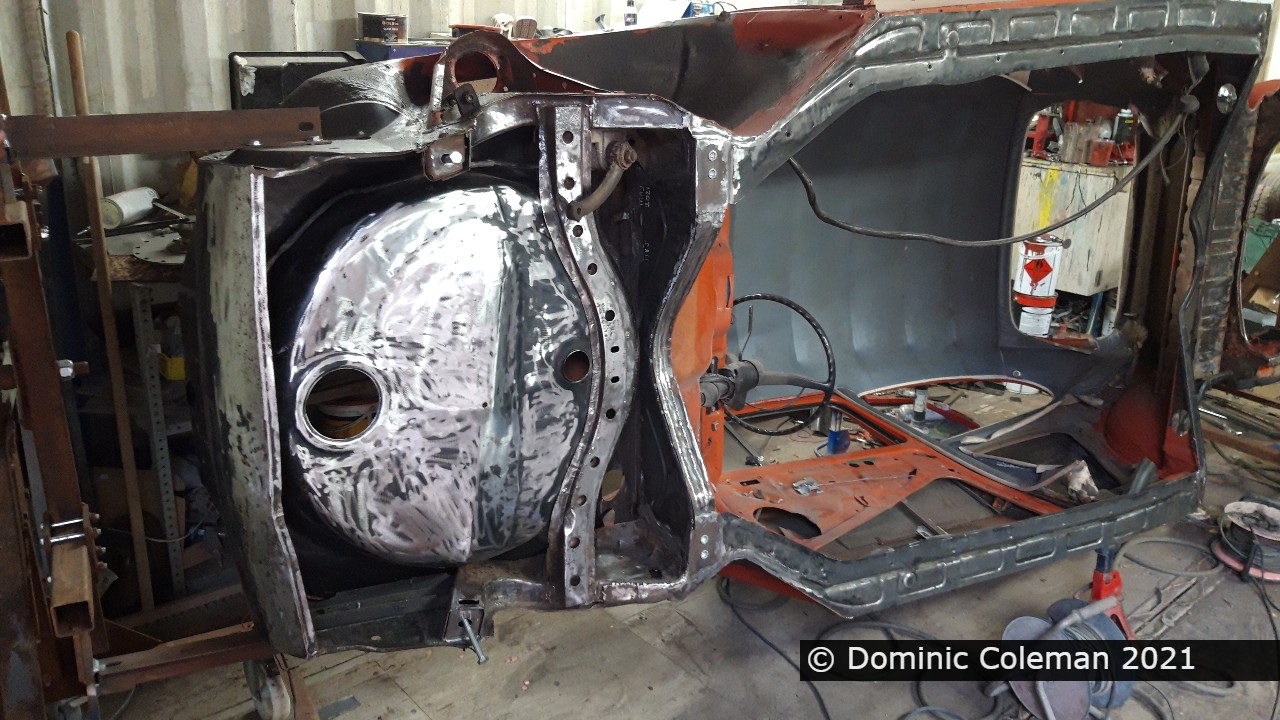
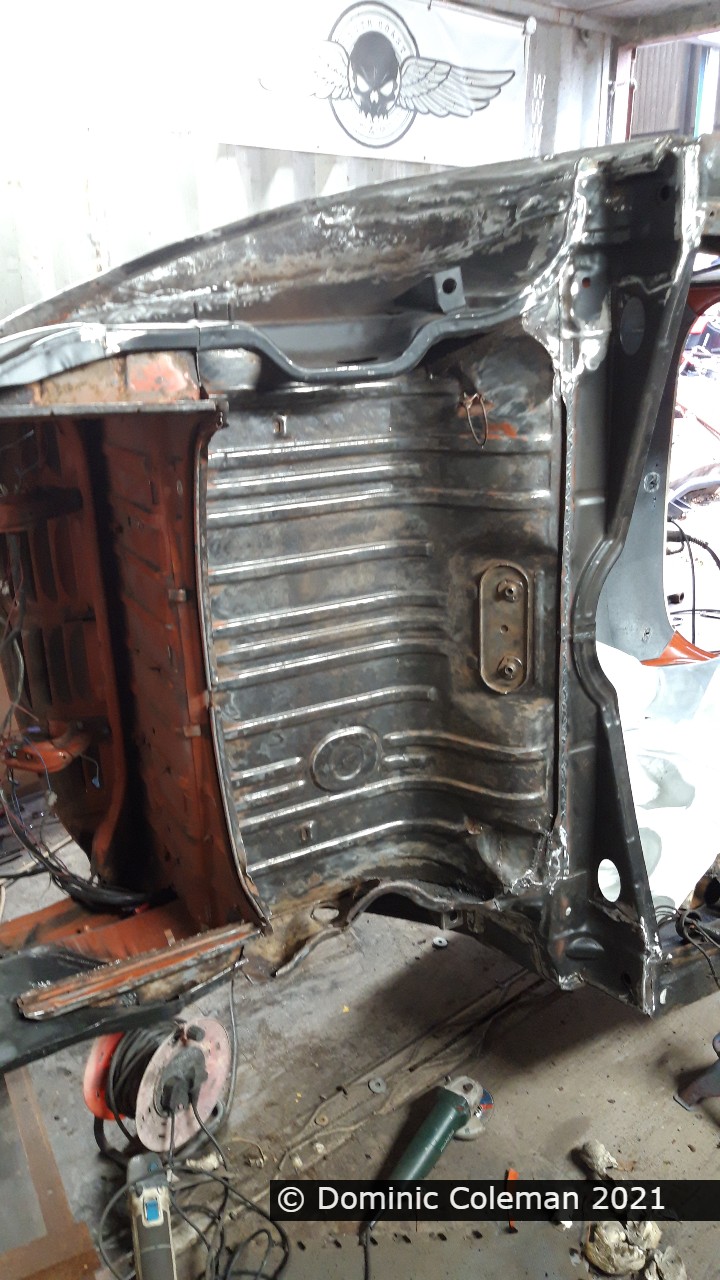
With some strength back in the body, Paul set to work on the right inner rear wheel arch repair with the body mounting bracket. A large repair section had been purchased by me earlier in the year and judging by the pictures it seemed this was a relatively straight forward job.

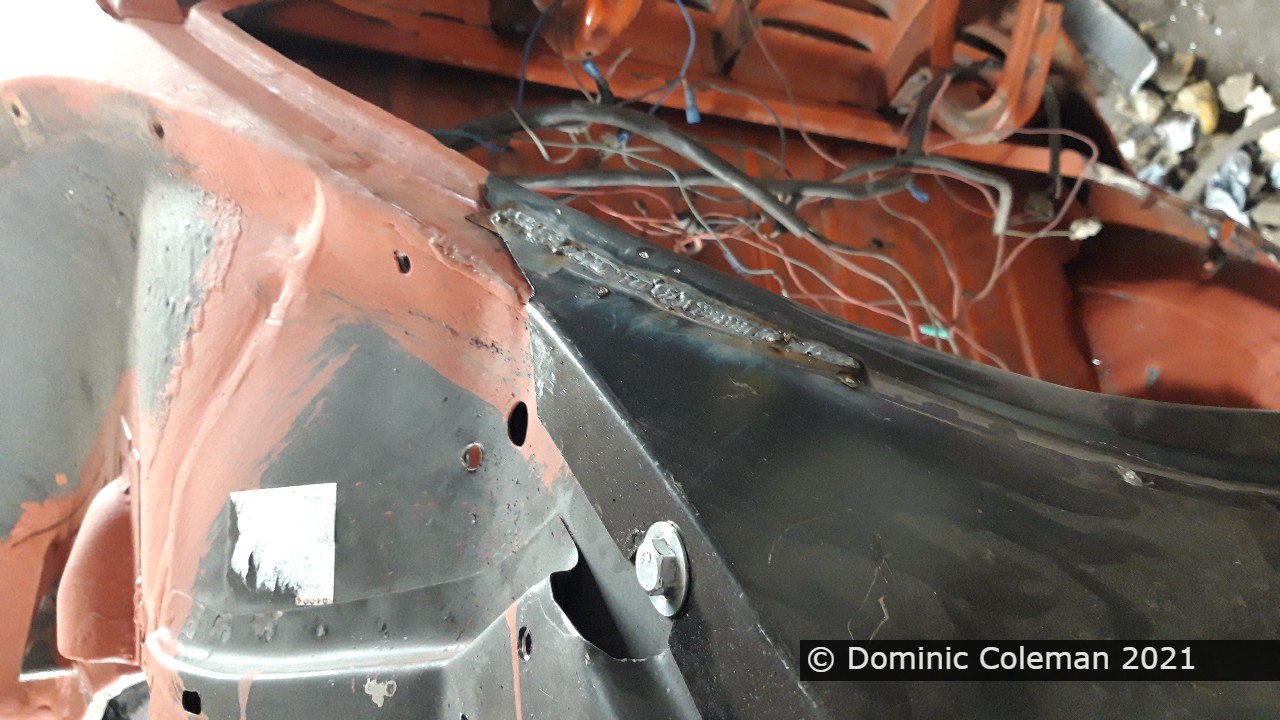
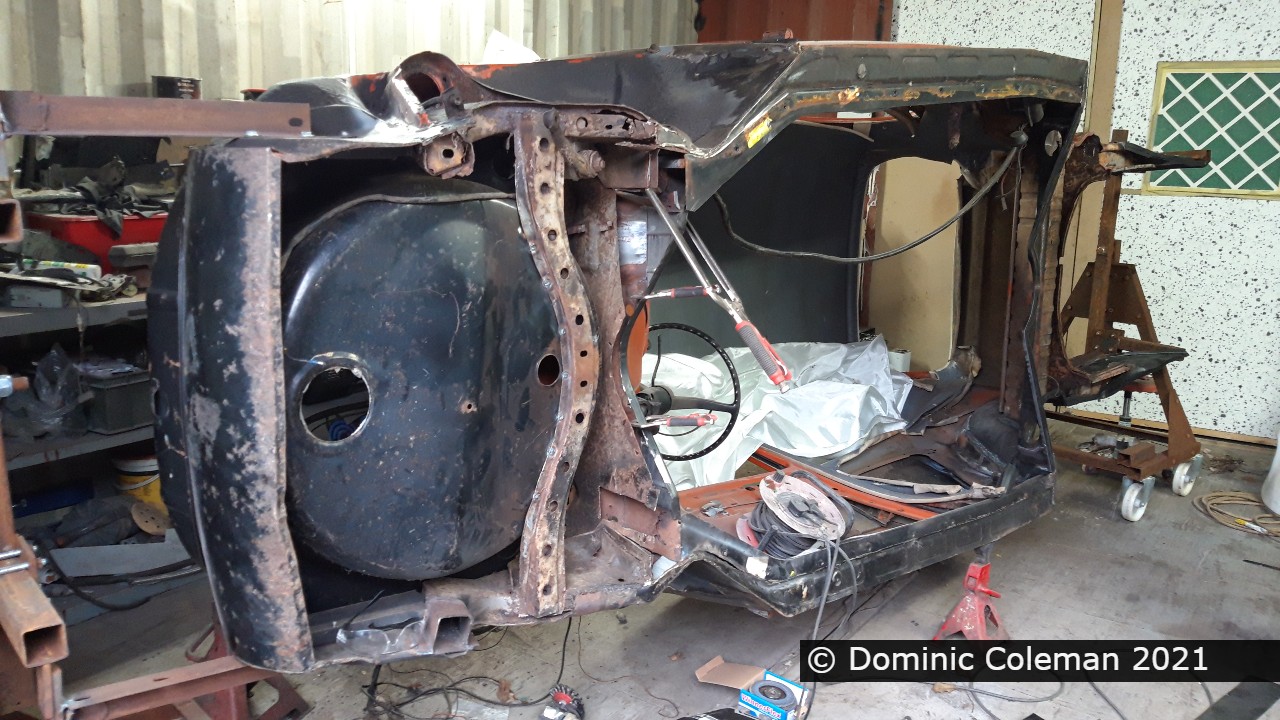
A not so simple job, was the replacement and widening of the front firewall. The (cheaper Klokkerholm) panel I had supplied meant Paul spent quite a bit of time cutting and fabricating this up to be right, along with a front left strut repair. As for me, I was grinding down the welds on the earlier jobs done by Paul as well as cleaning up the underside of the rear body and painting all the exposed metal in red oxide primer.
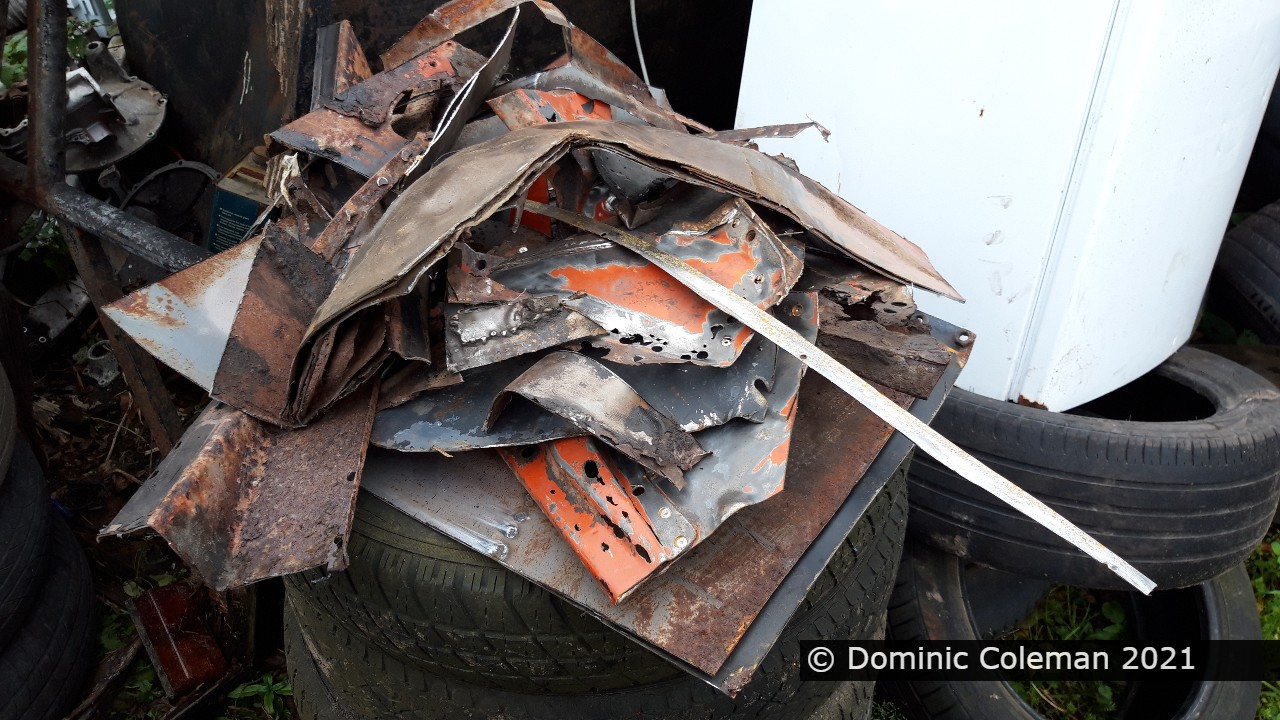
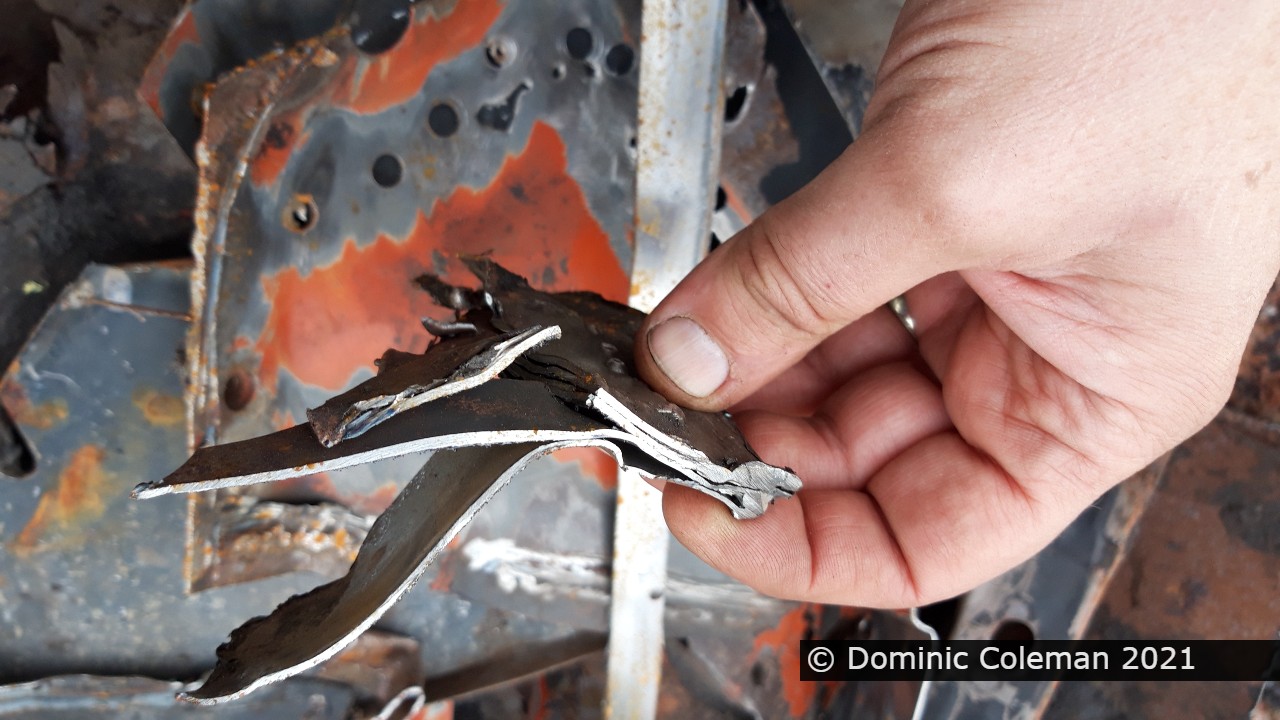
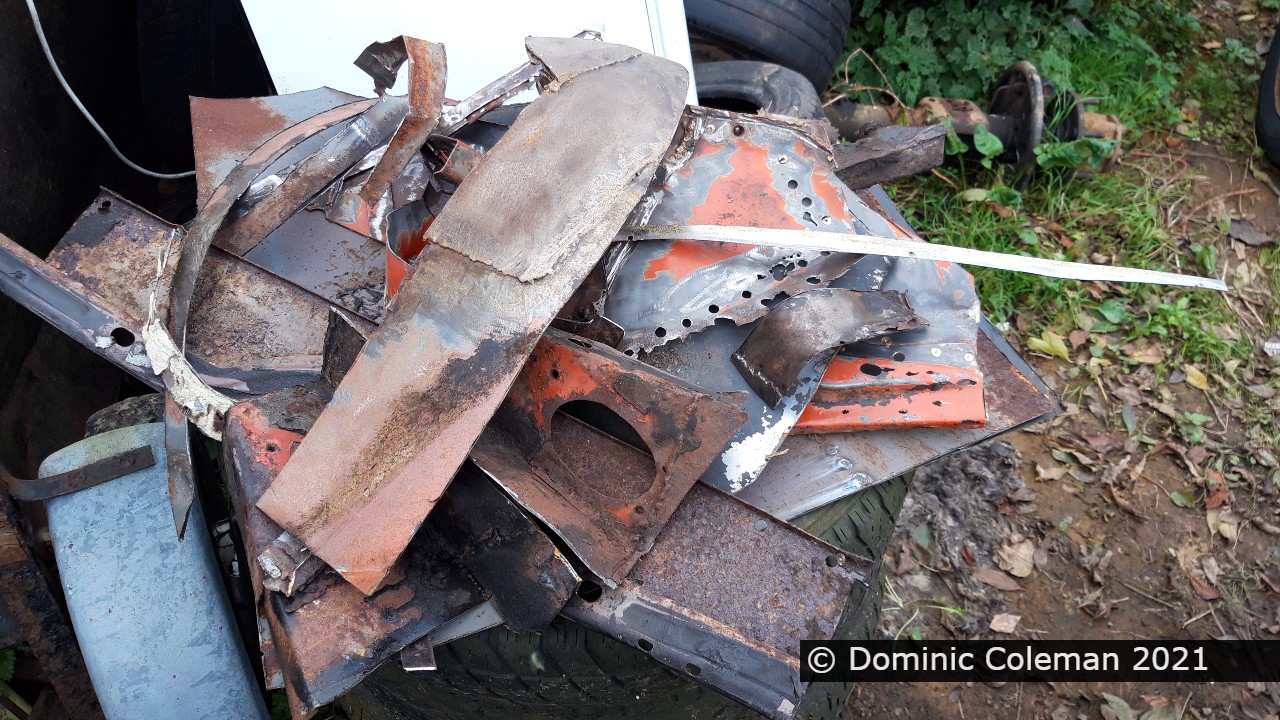
Some more images to show the work that was done. The pile of removed metal was quite substantial and there were layers upon layers of repair patches – that should save a bit of weight.

By the end of November, the 1302 body shell was returned home and put alongside it’s floor pan.

Categories
floor pan

Floor Pan is Home

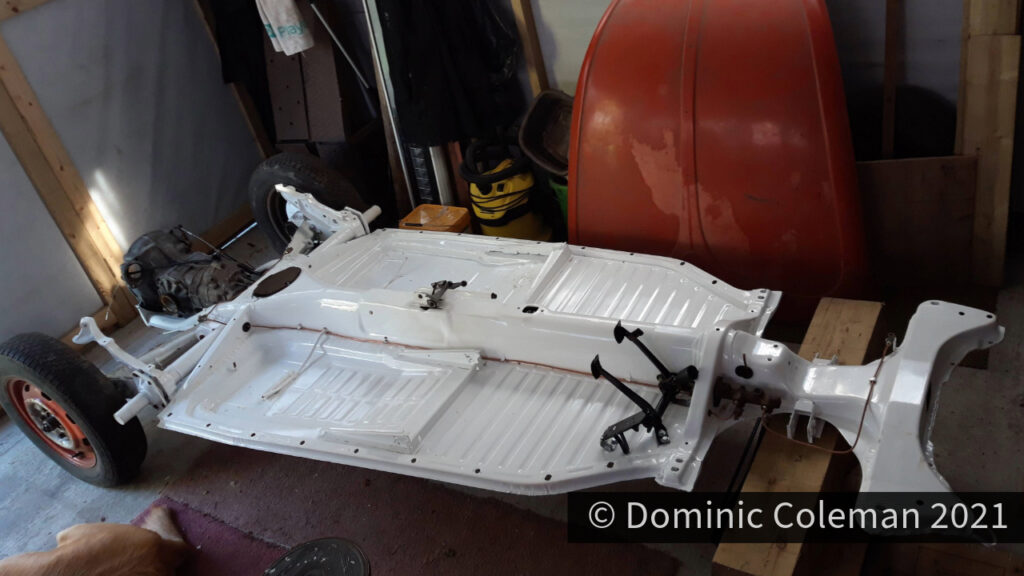
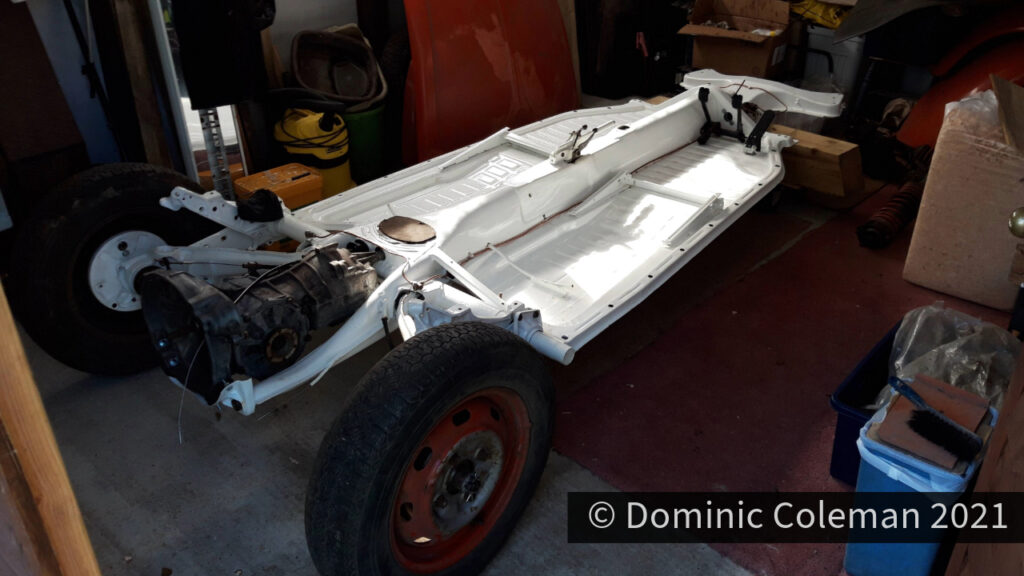
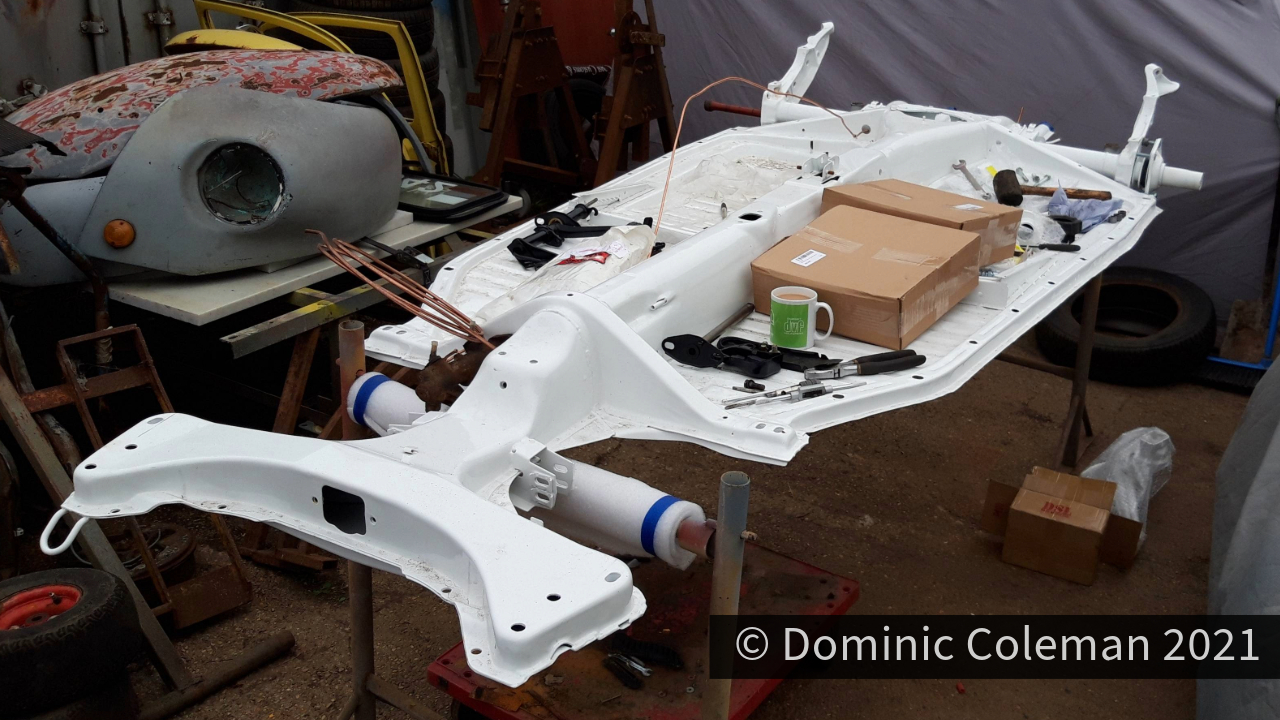
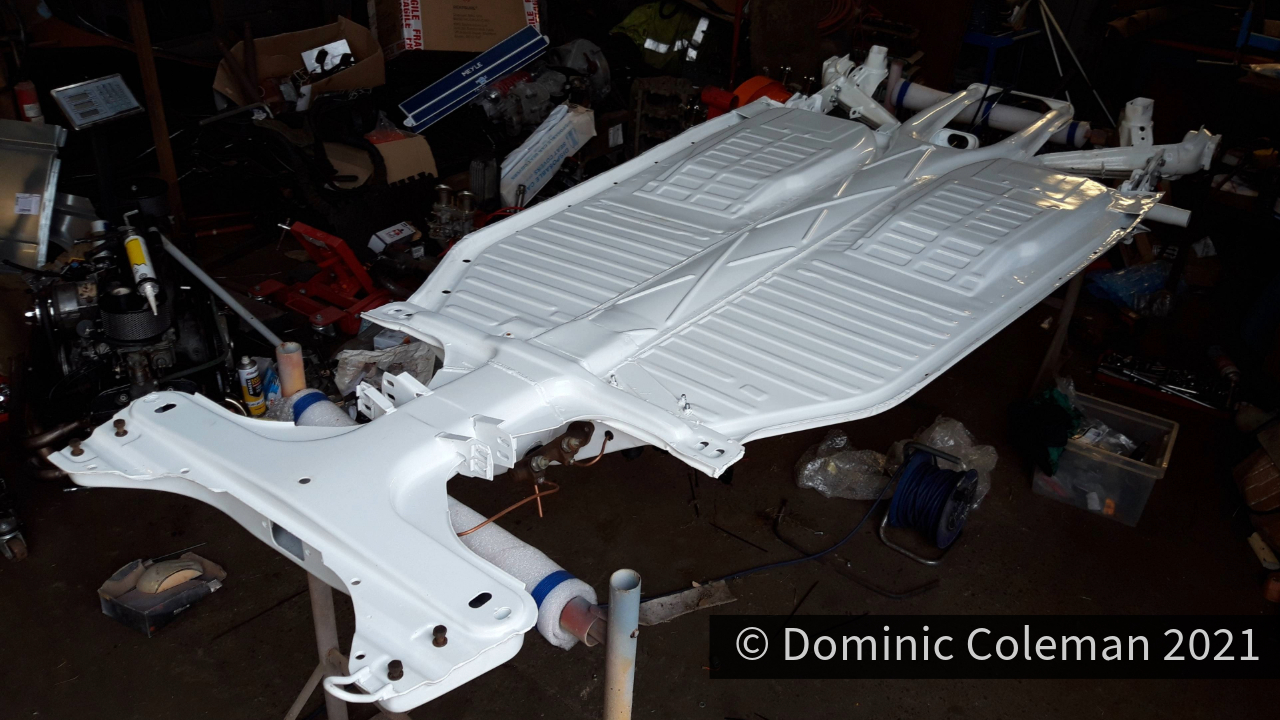
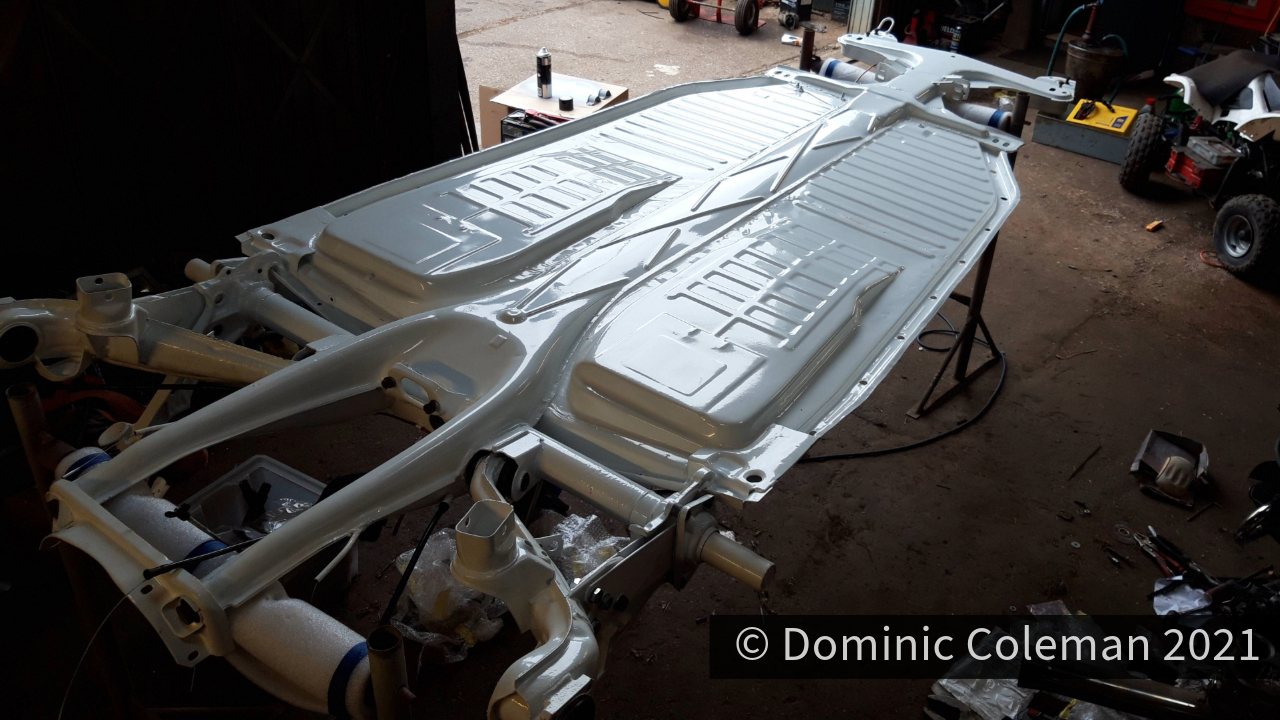
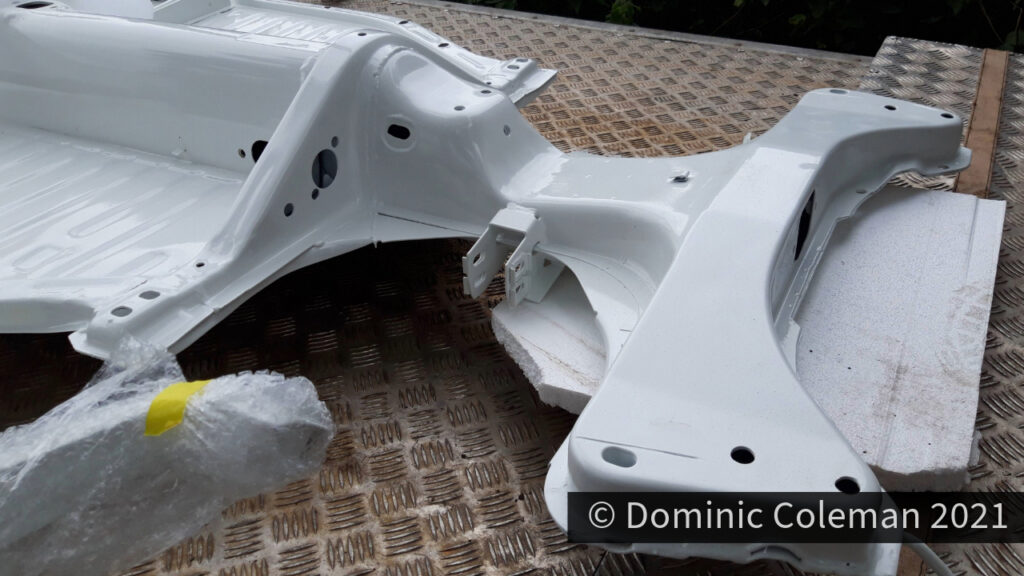
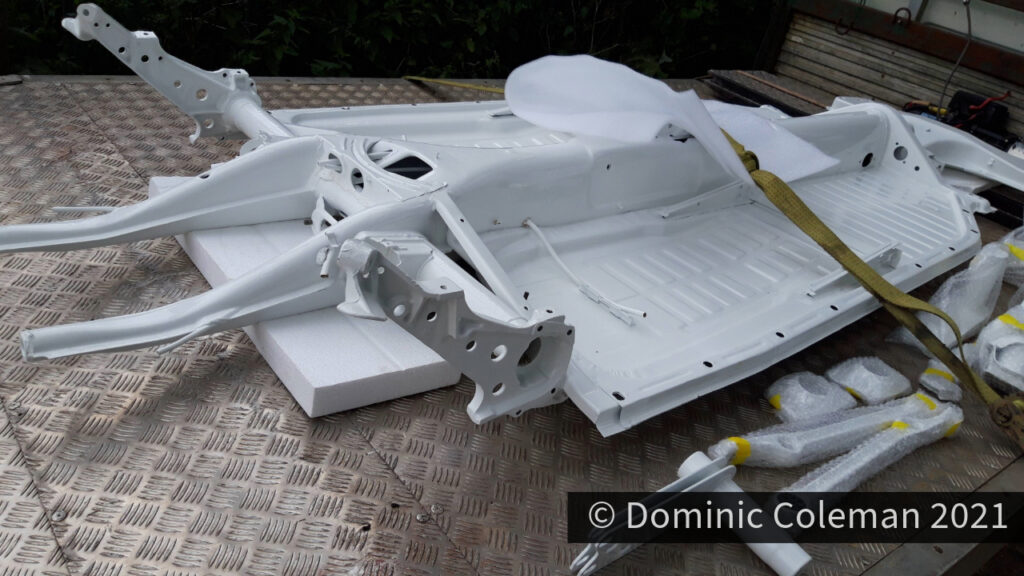
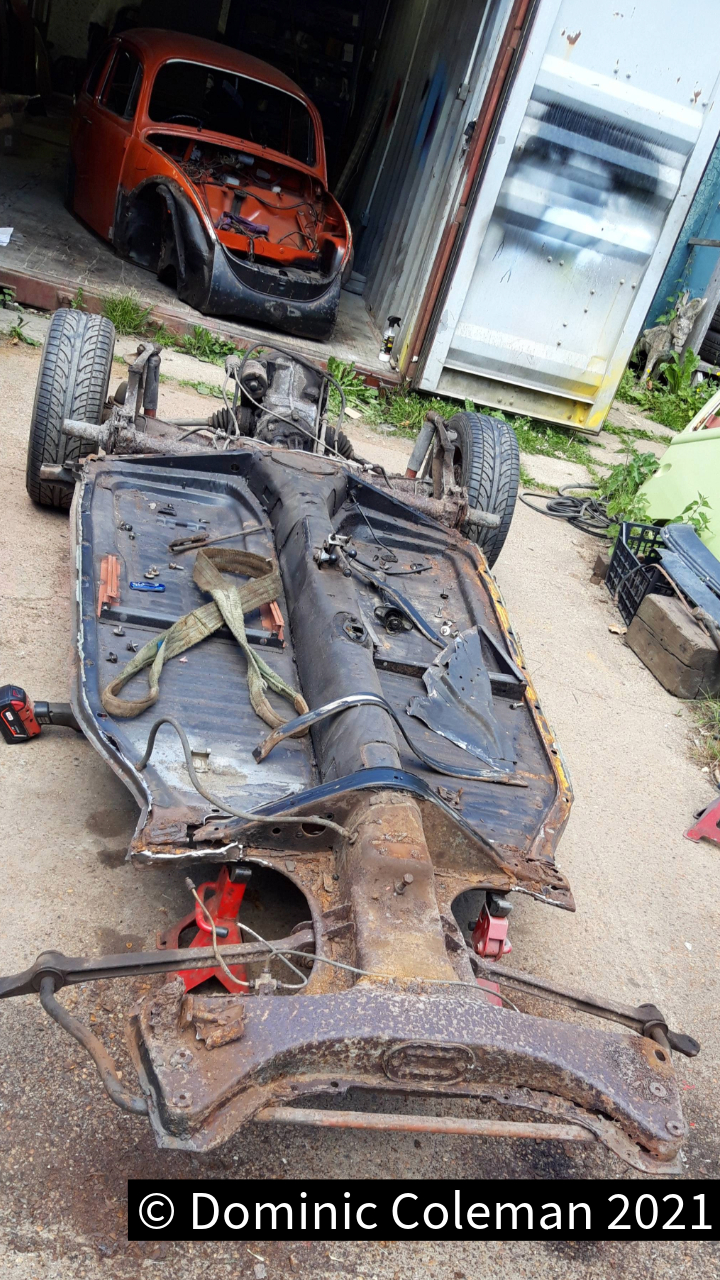
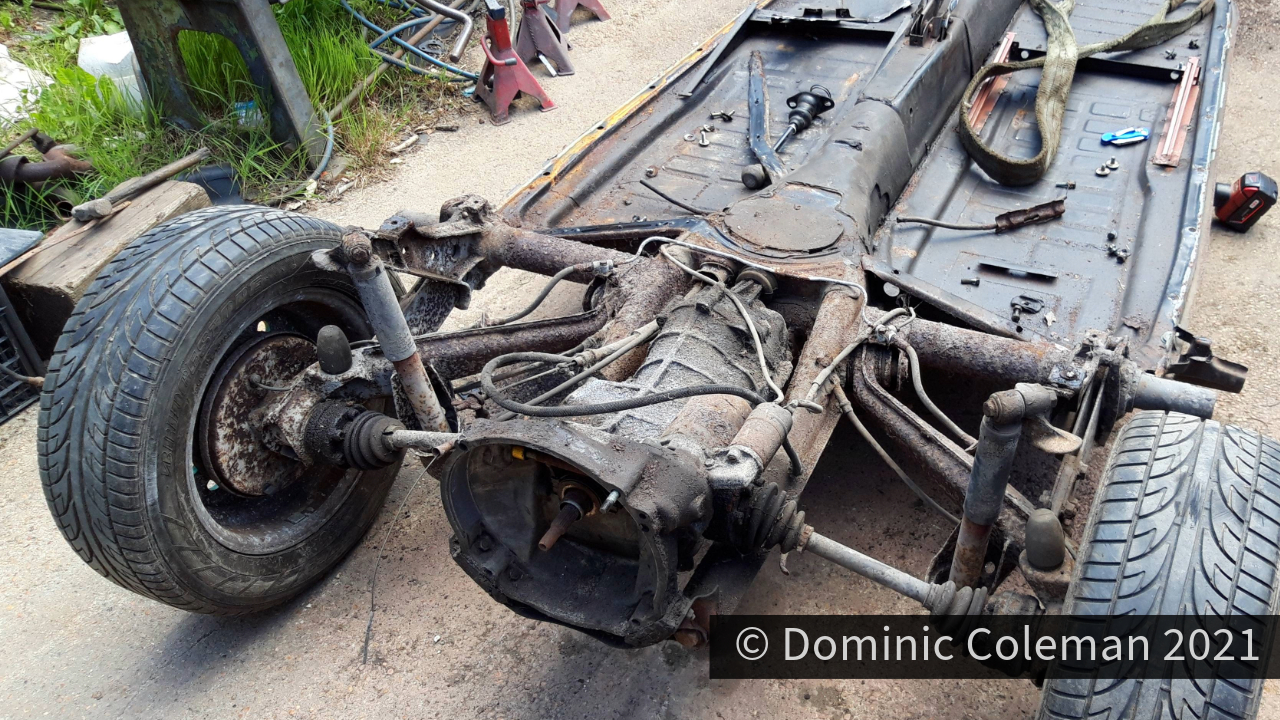
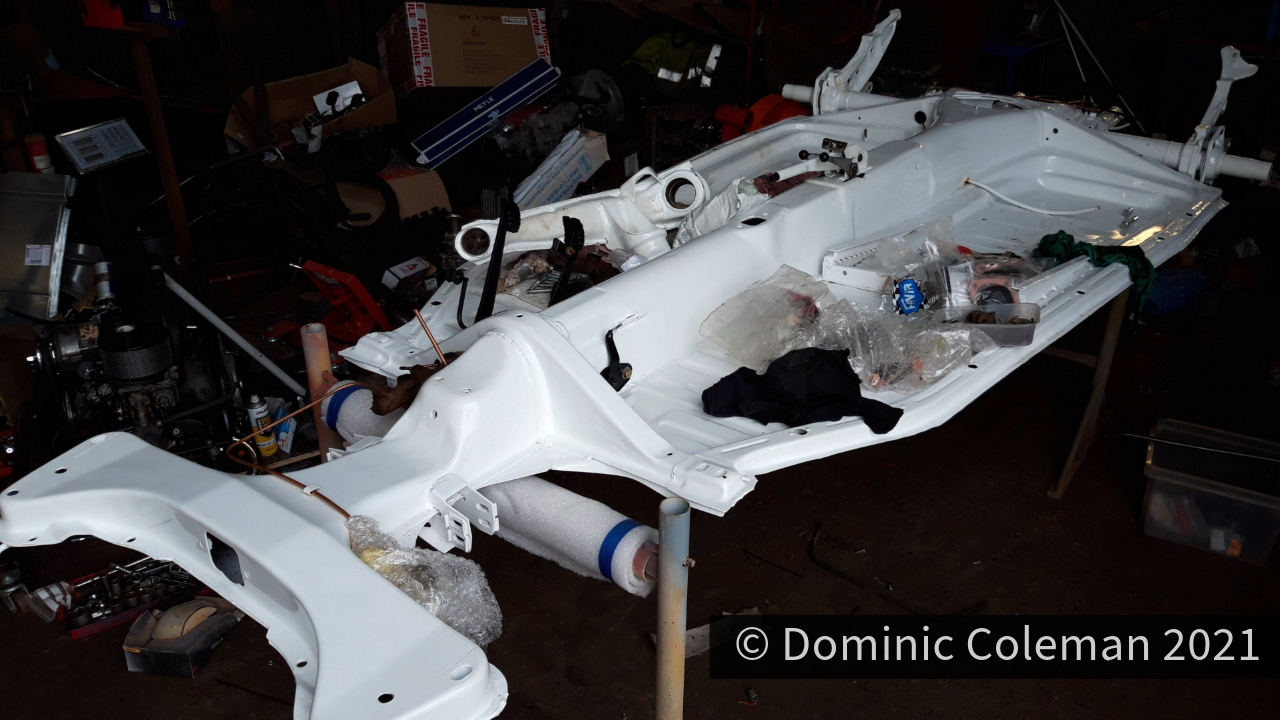
October 2021, and Paul delivered the the floor pan back home. Leading up to this point, I had stripped down the front struts with other steering components in readiness for sending away to be powder coated in the same bright white. I had tinkered with painting the gear lever gloss white but it wasn’t quite the right white when compared with the powder coating bright white and I also touched up the scuffed IRS arms with white Hammerite.

The next part of the plan was to get the brake master cylinder sent away for refurbishment, buy a couple of new flexi brake lines for the rear end with a little more pipe work added and the brake system would be mostly finished except for the front end connections to the front struts. However, with the ongoing body work during November, the budget was draining away and these items would have to go on hold.

Next post, the body.

Categories
pedals suspension

Floor Pan Rebuild

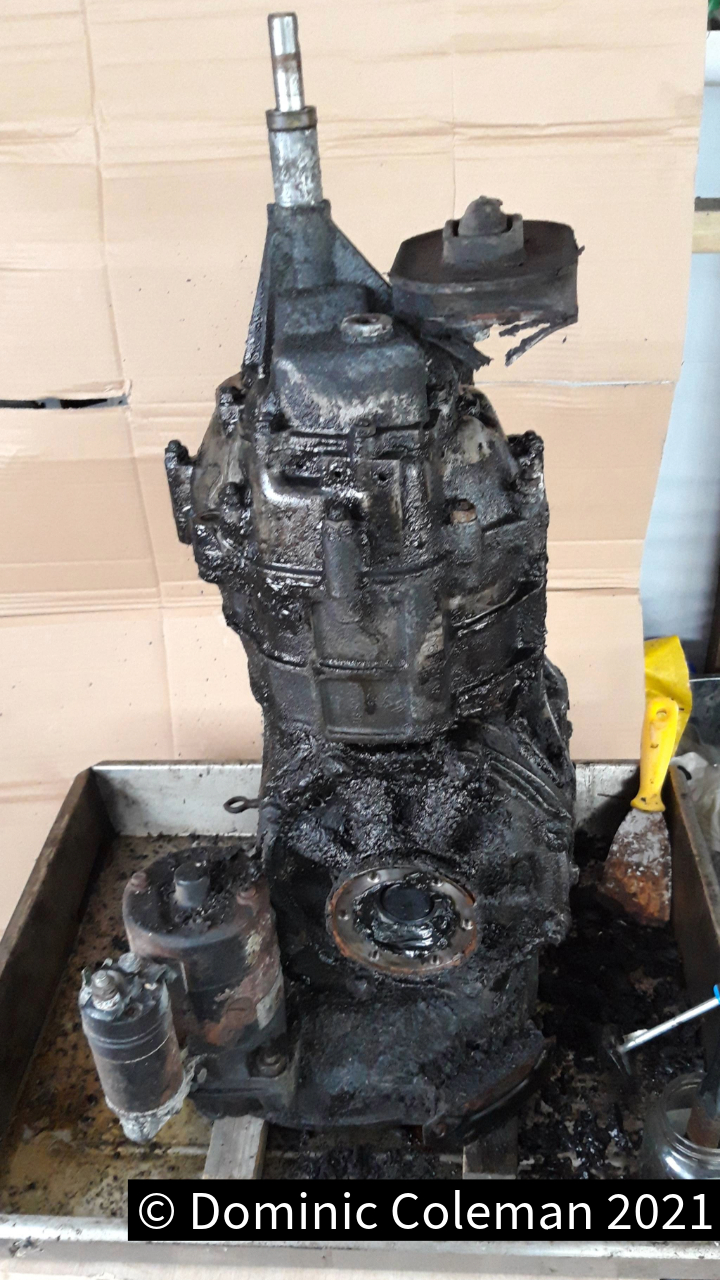
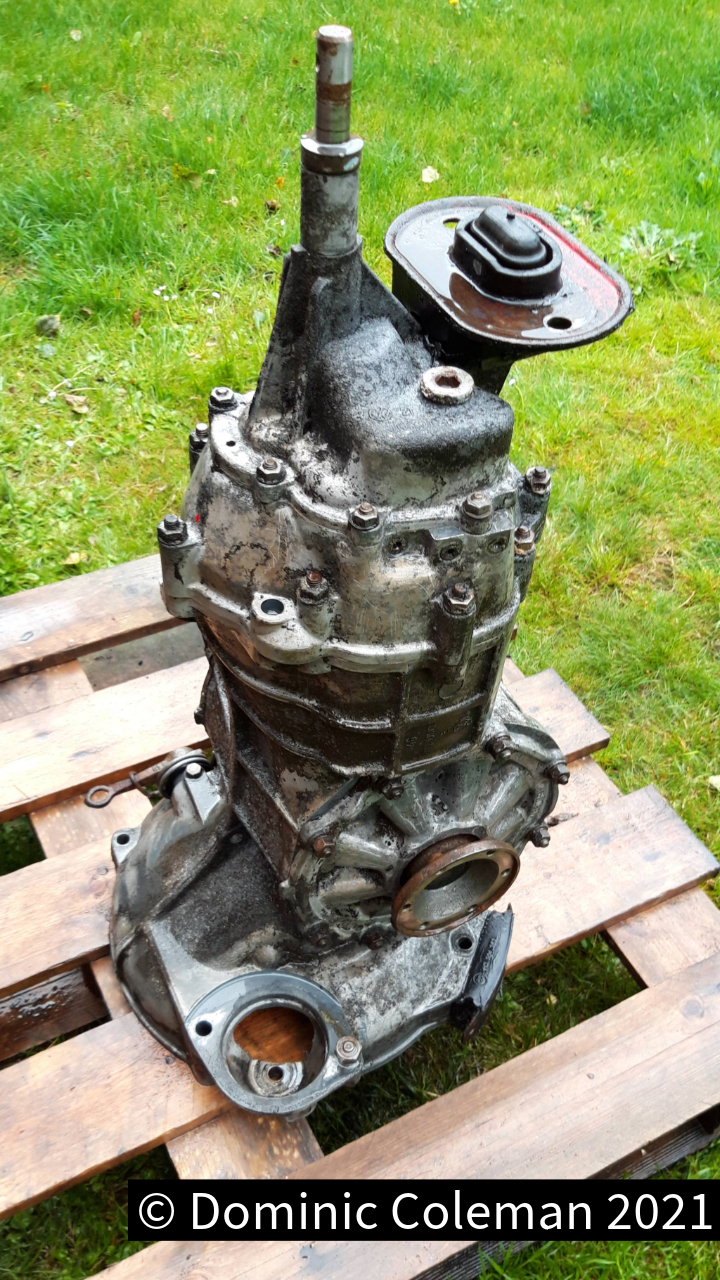
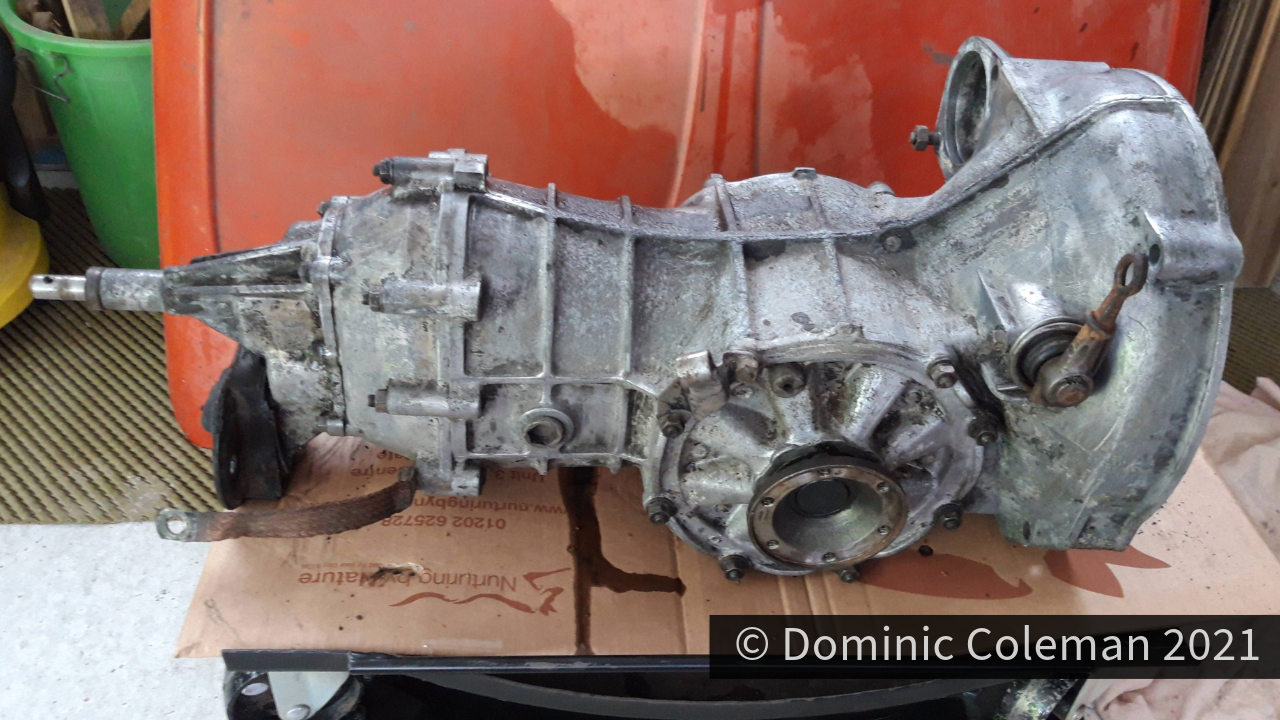
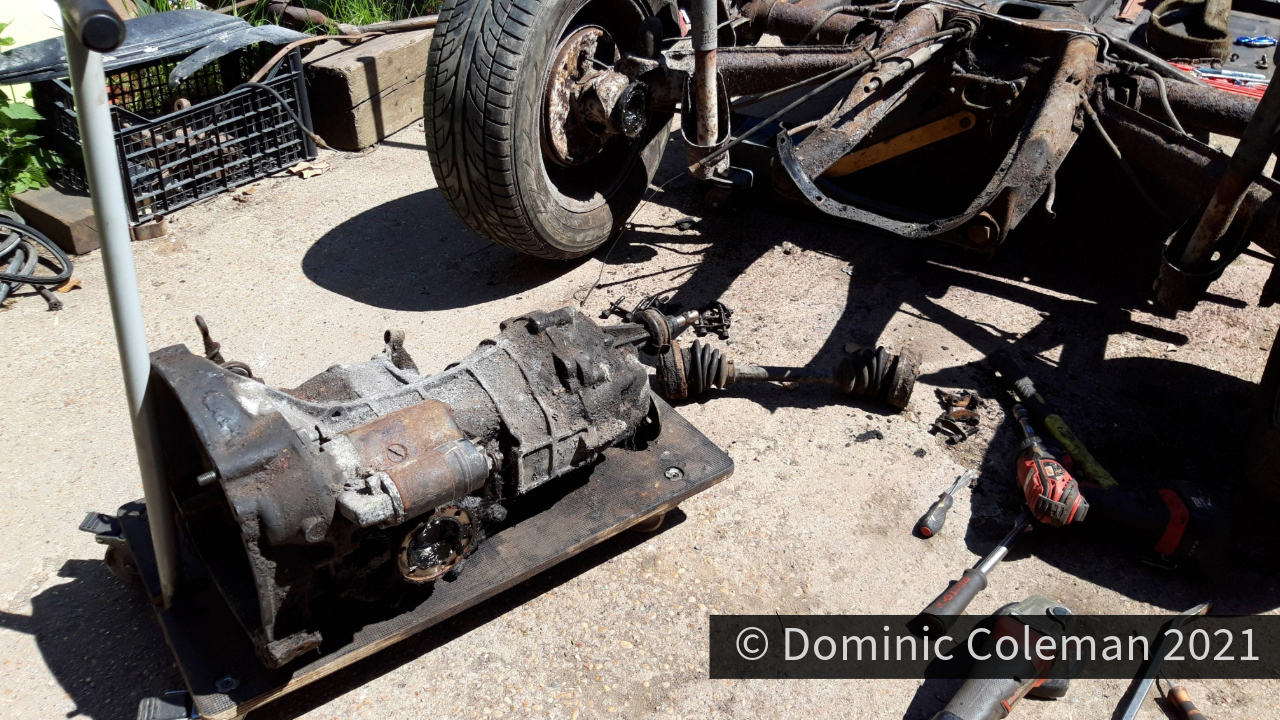
During August I took the opportunity to clean up the gearbox, first by soaking, scraping and scrubbing it with old petrol to loosen the dirt. It was followed by a more detailed clean using a degreaser before finally jet washing.

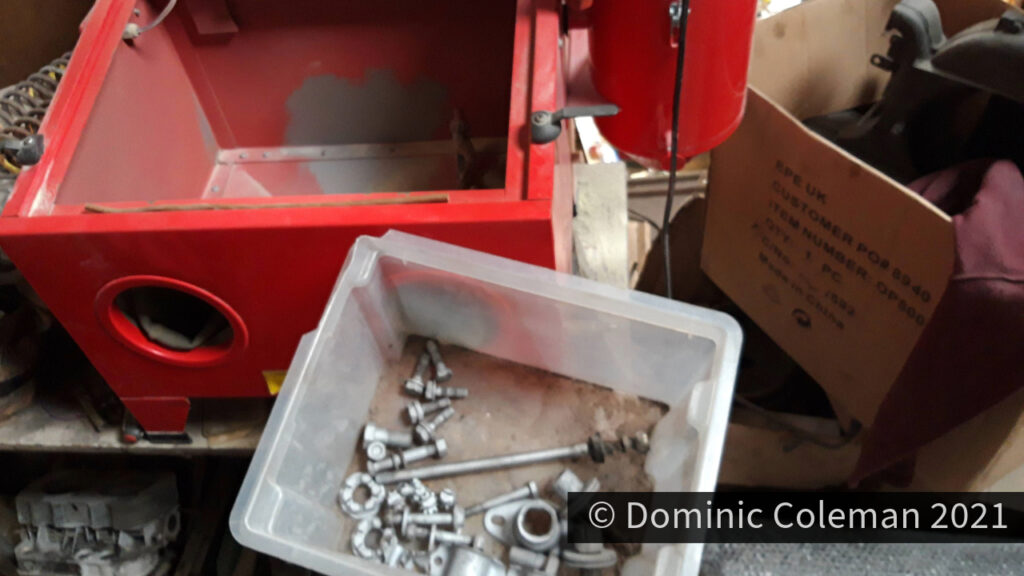
At the end of August 2021 going in to September, I had some time off work to spend a few days at Pauls Workshop to begin reassembling the components back on to the floor pan. It wasn’t as straight forward as I hoped and felt a little bit out of my depth and Paul was busy with other work but he set me up to use his sand blasting cabinet for most part of my first day. It was quite a fiddley process of which I cleaned up several large nuts, bolts, fastenings and the gear stick components.

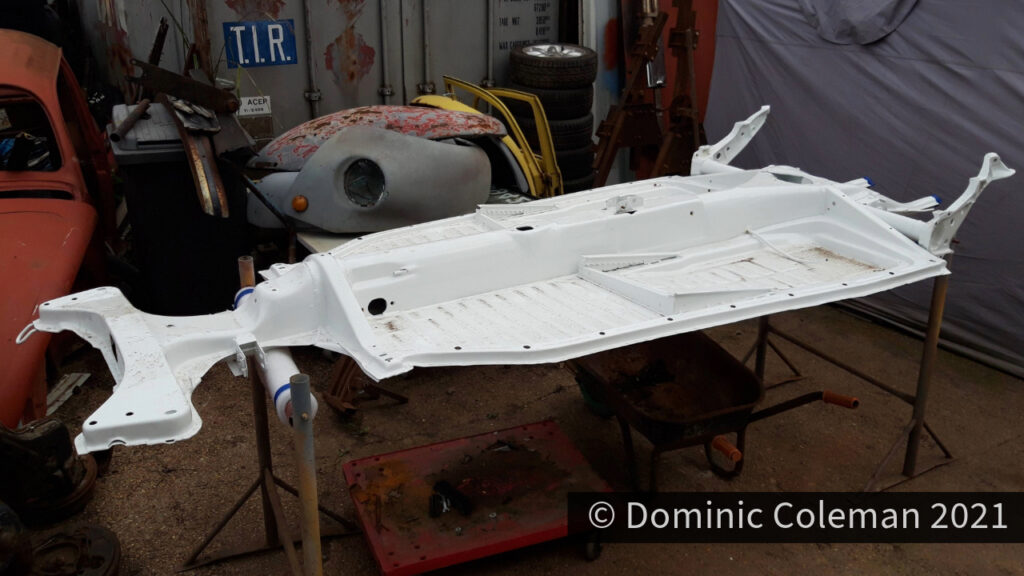
1302S floor pan before anything was re-fitted
Sand blasting nuts and bolts

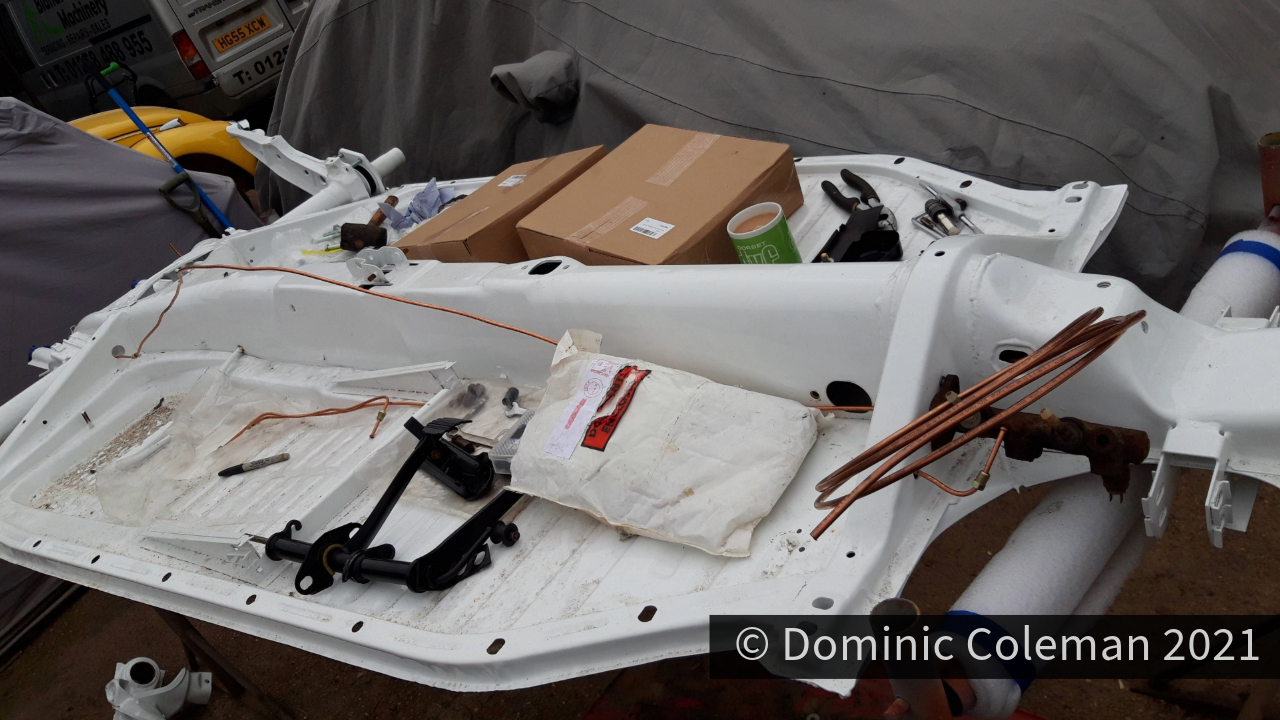
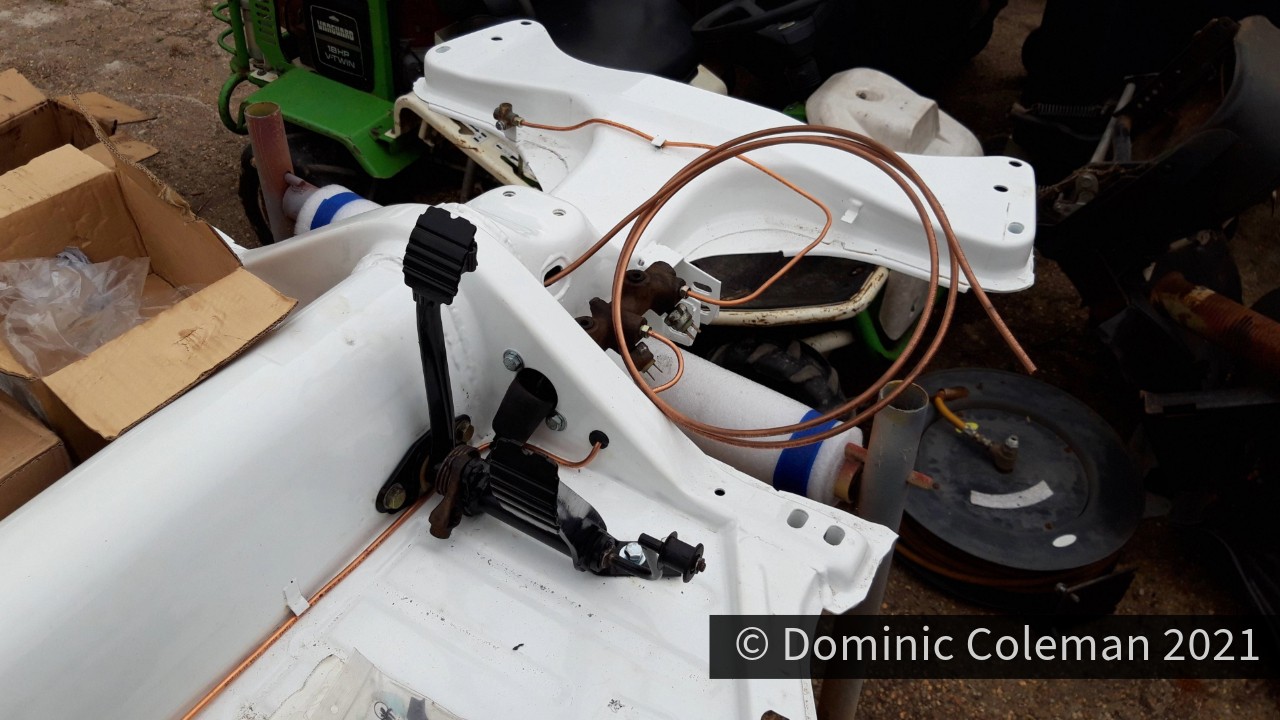
Progress over the 3 days was slow but I had re-tapped all the threads on the floor pan that had been affected by the powder coating process. Paul fitted a new copper fuel line while I worked on new copper brake lines front to back with cleaned up unions and installed the foot pedals, hand brake with cables and new heater control cables. The heater cable guides needed a proper clean out and Paul devised a method utilising a long thin rod from a roof lining support rod and fitted it to a drill. The result eventually cleared the blockage of sand blasting grit coupled with years of dirt build up. All the other cable guides were treated the same and were all clear.
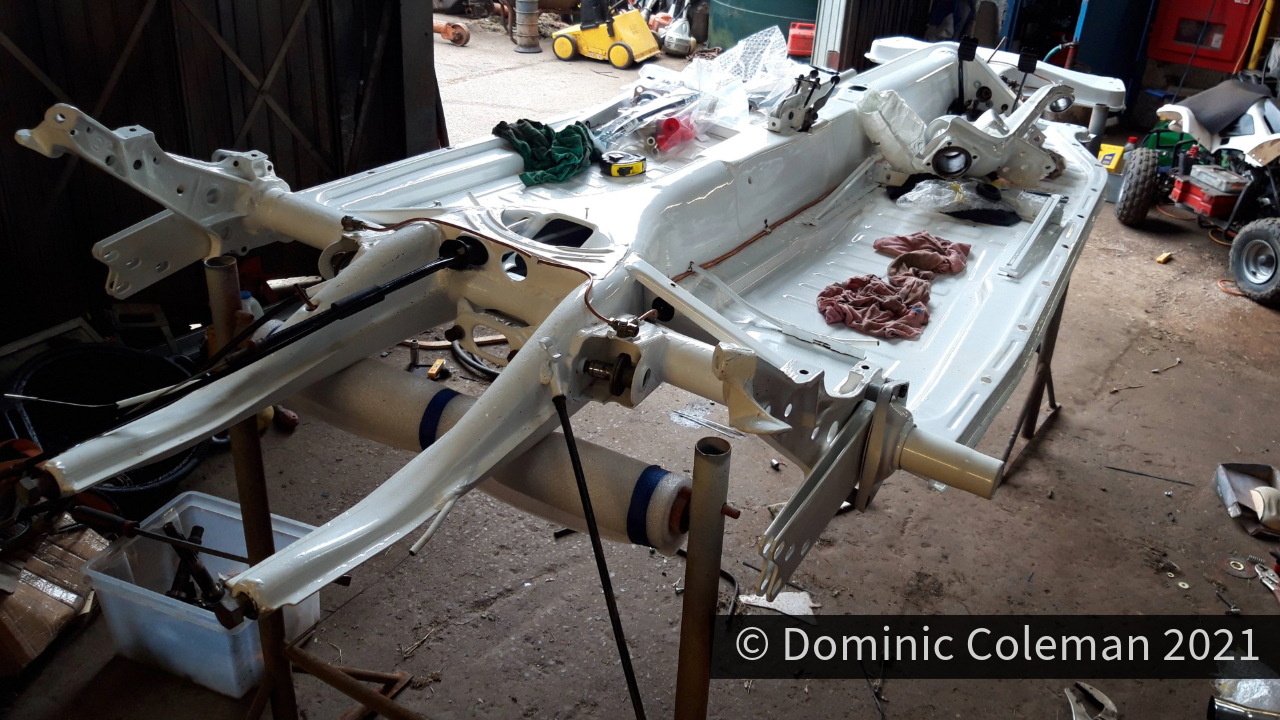
The powder coating of the floor pan was tested for its durability having got a proper drenching in some September downpours, unfortunately the new brake drums were exposed to this weather and suffered, so had to be cleaned up with a wire brush as they had developed some surface rust in a very short period. After a few Saturdays during September spent with Paul, the floor pan was coming together. Working on the trestles made access much easier to laying out and shaping the brakes lines, hand brake cables and heater cables. One oversight (of a few), there were old bushes in the independent rear suspension arms that hadn’t be removed prior to powder coating and I had bought new bushes to replace them. Unfortunately the new powder coating took a bit of abuse as the arms wouldn’t fit or sit straight in the vice while I had to chisel out the old bushes. It wasn’t easy but I managed it under the guidance of Paul. The rear suspension was set up by Paul and I had asked that it be kept at standard ride height, for now.

For the sharp eyed, the spring plates are up side down in the top left photo and were later swapped over to their correct side. A week after these pictures were taken, the rear hubs were built up with new bearings along with new seals and the brakes (with the cleaned up new drums) rebuilt with new cylinders, brake shoes and fixings.

Nearly there, or so I thought.

Categories
paint

Back from the Powder Coaters

By the end of the month (July 2021) the floor pan and various other parts came back to Paul’s yard, from Blandford Industrial Spraying, looking fantastic in their bright white paint (RAL 9010).

1302S floor pan powder coated new frame head and floor pan
1302S floor pan powder coated floor pan and parts
Categories
floor pan

The Floor Pan

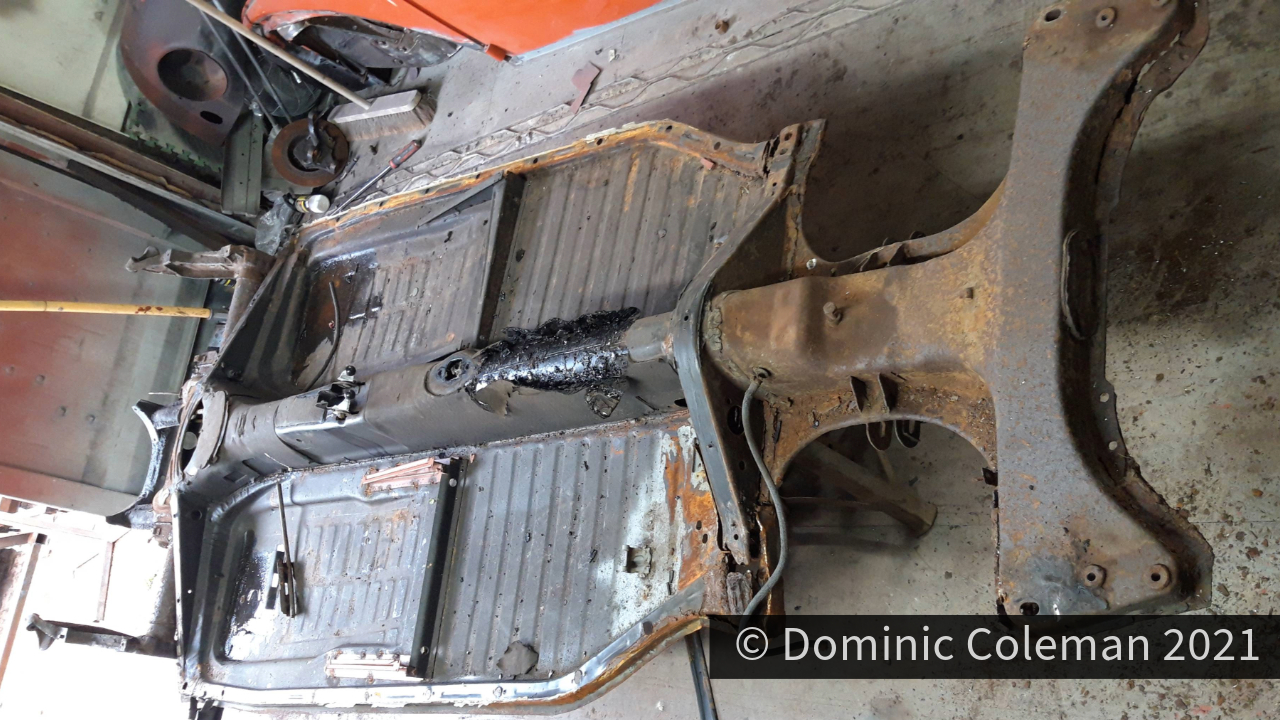
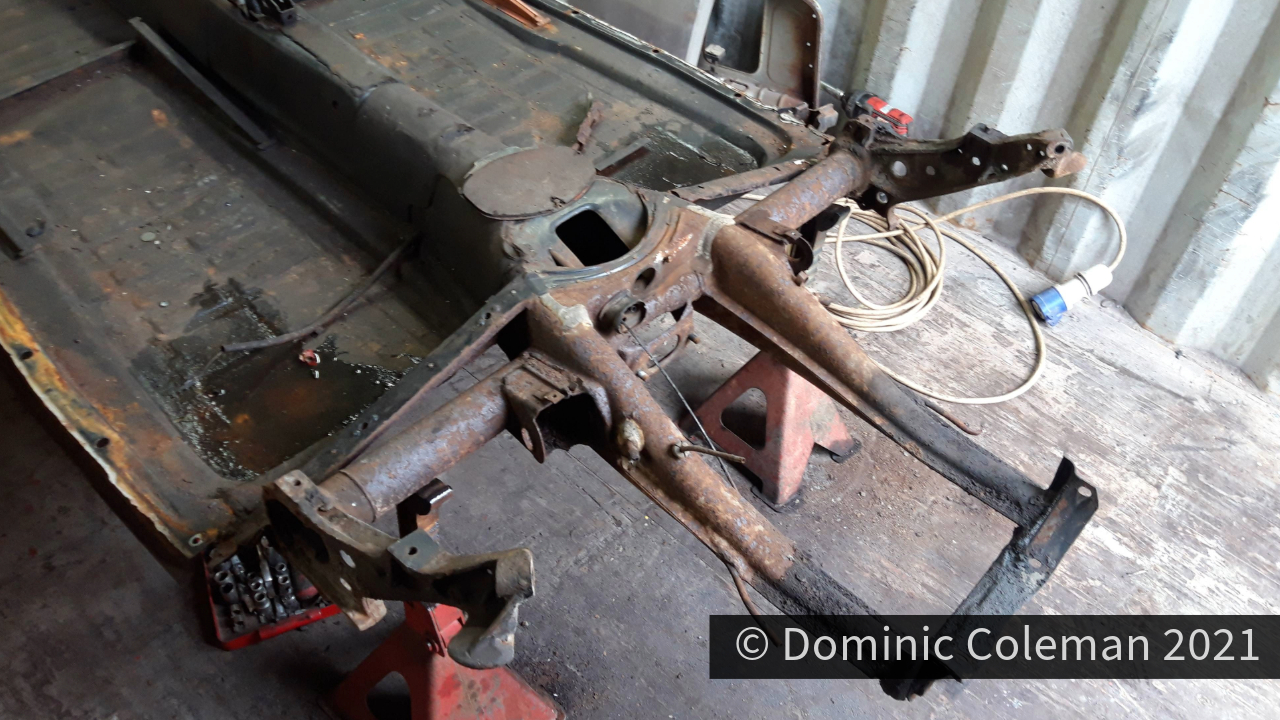
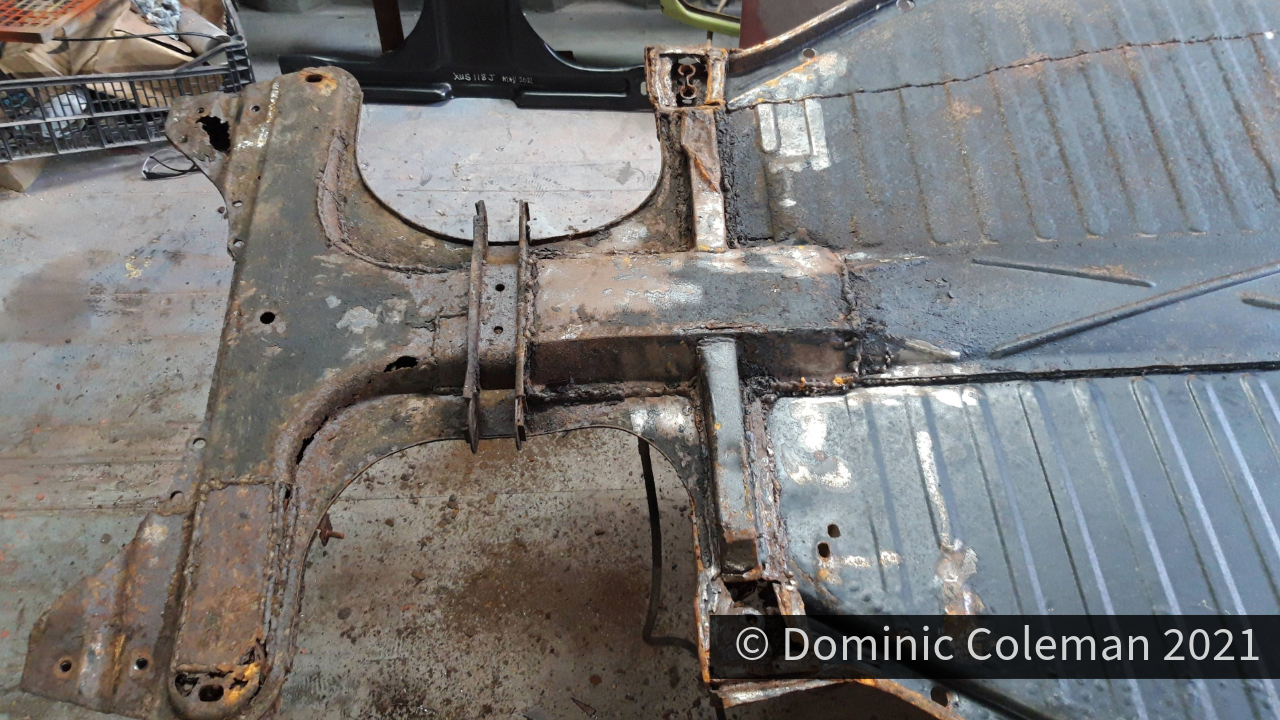
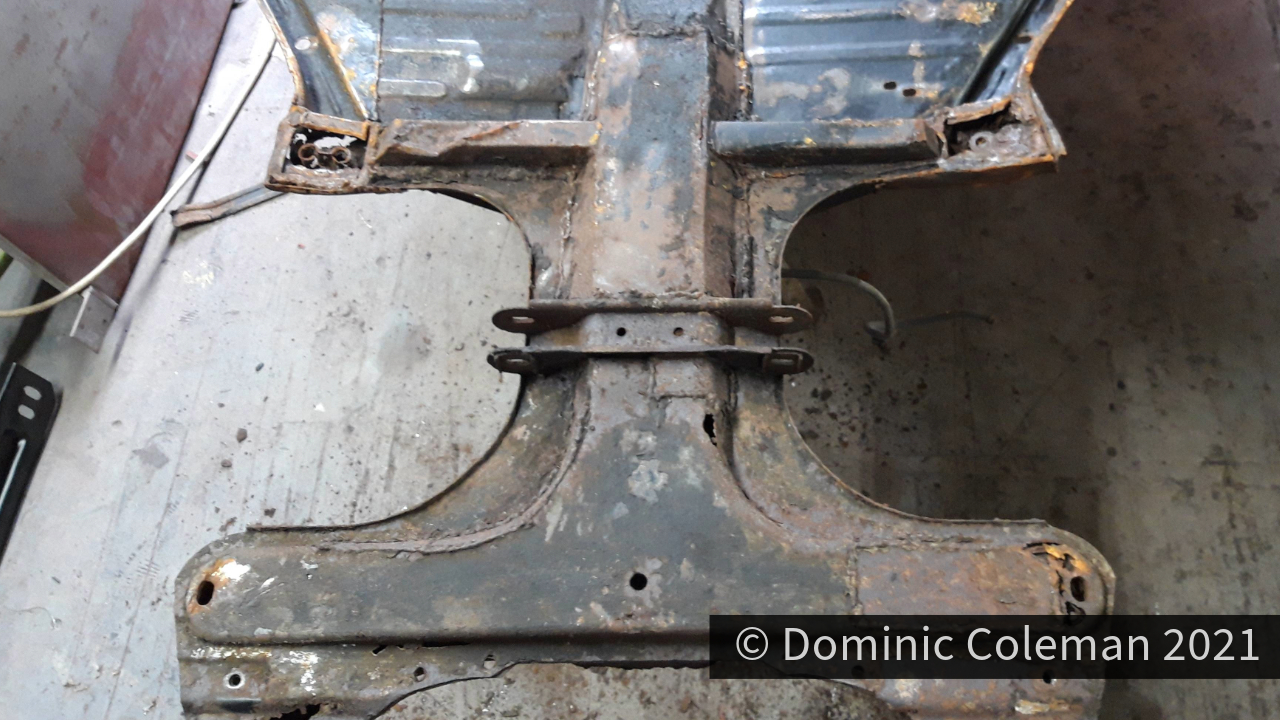
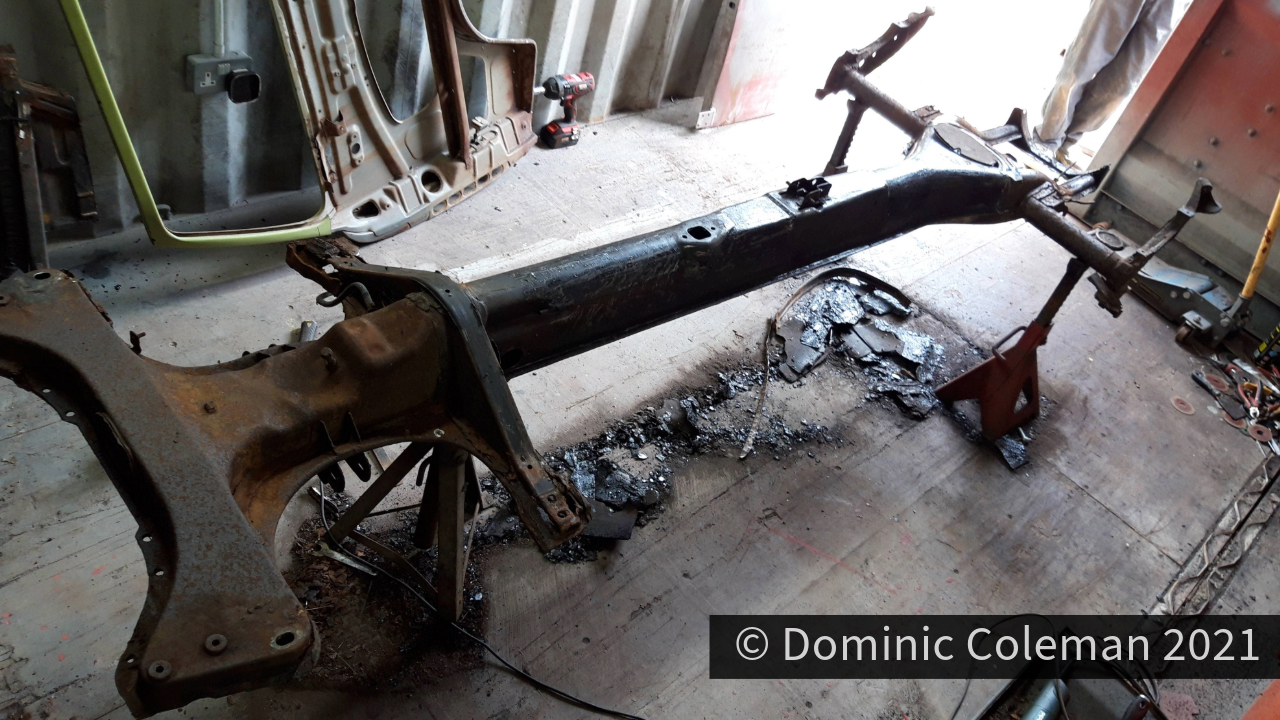
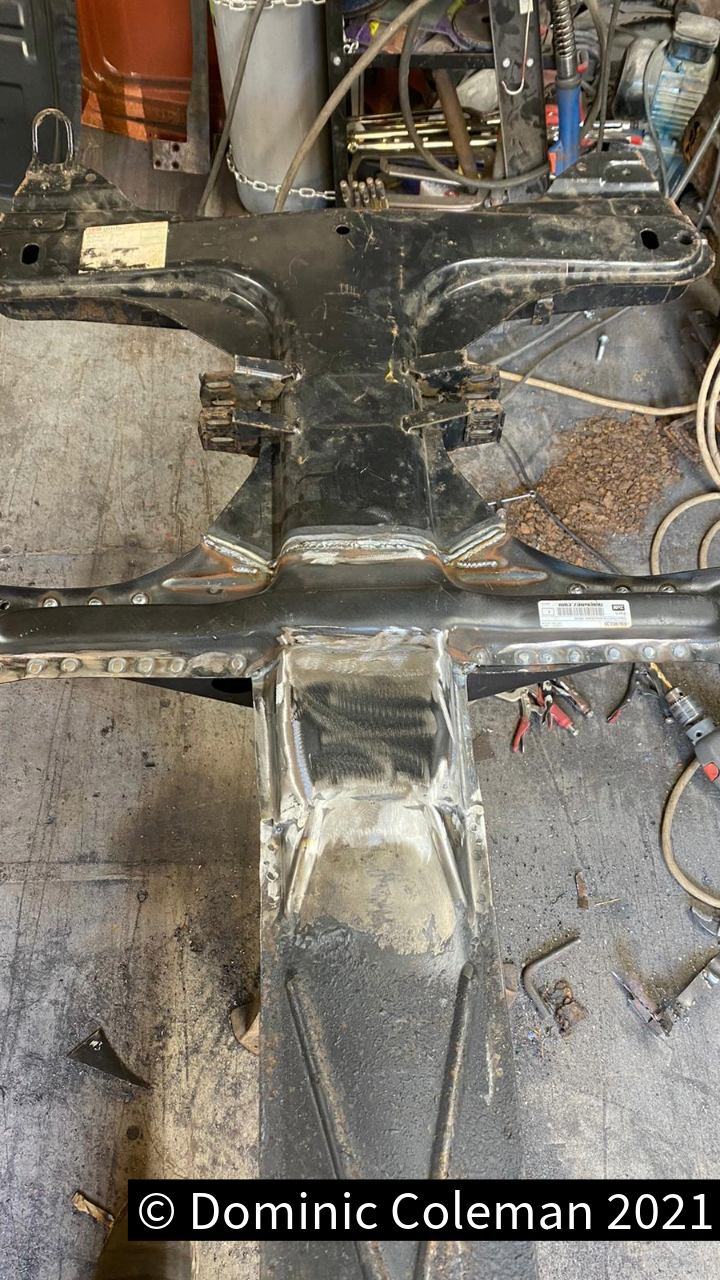
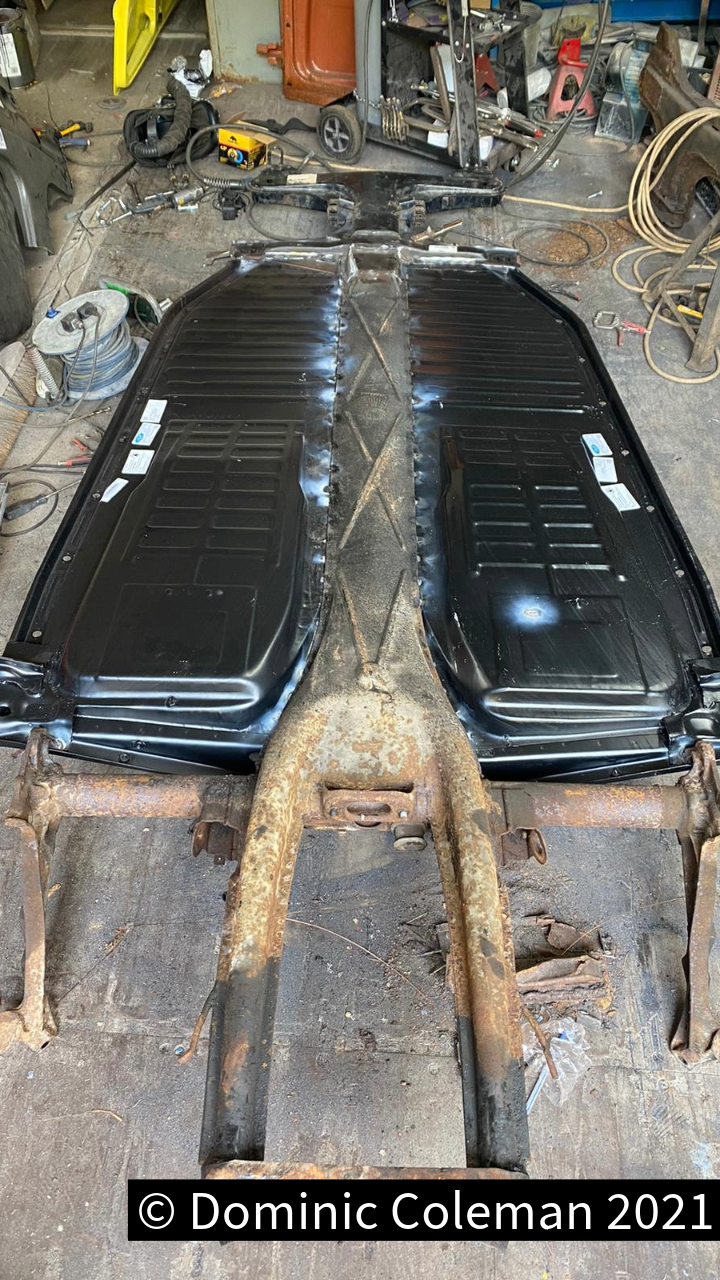
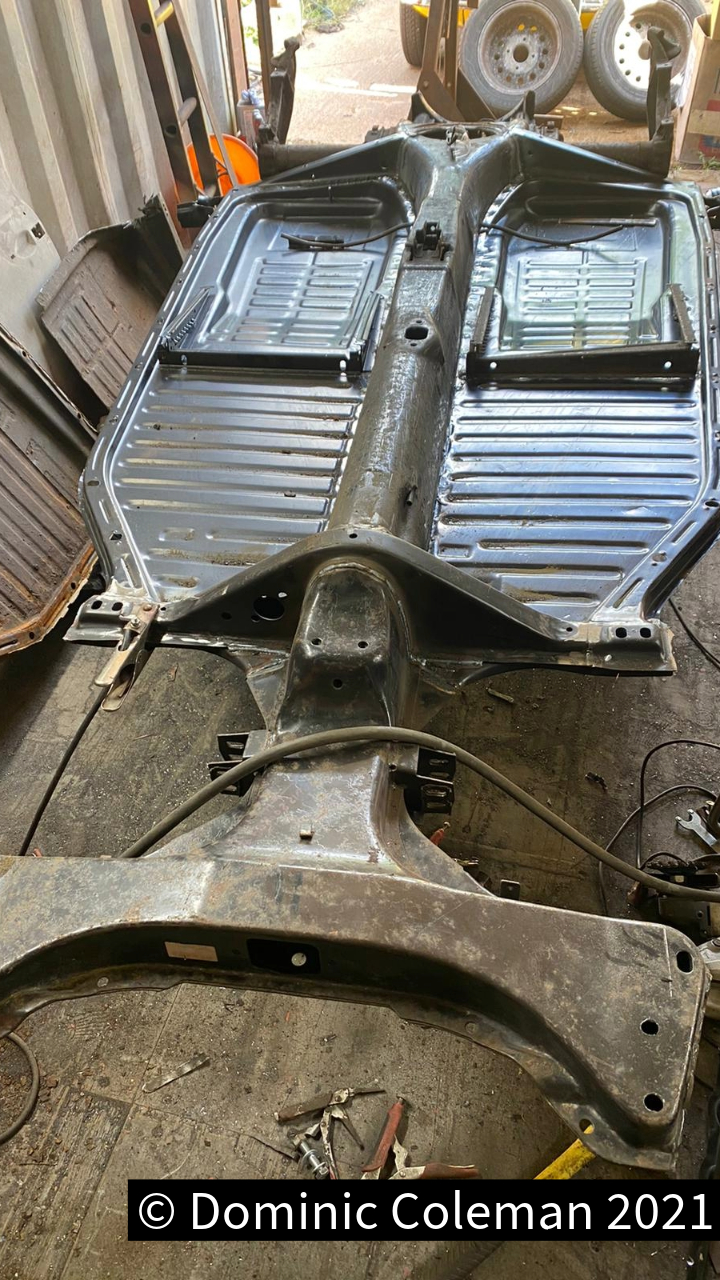
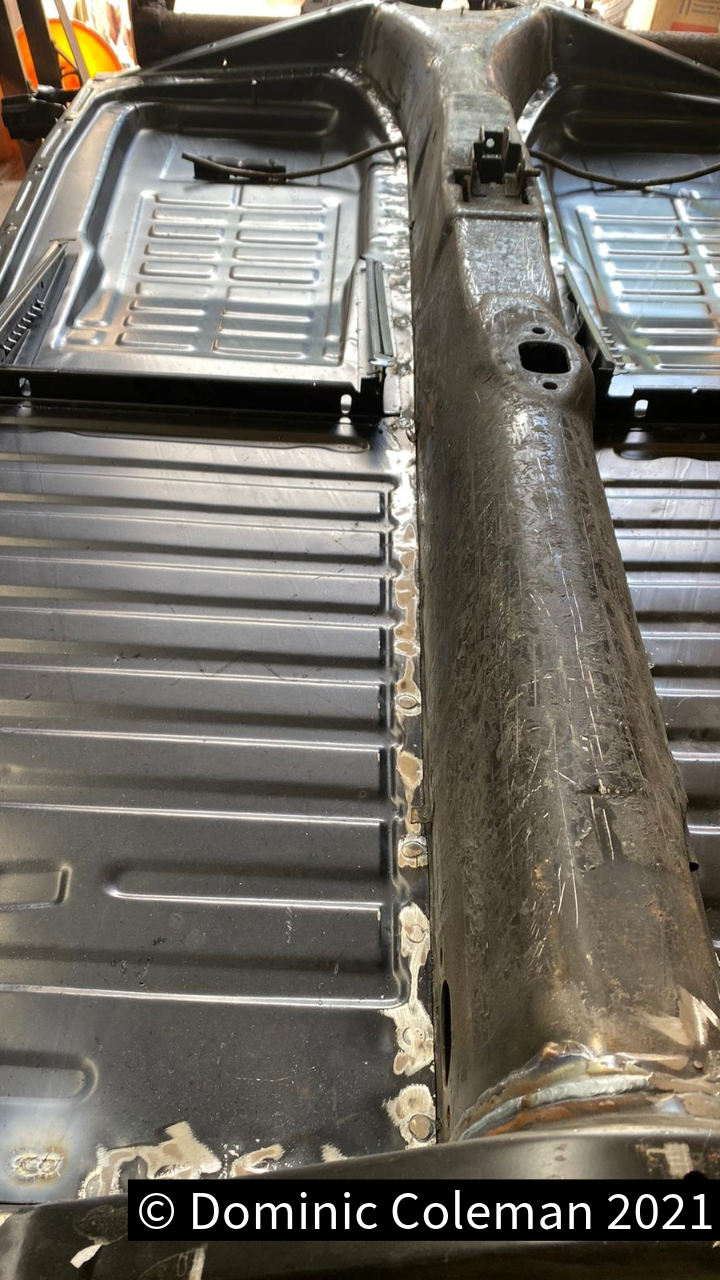
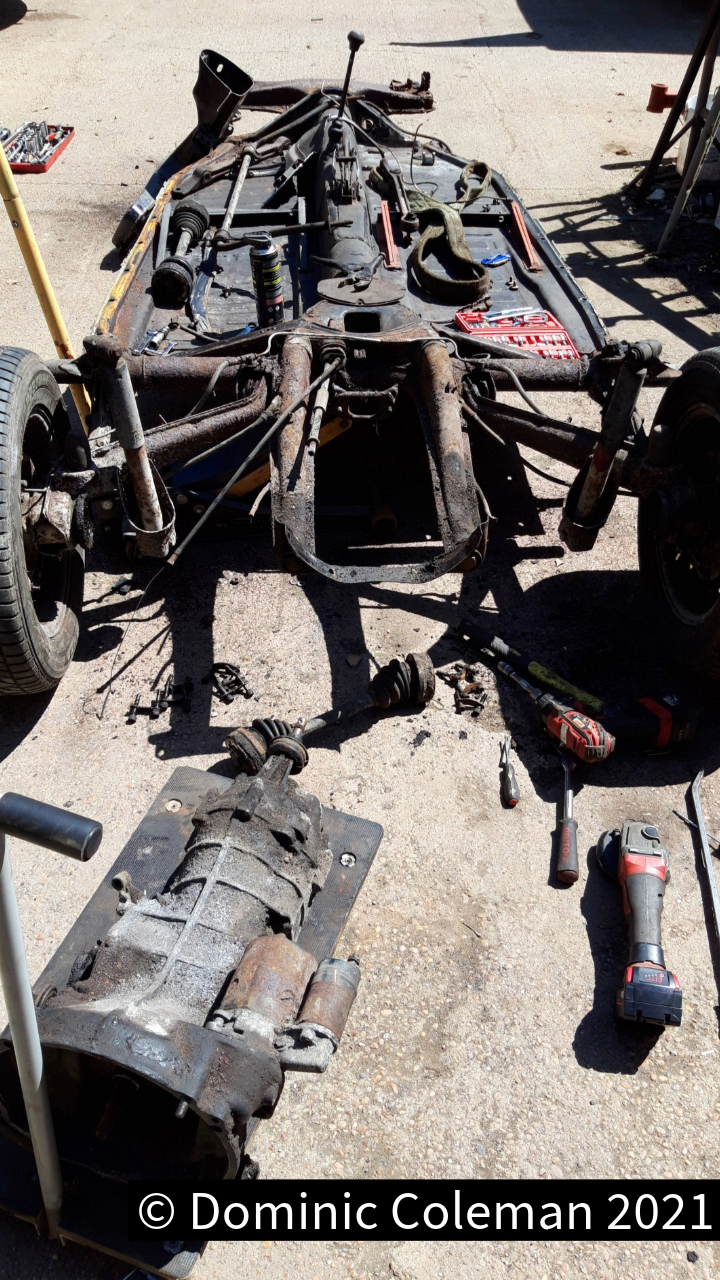
July 2021: A few weeks after separating the body from the floor I went over to help Paul strip the floor pan down to its bare chassis spine. To start, we had to remove the previously replaced floors by cutting as close to the main central tunnel as we could, but ensuring not to cut into the tunnel structure its self as this was where the floors would be spot (or plug) welded to. Using a trusty cold chisel, Paul then hammered out all the spot welds on the left side (passenger side RHD), as this was still the original factory floor because in 1997 we only had a ‘half’ floor fitted. On the right side the floor that was fitted in 1997 had been seam welded along its length to the chassis central spine. Initial thoughts were that this was going to be a problem but upon closer inspection the seam weld had been done on top of the remains of the old original floor. Thankfully, this allowed Paul to use his chisel and knock out the factory spot welds on the original floor and thus taking the newer welded floor left overs with it.

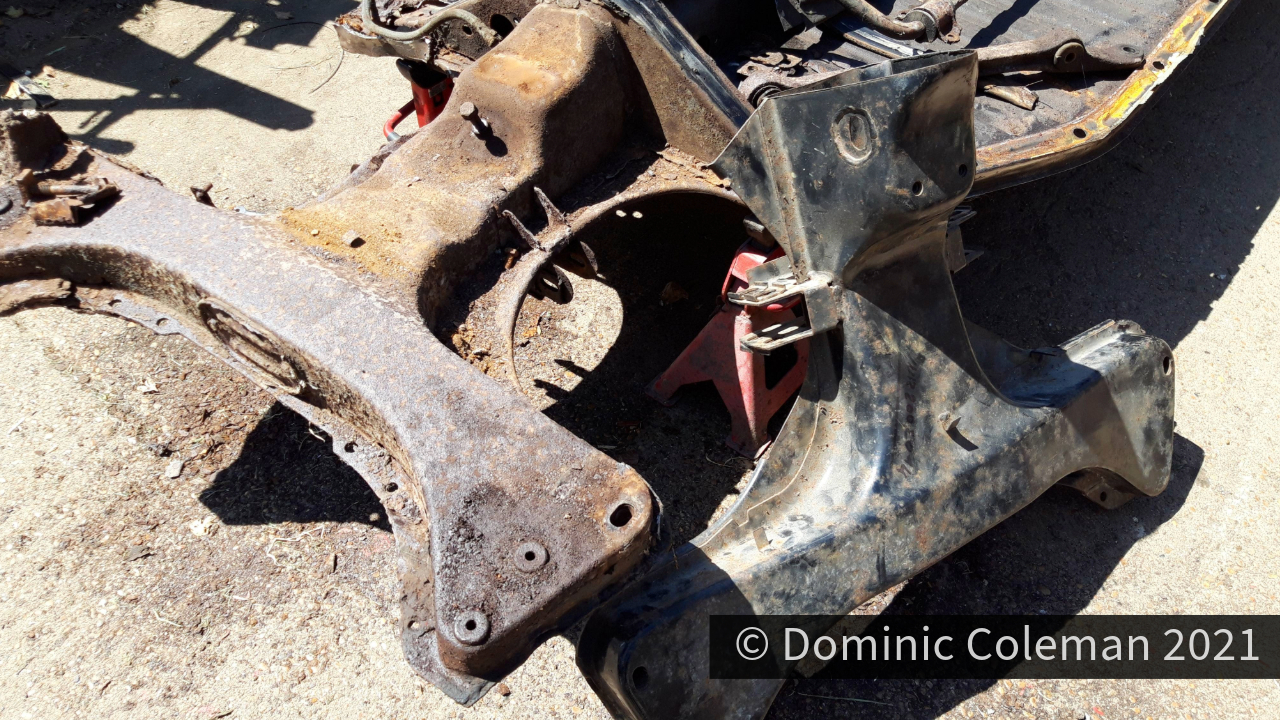
The central tunnel was covered in a tar based sound deadening board, so chipping and cleaning off this material was my job and something I could actually do. It didn’t take too long and by early afternoon the chassis was stripped bare. All that was needed was for the frame head to be replaced, but Paul would have to make up a jig to ensure the new frame head and the underside part of the Napoleon’s Hat, a section to be grafted in, would all align.

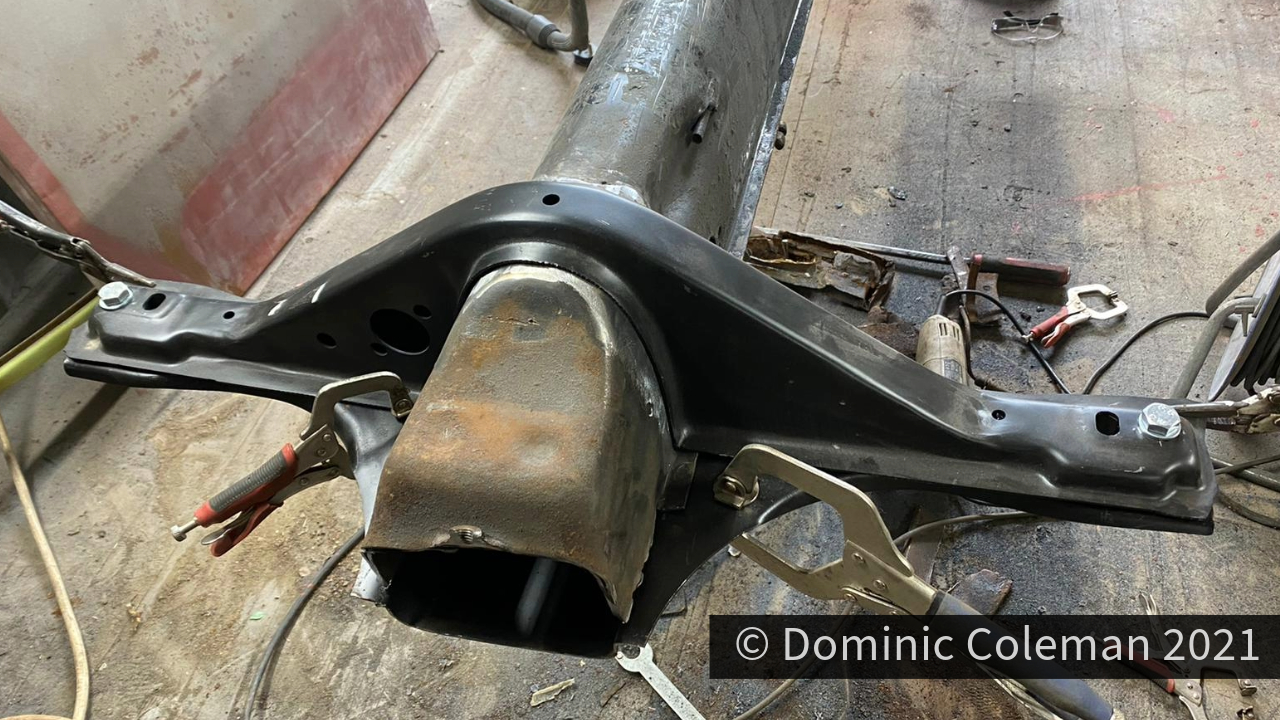
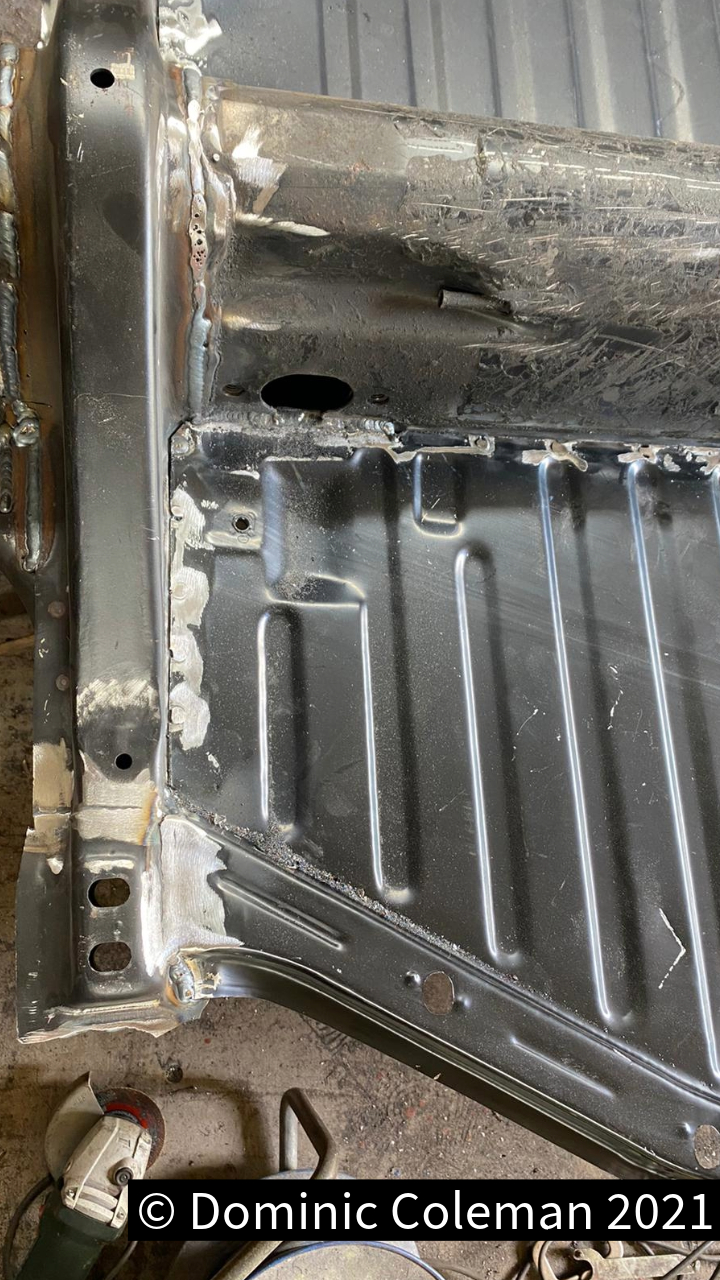
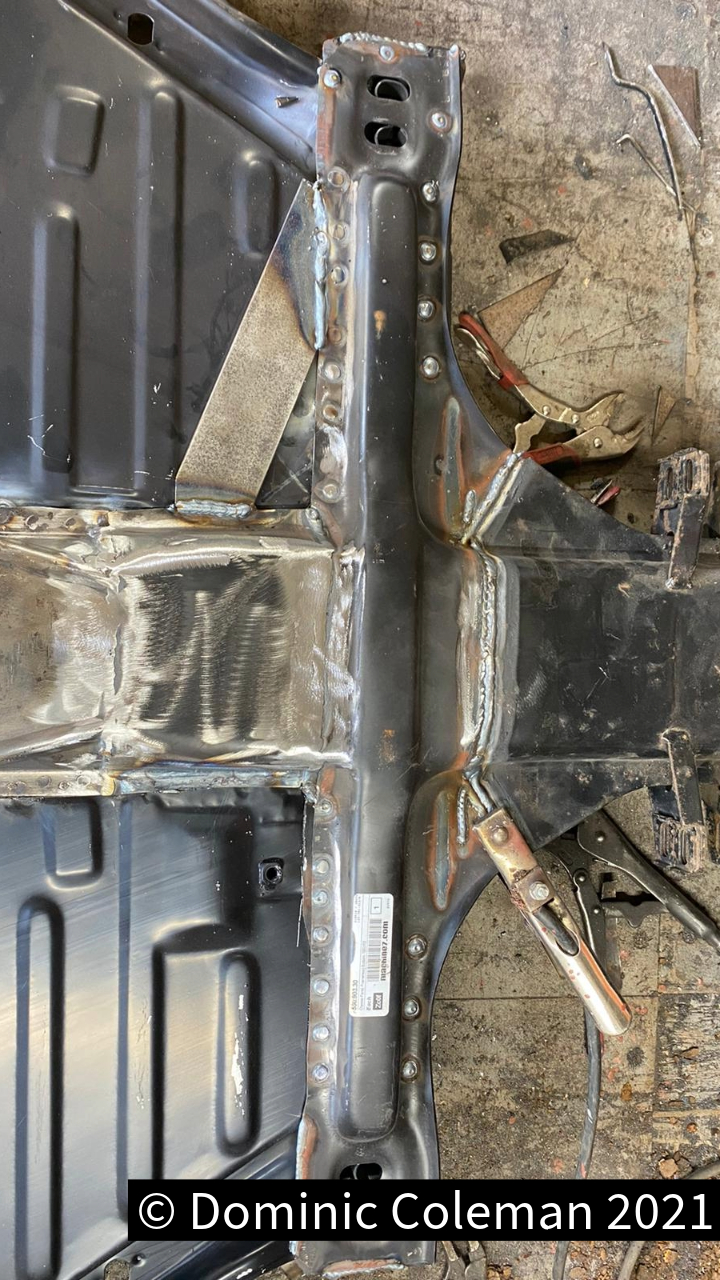
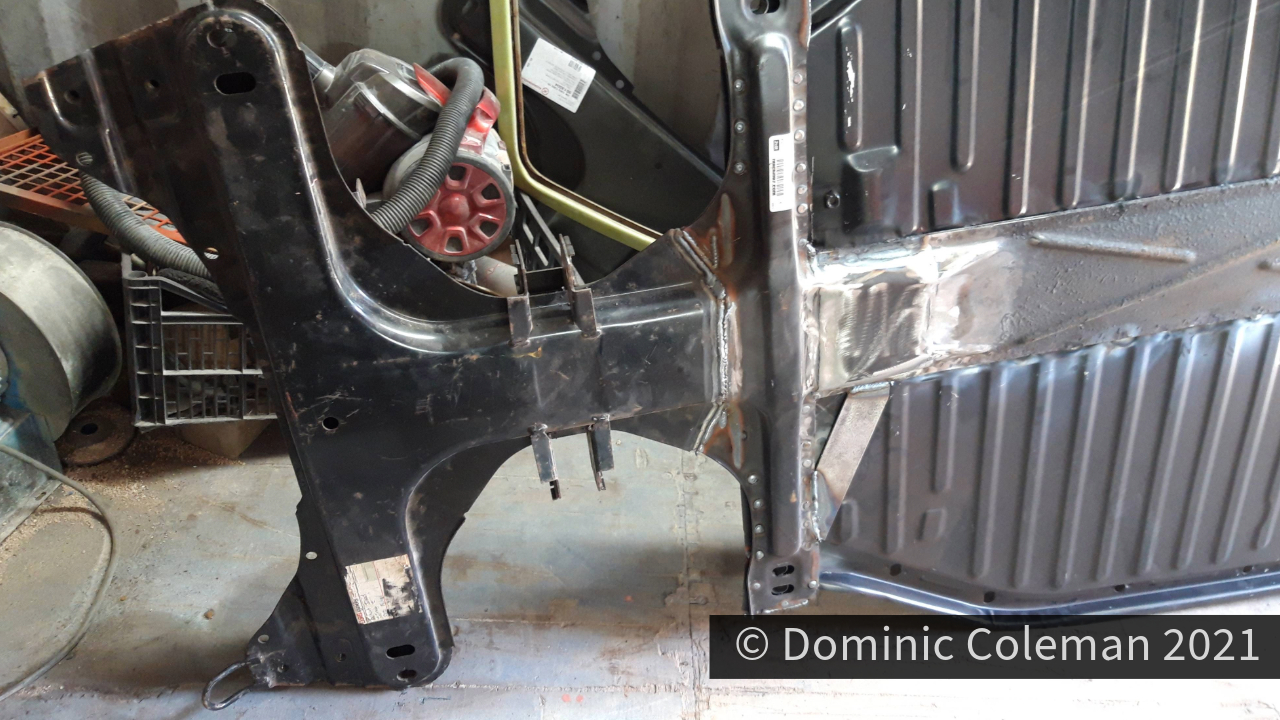
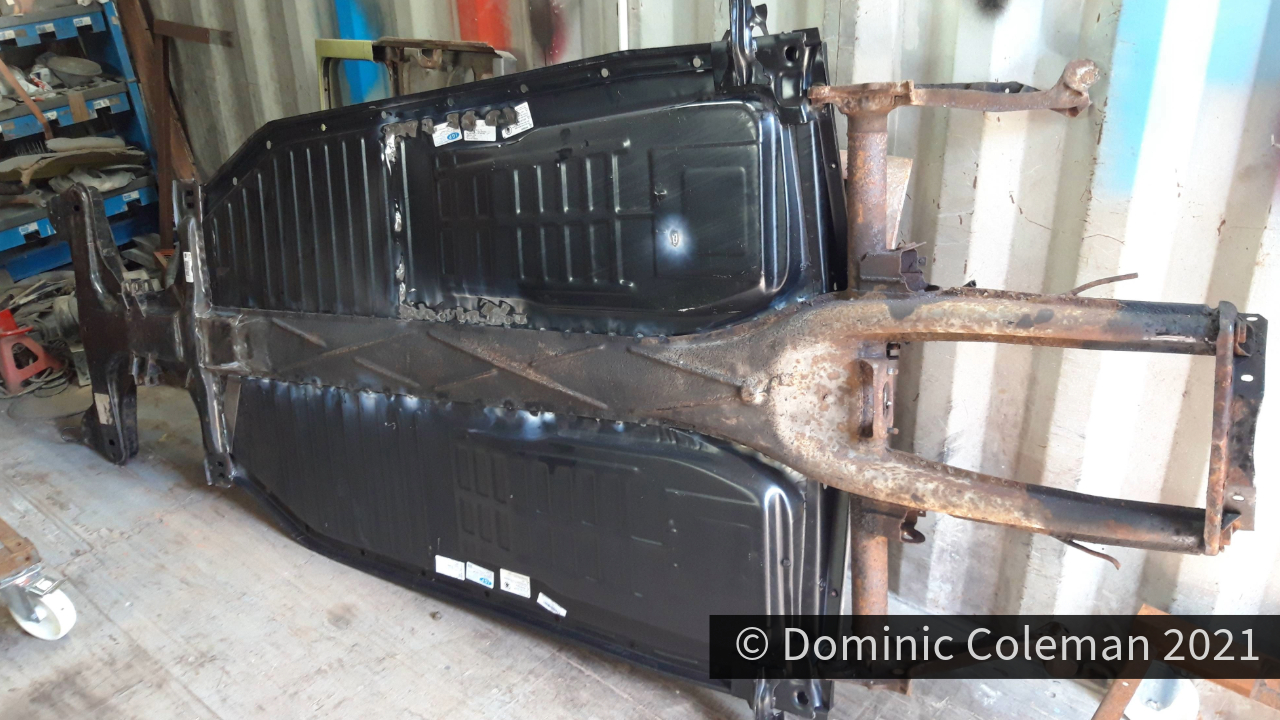
A few days later I got a message with pictures from Paul to say he spent a whole day on the chassis and got the new frame head on, new floors fitted, and also the Napoleon’s Hat section of the floor grafted in. He had a spare 1302 shell in his yard that he used to offer the floor up to ensure everything aligned as it should.

The following week I went over again to Pauls to see the results of his welding and look over the thorough job he had done. Later, we set to stripping down the IRS arms, spring plates, rear brakes, front TCAs and other small parts in readiness to be sent away for media blasting and powder coating.

Categories
Uncategorized

Restoration – 3rd Attempt

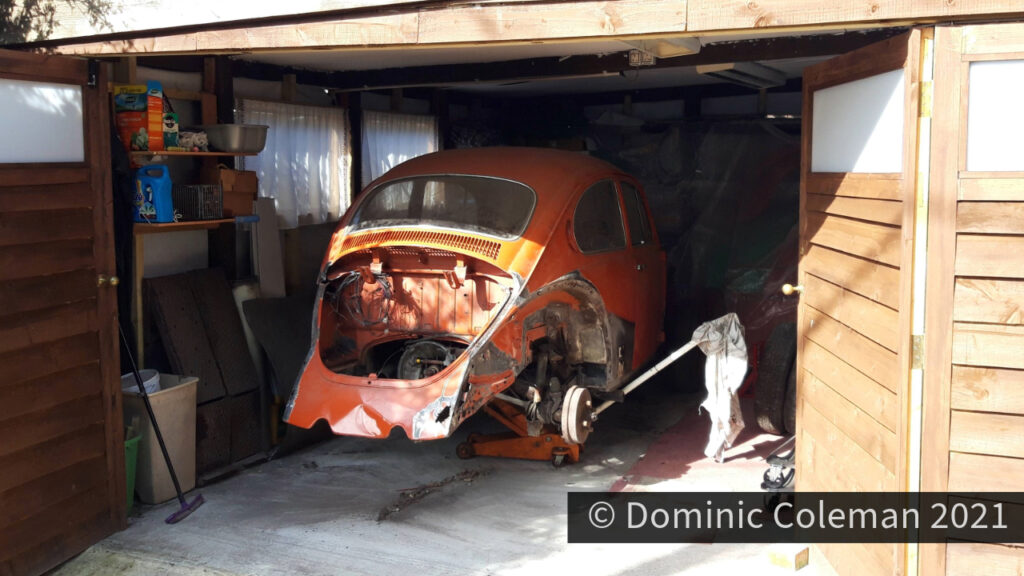
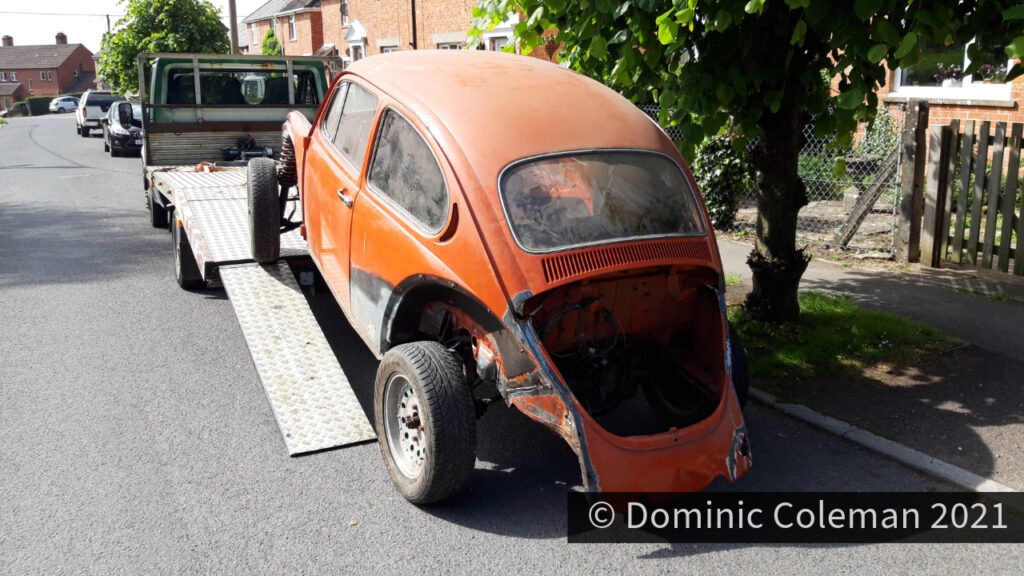
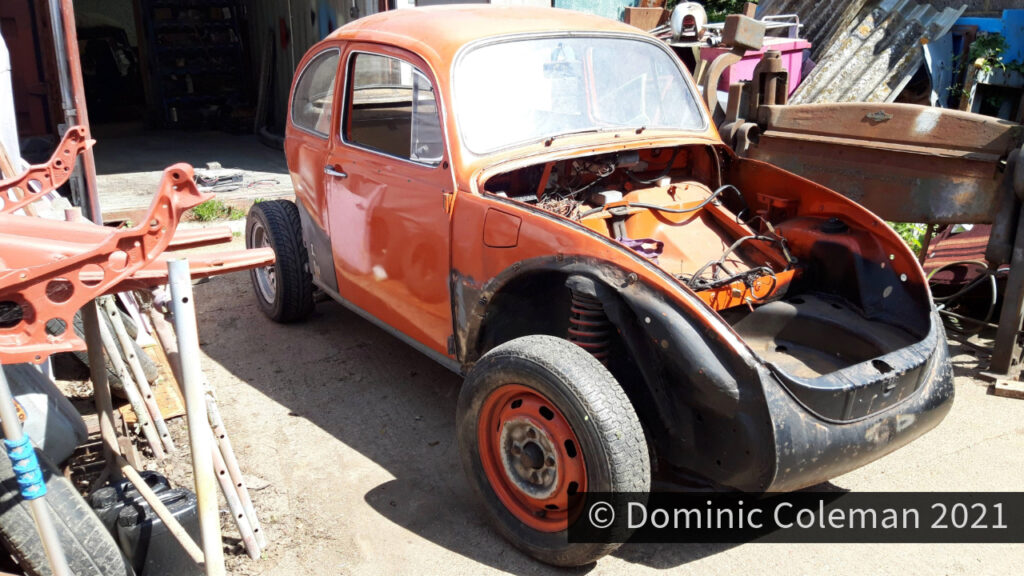
June 2021: It was a warm sunny Saturday when Paul from South Coast Customs & Classics arrived to transport the 1302S Beetle back to his workshop. The plan that day was to separate the body from the floor pan as well as strip down the car some more so the welding on the body and replacement of the frame head could commence.

It turned out to be a lot more difficult than expected with the body being welded to the floor pan in a few locations. Each corner on the rear edge of the floors, each side of bulkhead and on each side of the frame head near the body mounting points. Paul had to cold chisel, angle grind and lever the body and floor apart to break the welds off, though some crumbled due to corrosion. After a fair amount of sweat and effort by Paul the body was ready to be lifted off, quite possibly for the first time in it’s life. Looking at the amount of work Paul had put in to separate the body and floor I was glad he was on board to deal with this, I couldn’t have ever managed that.

With the floor pan now exposed it was clear to see the poor state it was in, even the new floors which were put in 1997 were effectively scrap due to being welded to the body. The frame head had already been identified to be replaced and the “napoleon’s hat” floor pan bulkhead was in a poor state.

I’m not sure if Paul was being kind, but he said it wasn’t the worst beetle he had worked on, which kind of reassured me that this wasn’t going to be too difficult for him to tackle.

Categories
chit chat

The Winter Inspection

October 2020 – With the carport now converted in to a dry weather proof environment it was now time to take a closer look at the Beetle to assess the work required to get the body and floor sorted for once and for all. I made a couple of short partial walk around videos (below) and though the quality of the videos varied, my commentary was over optimistic regarding what I was thinking at the time.

A video walk about (on one side…)
Walk about 2 showing the interior and engine

The work that was done in 1997/98 hadn’t succumbed to any corrosion and at this point I thought there wasn’t too much to do, just a few bits here and there. The only major job I felt needed attention was the poor condition of the frame head of which I would need professional help again with a new replacement. Scouring the internet for a VW specialist near to me wasn’t bearing much fruit and I even made enquiries at a local body shop but they were too busy.

Categories
chit chat

May 2016

Nothing much to see here…

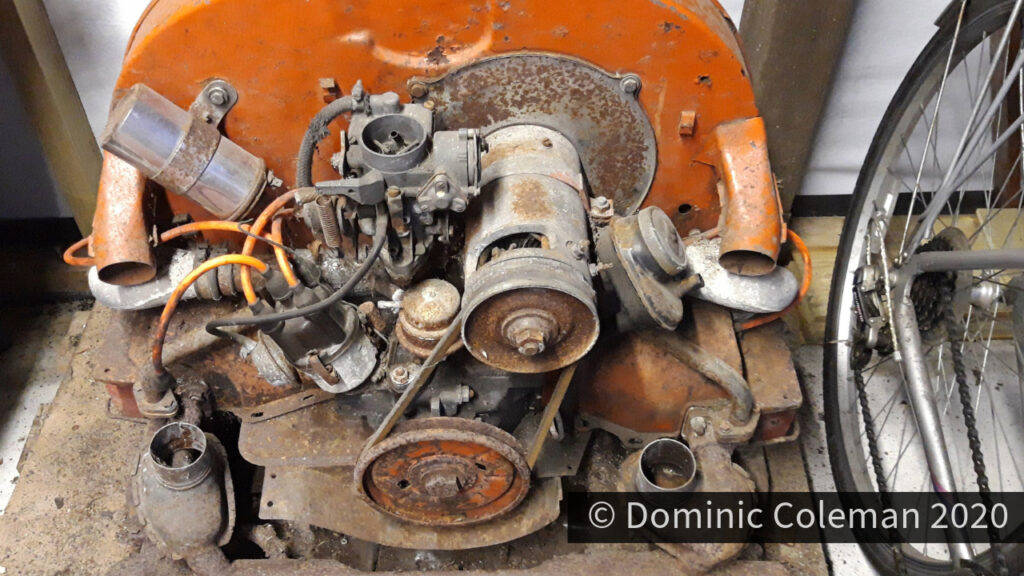
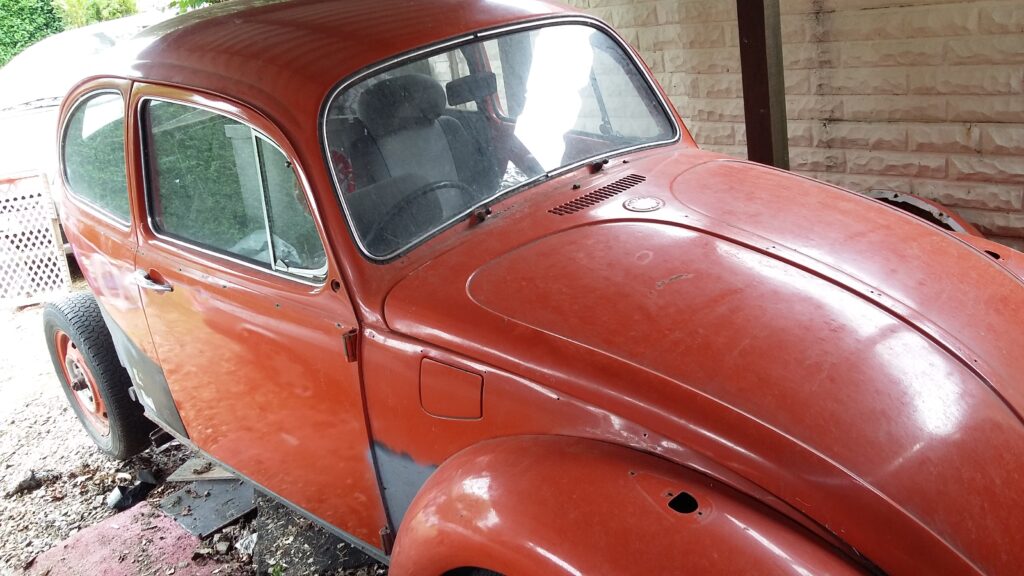
Just look at what I had done and left that engine out on the floor like that since May 2009! It was covered up but it still had 7 years of dampness to spoil it some more. Note the rear end was resting on the gearbox mounting, on an off-cut of an oak gate post, as at some point I needed the substantial car ramps to work on the Corsair [Link Here]. With the help of my growing up and stronger son, we moved the engine into the relatively more shelter of the carport and put it on a pallet. I then wrapped it up some more to protect it from the elements for the unforeseeable future. Also, notice the Capri [Link Here] was still in my possession and would eventually be sold in March 2017, that was a sad day.

Categories
chit chat engine

Dropping the Engine

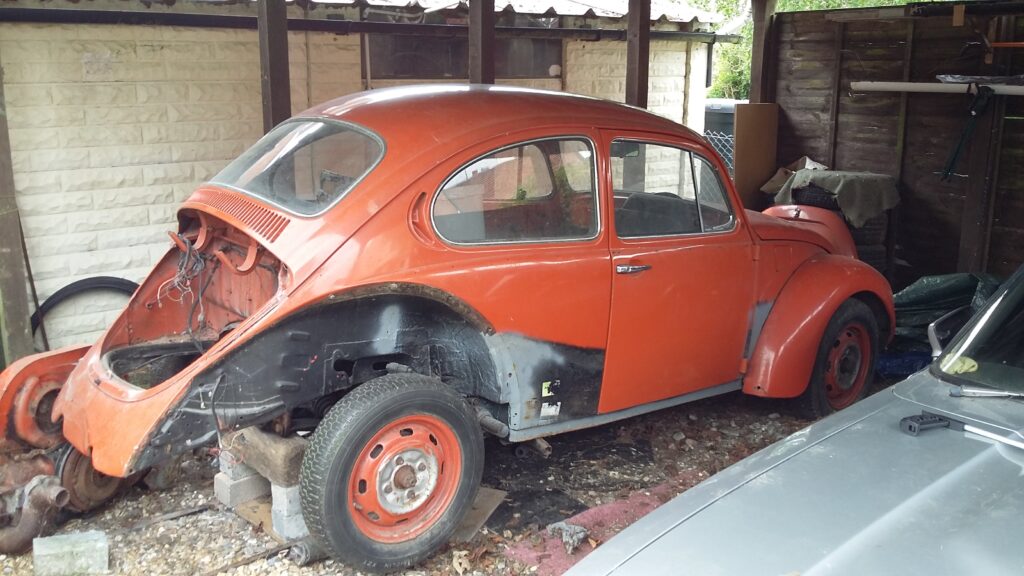
By May 2009 I had some spare time, money in the bank with the next idea to remove the engine to either strip down or consider a short block replacement. When we bought the car in 1995 we were told of a bottom end knock which was either crankshaft bearings or the big ends needed replacing. With the rear end jacked up and the car on our substantial ramps removal of the engine wasn’t as difficult as I remember, four bolts, bit of a jiggle on to the trolley jack and it was out…

The following month the money set aside for a replacement block was spent on a refurbished gearbox for the daily driver Passat. In hindsight – it was probably just as well because no more was done to the little car for some time.