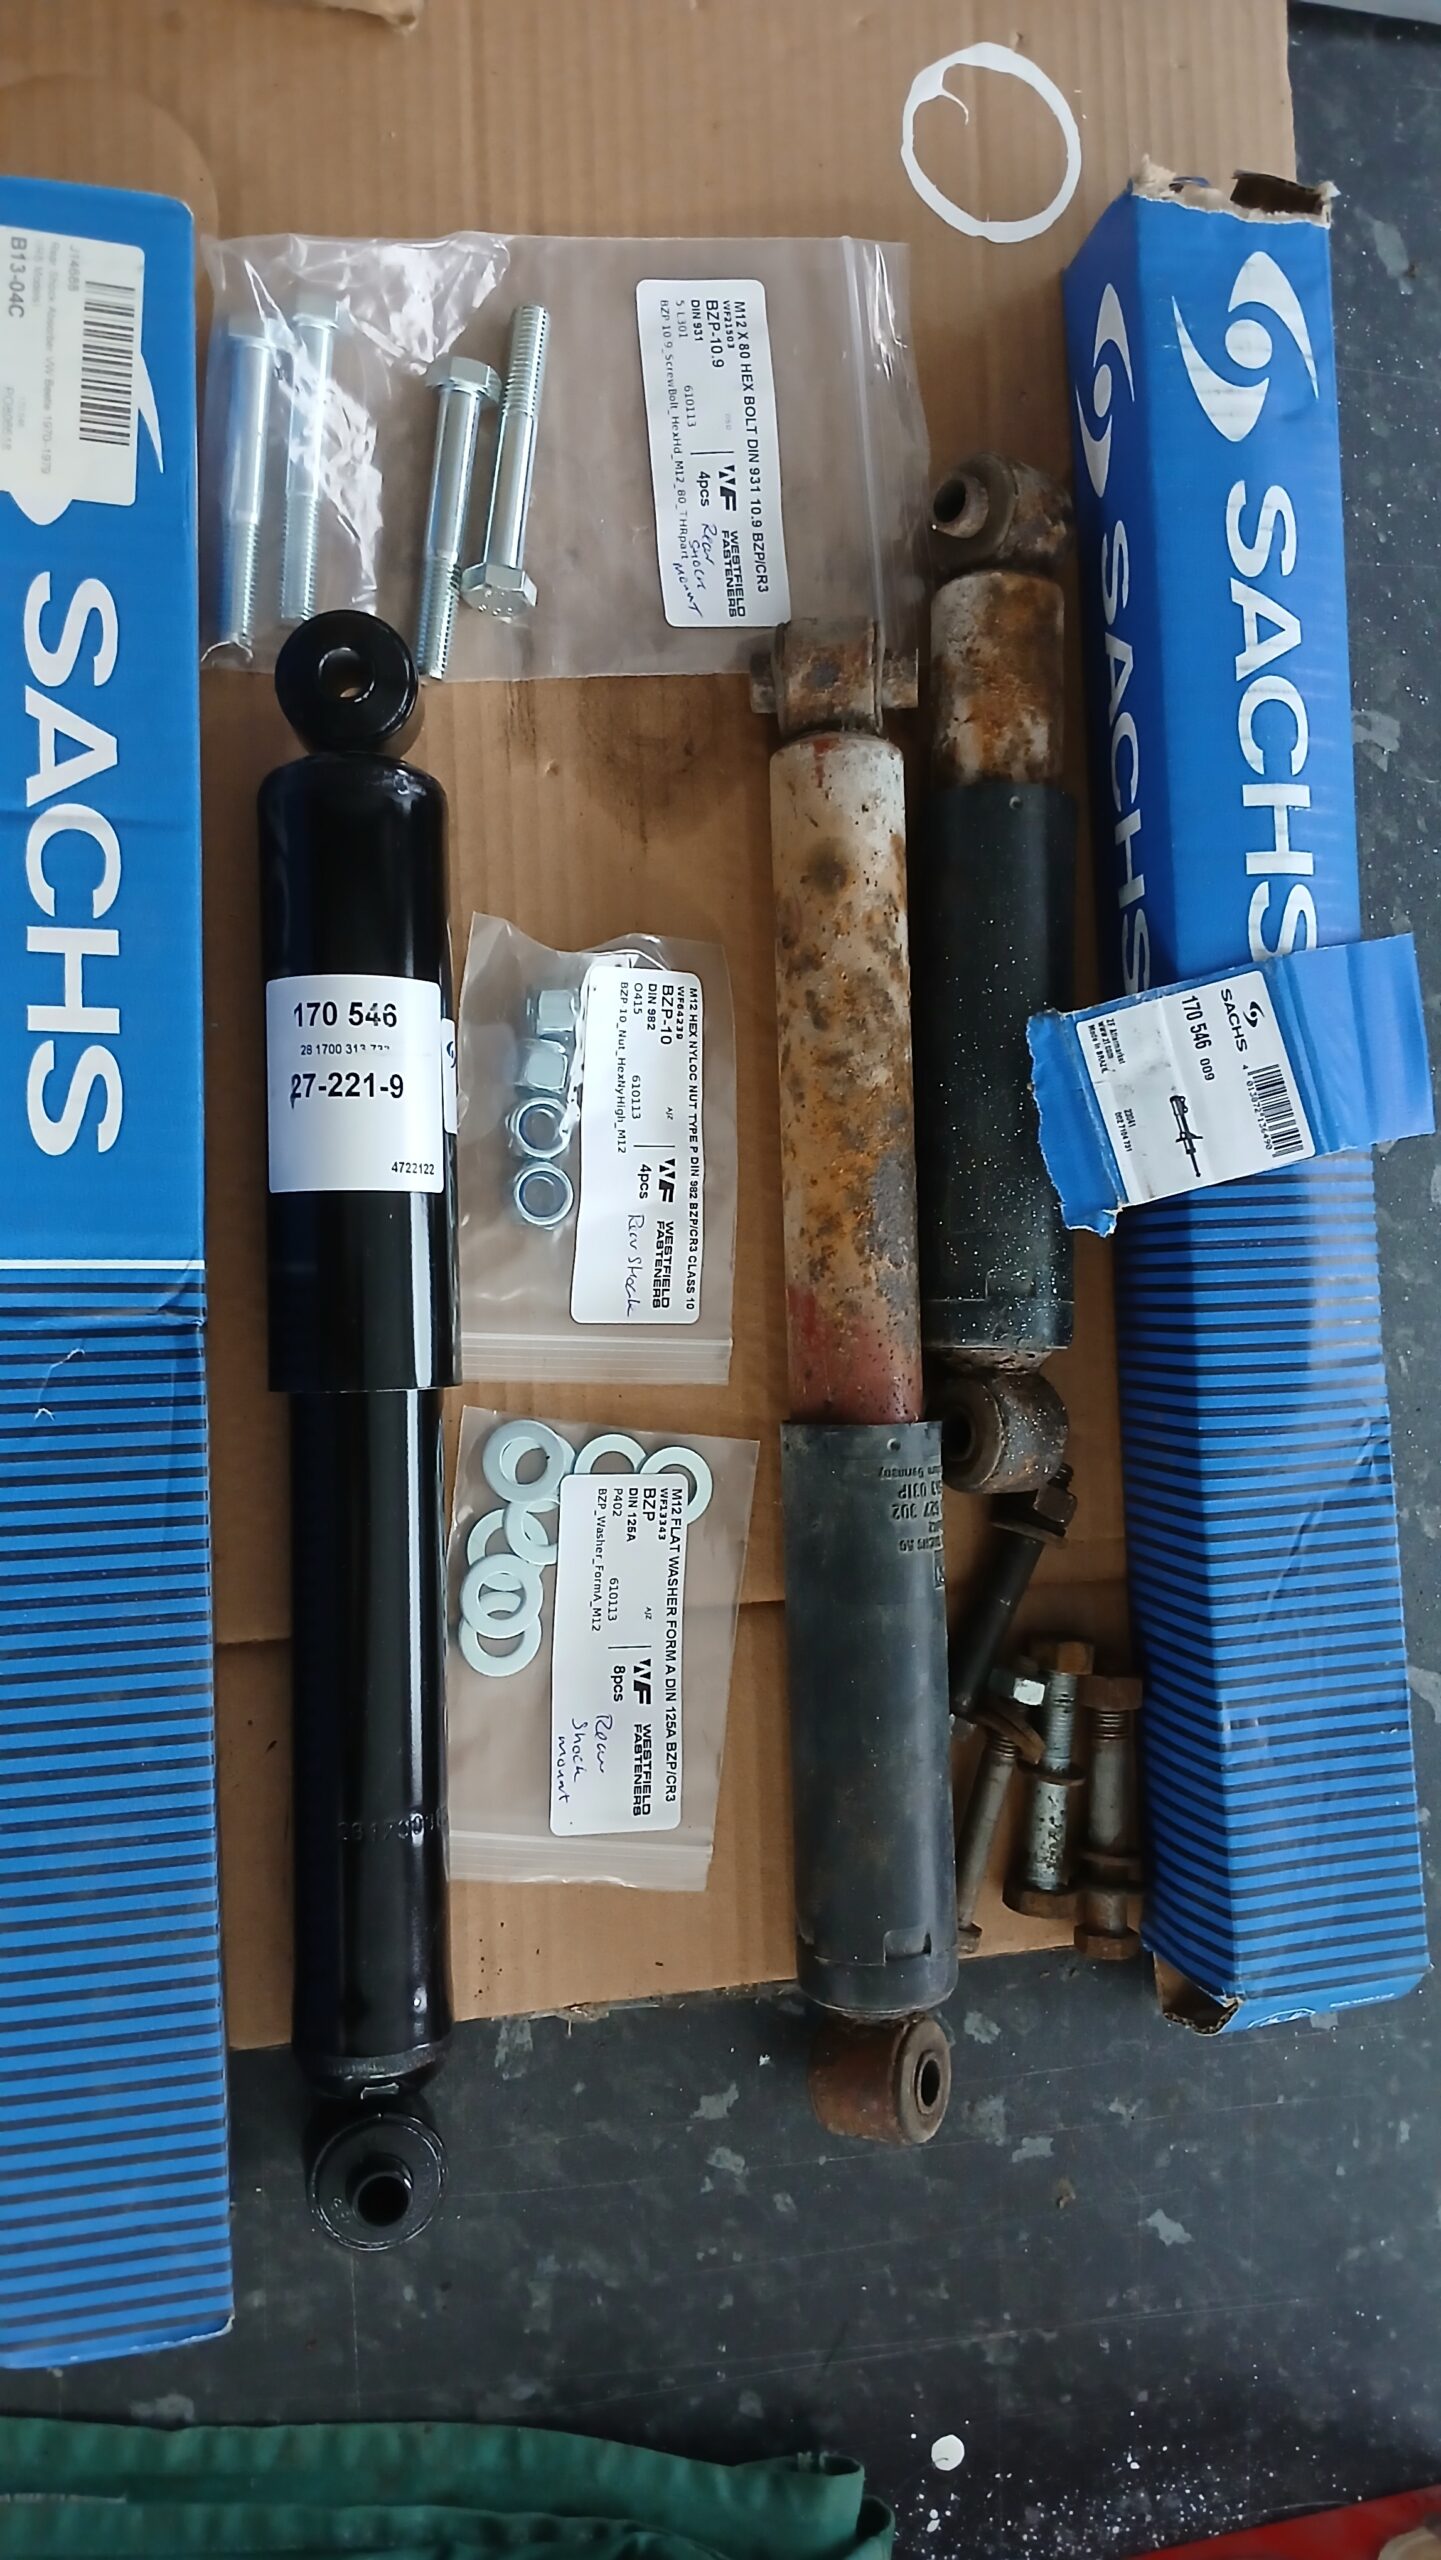
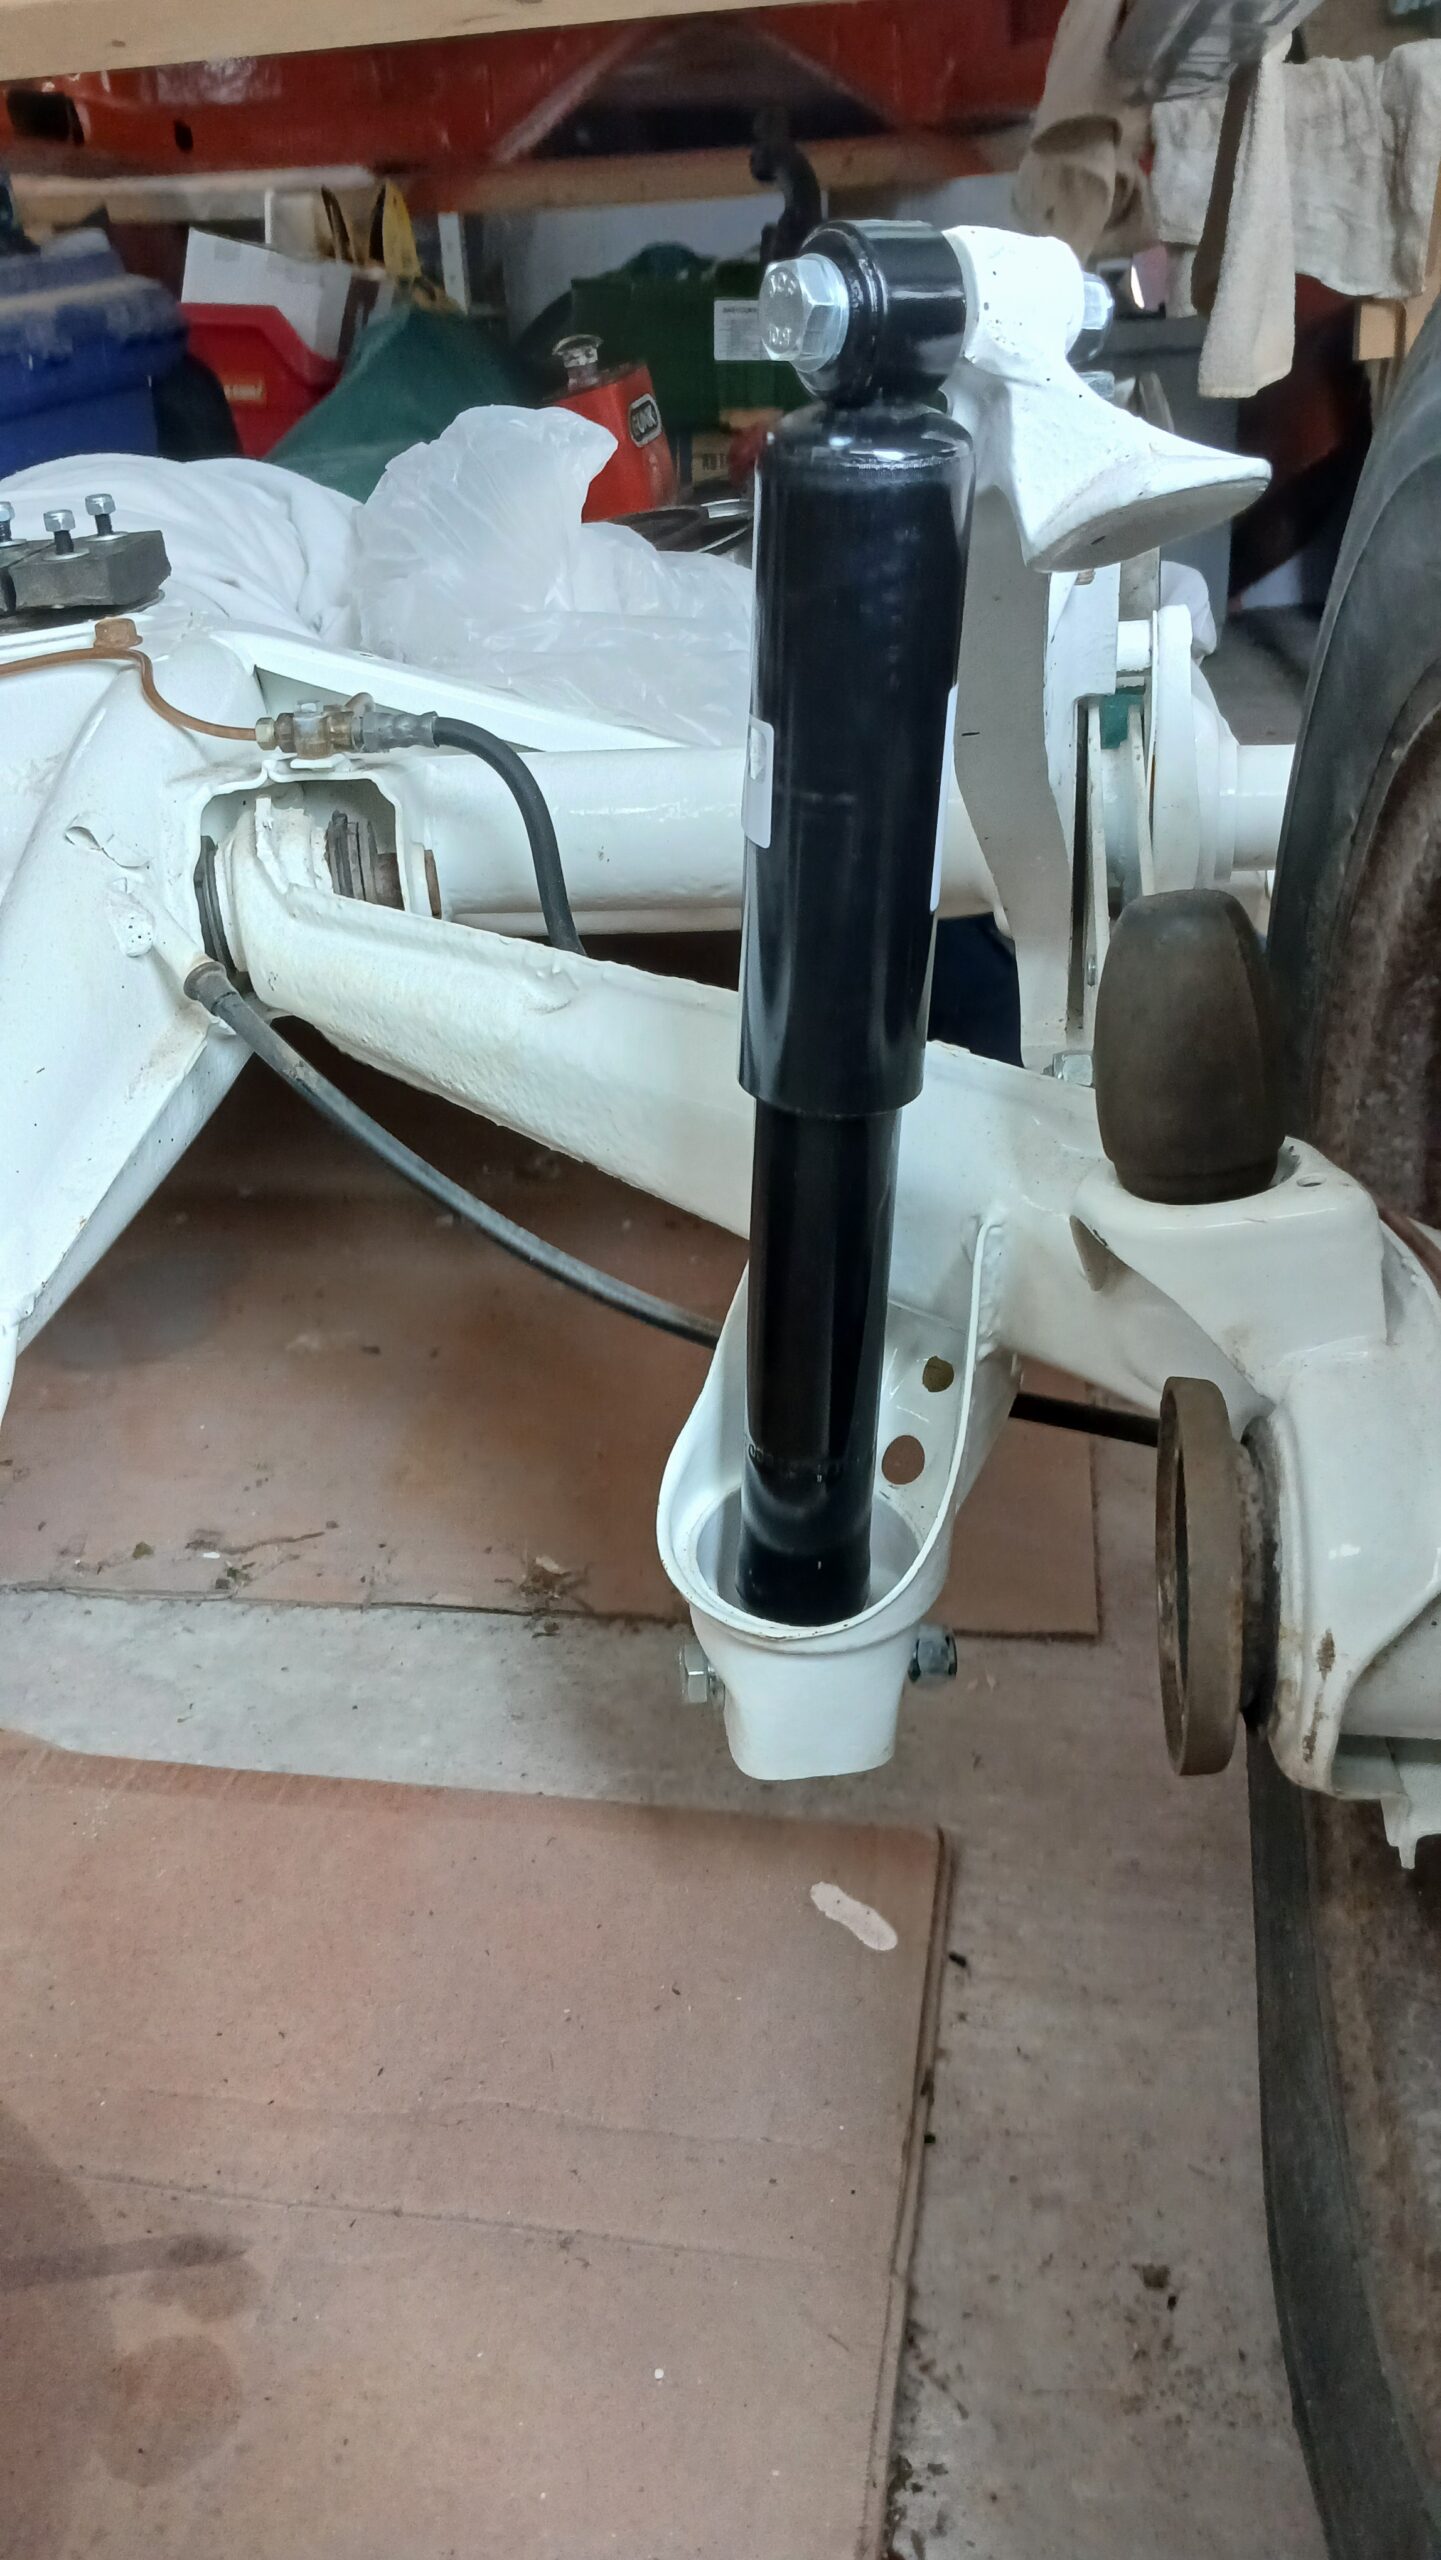
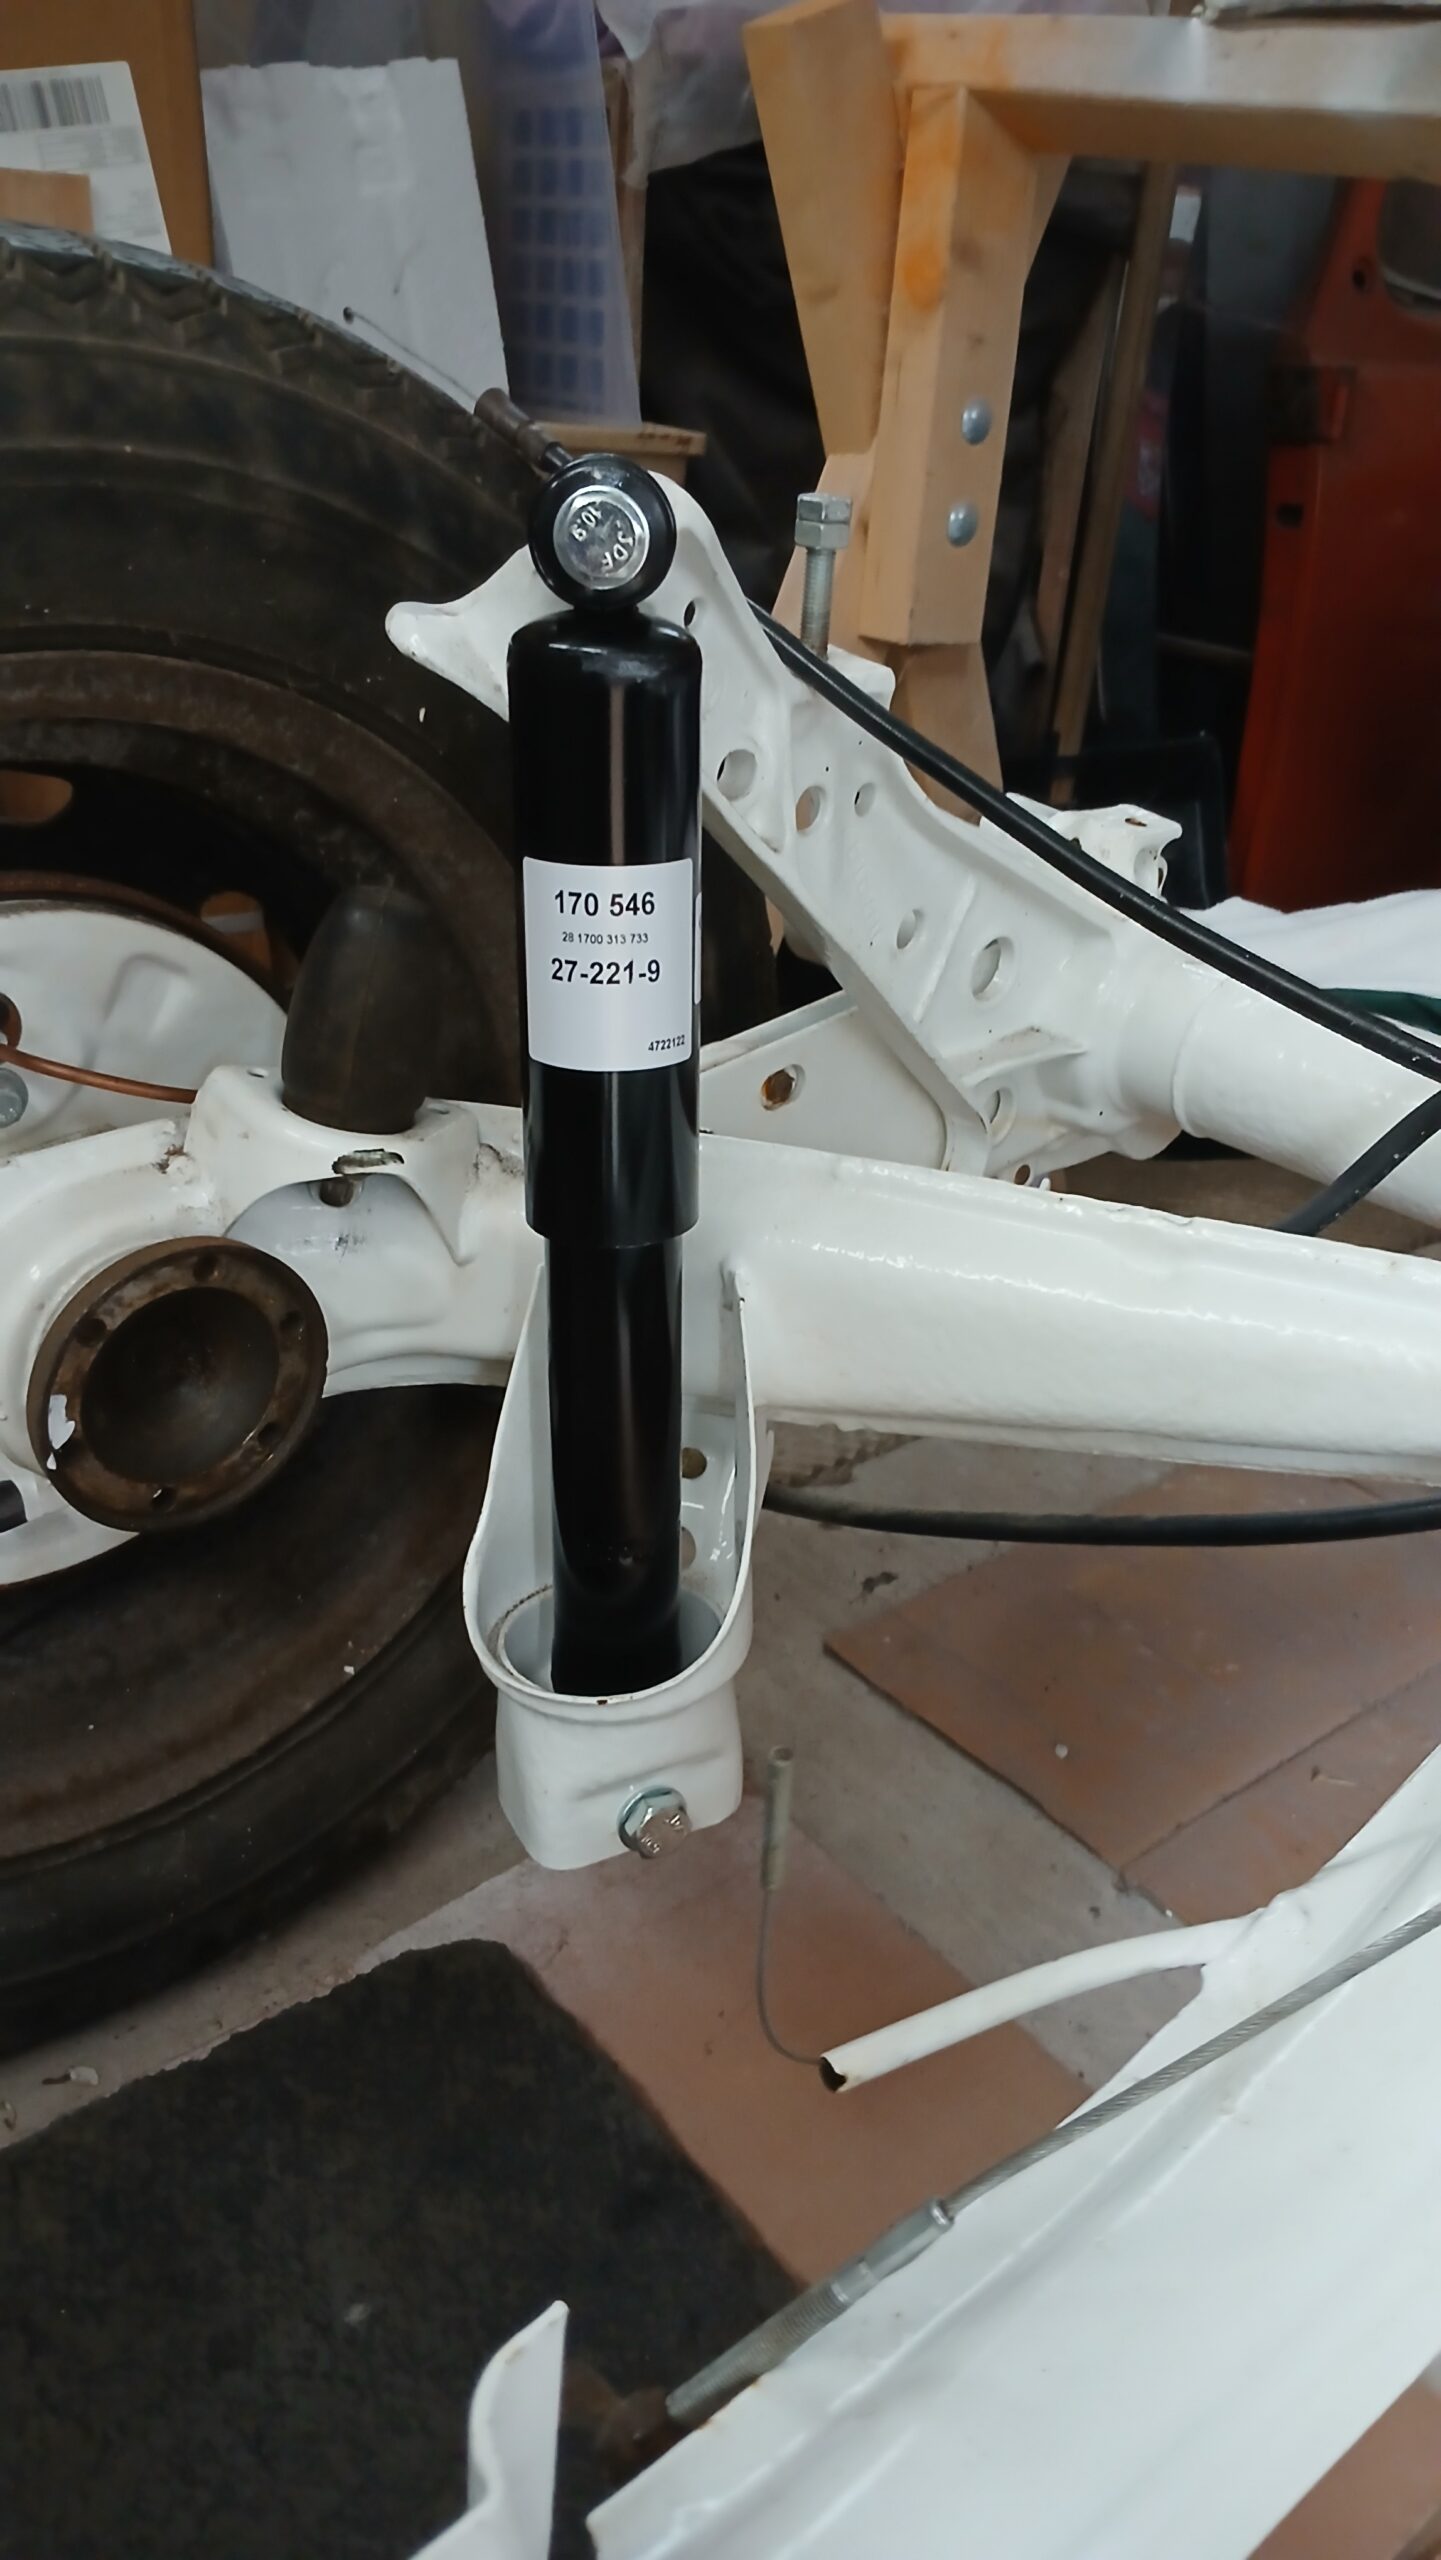
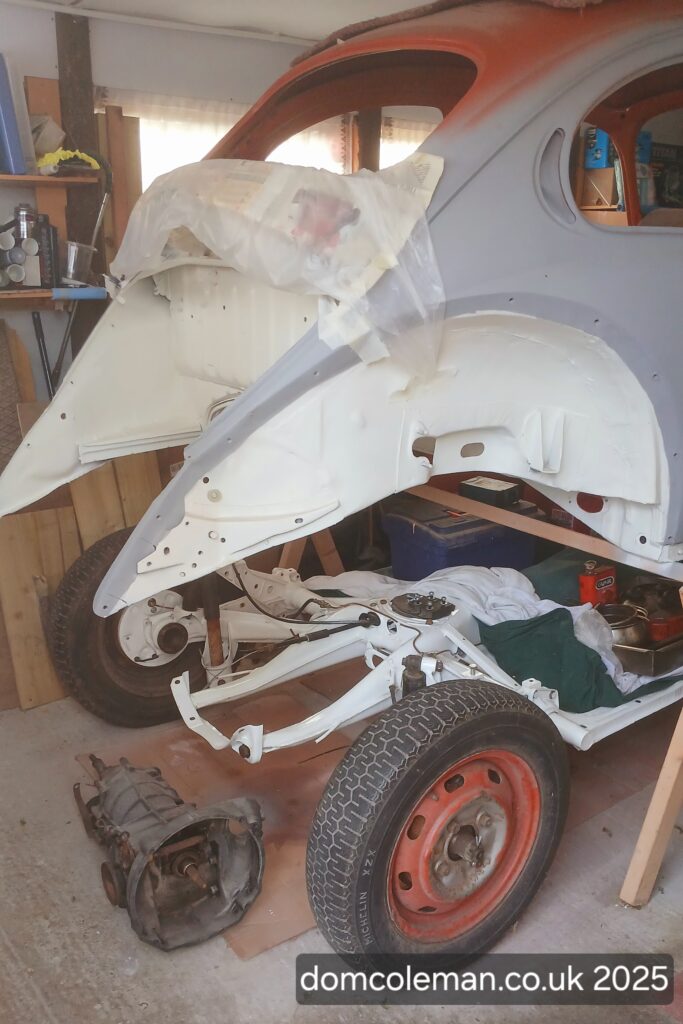
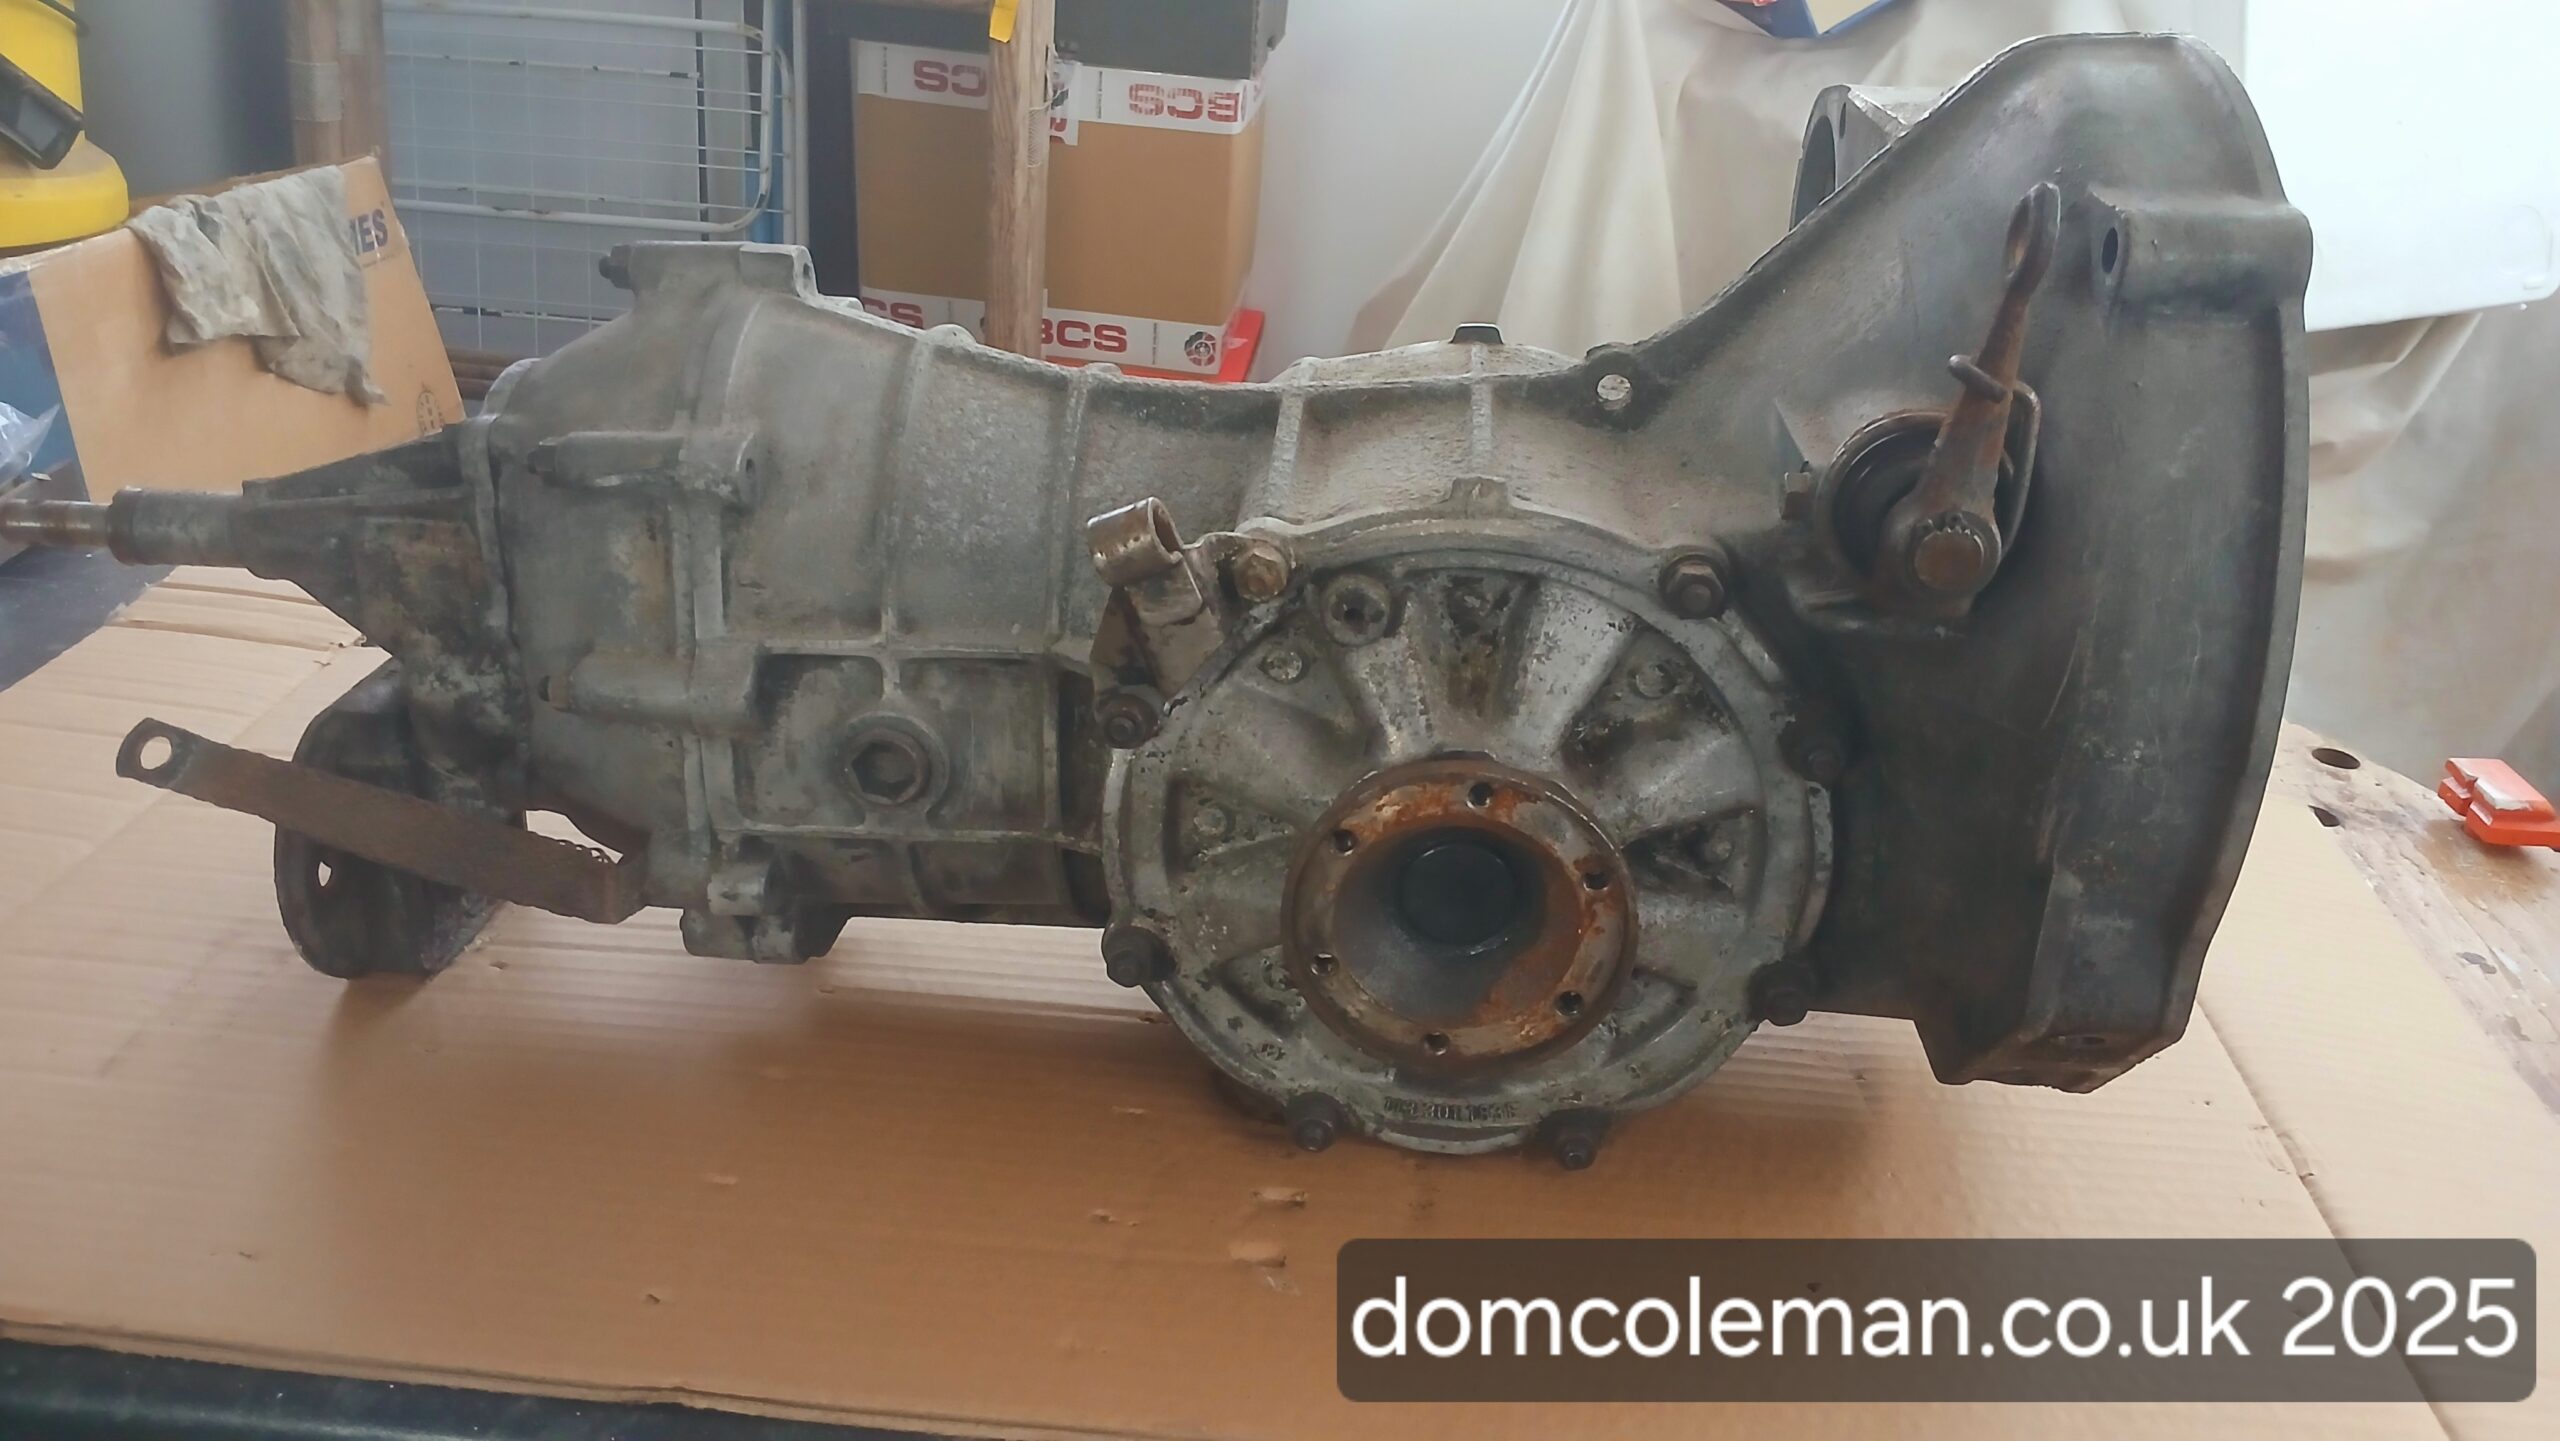
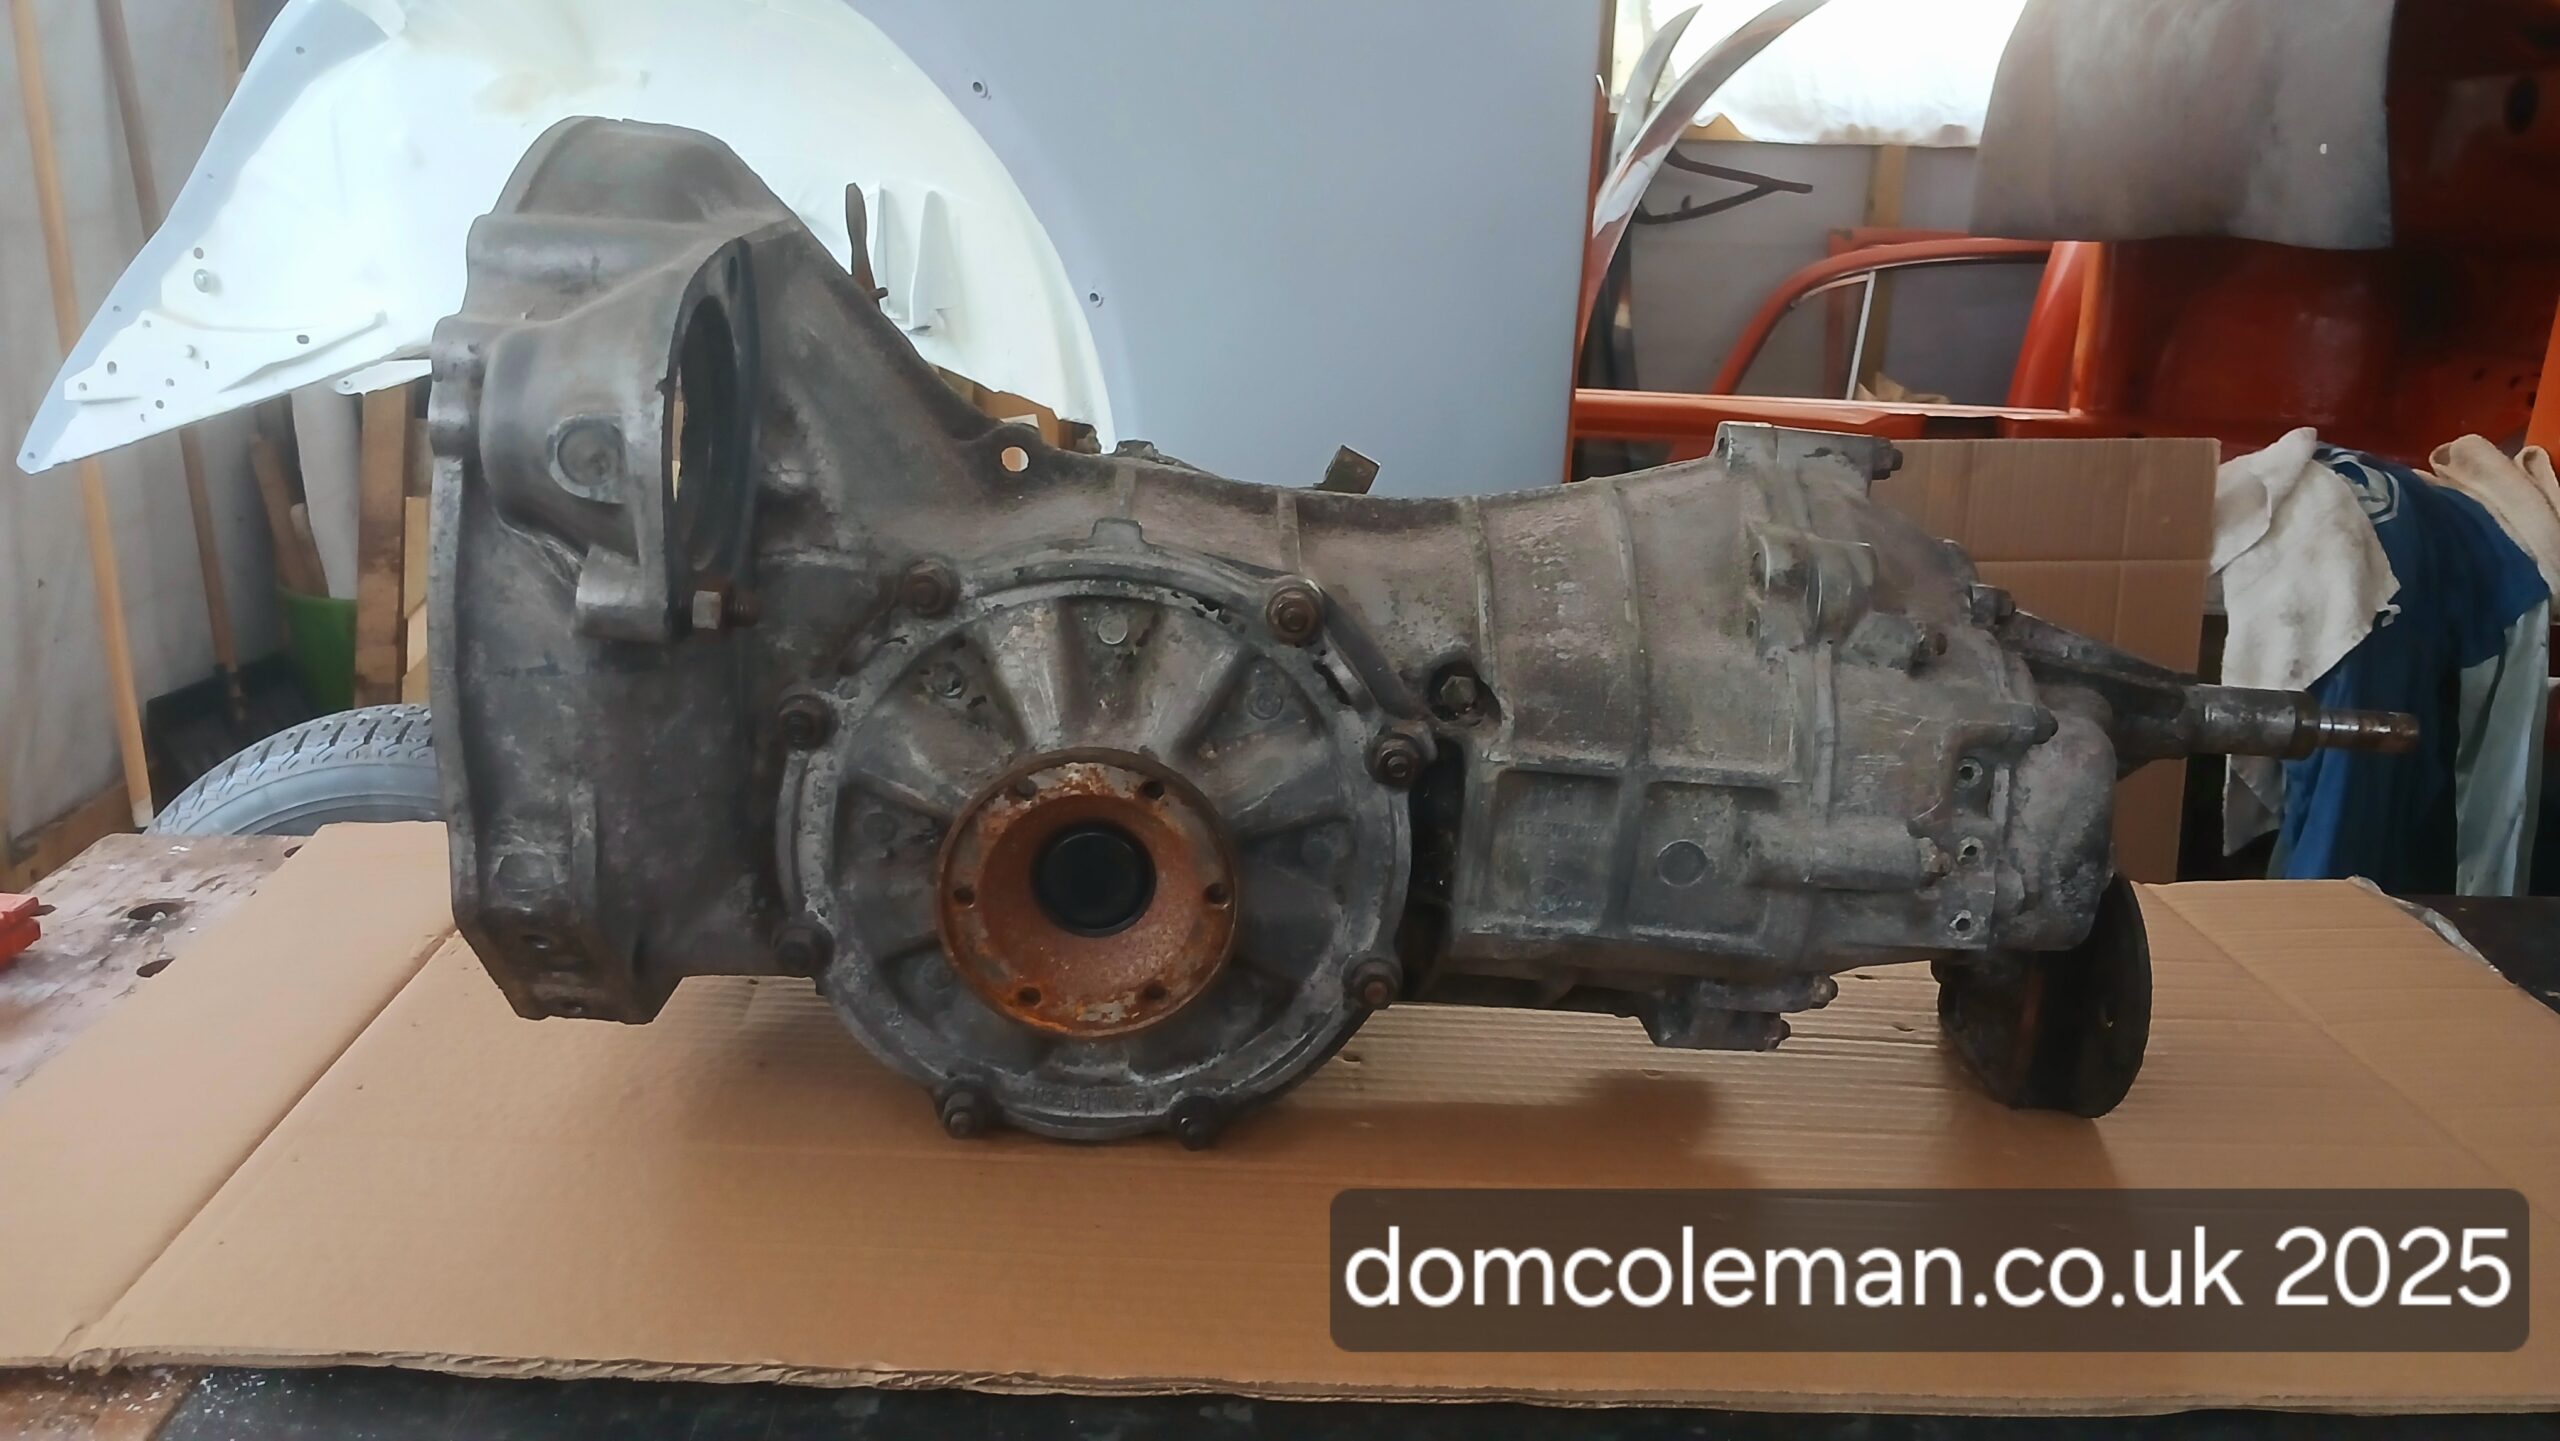
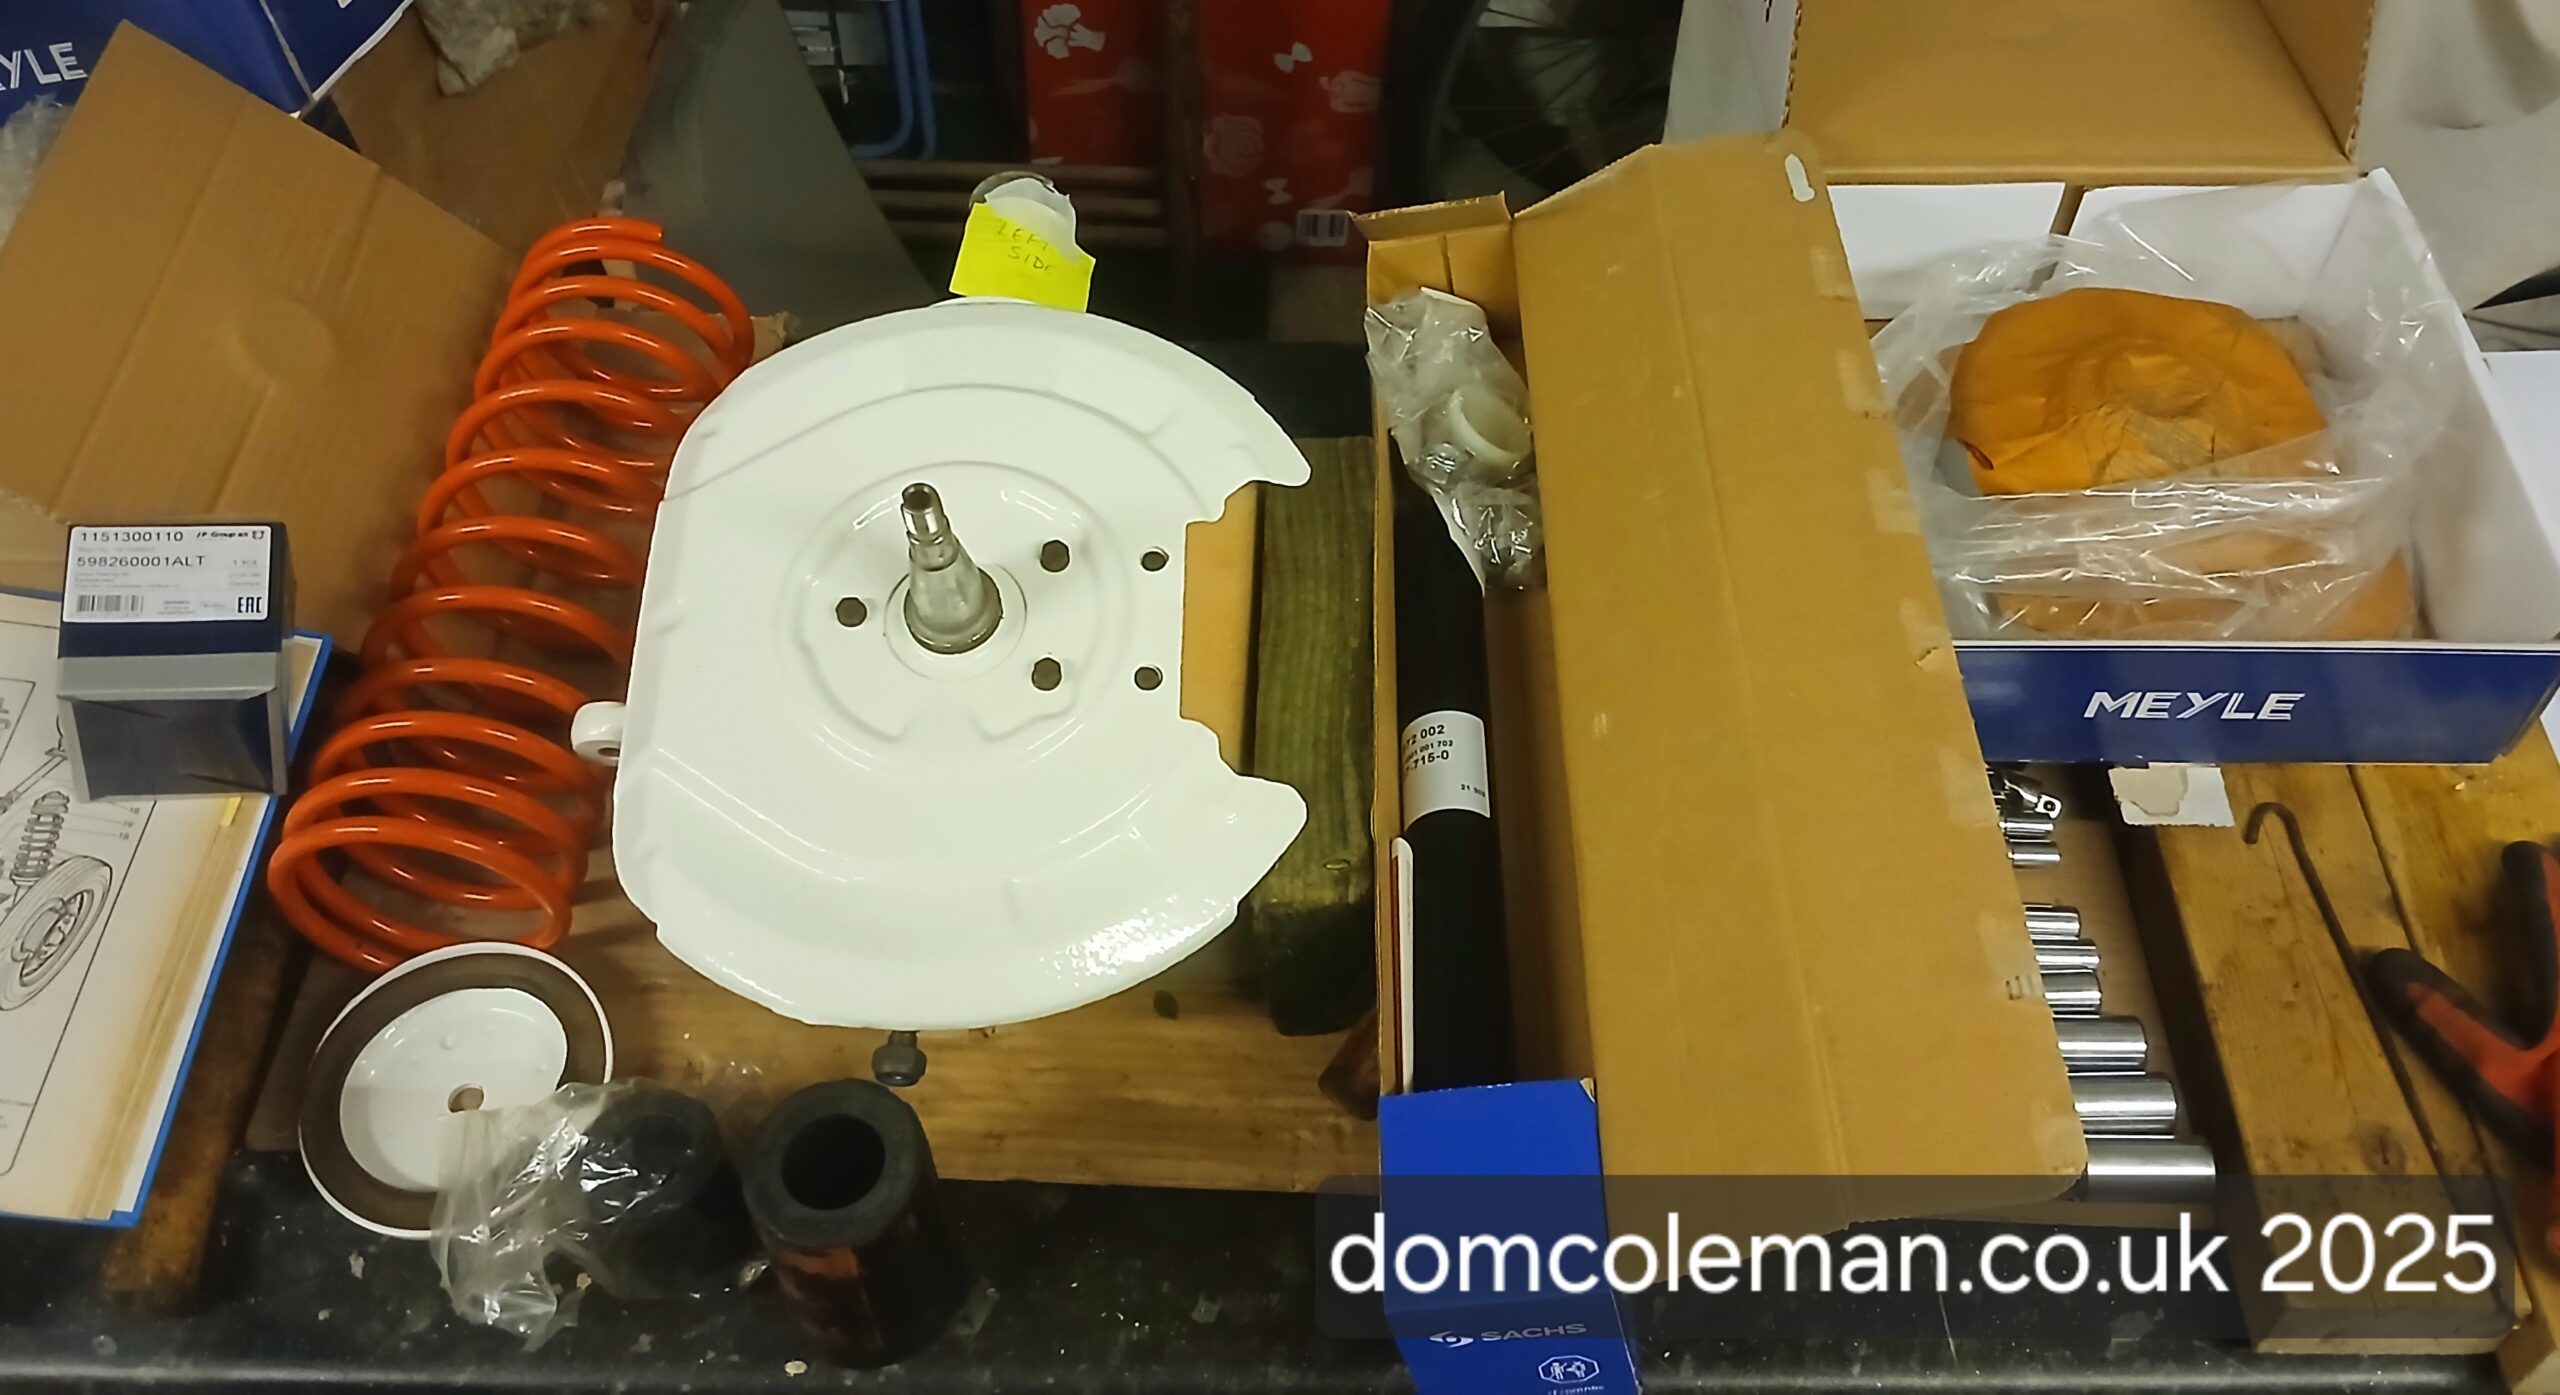
With the gearbox away I took the opportunity to prepare for its return. I rebuilt the driveshafts that I had ‘done’ last year. I had bought 4 new CV joints in January and fitted them, and then re-fitted them, as I had got the washers the wrong way around on the first attempt. I also fitted the new rear (Sachs) shocks I bought a while ago. Rather than purchase new high tensile steel bolts for the rear shock from the likes of Just Kampers/Cool Air/VW Heritage for £3+ per bolt, I could buy 4 bolts from Westfield Fasteners for less than £7. I also bought several other bolts, washers and nuts, mostly in stainless steel for re-assembly later on.
VW Beetle 1302s rear shock absorbers – New and oldVW Beetle 1302s rear shock absorber – right sideVW Beetle 1302s rear shock absorber – left side
A new gear linkage coupling (CSP) polyurethane was also bought and fitted in readiness for when the gearbox cam back from John Walklett. Having spoken to John on the phone in the week, he was hoping to have the box done by the end of April – it was next on his to list but higher priority tasks had jumped the queue.
At the end of January, I took myself on a road trip to Newcastle-under-Lyme to visit John Walklett Transmissions. I could have sent the gearbox via courier, but for the cost involved, I may as well go myself—and this way, I could speak to John face-to-face.
His workshop was a small unit packed to the rafters with VW air-cooled gearboxes and crates of spare parts. We discussed the options for our “AH” code ‘box and settled on a freeway flyer setup with a taller 4th gear, allowing for lower revs at cruising speeds (60–70 mph). Seeing John in action was well worth the trip, giving me confidence in his expertise and a sense that I was a serious customer. I gave him a no-rush deadline but mentioned it would be nice to have the gearbox back before September—he assured me he’d be worried if he still had it by then!
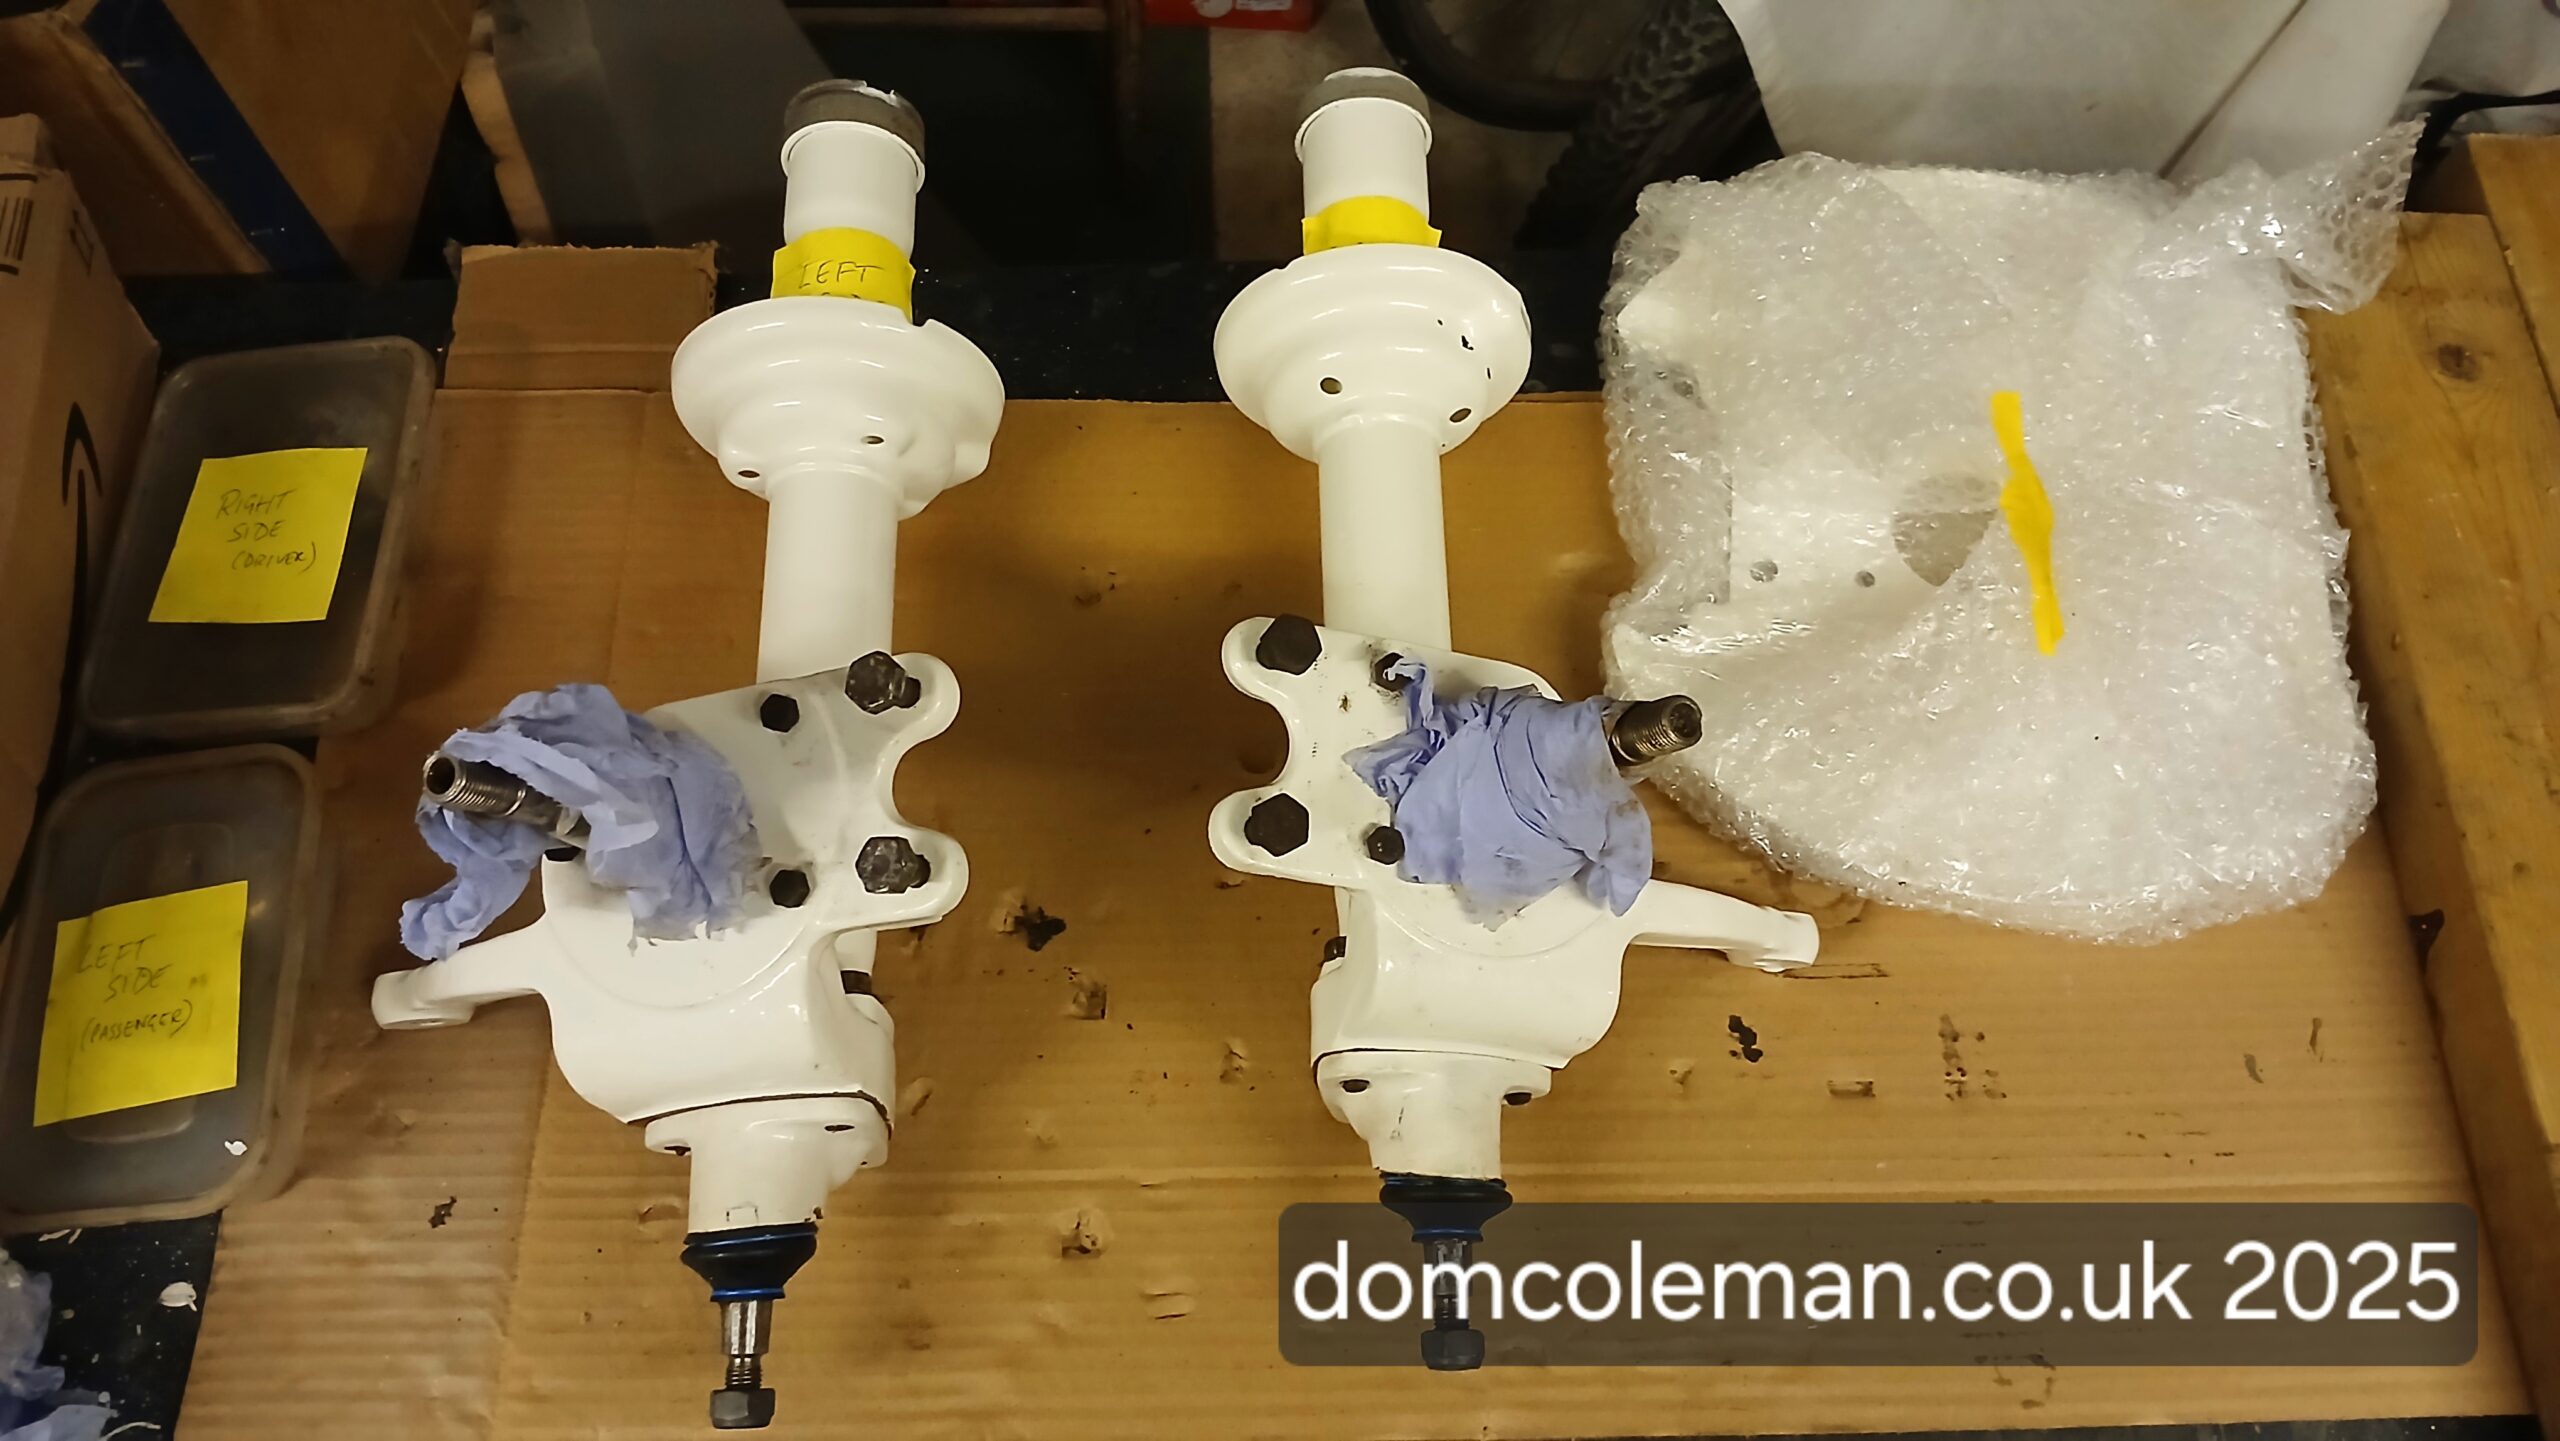
Over the Christmas break, I dug out the front strut components to clean them up and fit new lower ball joint rubber boots. However, the replacements I’d bought some time ago turned out to be too small. I suspect I was guessing the size when I originally ordered them, and I got it wrong.
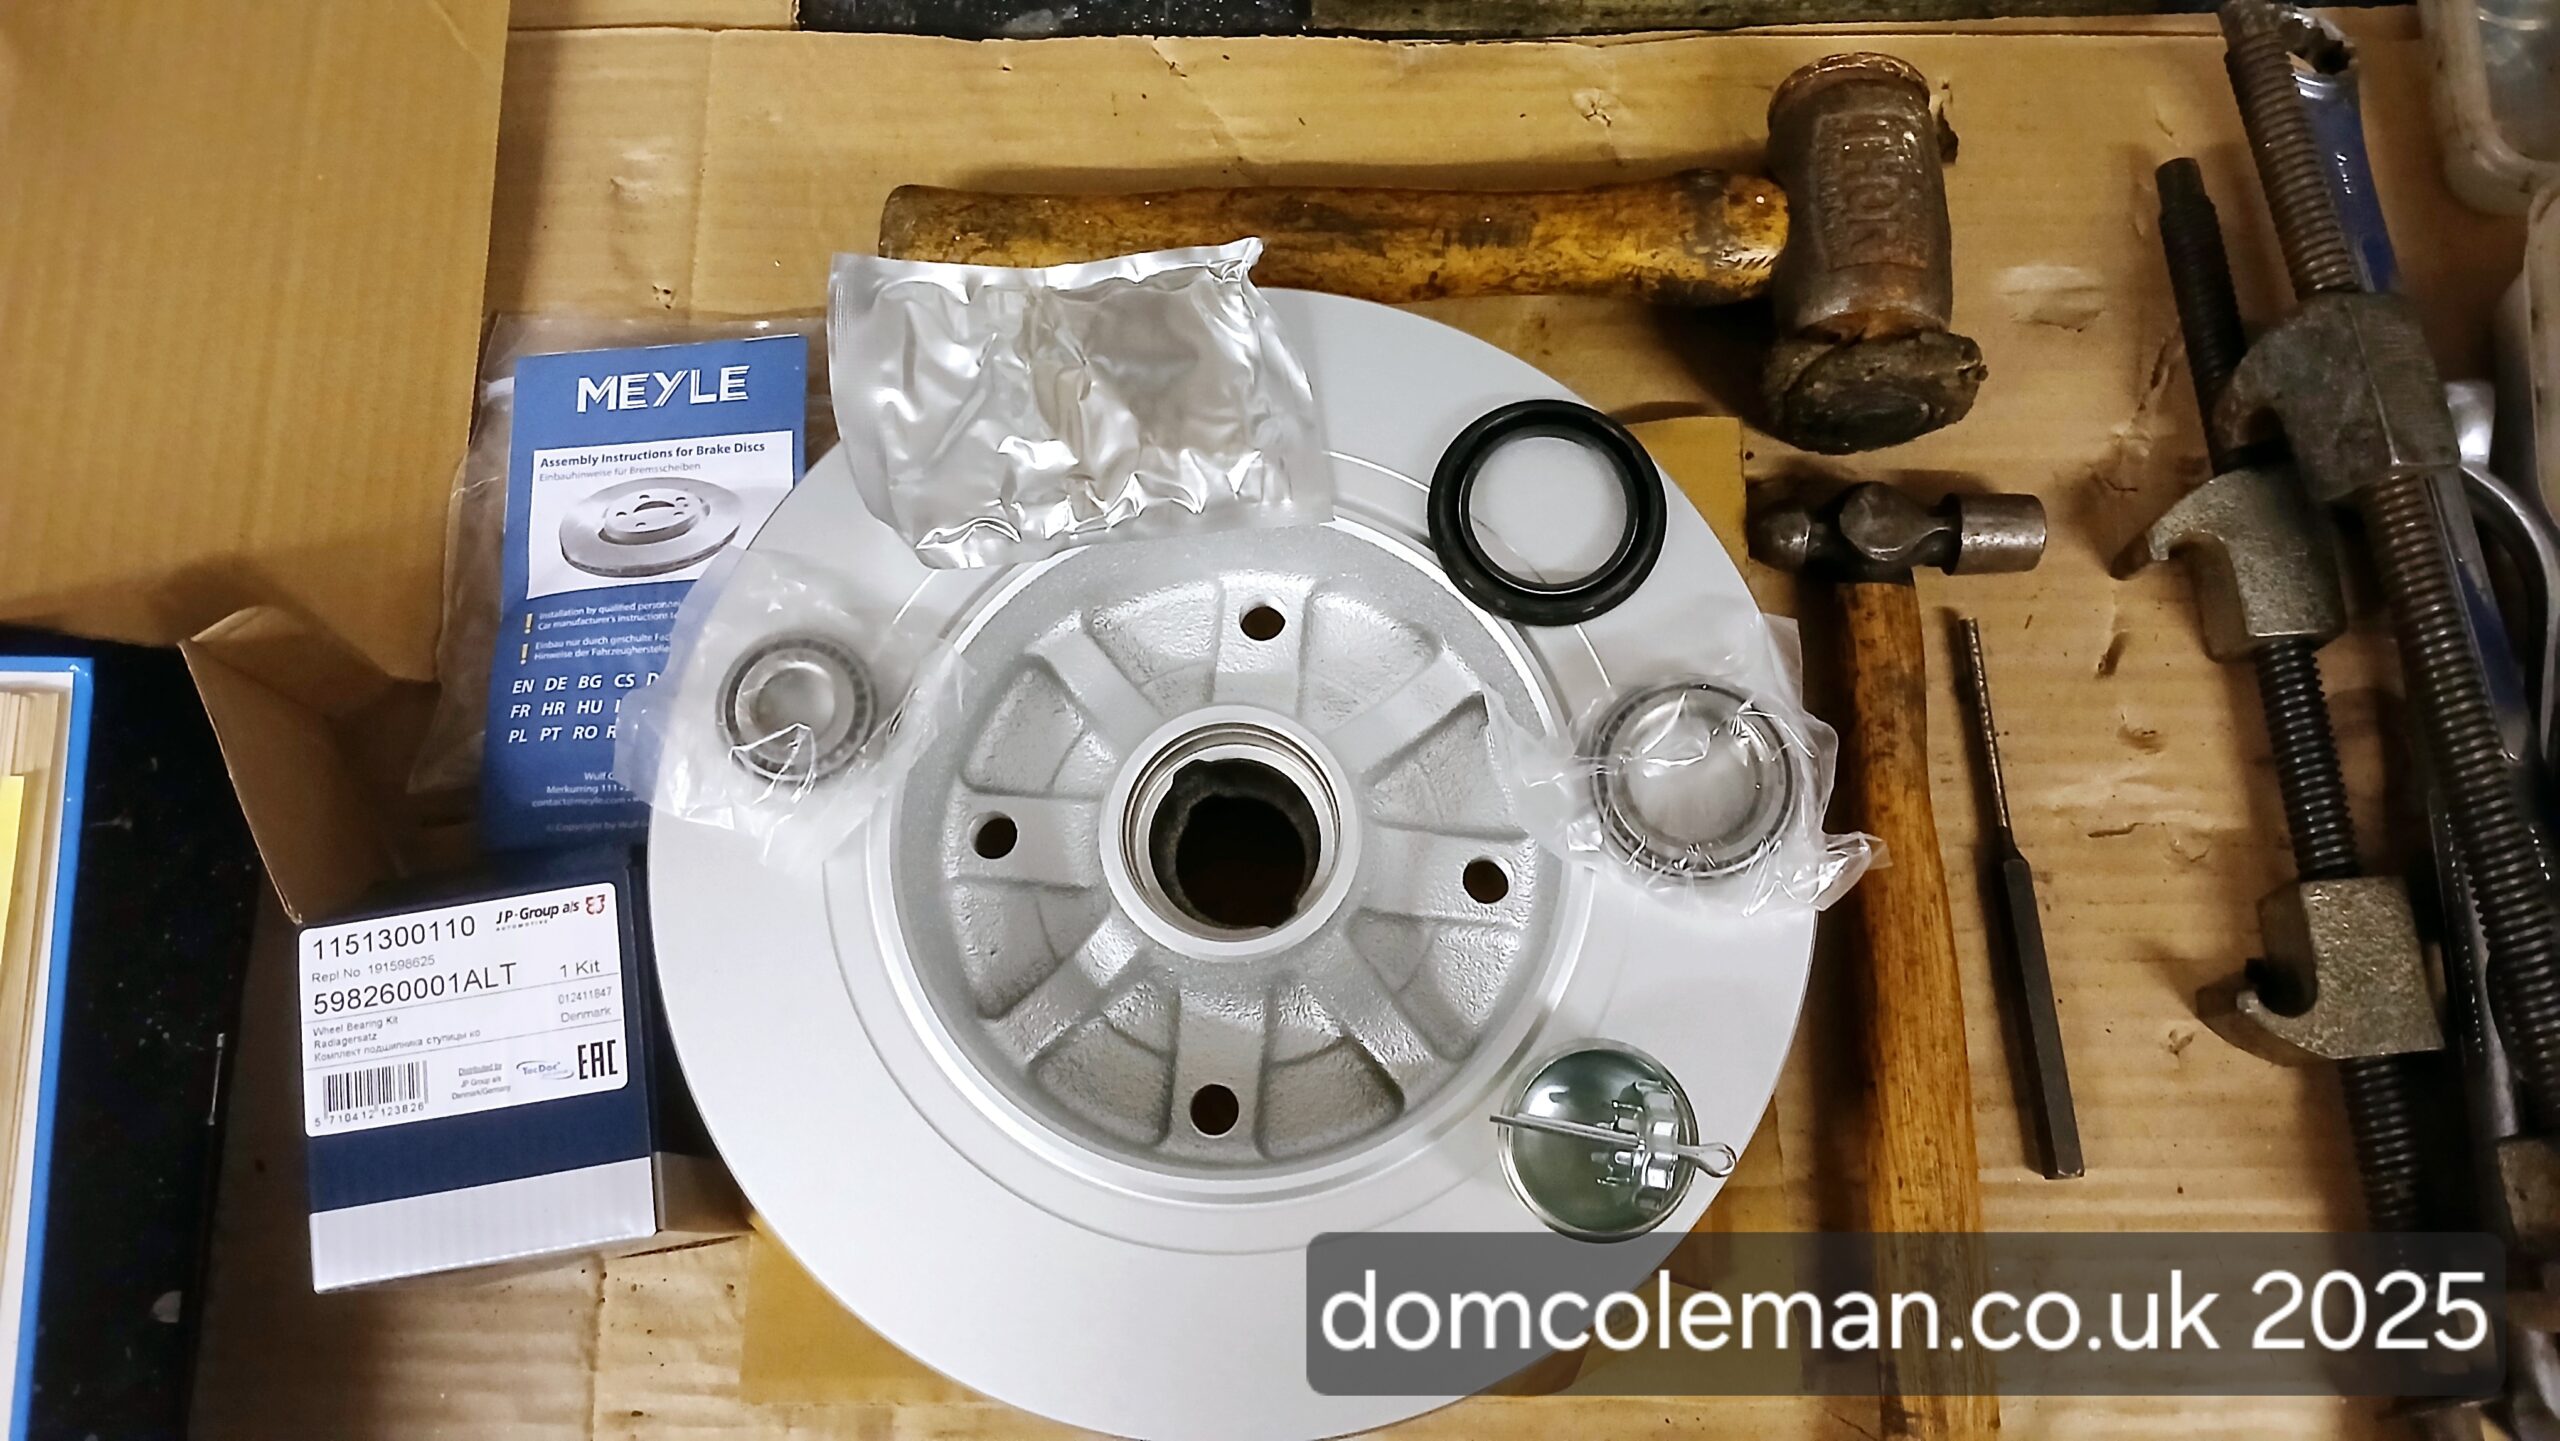
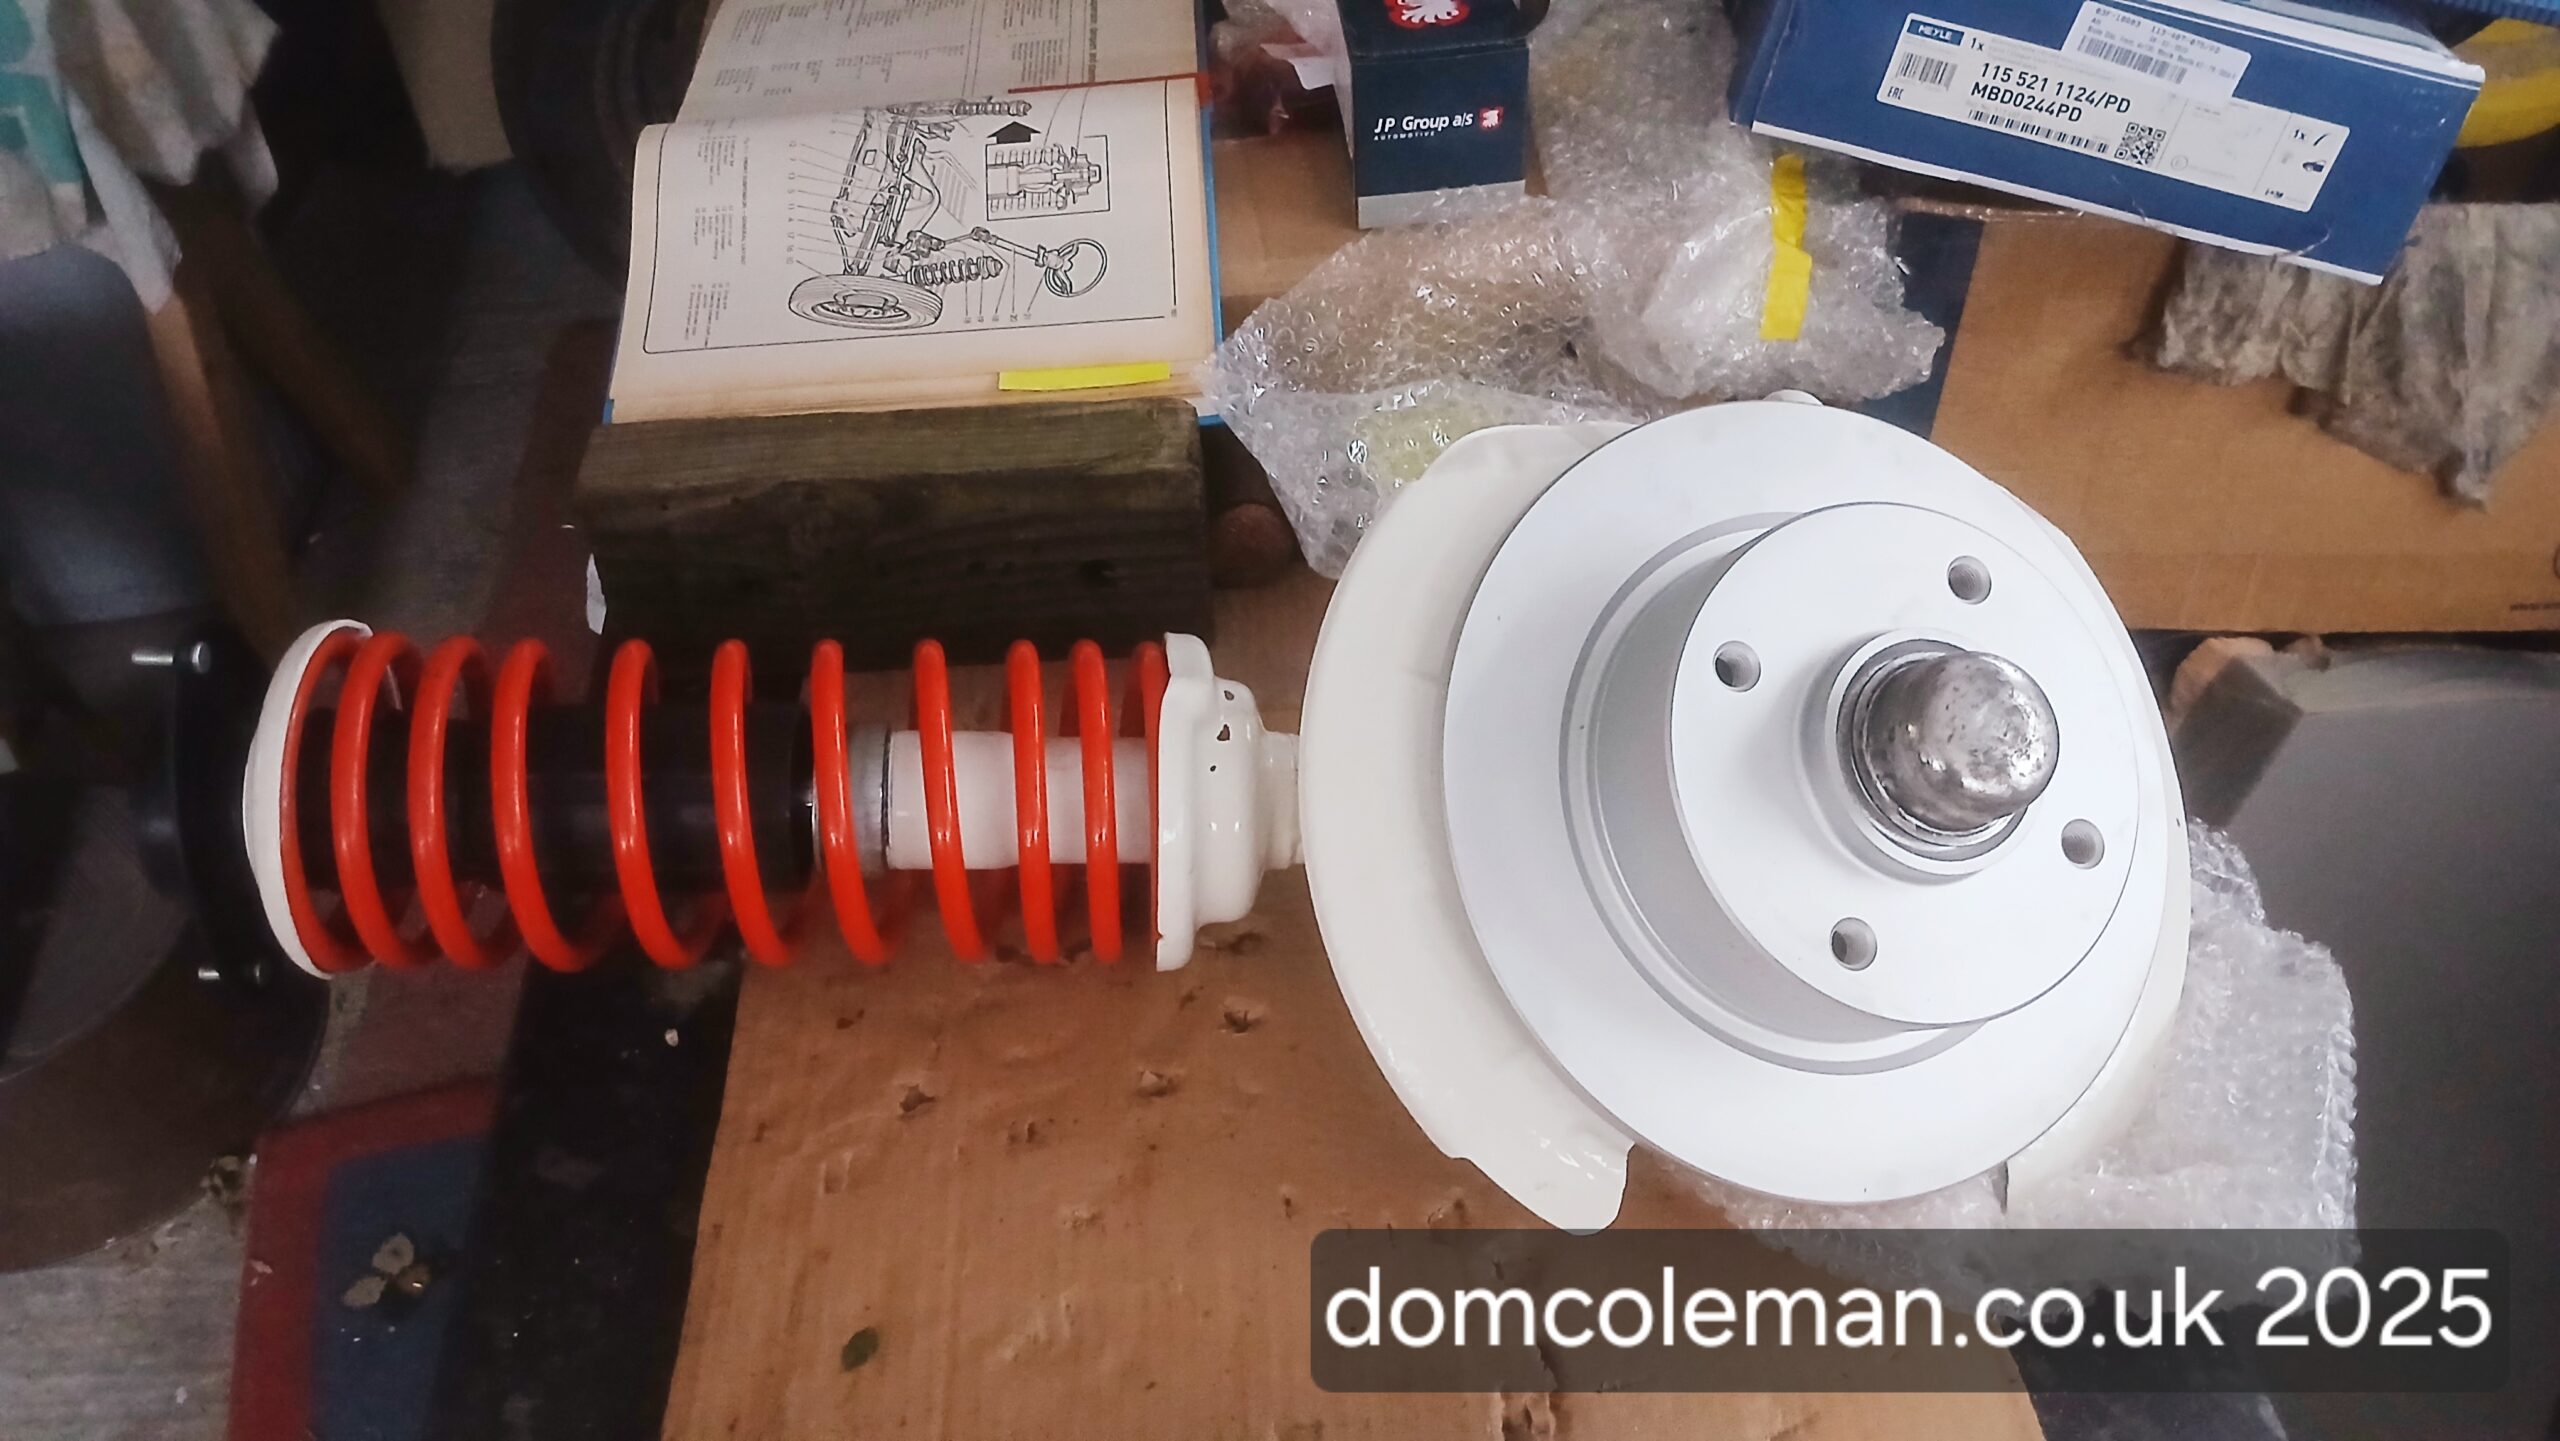
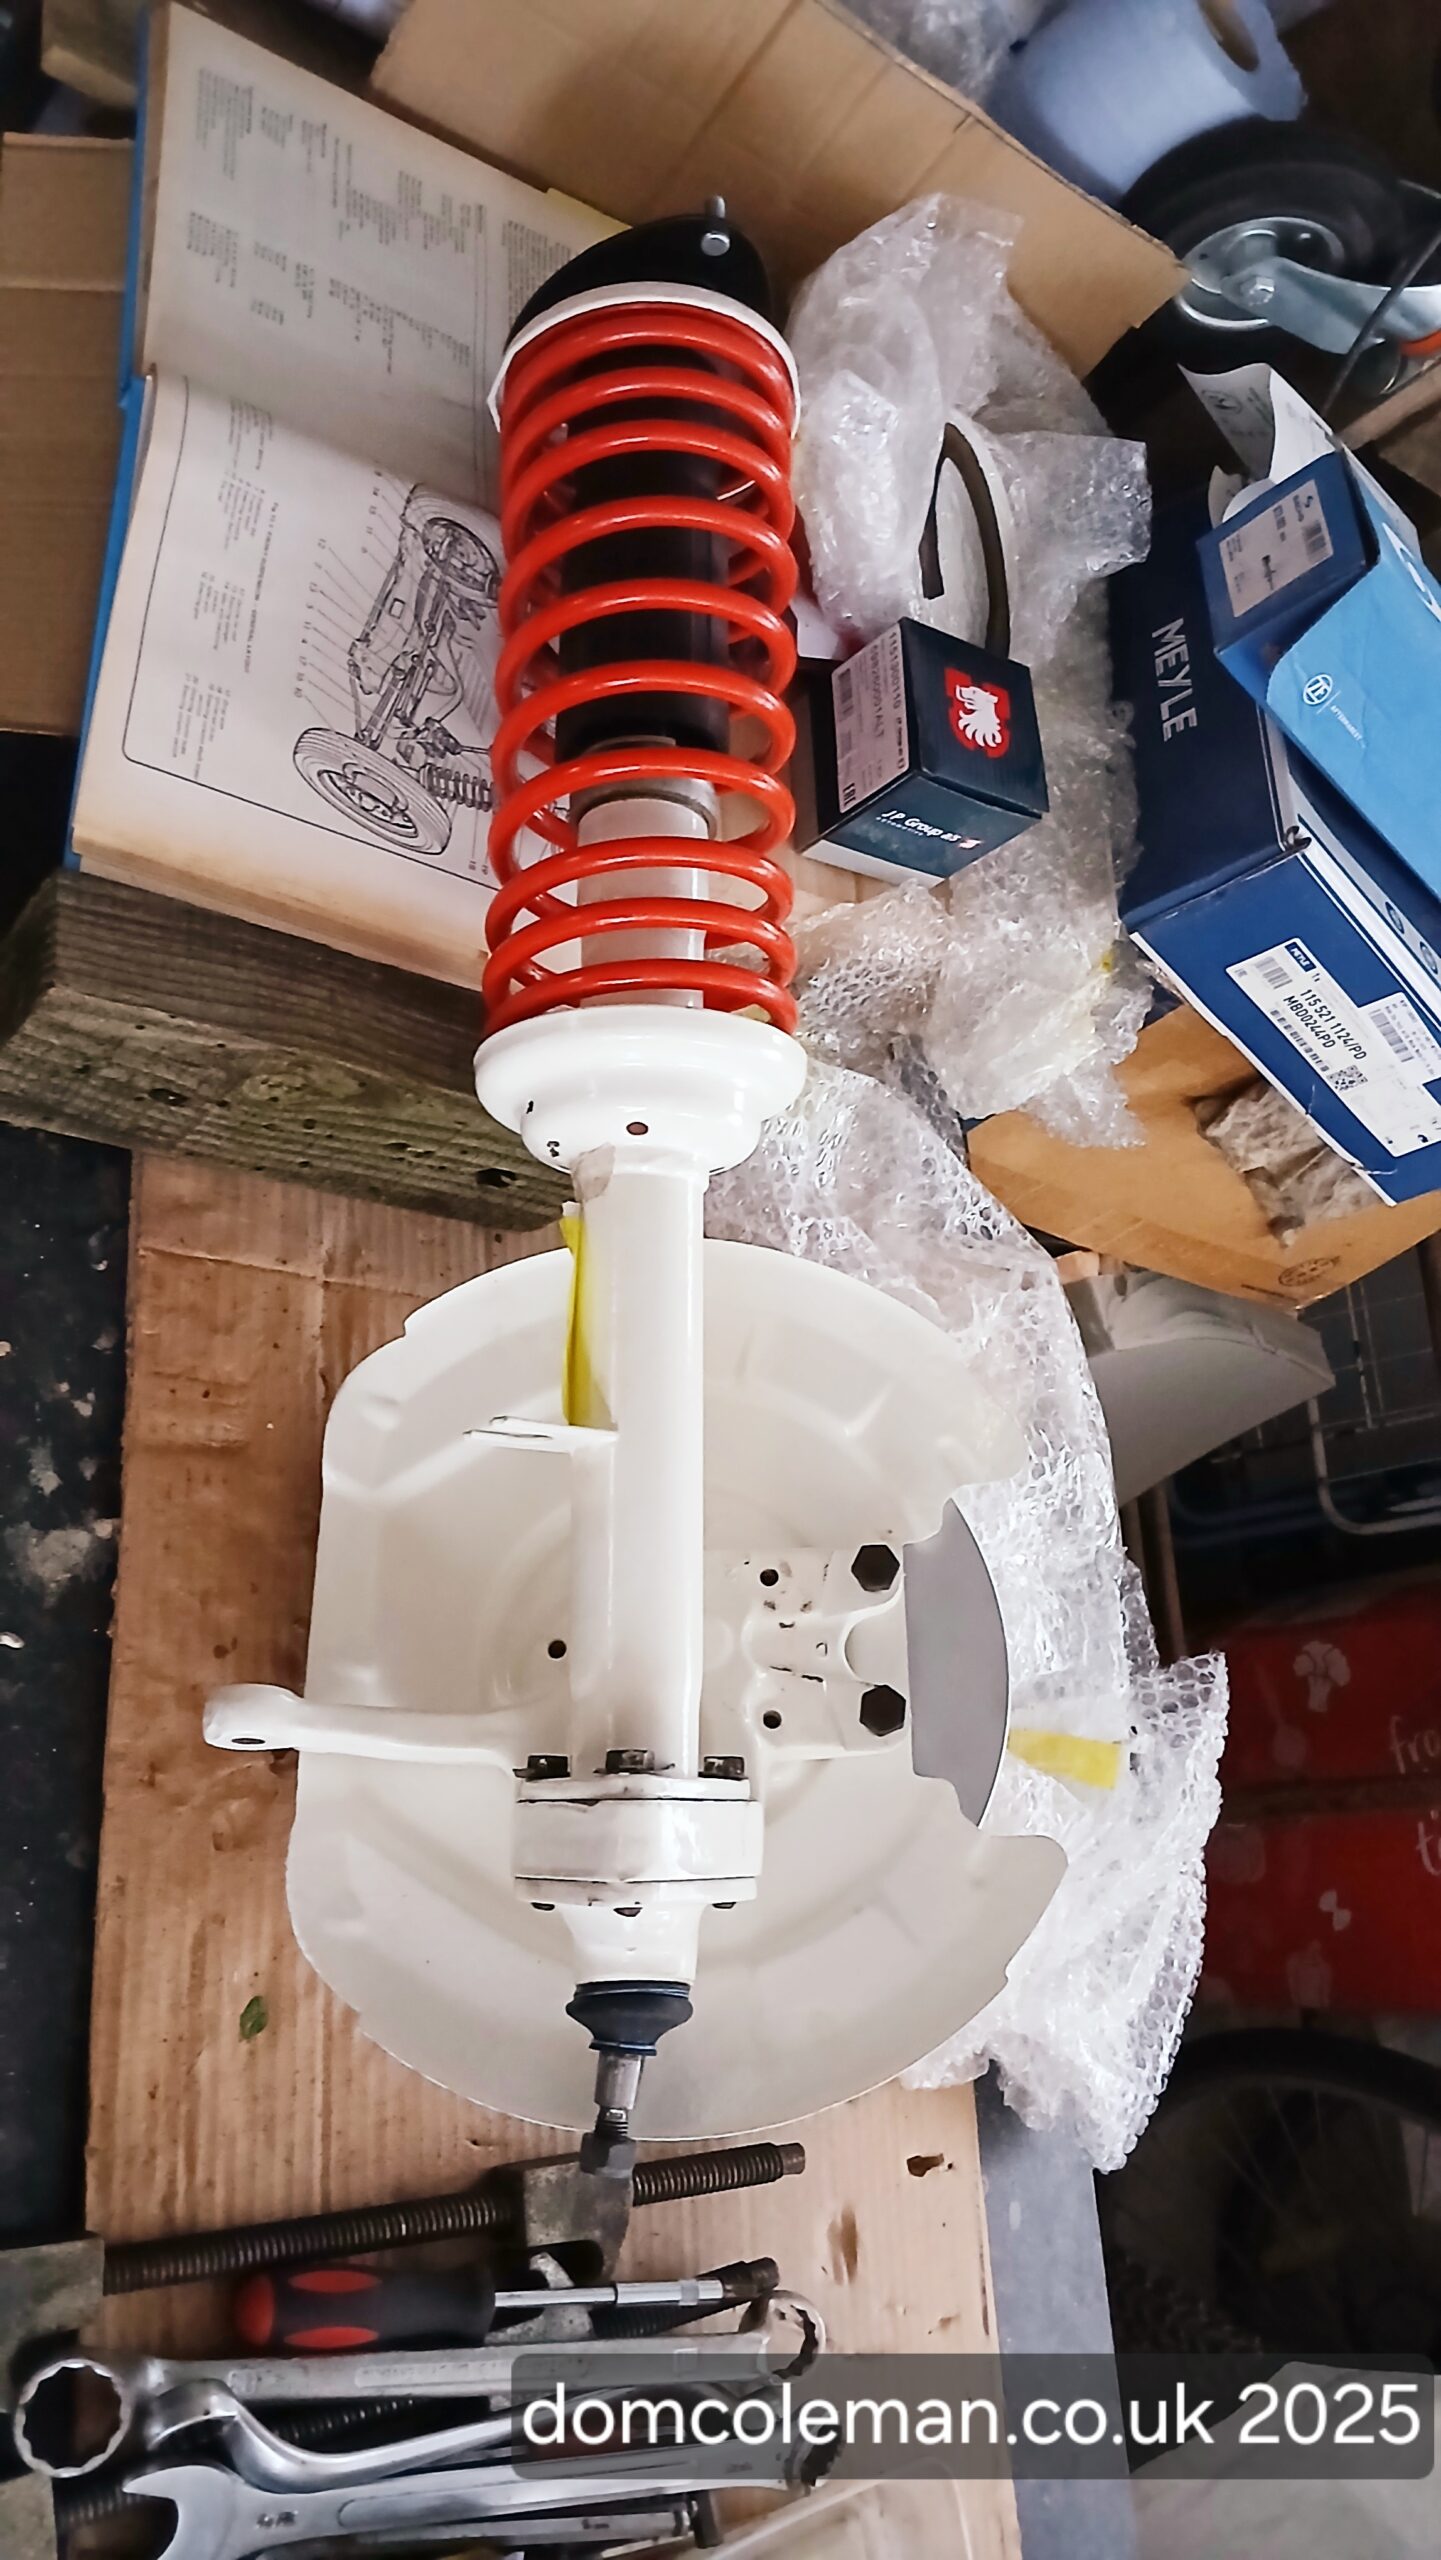
So, in January, I ordered the correct ball joint boots, along with new CV joints to replace last year’s attempted rebuilds, plus a few extra parts to complete the front strut refurb. Over an afternoon and a few evenings I reassembled the front struts with new brake disks, inner & outer wheel bearings, strut inserts, bump stops and the -2″ lowered springs bought way back in the late 1990’s when the wife and I started out on the restoration journey.
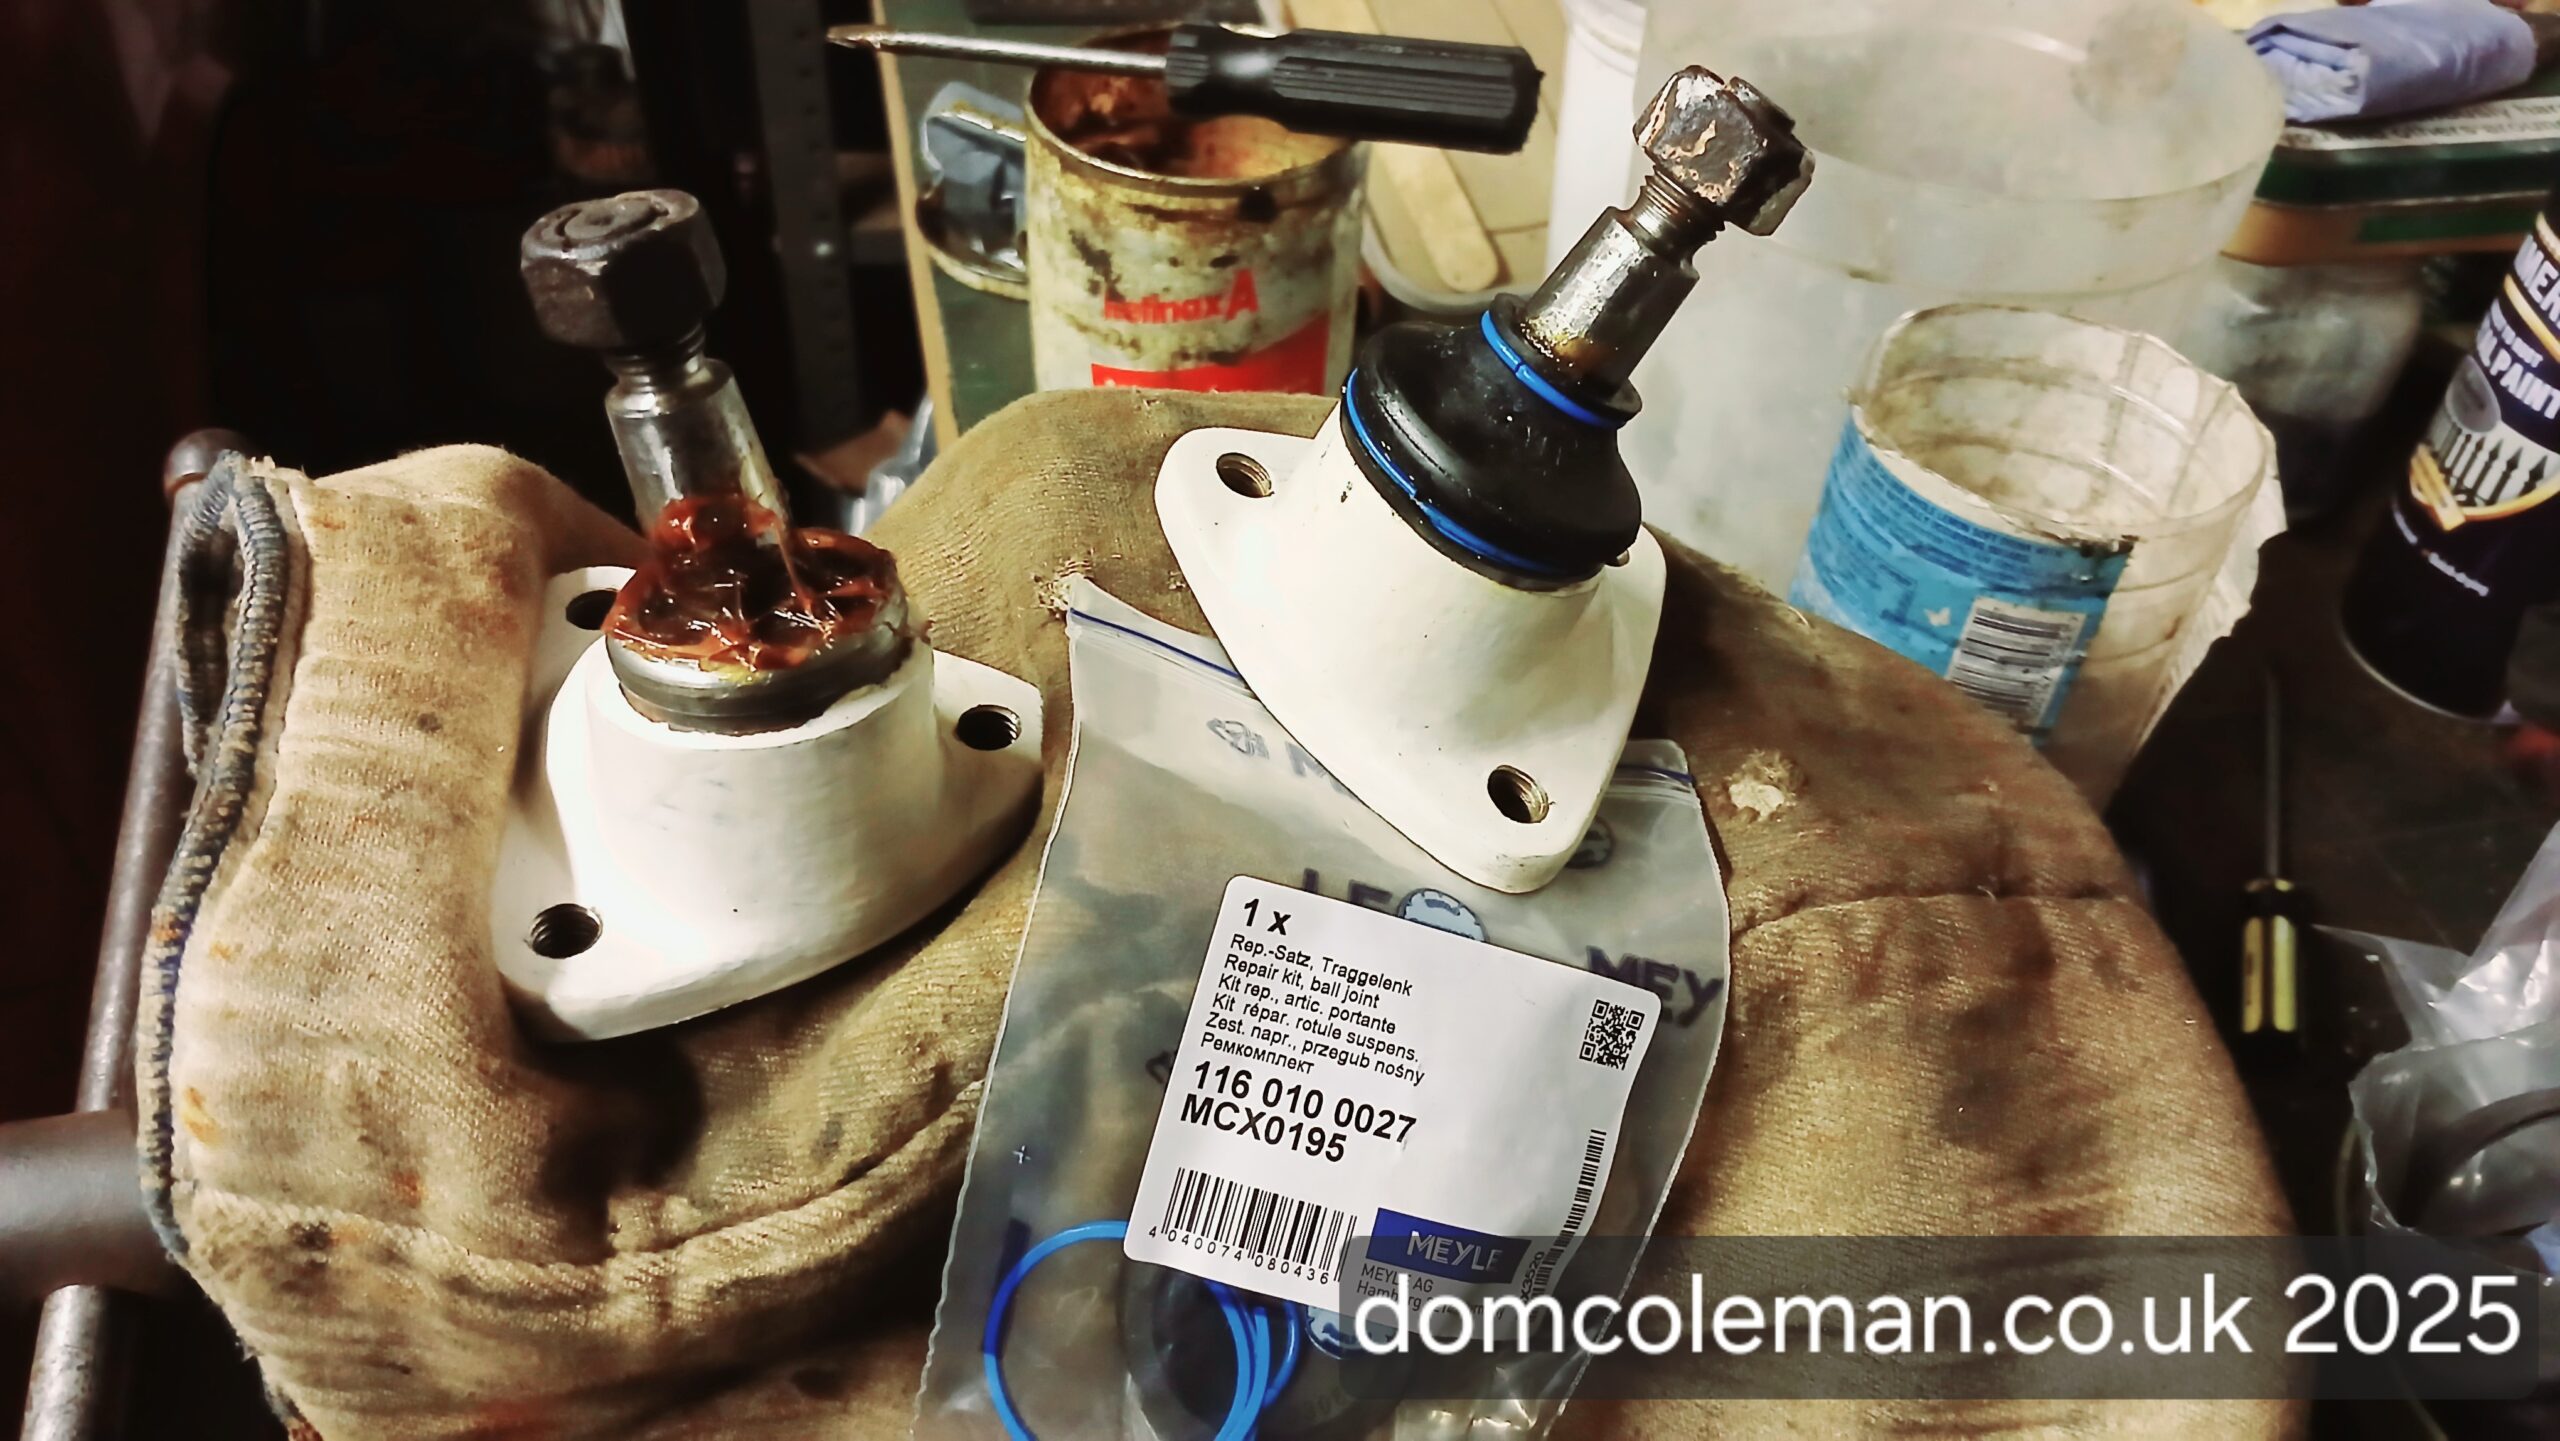
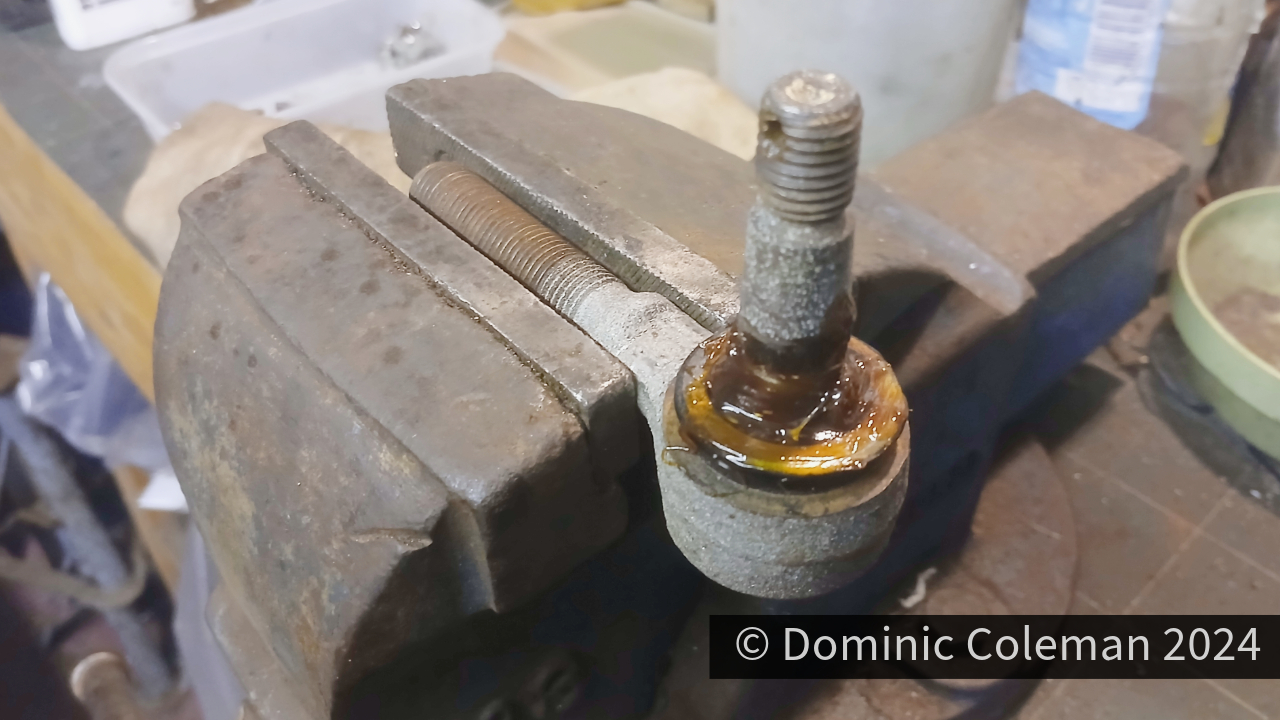
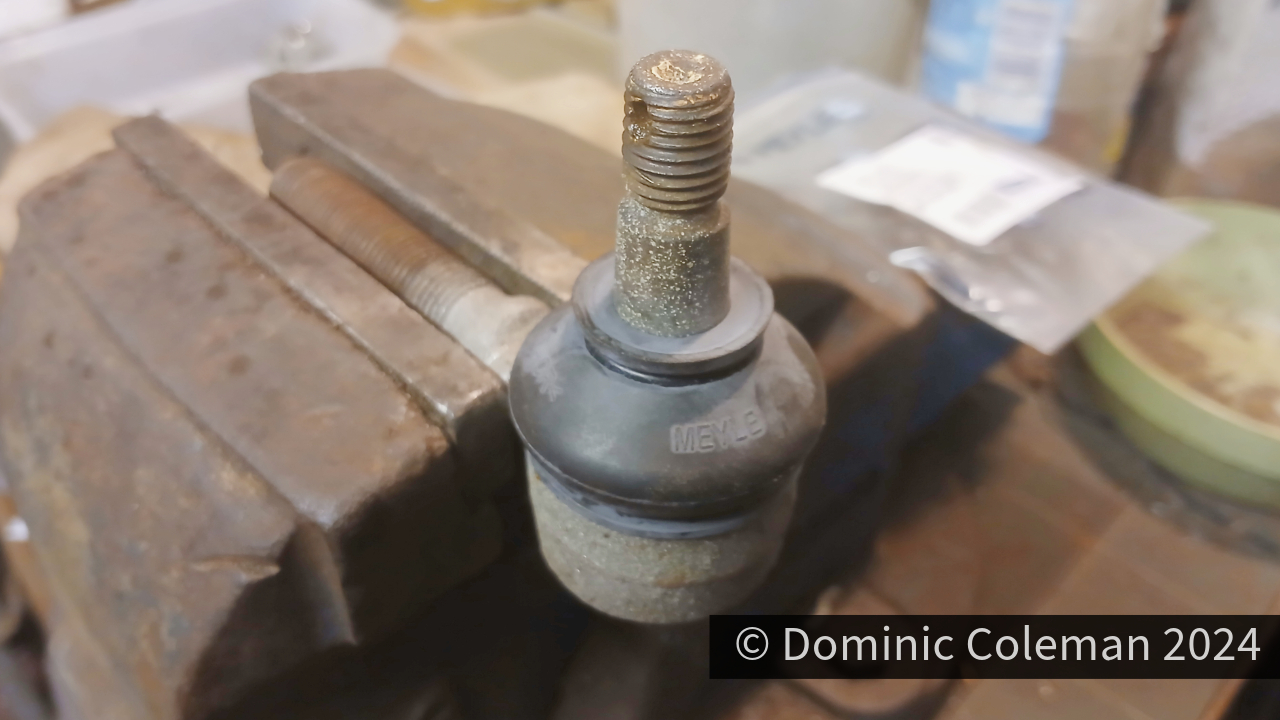
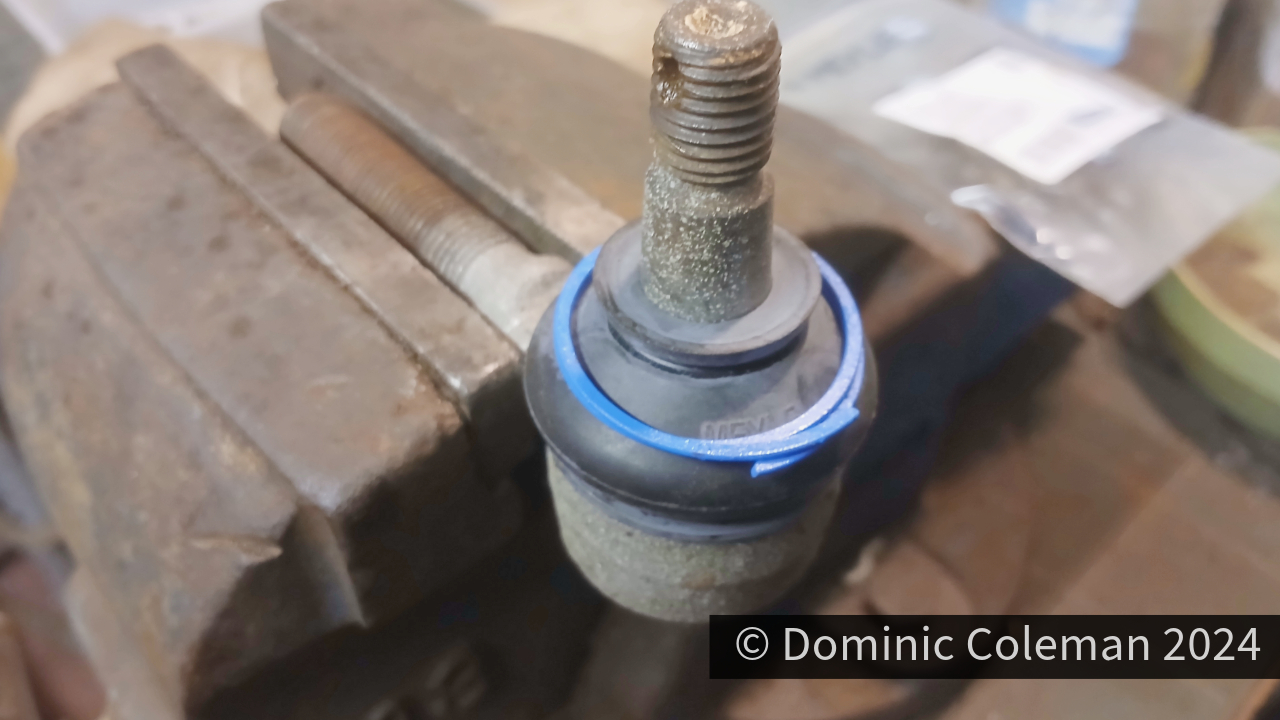
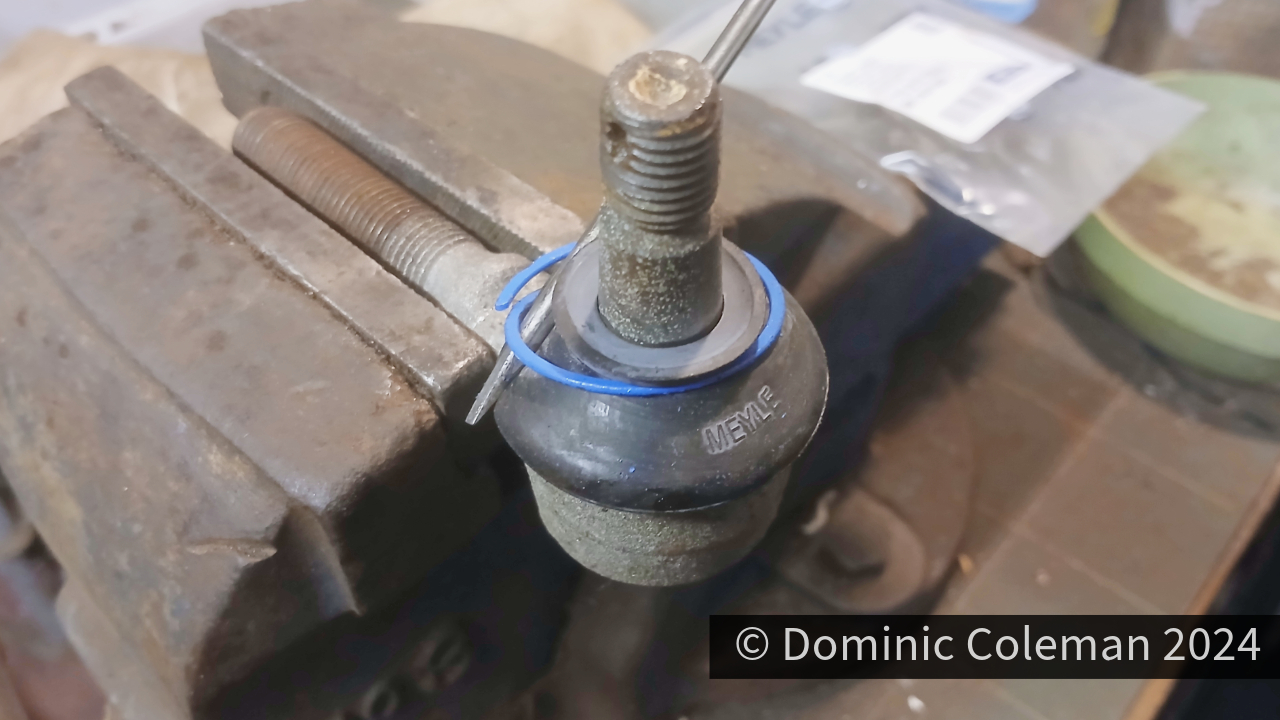
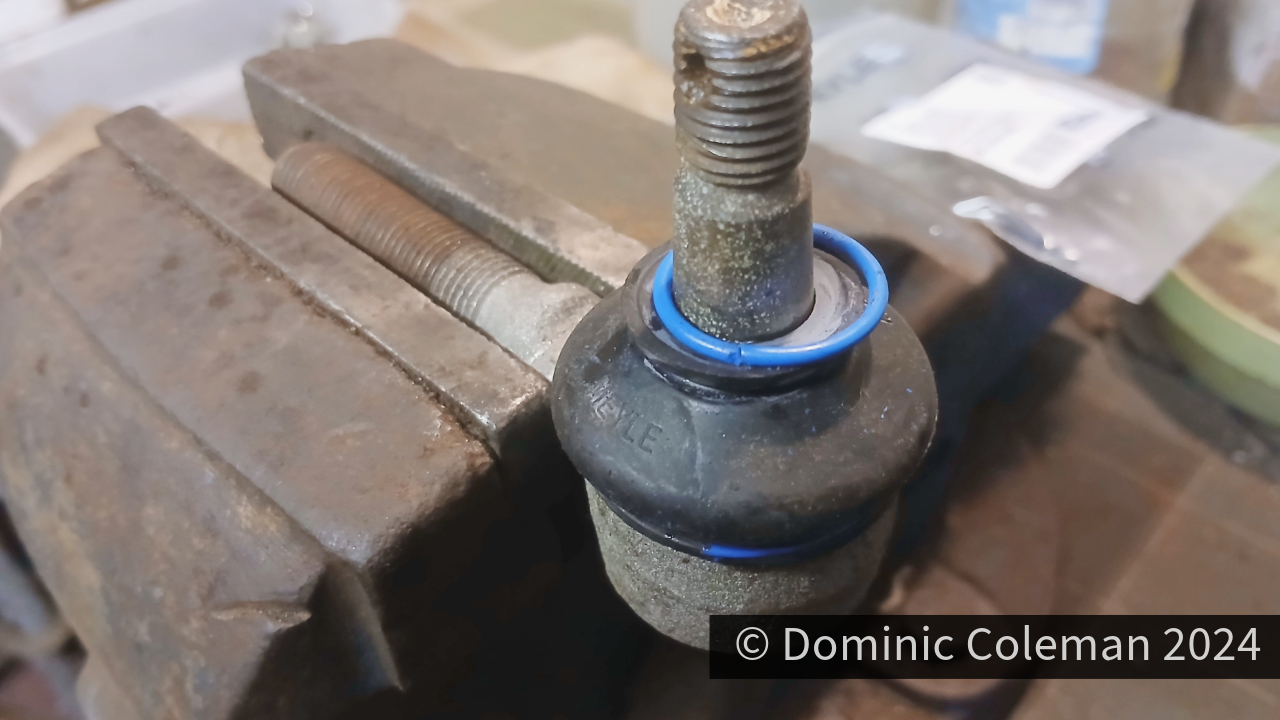
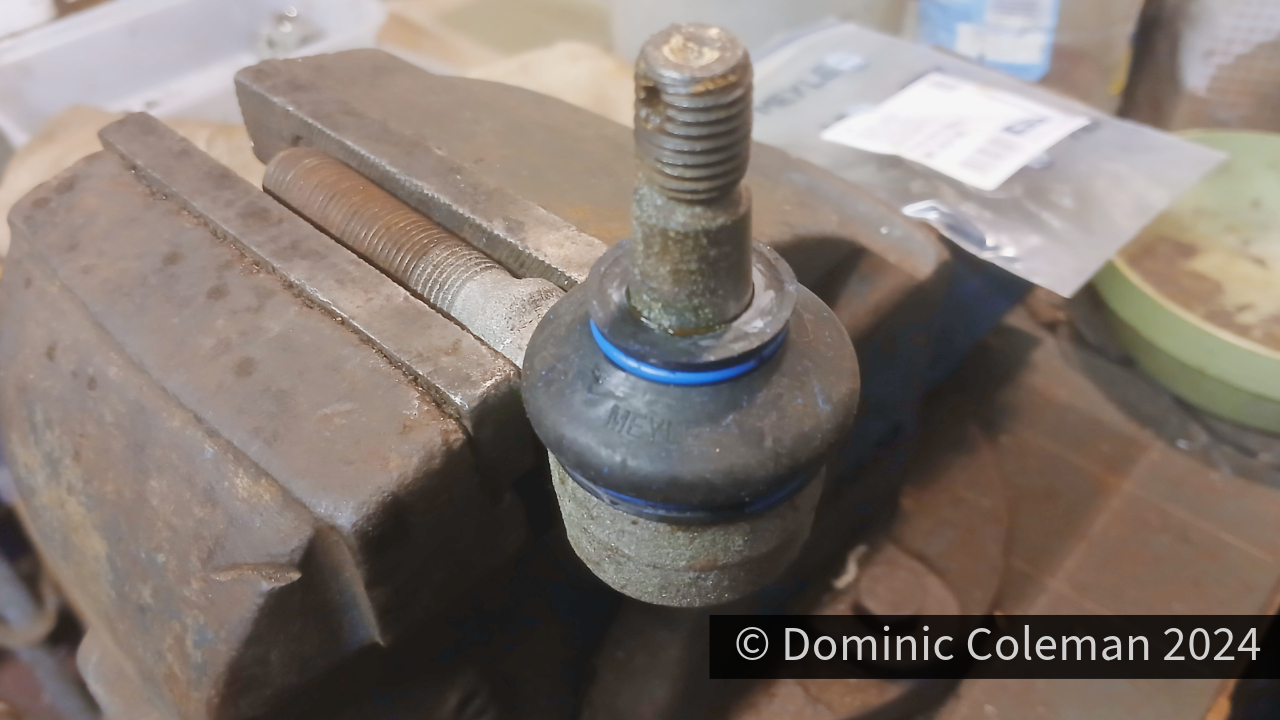
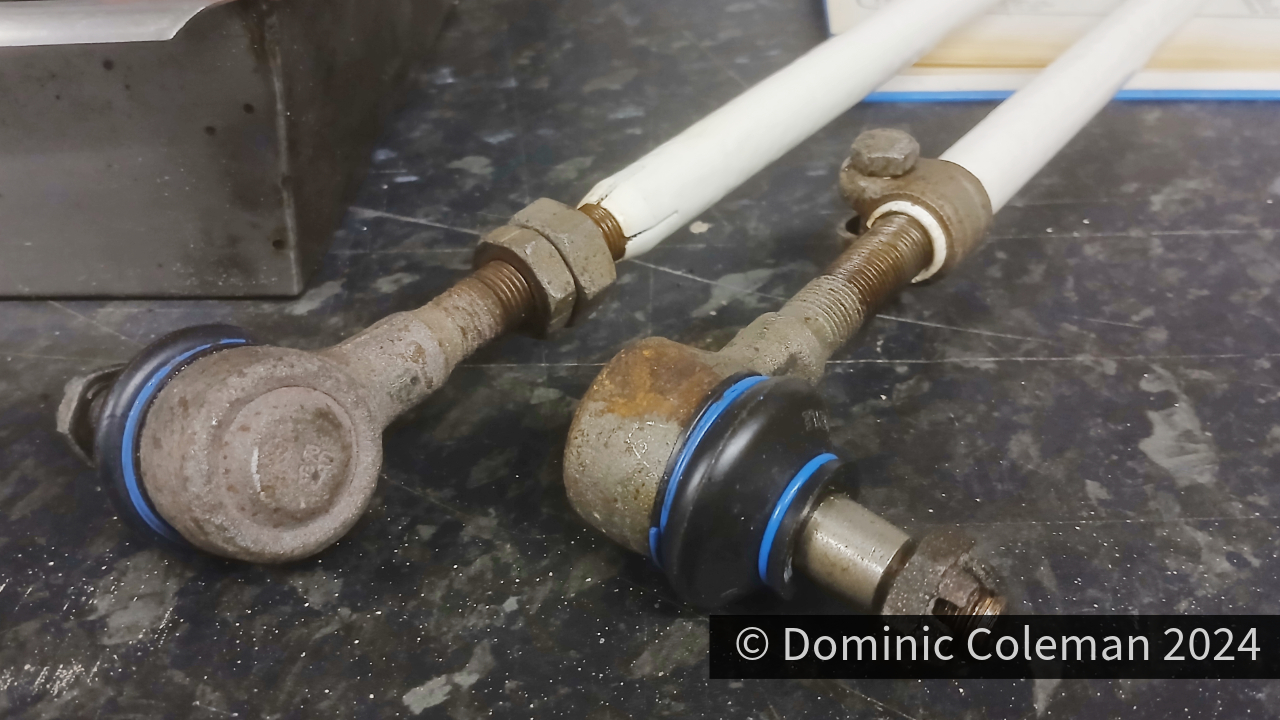
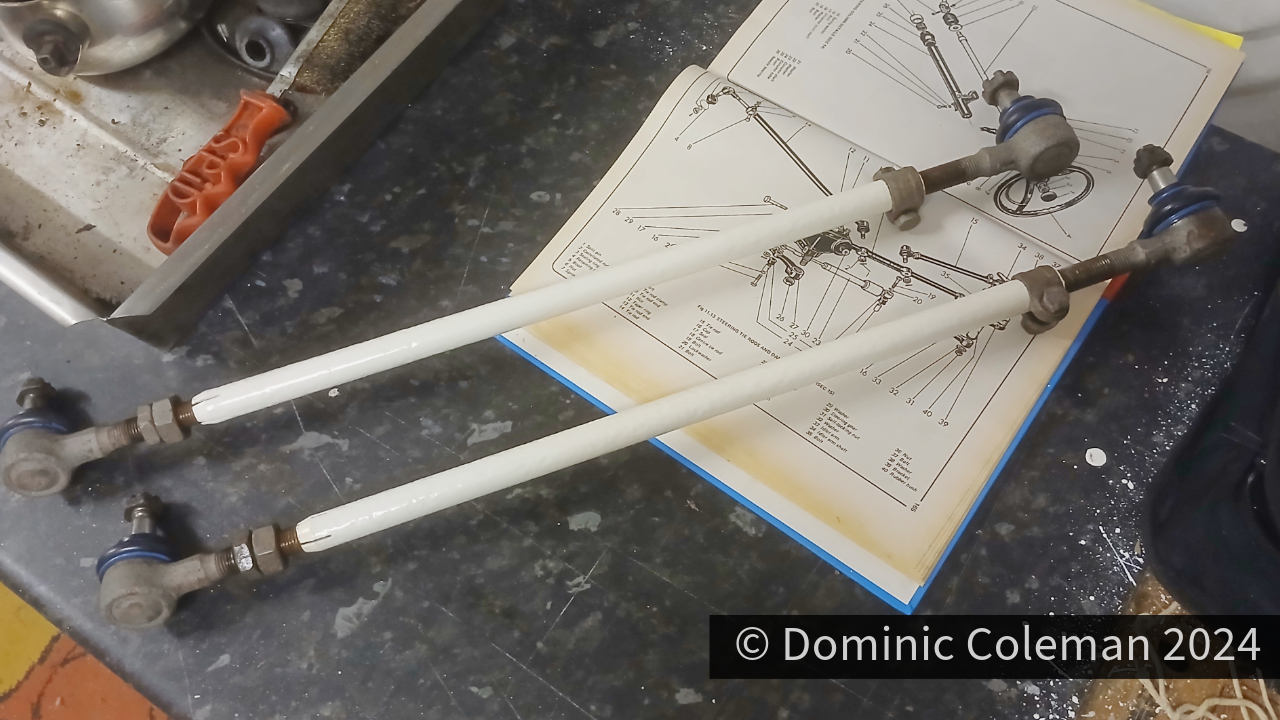
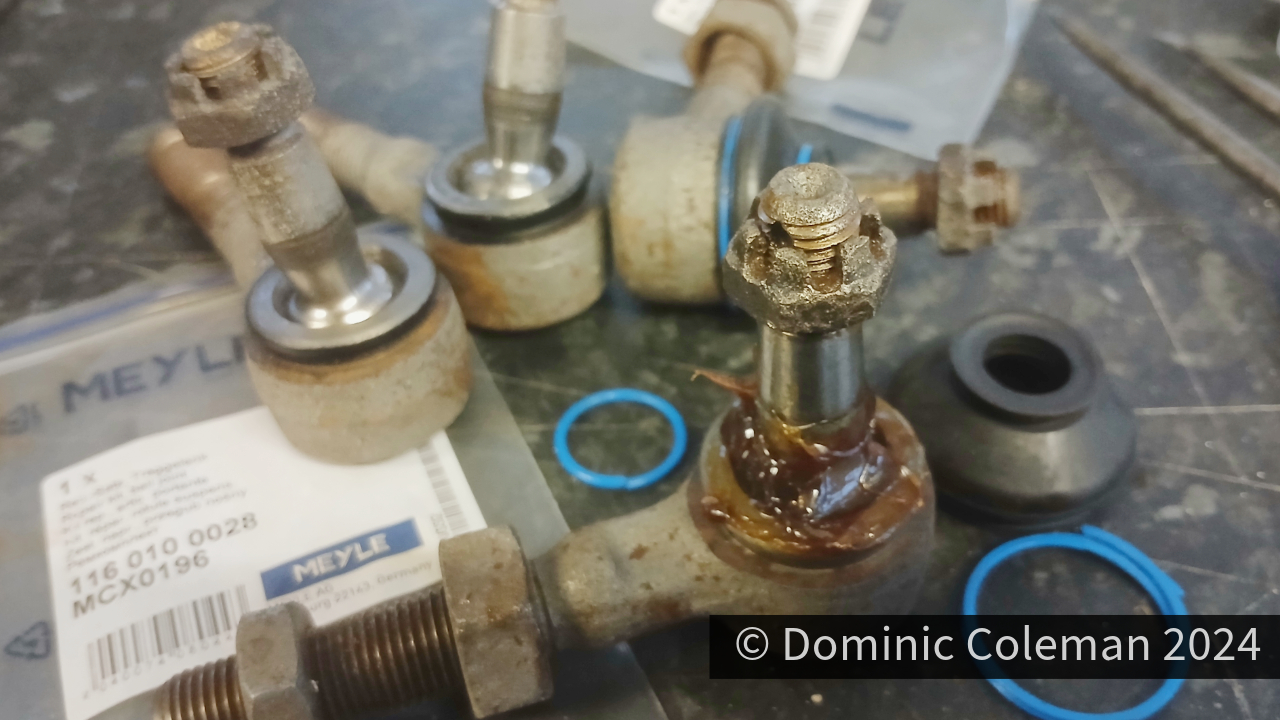
Other parts that received reassembly were new rubber boots added to the steering tie rod ball joints. The gallery below shows that the vice came in very handy as an extra pair of hands while two small screw drivers were used to ease the blue springy clips in to place to secure the boots. Fitting the ball joints to the tie rods was not easy as the threads were quite contaminated from the sand blasting and powder coating process and took quite a of ‘cutting in’ by winding them in and out.
Steering arm ball joint re-greasedSteering arm ball joint new bootSteering arm ball joint new boot lower clipSteering arm ball joint new boot lower clip fittingSteering arm ball joint new boot upper clipSteering arm ball joint new boot upper clip fittedSteering arm ball joints fitted to powder coated armsSteering arm ball joints fitted to powder coated arms
It’s been a while but once the daily driver cars were sorted, I could recover from the financial strain they put me under and my focus could get on with fixing the Ford Corsair. I resolved the messed up paint job in the Beetle engine bay by using bright white aerosol primer & paint, however, the white wasn’t as glossy as the 2K paint due to being cellulose or acrylic but it will do for now. By November with the Corsair nearly ready for its MOT my attention went back on to the Beetle.
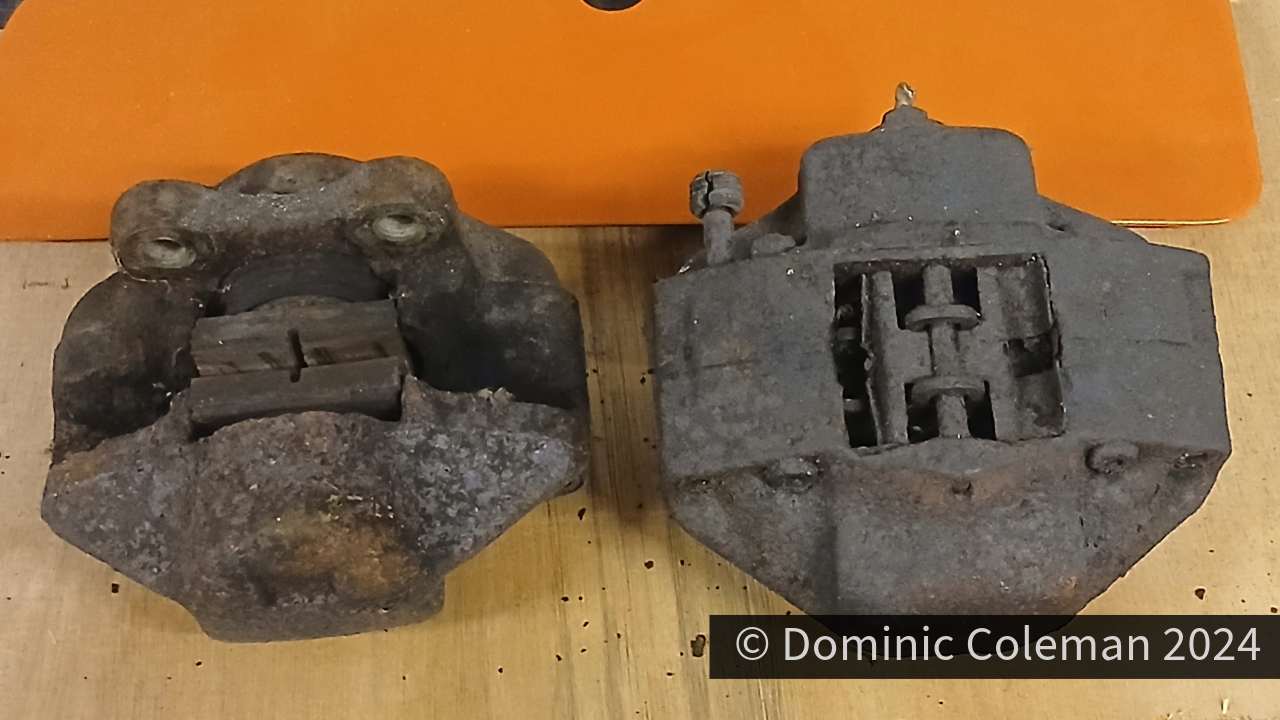
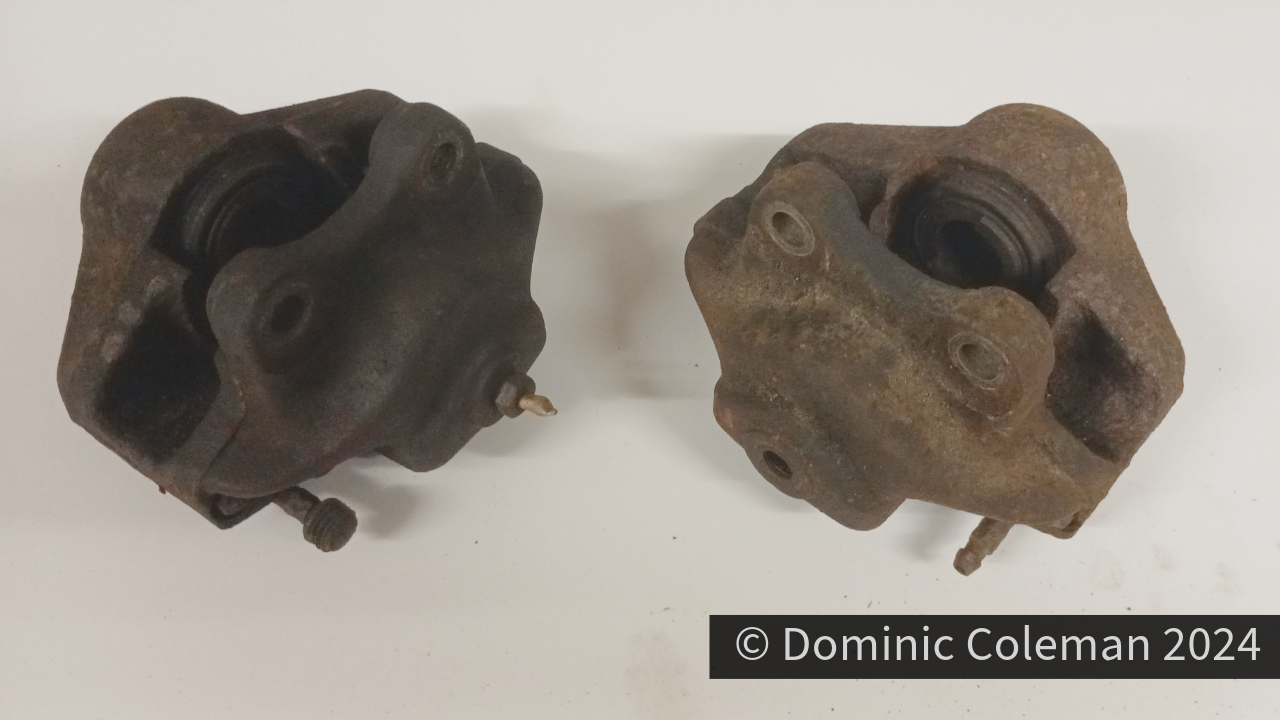
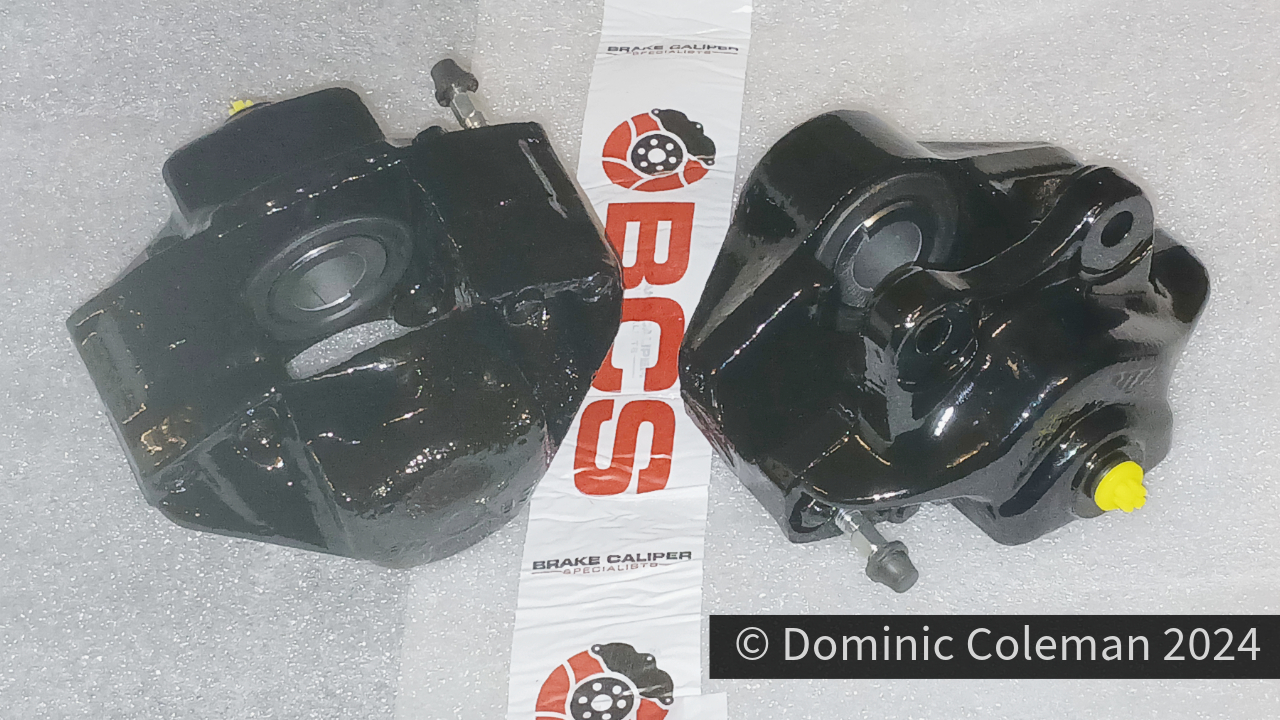
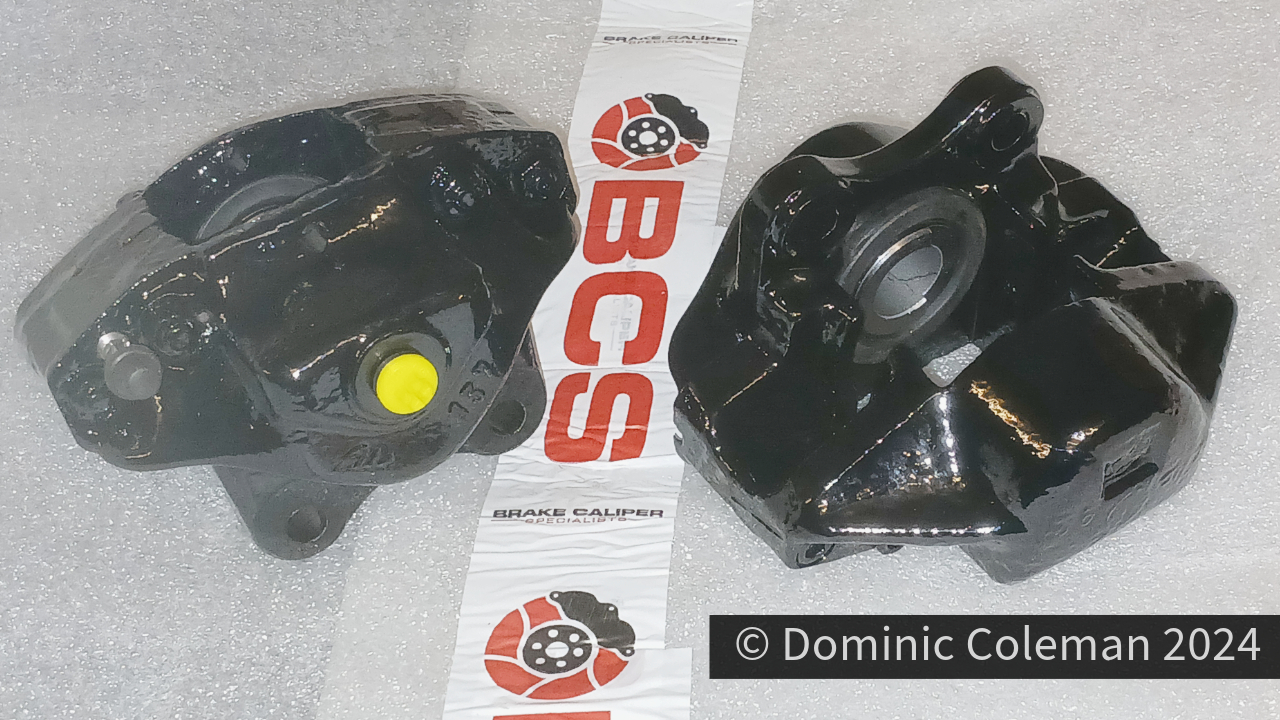
It began with a promo from BCS (Brake Calliper Specialists Ltd) in Nottingham with 25% off all brake calliper refurbishments. I had used them before 5 years ago for the Corsair and they come with a lifetime guarantee so I requested for a quote for refurbishment and painting in the Beetle L20D orange. What they came back with was rather expensive, so I had the quote adjusted for a standard black finish which saved me about £125.00! The total cost was £325.00 including the 25% discount which I thought was still quite expensive but assumed ‘business costs’ had gone up quite a lot since 2019.
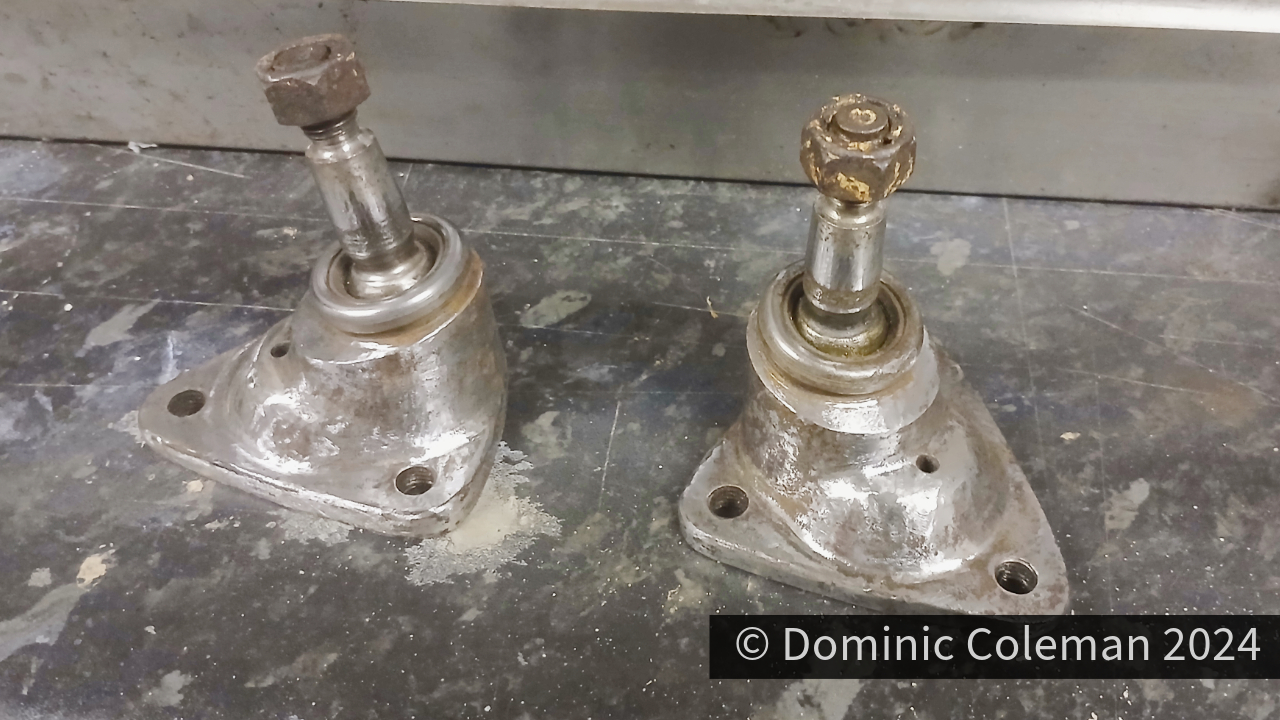
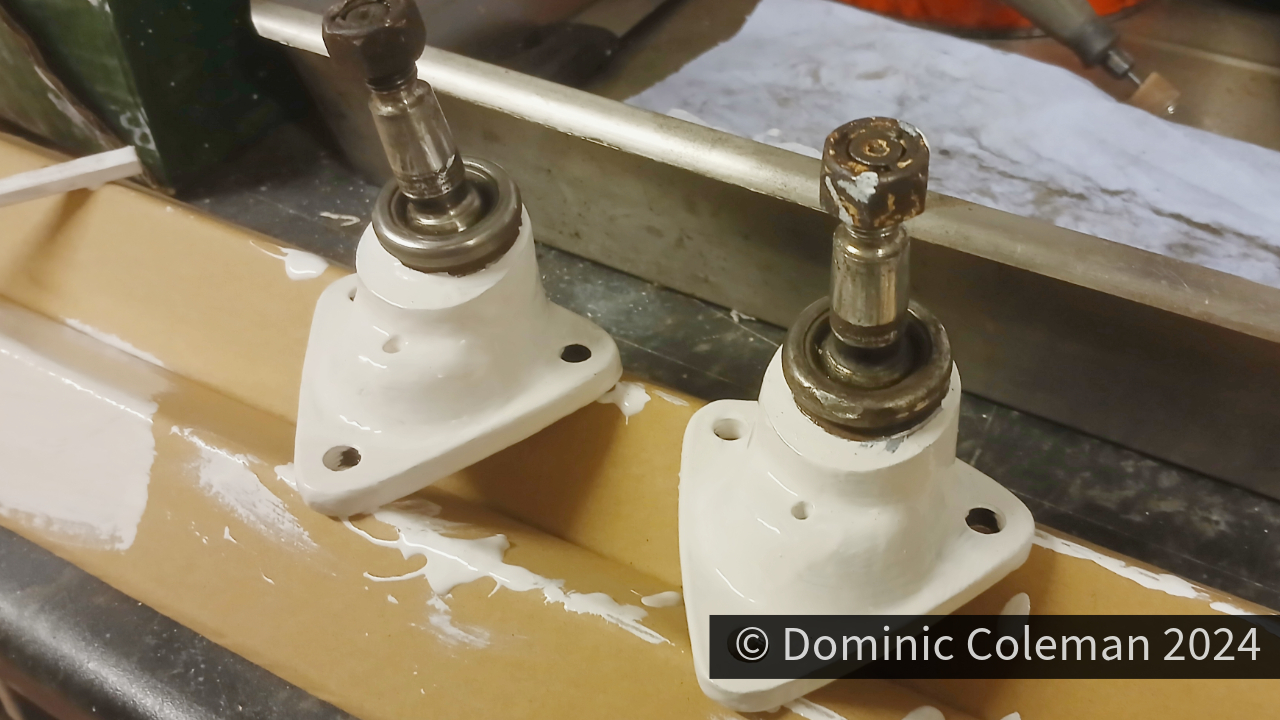
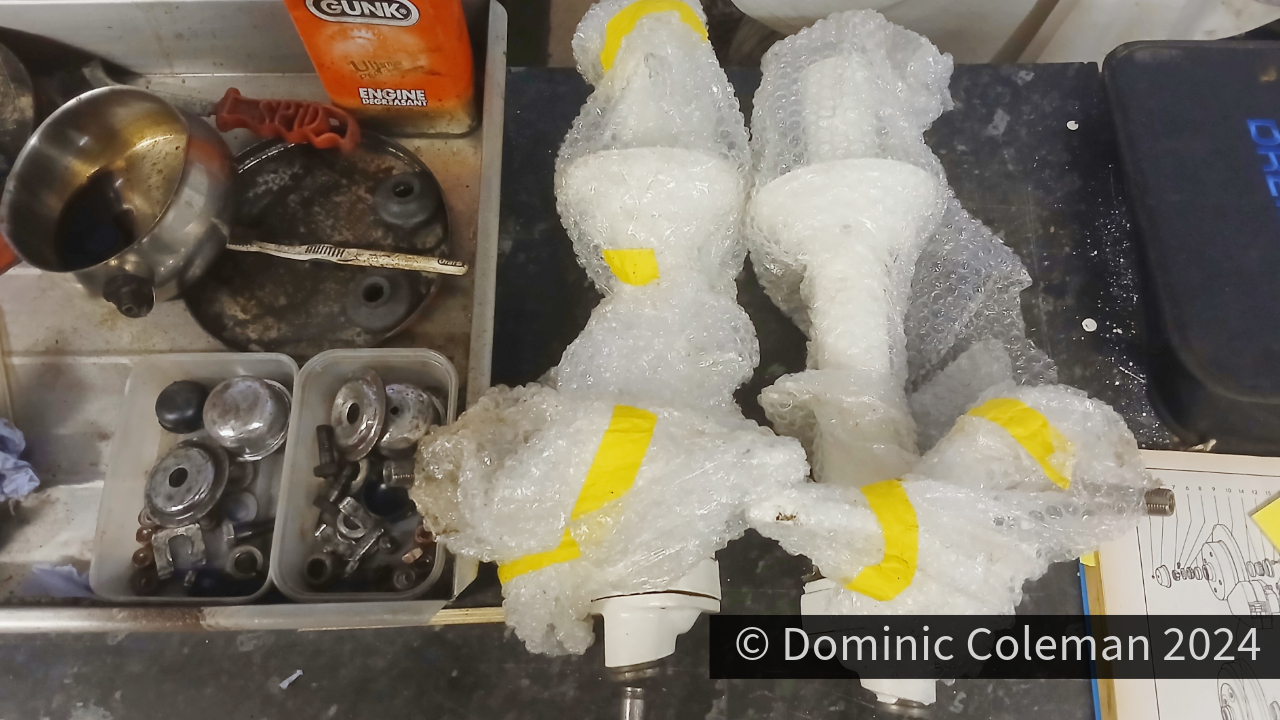
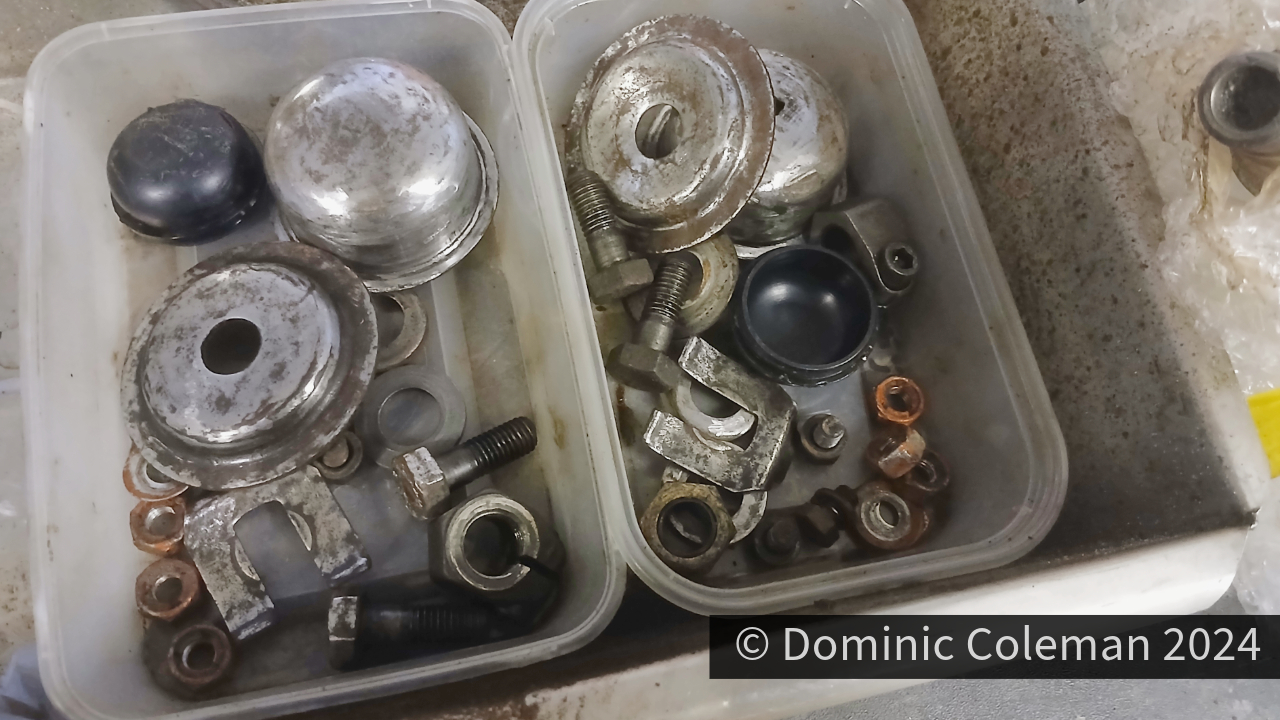
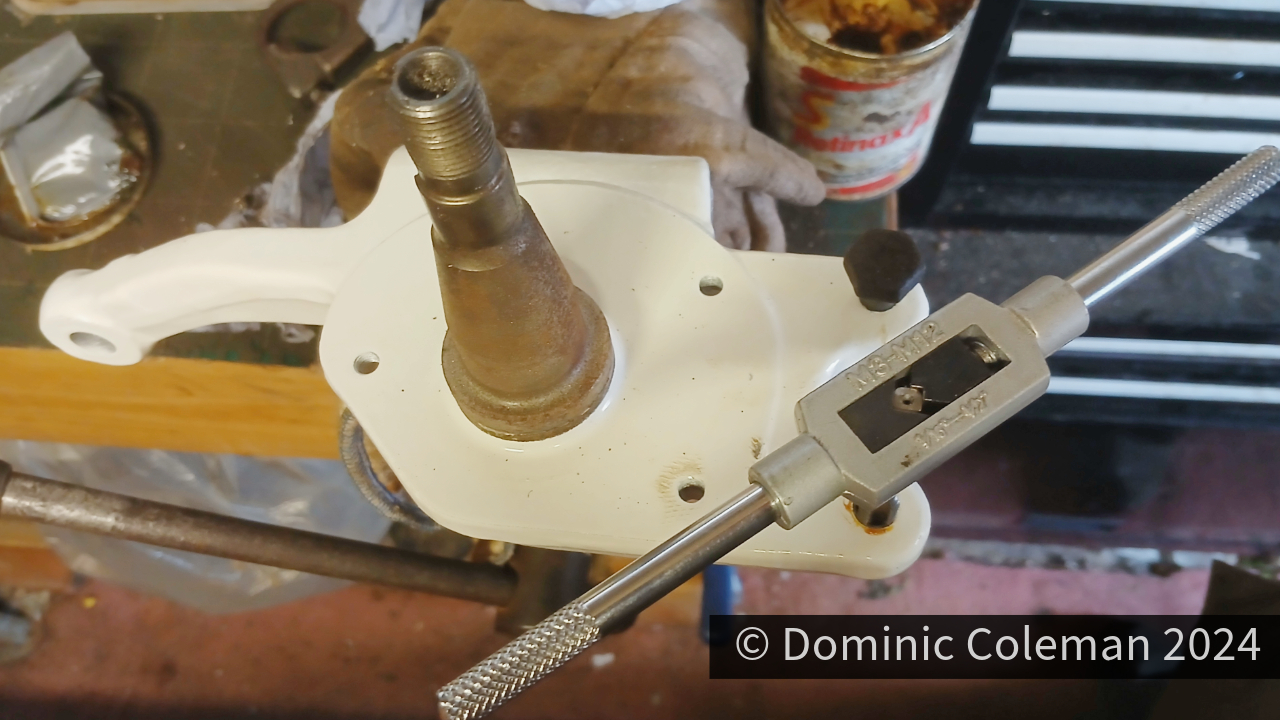
For few days over the Christmas holiday I set about reassembling the front struts and noting extra parts required along the way like lower ball joint dust boots, brake lock tabs and strut rubber bump stops. I started with the lower ball joint and removed the split rubber boot and cleaned out the old dirty grease. I also used my Dremel with a low grit sand paper to get the ingrained dirt off the body and get it back to bare metal to then paint it with smooth white gloss Hammerite. The threads were re-tapped to clean them up and then the struts, stub axle & lower ball joint were loosely assembled together. All the minor components like bolts, dust caps and washers were all degreased and cleaned with the Dremel. On the stub axle, the threads for the brake calliper and back plate were all re-tapped after getting a bit contaminated from the powder coating process. They will be assembled properly once the new parts arrive.
1302S Lower Ball Joints1302S Lower Ball Joints paintedFront Struts and cleaned componentsFront Strut fixings & fittingsre-tapping threads in front stub axle
The steering arm ball joints were cleaned up re-greased and new rubber dust boots fitted. Fitting the new dust boots was tricky to begin with but once they were secured in a vice it meant I could use both hands and small tipped flat bladed screw drivers to prise the (blue) metal spring clips to hold the new rubber boots in place. The joints were then assembled on to their tie-rod bars, but they too were a bit contaminated from the powder coating and would require a bit more work to screw in freely.
Steering arm ball joint re-greasedSteering arm ball joint re-greasedSteering arm ball joint new bootSteering arm ball joint new boot lower clipSteering arm ball joint new boot lower clip fittingSteering arm ball joint new boot upper clipSteering arm ball joint new boot upper clip fittedSteering arm ball joints fitted to powder coated armsSteering arm ball joints fitted to powder coated arms
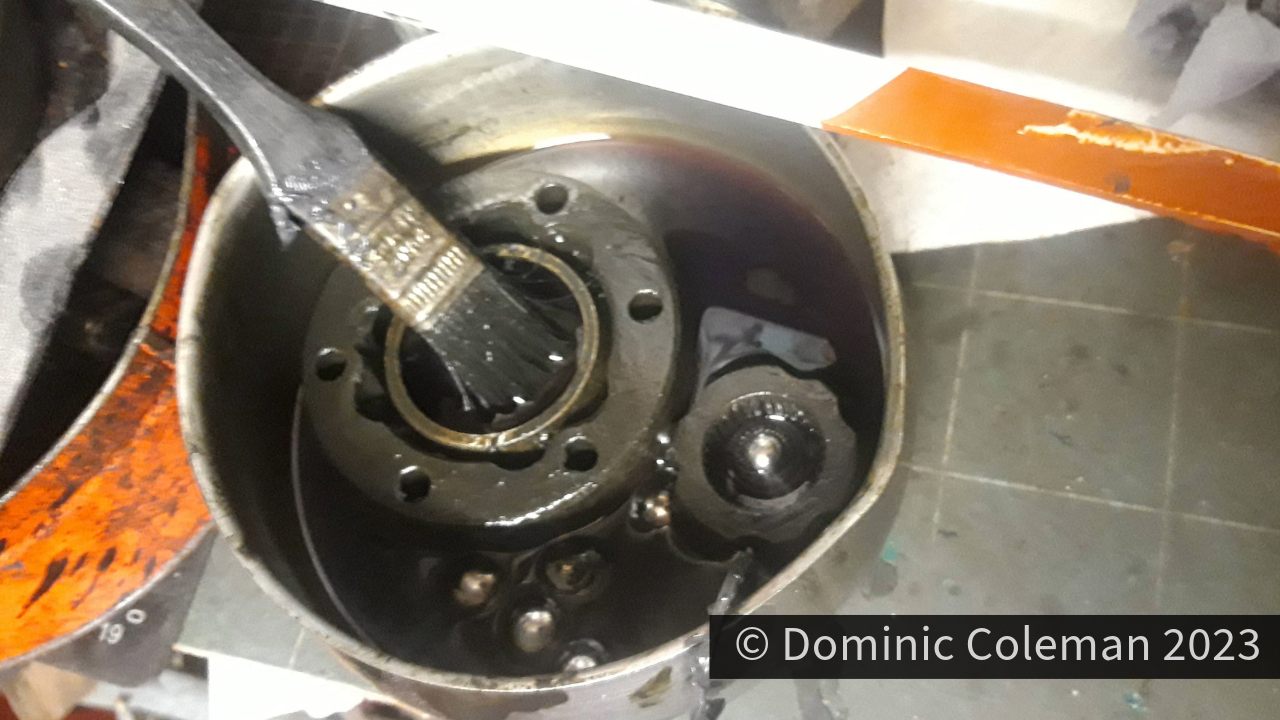
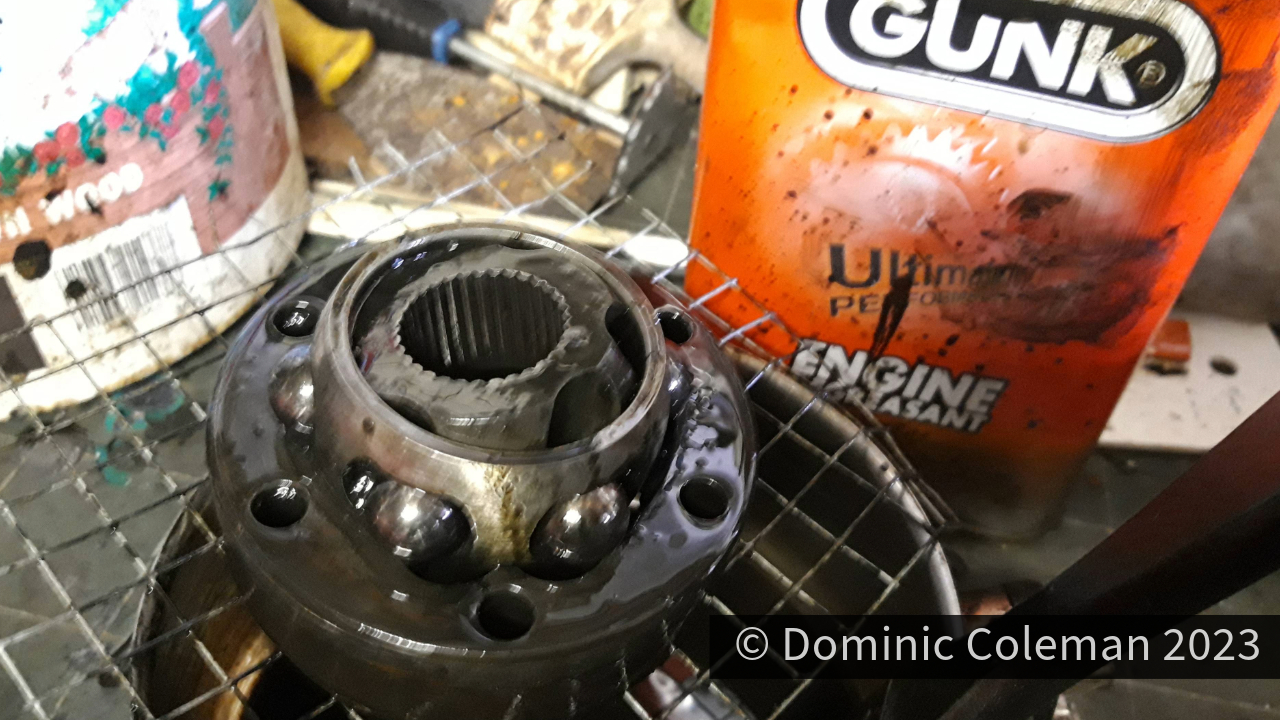
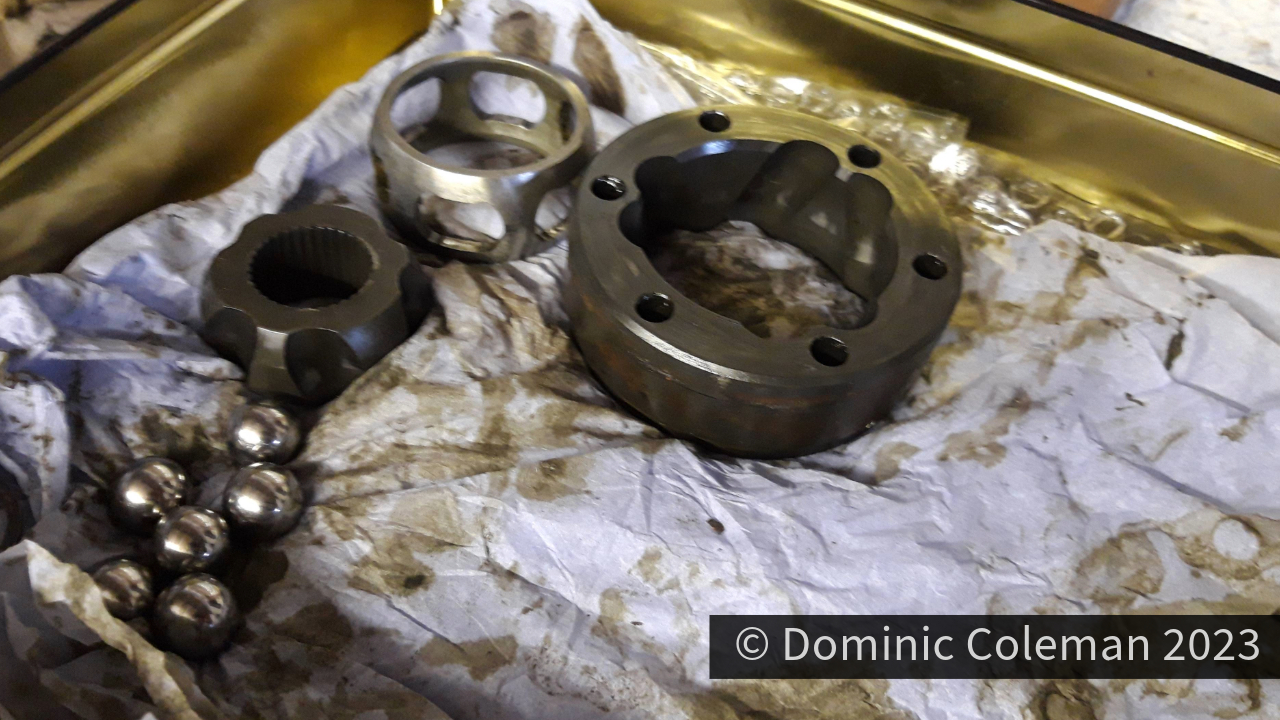
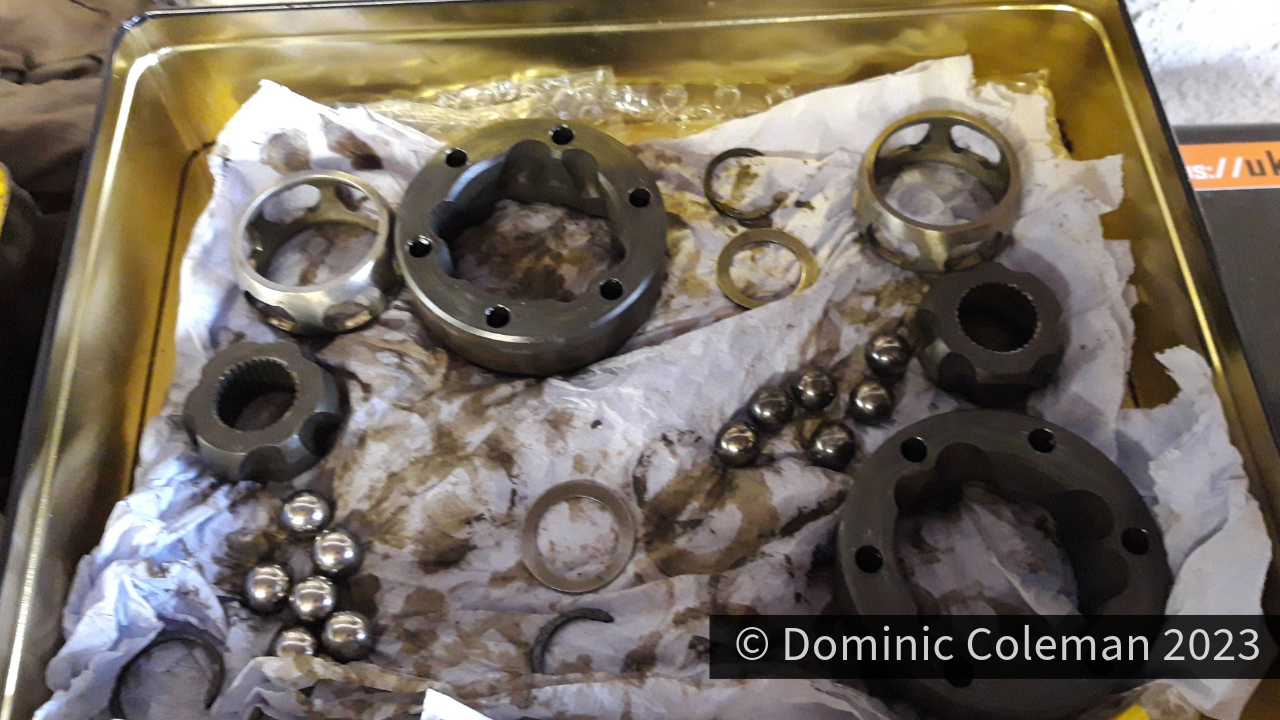
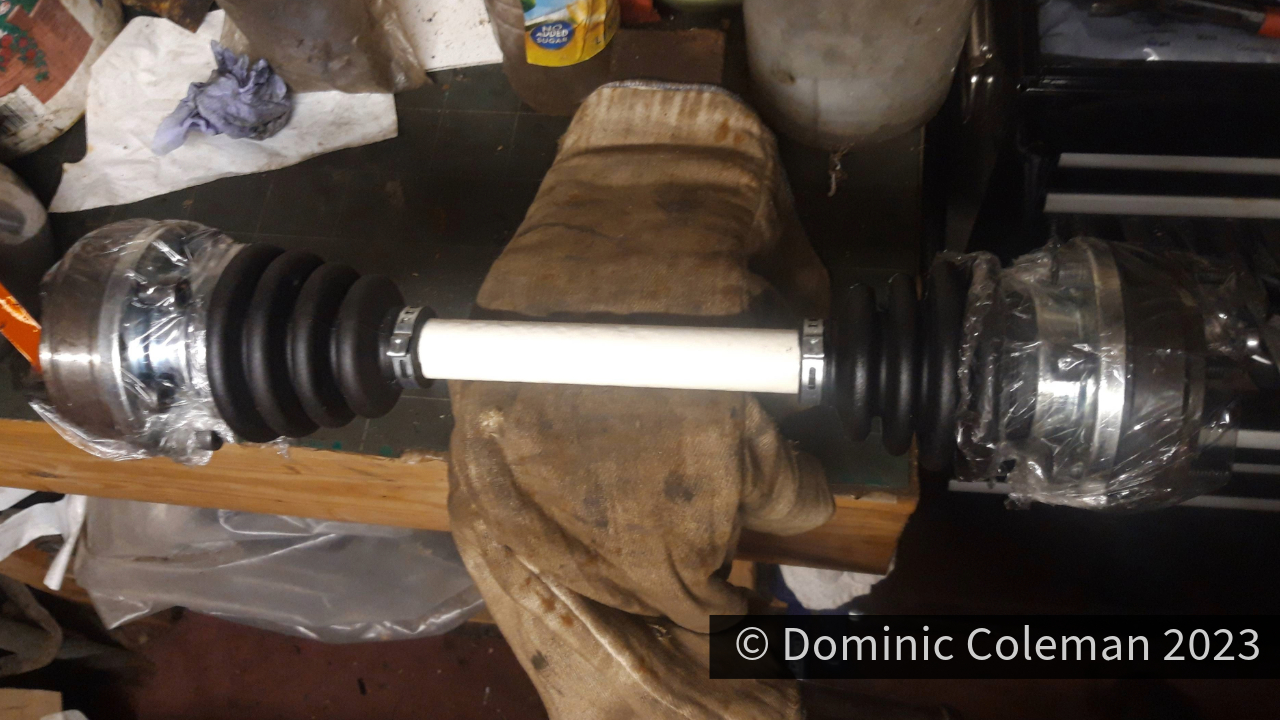
Since August 2023, it had been a trying time with one thing and another, with all available finances being directed to the daily driver cars. Trying to invigorate motivation over Christmas, I sought to work on cleaning the CV joints and putting on new CV boots. Dismantling the joints was reasonably simple and while messy, not too difficult to clean over a period of days. Ball bearings from one CV joint had signs of wear (a blue-ish tinge) and the other 3 seemed good. However, re-assembly of the good CV joints with their corresponding ball bearing and bearing cages proved to be quite difficult. They wouldn’t just slip back in to place without a bit of force required and then only one of the CV joints remained supple, so I think dismantling and a re-assembly will be on the cards, failing that, I buy a new set of 4 CV joints and be done with it.
Cleaning of 1302S CV jointsCleaning 1302S CV jointClean 1302S CV jointClean 1302S CV joints, note right hand side ball bears appear discoloured1302S drive shaft assembled with new CV boots
Roll around to February 2024 and the mis-haps continued. The weather was nice and I felt I could take on the quick task of respraying the engine bay in bright white to fix the overspray error from last year. Through January over a few weeks I filled some minor holes and gaps in the engine bay area and prepped in readiness for painting.
Set back number 1: I damaged, beyond repair, the new spray gun bought last year by over tightening a BCP coupling.
Set back number 2: In my haste to make do with the other spray gun, I didn’t get my mixing ratios right (hindsight) by misreading the ratios on the measuring cup.
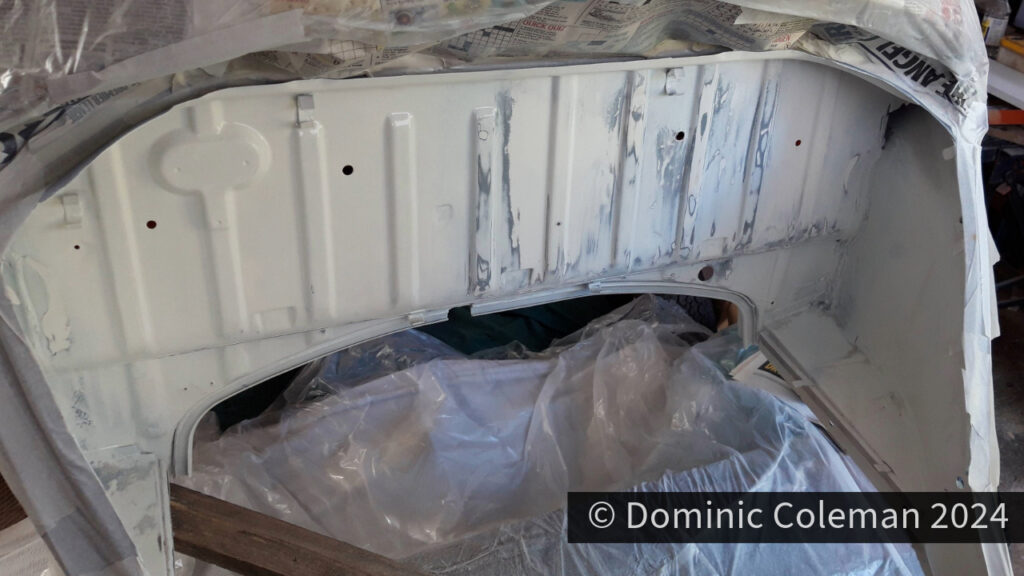
Set back number 3: Because of the messed up ratios the paint was too thin and the spray gun pattern was all over the place. Paint coverage was poor with runs and pooling of the paint, it was time to stop and clean up the mess. Subsequently, the area was later re-rubbed down in readiness for another attempt when I felt confident and ready to tackle it again.
Engine bay rubbed back down after the disastrous attempt at painting