New Shocks and the MOT

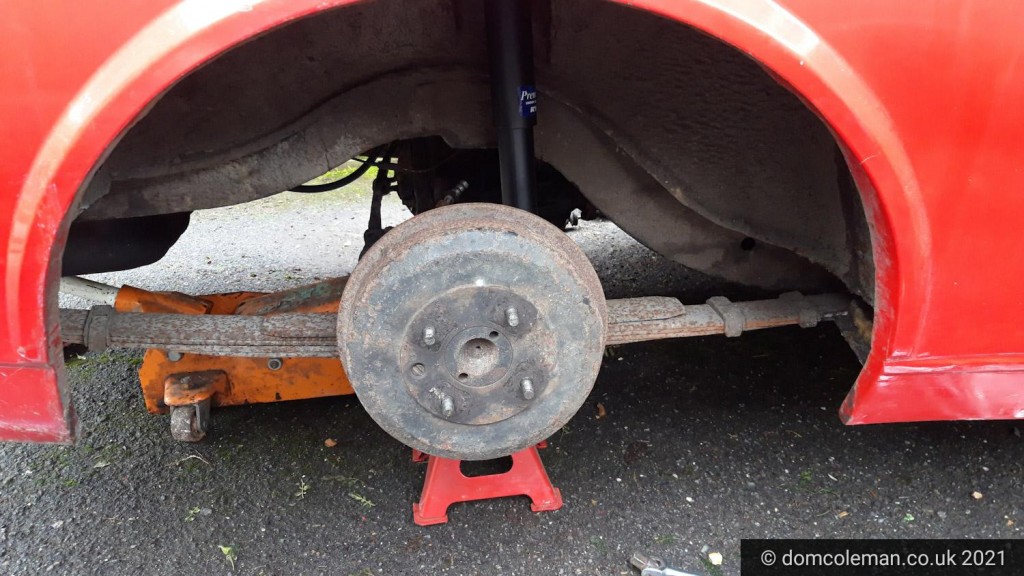
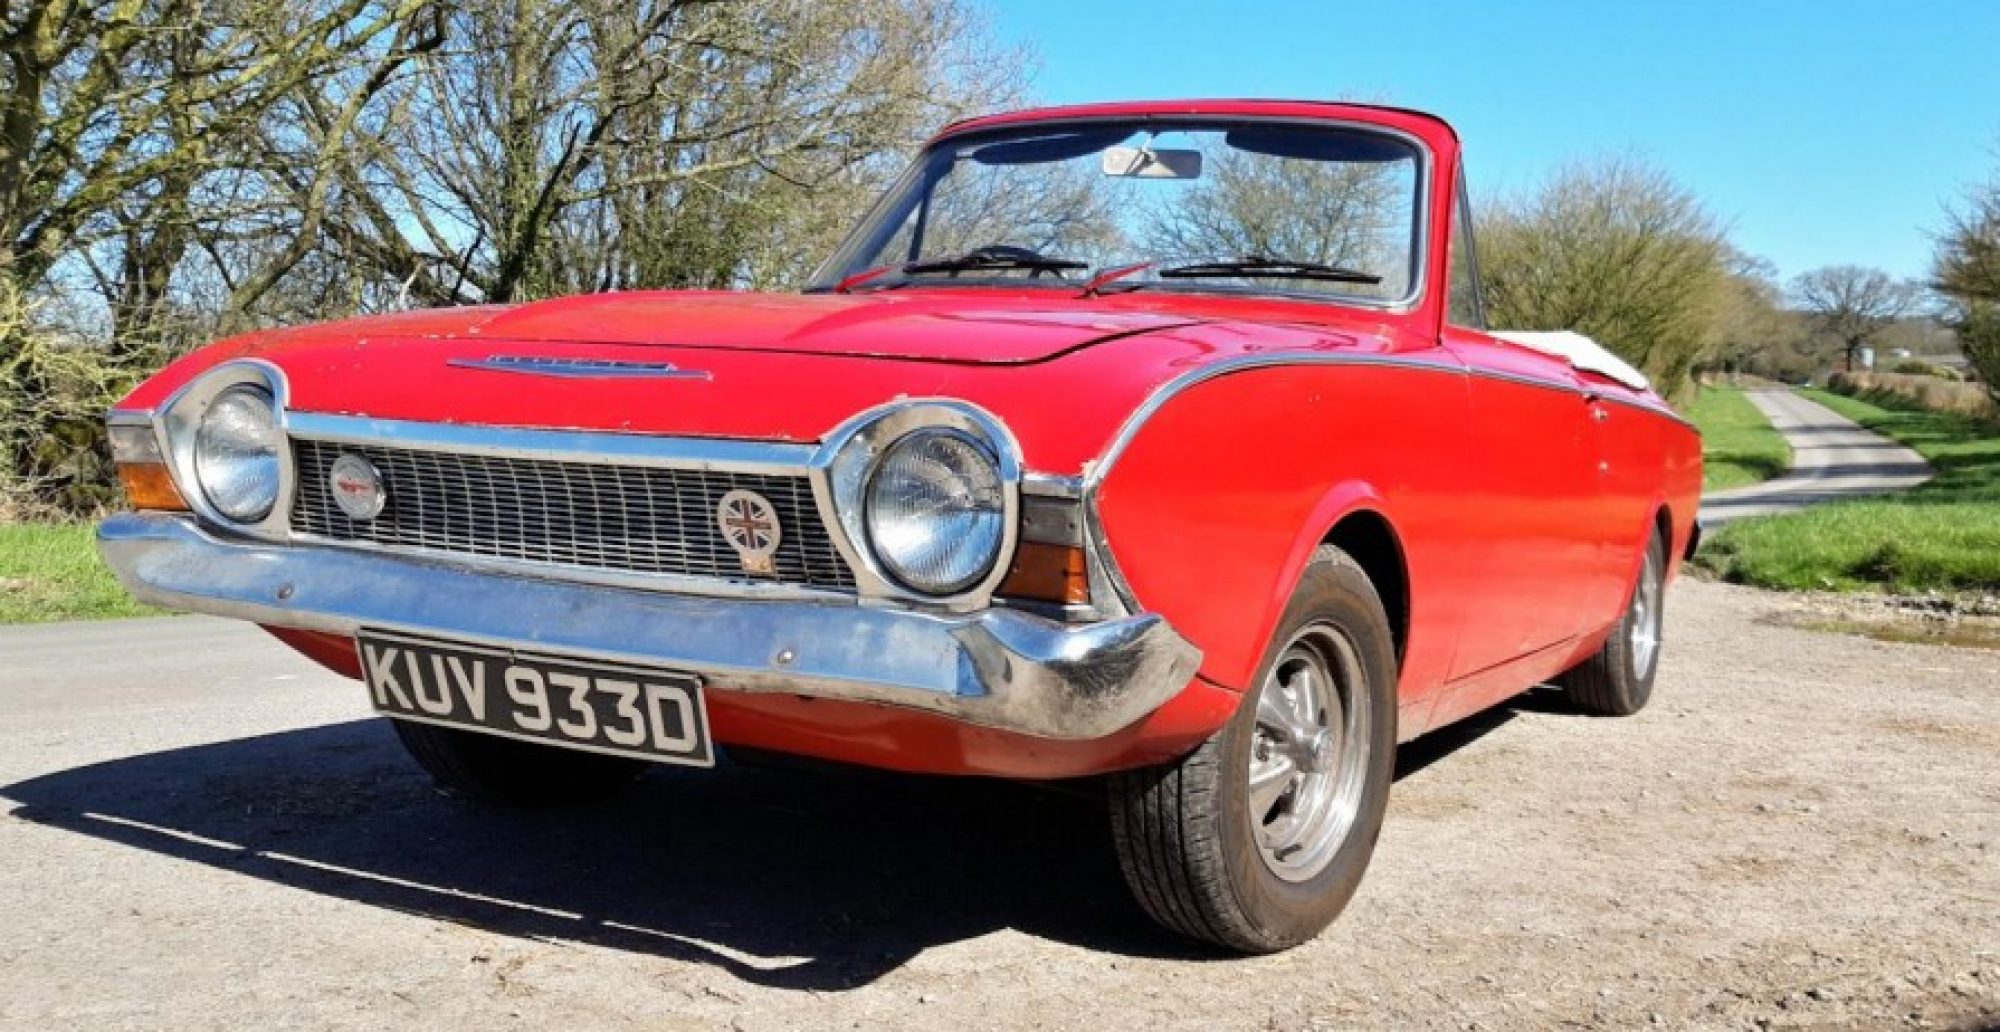
Finally in to the new year and there was a nice day (Sunday) to get on and fit the rear shock absorbers I had bought at the end of last year. Initially, I had a drive locally in the Corsair, not too far due to lockdown restrictions but enough to blow the cobwebs out and get get some warm air blowing through the car.

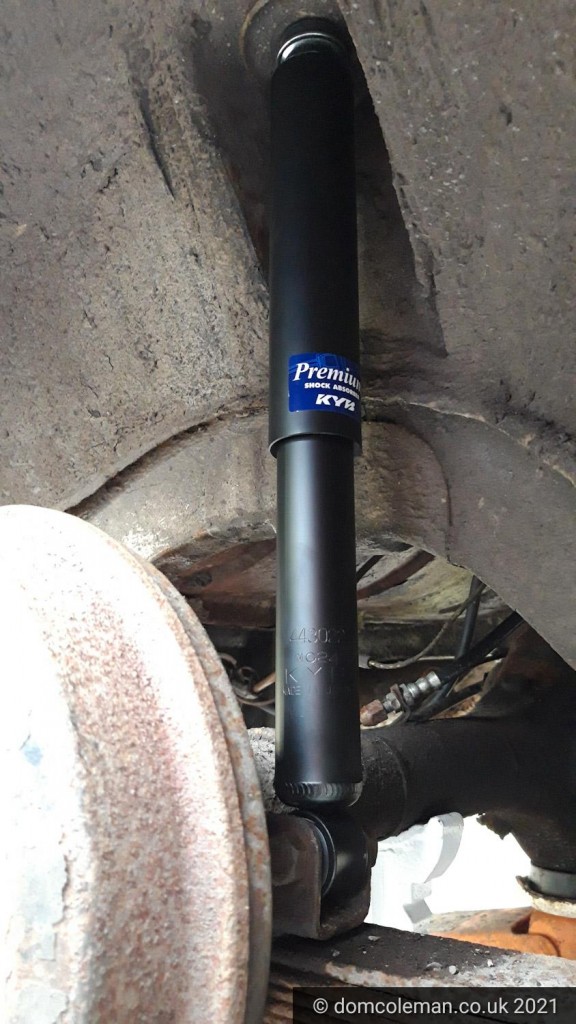
Fitting the shocks wasn’t a difficult job as I had read up on it before starting and it didn’t necessitate in too much preparation. I had applied plenty of WD40 to help free off the lower 3/4 inch bolts which didn’t turn out to be a chore. Neither were the top mounts of the dampers, in the boot, but they were awkward to reach and required mole grips as well as the 9/16 spanner to loosen and undo. The old (Monroe) shocks came out easily and I had no idea if they were in poor condition or not so have been kept as spares.

Fitting the rear shocks was a little more awkward and I soon discovered that fitting the top mounts in place first was easier than fitting the bottom mount. When I did it that way first, I had to push the shock absorber up to the mount hole and then try and get the rubber, washer and bolts on before the mount would disappear through the mounting hole!
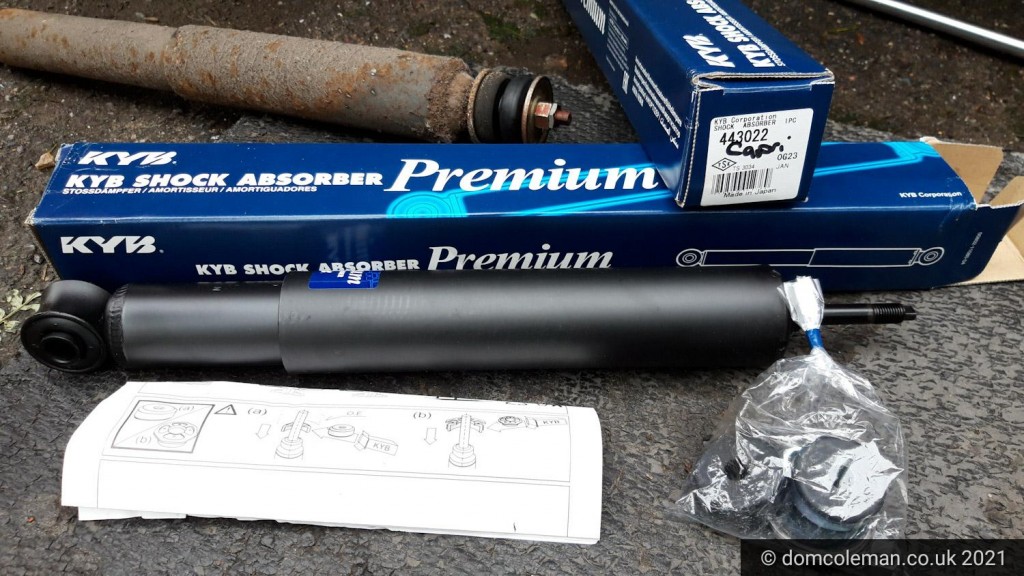
With the bolts all tightened up and a quick test drive I was happy another job could be ticked off the list and the car was ready for its MOT.

Well, the Corsair failed the MOT with the steering box classed as dangerous and two areas on the rear spring hangers needing welding. The exhaust joints require separating and resealing and there were advisories on a jacking point and the prop shaft rear joint showings signs of wear. So, not a great day and a few issues to sort and while in lockdown may not be done particularly quickly.
Front Wheel Alignment

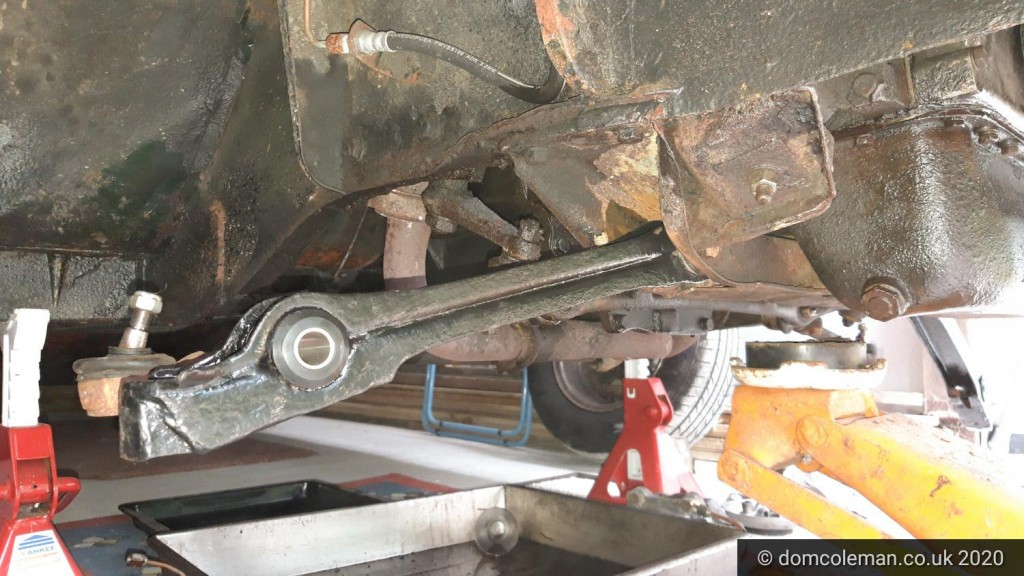
I had the front wheels laser aligned by 5 Square Motors as it is where I have taken the Corsair for the MOTs, so I was seeking continuity. Unfortunately I couldn’t have the chap who did the MOTs as another mechanic was lined up for the job. On the day the wheels were aligned OK, I presume, but when I asked for a check of the bolts on the TCAs and other suspension parts the mechanic tasked with the job claimed he found a couple of loose bolts and decided he didn’t want to sign off the job as safe, as it was work he hadn’t done. It kind of defeated the object of asking the garage to check as I couldn’t do the final tightening of bolts with the wheels on the ground. I’ll now have to do it with the car up on ramps, just hoping the angle of the car on the ramps won’t interfere with a proper tightening of the bolts.

Late one Friday afternoon and I got the Corsair up on the car ramps. I rechecked all the bolts to the TCAs, steering ball joints and top mounts, none were loose. I did add washers to the ball joint ends just for peace of mind after ‘being advised’ by the mechanic that didn’t want to check my work. I later took the Corsair for a decent drive around the locale and the improved feel of the steering was evident as was the general ride. No longer did the car rattle and shake over bumps and ruts in the road. The new dampers had improved the ride massively, so I would call that a result.

Front Suspension Overhaul – Part 5

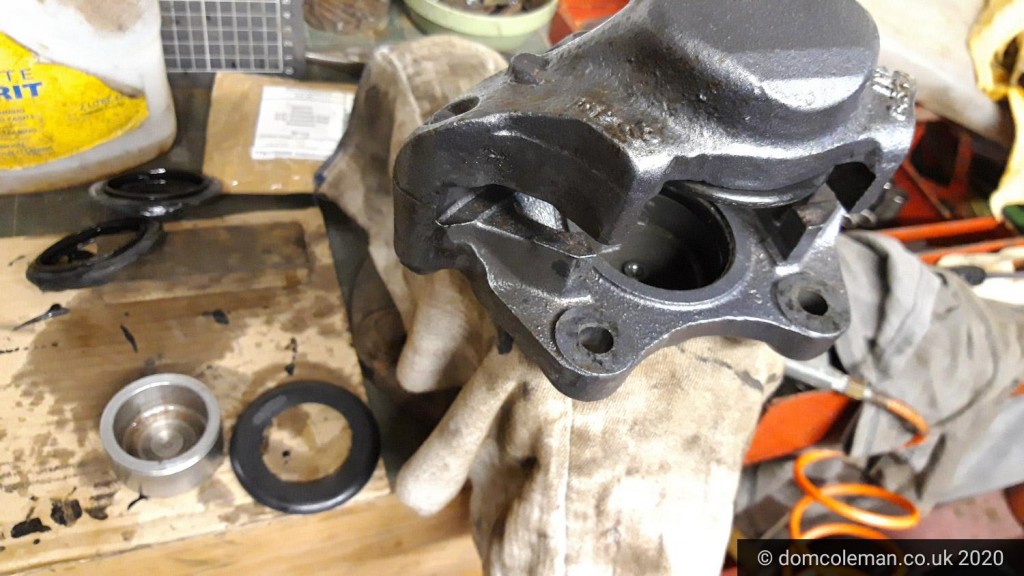
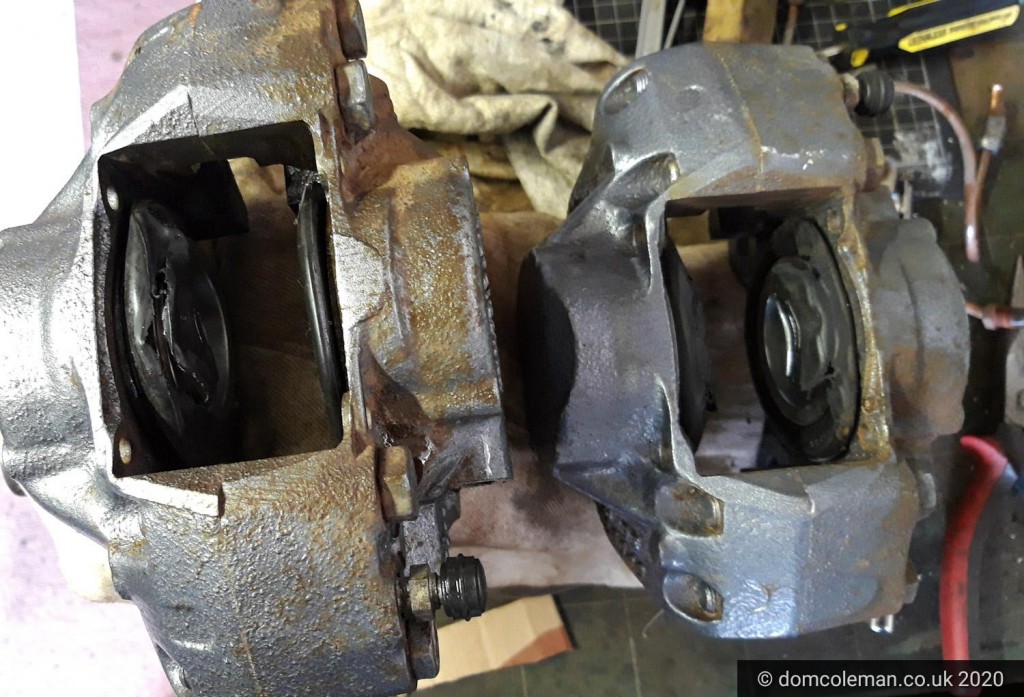
A little while later: With the delay, due to the faulty new strut stopping progress, it gave me time to reflect on the work done so far and to be completed. Upon closer inspection of the assembled nearside strut, it was evident the top nut needed tightening quite a lot more as my current tools couldn’t reach into the top mount’s recess. I had to buy a 24mm swan necked ring spanner (Ebay) to finish the job properly. Fitting the track control arms with new inner arm rubbers and ARB poly bushes into the front cross member was initially a tough job. However, with a bit of lubrication and some persuasion with my leather faced mallet got them both in position. After I had reinstalled the nearside strut which was reasonably straight forward, I set about putting the brake caliper on. Here was when I noticed the bellows were split and had got mangled up when I inserted the brake pads in September last year.

Ford Corsair offside TCA with new bushes
Ford Corsair offside TCA with a lick of paint and new bushes.
Brake calipers with damaged bellows

So, I had the saga of replacing the bellows. Luckily, I had a new spare set I had bought several years ago, but I wasn’t sure how to make them fit, as they seemed too large to fit in the groove of the caliper piston hole. In my haste and doubts, I contacted BCA Automotive to find out where they got the bellows from when they rebuilt the calipers last year. Later, I was on the internet to order two front caliper seal kits from Mev Spares and within a couple of days I had the new set, only to find they were the exact part number as my original spares! One evening in the week, with a renewed approach I tried again to fit the seal into the groove of the caliper and this time they all went in. It was down to a technique of gentle but firm pressure and faith that the rubber would pop into the groove. Having acquired a mini air compressor in the summer (during the carport conversion to garage) I found it invaluable in popping out the caliper pistons and blowing excess fluid in my face.

Ford Corsair P16 caliper replacement bellows fitting
Ford Corsair P16 caliper with replacement bellows being fitted

At the same time as ordering the replacement caliper seals, that I didn’t need, I also ordered a new Meyle top strut mount from a Ebay seller hoping this one would be good to go. By the weekend (12/13th Sept) the part had arrived and I was ready to finish the offside strut assembly, front anti roll bar, attach the brakes and connect them up.

Volvo strut top
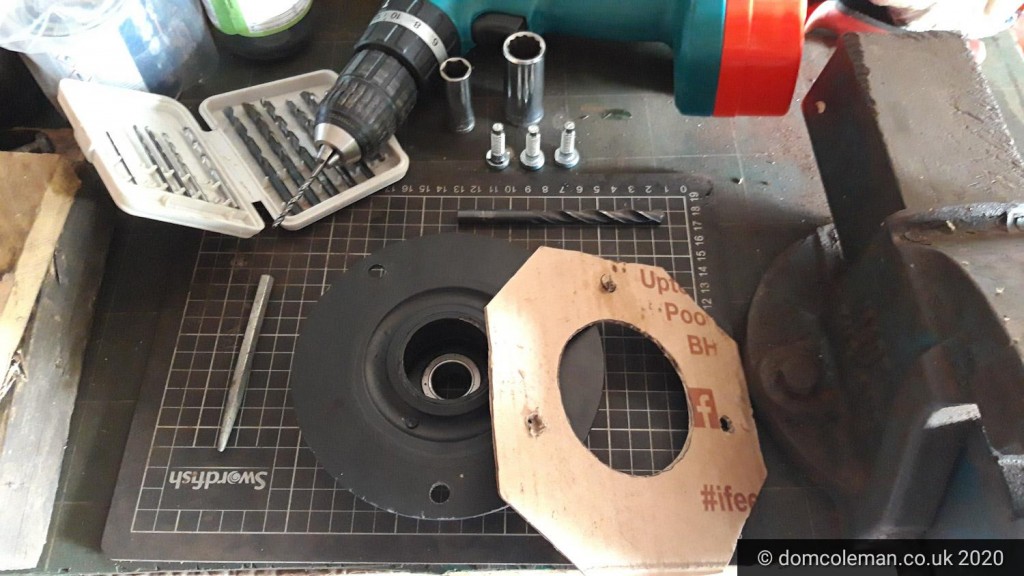
Volvo strut top with new mounting holes to be drilled
Ford Corsair strut top (Volvo 240)
Ford Corsair strut top (Volvo 240) fits neatly in existing location and plastic dust cap fits too.

Fitting the anti roll bar with new poly bushes was a more awkward job than expected as I had to re-tap a bolt hole that had become a bit cross threaded and use the jack to help align and manoeuvre the anti roll bar into place.

Ford Corsair offside strut with anti roll bar
Off side front strut and anti rolled bar ready for fitting.

So in nutshell, the new parts I ordered for the front strut refurbishment were:

  • Meyle (Volvo 240) damper Part No. 526 614 0001
  • Meyle (Volvo 240) strut top mount Part No. 514 127 0001
  • Amsteer steering ball joint kit Part No. (as at Sept 2020, no stock left)
  • Inner TCA original (Ford tooling) quality rubber bush from Corsair Enthusiasts Facebook member
  • Superflex poly bushes for TCA to anti roll bar (SF0233KSS) and anti roll bar mounts (SF2045/19)

During the strut refurbishment, I needed to insert 2 large washers to take up the excess space of the Volvo 240 damper in the strut tube, and conveniently, the damper locking nut was the same thread as on the strut. I had to relocate the mounting studs on the Volvo 240 strut top mount to match the holes on the Corsair inner wing. I used two good condition springs obtained from a Corsair Club member on Facebook.

Front Suspension Overhaul – Part 4

Saturday & Sunday: I had to modify the new strut top mounts which required prising out the mounting studs, re-drilling the stud holes to match the Corsair’s inner wing strut mounting holes and replacing the studs. A bit of filing to the holes to the inner wing was required so the new stud locations would fit through, with a bit of a wiggle. I then assembled the nearside strut first, which was tricky but thought I had got it all back together OK, though the top mount looked askew with the spring uncompressed. Dealing with the offside strut I came across my first major problem with the bearing in the new top mount, it seemed to be upside down. It wouldn’t seat properly the correct way up but it would if I turned it over. I stopped at this point and came away to think some more.

Continue reading “Front Suspension Overhaul – Part 4”

Front Suspension Overhaul – Part 2

Wednesday: That was a tough day. From butchering end caps to spilling hydraulic oil and getting filthy dirty, it all amounted to a tough day.

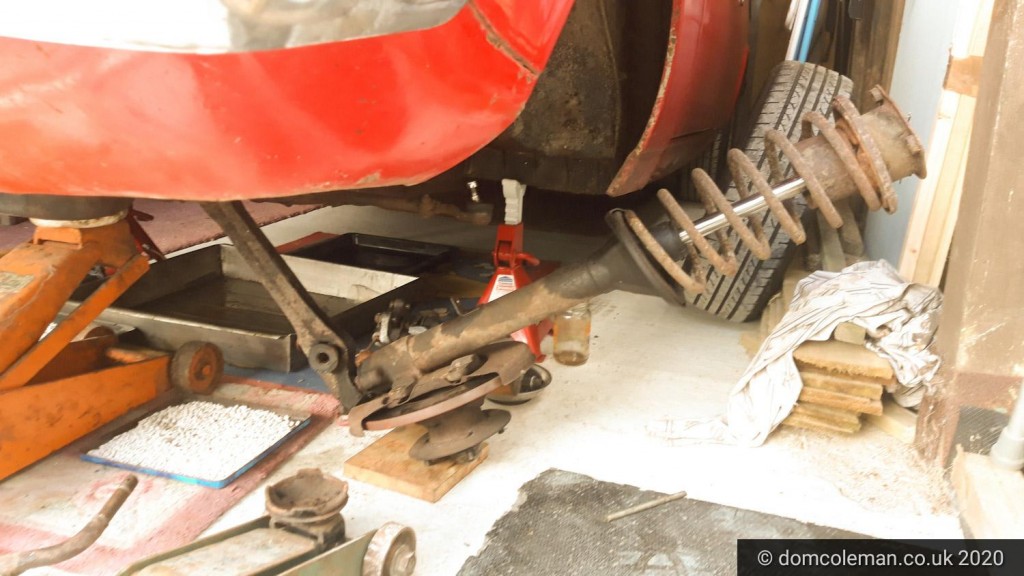
First job was to remove the track control arm (TCA) from the strut. The whole strut assembly with the TCA was a heavy unit and remained on my workmate, so I attempted to fit the ball joint extractor with it in situ. However the leverage required to tightened the nut on the extractor was not keeping the strut still and the extractor slipped off anyway due to not being seated properly. It was a cumbersome lump of metal to manoeuvre on my own into the vice but once in place (chocked with wood) I now had good access to fit the ball joint extractor tool properly. I also could enlist the use of the breaker bar with socket to turn the nut on the extractor tool, wincing on each turn of the nut as it got stiffer and stiffer until eventually with a ‘pop’ the TCA separated from the steering ball joint.

Continue reading “Front Suspension Overhaul – Part 2”

Front Suspension Overhaul – Part 1

Ford Corsair V4
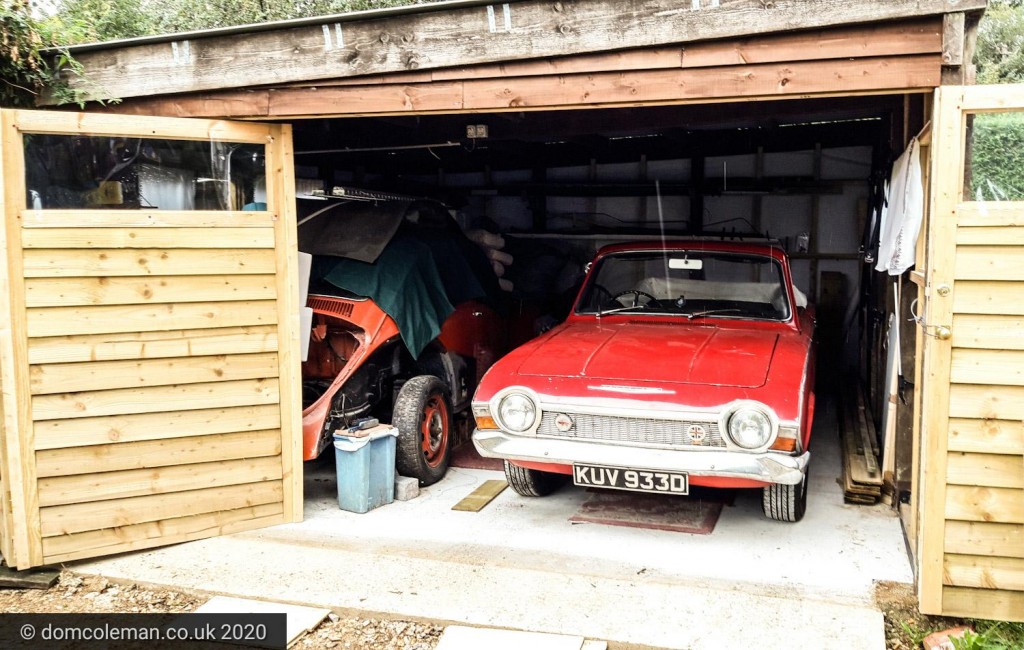
The Corsair in the new garage/workshop

Sunday: Corsair guided into the workshop/double garage that had been previously just the carport.

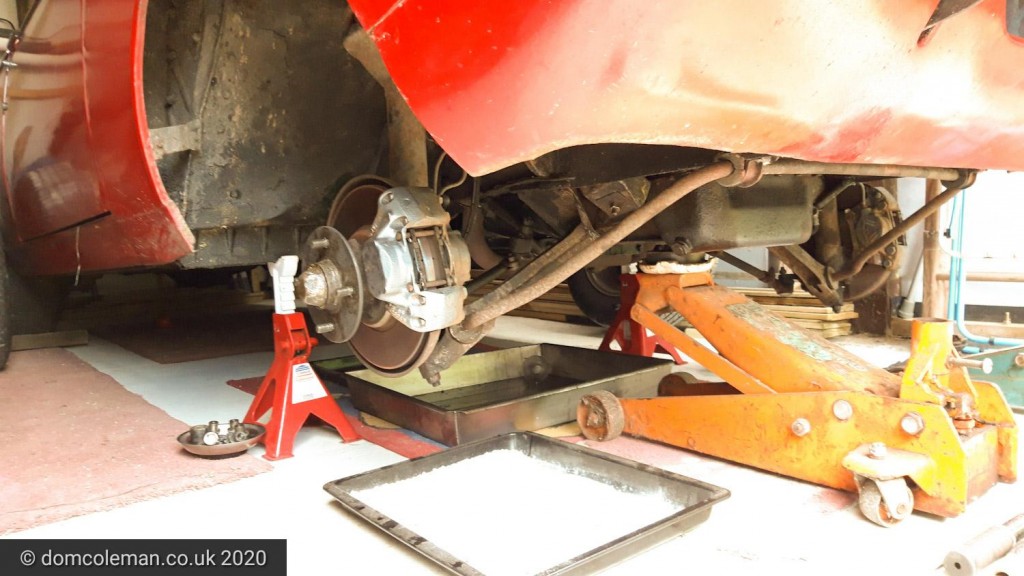
Monday: Corsair placed on stands and all main suspension nuts and bolts loosened.

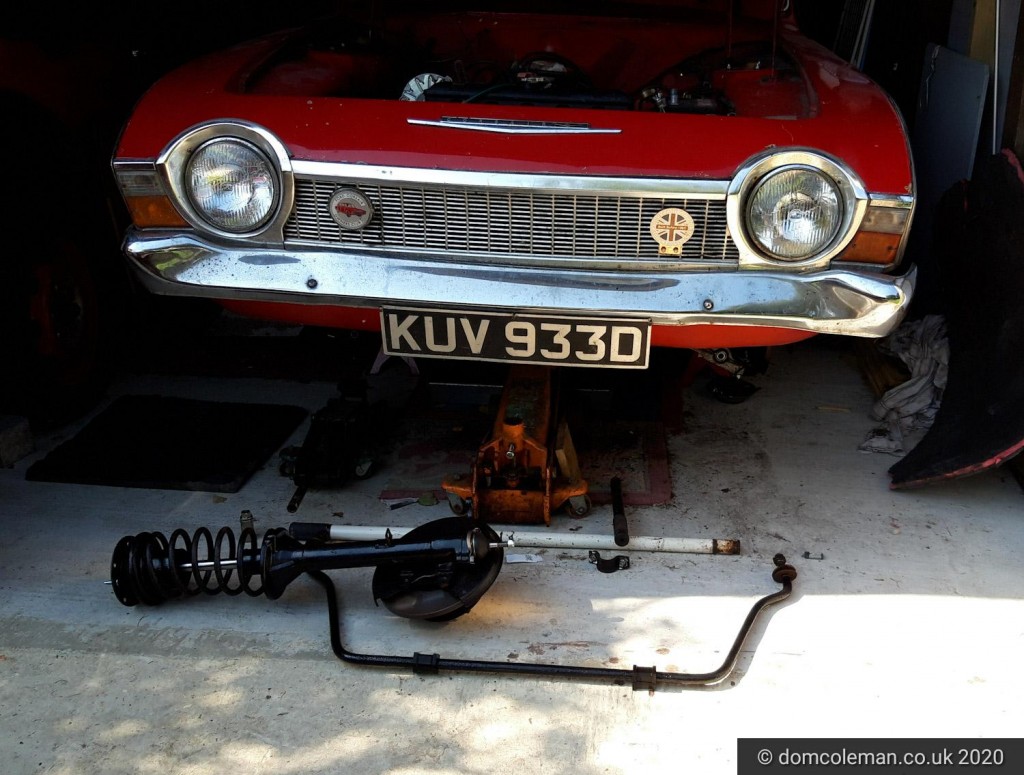
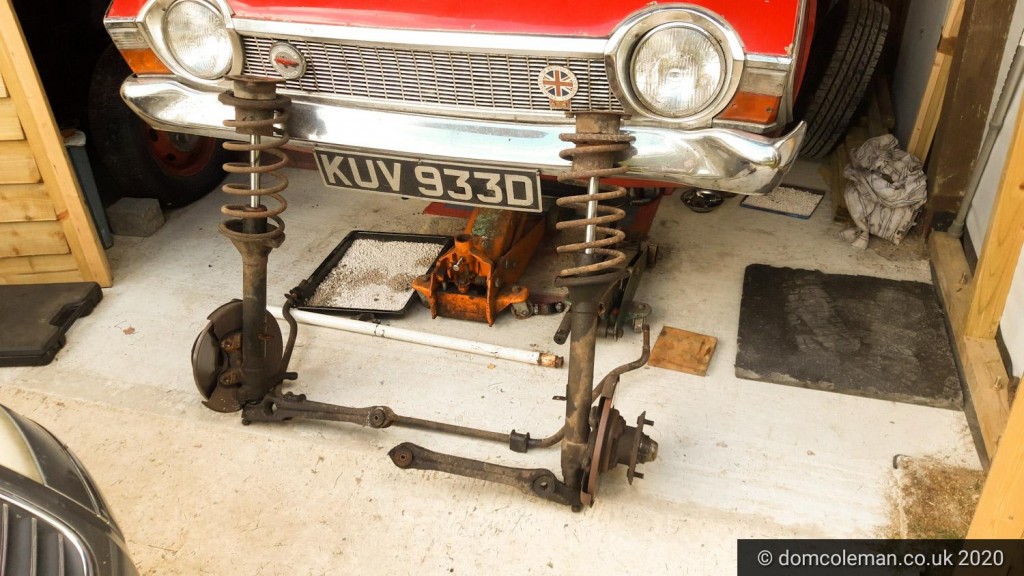
Tuesday: Corsair fought all the way to hang on to one of its track control arms (TCAs) as it took the best part of an hour just to remove the last bolt on the passenger side TCA to the cross member. The rest of the other components were fairly straightforward in their removal or extraction. The only annoying job was disconnecting the front brakes and in the process spilling brake fluid in to my kitty litter catch trays. Well I suppose that was what it was for but it ended up a messy job.

The next few days would be spent stripping down the struts, cleaning, painting and fitting the new parts to the strut assemblies (with hindsight, that would turn into weeks).