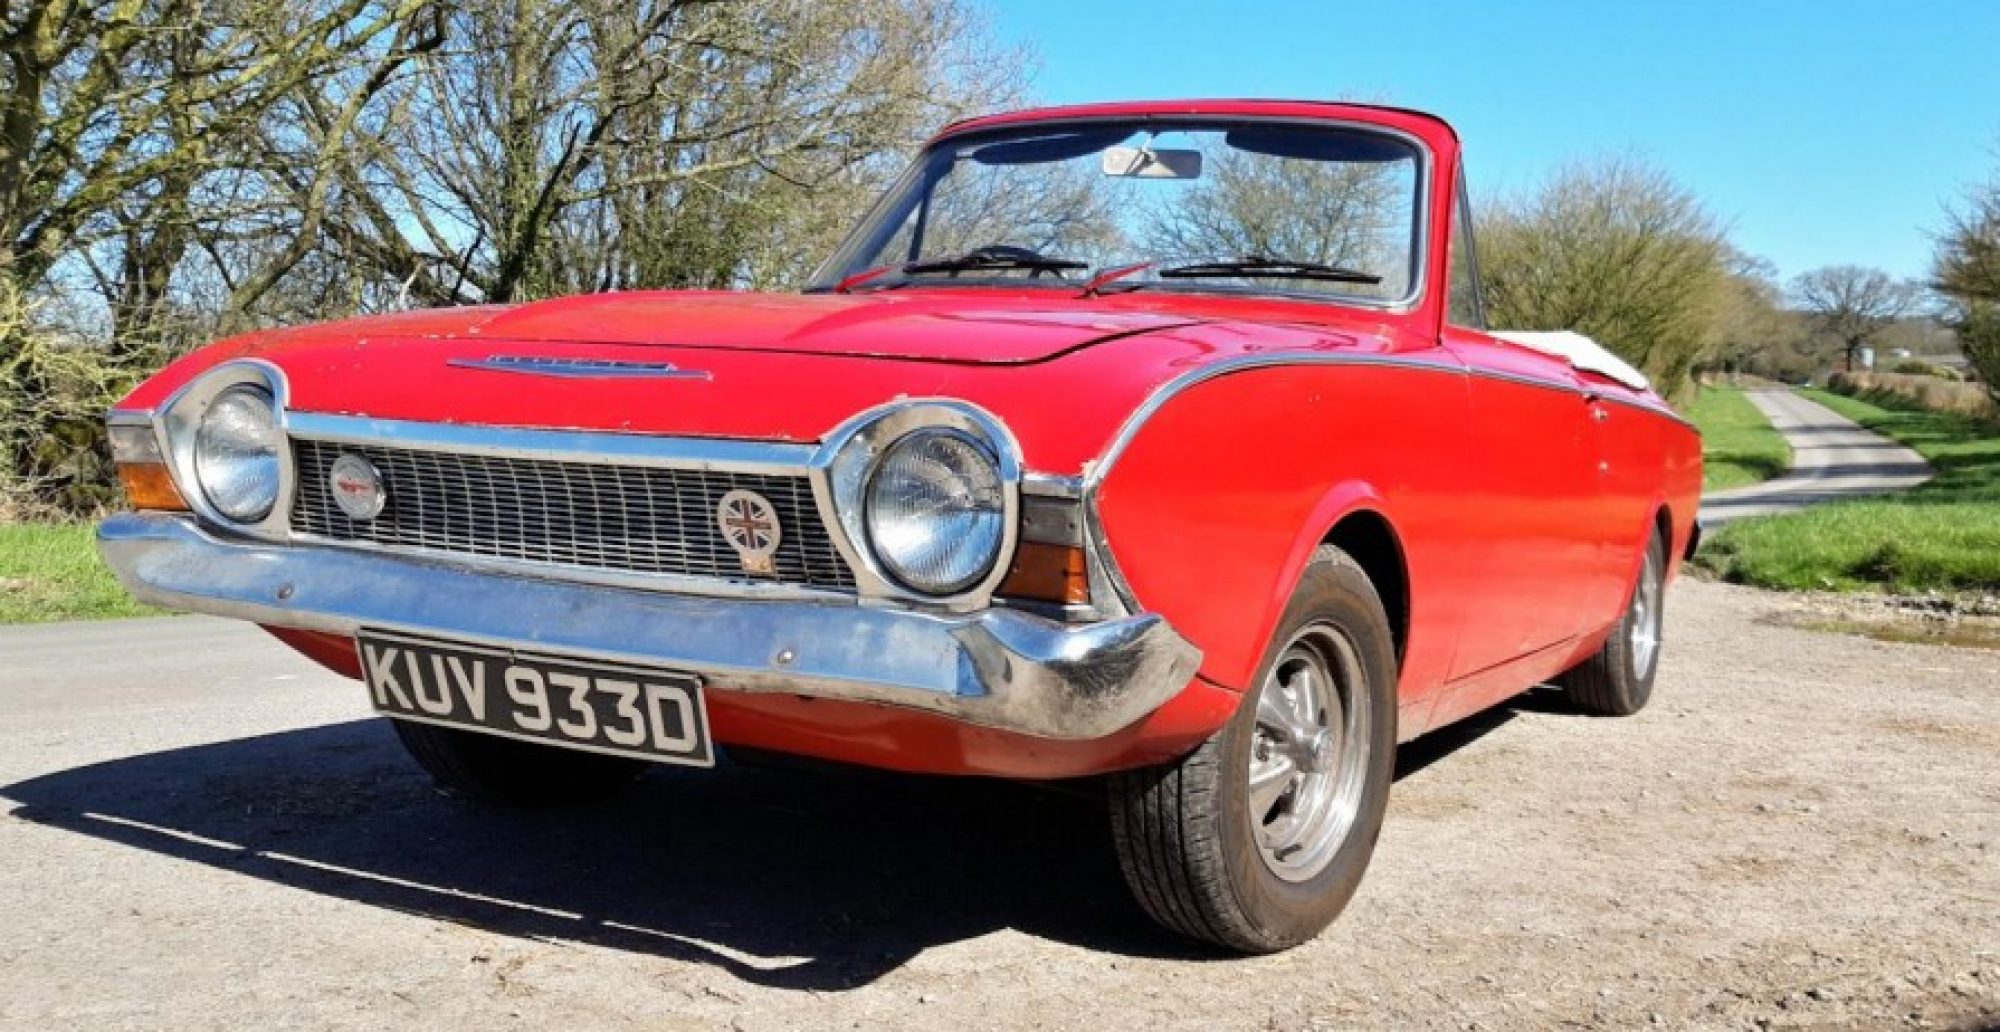
It’s early December as I write this, and I’m reflecting on the saga of fixing up the daily drivers last autumn. The issues that began in September 2023 finally wrapped up in March this year, leaving my finances (and sanity) thoroughly drained. As a result, work on the Corsair and the VW Beetle [LINK] had to take a back seat until summer 2024.
Continue reading “Where did 2024 go?”Autumn 2022

After all the Summer activity with the Corsair it had gone a bit quiet since passing the MOT in early September. Apart from attending the Sturminster Newton car event on the first Saturday of September & October it was local runs to the recycling centre and errands to Gillingham (Dorset) being the main journeys.
By October I had a few minor jobs on the car, one was to source the occasional ‘clanking’ noise from the front nearside when I went over bumps at low speeds. It turned out to be the front hub brake disc back plate vibrating on the brake calliper. A tweak of the offending bit of metal with a screwdriver and it was sorted. The other job was to top up the clutch master cylinder – there is a minor leak on the clutch slave cylinder – a job for next year. The final task was to fix the gear lever housing, it had come undone or popped off, however the rubber gaiter had kept the gear lever in a useable position for a time.
A brisk 9 mile test drive on one of my favourite roads (B3181) was needed to check the tighter gear lever and that the clanking noise had gone away, which it had. The Corsair will see less use over the coming winter months unless the roads are dry and free from road salt. Thanks for reading the blog.
The Clutch Works!
Well, the mechanism now moves, whether it does as it should remains to be tested.
The master cylinder had seized again due to not being kept in working order, so it was back on the bench vice and with a few careful smacks (several actually) then lots of back and forth exercises, the push rod was fully functioning in its bore. Then I thought I could prime the clutch system with fluid and then thought again best not after fluid squirted down the work bench after loosening the pipe… At least it gave me some practice for bleeding the system and what I was meant to do. I soon had the master cylinder mounted to the firewall with the push rod attached to the clutch pedal. I had the slave cylinder with it’s own push rod in position against the clutch acutator (lever) and the new pipe ends connected.

The next ‘pain in the arse’ job was fitting the circlip to the slave cylinder to keep it in place on the gearbox bell-housing. I had to jack the car up for this one and took several attempts to fit, but the bastard clip eventually went on using my cheap an nastys circlip pliers and some persuasion with a large screw driver. With the wife employed as clutch pedal pumper I managed to bleed the clutch system without any dramas, my earlier practice was a big help. With the clutch pedal depressed, I was so relieved to see the lever on the bell housing move. First time that had happened since I started this project (April 2010).
I guess it was a rather premature next move, but I had to rig up the battery that had been on trickle charge, since last starting up the Corsair (Nov 2011), and have a go at getting the engine to start and try the gears. Battery was good, start motor turned but the Corsair wouldn’t start. It seemed I was not getting a spark from the coil, any useful advice is welcome via the comments.
Clutch Fluid Pipe
Had a custom clutch fluid pipe made up for me by A1 Hydraulics (Leicester). I think it looks great in that of a technical manner and serves a function too. The pictures here only show it in a mocked up stage to check that it fitted and was clear of other parts. Will do some proper pictures next time when the components are installed properly.


Re-motivated – gearbox back in!
Well, it was a long wait for my motivation to return and some good weather (last week was good too but lacked the desire to do anything), but it did and I have the re-faced flywheel and a new clutch plate with existing pressure plate now installed. I also eventually got the gearbox loosely in after a 2.5 hour tussle!
All bolts need to be tightened properly but the prop-shaft, gearbox bell housing front plate and exhaust system still need to be put back together. At least the worst part is done and the other bits can be done more easily soon… (famous last words).
Corsair update
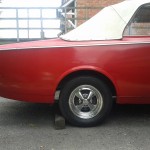
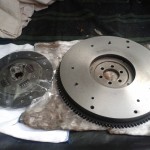

Recently I obtained two good looking chromed Cragar wheels from Sean in Poole, who at the time is rebuilding a custom/hot rod Ford Pop. They match the two font Cragars I have; the rears are of a different make and have a deeper offset, but I think you’ll agree, these look heaps better and have pretty good tyres too.
Also, I got the Flywheel skimmed by Perret Engineering, near Henstridge and also a new friction plate from the clutch specialists in Henstridge, Precision Clutch Components Ltd. Just need to find 3+ hours to fit it all back together! Soon I hope.
The Flywheel
Got the flywheel off today, nothing too difficult by my standards, all within 30 mins. It gives me the opportunity to reveal the groove on the flywheel. At the time of writing I have posted a question on my favourite forum for advice on where to go from this.
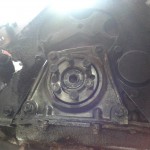

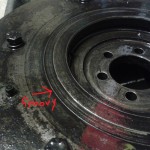
Update 5/9/13: The general consensus of opinion is that the groove is fixable by skimming/re-facing, I just need to find an engineering company near enough to do the job for a good price.
Bench Testing
Nipped down to these chaps Precision Clutch Components for them to have a look at my pressure plate and friction plate. They tested the pressure plate on their special press and showed me it was all working fine and lifting as it should. No cracks or signs of too much wear. The friction plate, however, told another story. Apart from being worn down near to the rivets it was evident that there is a groove in the flywheel which will need to be sorted before a new friction plate is put back on. So, the next mission is to source another flywheel or have the current one repaired or re-faced.
Gearbox and clutch assembly out, again
Had some free time to get the ‘box out again to retrieve the clutch assembly (clutch cover) that needs to be replaced or at least checked out/bench tested by a clutch specialist. I started around 10.30am and had the Corsair up in the air by 11.30am and ready for the gearbox removal. The experience wasn’t too bad, I had forgotten a lot of what I went through last time, like how to lash the rear part of the ‘box with rope but it came out fairly easily, once I had taken off the nearside exhaust manifold (see previous post). So all out by 1.30pm and the Corsair was back on its wheels, minus the gearbox.


Putting the gearbox back in – attempt two
It took from about 8.30 this morning jacking up the rear and putting onto the car ramps, then jacked up the front end which was placed onto axle stands.

The gearbox was manoeuvred on some plywood scraps under the car and in to position. Rope was slung under the main body of the gearbox and tied off to a bit of 2×1″ through the trans tunnel inside the car. This was later chocked with bits of wood to raise the gearbox when required. In the meantime the trolley jack had been put under the ‘box to take the strain.

This was wasn’t working, the gearbox was too unstable on the jack alone and with the middle section now supported by the rope. I had a fair bit of movement but was still struggling… I stopped for lunch at 1pm.
 I resumed 1.30-ish, with my son (aged 10) now trying to help and be another pair of eyes. The lower stud guides I’d put in where doing their job but the ‘box was leaning to the right (towards drivers side) and the upper guides where not in line with the top of the ‘box.
After about an hour or so, I re-jigged the box so it was sat on a small section of 3 plywood and other bits to seat it properly with out wobbling about on the jack. On the re-try, my son was saying it was fowling the nearside exhaust manifold (not his words) and perhaps I should remove it… I carried on ‘cos dad knows better as I had got the gearbox out without having to remove the manifold!
My son soon got bored, and went off to play… I was edging the gearbox a bit nearer each time and nearly got it onto the two stud guides I had at the top of the block. I then heeded my 10 year old sons advice and loosened off the near side exhaust manifold. A few wiggles and the gearbox was onto the top two studs, yay! Some more wiggles and it got closer and closer… Then it sort of slopped/popped in to place. This was about 3.30pm.
It will have to come out again at some point, as the clutch pressure plate appears seized. At least I only wasted my time, and have gained some more experience. The new pressure plate will have to wait, another costing to be added to the list.
Thanks for reading