Gear Lever Repair & Exhaust Reseal

a quick clean with Meguiars waterless wash spray
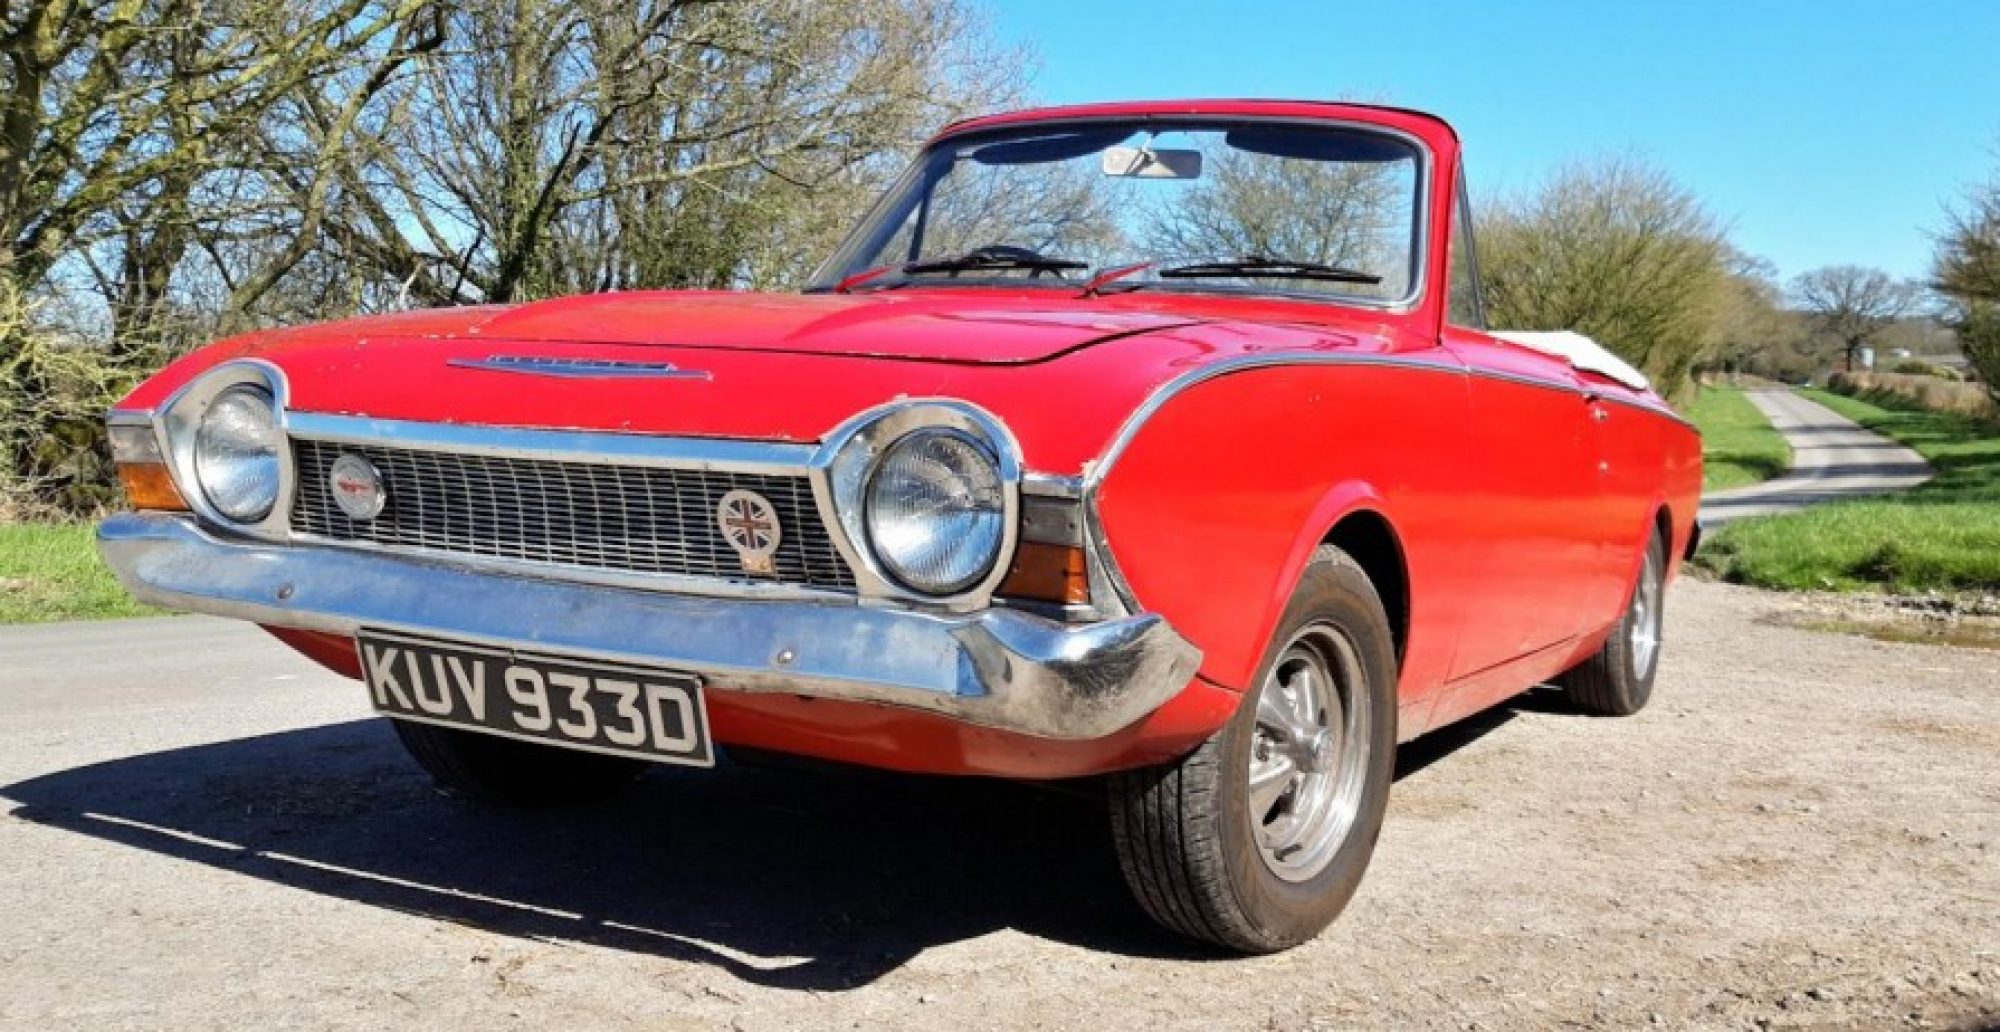
A quick clean with Meguiars waterless wash spray and micro fibre cloth

With the other repairs behind me all was good with the Corsair, so I decided to do something about sorting the sloppy gear lever action. It had always been loose and wobbly and I had got used to it, even when the spring cover used to pop out when I had the plastic gear lever nut and the lever would only stay in place by the rubber boot. I bought my parts through Kelvedon Lotus, mainly serving the racing community of Lotus tuned Fords and other marques. The only part I couldn’t get was the spring washer, but I bought a gear lever repair kit mainly for the nylon ball and lever bushes adding a new gear lever spring cover and a new spring.

Continue reading “Gear Lever Repair & Exhaust Reseal”

Water Leak and Oil Changes

Ford Corsair layby B3081
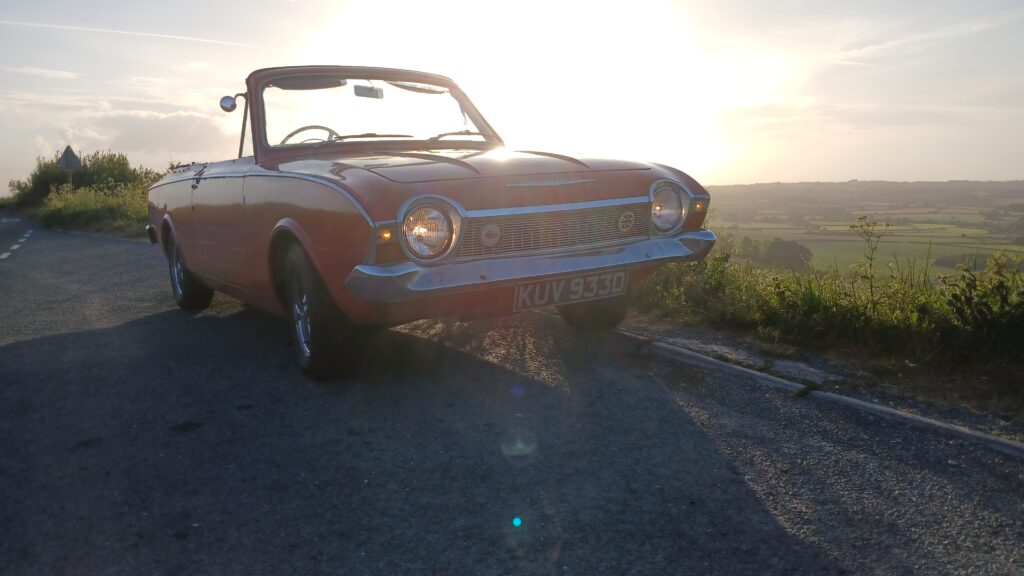
Ford Corsair in a layby B3081 Near Win Green

The weather took a turn to being unpredictable during May but I did manage one more trip to the office and that again was a very cold morning drive, but had turned cloudy for the journey home. During a week off work doing stuff to the Beetle – see the link to that here, one evening was particulary pleasant, so I took the Corsair for a favourite drive of mine along the B3081 up Zig-Zag Hill and a return trip via Compton Abbas Airfield, Fontmell Magna and Cann on the A350. However, upon parking the car in the garage I heard an ominous noise of hissing and was rather concerned the car had over heated.

Continue reading “Water Leak and Oil Changes”

Mid Year Review – June 2023

Due to a wet and miserable March through to April I didn’t really get much chance to use the Corsair. The last decent outing was to the Sturminster Newton meet up in February and that was with the roof up due to being a bit chilly. It was on the return trip that the speedometer stopped working and I assumed it had slipped out from the gearbox as it had done before. It had been problematic in the latter part of last year by showing the speed but randomly not operating the odometer. For as long as I can remember with the car (as I fitted the speedo cable in the early years) it never had the official bracket to hold the end point into the gearbox. For years I relied on a crude clamp screwed into the floor to keep the cable located which in turn held the end point in the gearbox well enough to get a reading.

A few weeks later (on a dry March day) I fabricated, from a rear brake cylinder ‘U’ clamp, a small bracket to keep the speedo cable from falling out of the gearbox housing. I sourced a bolt (possibly metric) that with some effort I made it fit the thread in the gearbox to hold the speedo cable in place. It was in the most awkward place to reach as the gearbox cross member and transmission tunnel both hindered the ease of access but I tightened up the bolt and it kept the speedo drive in place. Upon the checking the other end of the speedo cable behind the speedometer I found the cable had completely come adrift – problem solved, so I thought. A test drive later showed it hadn’t resolved the issue.

During May, I had used the Corsair for a couple of local joy rides, the recycling run, two fifty mile round trips to work and on none of the occasions did the speedo spring into life. With another long bank holiday I had the time to get the Corsair up on the ramps and have another look at the speedo. This time (with the ramps) it was easier to get to on the nut holding the clamp on the gearbox and lift away the speedo cable. With the ‘other half’ watching the speedometer gauge I vigorously turned the cable in the sleeve and got the all good response that the speedo needle moved on each occasion. However, this time refitting the cable end point, ‘U’ shaped clamp and my dodgy bolt I made sure it wasn’t tightened up to much allowing for a bit of lateral movement. This looser configuration worked and the speedo was now operational and clocking the miles. I decided not to extract the clutch slave cylinder on this occasion.

Another reason for not using the Corsair so much was that I had been working on the Beetle project car. You can read the latest blog at this link or click the picture above.

Thanks for reading.

Autumn 2022

ford corsair convertible
At the Sturminster Newton car event – 1st Saturday of each month

After all the Summer activity with the Corsair it had gone a bit quiet since passing the MOT in early September. Apart from attending the Sturminster Newton car event on the first Saturday of September & October it was local runs to the recycling centre and errands to Gillingham (Dorset) being the main journeys.

By October I had a few minor jobs on the car, one was to source the occasional ‘clanking’ noise from the front nearside when I went over bumps at low speeds. It turned out to be the front hub brake disc back plate vibrating on the brake calliper. A tweak of the offending bit of metal with a screwdriver and it was sorted. The other job was to top up the clutch master cylinder – there is a minor leak on the clutch slave cylinder – a job for next year. The final task was to fix the gear lever housing, it had come undone or popped off, however the rubber gaiter had kept the gear lever in a useable position for a time.

A brisk 9 mile test drive on one of my favourite roads (B3181) was needed to check the tighter gear lever and that the clanking noise had gone away, which it had. The Corsair will see less use over the coming winter months unless the roads are dry and free from road salt. Thanks for reading the blog.

Propshaft Refurbishment

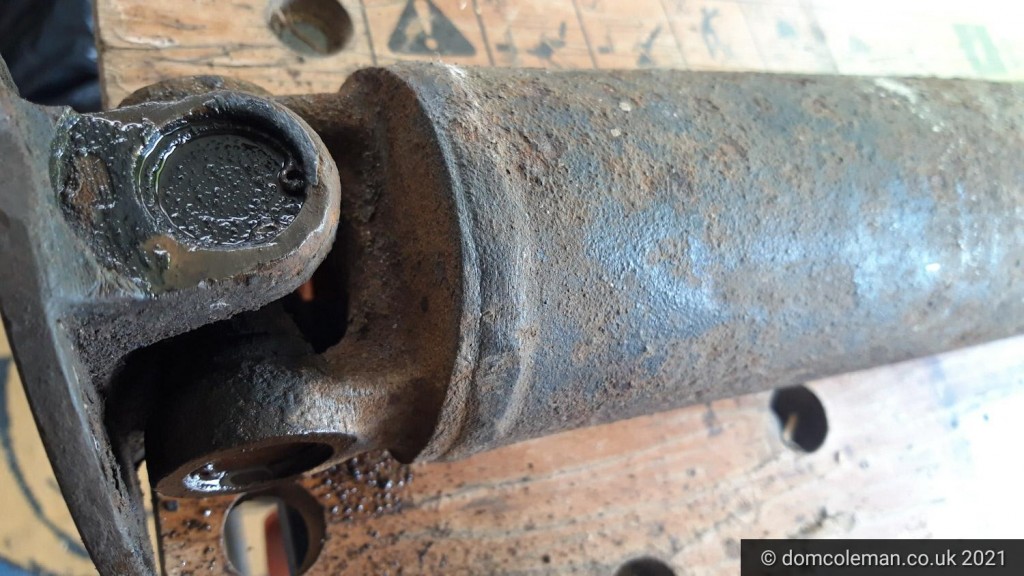
One of the other jobs that needing doing, that the MOT flagged up, was one of the prop-shaft universal joints had some play in it and I had bought new joints in readiness to do the job. Nice weather was forecast for the bank holiday weekend and so I had plenty of time to take a look and work on the prop-shaft.

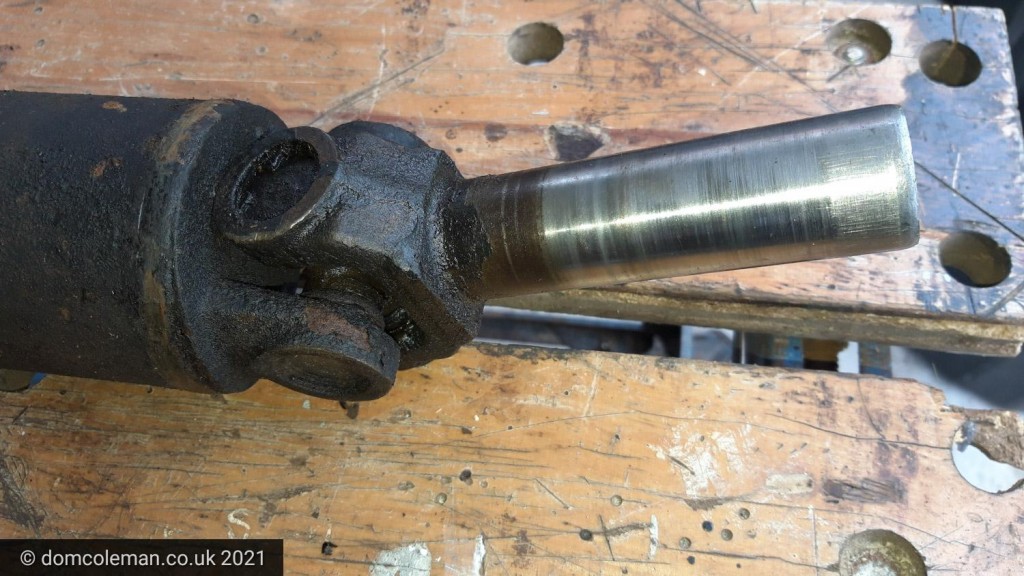
Once the car was up on the ramps and axle stands the prop was soon removed and dismantling wasn’t too much of a chore, I had to resort to hammering the Universal Joints (UJ) out using an old socket as a punch because my vice jaws wouldn’t open up enough to prise them out using sockets like I did for the poly bushes. Dismantling them gave me a clearer understanding of how the UJs were fitted and how relatively simple they are. Having decent circlip pliers made all the difference as with all my past experiences with circlips being something of a nightmare. With the UJs removed, I set to cleaning up the coupling ends and the shaft in readiness for painting.

Continue reading “Propshaft Refurbishment”

Engine Work

Corsair empty engine bay
The Corsair’s empty engine bay.

Earlier, back in May, I got the Corsair to John Midwood’s for some long over due engine work to be carried out, as the oil leaks were getting worse and the nearside cylinder head, rear core plug needed replacing. In readiness, I had got new core plugs and crankshaft seals (front and rear) on eBay, but then needed a bottom end gasket set available from Burton Power which also came with crankshaft seals and ‘O’ rings. Also, John advised I got a gearbox front oil seal which I purchased from Bearing Kits UK but ended up getting a gearbox oil seal set just in case.

Continue reading “Engine Work”

…motivation continued…

A few more hours spare on a Sunday afternoon and the exhaust system, starter motor, prop-shaft, gearbox lower cover plate and other small items were all re-connected and the gearbox to engine all tightened up.

One minor glitch that could have spelled a disaster, was that the gearbox had some how gone into gear whilst out of the car. So when when the prop was re-connected the car couldn’t be rolled back into the garage. The gear lever mechanism had to be refitted with some guess work, and with a bit of luck slotted back into place and I was able to take the car out of gear. The Corsair seemed a lot heavier pushing back into the garage too!

Re-motivated – gearbox back in!

Well, it was a long wait for my motivation to return and some good weather (last week was good too but lacked the desire to do anything), but it did and I have the re-faced flywheel and a new clutch plate with existing pressure plate now installed. I also eventually got the gearbox loosely in after a 2.5 hour tussle!

All bolts need to be tightened properly but the prop-shaft, gearbox bell housing front plate and exhaust system still need to be put back together. At least the worst part is done and the other bits can be done more easily soon… (famous last words).


Gearbox and clutch assembly out, again

Had some free time to get the ‘box out again to retrieve the clutch assembly (clutch cover) that needs to be replaced or at least checked out/bench tested by a clutch specialist. I started around 10.30am and had the Corsair up in the air by 11.30am and ready for the gearbox removal. The experience wasn’t too bad, I had forgotten a lot of what I went through last time, like how to lash the rear part of the ‘box with rope but it came out fairly easily, once I had taken off the nearside exhaust manifold (see previous post). So all out by 1.30pm and the Corsair was back on its wheels, minus the gearbox.

Corsair in the air from the front

Corsair in the air
Corsair in the air

Putting the gearbox back in – attempt two

It took from about 8.30 this morning jacking up the rear and putting onto the car ramps, then jacked up the front end which was placed onto axle stands.
2013-05-06 11.14.53
The gearbox was manoeuvred on some plywood scraps under the car and in to position. Rope was slung under the main body of the gearbox and tied off to a bit of 2×1″ through the trans tunnel inside the car. This was later chocked with bits of wood to raise the gearbox when required. In the meantime the trolley jack had been put under the ‘box to take the strain.
2013-05-06 11.15.11
This was wasn’t working, the gearbox was too unstable on the jack alone and with the middle section now supported by the rope. I had a fair bit of movement but was still struggling… I stopped for lunch at 1pm.

2013-05-06 11.15.37I resumed 1.30-ish, with my son (aged 10) now trying to help and be another pair of eyes. The lower stud guides I’d put in where doing their job but the ‘box was leaning to the right (towards drivers side) and the upper guides where not in line with the top of the ‘box.

After about an hour or so, I re-jigged the box so it was sat on a small section of 3 plywood and other bits to seat it properly with out wobbling about on the jack. On the re-try, my son was saying it was fowling the nearside exhaust manifold (not his words) and perhaps I should remove it… I carried on ‘cos dad knows better as I had got the gearbox out without having to remove the manifold!

My son soon got bored, and went off to play… I was edging the gearbox a bit nearer each time and nearly got it onto the two stud guides I had at the top of the block. I then heeded my 10 year old sons advice and loosened off the near side exhaust manifold. A few wiggles and the gearbox was onto the top two studs, yay! Some more wiggles and it got closer and closer… Then it sort of slopped/popped in to place. This was about 3.30pm.

It will have to come out again at some point, as the clutch pressure plate appears seized. At least I only wasted my time, and have gained some more experience. The new pressure plate will have to wait, another costing to be added to the list.

Thanks for reading