One of the other jobs that needing doing, that the MOT flagged up, was one of the prop-shaft universal joints had some play in it and I had bought new joints in readiness to do the job. Nice weather was forecast for the bank holiday weekend and so I had plenty of time to take a look and work on the prop-shaft.
Once the car was up on the ramps and axle stands the prop was soon removed and dismantling wasn’t too much of a chore, I had to resort to hammering the Universal Joints (UJ) out using an old socket as a punch because my vice jaws wouldn’t open up enough to prise them out using sockets like I did for the poly bushes. Dismantling them gave me a clearer understanding of how the UJs were fitted and how relatively simple they are. Having decent circlip pliers made all the difference as with all my past experiences with circlips being something of a nightmare. With the UJs removed, I set to cleaning up the coupling ends and the shaft in readiness for painting.
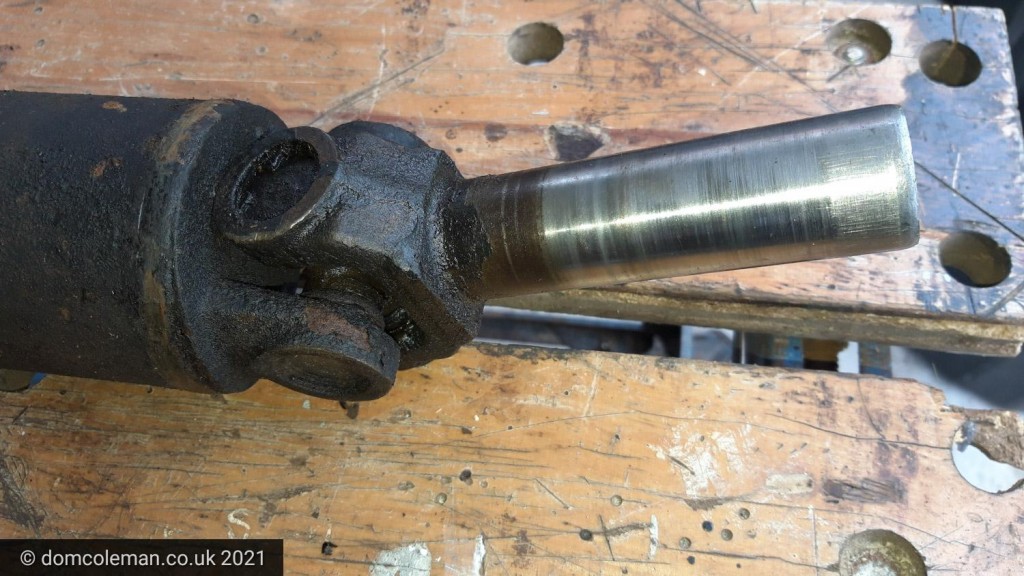
Ford Corsair Prop Shaft 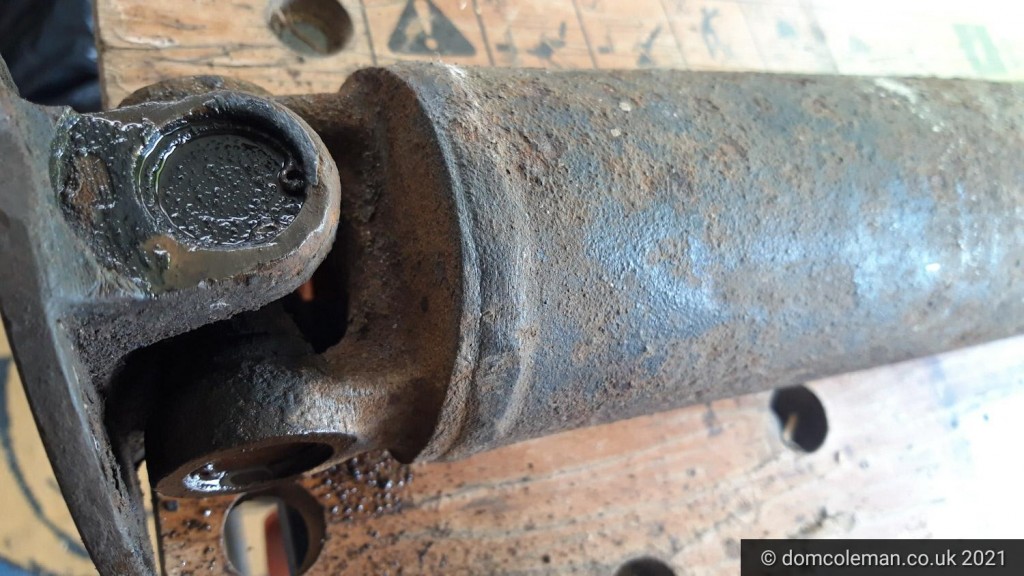
Ford Corsair Prop Shaft 
Ford Corsair prop shaft dismantled and dirty
Cleaning the prop shaft was done using a knotted wire brush on an angle grinder which cleaned up the parts well without damaging any surfaces. The fresh clean metal was then painted with Hammerite gloss black and left to dry for 24 hours. Re-assembly of the prop shaft with the new UJs was a steep learning curve which culminated in an easy-ish solution. My problem was that my bench vice wasn’t big enough to accommodate the UJ ends and couplings all at once for me to simply press them in and I reluctantly resorted to using a hammer to hit home the UJ end cups.
Unfortunately, using the hammer dislodged some of the needle roller bearings in the cups that went over the ends of the UJs and thus I couldn’t push the cups in any more beyond the circlip grooves. A tense period of removing the new UJ end cups ensued and without mangling the new UJ end cups (too much), I managed to re-seat the fallen needle rollers in the end cups and this time I thought I’d try a 4″ G clamp to press the end cups home and it worked with a bit of effort and broken G clamp.
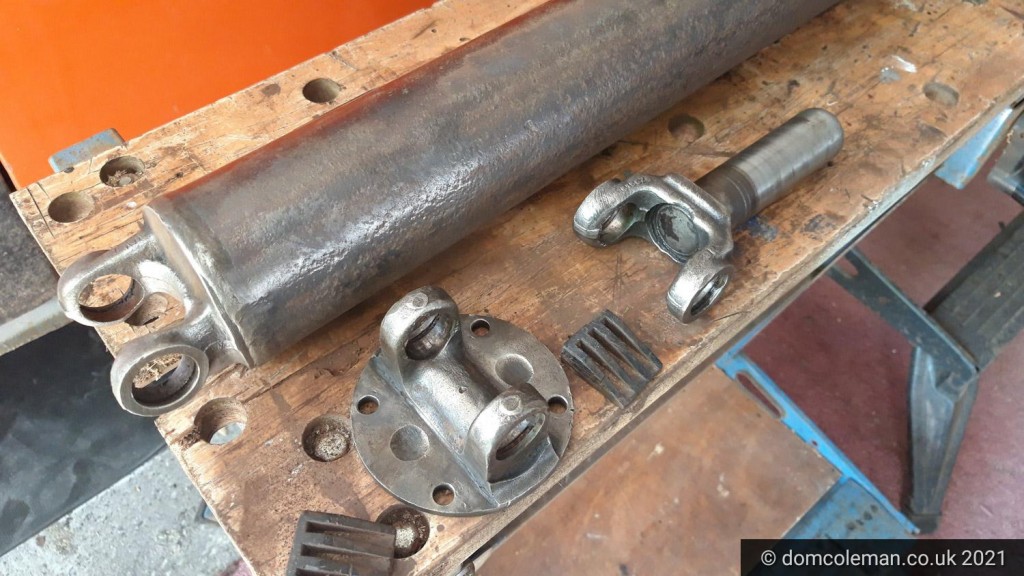
Ford Corsair prop shaft dismantled and clean 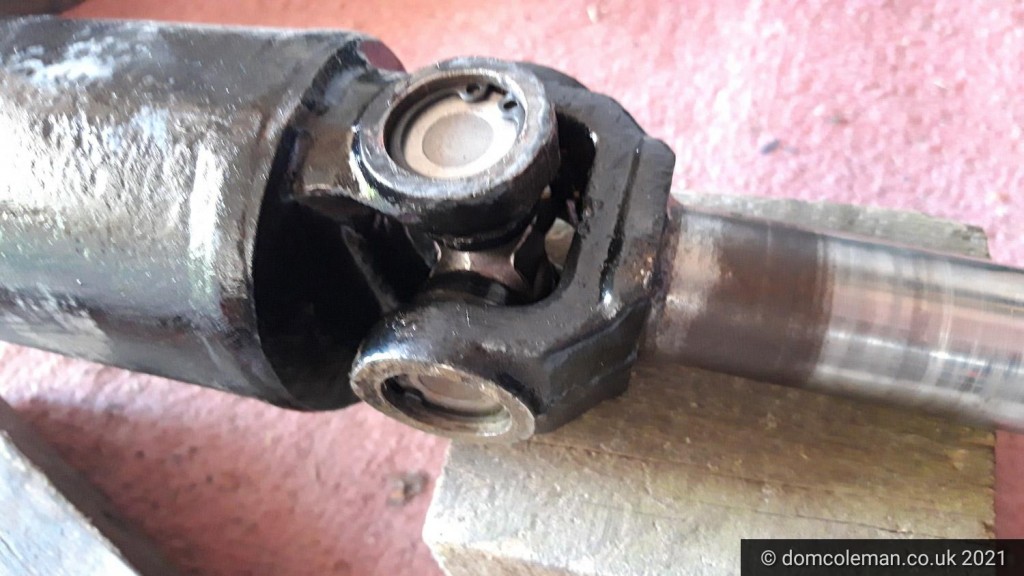
Ford Corsair Prop Shaft with new UJ joint 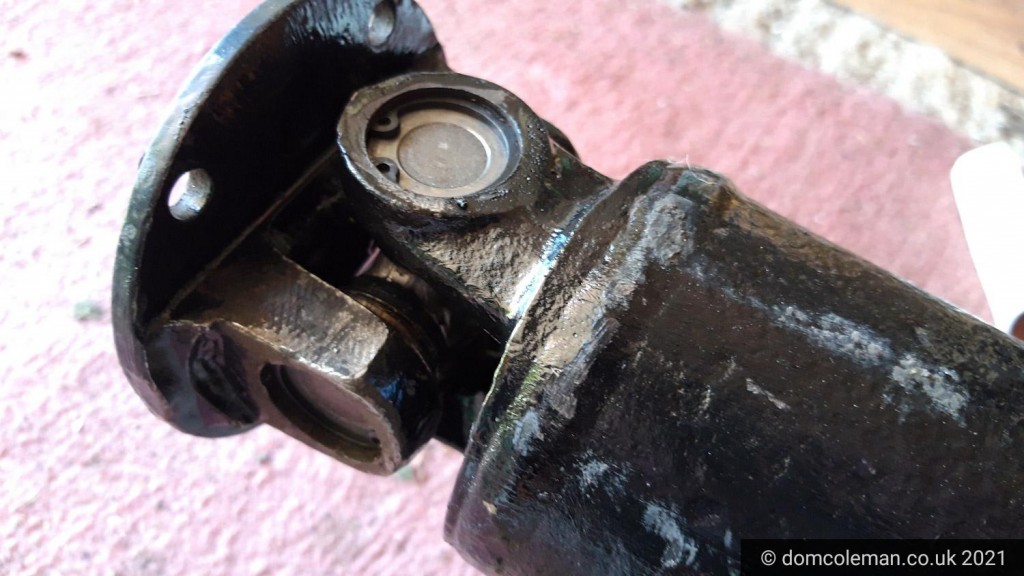
Ford Corsair Prop Shaft with new UJ joint
With the prop shaft off I also took the opportunity to change the real oil seal on the gearbox as I found the spare I had from when I bought a gearbox rebuild set the other year, when John and Peter did the core plugs and oil seals on the engine. I watched a Youtube video on a similar Ford gearbox rear oil seal removal for guidance and it wasn’t as difficult as I thought it was going to be – I just made sure how far the seal was set in and that it was the same size. A screw driver with a hammer was the best method to get a purchase on the seal to rotate it out but being careful not to damage the contact face on the gearbox. Inserting the new seal, I used my largest socket to use as a surface to carefully hammer against and tap in the seal. I probably could have done with a slightly larger socket, but it was enough to do the job cleanly.
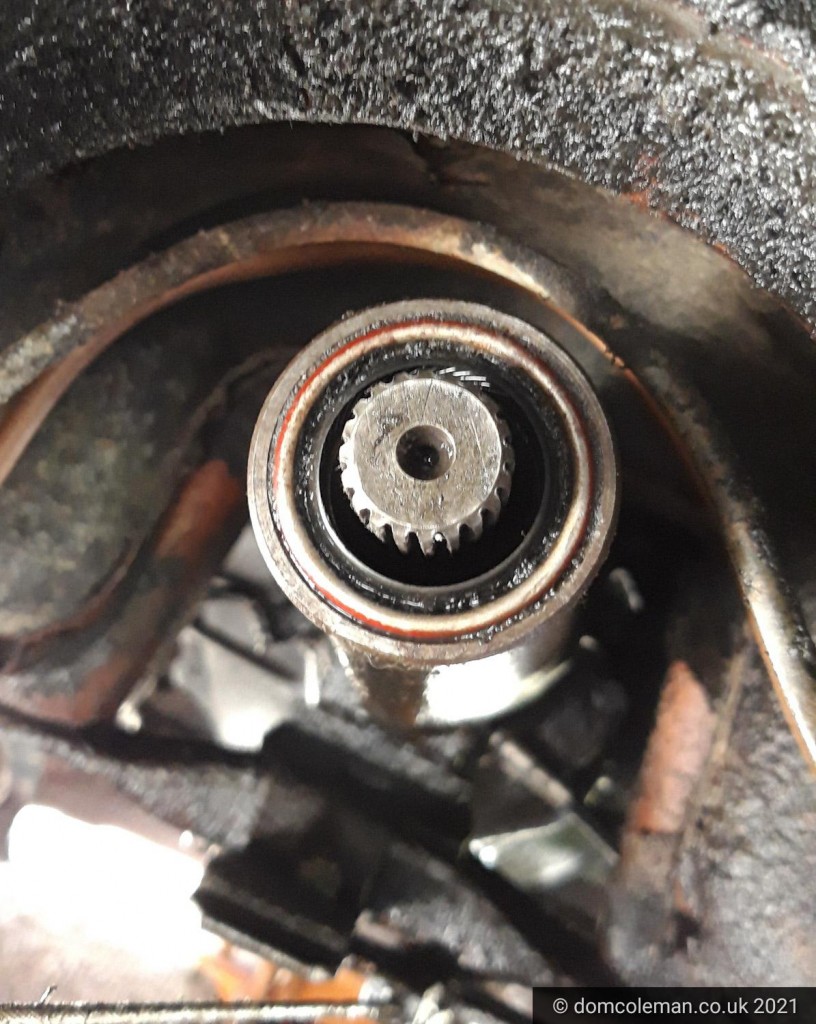
Gearbox rear oil seal (referred to as type 2000E) 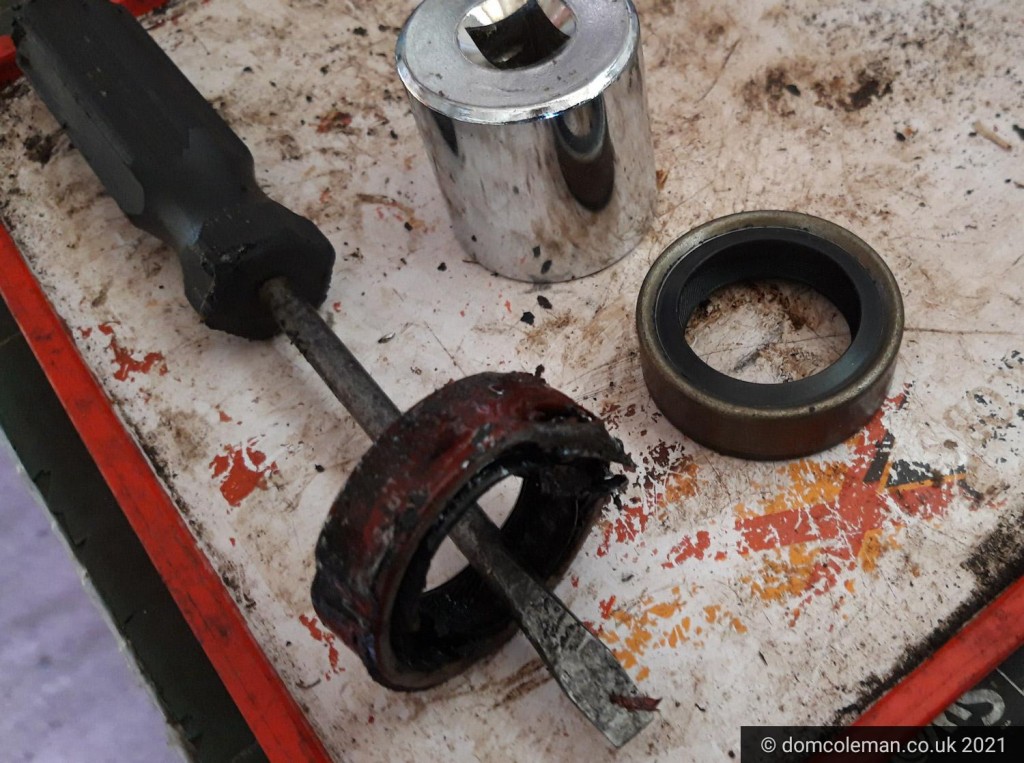
Gearbox rear oil seals (old and new) 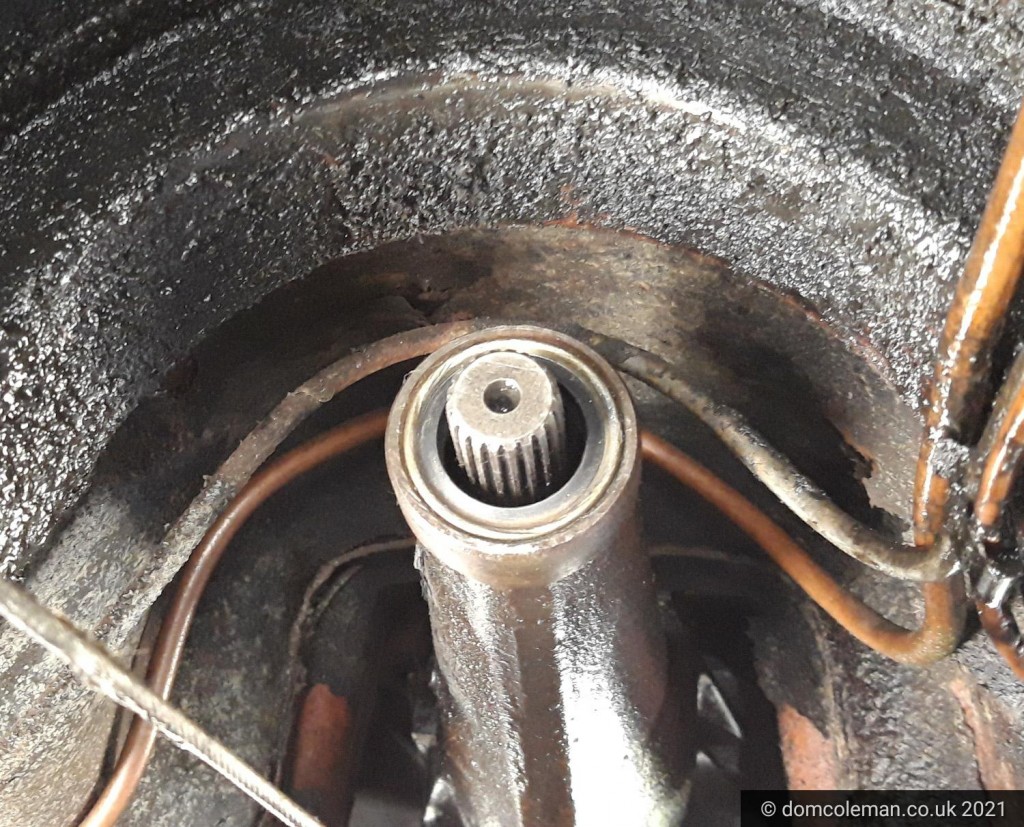
Gearbox rear oil seal (new)
Things to note: I should have made a reference of which ends the couplings came from before dismantling the prop for cleaning, as the shaft looked the same at each end. I had to resort to old photos that showed which end had the more balance weights closest to which specific end coupling. Also, I wasn’t sure if I should have made a reference to how the couplings were mounted in relation to the prop. The main thing was I had the prop the right way around and had used the old scribed markings on the axle flange to prop coupling when connecting to the rear axle. A short test drive didn’t reveal any issues or extra vibration.