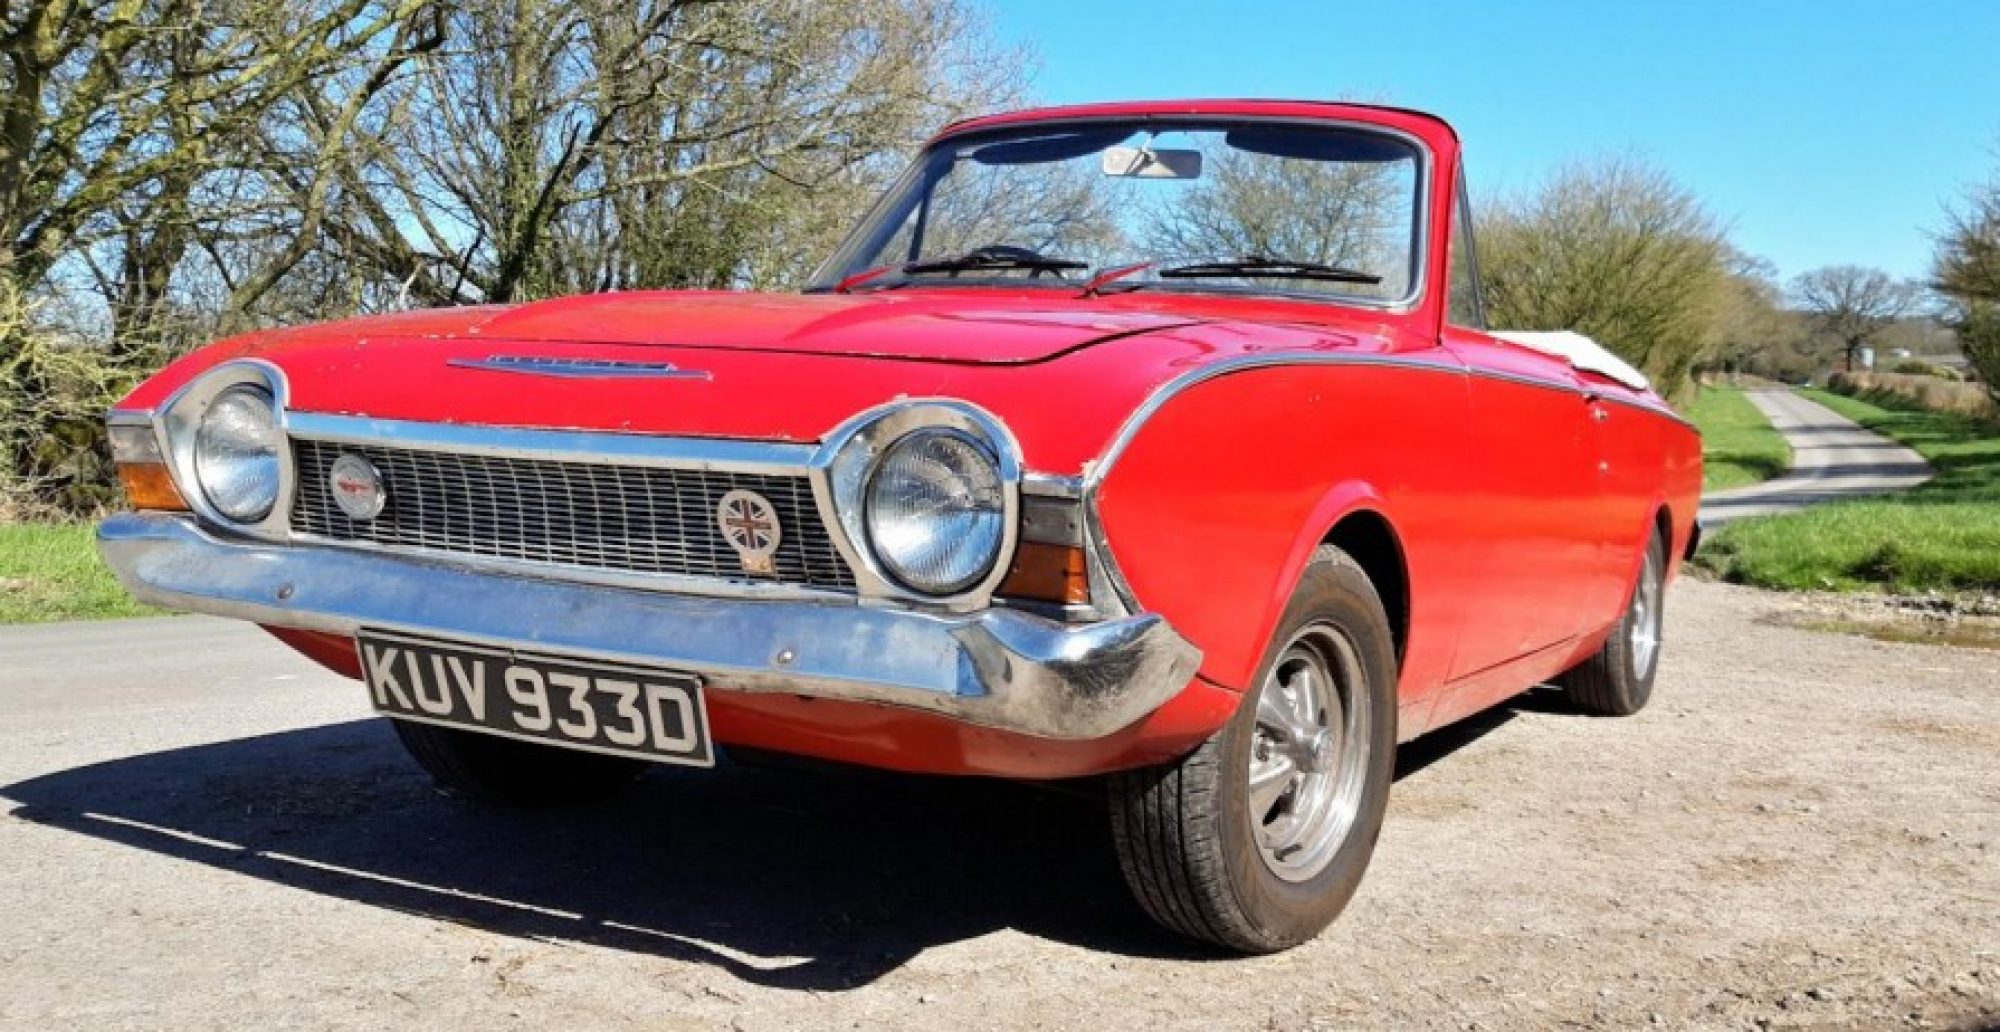
It’s early December as I write this, and I’m reflecting on the saga of fixing up the daily drivers last autumn. The issues that began in September 2023 finally wrapped up in March this year, leaving my finances (and sanity) thoroughly drained. As a result, work on the Corsair and the VW Beetle [LINK] had to take a back seat until summer 2024.
August
I’d arranged for John Midwood to sort out the Corsair’s steering box chassis mounting, which had been flexing alarmingly. Sadly, I don’t have any photos of the process, but John reassured me that the original repair on the inner chassis was decent—he just tidied it up a bit. The real work happened in the front offside wheel well, where corrosion had thinned the metal and caused the flexing. John cut out the offending area and welded in a fresh section, blending it in seamlessly. To beef up the steering box mounting, he noted that Ford had added a W-shaped metal bar behind the bolt holes in the chassis leg. By early September, the flexing issue was history, leaving the rear brake cylinders next on the list.
October
Back in the summer, I’d picked up two new rear brake cylinders and a master cylinder repair kit from Mev Spares (see Thanks), ready for the challenge. It had been ages since I last tackled drum brakes, so I took my time, keeping everything as clean and organised as possible. Removing the brake drums turned out to be the trickiest bit—especially since I’ve dropped one on my fingers before (lesson learned!). The offside cylinder was well and truly seized and had probably been that way for ages. I also had to replace a small section of brake pipe, as the union was stuck fast in the old cylinder. While I was at it, I gave the master cylinder a fresh set of seals—the last overhaul was all the way back in April 2020.
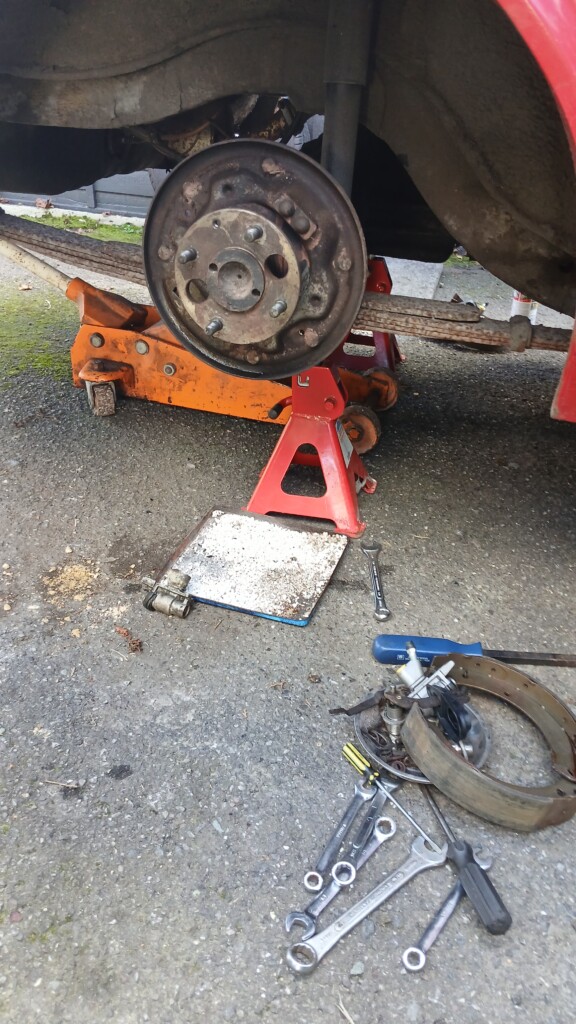
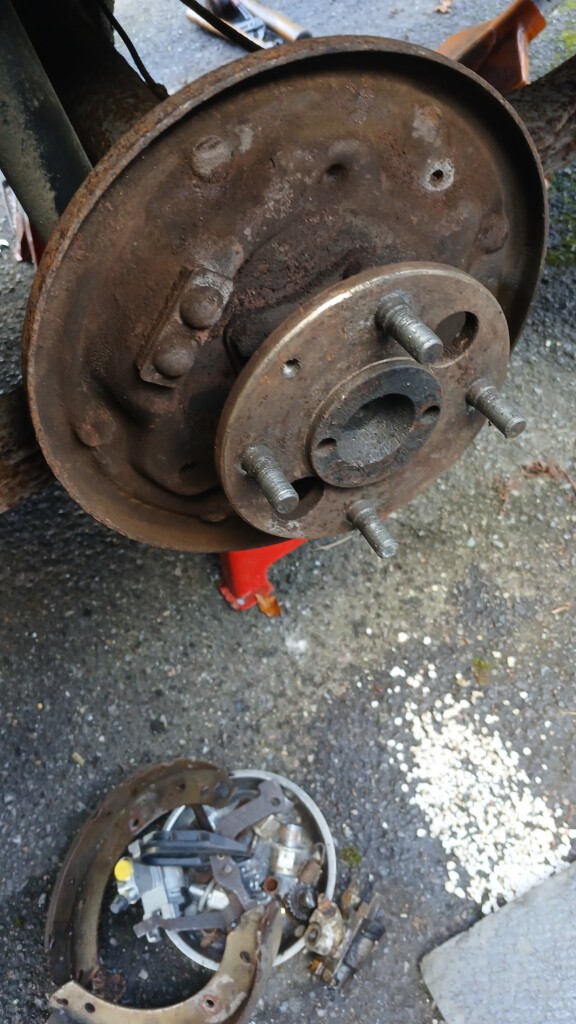
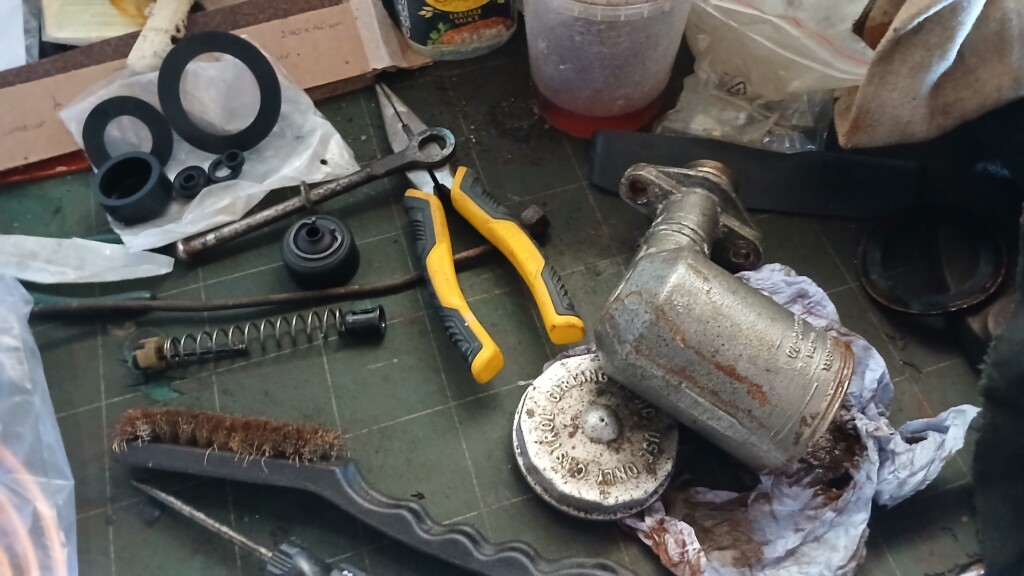
After most of the day wrestling with the brake system, it was time for the final job: bleeding the brakes. I’d bought a Gunson Easy Bleed kit but quickly discovered the pressure cap didn’t fit my master cylinder. Plan B involved my trusty Mitivac pump and some good old-fashioned footwork from my son. Unfortunately, I botched the bleed process, which became painfully obvious on the test drive!
November
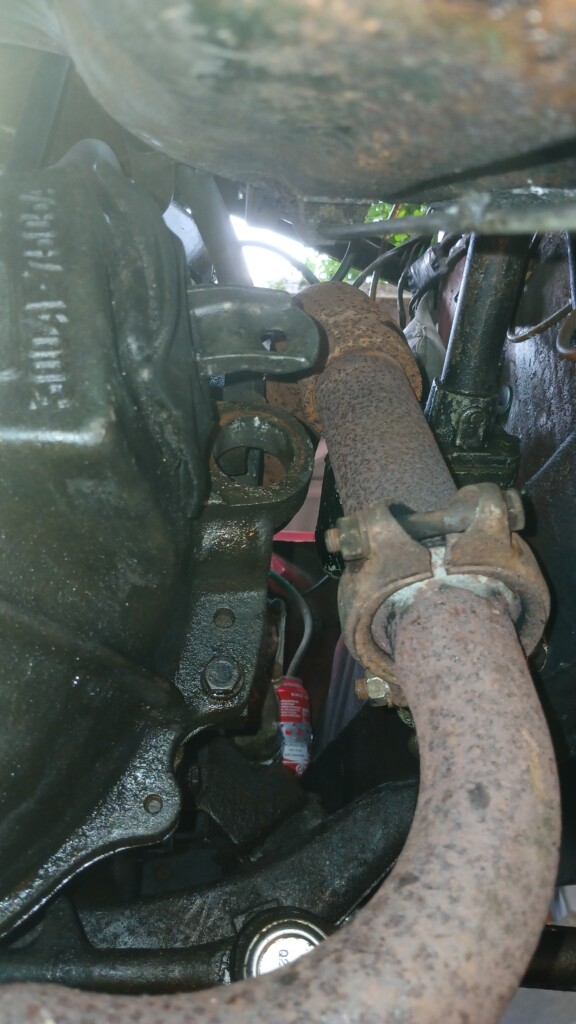
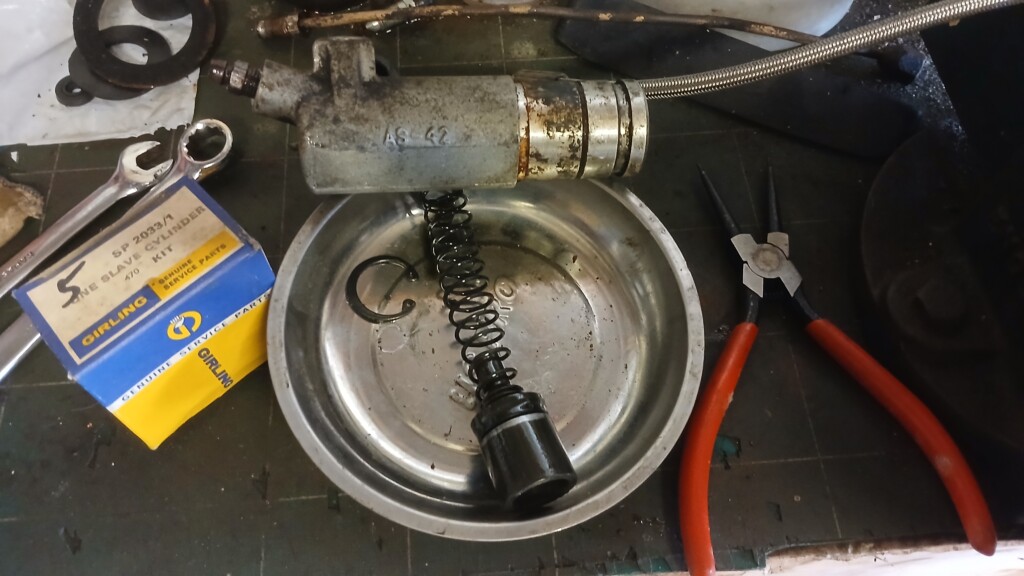
Next up was the leaky clutch slave cylinder, which was brand-new in December 2012 and fitted in July 2014. I still remember the nightmare of removing the old one back then, but this time, with the car on ramps, it was much easier. Decent circlip pliers made quick work of removing the retaining clip, and stripping down the cylinder to replace the seals was a straightforward affair. Refitting was smooth sailing, and bleeding the system went well too. My son lent a hand again, helping me adjust the rear brake shoes for a better handbrake and re-bleeding the brakes properly this time. Success at last!
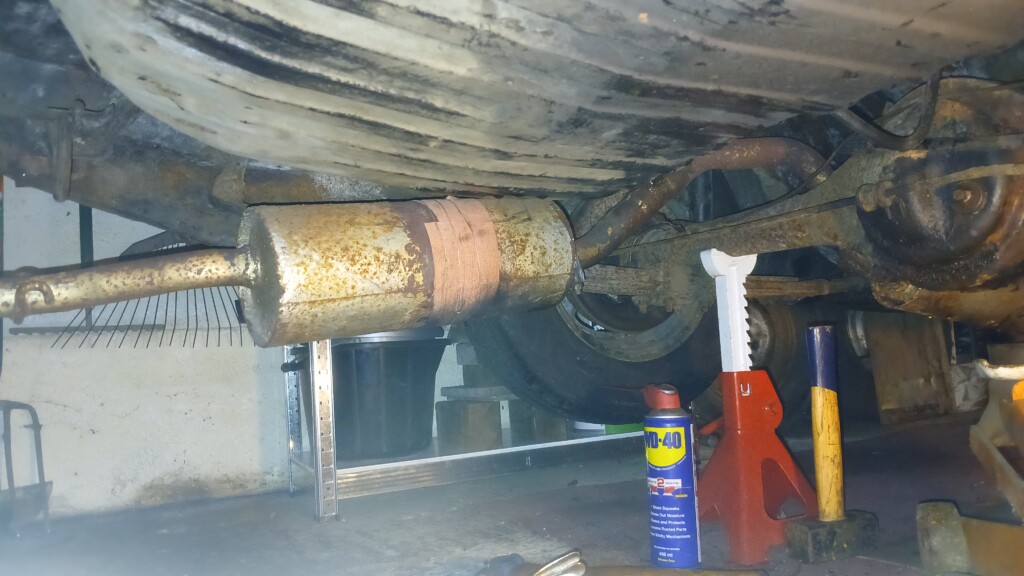
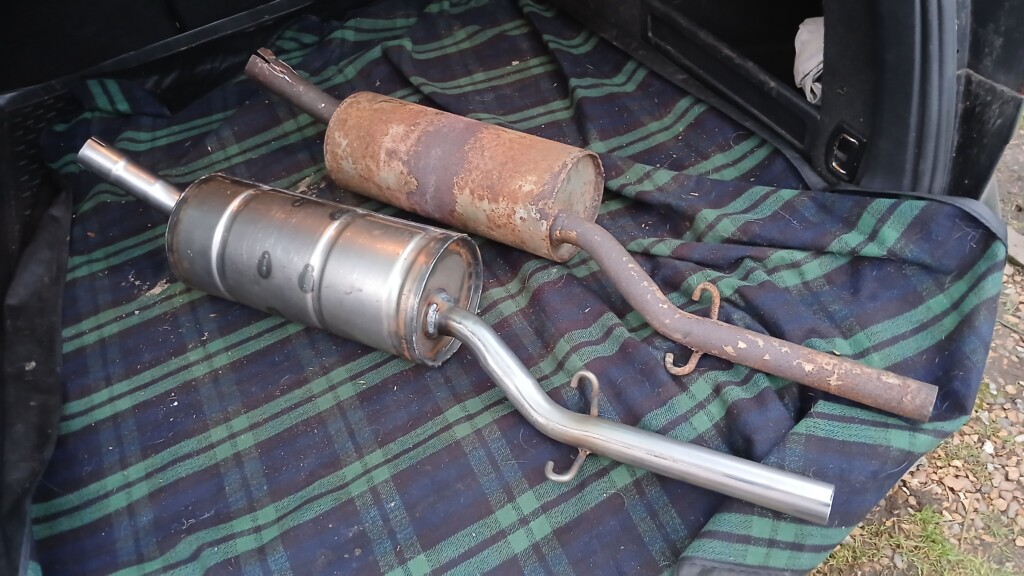
Then there was the rear exhaust box—a 24-year veteran of the car, and not about to go quietly. I soaked it repeatedly with WD-40 over a couple of days, then attacked it with a Dremel and a cold chisel. Slowly but surely, I peeled the stubborn pipe away. After yet more WD-40 and a two-day wait, the pipes finally came apart. This was now late November and the rear exhaust box was off and ready for its trip to Maniflow exhaust specialists in Salisbury.
December
While waiting for the rear exhaust section to be made, I took the opportunity to adjust the tappets over the Christmas holiday. Ever since I last did them in July 2016, there’d been a slight, annoying “tappety” noise—not nearly as bad as before, but still enough to bug me. After more than 5,000 miles of motoring adventures, it seemed about time for an adjustment.
I set the tappets with the engine cold, but since the exhaust was off, I decided against starting the car. I figured I’d wait until the new exhaust was fitted before tackling the warm engine adjustments. No point disturbing the neighbours with a racket, right?
January 2025
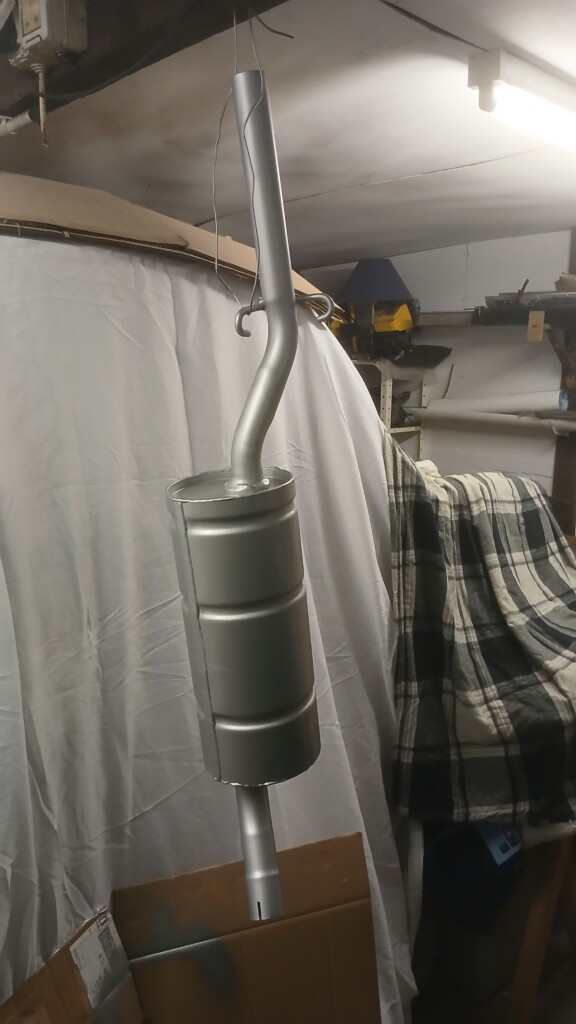
Maniflow in Salisbury did a fantastic job replicating the old exhaust box, pipes, and bracket. They even offered to paint it as part of the cost if I’d asked, but I decided to handle that myself. Over a few days, I gave it several coats of silver Hammerite Smooth from a trusty rattle can. The finish looked great, and it felt good knowing it had plenty of protection.
Fitting the new exhaust was surprisingly straightforward. I’d bought new rubber hanger loops and an exhaust clamp from Car Builder Solutions, so everything went together without a hitch.
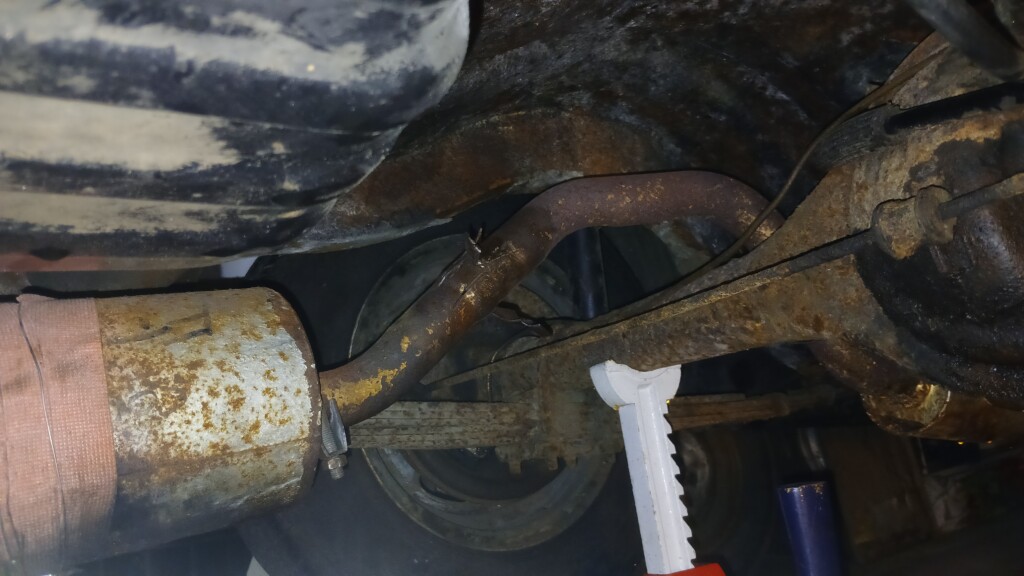
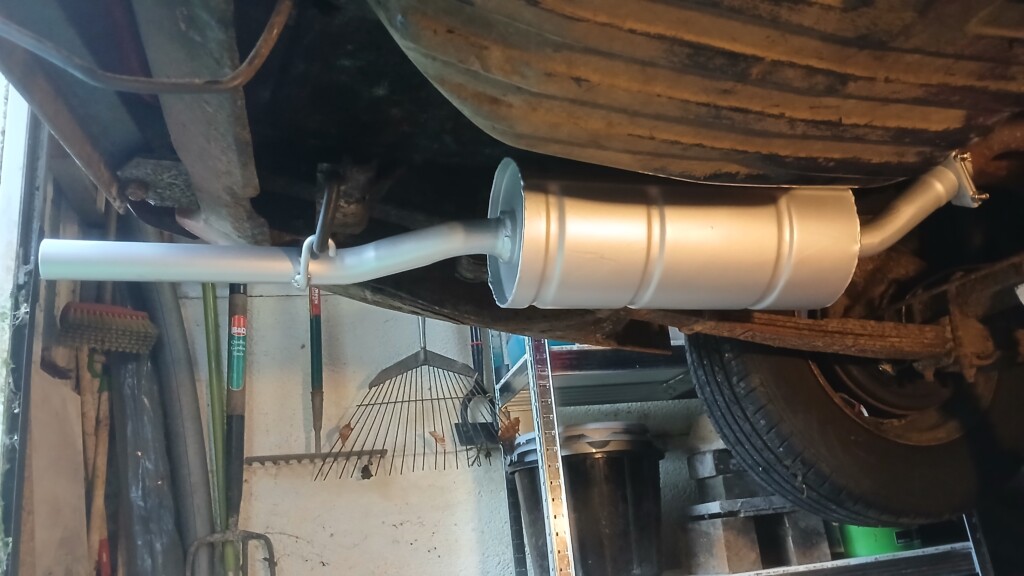
However, with the cold and damp weather lingering, I held off on connecting the battery and starting the Corsair. I’m saving that for a warmer, drier day—when I’ll finally warm up the engine and fine-tune those tappets. Until then, it’s back to the house for a cup of tea to warm up and some planning for the next job!