Saturday & Sunday: I had to modify the new strut top mounts which required prising out the mounting studs, re-drilling the stud holes to match the Corsair’s inner wing strut mounting holes and replacing the studs. A bit of filing to the holes to the inner wing was required so the new stud locations would fit through, with a bit of a wiggle. I then assembled the nearside strut first, which was tricky but thought I had got it all back together OK, though the top mount looked askew with the spring uncompressed. Dealing with the offside strut I came across my first major problem with the bearing in the new top mount, it seemed to be upside down. It wouldn’t seat properly the correct way up but it would if I turned it over. I stopped at this point and came away to think some more.

Prising out the studs on the new Meyle strut mount 
Pressing in the studs into the new drilled holes
Re-assembly of the nearside strut was difficult and which in my efforts messed up the newly painted surface of the strut with gripping in the vice, even with a thick cloth around it. Some touching up or repainting will be required after re-assembly. Something else I was to discover by Wednesday, was that I hadn’t done a very thorough job of tightening the top mount and was probably why the spring didn’t look straight.
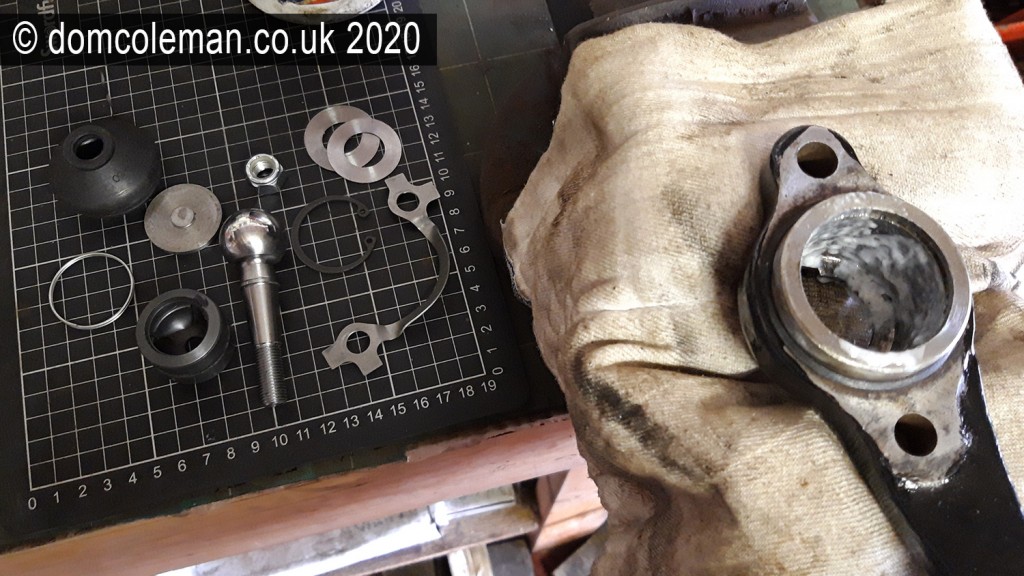
Ford Corsair Steering Arm and replacements parts (Amsteer) 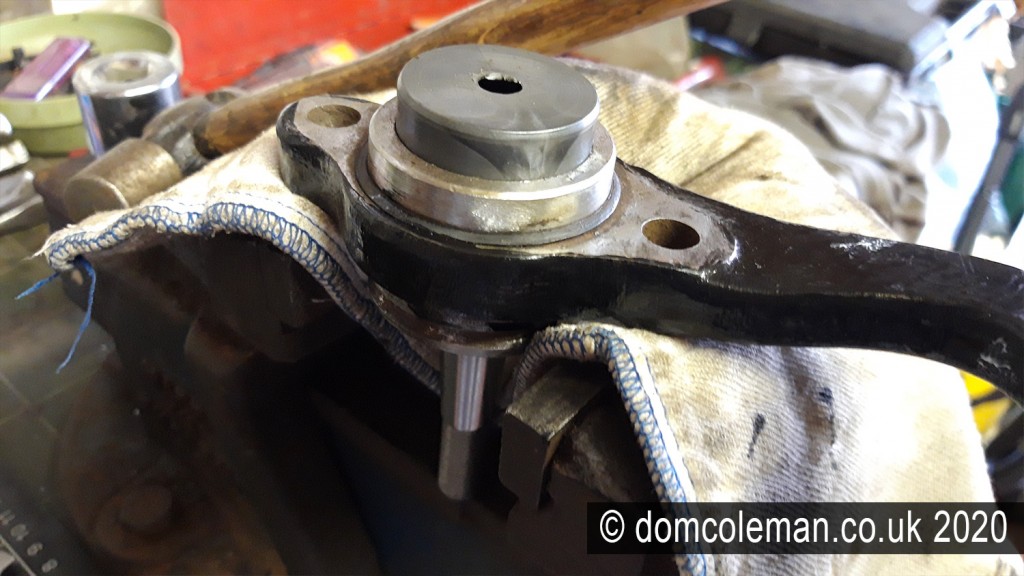
Ford Corsair Steering Arm outer bearing prior to fitting 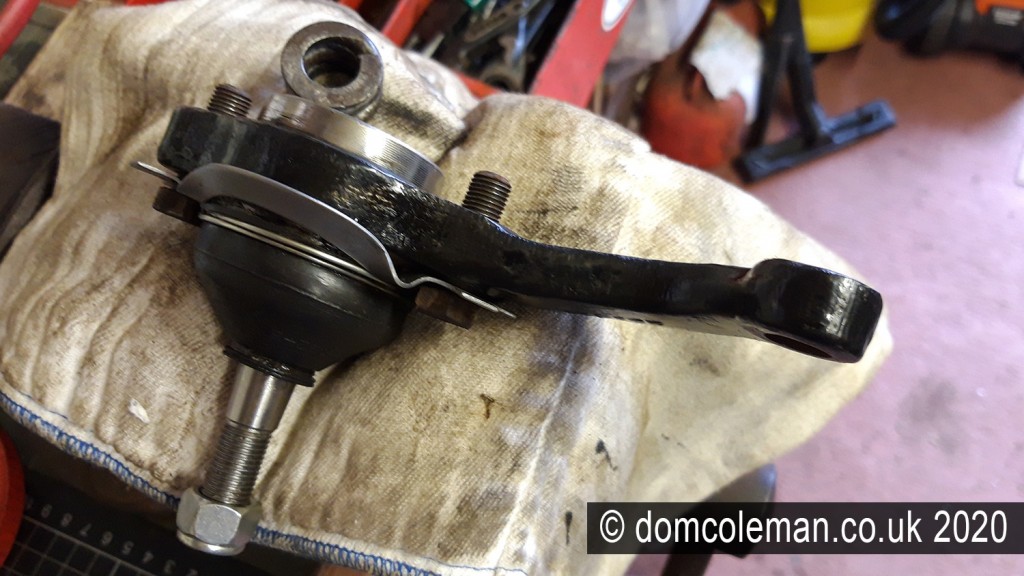
Ford Corsair Steering Arm fully assembled 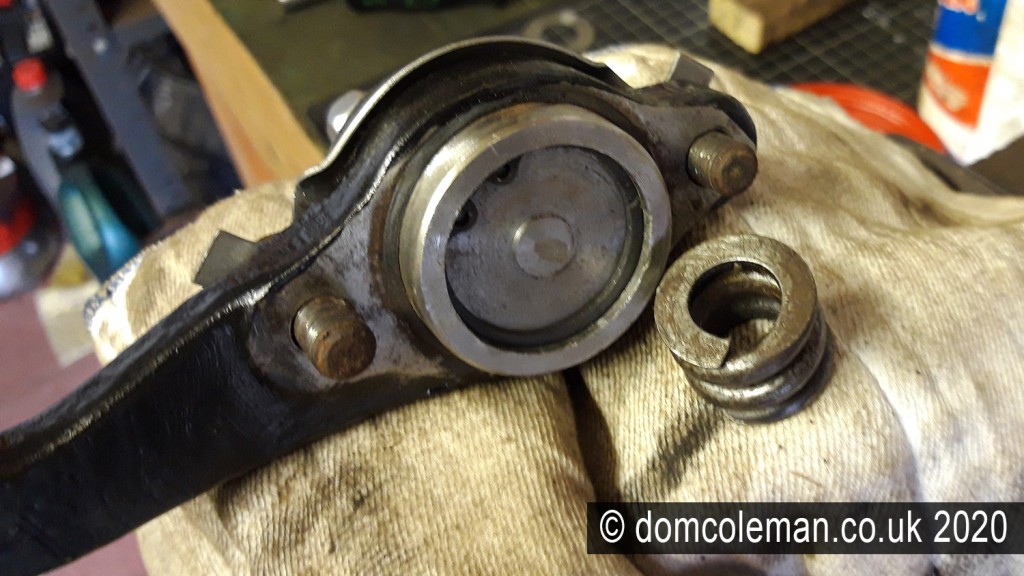
Ford Corsair Steering Arm fully assembled – strut mounting side with spring
Tuesday: With ongoing enquires to Meyle about the faulty strut top, I fitted the Track Control Arm to Anti Roll Bar (ARB) Superflex poly bushes the the TCAs. I had read stories of how difficult and ‘easy’ they are to fit. So here it is from me, a novice’s point of view… It turned out it was fairly straight forward but you need a bench vice and not be afraid of the distortion you see when squeezing the bush into it’s hole.
How to fit a SuperFlex Poly Bush by Dom
- Apply the supplied lubrication to the first half of the hole first
- Open up the jaws of the vice to accommodate the TCA, the poly bush and a bit of wood
- Placed the wood batten behind the TCA
- Offer up the poly bush to the lubricated hole and grip gently with the vice jaw
- With the wood, TCA and bush held free of hands in the vice, start to wind in the vice jaws
- Continue to wind in the vice jaw to see half an outer edge of the poly bush go in, ensure the back face of the poly bush is still flat with the vice jaw
- Keep going winding in the vice jaws, even though it looks like the other half of the edge is not going in and looking distorted or bulging out from the hole
- Soon, there should be a satisfying ‘pop’ as the other half of the bush goes in
- Job done, release from the vice and clean up excess lubrication
Don’t ask me about poly bush removal – that may appear in the blog 20 years from now!