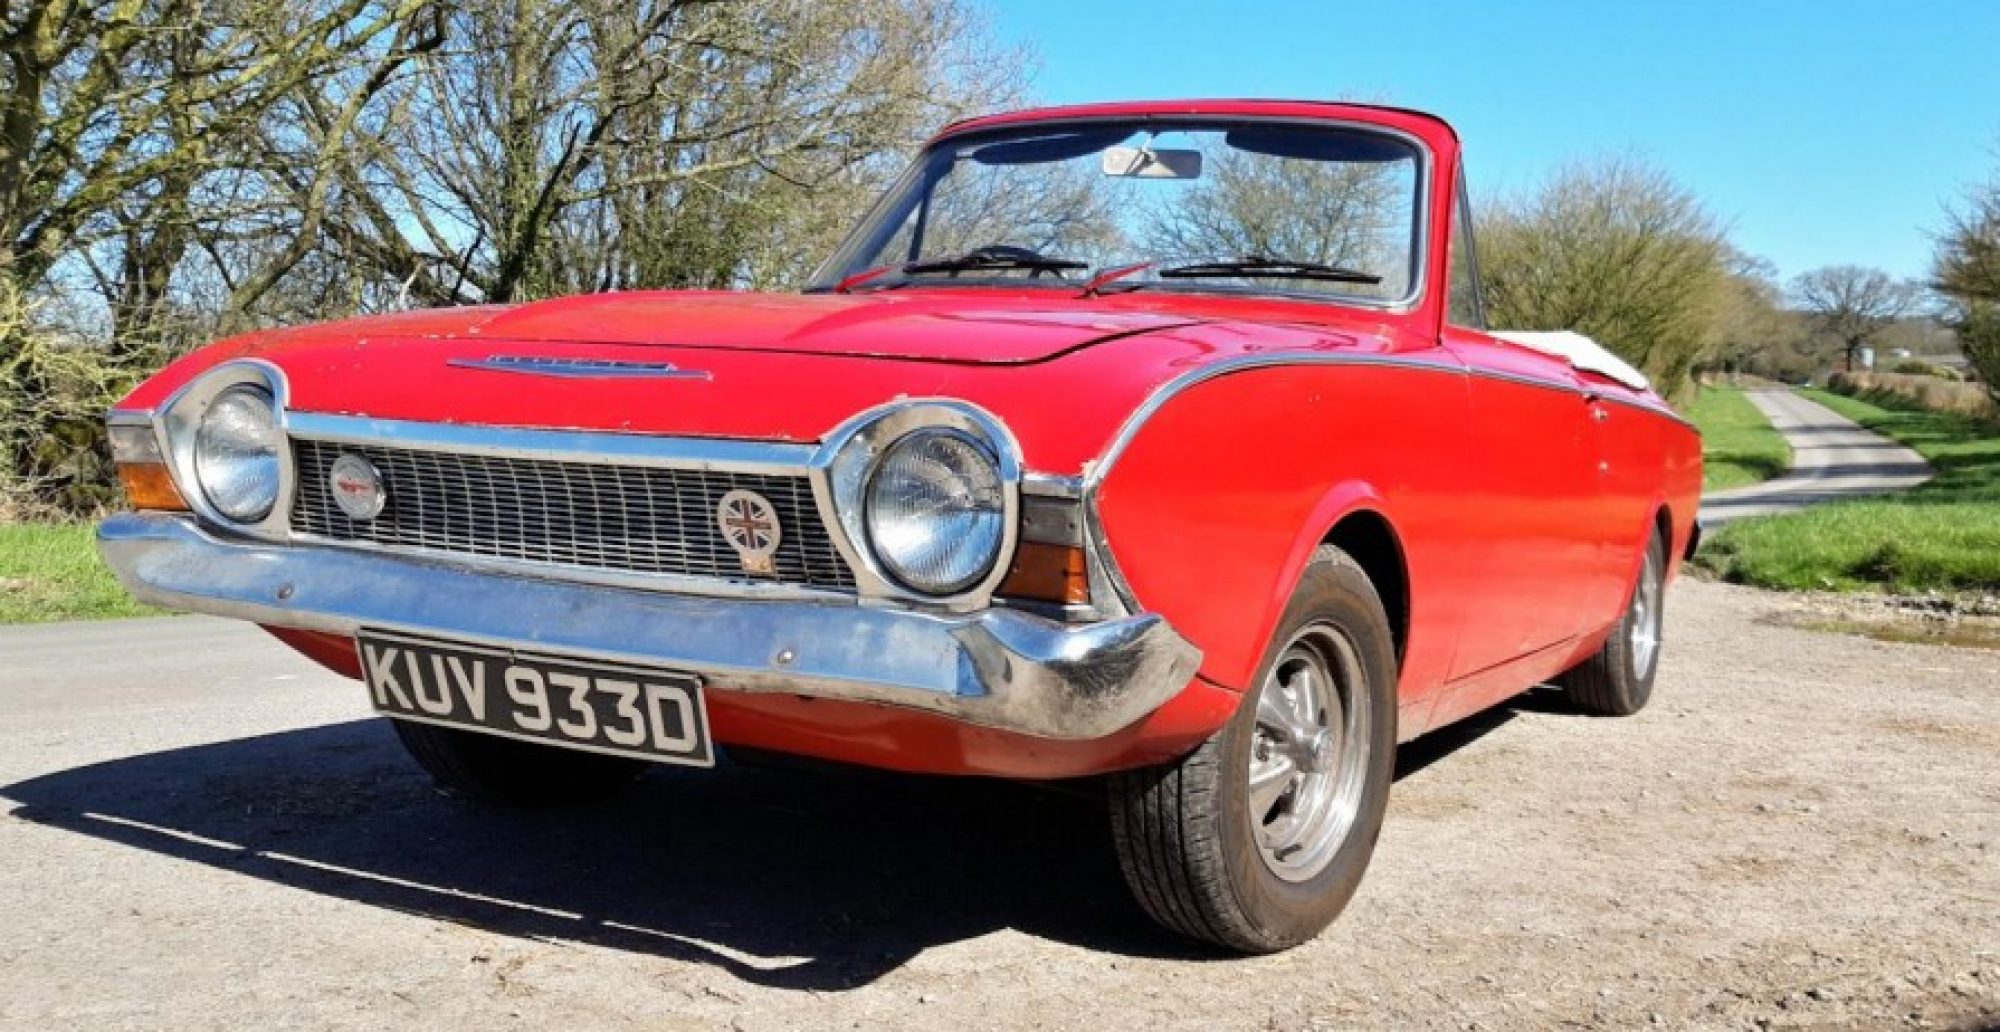
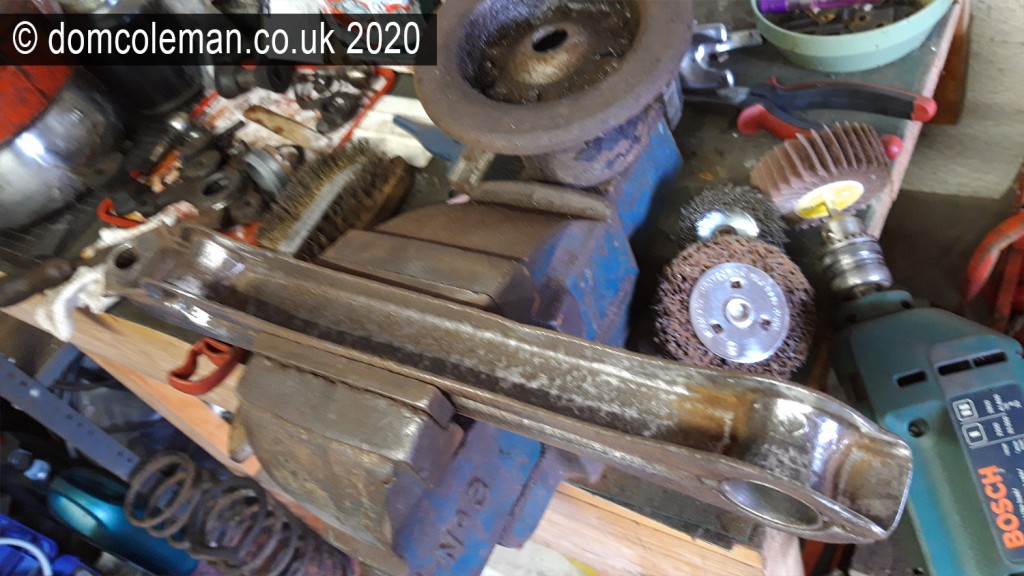
Thursday: With all the suspension components removed off the nearside strut I set about cleaning the parts. The TCA was particularly grimy so it was initially de-greased along with the steering arm and strut.

Friday: I stripped down the offside strut without any problems of spilling damper fluid as before. I did have a very stubborn steering arm ball joint which wouldn’t come off the TCA and subsequently broke my ball joint splitter. After much pondering and trials of other methods including heat I went to undo the nut on the ball joint end but it became stuck on the crushed thread from all the beating and abuse earlier. However this meant the nut locked up and thus forced the ball joint shaft to turn in its seat, therefore freeing it from the TCA so I could hacksaw the nut off and remove the steering ball joint from the track control arm.
The deeper clean then ensued of all the dismantled parts. I used a carbide abrasive wheel attached to my drill, followed by hand wire brushing and a wire brush attachment in the drill, following with finer grinding attachments for the nooks & crannies and a soft abrasive drill attachment to finish off. The TCAs were back to bare metal in most places and were ready for painting. With the good results on the TCAs I set about cleaning the steering arms, strut top mounts and the struts so that they too were ready for painting in black smooth Hammerite.
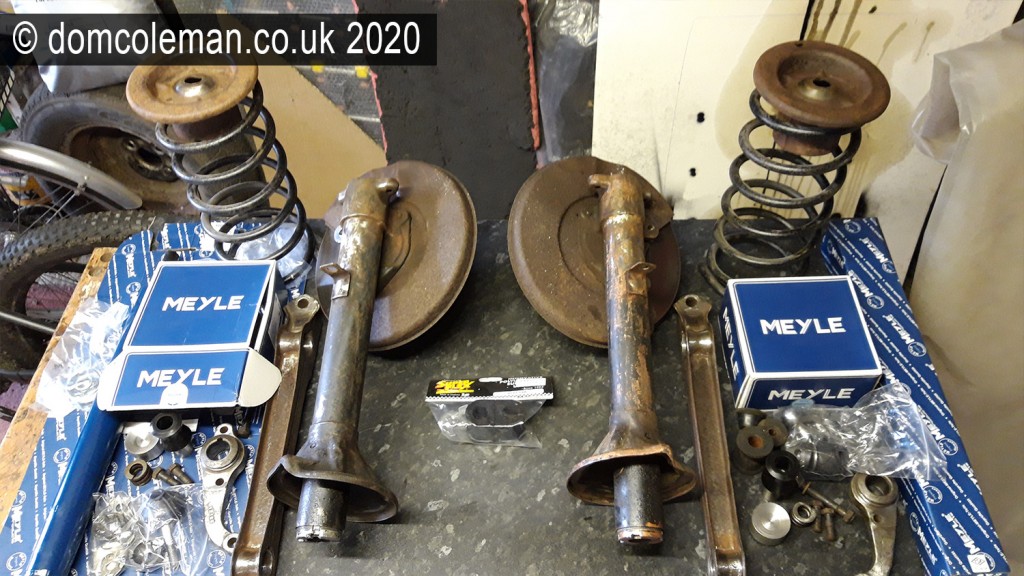
After painting, the parts all looked nice and clean so were ready for reassembly; little did I know how hard this would be.