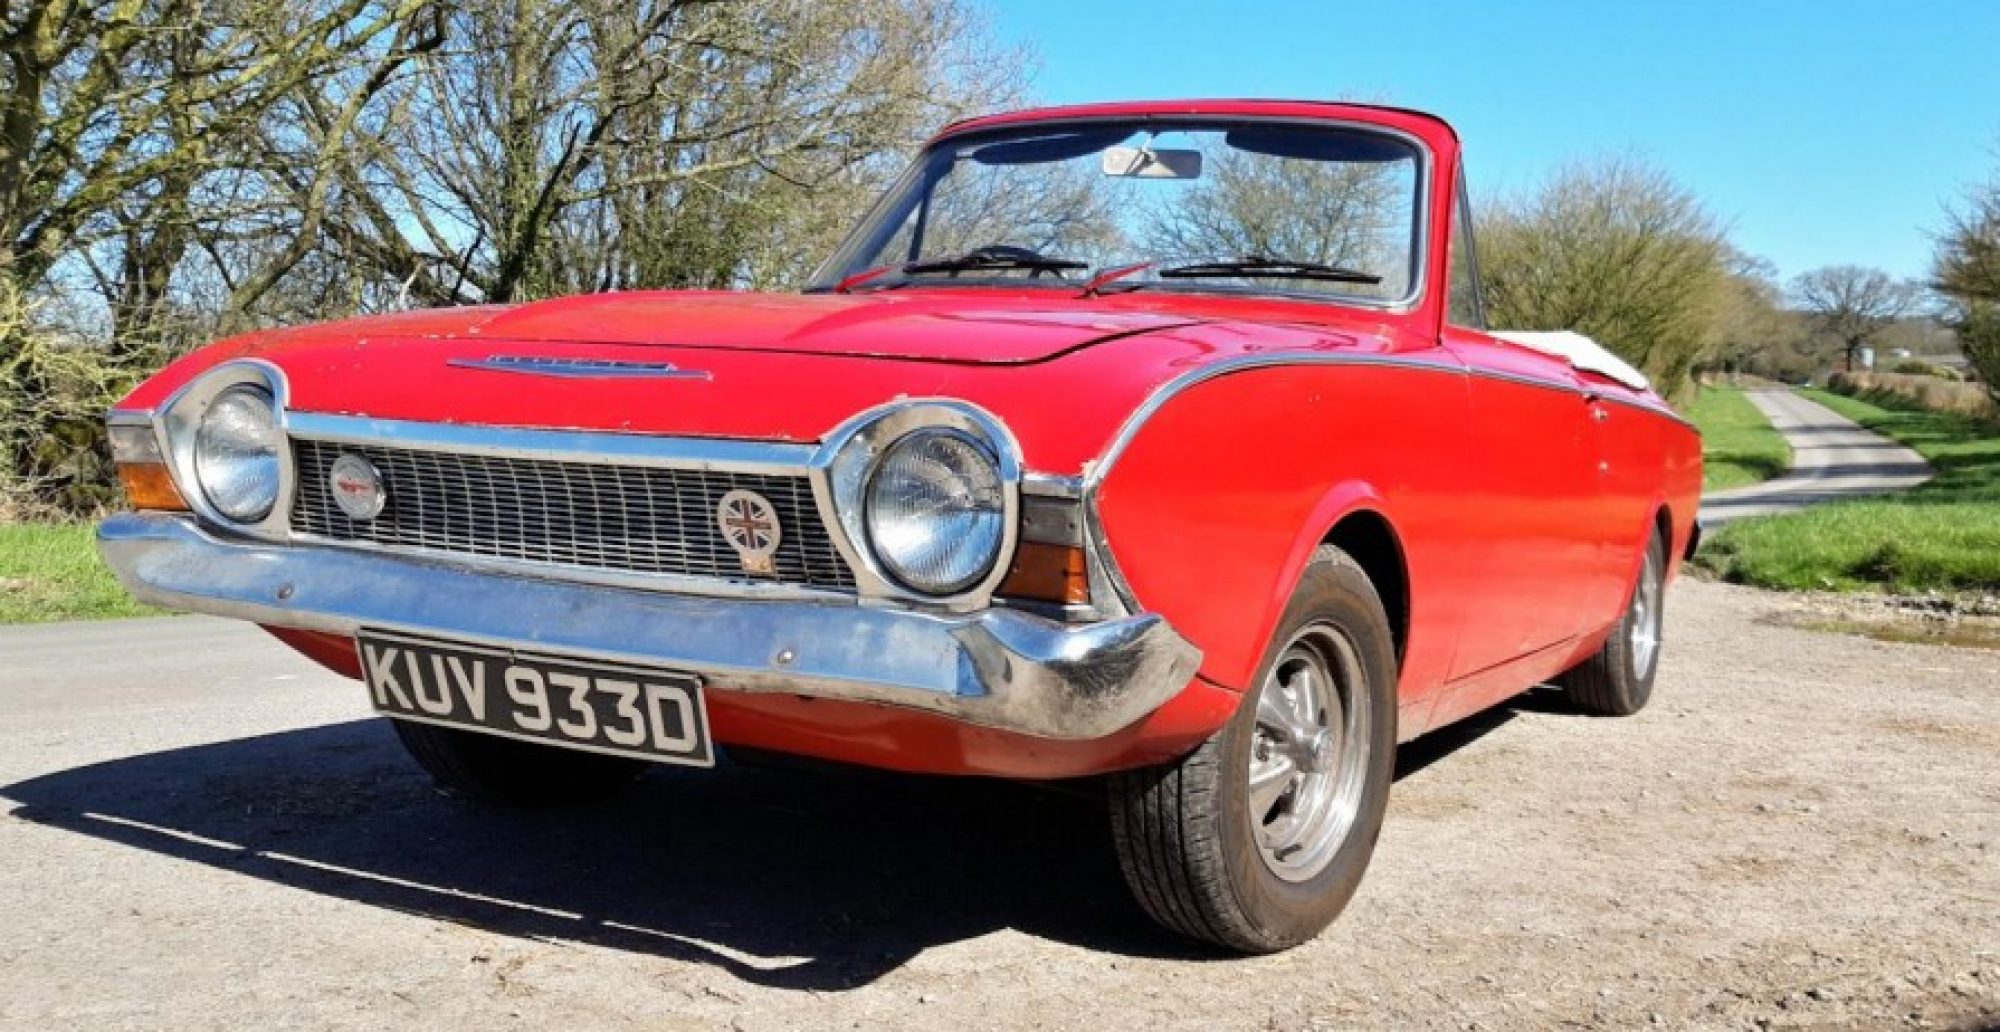
With the other repairs behind me all was good with the Corsair, so I decided to do something about sorting the sloppy gear lever action. It had always been loose and wobbly and I had got used to it, even when the spring cover used to pop out when I had the plastic gear lever nut and the lever would only stay in place by the rubber boot. I bought my parts through Kelvedon Lotus, mainly serving the racing community of Lotus tuned Fords and other marques. The only part I couldn’t get was the spring washer, but I bought a gear lever repair kit mainly for the nylon ball and lever bushes adding a new gear lever spring cover and a new spring.
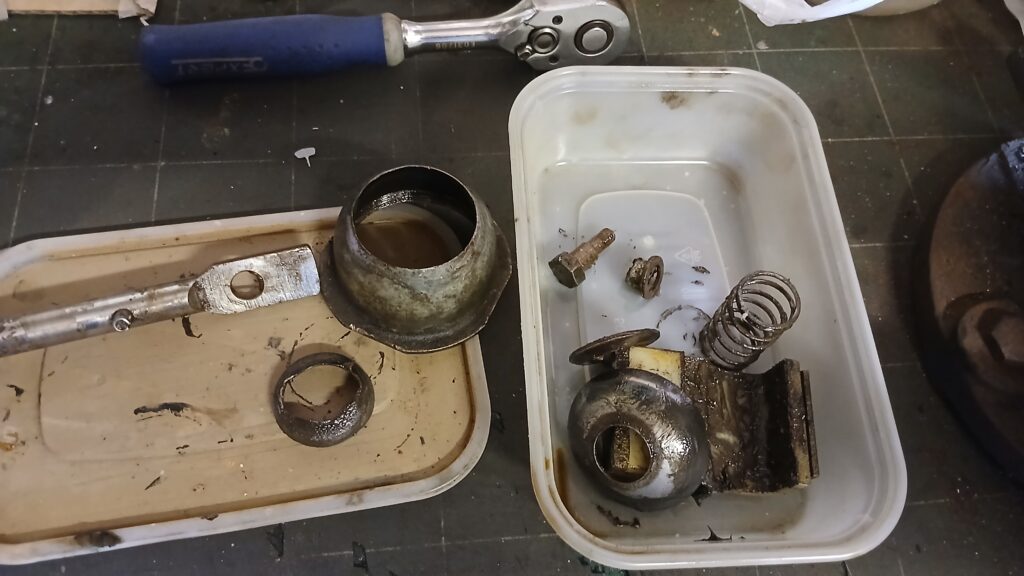
Parts ordered on Wednesday, dispatched Thursday, delivered on the Friday and fitted on Saturday. Removing the remote gear lever housing was fairly straight forward though very dirty with leaked oil all over it. Taking the gear lever apart was reasonably simple and it became evident that the lever had been completely missing the ‘ball’ component. The mounting pin was still there but I suspect a crude temporary fix with a piece of shaped metal was there to prevent the spring from fallling out the bottom.
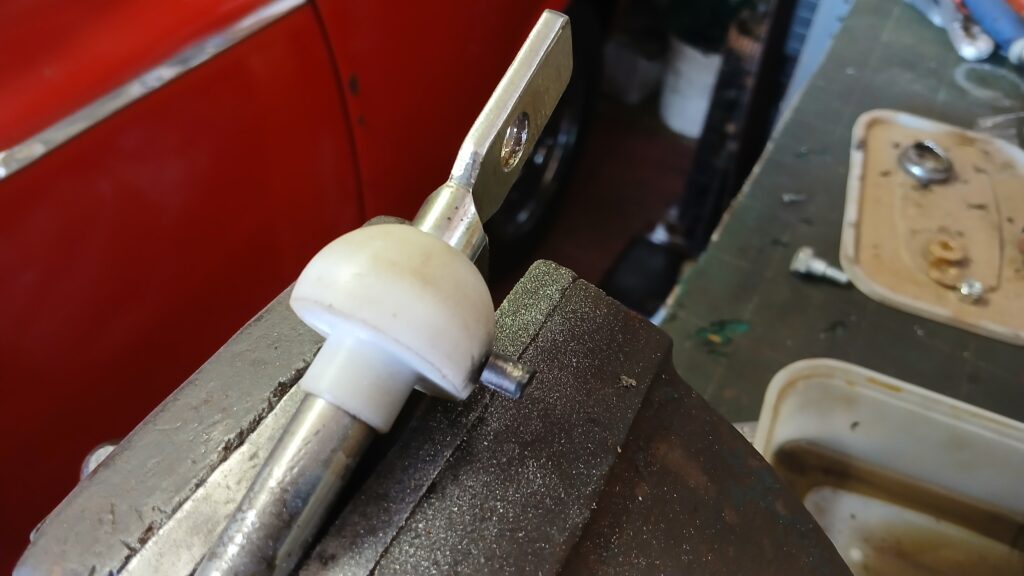
The reassembly job fought me all the way. I had to file out the mounting holes in the lever ball so I could get the mounting pin in. I then had to trim the mounting pin down as it was oversize and drive it in with a punch so the lever ball would then seat it self propely in the ball cup. New bushes were fitted with a new bolt & nylock nut and all was going well, however, refitting the remote casing back on to the gearbox required a bout 4 attempts. Each time, I had difficulty engaging reverse with the new lever ball not allowing any vertical movement to lift the lever as I used to. Going by the clicking I would hear in the box I assumed the lever was just missing a connection with the reversing rod. I ended up readjusting the revese stop plate and ensured careful placement of the remote unit back on to the gearbox so the loose reverse lever would connect in to the hook of the reverse rod.
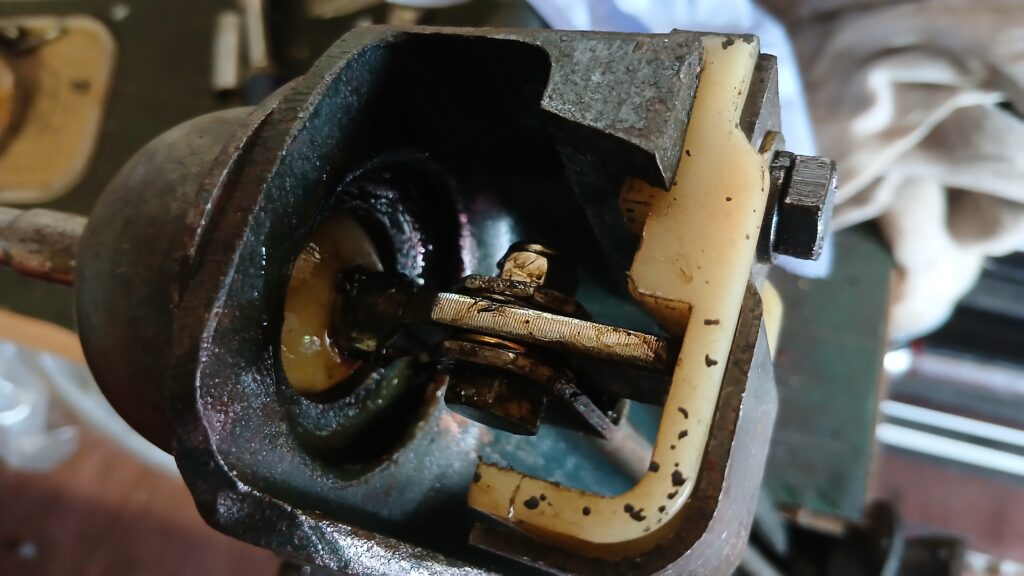
The gear lever was tight and much more positive in its movement. Selecting reverse couldn’t be done as before by lifting the lever as there no upward movement, but a firm push to the left and move down alongside 2nd and it would engage. A test drive with the repaired gear lever was good but I had to re-train my brain on its more positive selection and position of the gears.
A subsequent web search found this interesting article/blog about the diificulty of selecting reverse (scroll 3/4 way down) – they filed the lever ball down to enable lifting of the lever to engage reverse. https://bridgeclassiccars.co.uk/quick-round-up-before-christmas/
Next on the agenda, the following day, was to finally get around to sorting out the blowing exhaust. When I changed the manifolds a couple of years ago I never used any exhaust paste to seal the joints, thinking I didn’t really need to use it. With the new rear exhaust box, six months ago, it was evident from the MOT inspections that there was still a leak, also I could hear it as a ticking noise when under load, especially now I had redone the tappets.
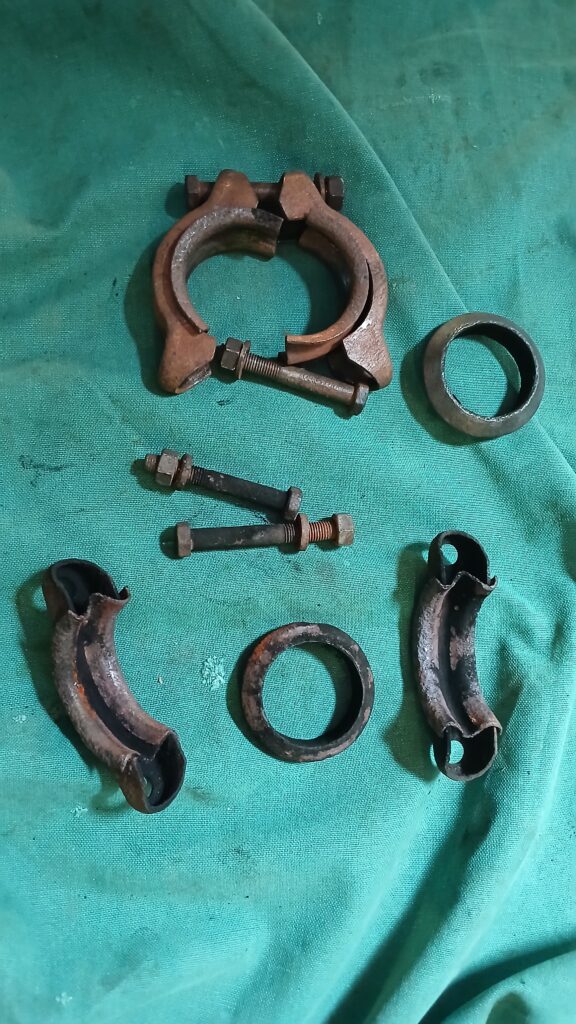

No test drive but no evidence of blowing around the joints when still up on the ramps and seemed quieter without the ‘ticking’ noise when I put the car back in the garage.