While the Corsair was away at AJ Restorations I had a go at rebuilding the Zenith 361V carburettor. I had bought another one to practice on first, but it was mainly designed for a Land Rover application as the fuel inlet was different and I wasn’t sure on some of the other internal subtle differences, so it was not suitable for the Corsair application. The only part I salvaged was the rod connecting the floats as the original was bent. I refrained from swapping the pump too as the Land Rover one had a much softer spring and I wondered if that would have an adverse effect on final operation.
The images are in a sequential order and partially explain the process.
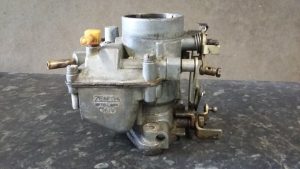
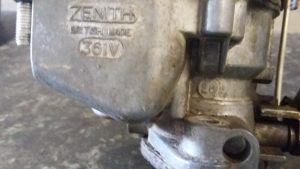
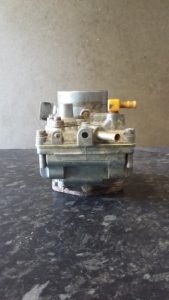
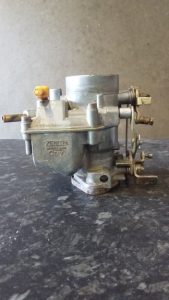
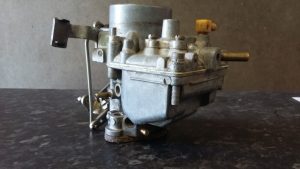
Zenith 361V Carburettor – Ford Corsair application
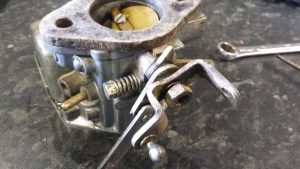
Zenith 361V Carburettor – Ford Corsair application linkages
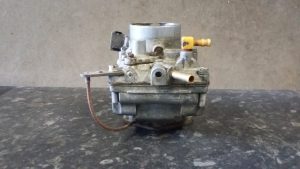
Zenith 361V Carburettor – Ford Corsair application; note the metal cable attached to the upper body (right of photo) which leads to the ‘Volume Control Screw’ at the base of the carb
Zenith 361V Carburettor – Ford Corsair application; note fuel inlet at the centre on the float chamber cover with a blanked inlet. The Landrover version had the fuel inlet on an extra port to the left of the blank which would have fouled the distributor.
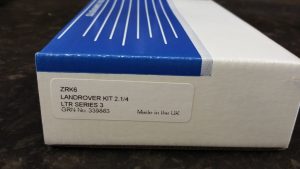
Yep, it says Landrover but several parts were used for the rebuild. It didn’t come with new jets though – but on another service kit I had some but weren’t sure if they would have been specific for the Landrover.
Zenith 361V Carburettor – Ford Corsair application note No. 28 to right of float chamber that indicates the choke tube size.
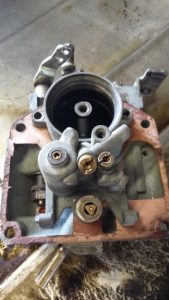
Top half removed showing the ‘Emulsion Block’ looking at main jet (centre) and compensating jet (right). To the left is the housing for the ‘Accelerator Pump’
Zenith 361V Carburettor – linkages set up reference
Linkages laid out for reference
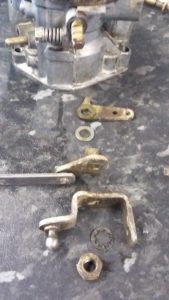
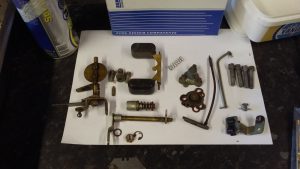
Zenith 361V Carburettor – old bits removed for cleaning or replacement
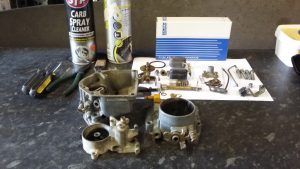
Zenith 361V Carburettor – All parts laid out and showing the equipment used in the rebuild process.
All surfaces that were to come into contact with the gasket where flatted off on WD40 soaked 1200 grit wet and dry
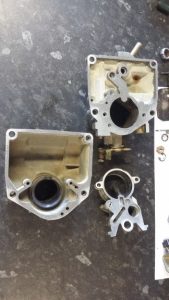
Zenith 361V Carburettor – reassembly of ‘Emulsion Block’ and ‘Main Body’ with new gasket and floats in place
Zenith 361V Carburettor – another angle of reassembled ‘Emulsion Block’ and ‘Main Body’ with new gasket and floats in place
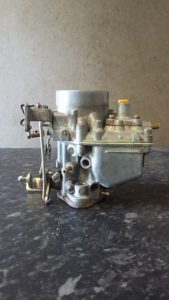
Zenith 361V Carburettor – Ford Corsair application after clean and rebuild
Zenith 361V Carburettor – Ford Corsair application after clean and rebuild
Zenith 361V Carburettor – Ford Corsair application after clean and rebuild
Zenith 361V Carburettor – Ford Corsair application after clean and rebuild
Zenith 361V Carburettor – Ford Corsair application after clean and rebuild
Plenty of time was spent taking it apart and with the old gasket scrapped off and the whole carb dismantled, the mating faces of the body were rubbed on 1200 grit wet and dry paper with WD40 as a lubricant to flatten the surfaces. Plenty of carb cleaner was sprayed in all the holes and orifices then blown through with an air duster but it wasn’t very powerful.
I used these useful links to help in my research for what to do:
At this point the carburettor is untested but no doubt a report will be done once it has been fitted. I hope that was of interest and thanks for viewing.
2 Replies to “Carburettor rebuild (Zenith 361V)”
HI WHERE DOES THE OVERFLOW BIT ON TOP OF THIS CARB GO
goes back to the petrol tank, follows the route of the main fuel line.




HI WHERE DOES THE OVERFLOW BIT ON TOP OF THIS CARB GO
goes back to the petrol tank, follows the route of the main fuel line.