Wednesday: That was a tough day. From butchering end caps to spilling hydraulic oil and getting filthy dirty, it all amounted to a tough day.
First job was to remove the track control arm (TCA) from the strut. The whole strut assembly with the TCA was a heavy unit and remained on my workmate, so I attempted to fit the ball joint extractor with it in situ. However the leverage required to tightened the nut on the extractor was not keeping the strut still and the extractor slipped off anyway due to not being seated properly. It was a cumbersome lump of metal to manoeuvre on my own into the vice but once in place (chocked with wood) I now had good access to fit the ball joint extractor tool properly. I also could enlist the use of the breaker bar with socket to turn the nut on the extractor tool, wincing on each turn of the nut as it got stiffer and stiffer until eventually with a ‘pop’ the TCA separated from the steering ball joint.
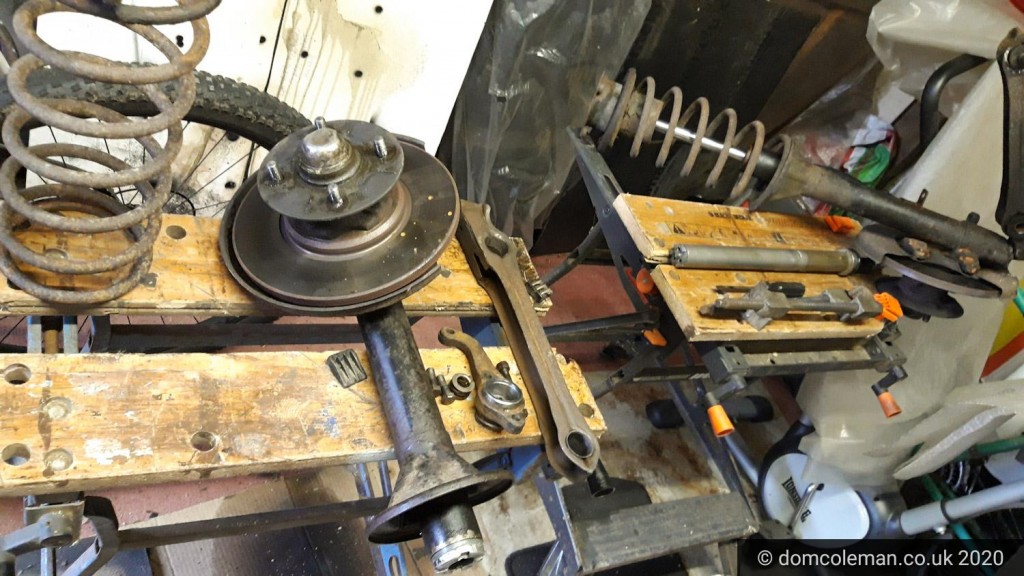
Next was the removal of the steering arm and ball joint assembly which was fairly straight forward. Removal of the spring, again, was quite straight forward but I took it carefully as I’ve seen a spring break free from a clamp before and quite a violent experience that was knocking tools everywhere. With the top mounts removed along with the spring my attention turned to the damper insert. There is a screw-on cap at the top of the strut that holds the main body of the damper in place. Using a large screw driver and hammer I was unable to tap the cap off. I reverted to to a cold chisel and mallet but the cap would still not budge. Liberal amounts of ‘Plus Gas’ penetration fluid, heated the strut with a blow torch and with more heavy hitting in all directions, all I was doing was mangling the head of the screw cap. Well I had not much else to lose now and out came the pipe wrench, the tool for when all options are exhausted. And with a very firm grip and lots of torque from my body weight the cap moved for it to be unscrewed.
Bear in mind the strut is still in the vice mounted horizontally, though I had turned it around for a better position to abuse the screw cap. In the book it said a firm grip on the damper piston and pull the assembly out. What I didn’t account for was all this hydraulic fluid pouring out on the carpet on the garage floor. Luckily I had an empty jar to hand to catch the remainder of the fluid. By now I had taken apart all I needed of one strut and I could turn my attention to cleaning up the strut parts, my work bench, garage and myself.
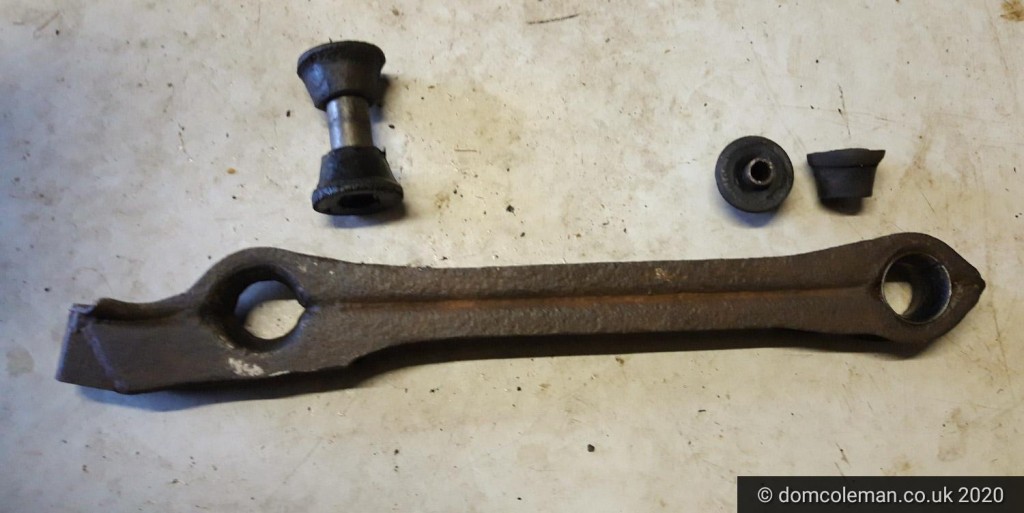
The TCA bushes for the Corsair is a contentious issue as there are ‘fabricated‘ or ‘pressed steel‘ versions of TCAs as per mine (above) and the GT models or upgraded models had the ‘cast or forged’ TCAs also seen on Mk1 (GT/Lotus) Cortinas. I had planned to go the poly bush route but the inner TCA bushes (to cross member) in poly are not available for the pressed steel arms but the bigger TCA to Anti Roll Bar bush was universal for both types of arm. I was reluctant to re-use the existing bushes so will continue with the poly bush for the TCA to ARB but via the Corsair Enthusiasts Facebook I purchased the inner TCA bushes as per original rubber spec. Further cleaning will be required as the struts and TCAs will be painted in smooth black Hammerite.