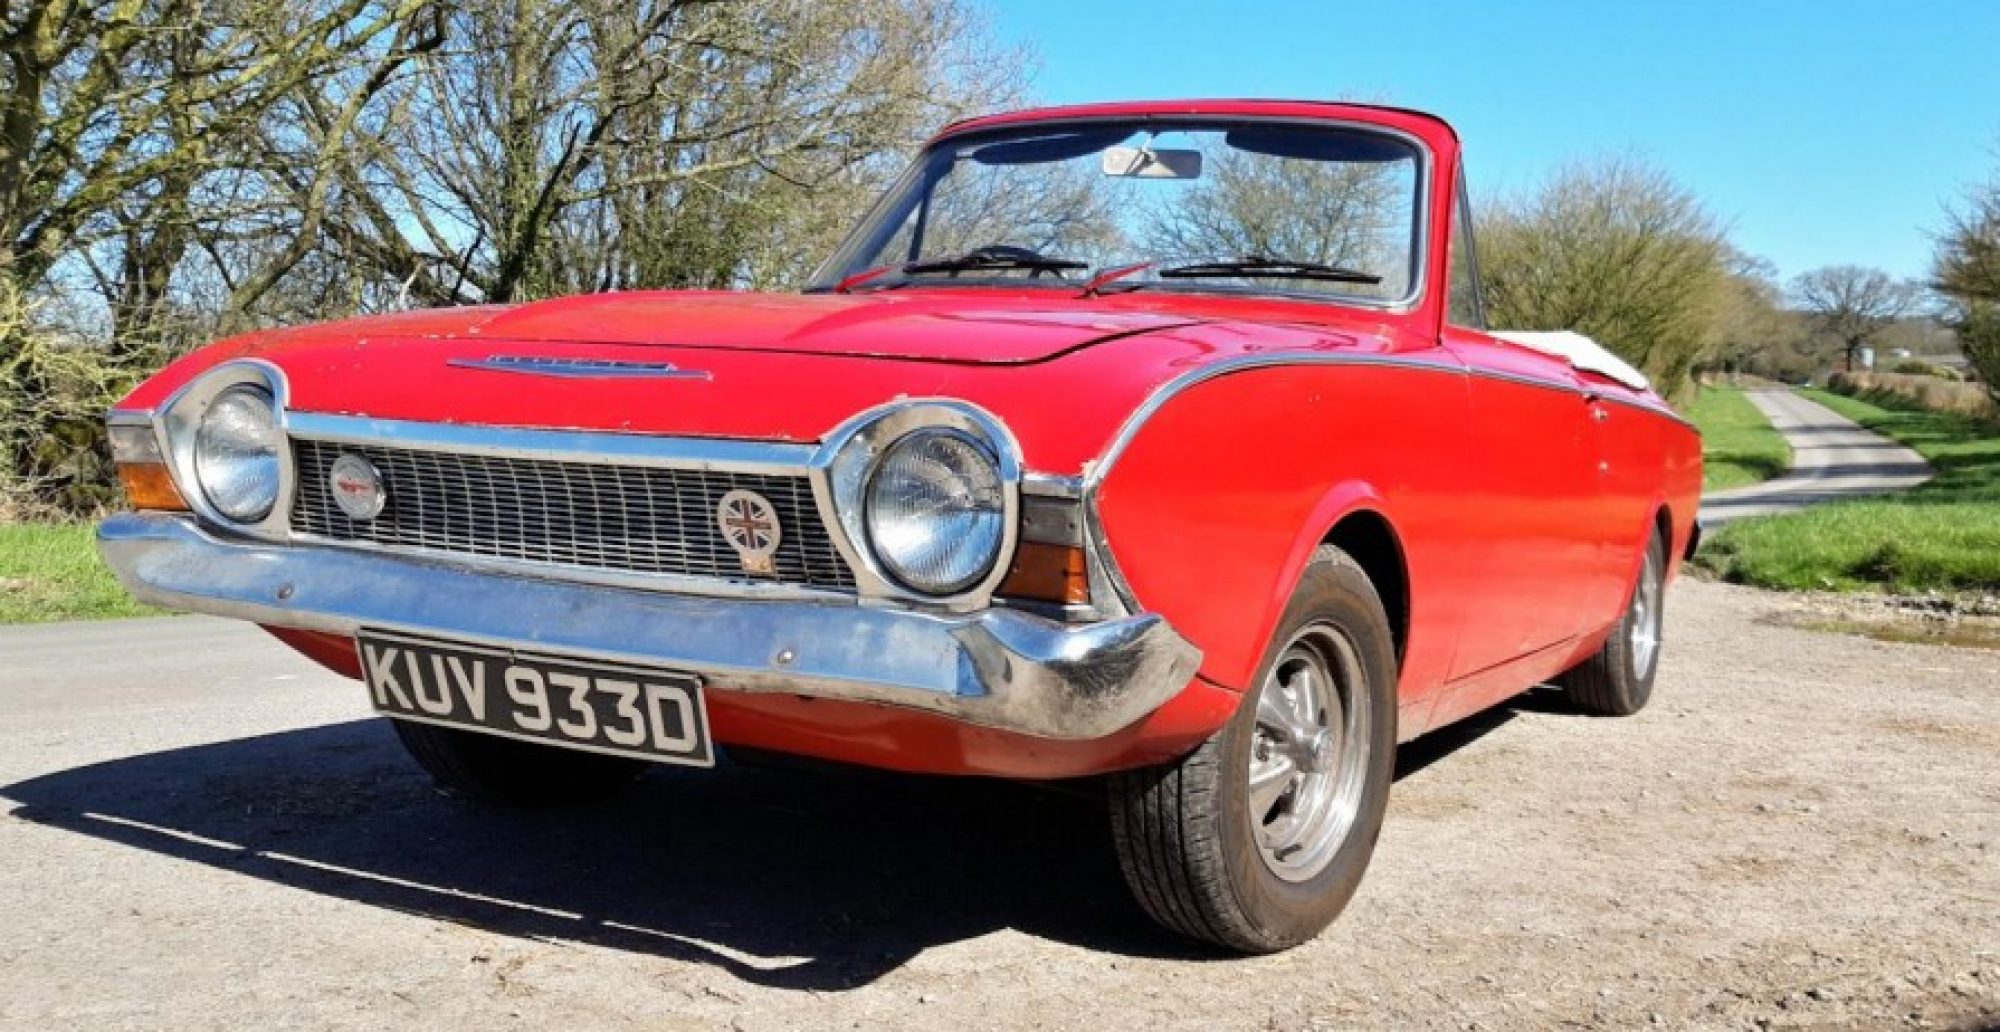
Back Up and Running – A Step Forward

Hope this plays OK… it’s a big file (HD phone)

Simple really, I asked Martyn from Hill Top Motors to help. He popped round one long lunch on Saturday, checked for a spark in the points and from the coil. Cleaned the very dirty points (with plain paper) and hey presto the Corsair started – Martyn did have to nip back to his workshop to get an insulating boot for the lead out of the coil as it was arcing out on the body work.

So while the engine was running I tried out the clutch so now can get the car in forward and reverse gears and move the car! Hurrah! It all works! As I was on a roll I even re-fitted the drivers seat.

Dom

PS: I don’t know why I struggled for so long to go around to Martyns and ask for help – It was my initial email contact and communications with a mobile mechanic, Miles Chislet who was positive and keen to see the Corsair but it was just a bit beyond the area he normally covered. However, it was enough to encourage me to try Martyn.

Electrical Gremlin(s)

Had a tinker last Sunday to try and trace the fault with the ignition. With help (and I mean it) from my 11 year old son, we are sure it is the coil that is faulty. Using my screw driver test lamp with crocodile clip I checked the points and condenser which according to the instructions in the Haynes manual appeared to function fine. I later re-learned what was the Low Tension (LT) circuit and the test light glowed when on the + terminal of the coil when it should have not… or something like that.

Anyway, I’ll need about £35 for a new one, so it’ll have to wait. I didn’t test the clutch this time, forgot, but will try to next time.

If you have advice you can pass on, please comment below.

Clutch Fluid Pipe

Had a custom clutch fluid pipe made up for me by A1 Hydraulics (Leicester). I think it looks great in that of a technical manner and serves a function too. The pictures here only show it in a mocked up stage to check that it fitted and was clear of other parts. Will do some proper pictures next time when the components are installed properly.

Hydraulic Clutch pipe made by A1 Hydraulics of Leicester.

…motivation continued…

A few more hours spare on a Sunday afternoon and the exhaust system, starter motor, prop-shaft, gearbox lower cover plate and other small items were all re-connected and the gearbox to engine all tightened up.

One minor glitch that could have spelled a disaster, was that the gearbox had some how gone into gear whilst out of the car. So when when the prop was re-connected the car couldn’t be rolled back into the garage. The gear lever mechanism had to be refitted with some guess work, and with a bit of luck slotted back into place and I was able to take the car out of gear. The Corsair seemed a lot heavier pushing back into the garage too!

2013 – Not forgotten…

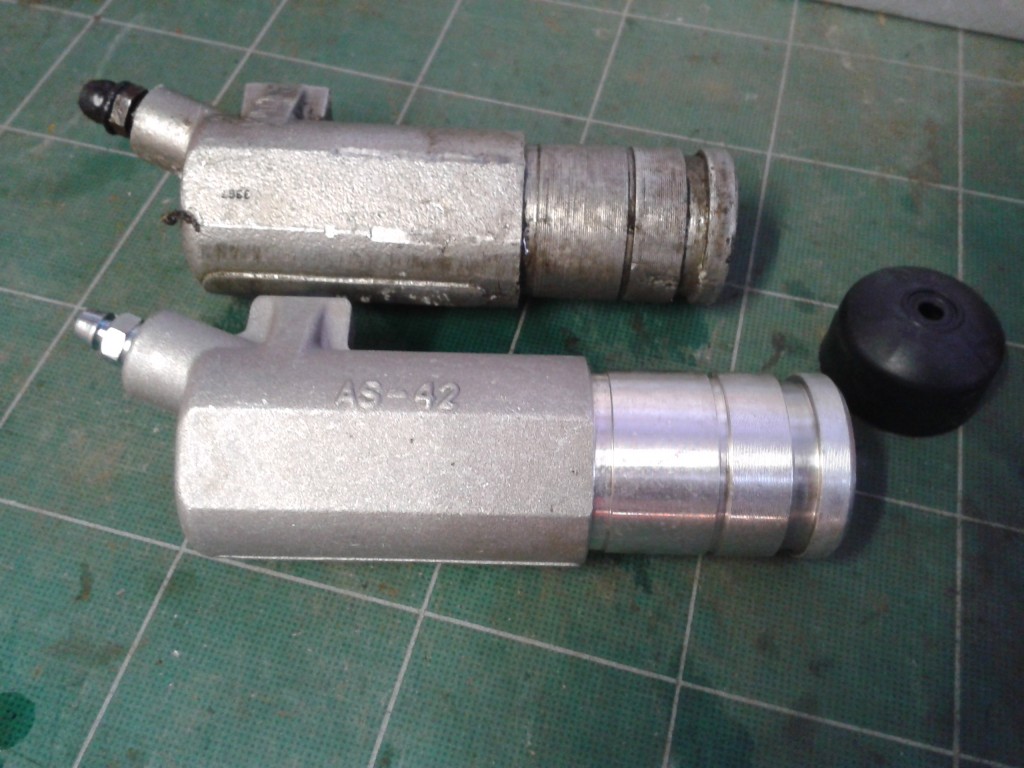
clutch slave cylinders
old and new clutch slave cylinder

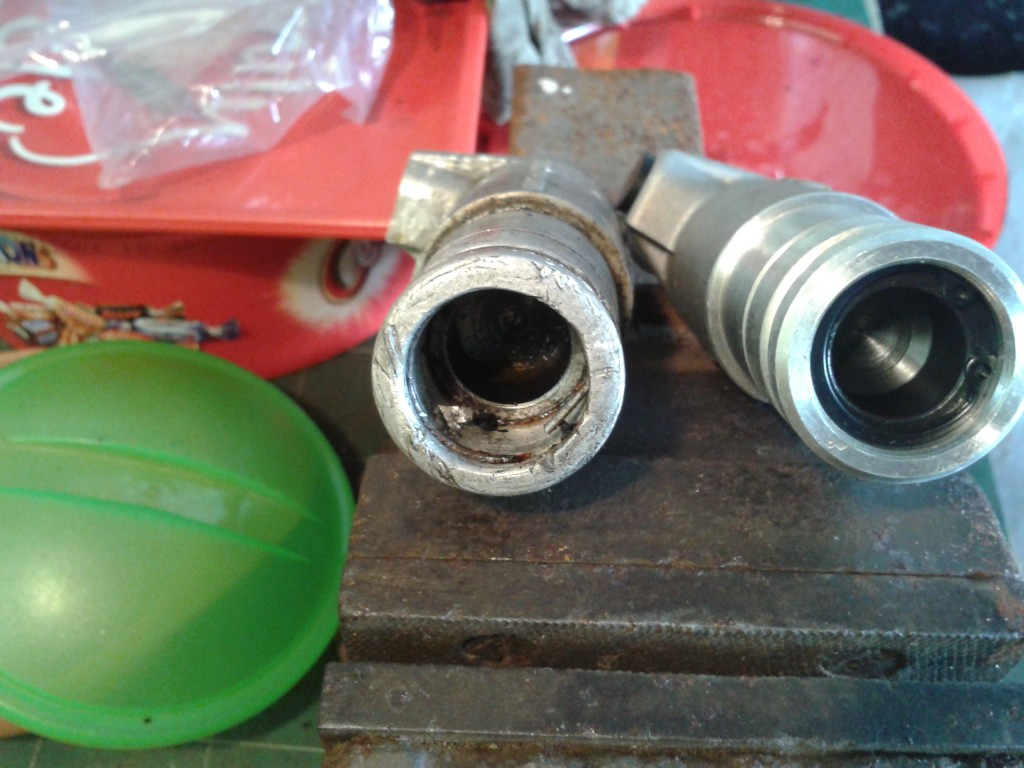
OK, been very quiet for over five months and have done nothing to the Corsair. I must admit I was really p*ss*d off that I messed up the clutch slave cylinder which seriously knocked my confidence on the whole job. The wife came up trumps at Christmas and bought me a new slave cylinder from these guys Powertrack Ltd. It wasn’t enough to get me going though as I REALLY didn’t want to screw that one up!!

clutch slave cylinders
the gouge in the left hand cylinder is clearly seen

I actually had a quick look again at the Corsair on Saturday (13th April), to try and figure out how to free off the seized clutch plate. A squirt of WD40, maybe? Couldn’t get the tin anywhere near the opening to the bell-housing to be on target with the spray…

It was a step closer at least to resuming work. I know, some (most?) folk would of had the car out, on jacks/axles stands, gearbox off and clutch assembly off in a coupe of hours. It’s not as if I haven’t done something like it before either.

Frustrating re-fits…

I spent over 2 hours attempting the re-fit of the clutch slave cylinder back in to it’s hole in the gearbox bell-housing, and still didn’t get it back in! The only success was the black pipe, between the master and slave, was eased on to the pipe ends after warming up in hot water which went without a problem. Lets hope they are secure or tight enough to cope with the pressure. Will try the re-fit another day…

Hydraulic Cylinders Refurbished

A bit of quality time in the garage saw the final stages of the hydraulic cylinders overhaul.

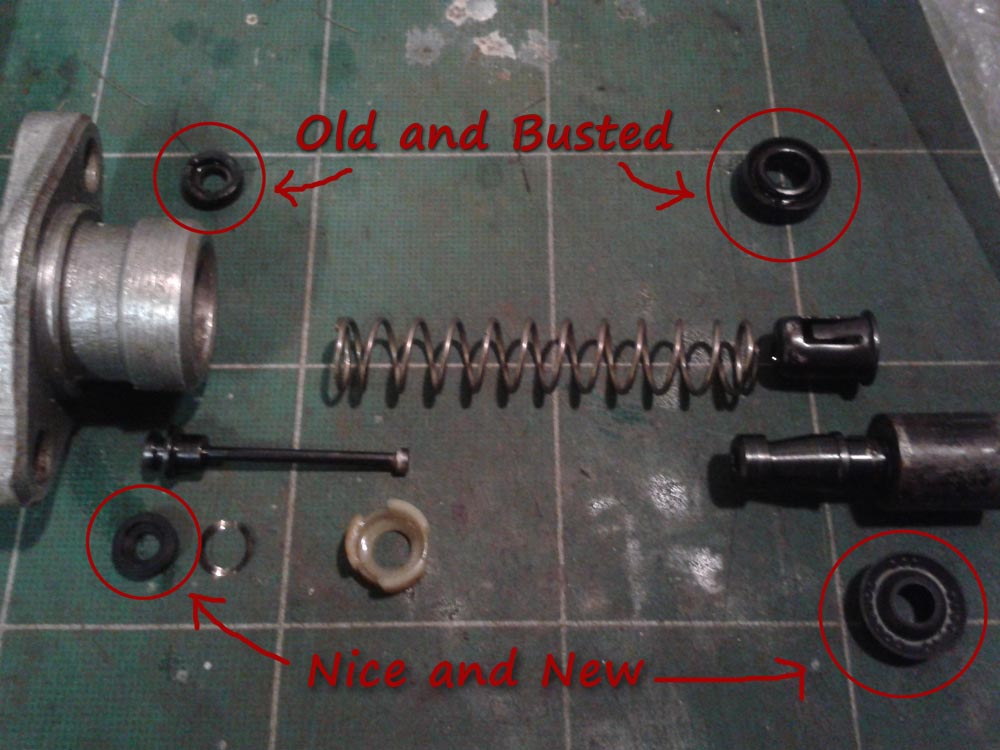
Brake Master Cylinder componnets
The repair components laid out for the Brake Master Cylinder
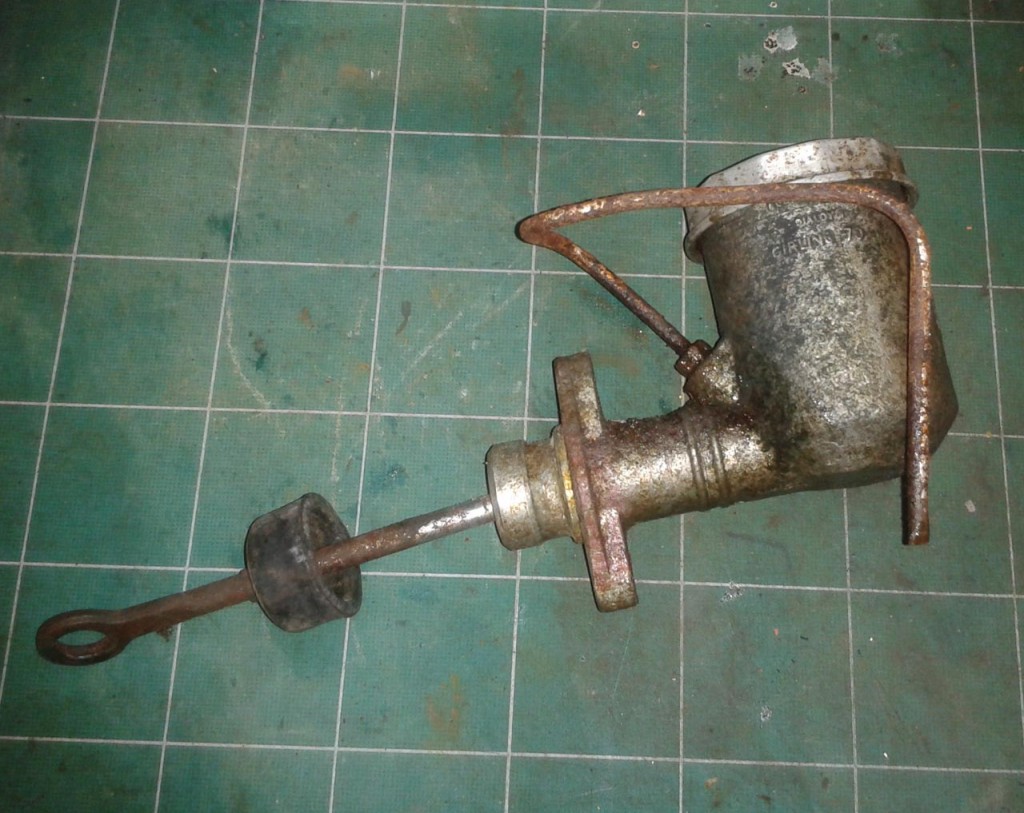
Hydraulic cylinders
Clutch Master Cylinder (Top); Clutch Slave Cylinder (Middle Left) and Brake Master Cylinder (Bottom)

The repair kits costing about £5.00 each were fairly easy to do. A small amount of brake fluid eased the rubber seals into place nicely then the bores of the cylinders wiped with fluid to help with the  re-insertion of the pistons.

So, after nearly after a year, the refurbished clutch and brake master cylinders are ready for putting back in the car along with the clutch slave cylinder. I obtained some pipe (black in picture) that will hopefully be good enough for between the clutch master and slave unit.

Brake master cylinder removal

Had the brake master cylinder fluid pipe bolts soaking for a week and no movement… so in 30 seconds I nipped through the pipes with pliers and out came the master cylinder. The casing was as filthy and with surface corrosion much like the clutch master but this one hadn’t nearly dried out!

Brake master cylinder
A very mucky brake master cylinder (Ford V4 1700)
brake master cylinder (Ford V4 1700)
brake master cylinder (Ford V4 1700) looking a bit corroded, well it was seized

The push rod was seized too and no worse than the clutch mechanism, infact it was probably better as the piston came out easier. All looked fairly good, even the seals looked unworn. Just have added new brake piping to the list of parts, now do I go for copper or cunifer (a mix of nickel and copper).

Pedals; back in!

After months of taking things out,  un-seizing components, dismantling and cleaning them up they were actually going back in and in an operational state. Most satisfying was getting the clutch pedal back in which now moves beautifully up and down as it should and so does the brake pedal. The steering box was refilled with SAE90 oil, I had un-opened bottle on the shelf dating back several years.

Pedals all in
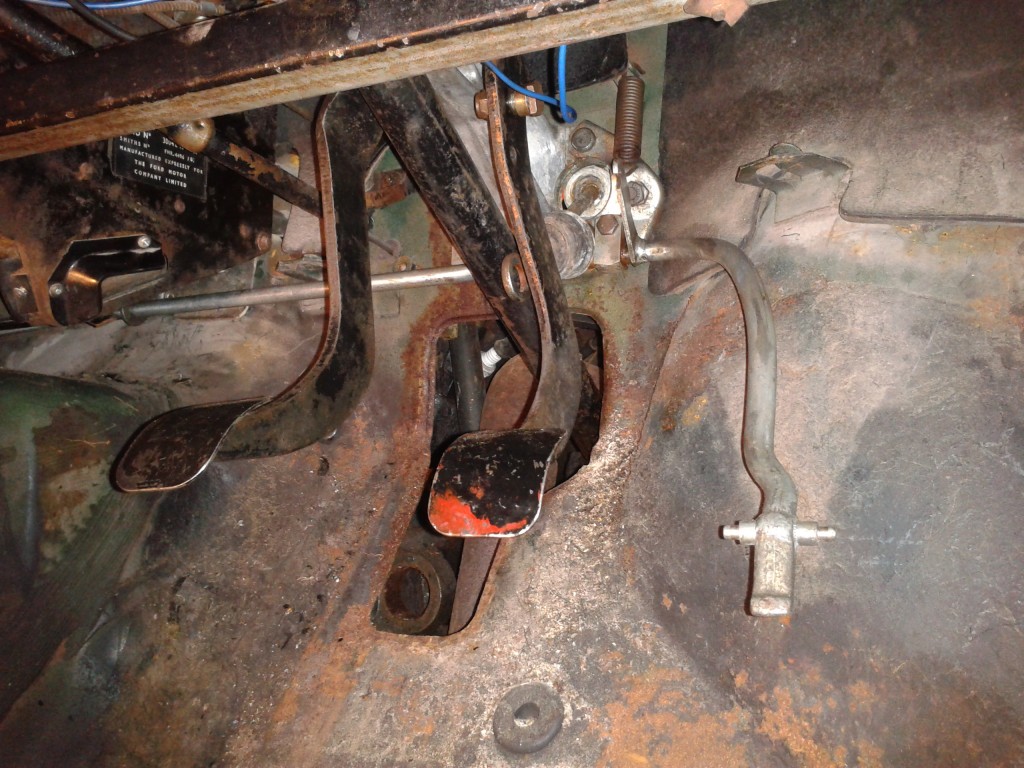
The pedal cluster all back in place and un-seized

The front under dash body work brace that ran left to right (or vice versa) was re-installed, pipes pushed back on to the heater outlets and suddenly a faint glimmer of light was on the horizon. However, my next project is proving to difficult. The removal of the brake pipes to release the brake master cylinder is proving to be tiresome. Not wishing to round off the nuts they have all been liberally soaked in WD40. With some patience I hope they’ll loosen soon.

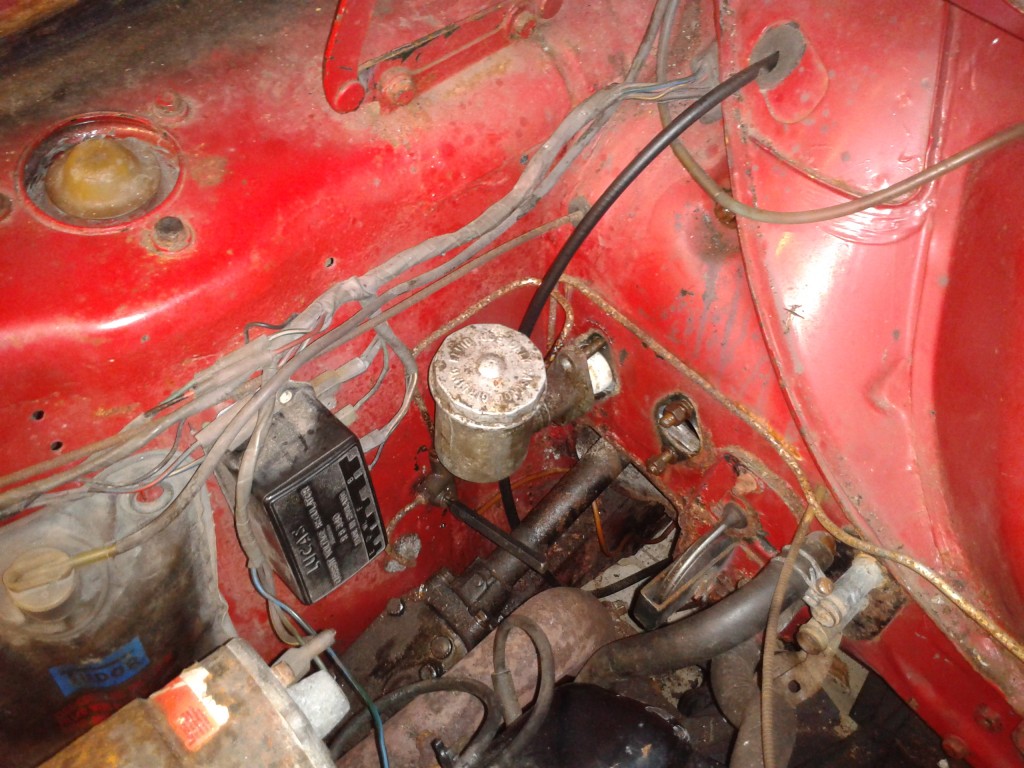
Brake master cylinder due for removal
Brake master cylinder in process of removal, awaiting for seized up brake unions too free off.


Accelerator Pedal re-install

accelerator pedal mechanism
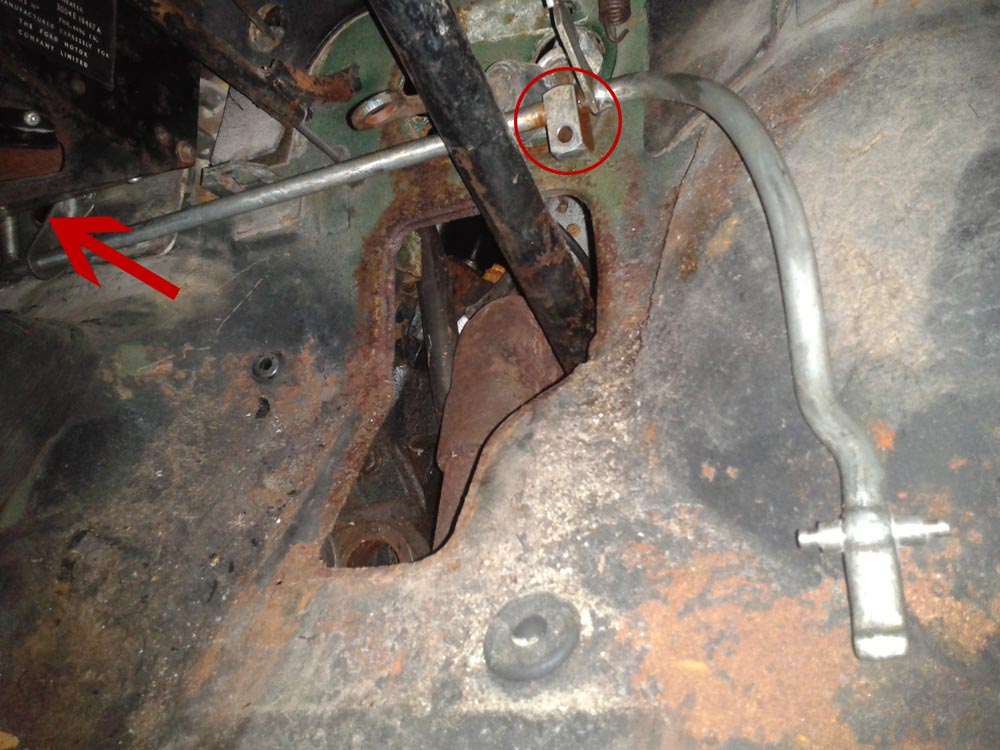
Accelerator mounting circled in red; awkward bolt (arrowed) to bulkhead behind heater.

A couple of spare hours, and with my little helper to hand, was enough to get the accelerator rod mechanism cleaned up and back in. The small mount (circled in red) that fixes to the brake and clutch pedal mounting had completely seized solid. It was so solidily stuck that when I initially tried to press the ‘gas’ pedal it would flex the firewall/bulkhead rather than pivot in its mounting. It took a vice, several soaks of WD40 and a week to free off and enable the small mount to rotate around the rod, freely.

The rod was treated to a clean up by wire brush and two grades of wet and dry then a coating of sprayed on grease to keep things lubricated and clean-ish. It was the first time this piece of the car had ever been removed in 46 years, evidence being the over spray on the special rubber grommet on the firewall, which will need replacing.

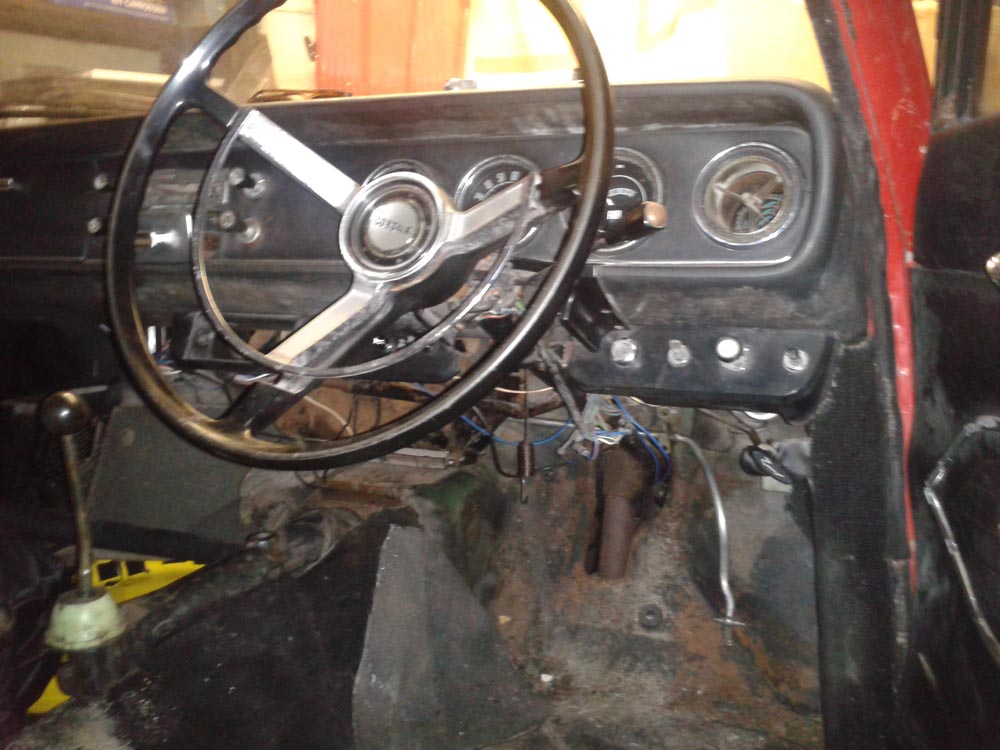
drivers side footwell
Interior drivers side footwell with accelerator pedal (silver rod) re-installed. Brake and clutch pedals yet to be put back in

Installation was reverse of the removal, just less of the cursing as the youngster was present. The heater proved to be equally tricky to get back in as it was quite heavy to lever upwards and be aligned with it’s mounting holes for the bolts to go in. Next step, will be the re-install of the clutch and brake pedals.