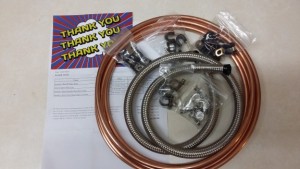
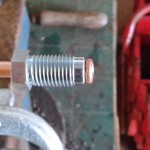
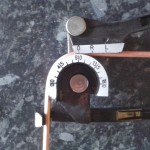
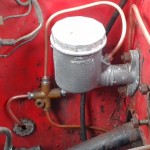
Been shopping of late, new fuel pipe with the fixings in stainless and stainless braided pipe in the top picture and new brake lines all in stainless including one for the master cylinder to match the clutch hydraulic pipe in the one below. I’ve still to remove the rear flexible brake pipe but I have been soaking it in WD40 for a while now – I don’t want to snap anything at this stage!
This weekend I hope to nip over to Hill Top Motors and get the pistons out of my front callipers to un-seize them and then will be looking forward to a day off, get the Corsair up on axle stands and spend a day plumbing the fuel tanks and new lines in along with the overhauled brakes. Well, that’s the plan!
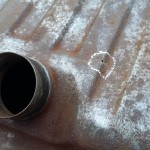
Underside – cleaned up well not as bad as first thought
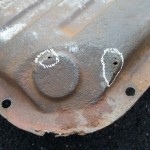
pin holes around blanking for the MKII Cortina
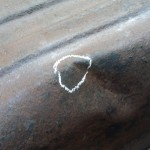
insignificant dent
non critical dent
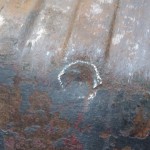
another pin hole
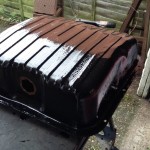
Fresh Hammerite gloss paint – still wet
Fresh Hammerite gloss paint – still wet
As you can see from the photos I have a nice decent fuel tank. John Midwood welded up the pin holes on the fuel tank just after Christmas and he was pleased the tank had cleaned up better than initially thought. As soon it was back in my possession in the first week of January 2016 I painted it in two coats of black gloss Hammerite.
I soon set to work on buying some fuel pipe parts which I’ll post pictures of later, just waiting on some brake pipe components in stainless steel to come in the post.
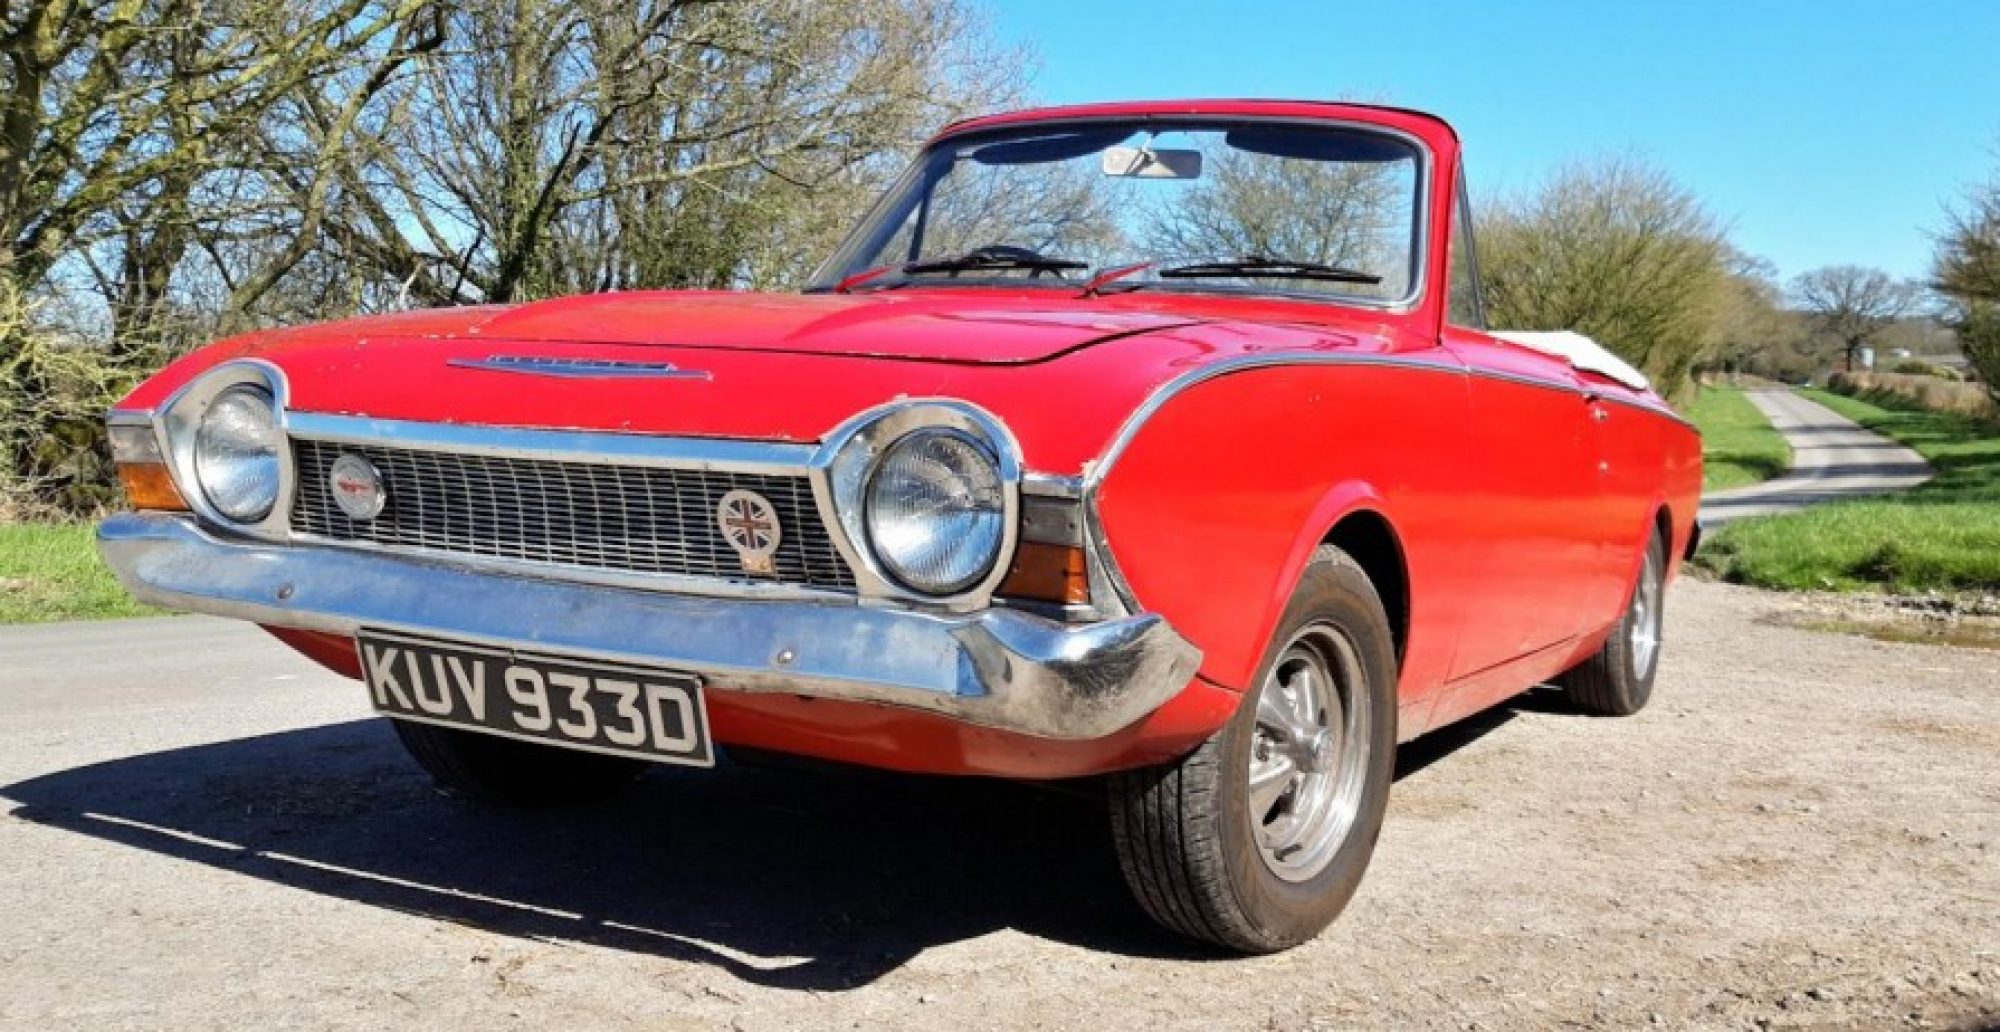
So, the Corsair hasn’t stalled as such – in fact I have twice started it up to get it back into the garage after working on it out on the driveway. Next job will be puttting in the new fuel pipe and fixings and un-seizing the front brake callipers and checking the rear brakes too.
After a couple of phone calls around, I eventually consulted with John Midwood from AJ Restorations in Ludwell, near Shaftesbury, about repairing the fuel tank hole(s) near the filler neck on the top side of the tank. He was quite concerned that the underside of the fuel tank was in poor condition and may not be worth too much work being done to make it worth while.
Well I was on a roll and had a couple of hours to spare on the Sunday (yesterday) so decided to remove the fuel tank. It had a couple of small rust holes on the top side that I felt at this point could be fixed, by some one else. Upon removal, I was surprised to find just short of a gallon of 13 year old leaded petrol in it. That was poured out and will be kept for parts washing.
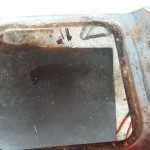
Where the fuel tank was
Corsair Fuel Tank – It looks good but there are couple of small rust holes on the top.
Fuel sender unit – in need of a good clean
Fuel Sender Unit
The Sender unit was removed for inspection and an attempt at cleaning it was carried out. Currently seeking advice on whether to blank off the return fuel pipe (bit with the old black pipe still attached).
Simple really, I asked Martyn from Hill Top Motors to help. He popped round one long lunch on Saturday, checked for a spark in the points and from the coil. Cleaned the very dirty points (with plain paper) and hey presto the Corsair started – Martyn did have to nip back to his workshop to get an insulating boot for the lead out of the coil as it was arcing out on the body work.
So while the engine was running I tried out the clutch so now can get the car in forward and reverse gears and move the car! Hurrah! It all works! As I was on a roll I even re-fitted the drivers seat.
Dom
PS: I don’t know why I struggled for so long to go around to Martyns and ask for help – It was my initial email contact and communications with a mobile mechanic, Miles Chislet who was positive and keen to see the Corsair but it was just a bit beyond the area he normally covered. However, it was enough to encourage me to try Martyn.
Thought I’d better write something to at least put you in the picture, considering you have got this far.
I’ve not done a thing to the Corsair. I did try to test the coil last month that I had on the car and it turned out from an enquiry on a forum, I would need an unballasted replacement coil. I’ve lost all motivation, confidence and self esteem and I’m not saving up the pennies for parts. Seriously if you think YOU can help me, please comment below and I’ll get back to you. No crap please, I’ve no idea who even looks at this blog/website either, the ‘webstats’ go only so far as number of hits…
In a nutshell, it’s a desperate call for help,. Even then I’m not sure if I could accept due to the personal turmoil I’m in, but I just don’t know where to turn on this. The car is NOT for sale.
Had a tinker last Sunday to try and trace the fault with the ignition. With help (and I mean it) from my 11 year old son, we are sure it is the coil that is faulty. Using my screw driver test lamp with crocodile clip I checked the points and condenser which according to the instructions in the Haynes manual appeared to function fine. I later re-learned what was the Low Tension (LT) circuit and the test light glowed when on the + terminal of the coil when it should have not… or something like that.
Anyway, I’ll need about £35 for a new one, so it’ll have to wait. I didn’t test the clutch this time, forgot, but will try to next time.
If you have advice you can pass on, please comment below.
Well, the mechanism now moves, whether it does as it should remains to be tested.
The master cylinder had seized again due to not being kept in working order, so it was back on the bench vice and with a few careful smacks (several actually) then lots of back and forth exercises, the push rod was fully functioning in its bore. Then I thought I could prime the clutch system with fluid and then thought again best not after fluid squirted down the work bench after loosening the pipe… At least it gave me some practice for bleeding the system and what I was meant to do. I soon had the master cylinder mounted to the firewall with the push rod attached to the clutch pedal. I had the slave cylinder with it’s own push rod in position against the clutch acutator (lever) and the new pipe ends connected.
Clutch Master Cylinder, with new pipe leading to a new Slave Cylinder.
The next ‘pain in the arse’ job was fitting the circlip to the slave cylinder to keep it in place on the gearbox bell-housing. I had to jack the car up for this one and took several attempts to fit, but the bastard clip eventually went on using my cheap an nastys circlip pliers and some persuasion with a large screw driver. With the wife employed as clutch pedal pumper I managed to bleed the clutch system without any dramas, my earlier practice was a big help. With the clutch pedal depressed, I was so relieved to see the lever on the bell housing move. First time that had happened since I started this project (April 2010).
I guess it was a rather premature next move, but I had to rig up the battery that had been on trickle charge, since last starting up the Corsair (Nov 2011), and have a go at getting the engine to start and try the gears. Battery was good, start motor turned but the Corsair wouldn’t start. It seemed I was not getting a spark from the coil, any useful advice is welcome via the comments.
Had a custom clutch fluid pipe made up for me by A1 Hydraulics (Leicester). I think it looks great in that of a technical manner and serves a function too. The pictures here only show it in a mocked up stage to check that it fitted and was clear of other parts. Will do some proper pictures next time when the components are installed properly.
Hydraulic Clutch pipe made by A1 Hydraulics of Leicester.Hydraulic Clutch pipe made by A1 Hydraulics of Leicester.
Had most of a Saturday to ‘play’ or work on the Corsair. Having put 500ml of oil in the gearbox just to give it some lubrication I then thought what I could be getting on with next.
Creating some new brake pipes and freeing off the old seized connections seemed like a good idea. I had bought the new pipes and male/female unions along with some of the tools for the job way back in Oct/Nov 2012 but with the clutch problem(s) was put on the back burner. The process of creating new pipe lengths and end connections seemed to go well from master cylinder via a four way splitter and then to the two front flexi hoses. However the system hasn’t been tested for leaks as more pipes are needed to be made up from the flexi hose to the calipers. The calipers will require removal and checking that they hadn’t seized either, the nearside caliper may be OK but offside seems stiff.
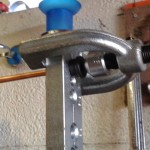
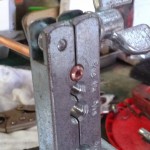
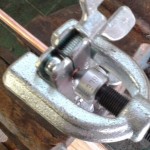
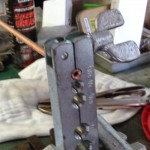
The gallery describes my process in making up my sections of copper pipe.
Copper brake pipe ready
Copper brake pipe cutter
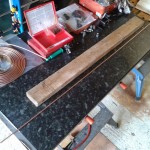
Rolling the pipe between the baton (wood) and work surface was a neat tip I picked up off my favourite forums.
Straight pipe!
showing how much pipe to have extended from the end of the pipe flaring tool.
inserting the flaring tool part into the end of the copper pipe
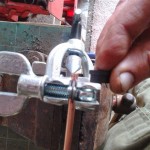
flaring and crimping the end of the copper pipe, some effort and a vice required.
flaring part now flush with pipe holder
flaring part now flush with pipe holder, another angle
copper pipe now flared and kind of crimped, ready for next stage.
flaring the end of copper pipe some more pressing it into the holder
copper pipe now flared and finished
copper pipe now flared and finished, with male union
bending the copper pipe, this tool was a bit awkward but got some nice bends
bending the copper pipe, this tool was a bit awkward
four way pipe splitter from the brake master cylinder