Front Suspension Overhaul – Part 2

Wednesday: That was a tough day. From butchering end caps to spilling hydraulic oil and getting filthy dirty, it all amounted to a tough day.

First job was to remove the track control arm (TCA) from the strut. The whole strut assembly with the TCA was a heavy unit and remained on my workmate, so I attempted to fit the ball joint extractor with it in situ. However the leverage required to tightened the nut on the extractor was not keeping the strut still and the extractor slipped off anyway due to not being seated properly. It was a cumbersome lump of metal to manoeuvre on my own into the vice but once in place (chocked with wood) I now had good access to fit the ball joint extractor tool properly. I also could enlist the use of the breaker bar with socket to turn the nut on the extractor tool, wincing on each turn of the nut as it got stiffer and stiffer until eventually with a ‘pop’ the TCA separated from the steering ball joint.

Continue reading “Front Suspension Overhaul – Part 2”
Front Suspension Overhaul – Part 1

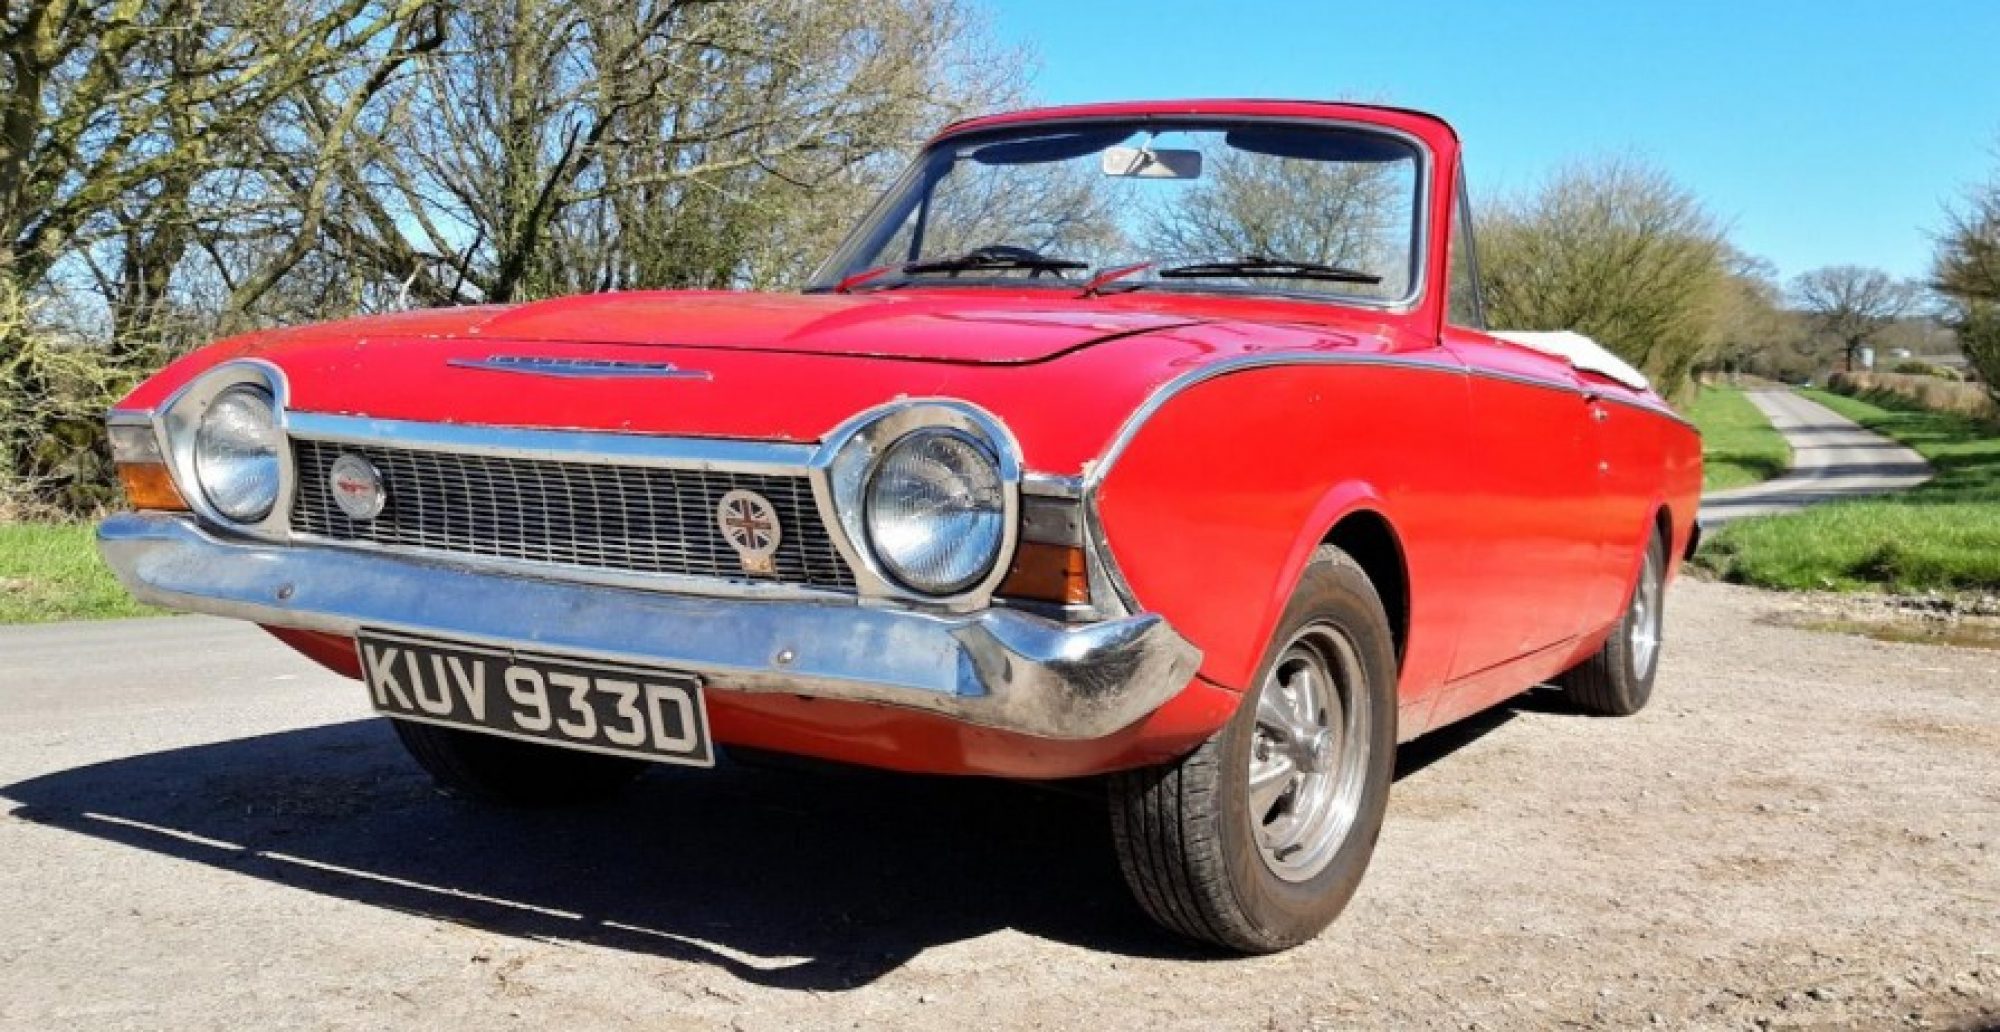
Ford Corsair V4
The Corsair in the new garage/workshop

Sunday: Corsair guided into the workshop/double garage that had been previously just the carport.

Monday: Corsair placed on stands and all main suspension nuts and bolts loosened.

Tuesday: Corsair fought all the way to hang on to one of its track control arms (TCAs) as it took the best part of an hour just to remove the last bolt on the passenger side TCA to the cross member. The rest of the other components were fairly straightforward in their removal or extraction. The only annoying job was disconnecting the front brakes and in the process spilling brake fluid in to my kitty litter catch trays. Well I suppose that was what it was for but it ended up a messy job.

The next few days would be spent stripping down the struts, cleaning, painting and fitting the new parts to the strut assemblies (with hindsight, that would turn into weeks).

Summer 2020 Update

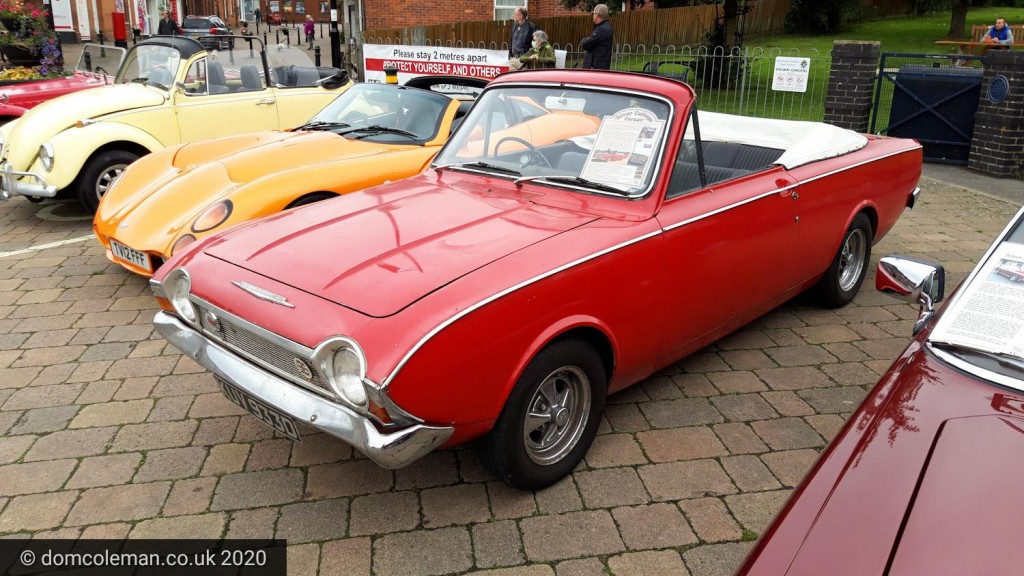
Plenty of driving had been done in the Corsair, mostly for errands as well as pleasure and I made one trip to work (50 mile round trip) on one of the hottest days in June. It was lovely and fresh in the morning but stifling hot (30°+) on the way home and the Corsair didn’t appear to be overly hot either once home. July saw the Corsair return to the first informal car gathering at Sturminster Newton after the lockdown restrictions had eased, which was a pleasant, socially distanced occasion.

Ford Corsair convertible at Sturminster Newton

A bit of time was also spent adjusting the handbrake to be more effective which in return improved the feel of the foot pedal braking. I had spoken recently to a neighbour who owns a very good condition 1957 Hillman Minx and he was describing the poor running of his car which sounded just like the Corsair was suffering. He said it was more likely to be a spark plug breaking down, as was the case with his Minx. So I looked up how to test spark plugs on YouTube using a multimeter. Of the four plugs, two on the left hand bank had failed and were not showing any resistance. I had a nearly new set of plugs to try out which all showed to be good with resistance when tested with the multimeter. So, once fitted all seemed good and the run out to Sturminster proved the previous plugs had been at fault.

A few errand runs and local drives for fun were the mainstay for July, but a lovely warm and sunny run out to Stourhead one Friday with the wife (after a week of working on doors for the ‘workshop’ at home) came as a great way to round off a hard week. The car received many appreciative looks and waves from other classic users on the way to and back from Stourhead. My wife took these video clips of the run through the village of Motcombe and then a brisk drive up out via the hollow to Shaftesbury.

Hope you enjoyed the videos – 38 mph was probably quite fast enough on those narrow lanes in an old car with single circuit non-servo assisted brakes.

Late May Update

View looking out towards Shaftesbury on the B3081, having come up Zig Zag Hill

With the lock down still in place, restrictions were easing for people movement, so I decided to take the Corsair for bit more of a leg stretch one evening, rather than the local within a mile of home movements. I made short video of to film the journey of the Corsair up Zig Zag Hill and motoring along on the B3081 but I didn’t account for the (mobile phone) auto focus on a bug splat on the windscreen, so the trip up was mostly blurred. I tried again a few days later, with better lighting and getting the focus to stay trained on the road and got back a good enough result, shared below. The brakes felt OK, no signs of locking up, though they were a little spongy and the handbrake was not as effective as before. Some adjustments will be required on the rear drum and hopefully improved the handbrake.

Minor work included a repair of the passenger side window winder, this time I applied more penetrating weld as per my drivers door window winder fix I did a while ago. Preparation and set up took the longest but had the glass runner arms re-welded to the winder mechanism and all seemed a lot stronger this time. I also tackled the broken bracket in the passenger door holding the window (glass) runner to the door internals. It was rusted through and the metal left was very thin, however with some very unattractive, splatter welds it was secured again. No photos, I wouldn’t want to upset the purists, but it does the job and is now hidden by the door card.

I now have all the parts required for the front suspension maintenance, which includes new strut inserts, top mounts, poly bushes and steering arm rebuild kits. I will embark on that task once the carport upgrade has been done.

Brake Master Cylinder Refurb, Again.

Had an issue with the Corsair’s brakes again, they were locking up as I found out after a short run (less than a mile) last Sunday. So I posed a question on a favourite Facebook group and most of the helpful answers came up with the master cylinder being the likely cause or to at least start at the top of the hydraulic system. I checked my (this) blog to see when the master cylinder was last refurbished and I was surprised to see it was October 2012! I had nothing to lose by investigating because the first thing I noticed when I drove the Corsair out of the garage was that the front calipers were seized on.

With the front jacked up, I released the brake pressure from the front offside caliper and the wheels moved freely. A pump on the brake pedal and the brakes seized on again. I released the pressure this time from the master cylinder output and the front wheels rotated again. Looking into the reservoir, the fluid did look a bit cloudy and with what appeared to be black flecks of dirt in the bottom. It was then that I decided to remove the brake master cylinder, so I pumped out the brake fluid via the off side front caliper to reduce the chance of spillage of brake fluid or making a mess during removal.

Continue reading “Brake Master Cylinder Refurb, Again.”

Books & Brochures

Ford Corsair V4 brochure, parts list, Haynes manual and service data booklet
Ford Corsair V4 brochure, parts list book, Haynes manual and service data booklet

Not really being one collecting ‘everything’ Corsair related but I was lured to these items seen for sale on a Facebook sale site. It was the Ford Corsair sales brochure [more images] which caught my eye with its exquisite artwork and a clean Haynes manual for indoor referral. I’ve more ‘goodies’ to come by post/courier in regard to the front suspension and steering.

Waxoyling Again

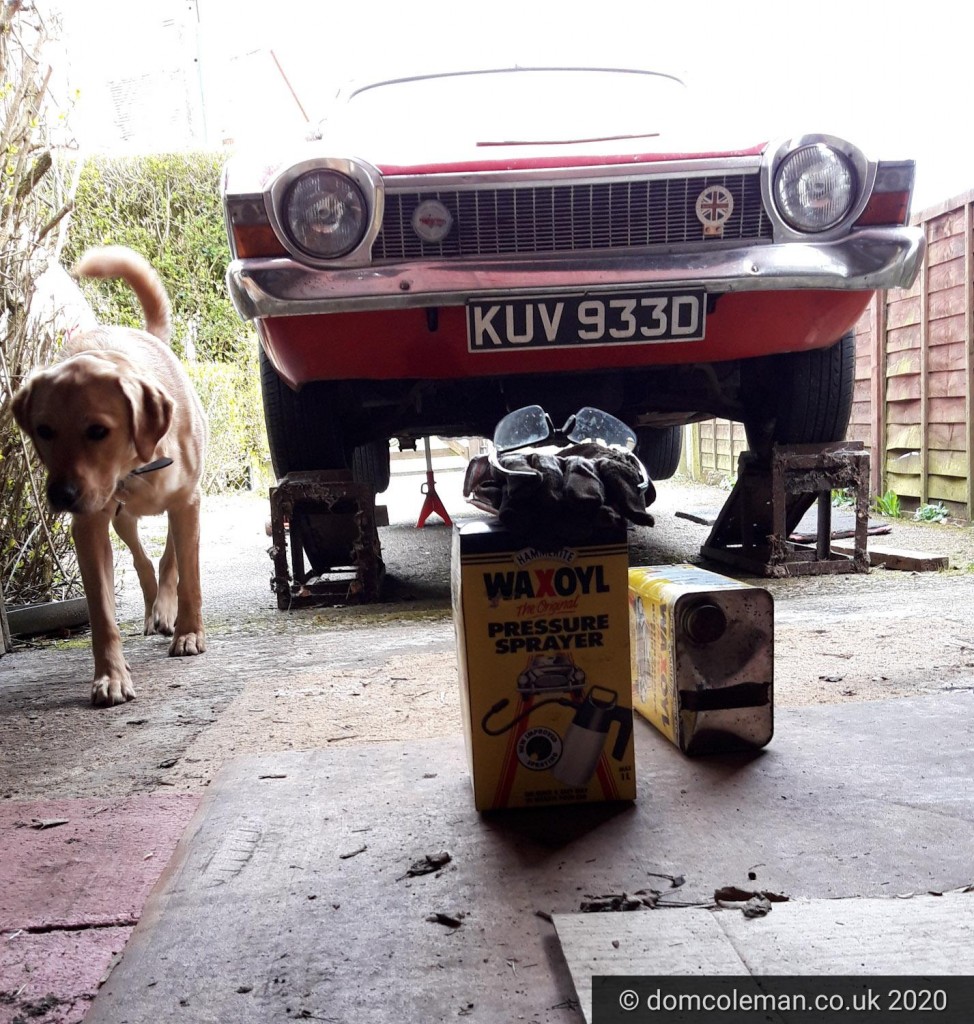
I Waxoyled the Corsair 3 years ago (March 2017) and upon seeing the underside earlier this year during the MOT inspection it was clear it needed doing from the rear axle chassis to the front as far as the front footwell sections. The old under seal was flaking off in large chunks and in some places exposing fresh metal. A messy business prepping for the Waxoyl, but equipped with safety specs, some decorators scrapers, wire brushes and a rubber dusting brush I was good to go. The most awkward part was the manoeuvring around on my back and keeping my arms up while trying to apply pressure and elbow grease.

A good 2 hours of this saw the worst of the flaking under-seal removed and then the frustrating business of applying the wax began. Firstly I warmed the Waxoyl in a bucket of hot water for about 20 minutes – not that I noticed much in the change of the viscosity. Aftet transferring some waxoyl the special Waxoyl pump system and hand pumping pressurising it, the steady even spray of wax I was expecting sputtered out and squirted in directions I didn’t want before clogging. Washing the nozzle took several attempts in white spirit to get the spray effect I desired and then had to repeat the process countless times through out the process. I eventually covered all the areas I needed and not all over myself.

Dog coming to check on progress

Name that tune – Gunson Colortune

I finally got a round to trying out the Gunson Colortune I got last October. It wasn’t as difficult as I thought it was going to be with the instructions in clear English and to the point. The most difficult part was putting in the spark inspection plug in, without burning my fingers on the exhaust manifolds.

On the instructions it said you only needed to use one cylinder on a single carburettor and one inlet manifold design as per my V4. It was a simple task of removing a spark plug from any one of the four cylinders and replacing it with the Gunson spark inspection plug. It advised on having a clear view as possible of the plug which would become evident later. As mentioned earlier, the awkward part was fitting the inspection plug with its copper washer as it was quite a lot shorter and stubbier than a spark plug and difficult to get a decent grip with finger tips especially with a warm/hot manifold nearby. A deep 14 mm socket would have been best to tighten the plug but finger tight with a normal socket was good enough. After that, a long thin rod from the set was screwed in place so the HT lead could be connected.

Continue reading “Name that tune – Gunson Colortune”

February 2020 update

Royal Bath & West Showground

Bit too cold for the roof to be down even though the sun was out, as I took advantage of the £5 classic car parking at the Royal Bath & West Classic Car show. With a storm looming for the rest of the weekend (and bad weather for most of the month) there were several gaps in the car showing areas and the auto-jumble however, I did manage to obtain a return spring for the brake pedal and catch up with an old friend, so was a good day out. The Corsair ran a bit lumpy on the way back home, but with it starting better I’m suspecting it could be running rich with a better igniting fuel due to the additive.

Using the knowledge from the Corsair Owners Club, I bought two oil filled dampers and two strut tops required for the front strut repairs. They are parts for a Volvo 240 but they have been documented to fit well with some minor modifications. I had been watching a pair of ‘old’ refurbished struts on eBay around this time and they sold for over £160 for the pair, so for similar money it made sense to buy new parts.

Volvo 240 front strut components, by Meyle

Due to rotten weather for the remainder of February, nothing more was done with the Corsair, though the rear brake cylinder will need some attention and the tune up will be high on the list of priorities, the front strut job can wait.

January 2020 update

It was a good start to the year with the New Years Day run, another pleasure drive 10 days later and the MOT pass. With the weather taking a turn for the worse I took the opportunity to send off the distributor base plate to H&H Ignition for the screw threads to be repaired. They didn’t disappoint and returned the base plate with new screws a week later – so I fitted it at the weekend and ensured I didn’t over tighten the condenser or points in!

At the beginning of the year, I also started to use a fuel stabiliser due to the fuel in the UK now having 5% ethanol. The additive claims to prevent ethanol fuel from going stale and improve starting as well as engine running performance. After fitting the repaired base plate in the distributor I had to fire up the Corsair to test and it fired straight away – well by the third attempt it kept going without dying. This was good, and much improved from previous starting occasions especially as it was a cold and very damp day. So I was believing the fuel additive has improved the fuel igniting properties for an easier start, 6 pumps of the pedal were still required though. For the Lucas brand, I added 5 ml to 5 litres of fuel and should have 45 litres of treatment – bottle cost about £13 from Amazon.

Lucas Ethanol additive

I have another brand to use when the Lucas one is used up that claims to have similar claims/properties but it is a smaller bottle and treats 25 litres of fuel but in proportion a similar cost. For the coming months I hope to sort the nearside rear bake cylinder and get some more driving in before embarking on the front strut insert replacements task I need to do this year.