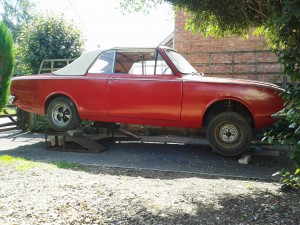
Re-motivated – gearbox back in!

Well, it was a long wait for my motivation to return and some good weather (last week was good too but lacked the desire to do anything), but it did and I have the re-faced flywheel and a new clutch plate with existing pressure plate now installed. I also eventually got the gearbox loosely in after a 2.5 hour tussle!

All bolts need to be tightened properly but the prop-shaft, gearbox bell housing front plate and exhaust system still need to be put back together. At least the worst part is done and the other bits can be done more easily soon… (famous last words).


Corsair update

Recently I obtained two good looking chromed Cragar wheels from Sean in Poole, who at the time is rebuilding a custom/hot rod Ford Pop. They match the two font Cragars I have; the rears are of a different make and have a deeper offset, but I think you’ll agree, these look heaps better and have pretty good tyres too.

Also, I got the Flywheel skimmed by Perret Engineering, near Henstridge and also a new friction plate from the clutch specialists in Henstridge, Precision Clutch Components Ltd. Just need to find 3+ hours to fit it all back together! Soon I hope.

The Flywheel

Got the flywheel off today, nothing too difficult by my standards, all within 30 mins. It gives me the opportunity to reveal the groove on the flywheel. At the time of writing I have posted a question on my favourite forum for advice on where to go from this.

Update 5/9/13: The general consensus of opinion is that the groove is fixable by skimming/re-facing, I just need to find an engineering company near enough to do the job for a good price.

Bench Testing

Nipped down to these chaps Precision Clutch Components for them to have a look at my pressure plate and friction plate. They tested the pressure plate on their special press and showed me it was all working fine and lifting as it should. No cracks or signs of too much wear. The friction plate, however, told another story. Apart from being worn down near to the rivets it was evident that there is a groove in the flywheel which will need to be sorted before a new friction plate is put back on. So, the next mission is to source another flywheel or have the current one repaired or re-faced.

Gearbox and clutch assembly out, again

Had some free time to get the ‘box out again to retrieve the clutch assembly (clutch cover) that needs to be replaced or at least checked out/bench tested by a clutch specialist. I started around 10.30am and had the Corsair up in the air by 11.30am and ready for the gearbox removal. The experience wasn’t too bad, I had forgotten a lot of what I went through last time, like how to lash the rear part of the ‘box with rope but it came out fairly easily, once I had taken off the nearside exhaust manifold (see previous post). So all out by 1.30pm and the Corsair was back on its wheels, minus the gearbox.

Corsair in the air from the front
Corsair in the air
Corsair in the air

Putting the gearbox back in – attempt two

It took from about 8.30 this morning jacking up the rear and putting onto the car ramps, then jacked up the front end which was placed onto axle stands.
2013-05-06 11.14.53
The gearbox was manoeuvred on some plywood scraps under the car and in to position. Rope was slung under the main body of the gearbox and tied off to a bit of 2×1″ through the trans tunnel inside the car. This was later chocked with bits of wood to raise the gearbox when required. In the meantime the trolley jack had been put under the ‘box to take the strain.
2013-05-06 11.15.11
This was wasn’t working, the gearbox was too unstable on the jack alone and with the middle section now supported by the rope. I had a fair bit of movement but was still struggling… I stopped for lunch at 1pm.

2013-05-06 11.15.37I resumed 1.30-ish, with my son (aged 10) now trying to help and be another pair of eyes. The lower stud guides I’d put in where doing their job but the ‘box was leaning to the right (towards drivers side) and the upper guides where not in line with the top of the ‘box.

After about an hour or so, I re-jigged the box so it was sat on a small section of 3 plywood and other bits to seat it properly with out wobbling about on the jack. On the re-try, my son was saying it was fowling the nearside exhaust manifold (not his words) and perhaps I should remove it… I carried on ‘cos dad knows better as I had got the gearbox out without having to remove the manifold!

My son soon got bored, and went off to play… I was edging the gearbox a bit nearer each time and nearly got it onto the two stud guides I had at the top of the block. I then heeded my 10 year old sons advice and loosened off the near side exhaust manifold. A few wiggles and the gearbox was onto the top two studs, yay! Some more wiggles and it got closer and closer… Then it sort of slopped/popped in to place. This was about 3.30pm.

It will have to come out again at some point, as the clutch pressure plate appears seized. At least I only wasted my time, and have gained some more experience. The new pressure plate will have to wait, another costing to be added to the list.

Thanks for reading
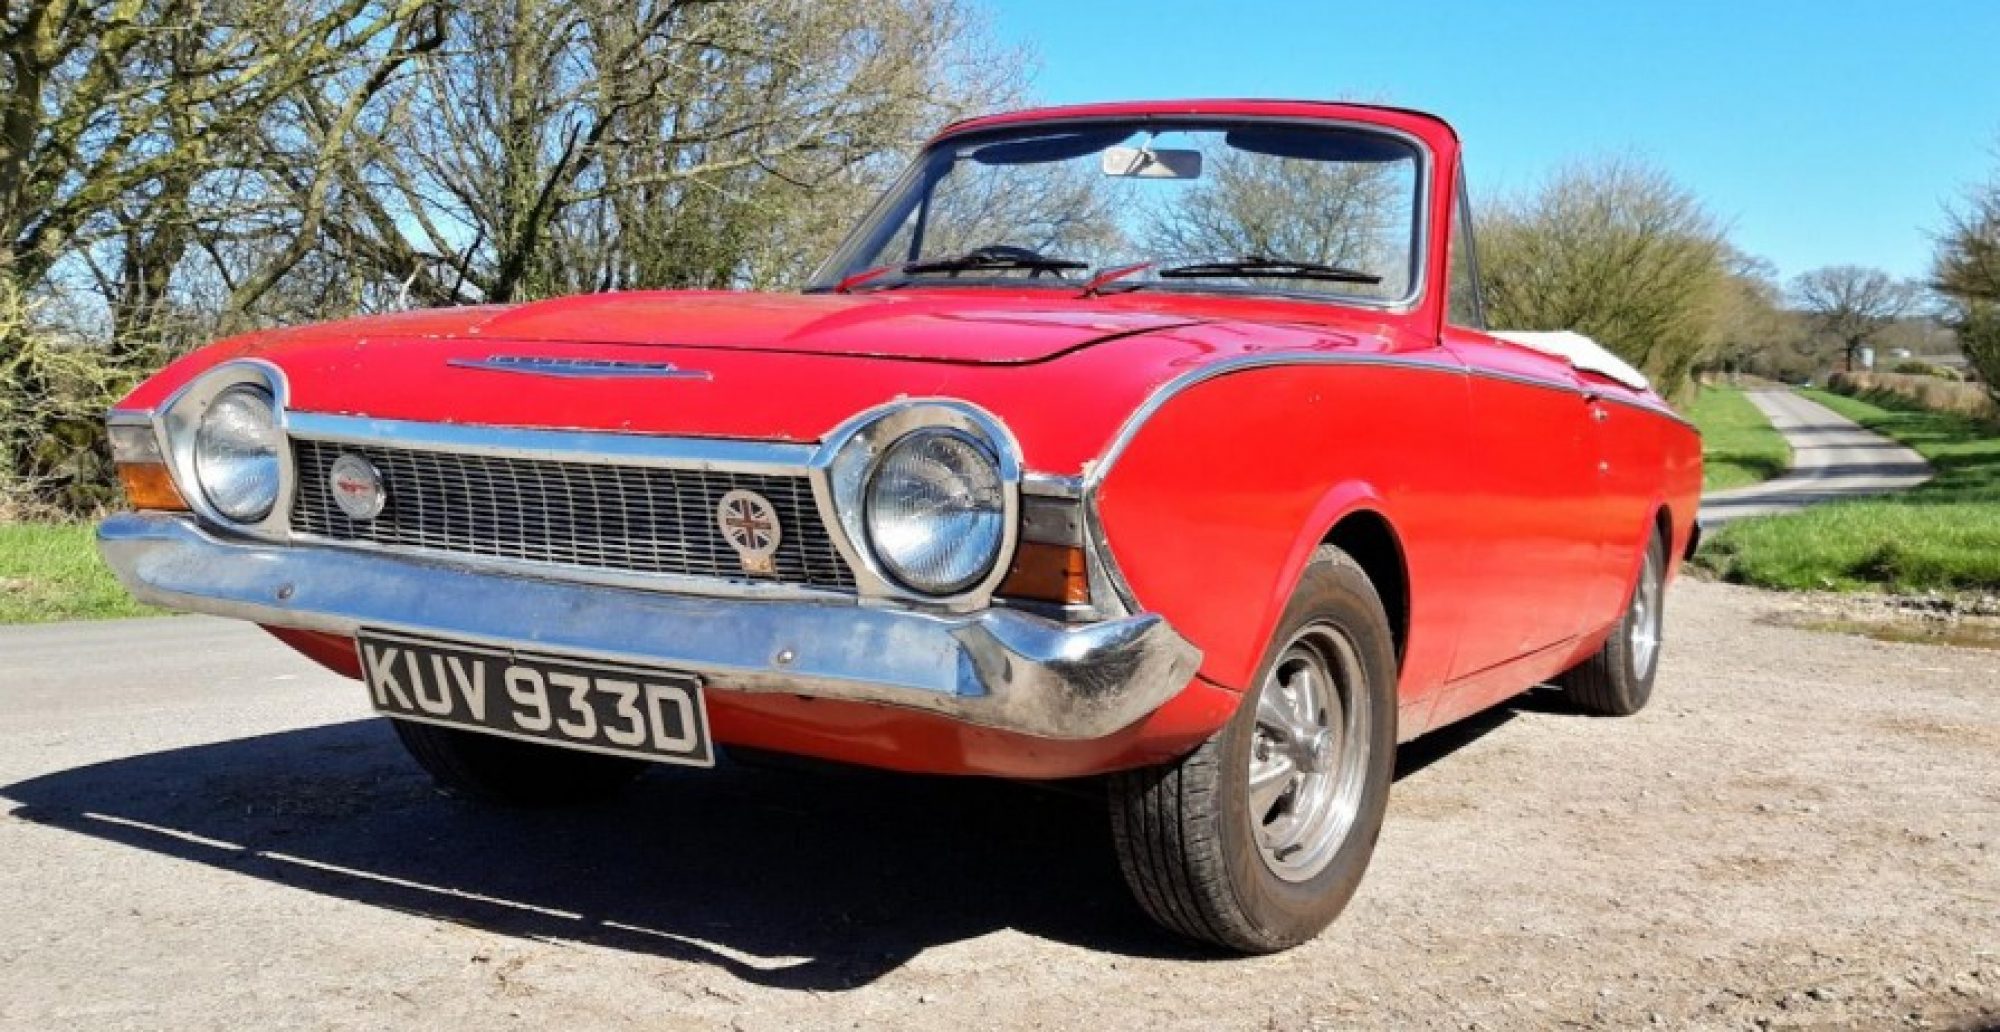
Unseizing the clutch – Part 3

Nice weather, so I took the day off to tackle the next stage of the clutch problem by removing the gearbox. By midday the gearbox was removed and clear of the car. Not too difficult, two trolly jacks and a some wood to drag the box out on and I remained fairly clean.

The clutch pressure plate and friction disk where removed and inspected. All looked ok but I had no means of testing whether is was scrap or a functional unit in need of lubrication. Anyway, I cleaned up the surfaces the friction plate came into contact with, sqiurted some WD40/Spray grease on what looked like they should be moving parts and put it all back in. The clutch assembly was all centralised properly using a tool I had inherited a while ago but not used until now.

The worst bit was to come, re-fit of the gearbox. Balanced on the two trolley jacks it got as far as about 3″ (8cm) away from going back on. Filthy dirty by now, I conceded defeat after 3 hours including some help from my wife in the latter stages. I simply ran out of muscle power or strength to lift the box back into the back of the engine. I may need some extra muscle to help.

2013 – Not forgotten…

clutch slave cylinders
old and new clutch slave cylinder

OK, been very quiet for over five months and have done nothing to the Corsair. I must admit I was really p*ss*d off that I messed up the clutch slave cylinder which seriously knocked my confidence on the whole job. The wife came up trumps at Christmas and bought me a new slave cylinder from these guys Powertrack Ltd. It wasn’t enough to get me going though as I REALLY didn’t want to screw that one up!!

clutch slave cylinders
the gouge in the left hand cylinder is clearly seen

I actually had a quick look again at the Corsair on Saturday (13th April), to try and figure out how to free off the seized clutch plate. A squirt of WD40, maybe? Couldn’t get the tin anywhere near the opening to the bell-housing to be on target with the spray…

It was a step closer at least to resuming work. I know, some (most?) folk would of had the car out, on jacks/axles stands, gearbox off and clutch assembly off in a coupe of hours. It’s not as if I haven’t done something like it before either.

Refit, Cross Thread & Busted

Had another go Wednesday evening  for the clutch cylinder re-fit and all appeared to be going well. With a copper mallet the slave unit was eased into the mounting hole on the bell housing. Then came the awkward bit of refitting the hydraulic pipe and its union to the slave. Being very conscious of the steel union and aluminum slave, it felt I had made sure the pipe and union went in squarely, finger tight. Then on with the spanner but as it got tighter the pipe still swiveled in its position, not good as I believed I had cross threaded the joint.

Getting the slave off was difficult as before. Using a lever iron to knock out the slave cylinder, it unfortunately slipped into the bore without me realising and after removal of the slave cylinder and inspection of the bore it revealed a nasty gouge that was unrepairable. And yes, I had also begun to strip the thread in the slave cylinder.

I remained restrained and put that one down to experience therefore will have to wait until funds are available to purchase a new slave unit and new clutch pipes and fixings.

Frustrating re-fits…

I spent over 2 hours attempting the re-fit of the clutch slave cylinder back in to it’s hole in the gearbox bell-housing, and still didn’t get it back in! The only success was the black pipe, between the master and slave, was eased on to the pipe ends after warming up in hot water which went without a problem. Lets hope they are secure or tight enough to cope with the pressure. Will try the re-fit another day…