28 July 2017: Ooh. Dizzy looking very mangled up now. 🙁
The distributor has been causing all manner of problems for John and Peter at AJ Restorations. It had battery acid soaked into it for a week and it still wouldn’t budge. Heat and brute force with massive grips could not move it, either.
Upon visiting John last Friday (28th July) it has been decided to dismantle the distributor to leave the aluminium shell and then cut the bugger off and then drill out the seized in remains. I have been assured from an ignition specialist that they can rebuild the distributor from the bits I supply.
the all important numbers to help identify the right one (12127).
In all this time, I’ve been trawling Ebay for a replacement but they are all Dizzy’s from V4 Transits or quite pricey only to be rebuilt anyway. The distributor I had (Bosch) is for a Pinto and manufactured in 1976 and will be on Ebay soon.
It will get done, though it’s costing a lot more than first thought.
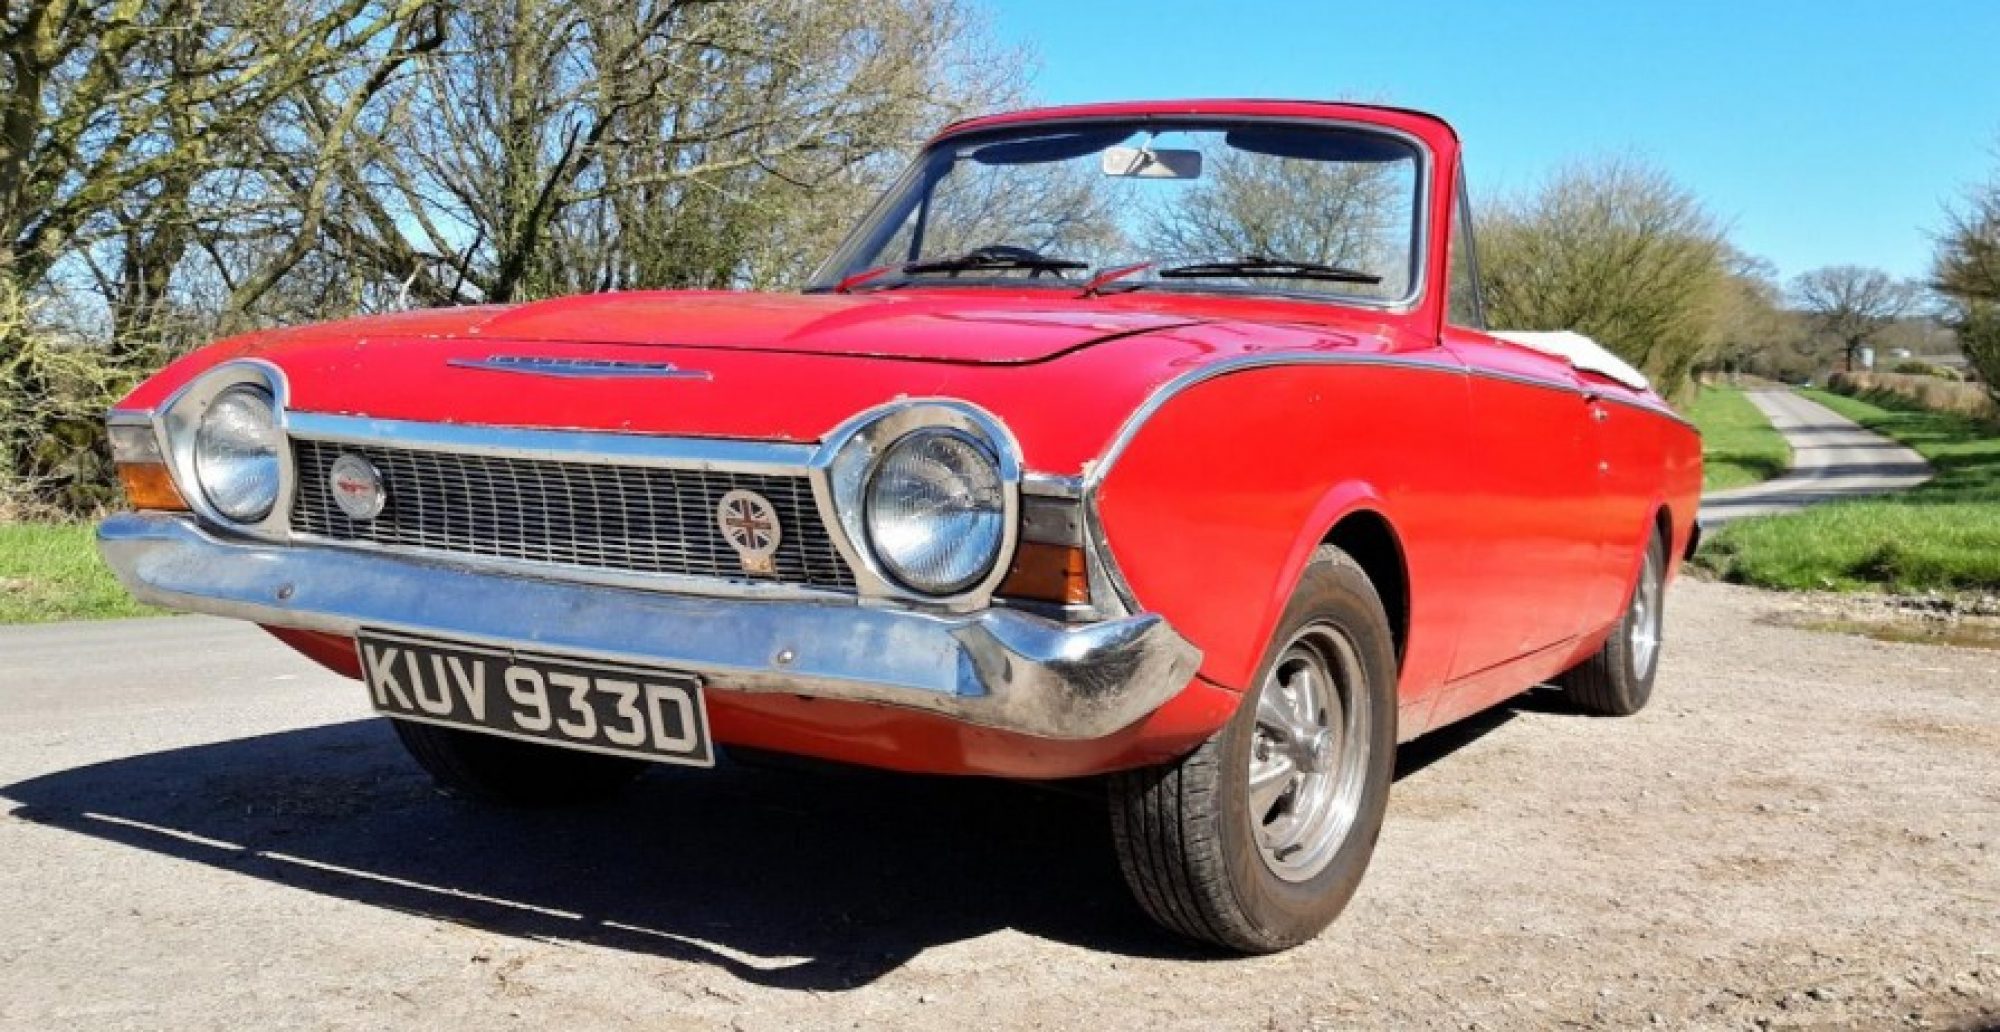
The Corsair has been with John at AJ Restorations for 2 months now, however my brief to him was to tinker between his bigger paying jobs to keep the costs down, only thinking it would be a carburettor tweak and a few other bits of tuning to get the car running properly. Well, nothing is ever simple. There are problems with the carburettor possibly having the wrong idler needle and jets but the main issue now is that the distributor appears to have seized in its mounting and won’t turn for adjustment.
Visiting John’s today, I got to chat with Peter who helps out twice a week and is Ford trained from the 1970’s so he is quite familiar with the Corsair. However, the distributor is stuck, seized, no move. The internal weights had seized up too but they free’d off after a good soak with oil. So, the Corsair is looking rather sorry for its self at the moment.
Closer view of the distributor that has been causing a problemInlet manifold off the Essex V4 to give better access to the distributor
I also took down the distributor I bought some months back and after taking delivery had a suspicion that it was for another Ford car. It is quite different to the one in the Corsair which is probably a Lucas type and the new old stock one I had was a Bosch. Anyway, it was hard to identify the numbers on the box but John knows a man that can and if isn’t suitable then I should have the right info to re-sell it.
The carburettor was fitted a couple of weeks ago (18 Sept 16) along with the radiator and cooling system for a test start up. However, it didn’t work out as well as I hoped. While the car started easily the carburettor was not set up right or properly adjusted or whatever… With the choke out the engine was revving high – guessing 2-3000 rpm and with the choke pushed in it rose higher still! Fiddling about with the volume control screw didn’t seem to have an effect, even swapping it out for another only made things worse. I had to abort the running engine when the revs were rising – and so it was back to rethinking what was wrong.
A couple more weeks pondering options, re-reading paperwork and on-line solutions gave a hint that the carb needed rebuilding or stripping down again.
The Zenith 361v carburettor is apart again – look at that fuel, I think it will cause a problem…
Back in the garage, armed with a better mood I tried again with the carburettor rebuild, took it apart and sought to clean the mating surfaces within it more efficiently. Using 1200 grit wet/dry paper lubricated with WD40 I rubbed down the surfaces again though a bit more thoroughly and getting a cleaner/shine to them. While it was all apart I sprayed more carb cleaner in various orifices when removing a variety of screws.
Zenith 361v carburettor cleaned for a second time.
Upon rebuilding I paid more attention to the set up of the throttle stop and volume mixture screws and then put it back on the engine. I tentatively restarted the car without any choke to begin with and it fired up ok though was a bit lumpy. I gave it a small amount of choke and it ran fairly smoothly but not at high revs this time. Blipping the accelerator was smooth and there weren’t any pops and back fires through the carburettor. Idling needs to be adjusted properly with a tweak to volume control and throttle stop required, but that can come on a later date.
So far so good, I had a minor leak on the brake system while the car was away being restored, so that will need re-bleeding all round.
Another nice day last week (Tuesday 5th July) and I had the Corsair out on the driveway to adjust the tappets and refit the drivers side window winder mechanism.
Adjusting the tappets wasn’t as difficult as I thought it was going to be, the only thing I had to keep an eye on was the sequence of adjusted inlet and exhaust tappets with the corresponding feeler gauge size. I’m sure I missed one or two, while the engine sounds a lot quieter there is still a tappety noise, something I’ll revisit another time.
Broken winder mechanism from an earlier fix from 2001/02A fixed window winder mechanism
I had welded the broken winder arms together again a few weeks back and it looked and felt a lot stronger this time. Fitting wasn’t too traumatic the only tricky bit was getting the clips to clip on and hold the arms in place. With the welding repair done, what I didn’t do last time and that was to drill a hole and tap a thread so a screw could be fitted to hold the winder handle in place. Just got to do the same on the passenger side. I seem to remember these window winder mechanisms are from a Triumph Spitfire and cost me £22 for the pair back in 2001/02 and then I had to chop them up to fit. The inside runners were all rusty and falling apart so the glass rattled against the door top when wound in the up position.
I had a visit from John from AJ Restorations the other day to look at pricing the front chassis welding repair. I bought some repair sections from the MK1 Cortina club and have become a member of the club as well.
Tackling the cooling system was meant to be a fairly straightforward affair, but this is me we’re talking about here. Last week I took a long way around of missed turnings and going back on myself to get to Yeovil to drop off the Corsair radiator at Rayson Radiators for them to recondition. In the afternoon they called back with the price and that they may get it done by the Saturday (in 2 days). So that evening in the garage I decided to prepare the engine for flushing by removing the thermostat housing on the inlet manifold only to shear one of the 2 bolts. Calmly, I set about drilling the broken nut before stopping for the evening and leaving it for a couple more days.
Simple really, I asked Martyn from Hill Top Motors to help. He popped round one long lunch on Saturday, checked for a spark in the points and from the coil. Cleaned the very dirty points (with plain paper) and hey presto the Corsair started – Martyn did have to nip back to his workshop to get an insulating boot for the lead out of the coil as it was arcing out on the body work.
So while the engine was running I tried out the clutch so now can get the car in forward and reverse gears and move the car! Hurrah! It all works! As I was on a roll I even re-fitted the drivers seat.
Dom
PS: I don’t know why I struggled for so long to go around to Martyns and ask for help – It was my initial email contact and communications with a mobile mechanic, Miles Chislet who was positive and keen to see the Corsair but it was just a bit beyond the area he normally covered. However, it was enough to encourage me to try Martyn.
Recently I obtained two good looking chromed Cragar wheels from Sean in Poole, who at the time is rebuilding a custom/hot rod Ford Pop. They match the two font Cragars I have; the rears are of a different make and have a deeper offset, but I think you’ll agree, these look heaps better and have pretty good tyres too.
Also, I got the Flywheel skimmed by Perret Engineering, near Henstridge and also a new friction plate from the clutch specialists in Henstridge, Precision Clutch Components Ltd. Just need to find 3+ hours to fit it all back together! Soon I hope.
Got the flywheel off today, nothing too difficult by my standards, all within 30 mins. It gives me the opportunity to reveal the groove on the flywheel. At the time of writing I have posted a question on my favourite forum for advice on where to go from this.
Back of the V4 engine minus the flywheel
Flywheel (left) clutch pressure plate (right)
Groovy man…
Update 5/9/13: The general consensus of opinion is that the groove is fixable by skimming/re-facing, I just need to find an engineering company near enough to do the job for a good price.
6th November 2011, 2.30pm: Reconnected the battery with it’s new earthing strap, a recheck that each of the plugs were sparking and several seconds (seemed like minutes) of cranking over and the old girl erupted into life.